


| I thought I was done with these. |
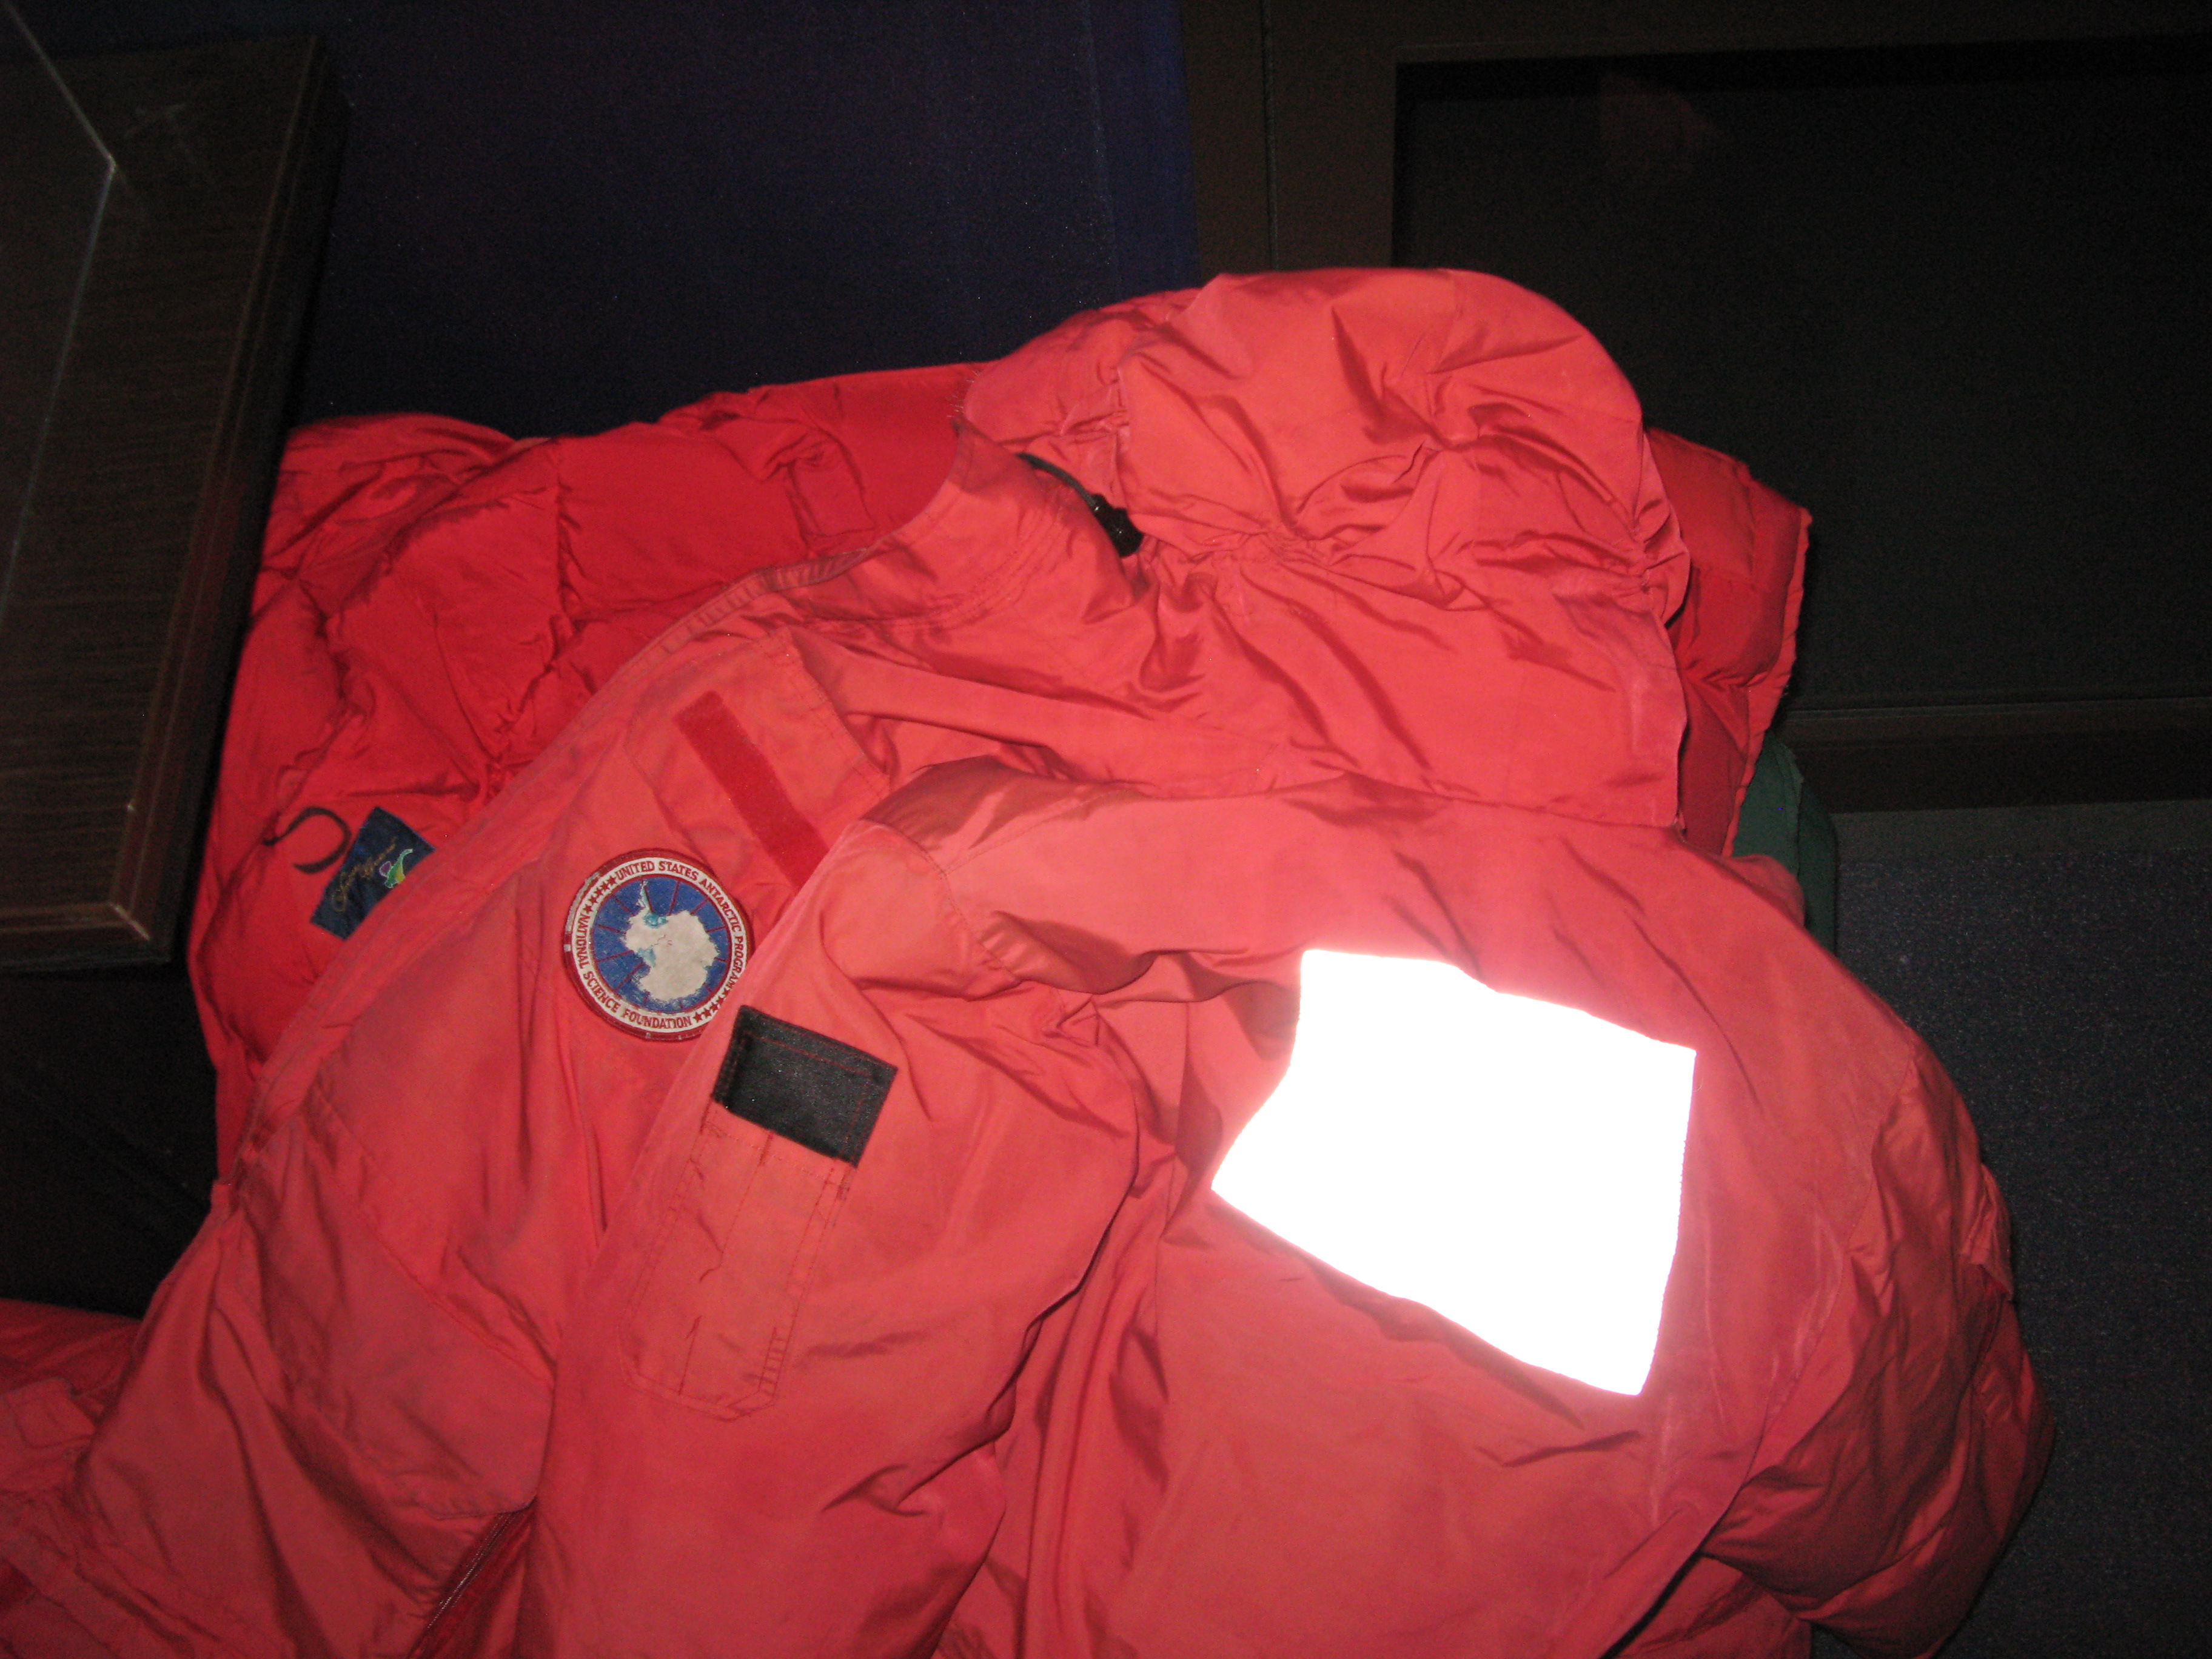
| The Mt. John tour buys old parkas from the USAP for the use of customers when on the mountain. |
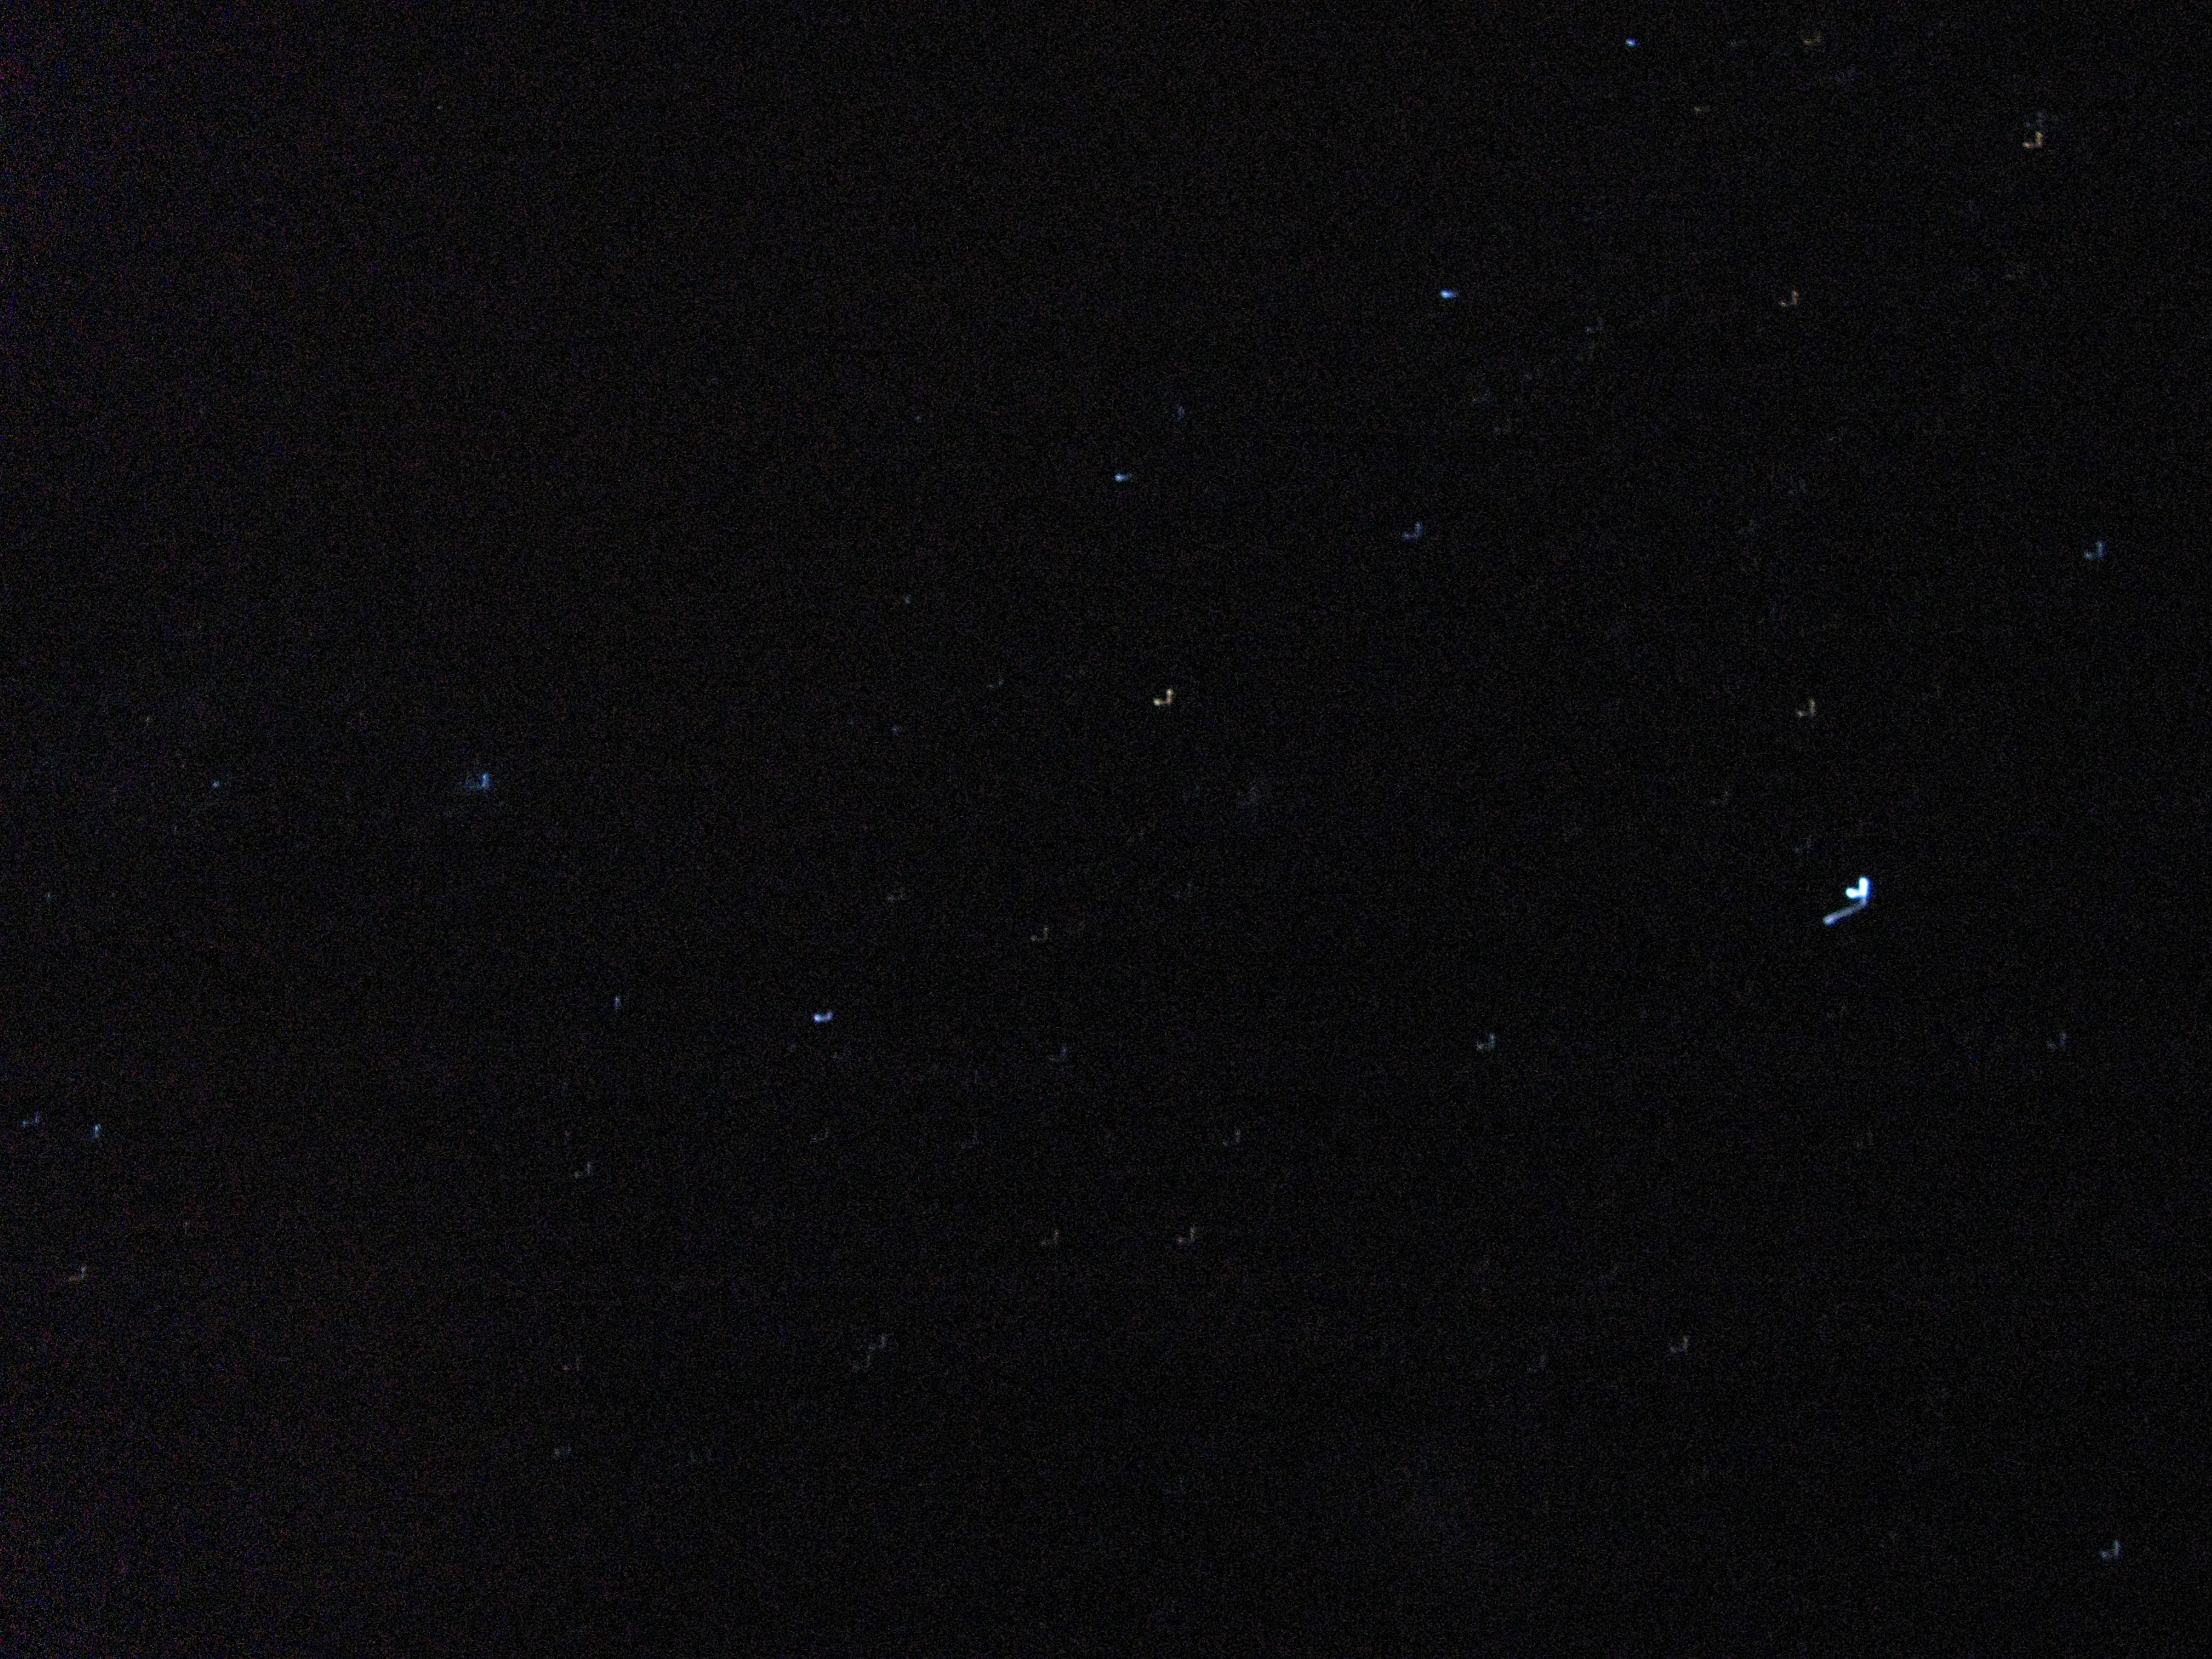
| My attempt at astrophotography. This is a fifteen second exposure. The movement of the camera is due to wind. |
| MOA |
| MOA |
| MOA |
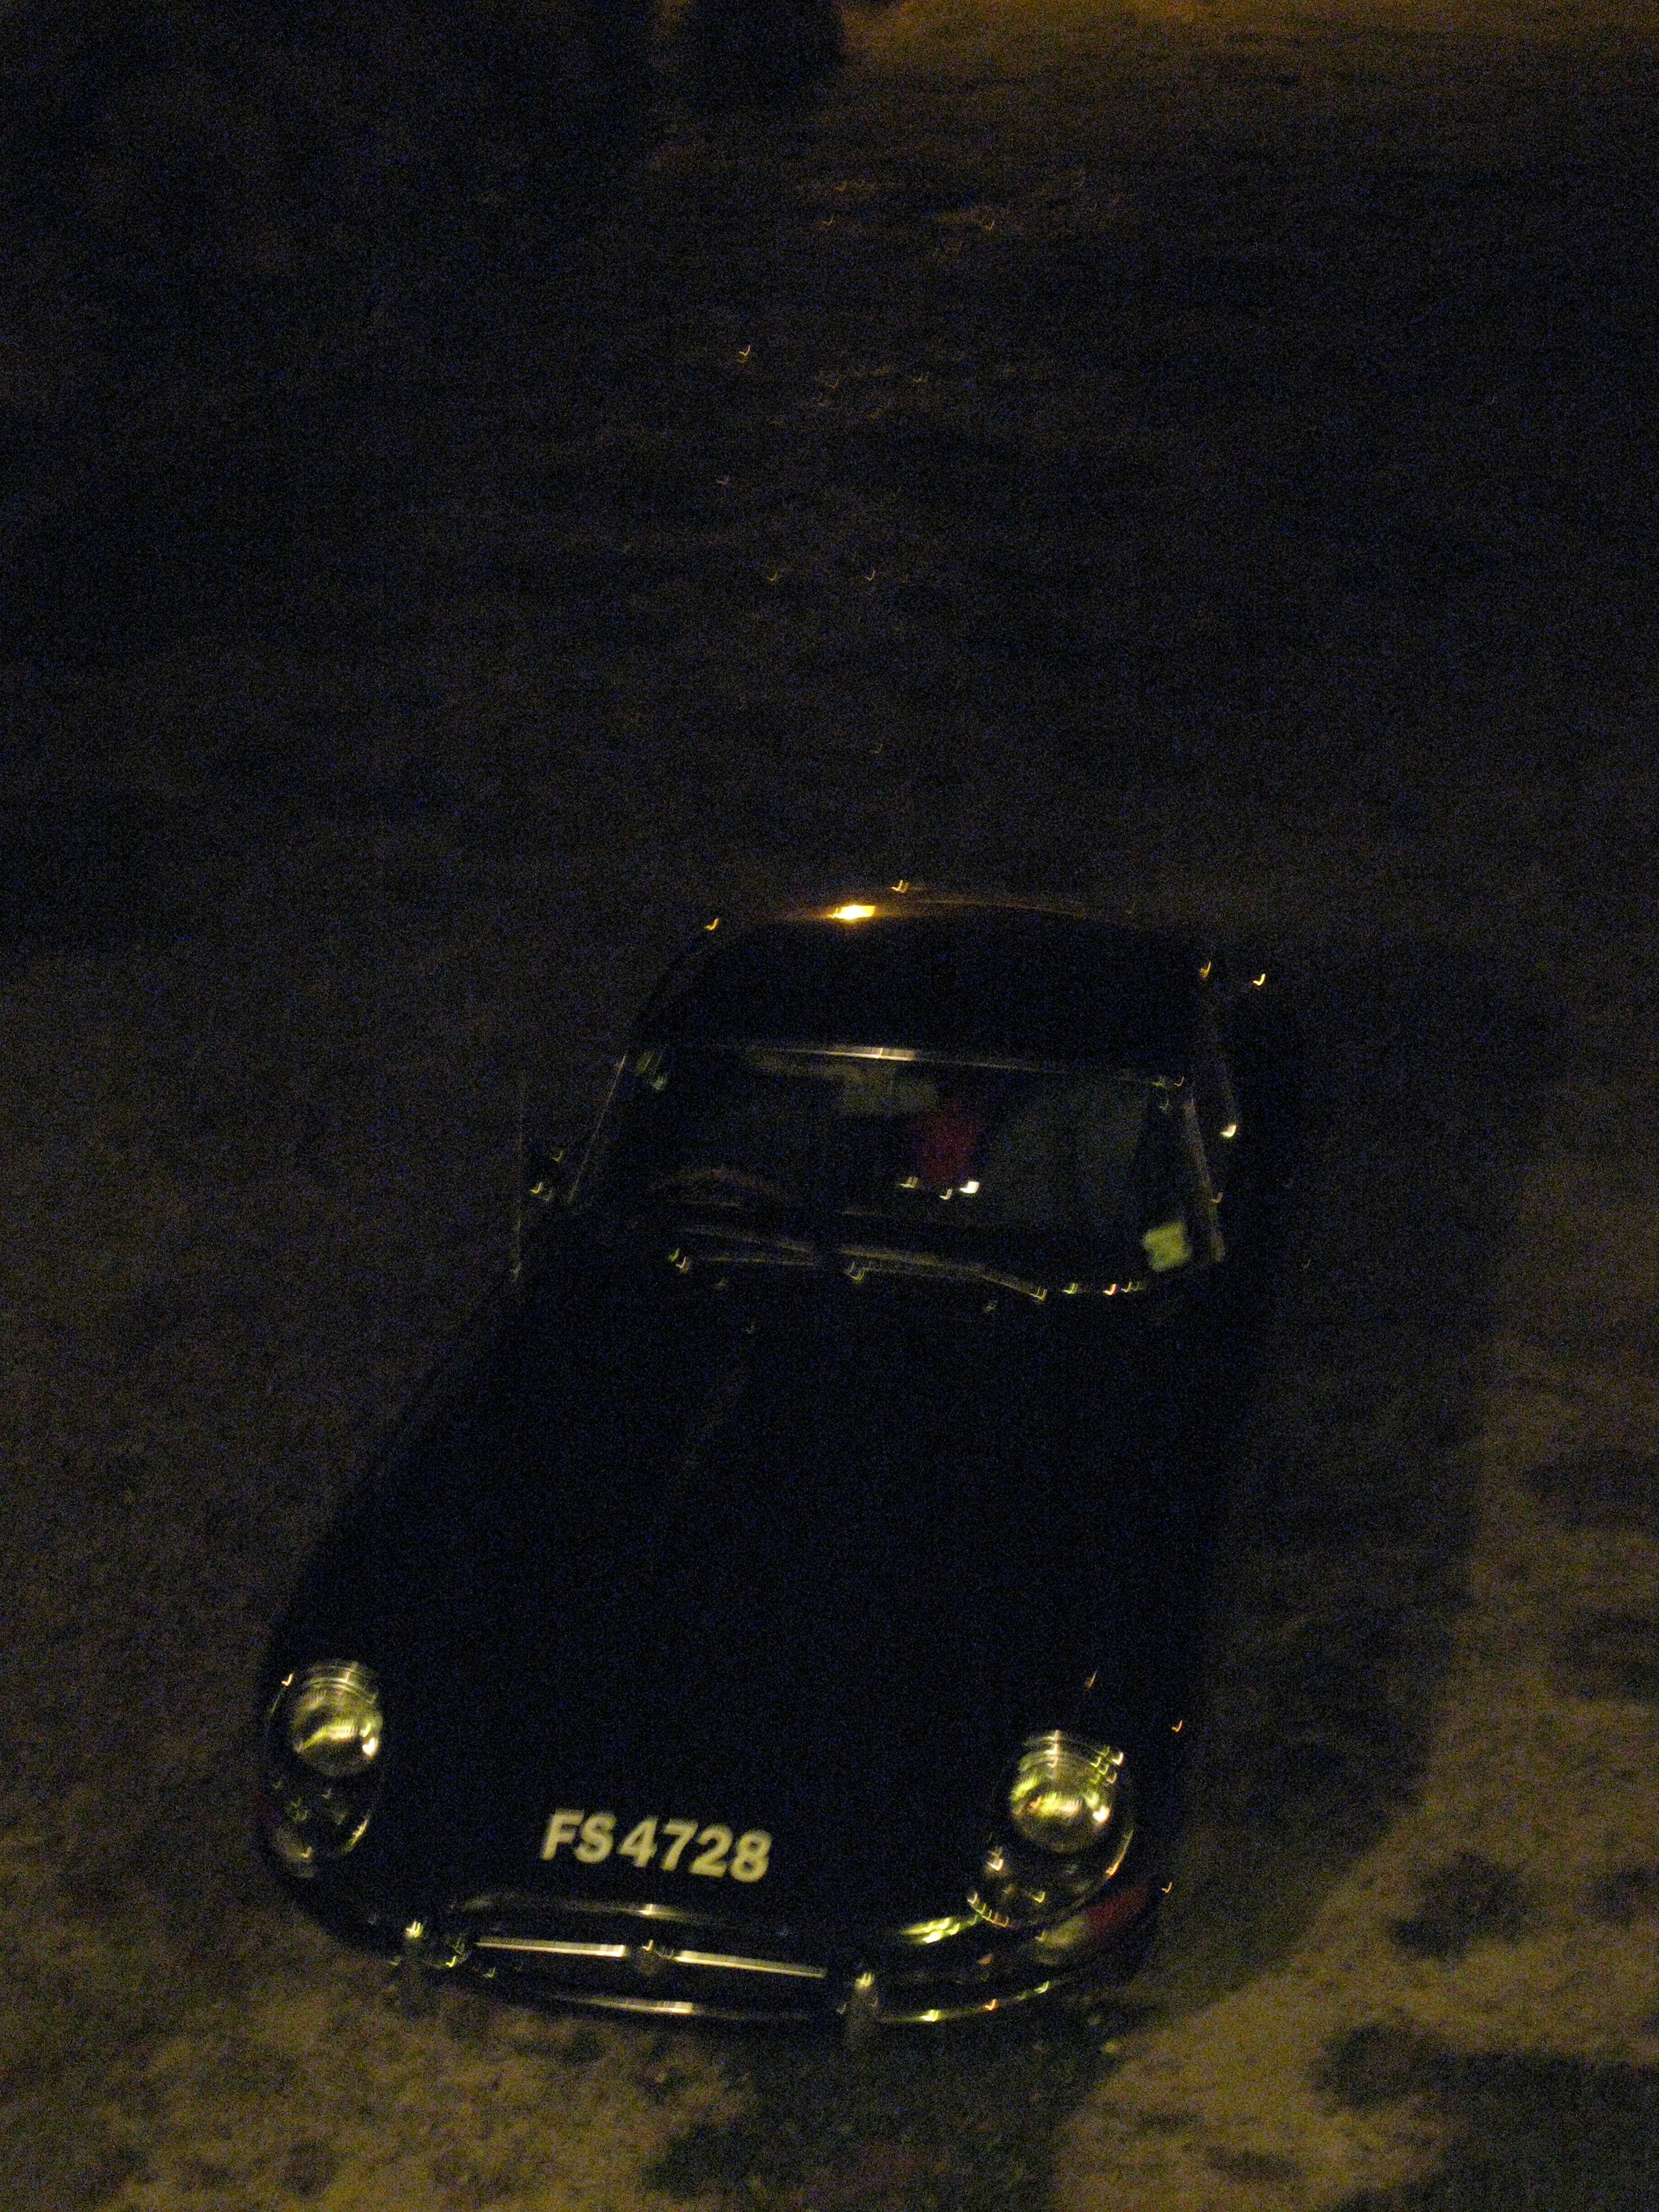
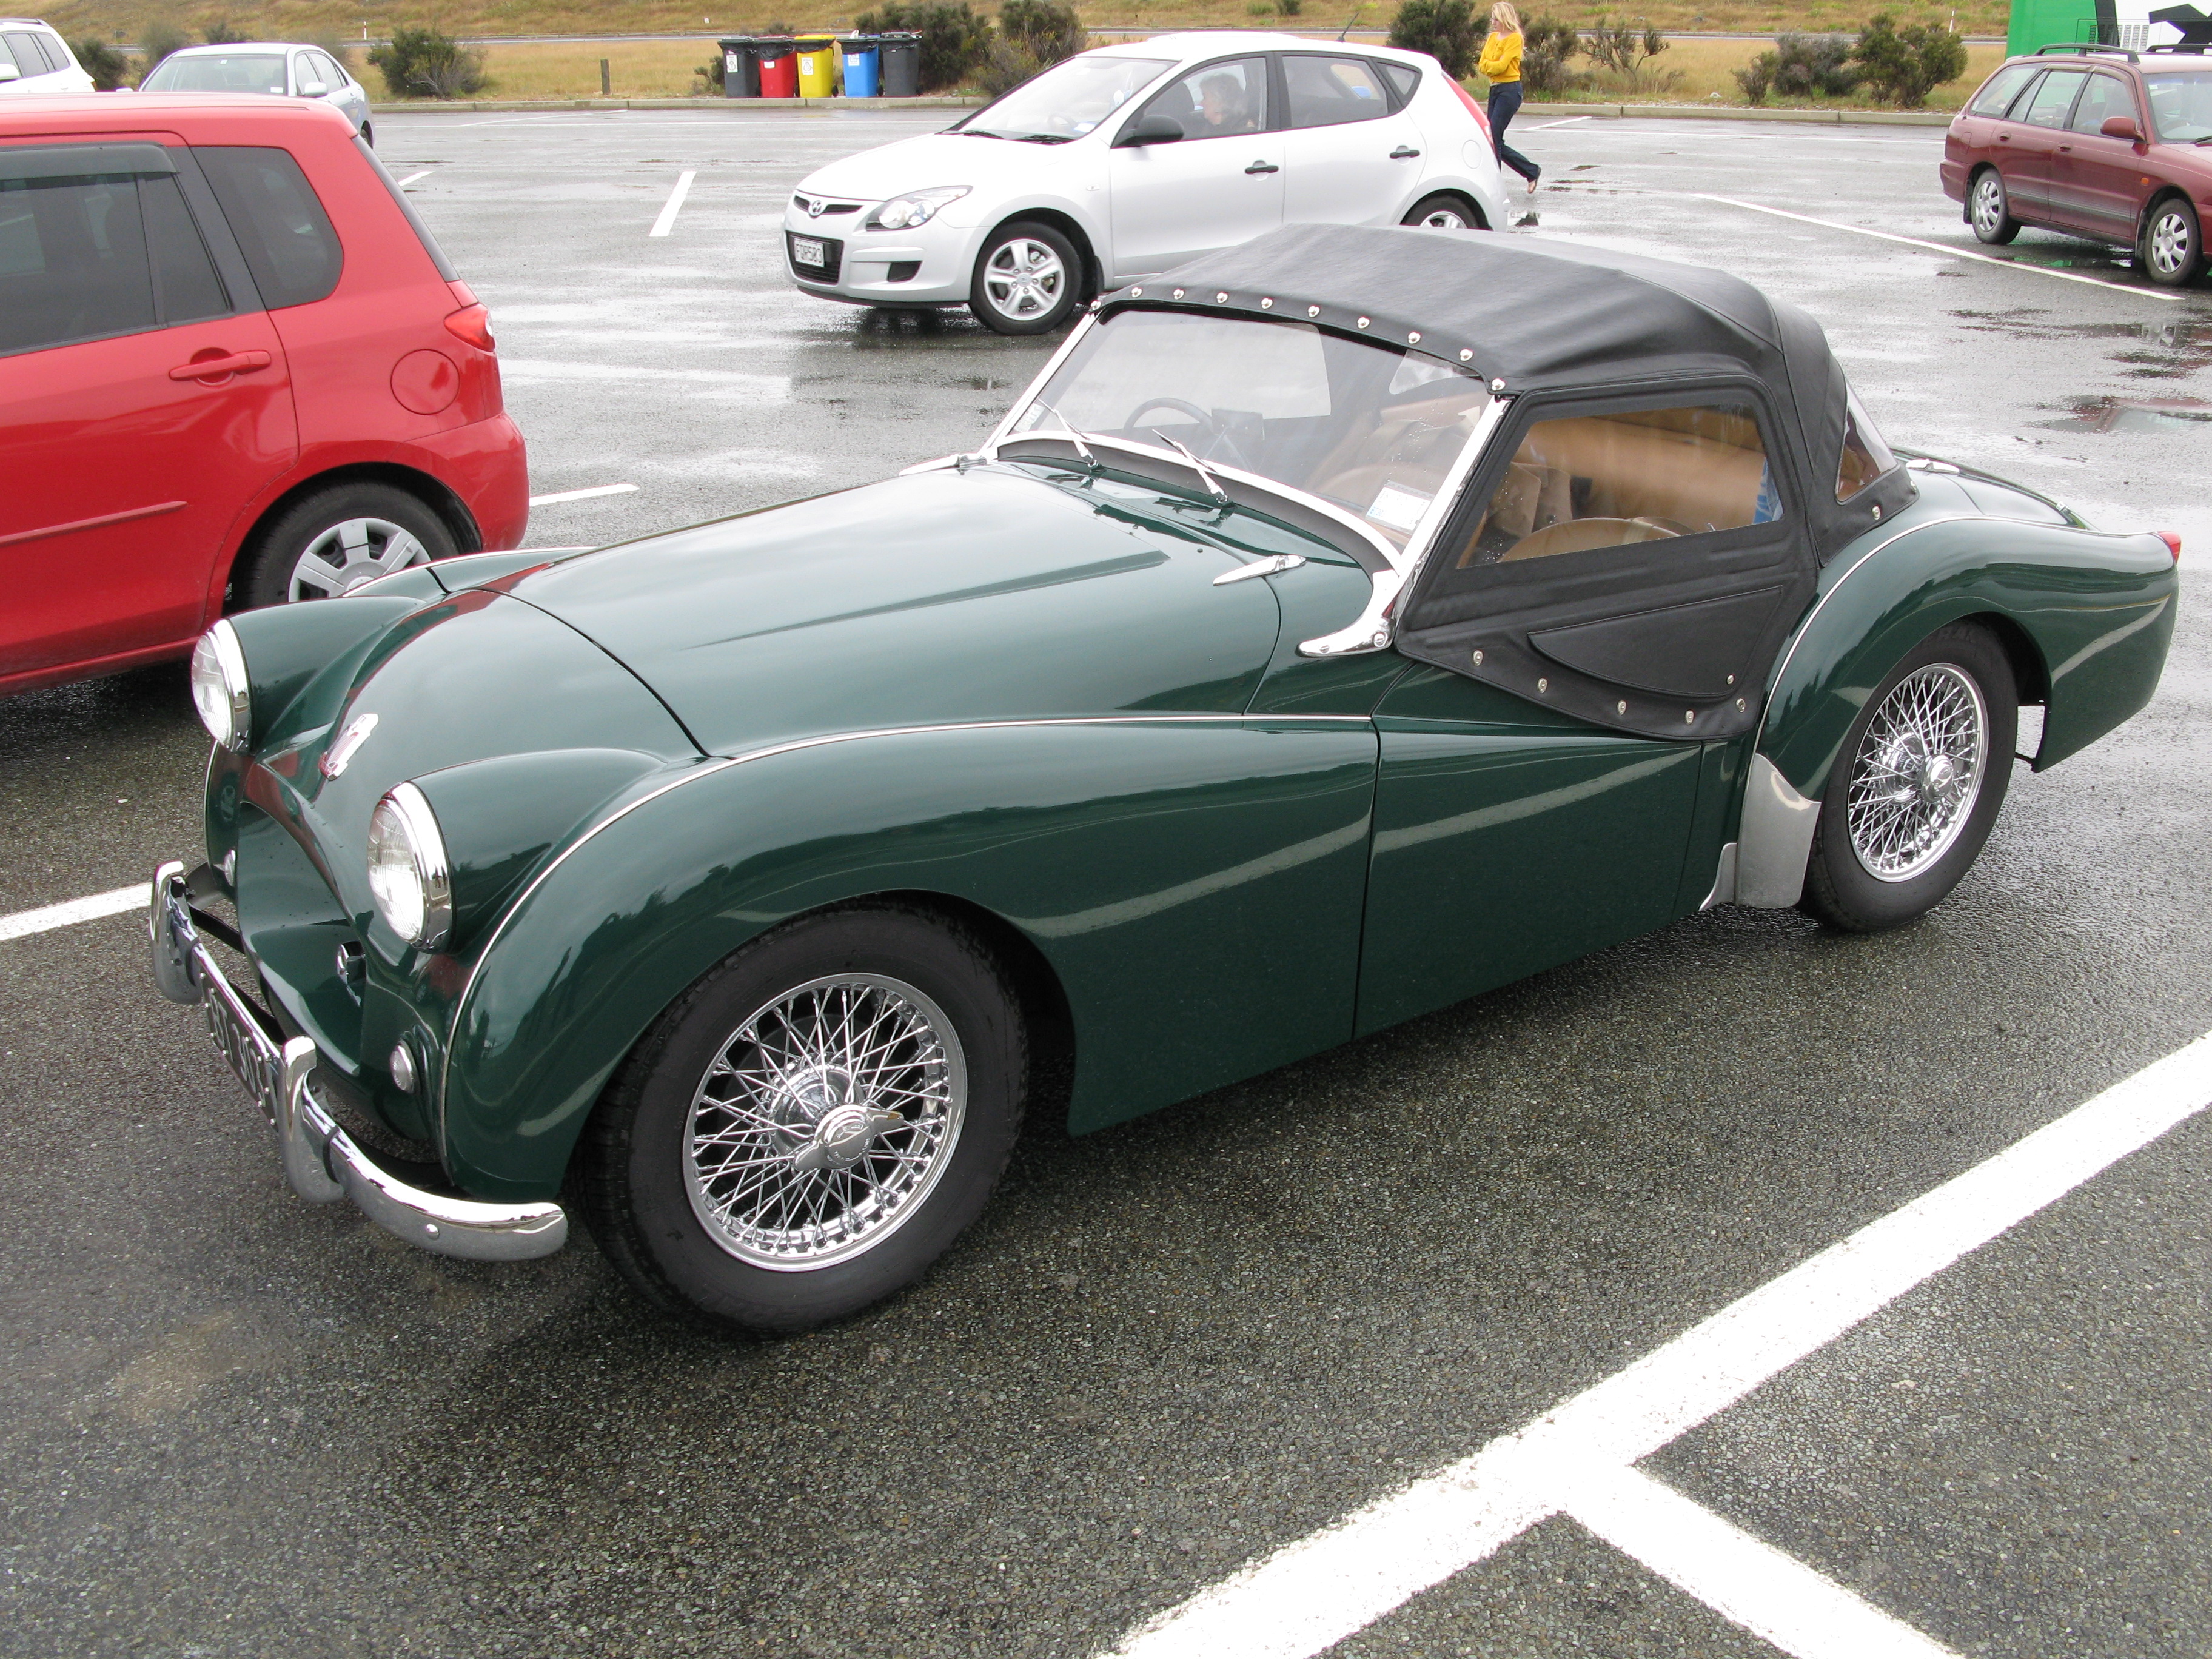
| Jag check: yep, still there. |
| The view from my room in the morning. In addition to the Jaguar, you can see the Church at top left on the shore of the lake. |
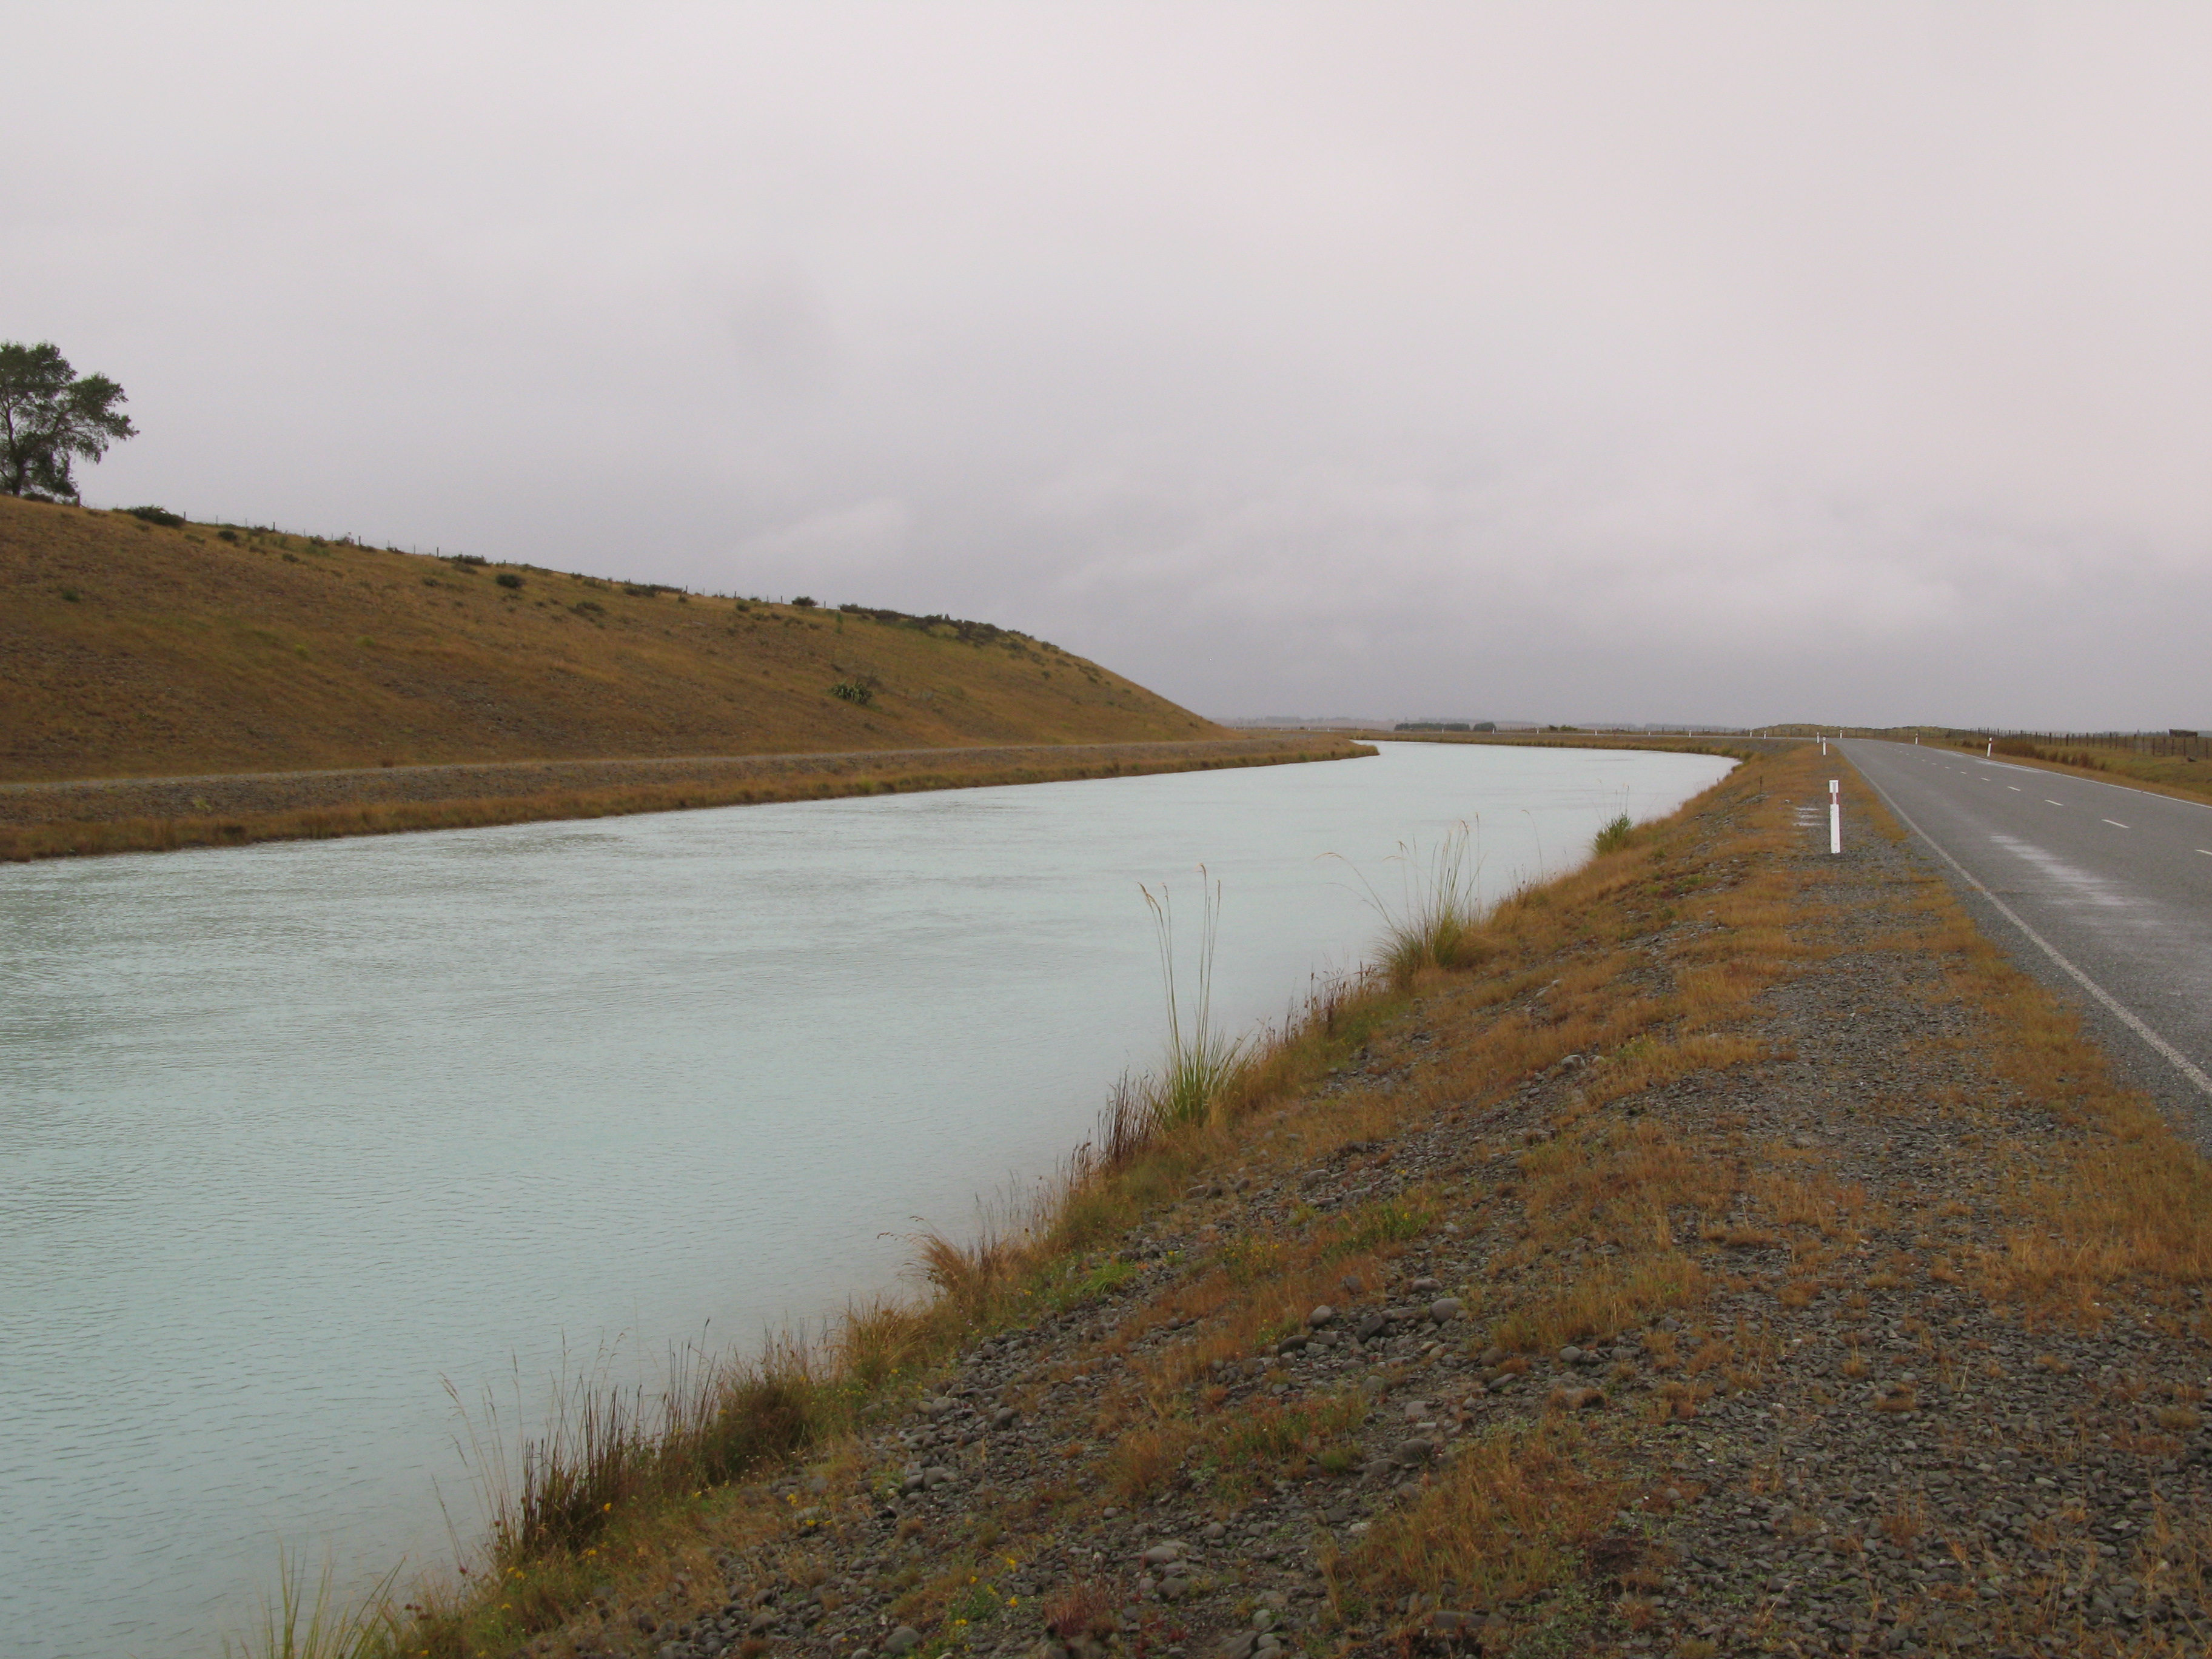
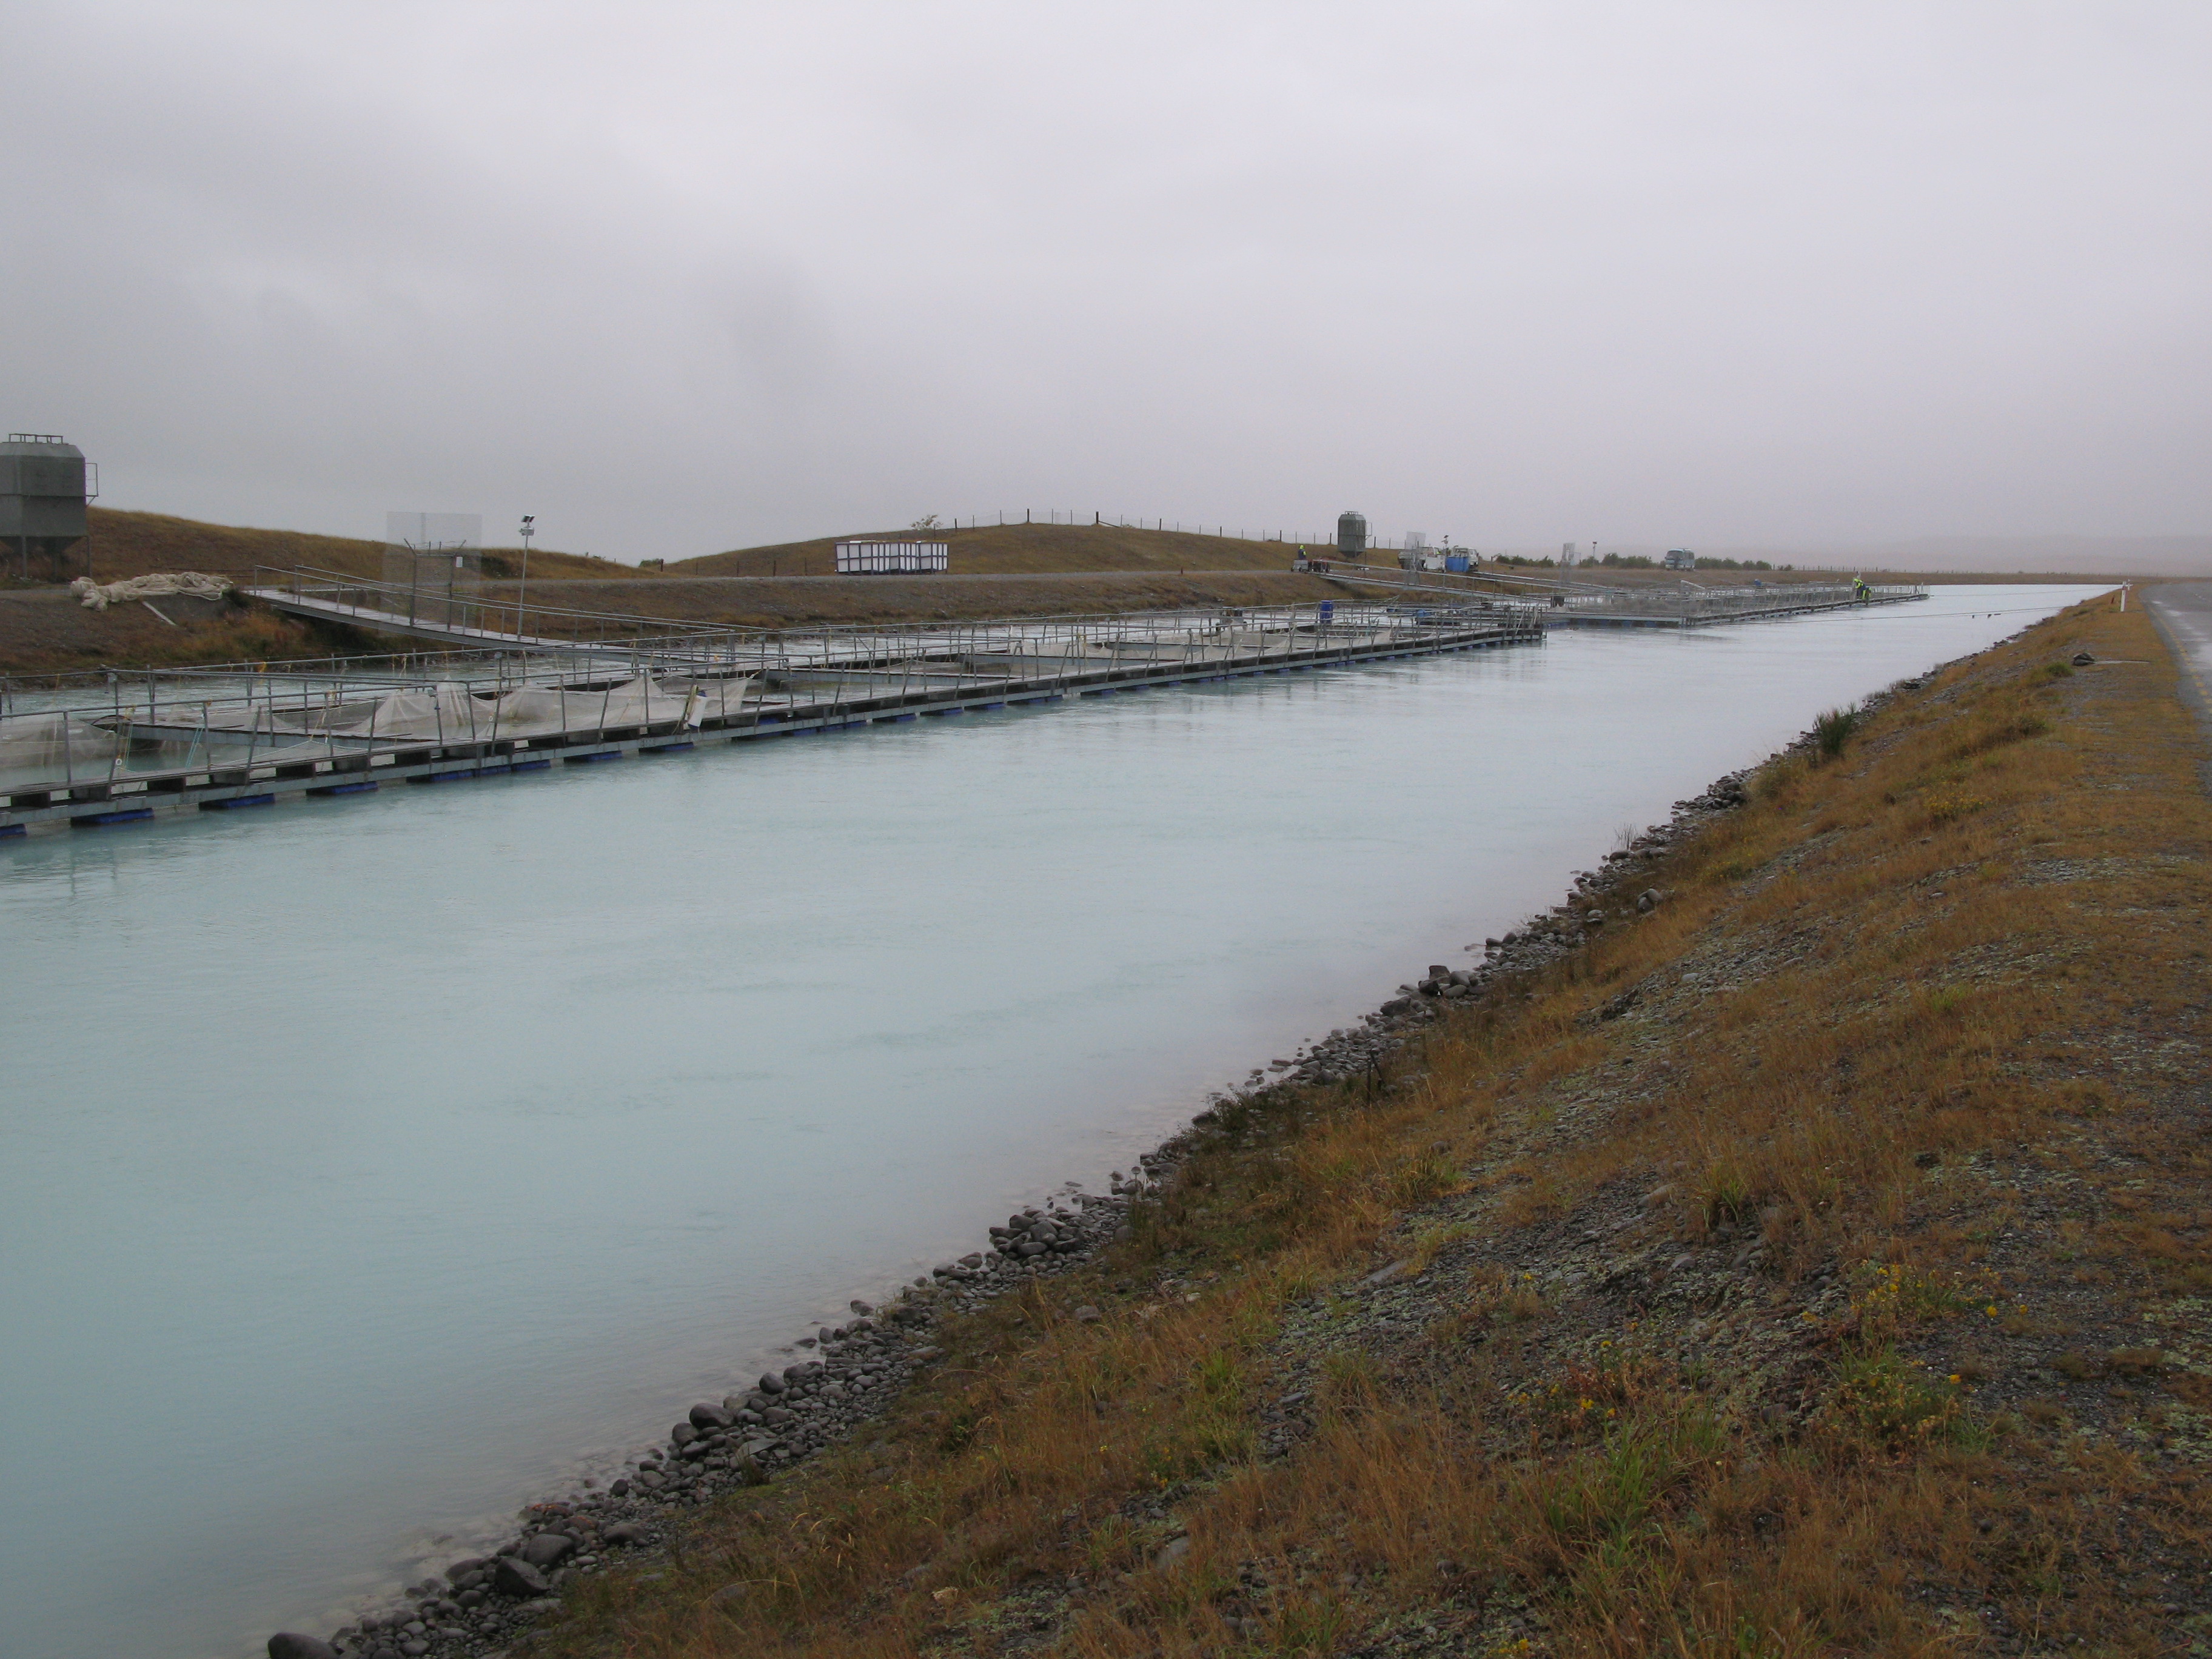
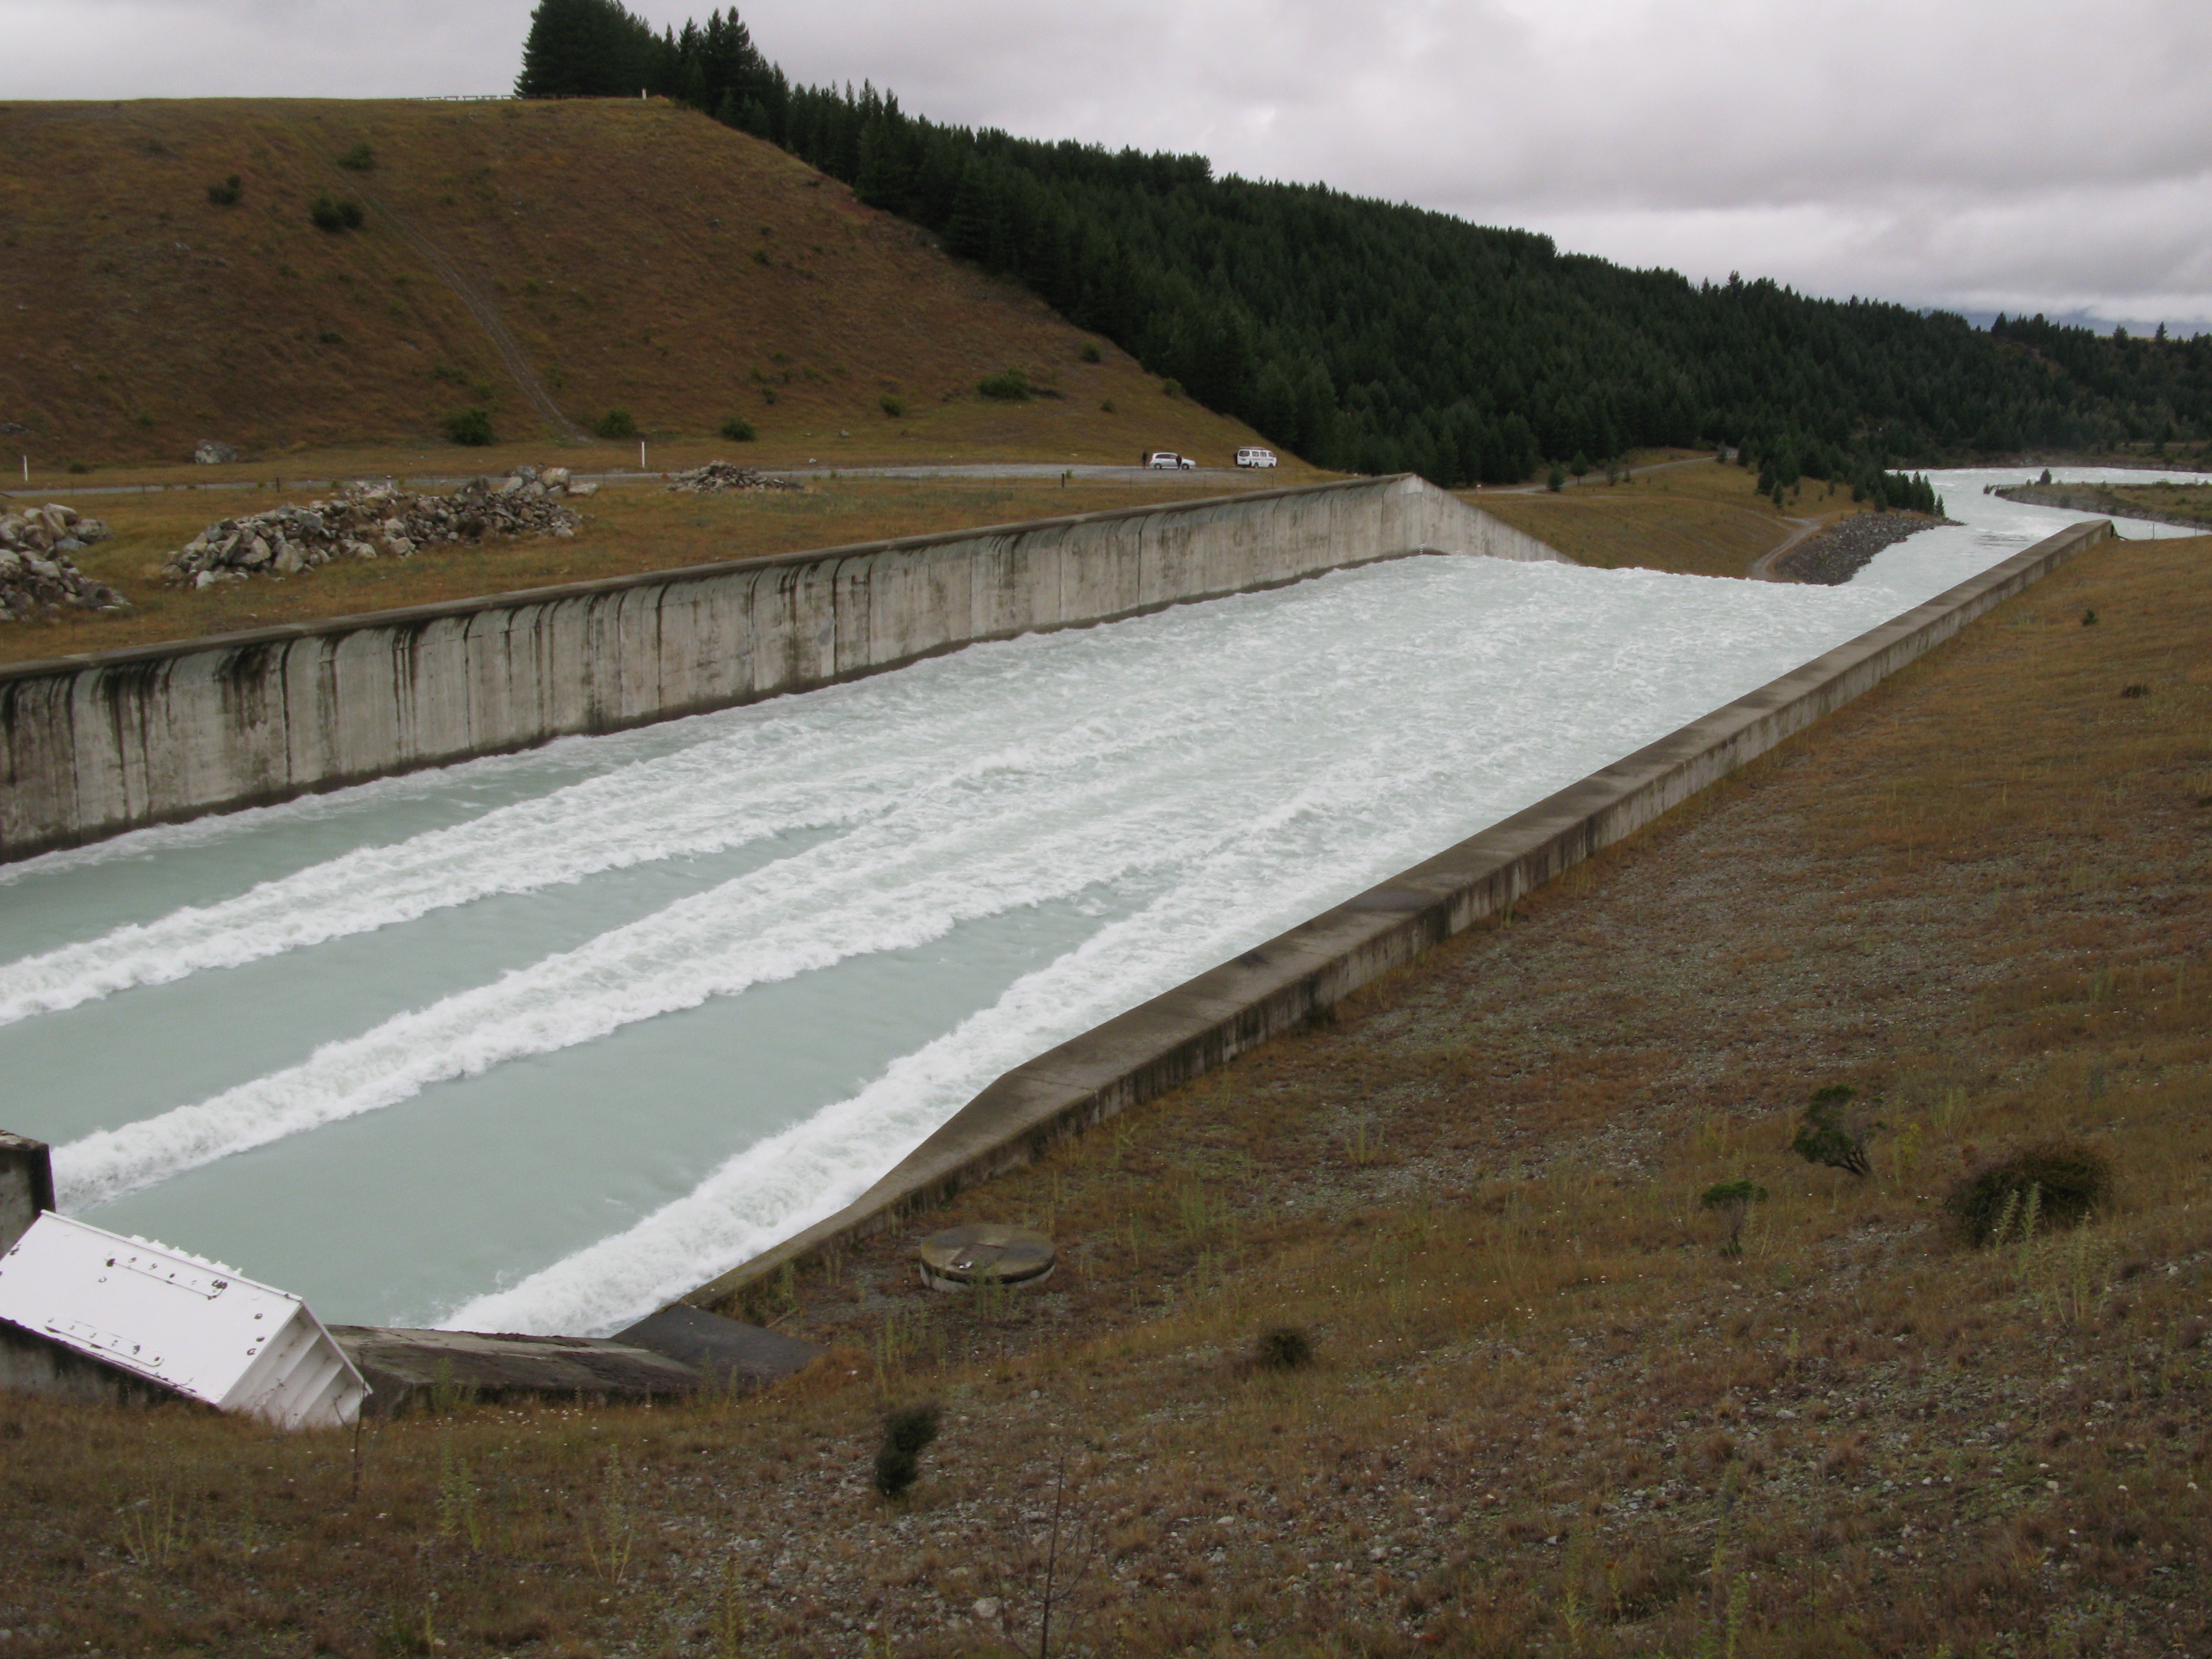
| The hyrdo canal. |
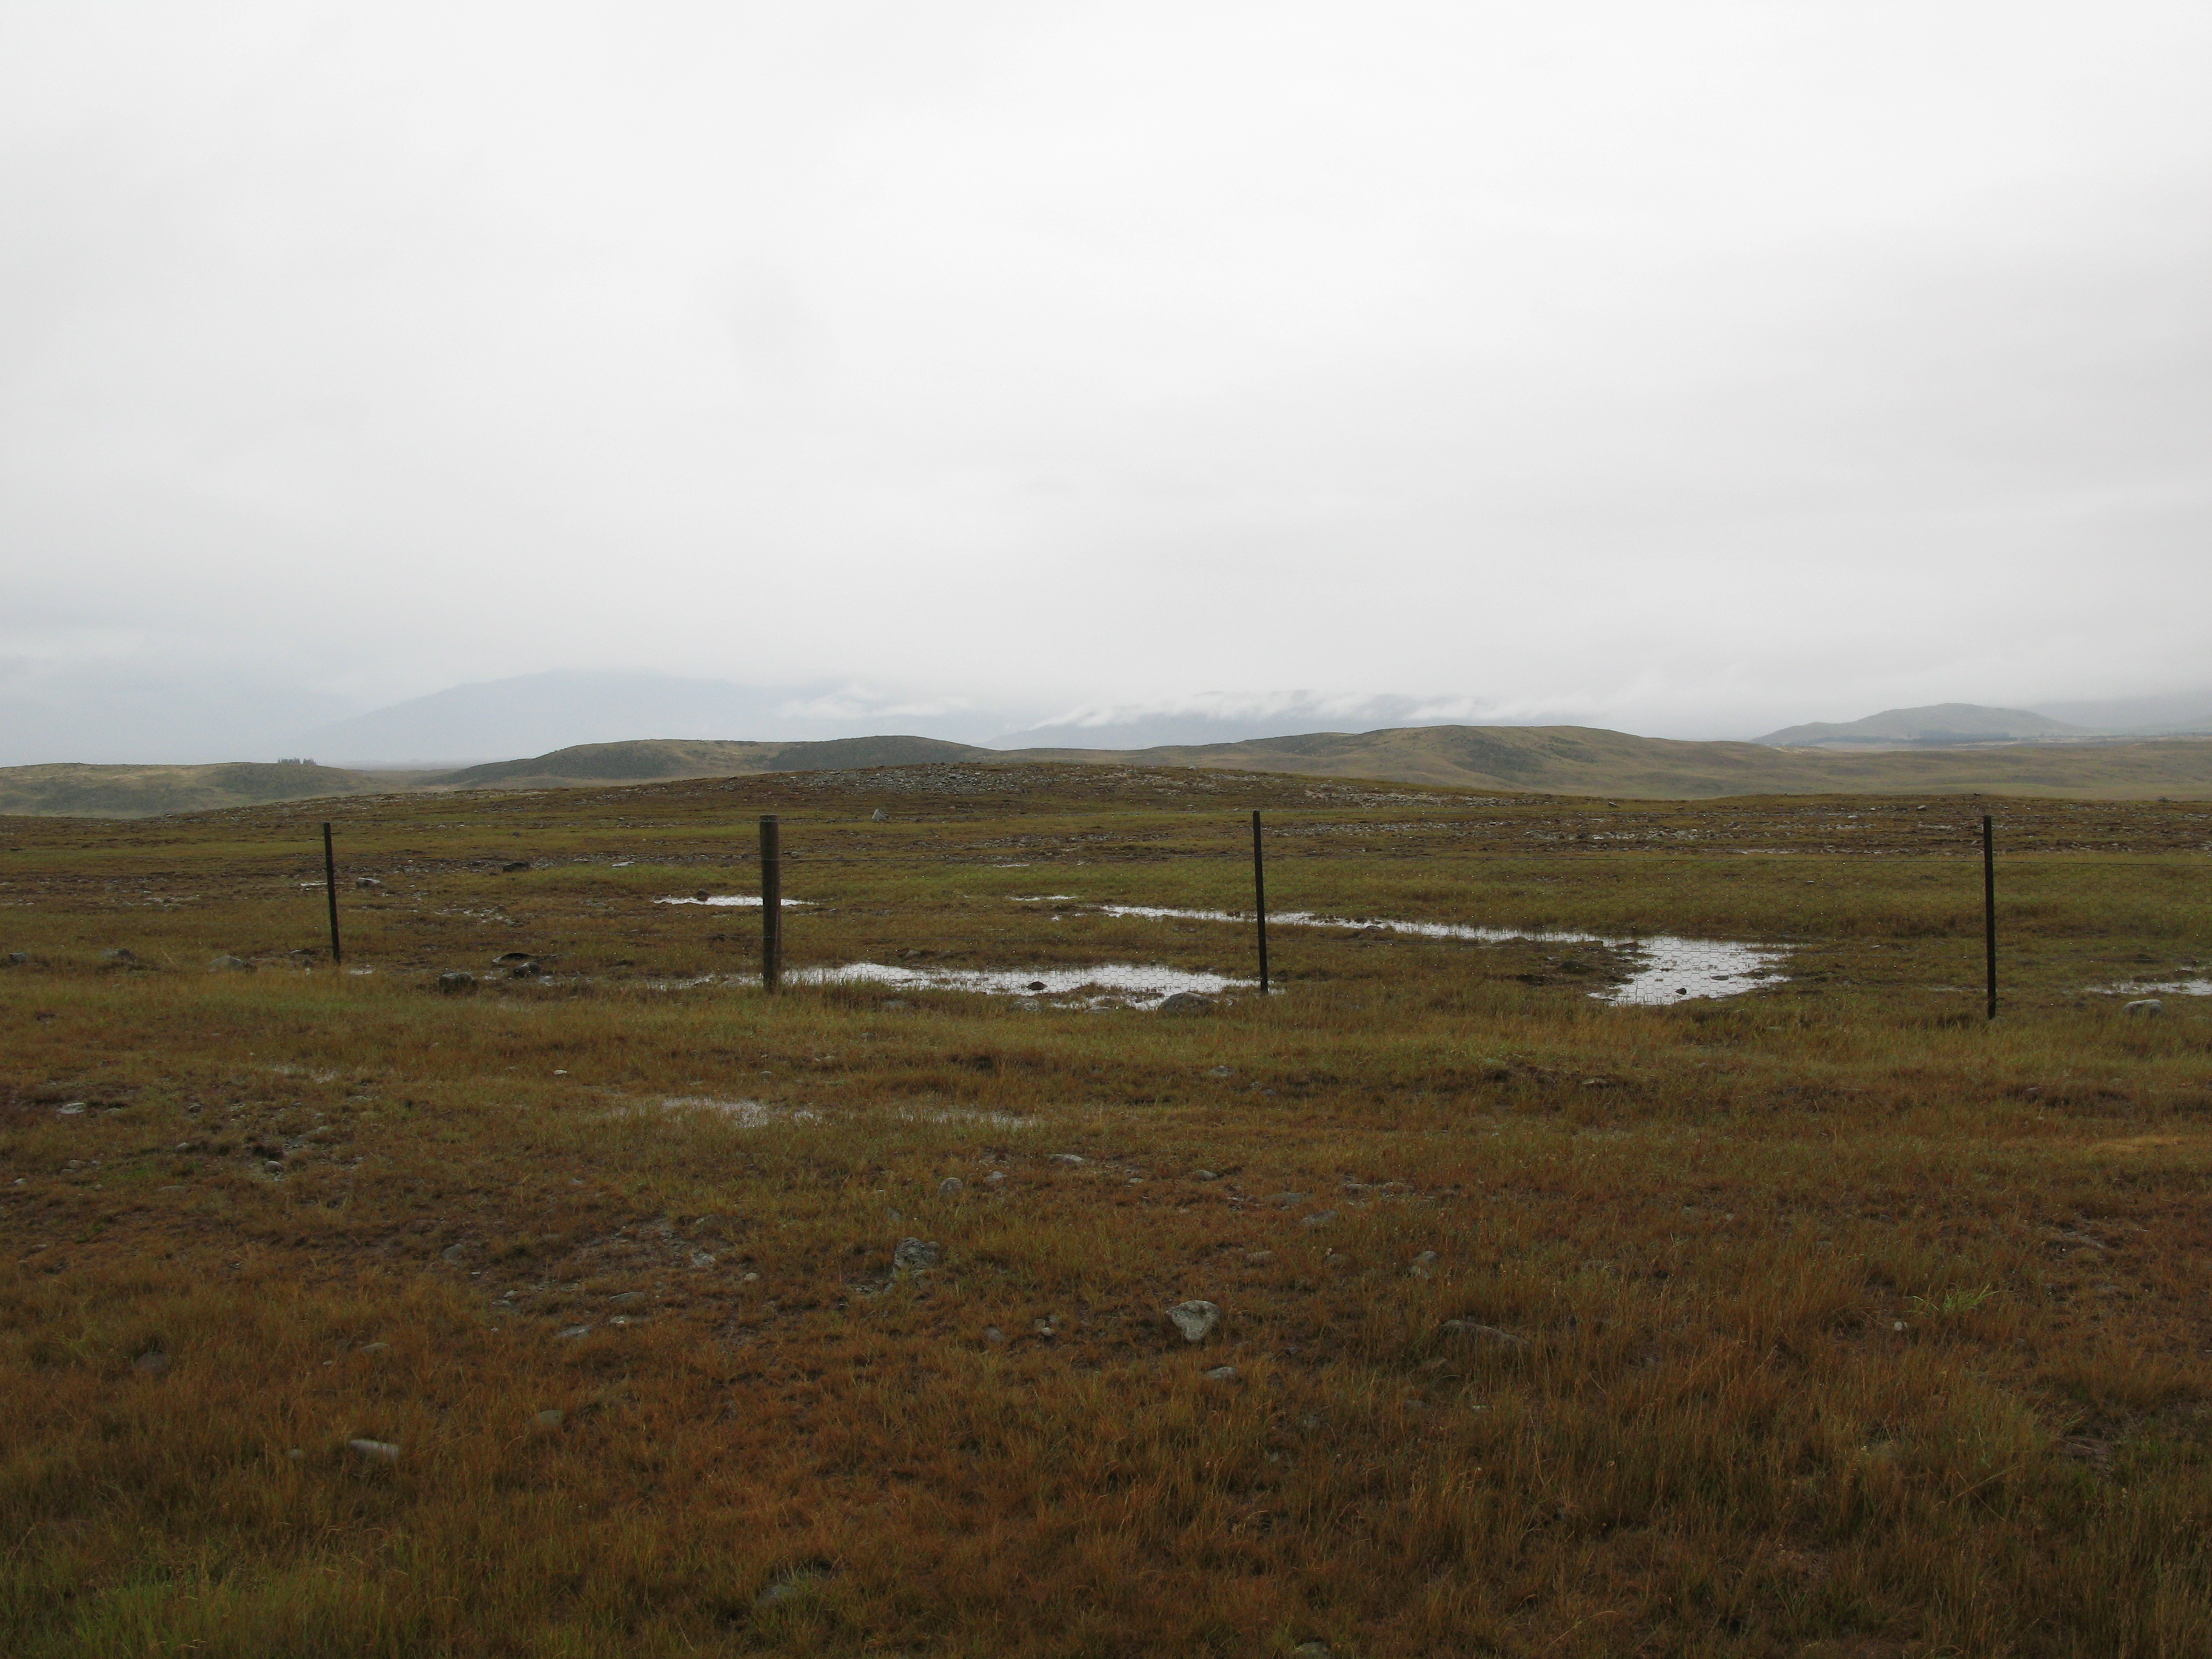
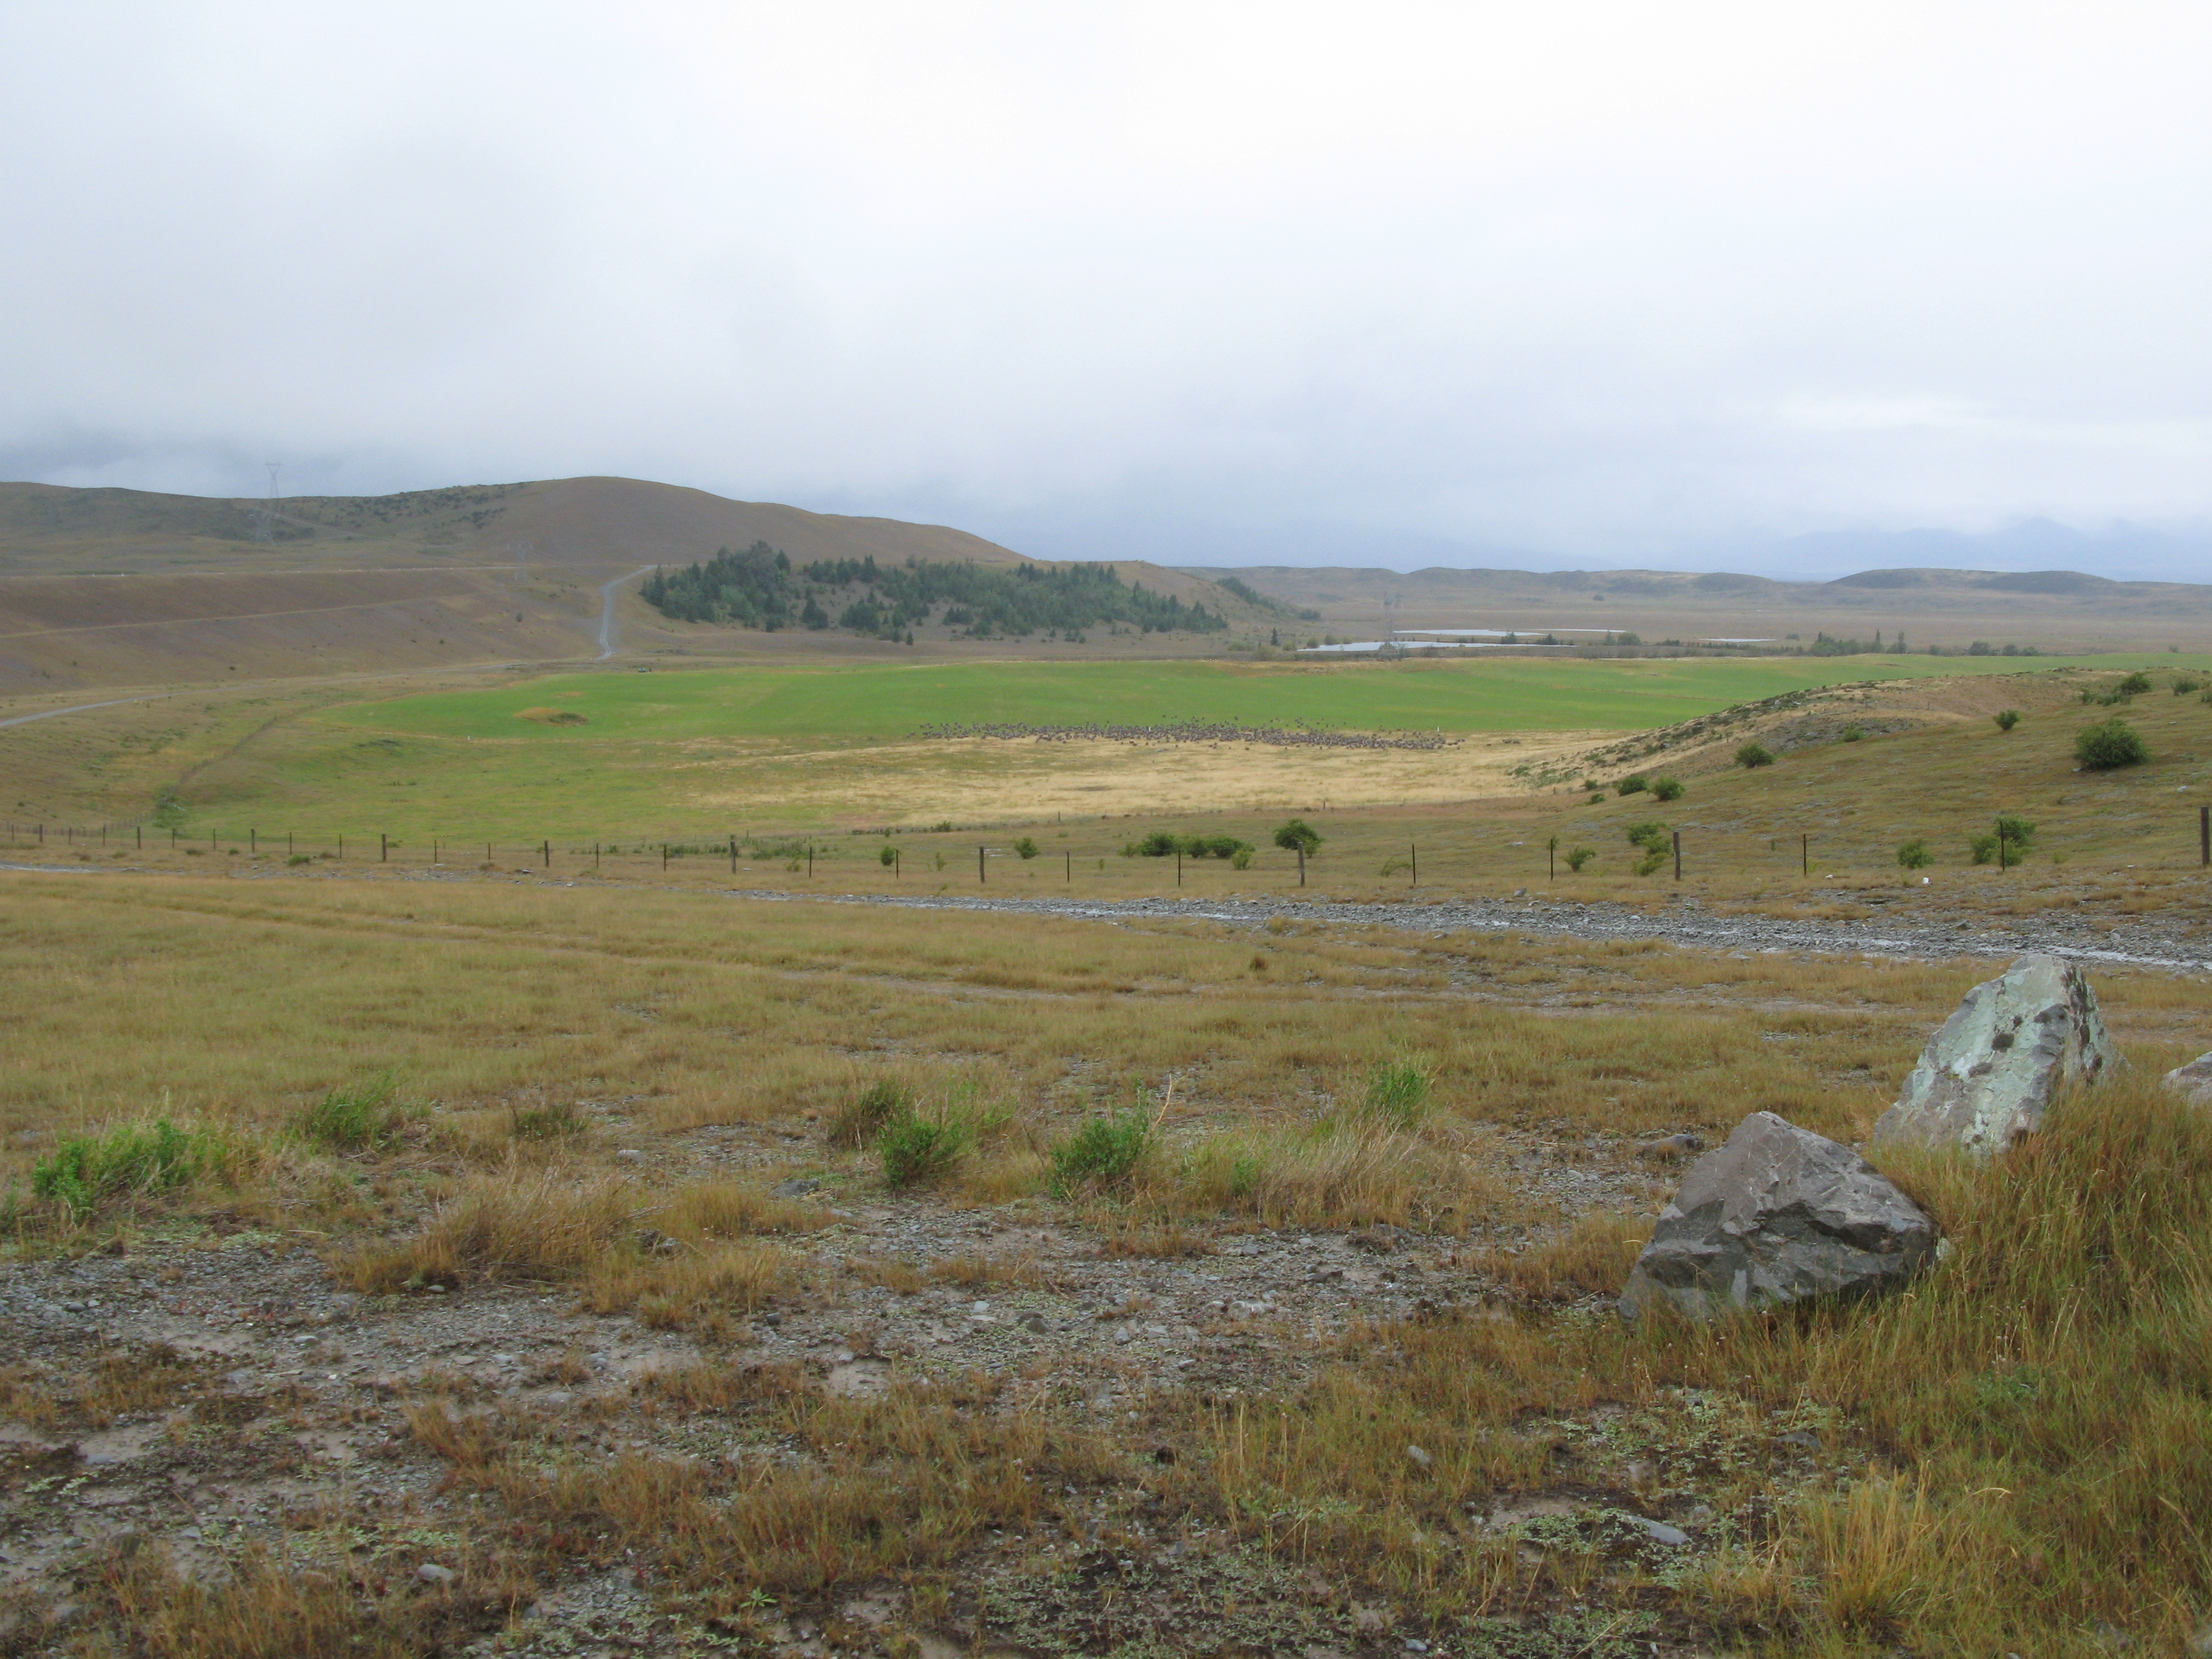
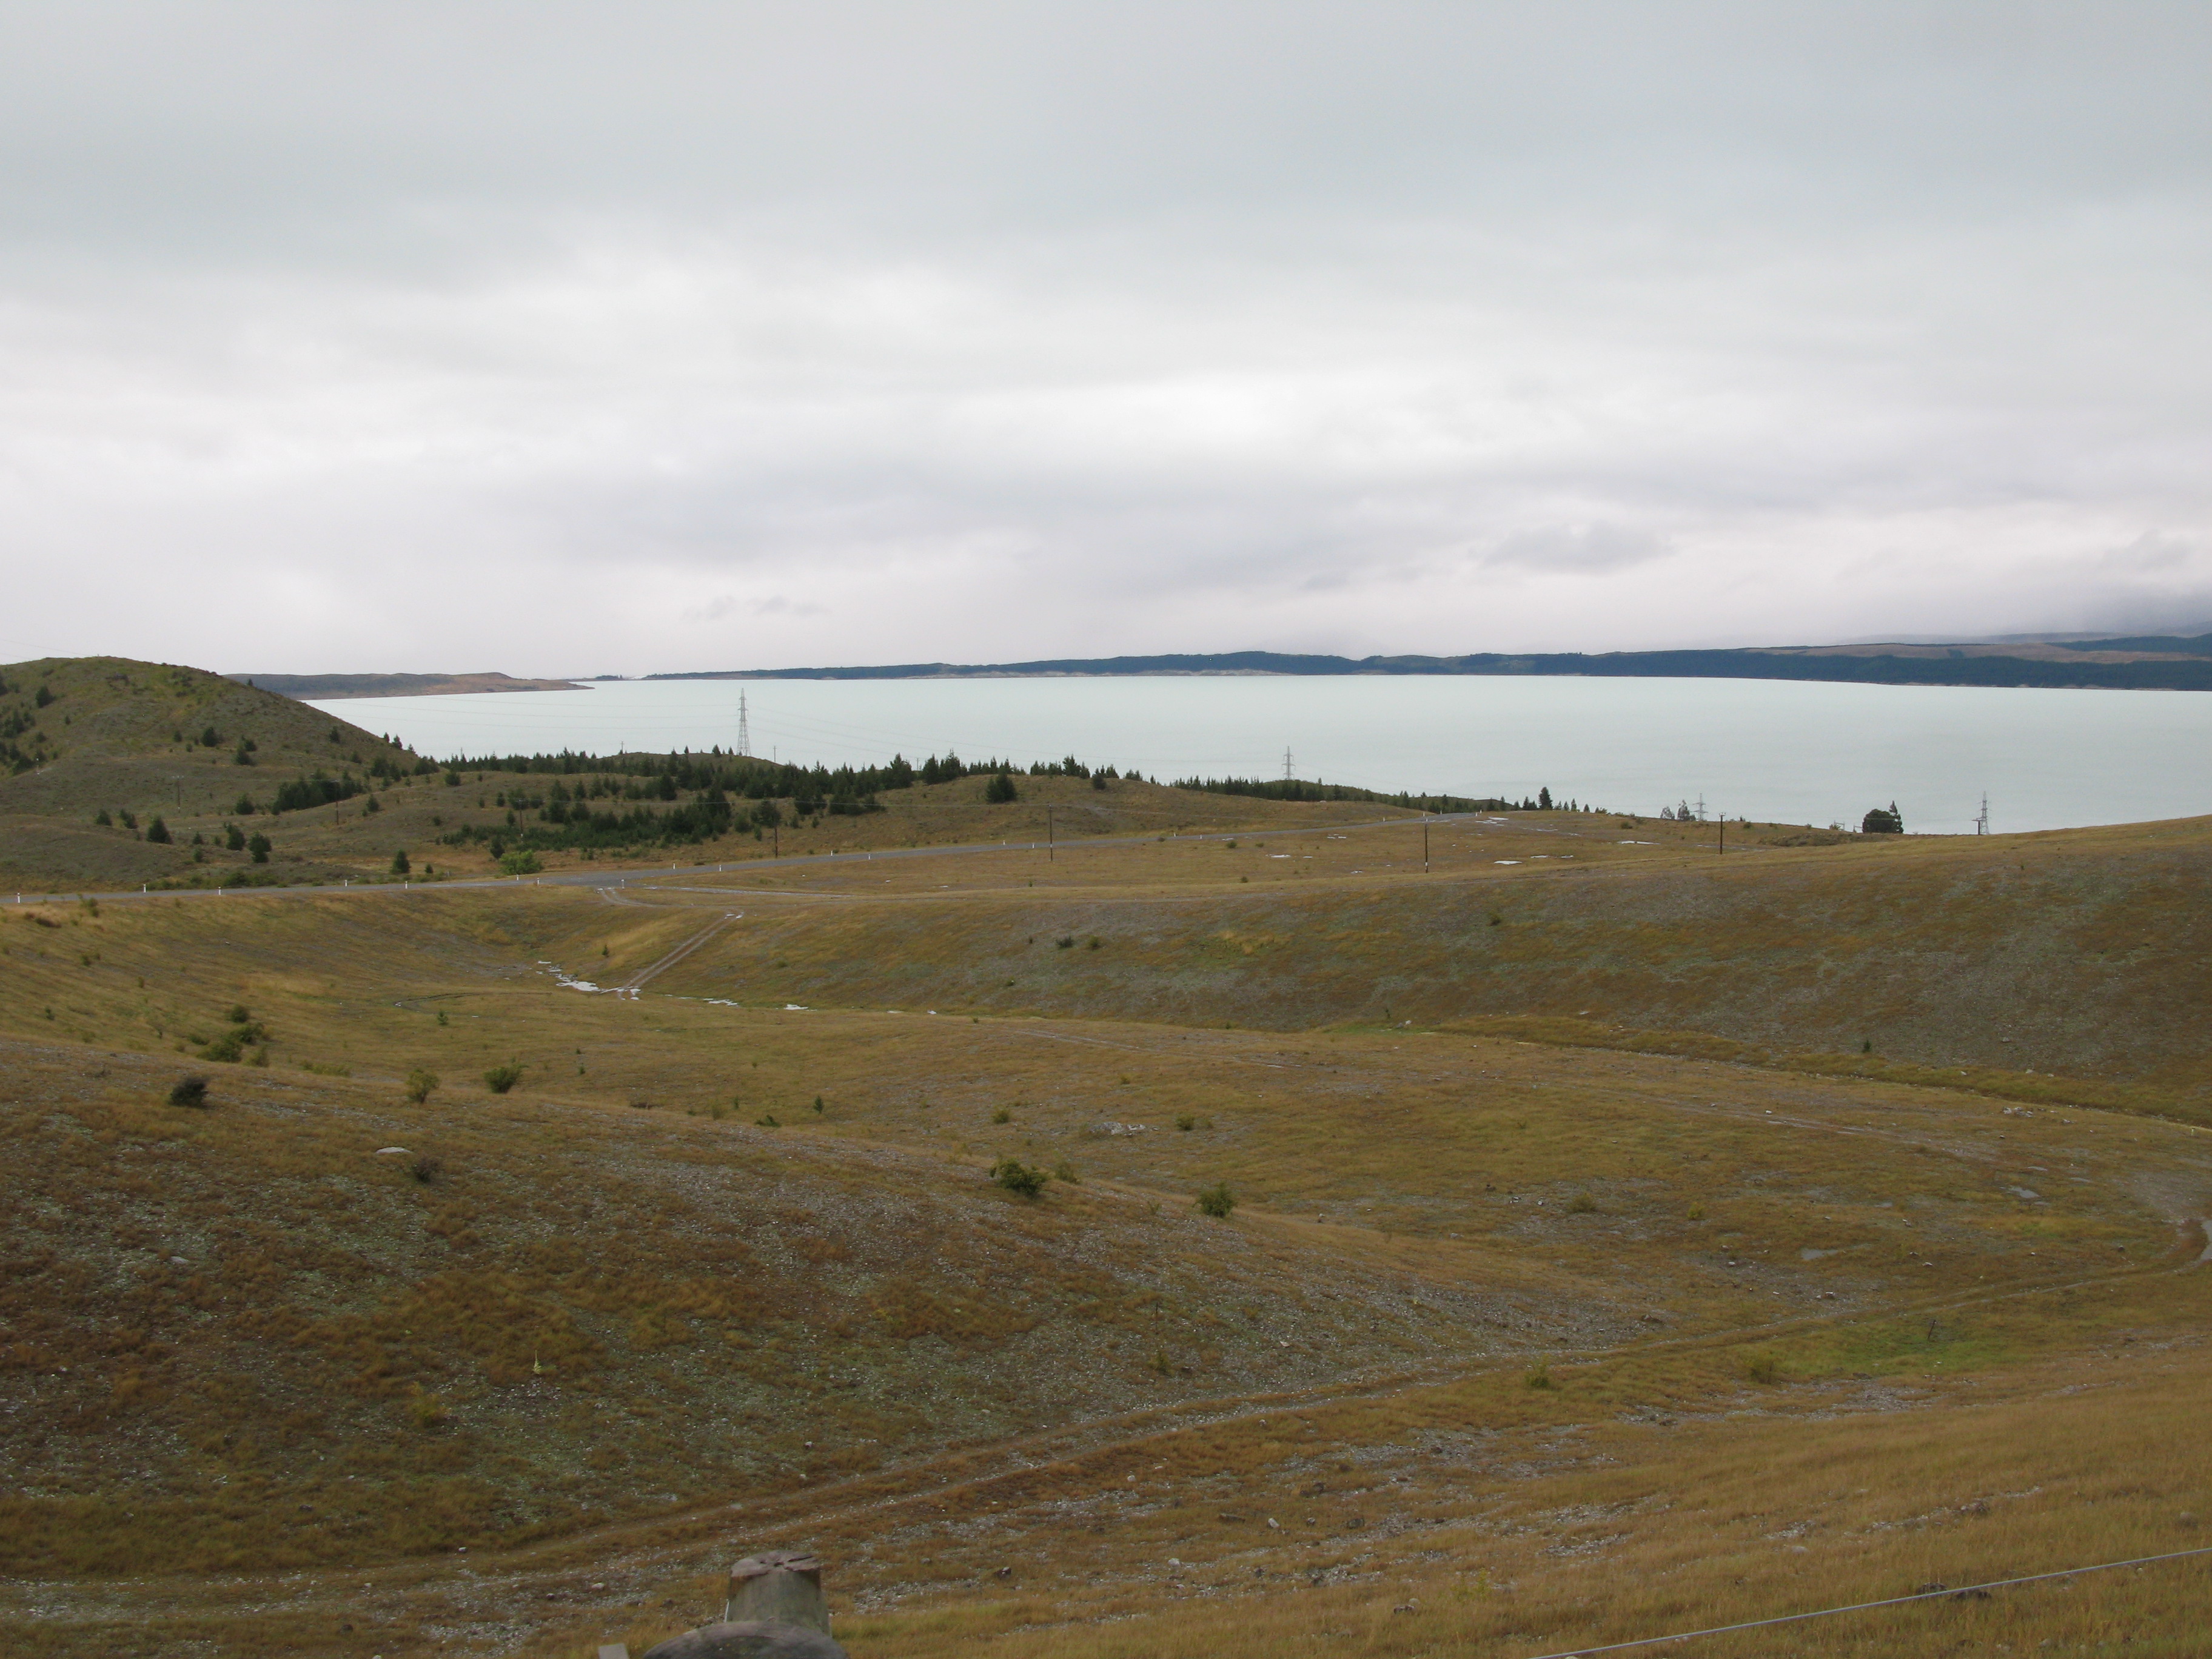
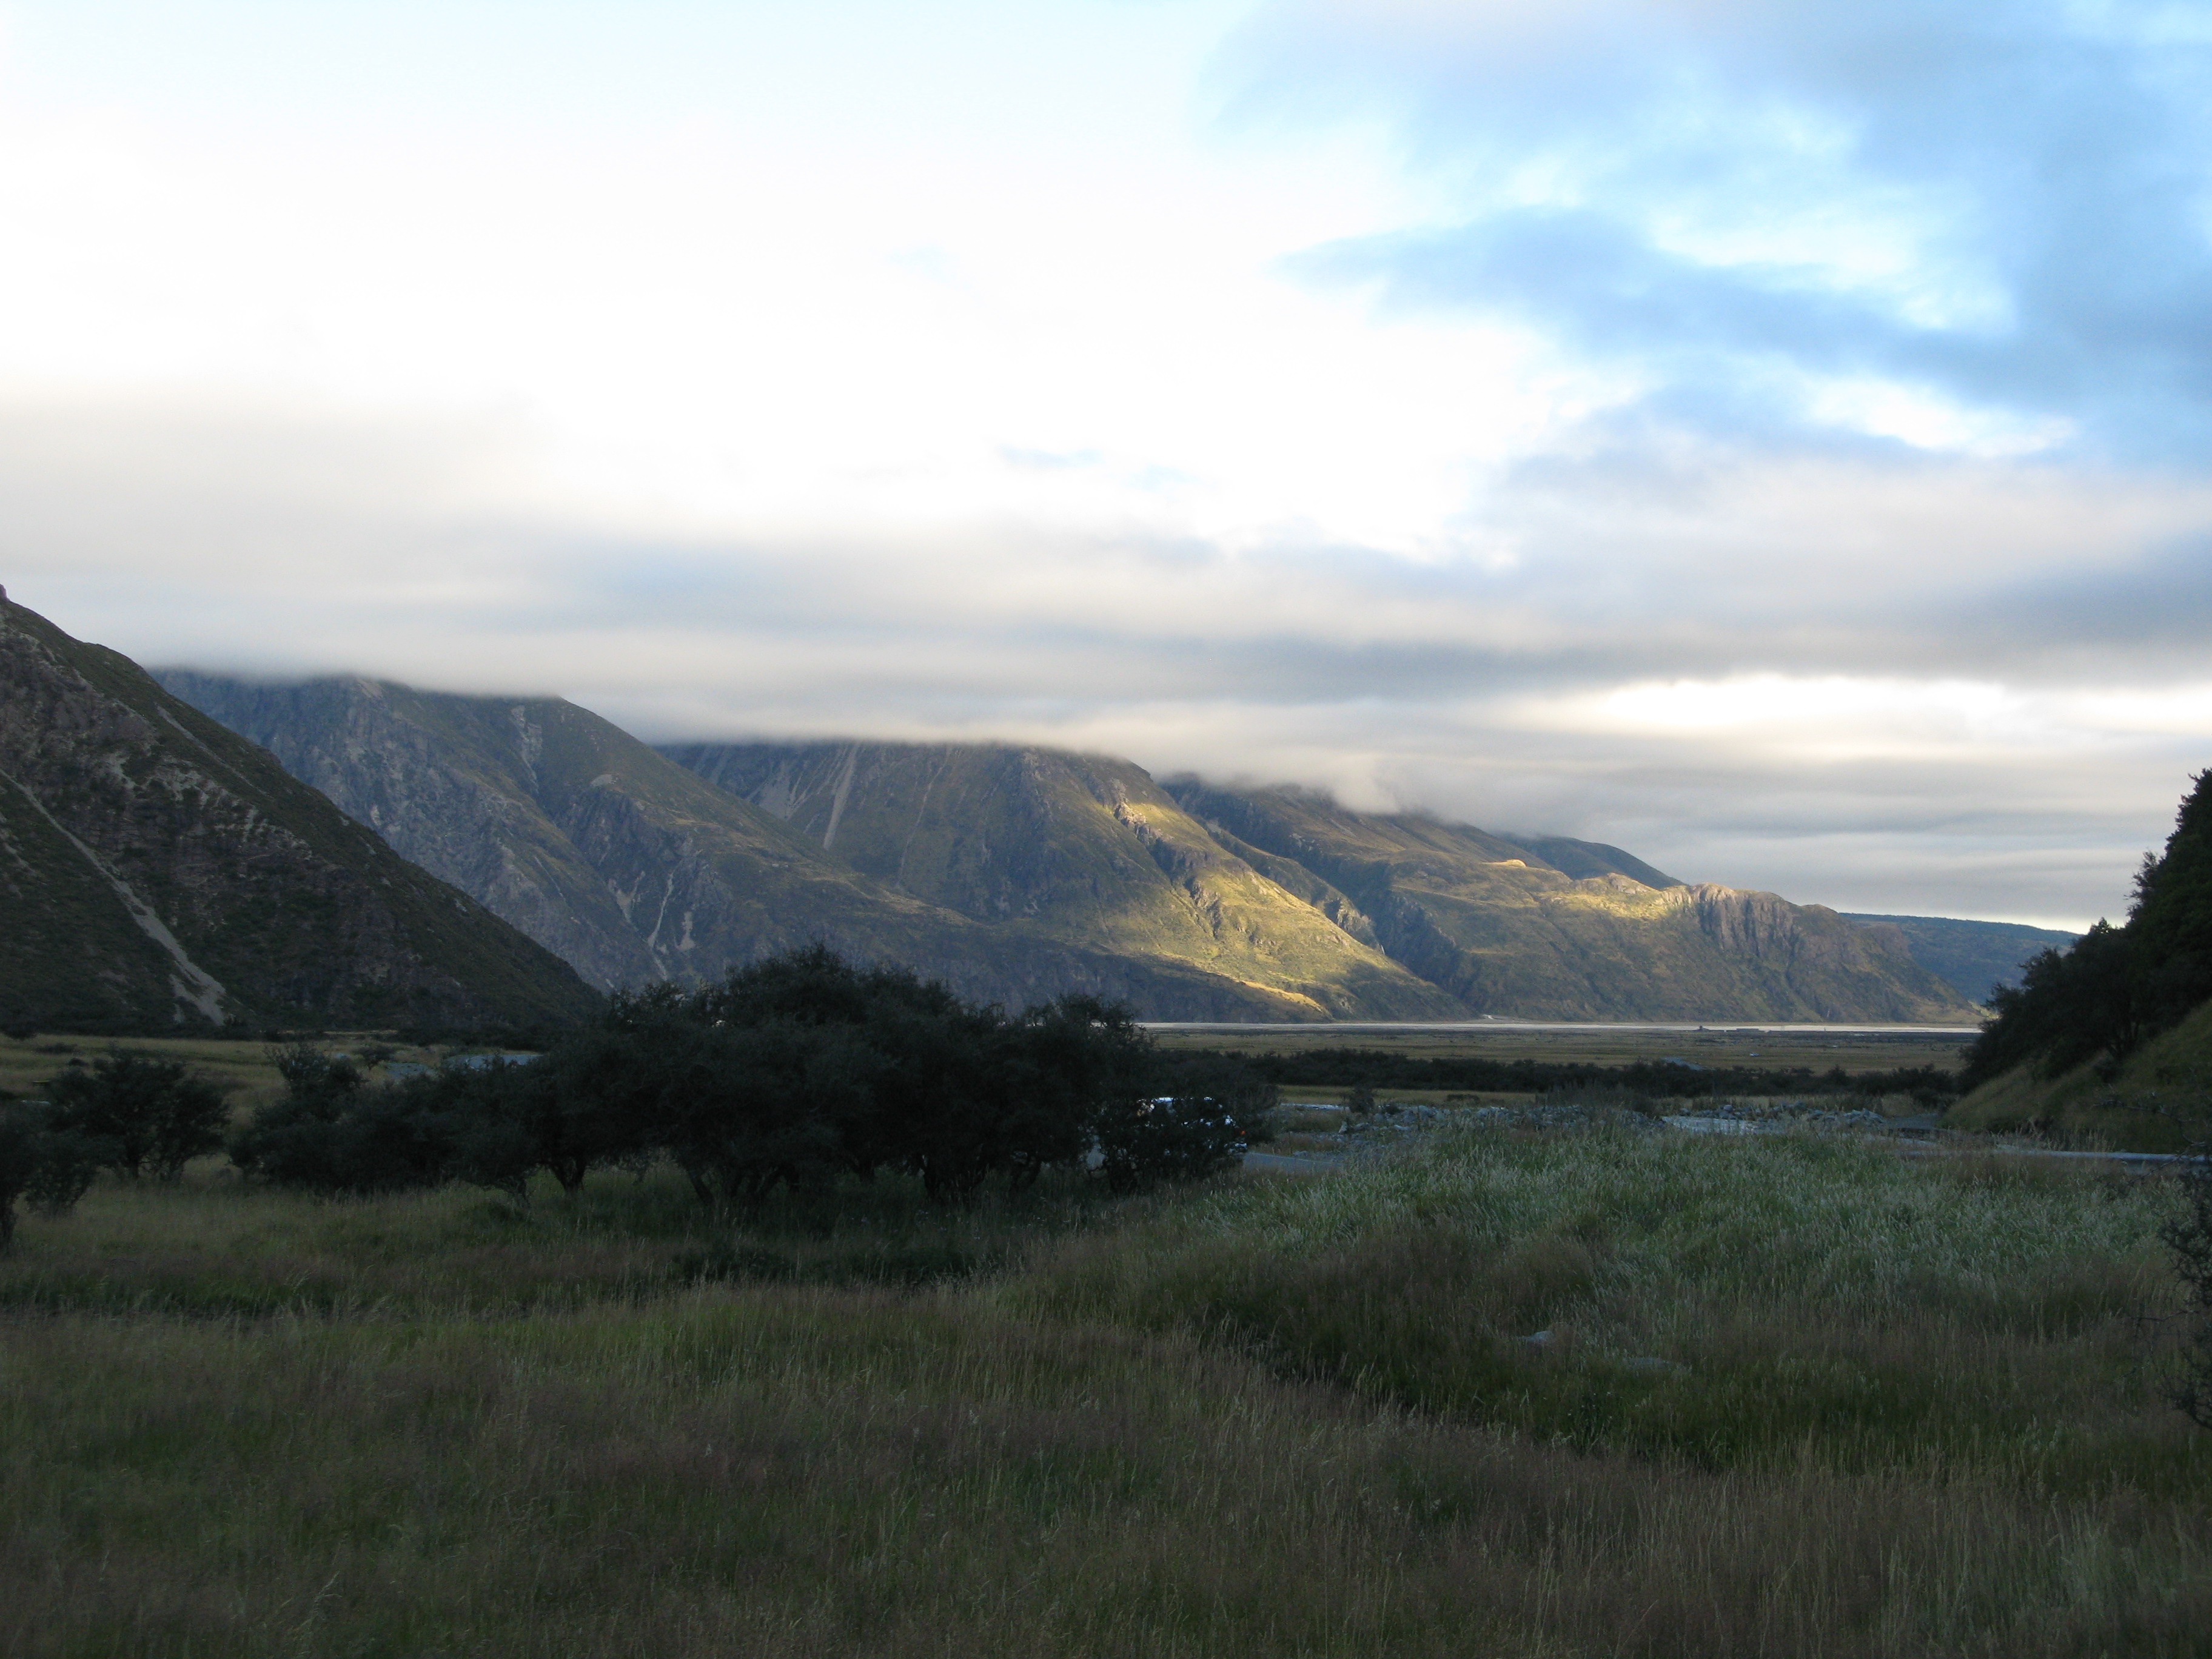
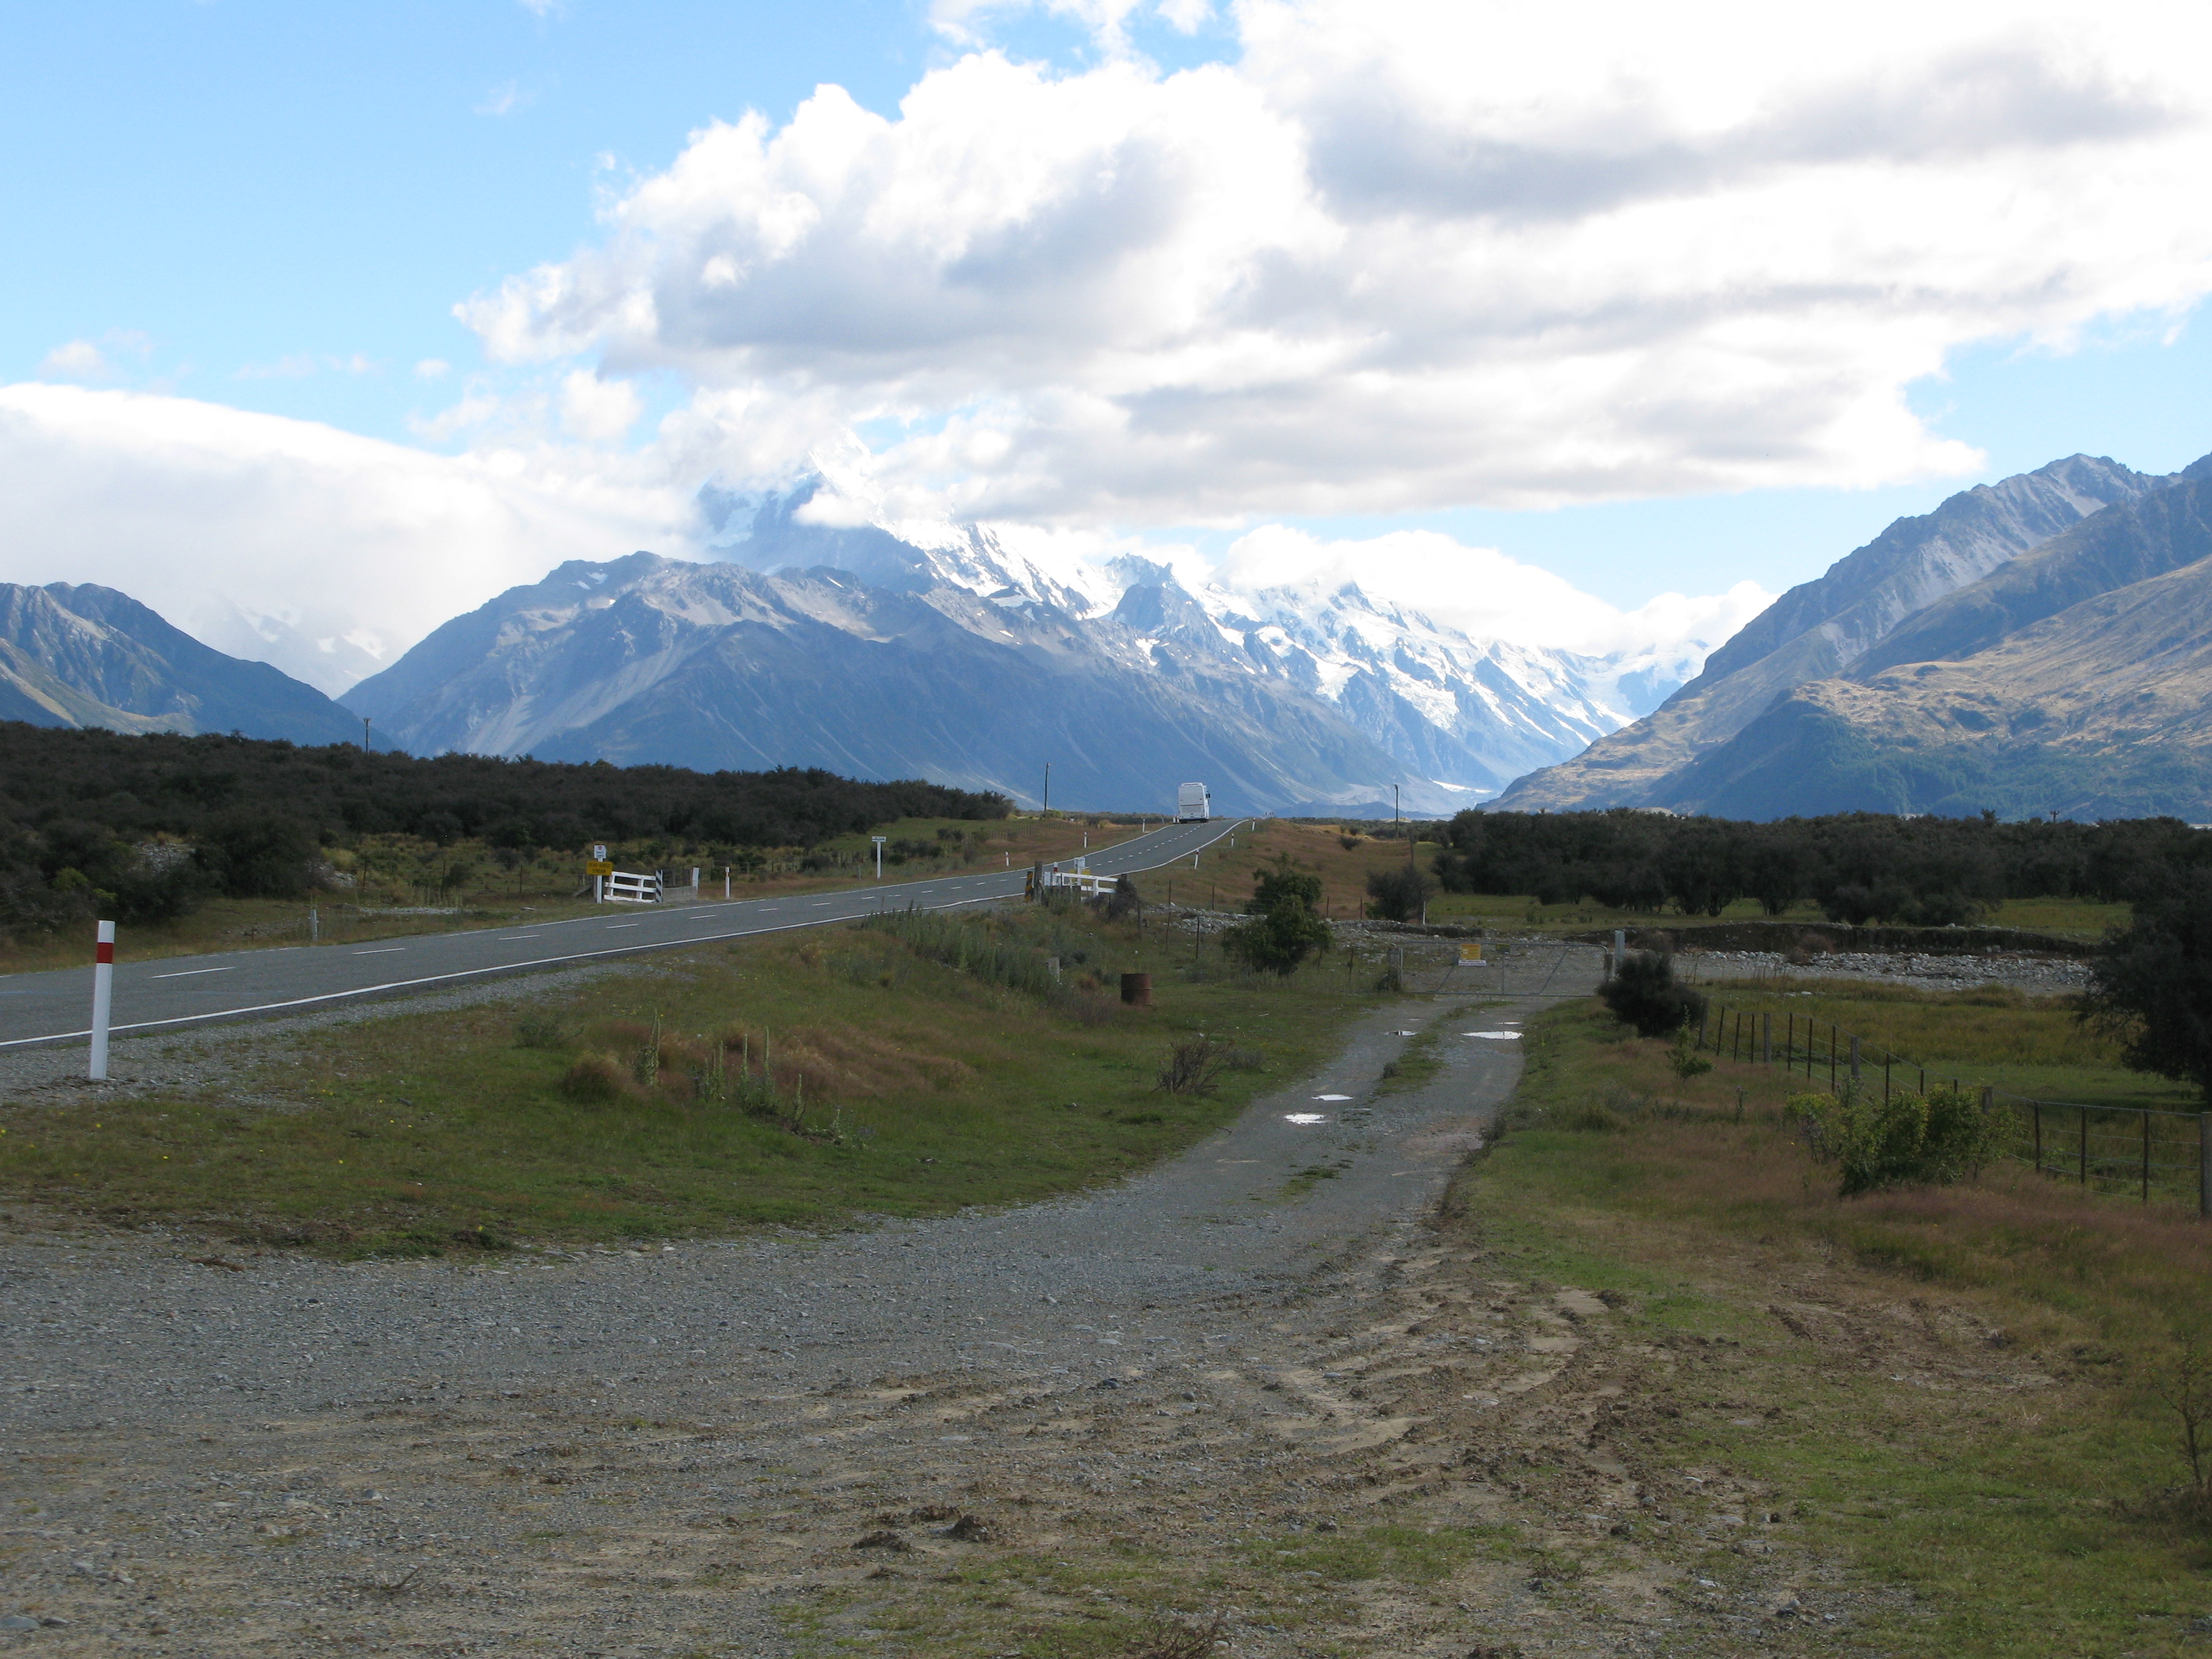
| The Mackenzie Valley. |
| |
| (10396x2566, 4246.53 kb) A very wet Mackenzie Valley. | |
| The Mackenzie Valley. |
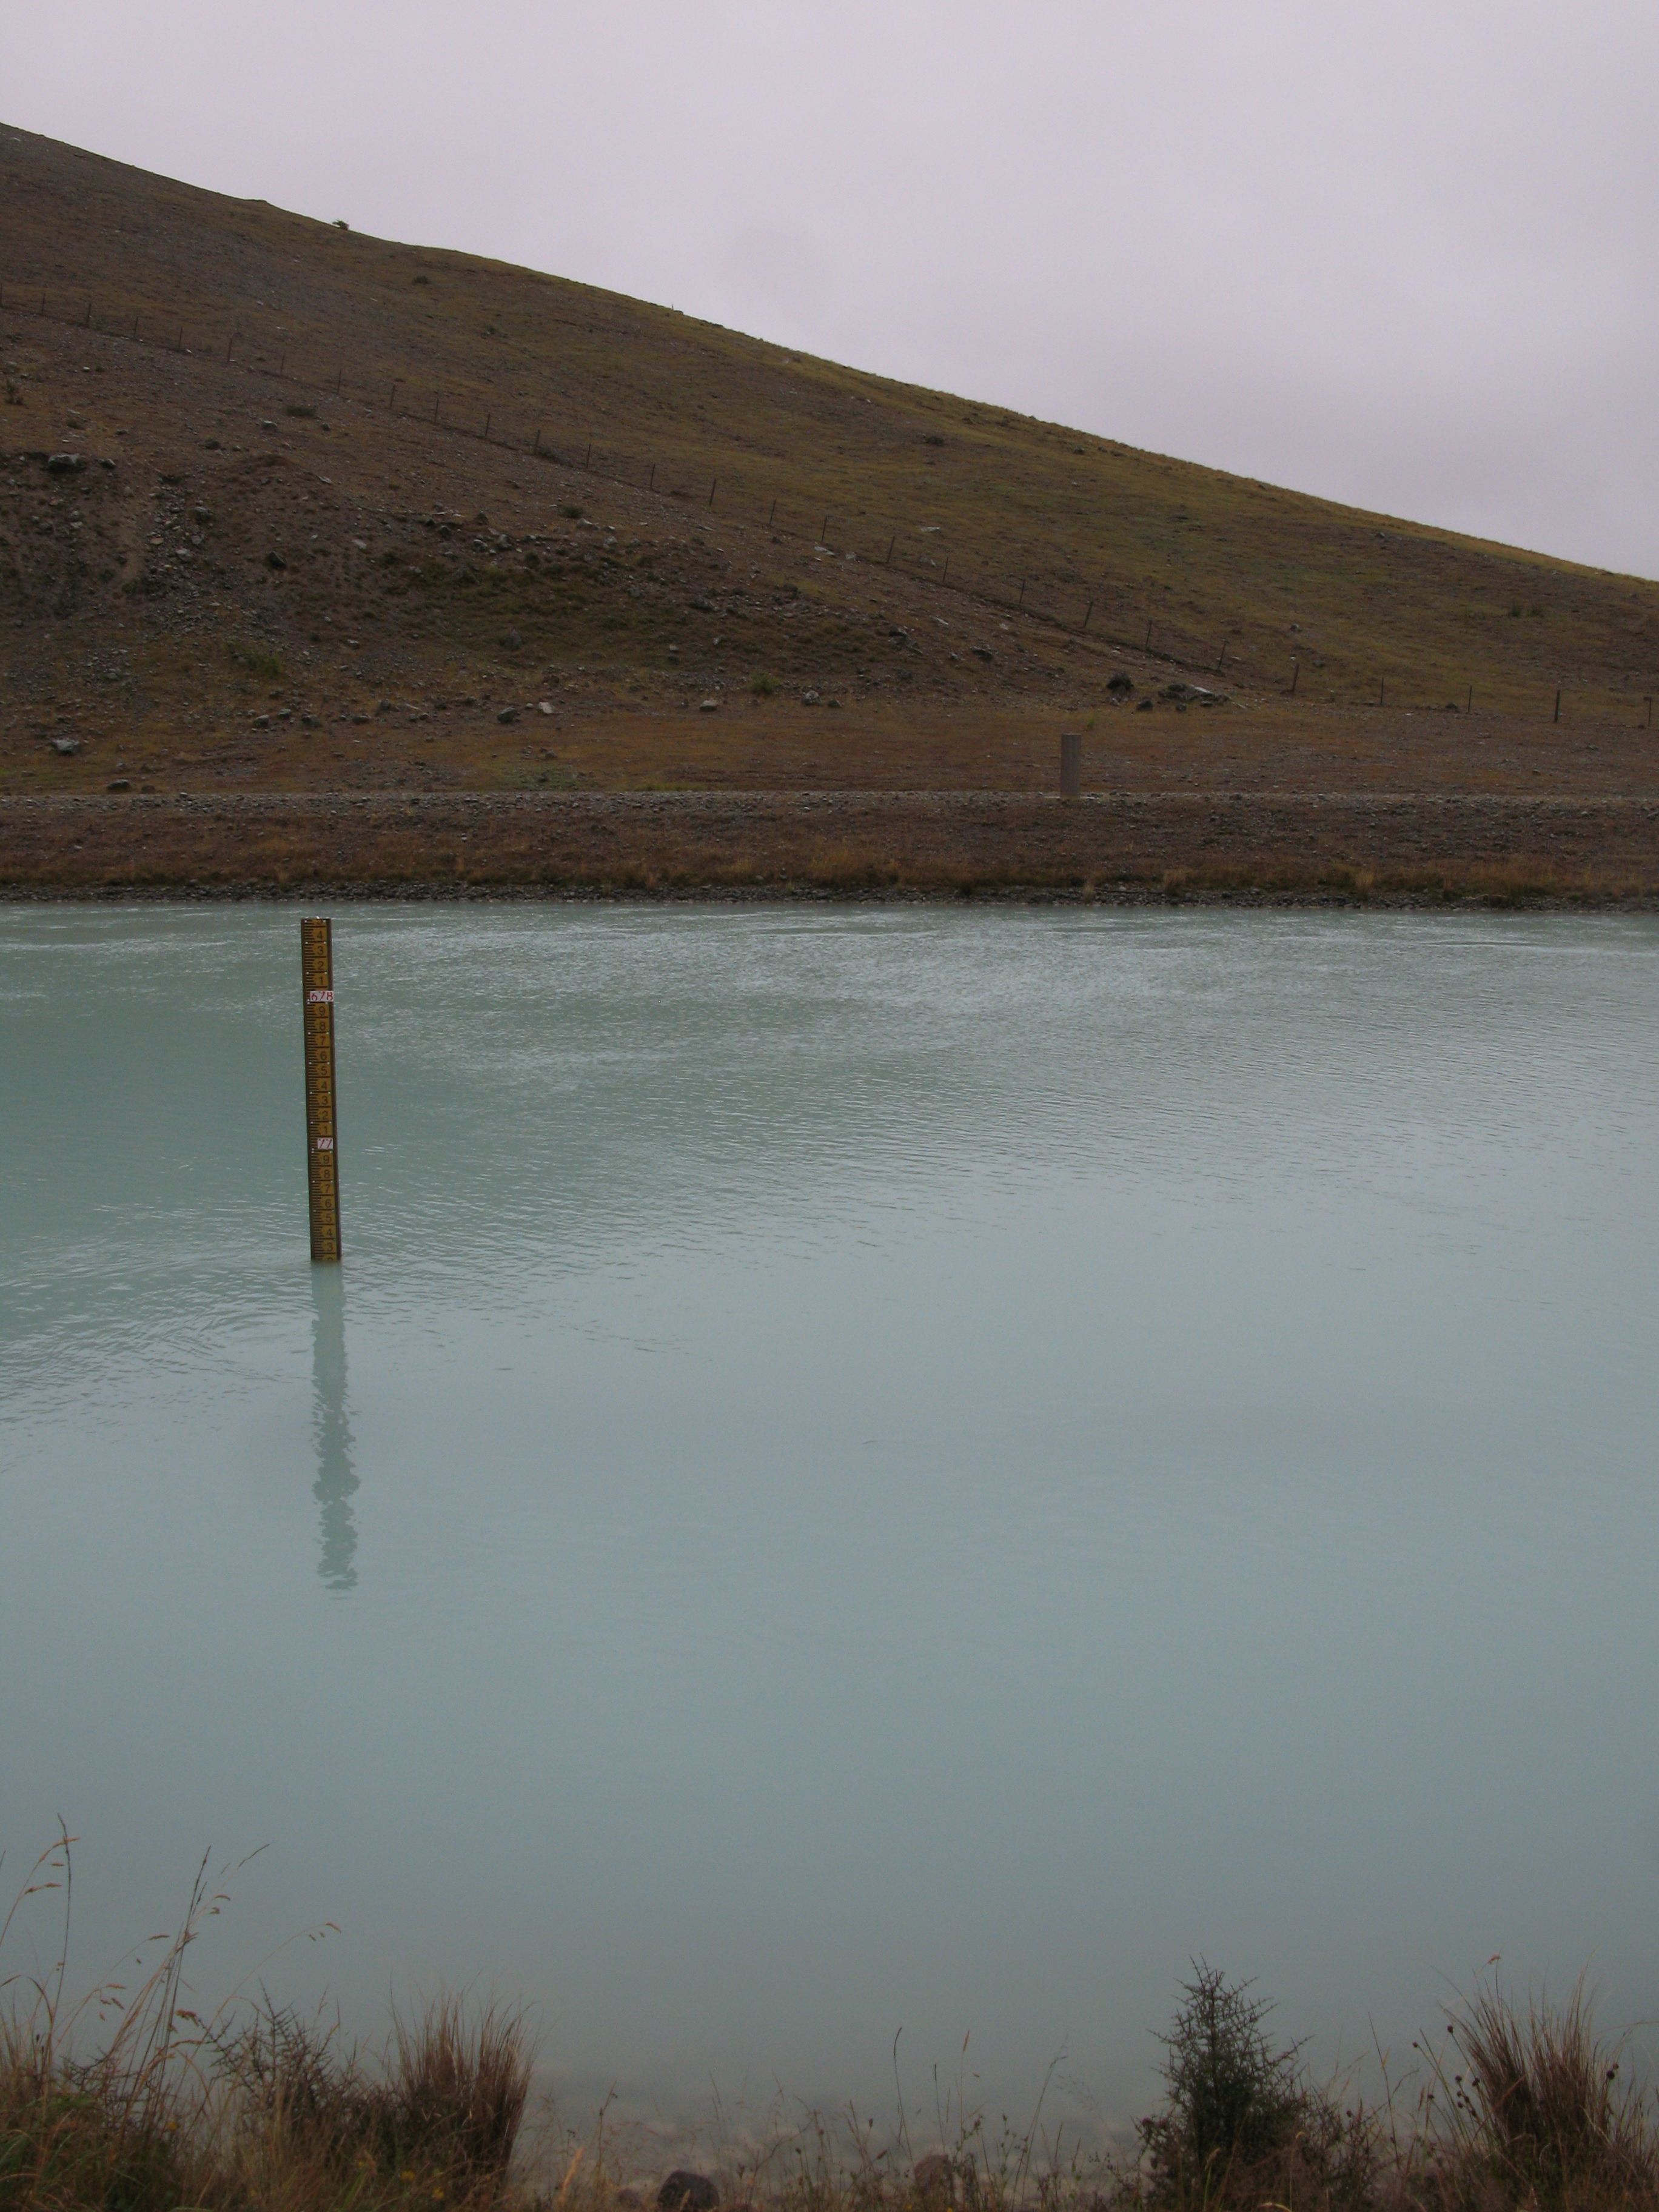
| A depth marker in the canal. |
| Maryburn. Beware Strong Winds. |
| Sheep. |
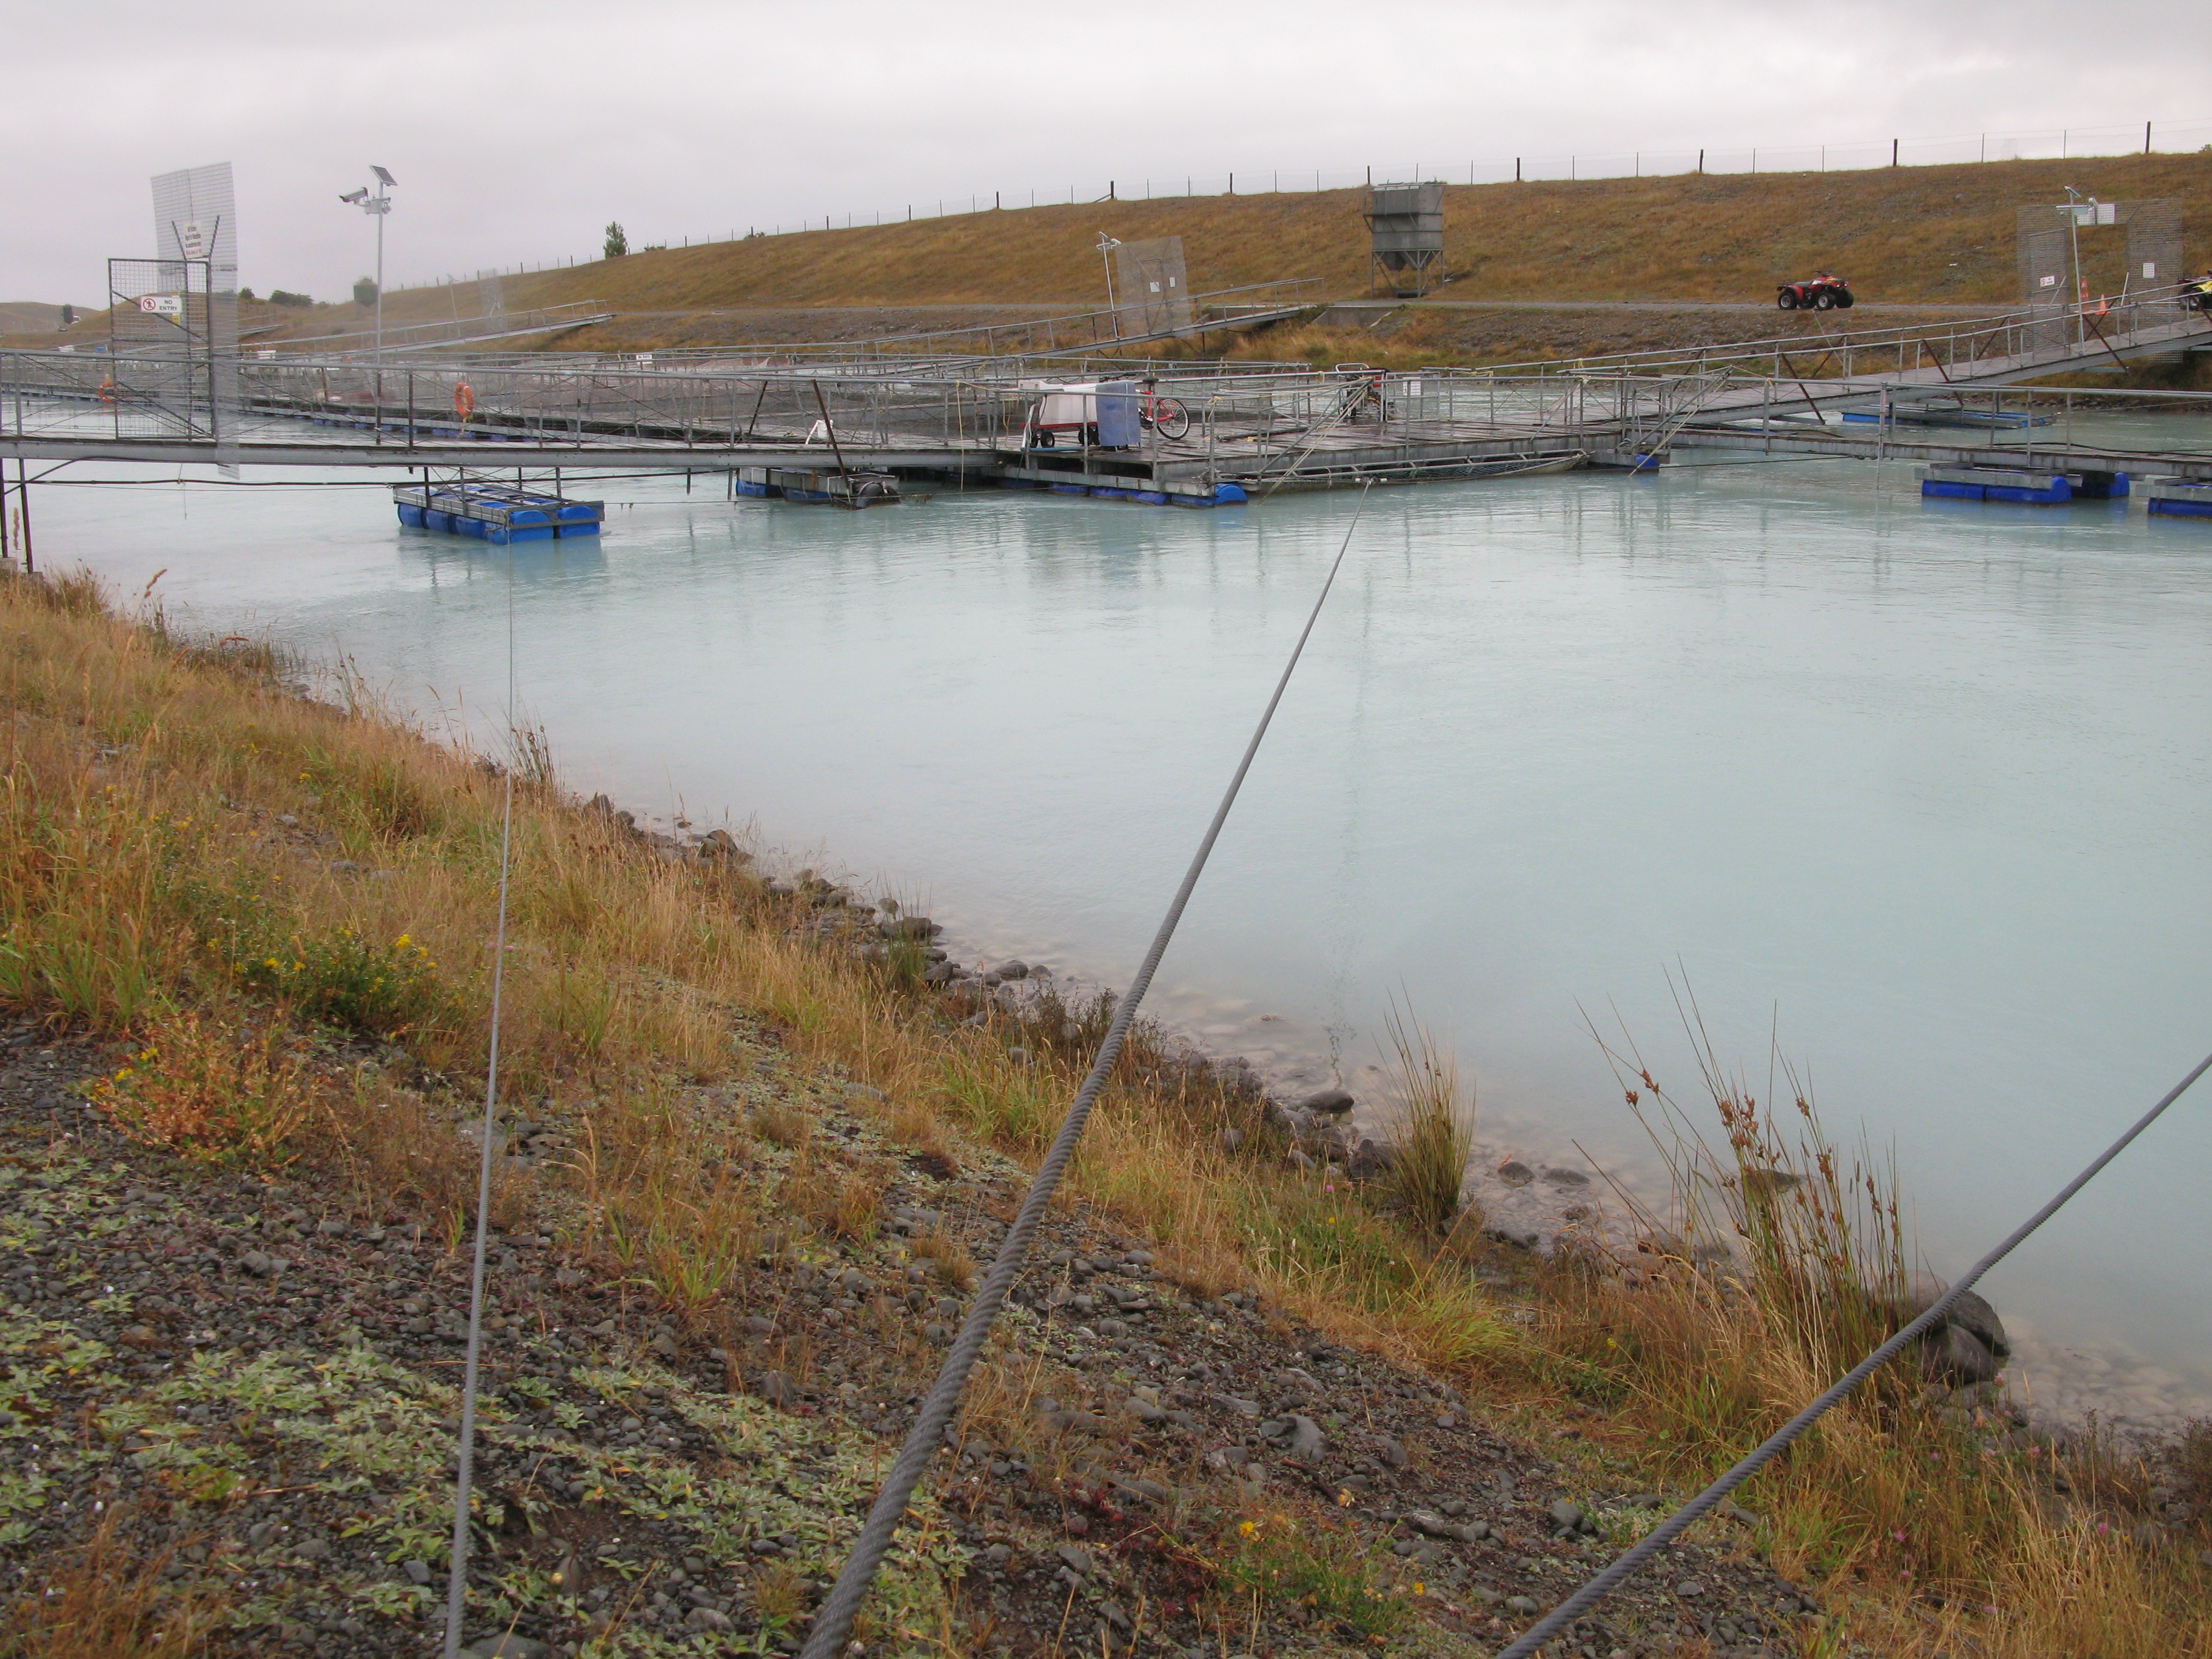
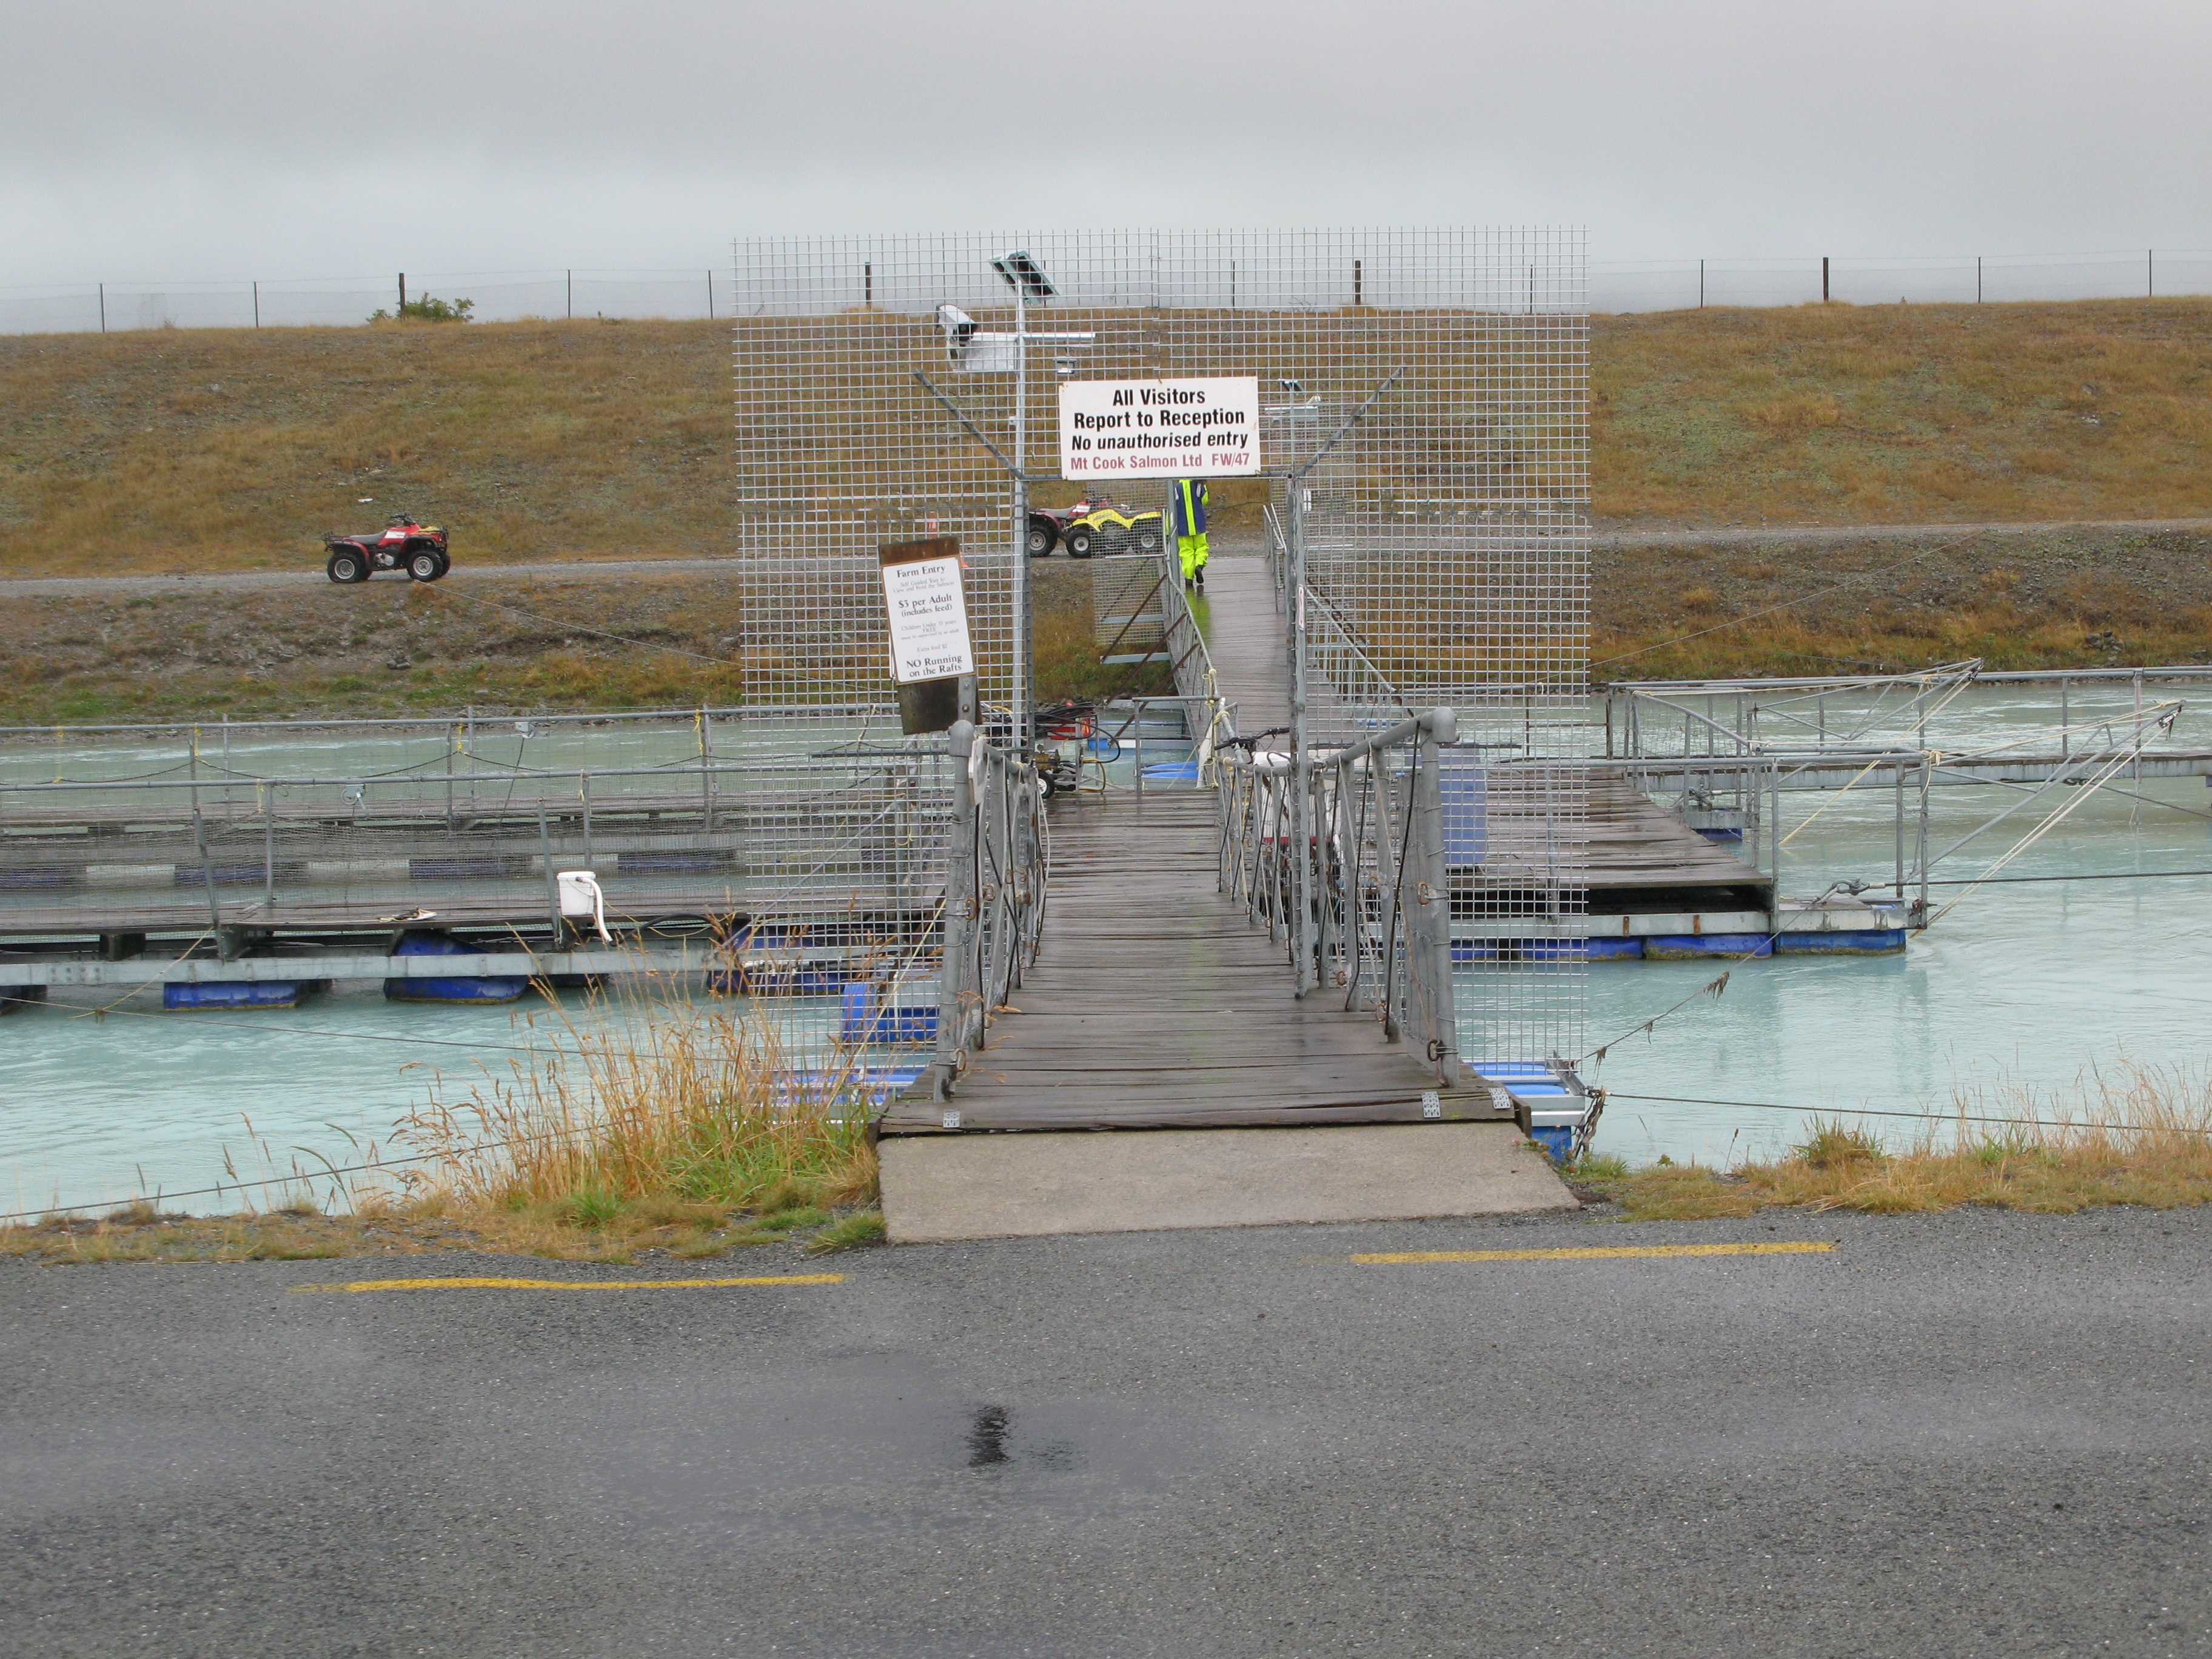
| Salmon farming in the canal. |
| Salmon farming in the canal. |
| Salmon farming in the canal. |
| |
| (15545x2157, 6895.62 kb) Lake Pukaki (left) at the end of the Hydro Canal (right). | |
| Lake Pukaki |
| At it's terminus, the hydro canal is siphoned into these tubes. |
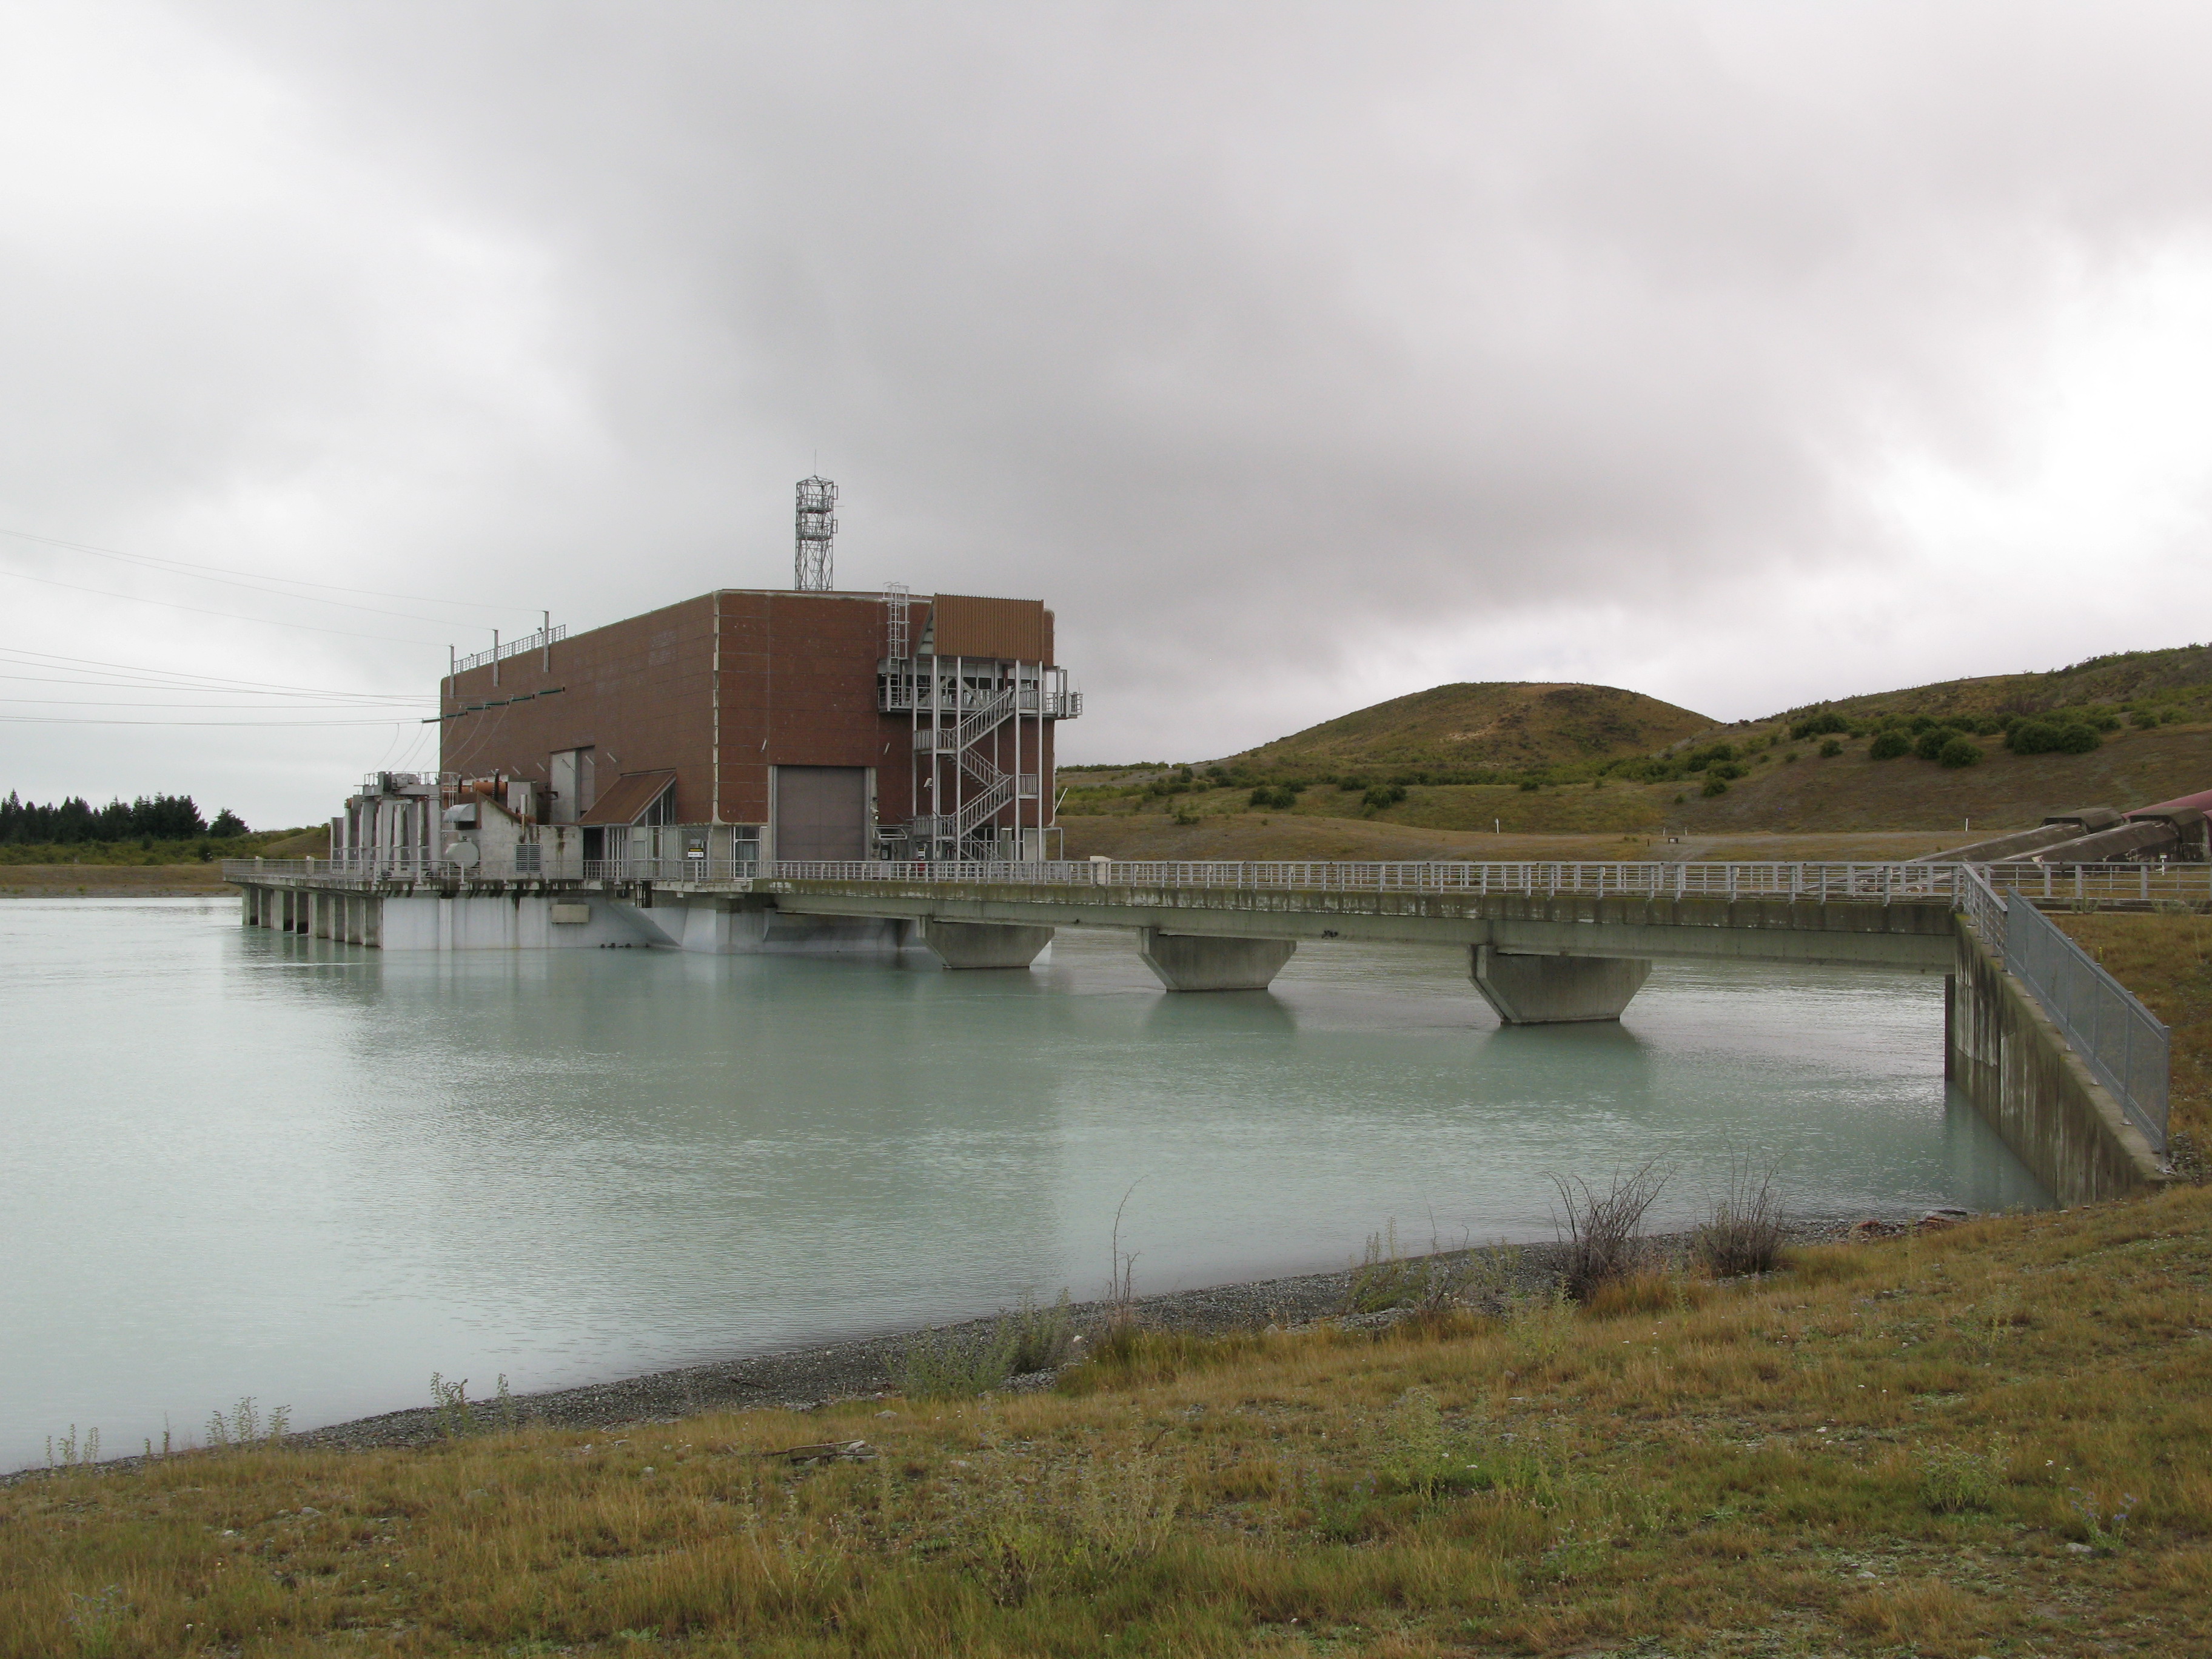
| The lower power station (Tekapo B). |
| The lower power station (Tekapo B). |
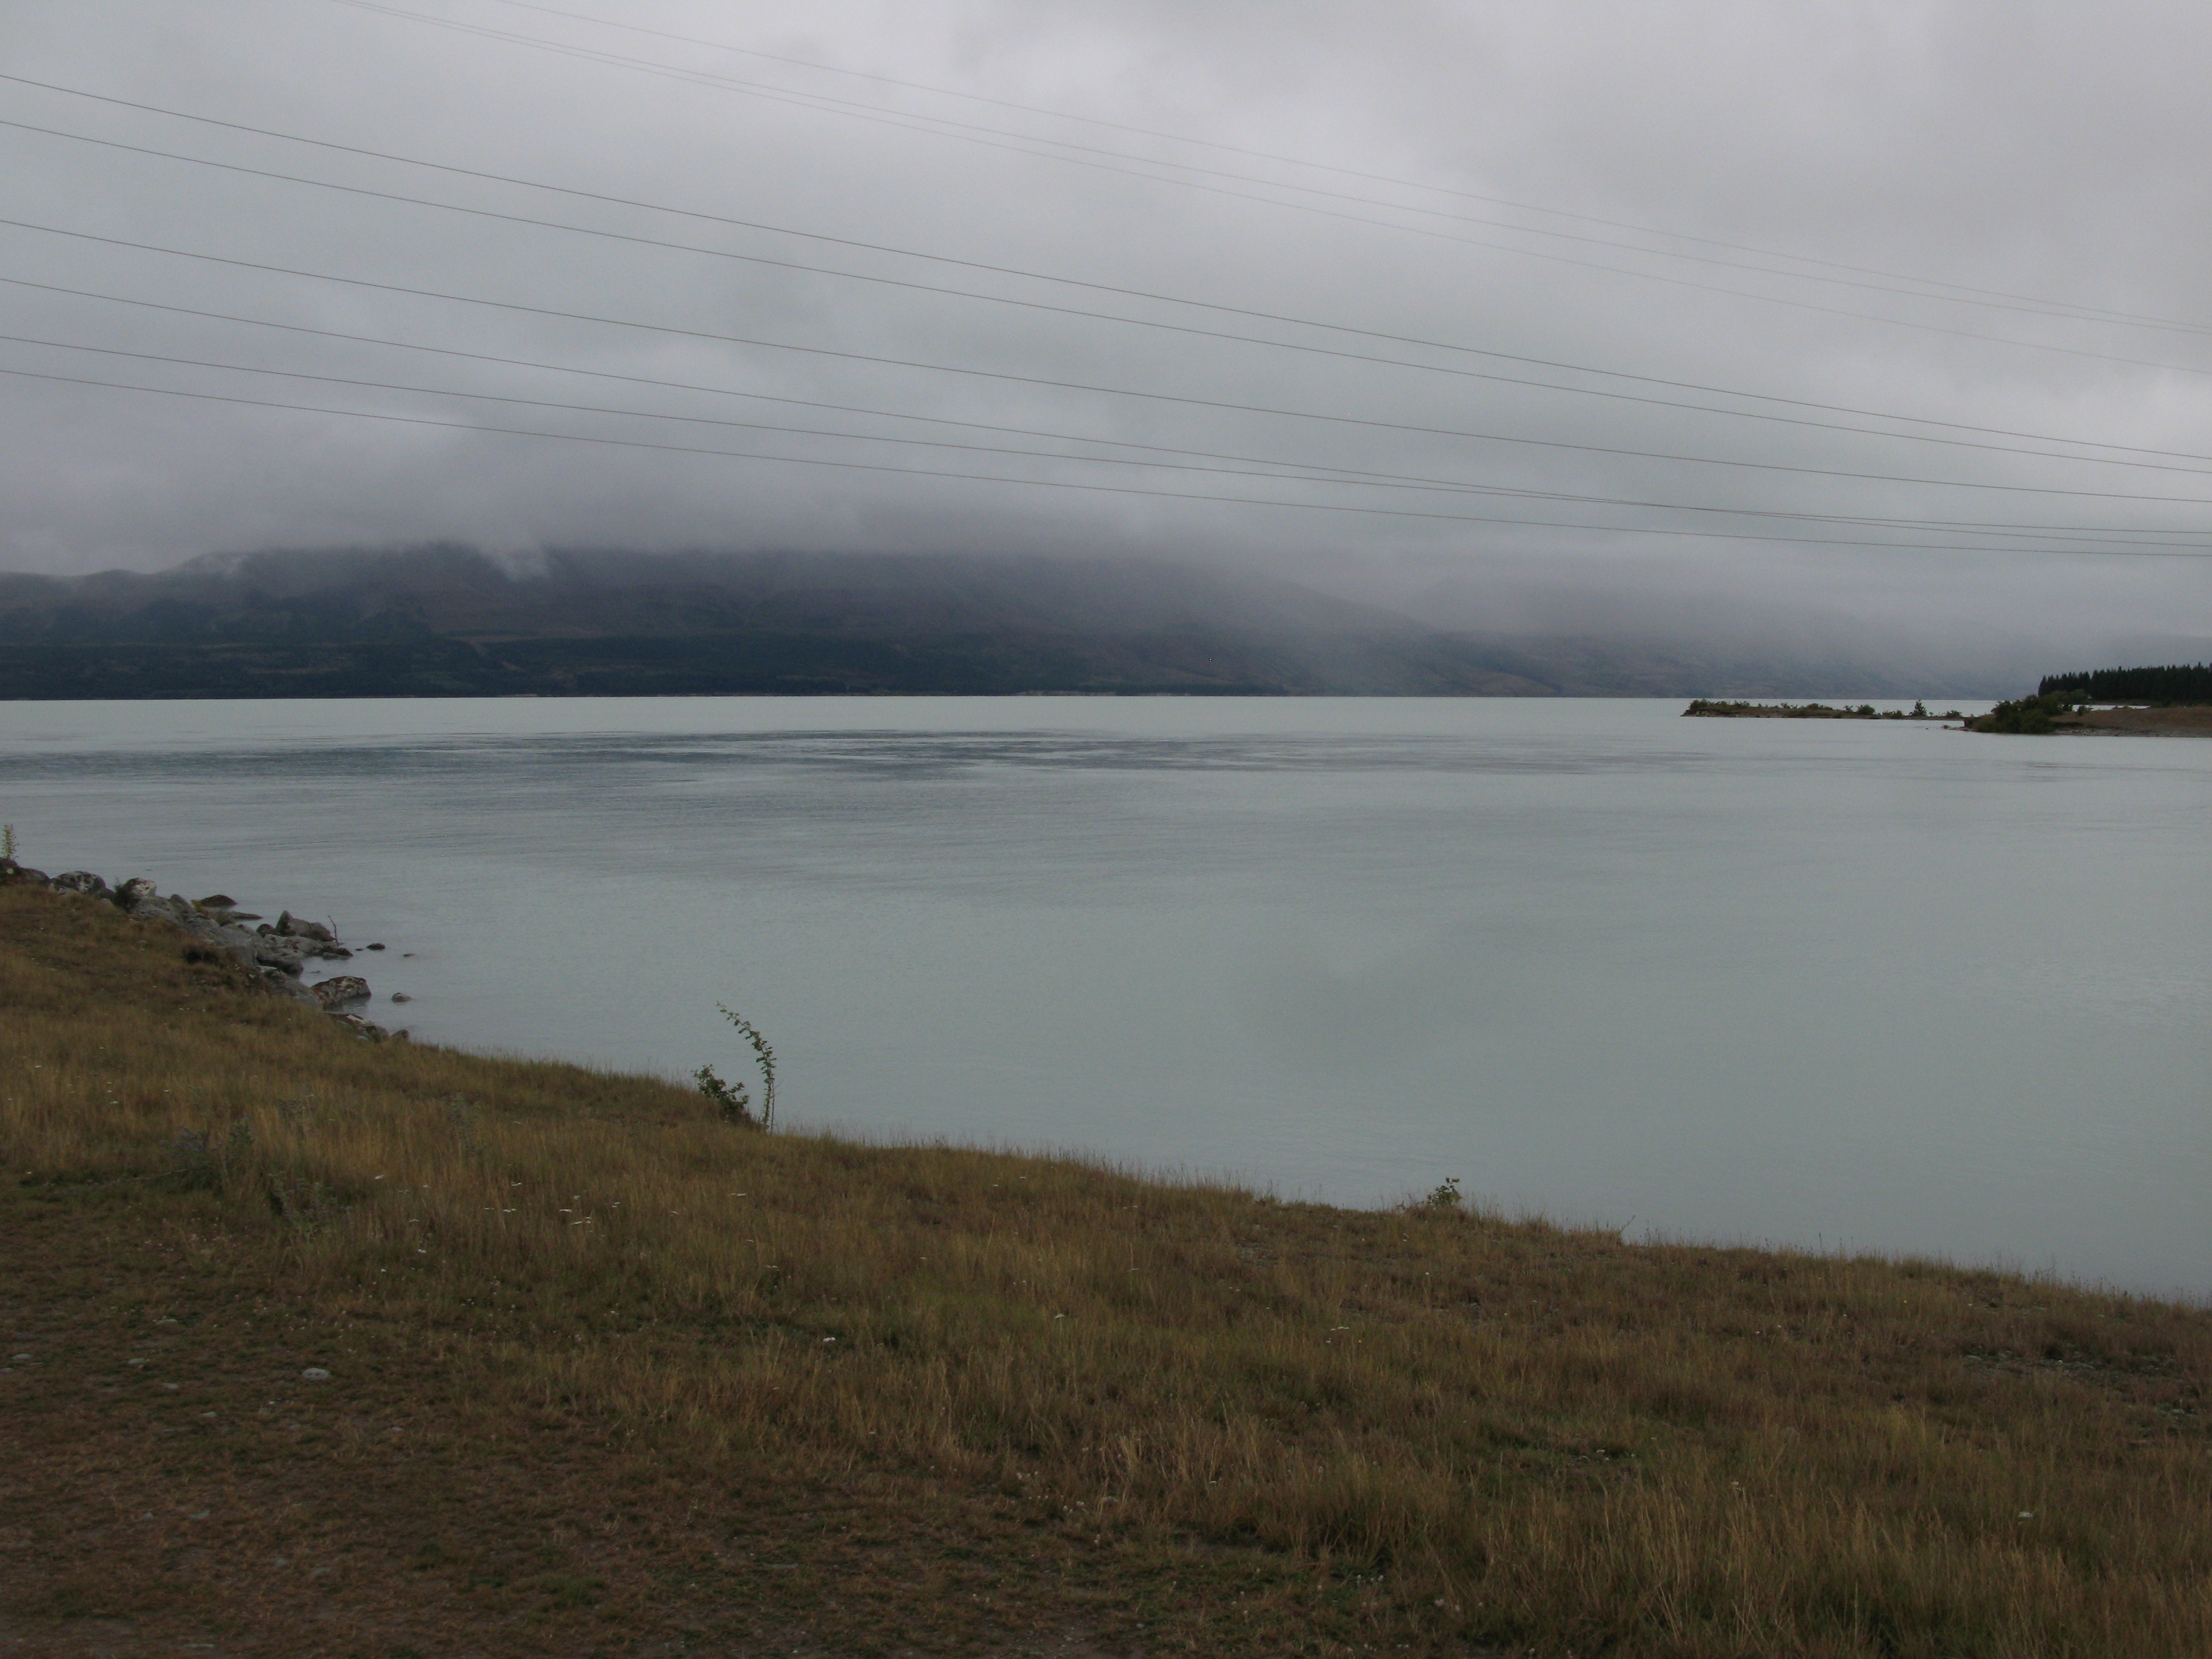
| Lake Pukaki, fed by water from Mount Cook. |
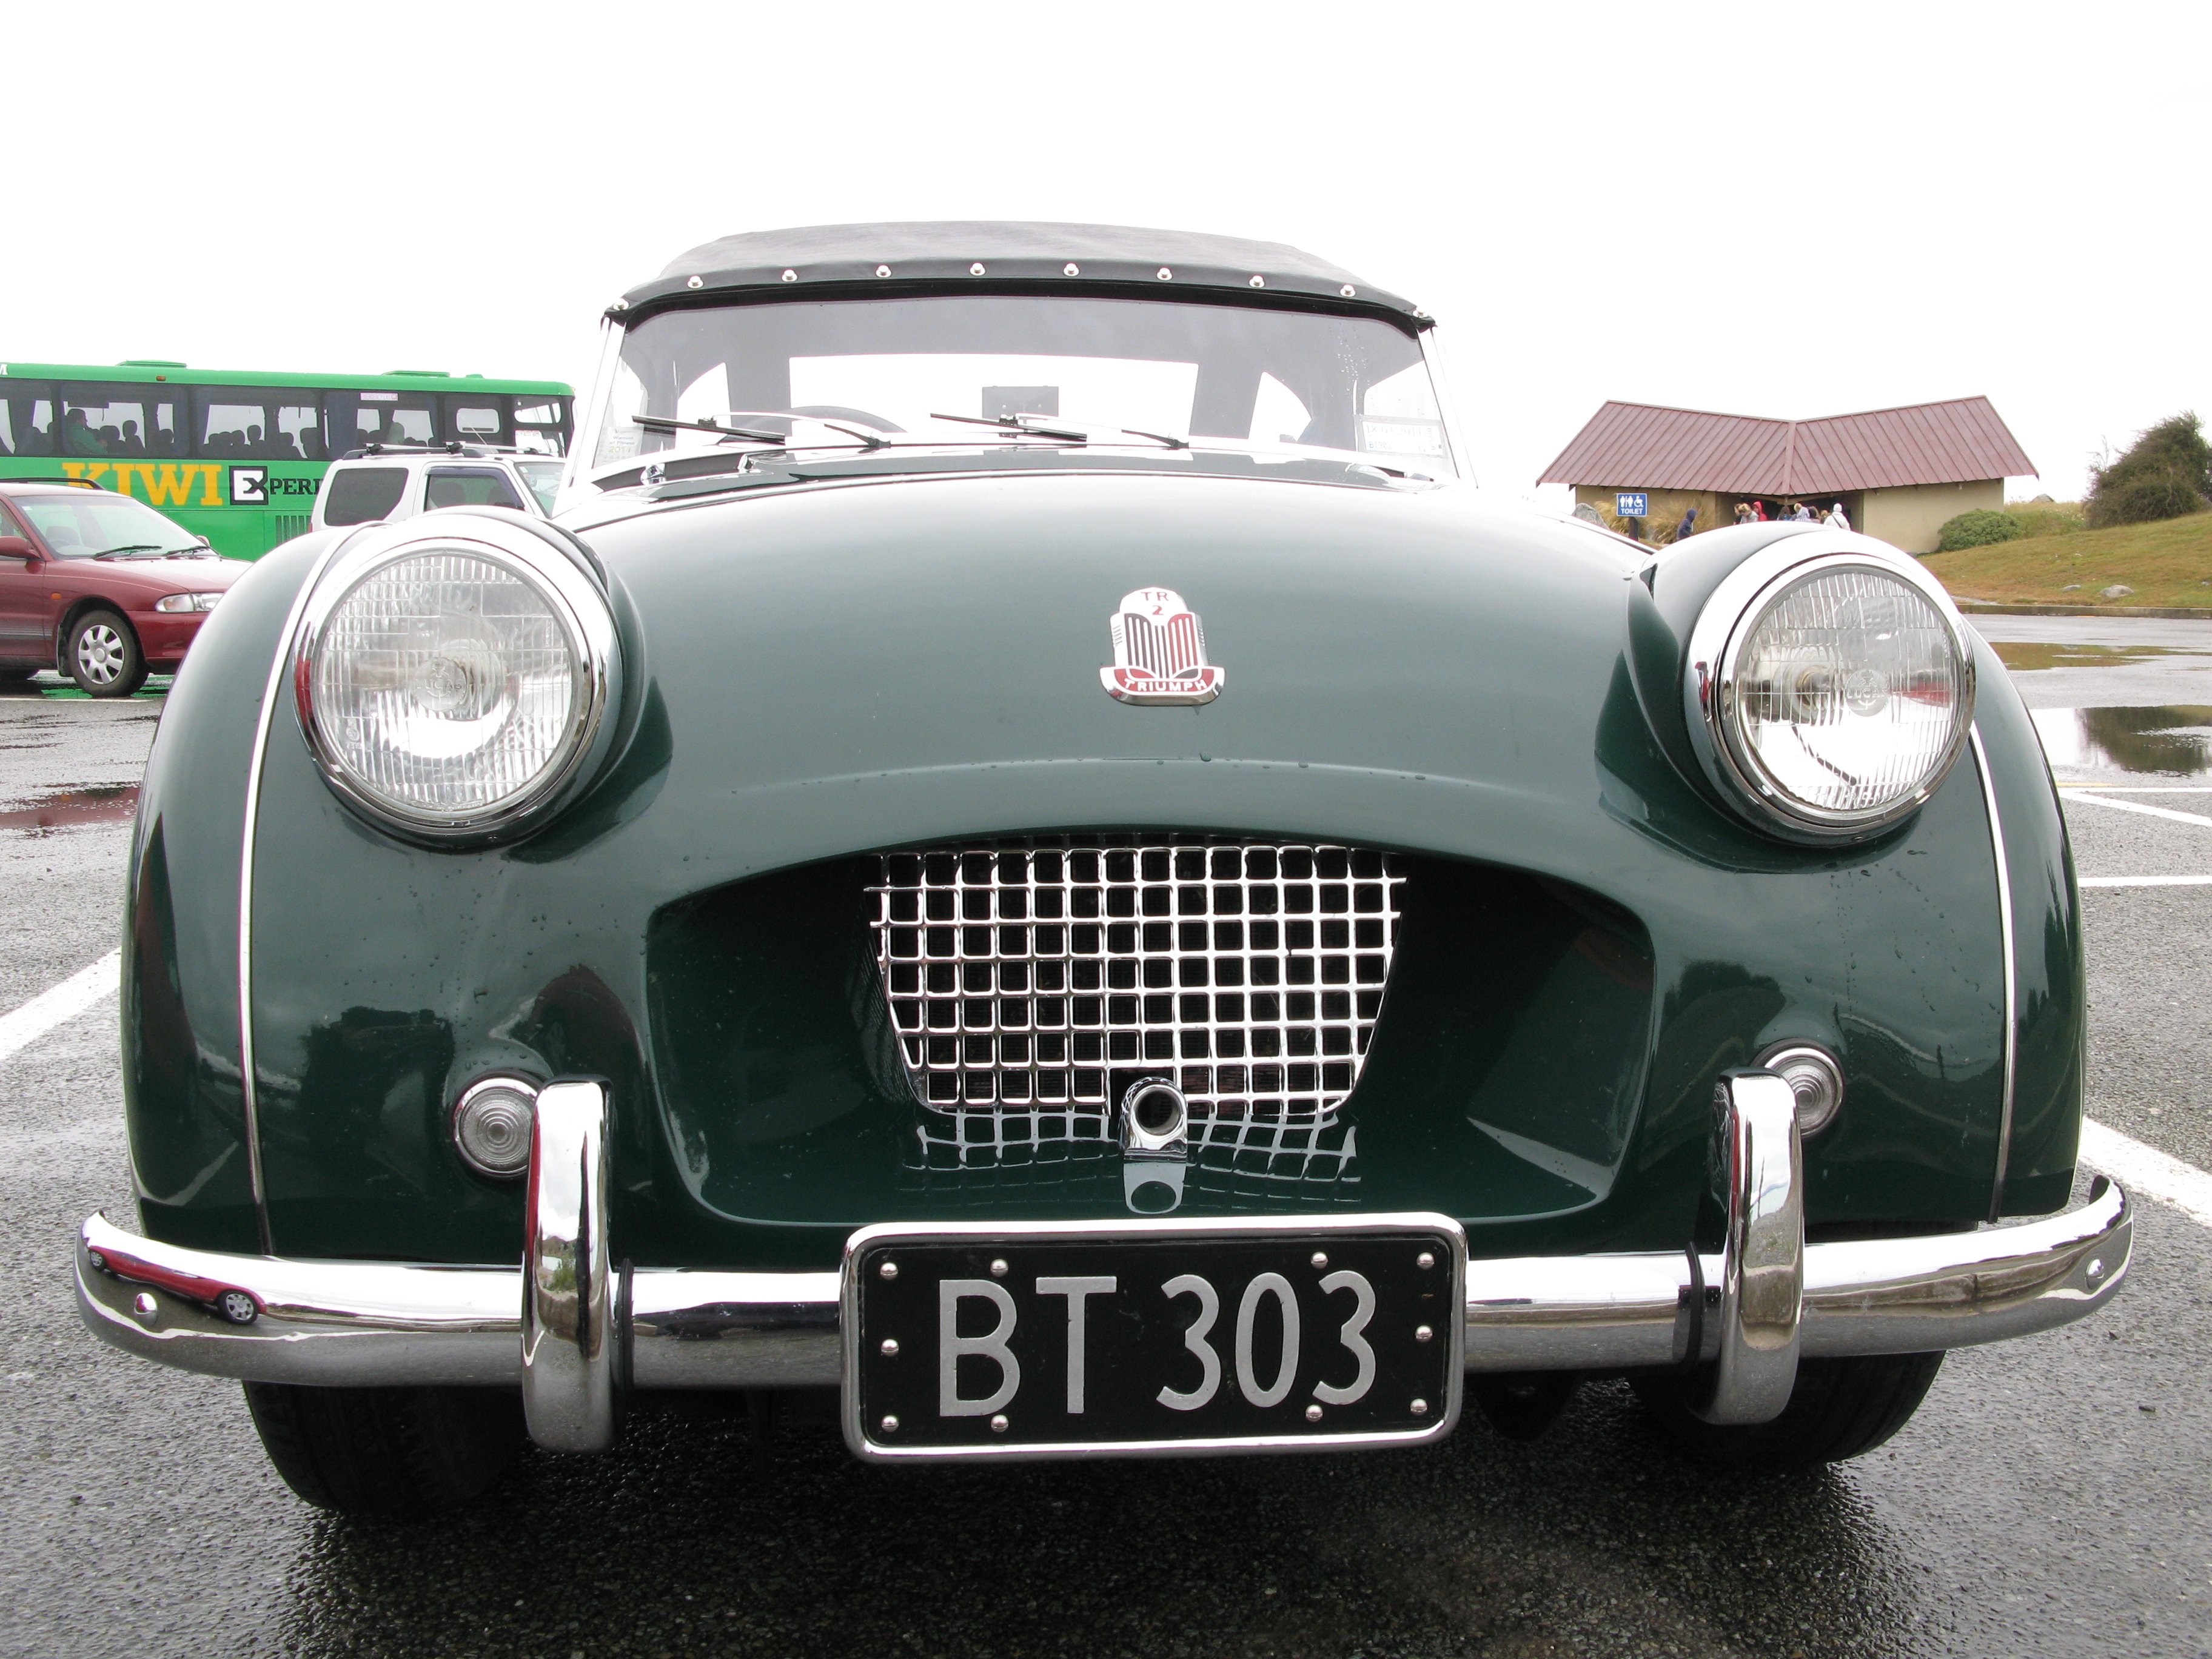
| Triumph. |
| Triumph. |
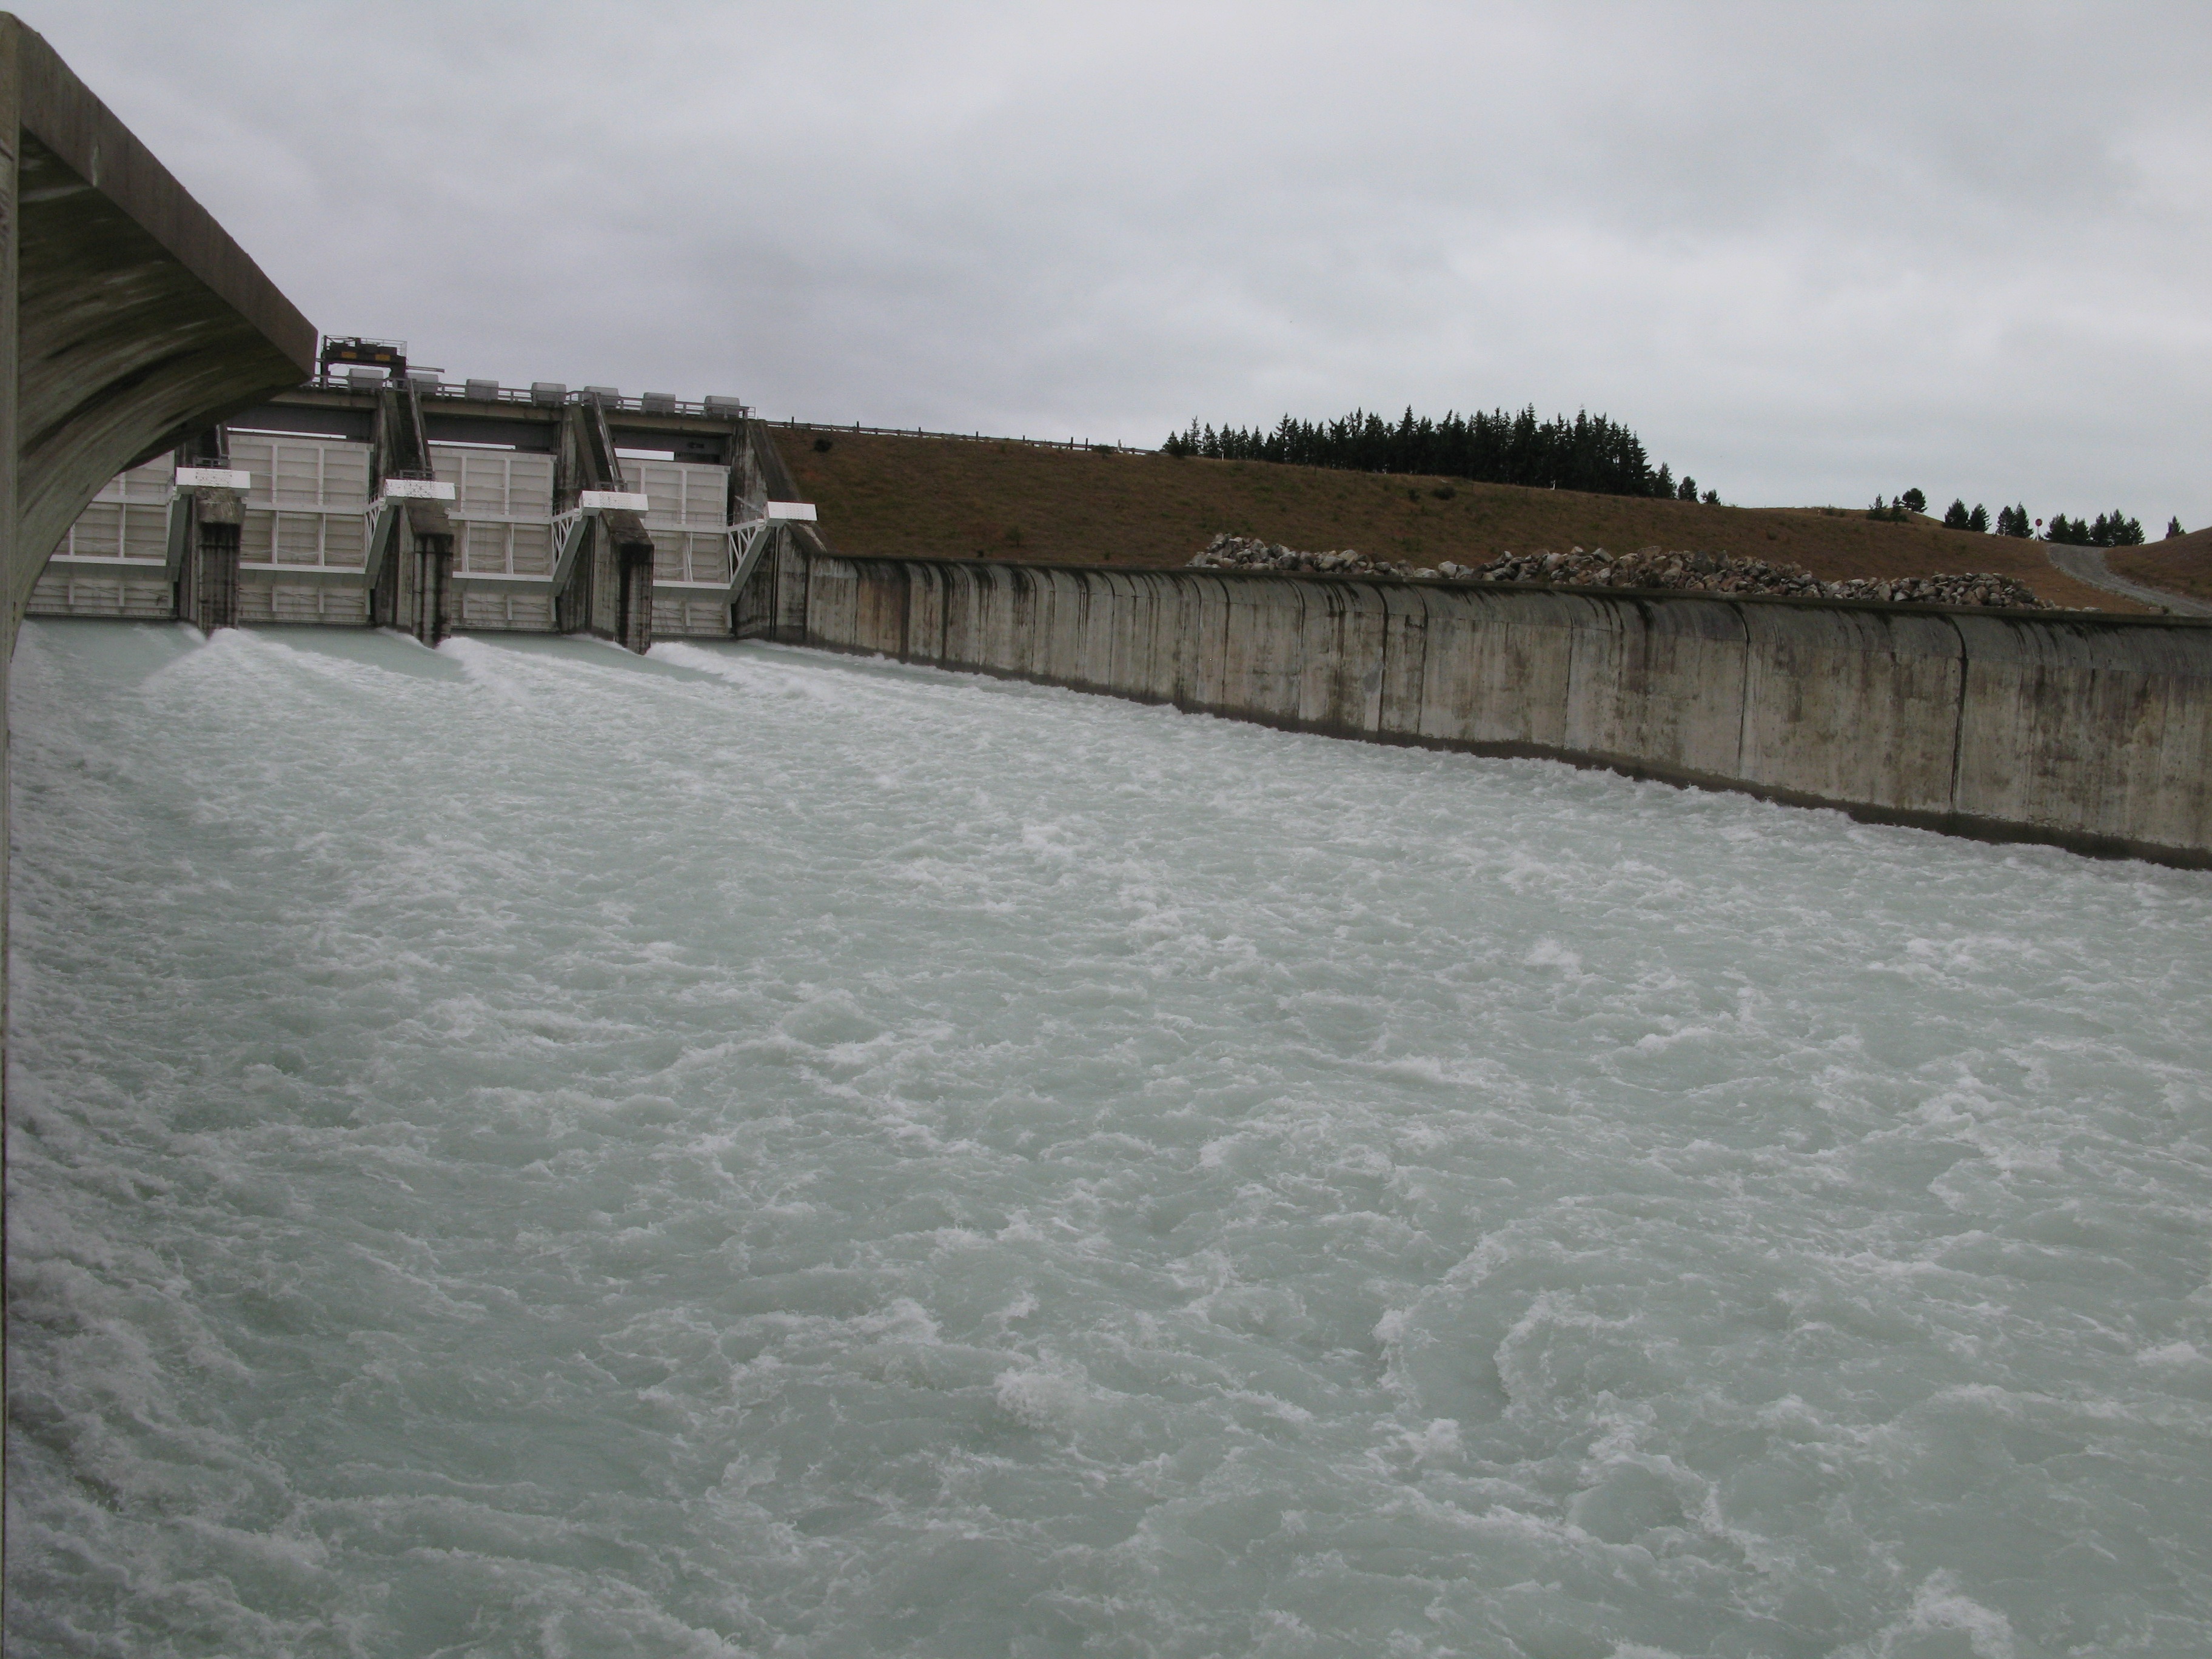
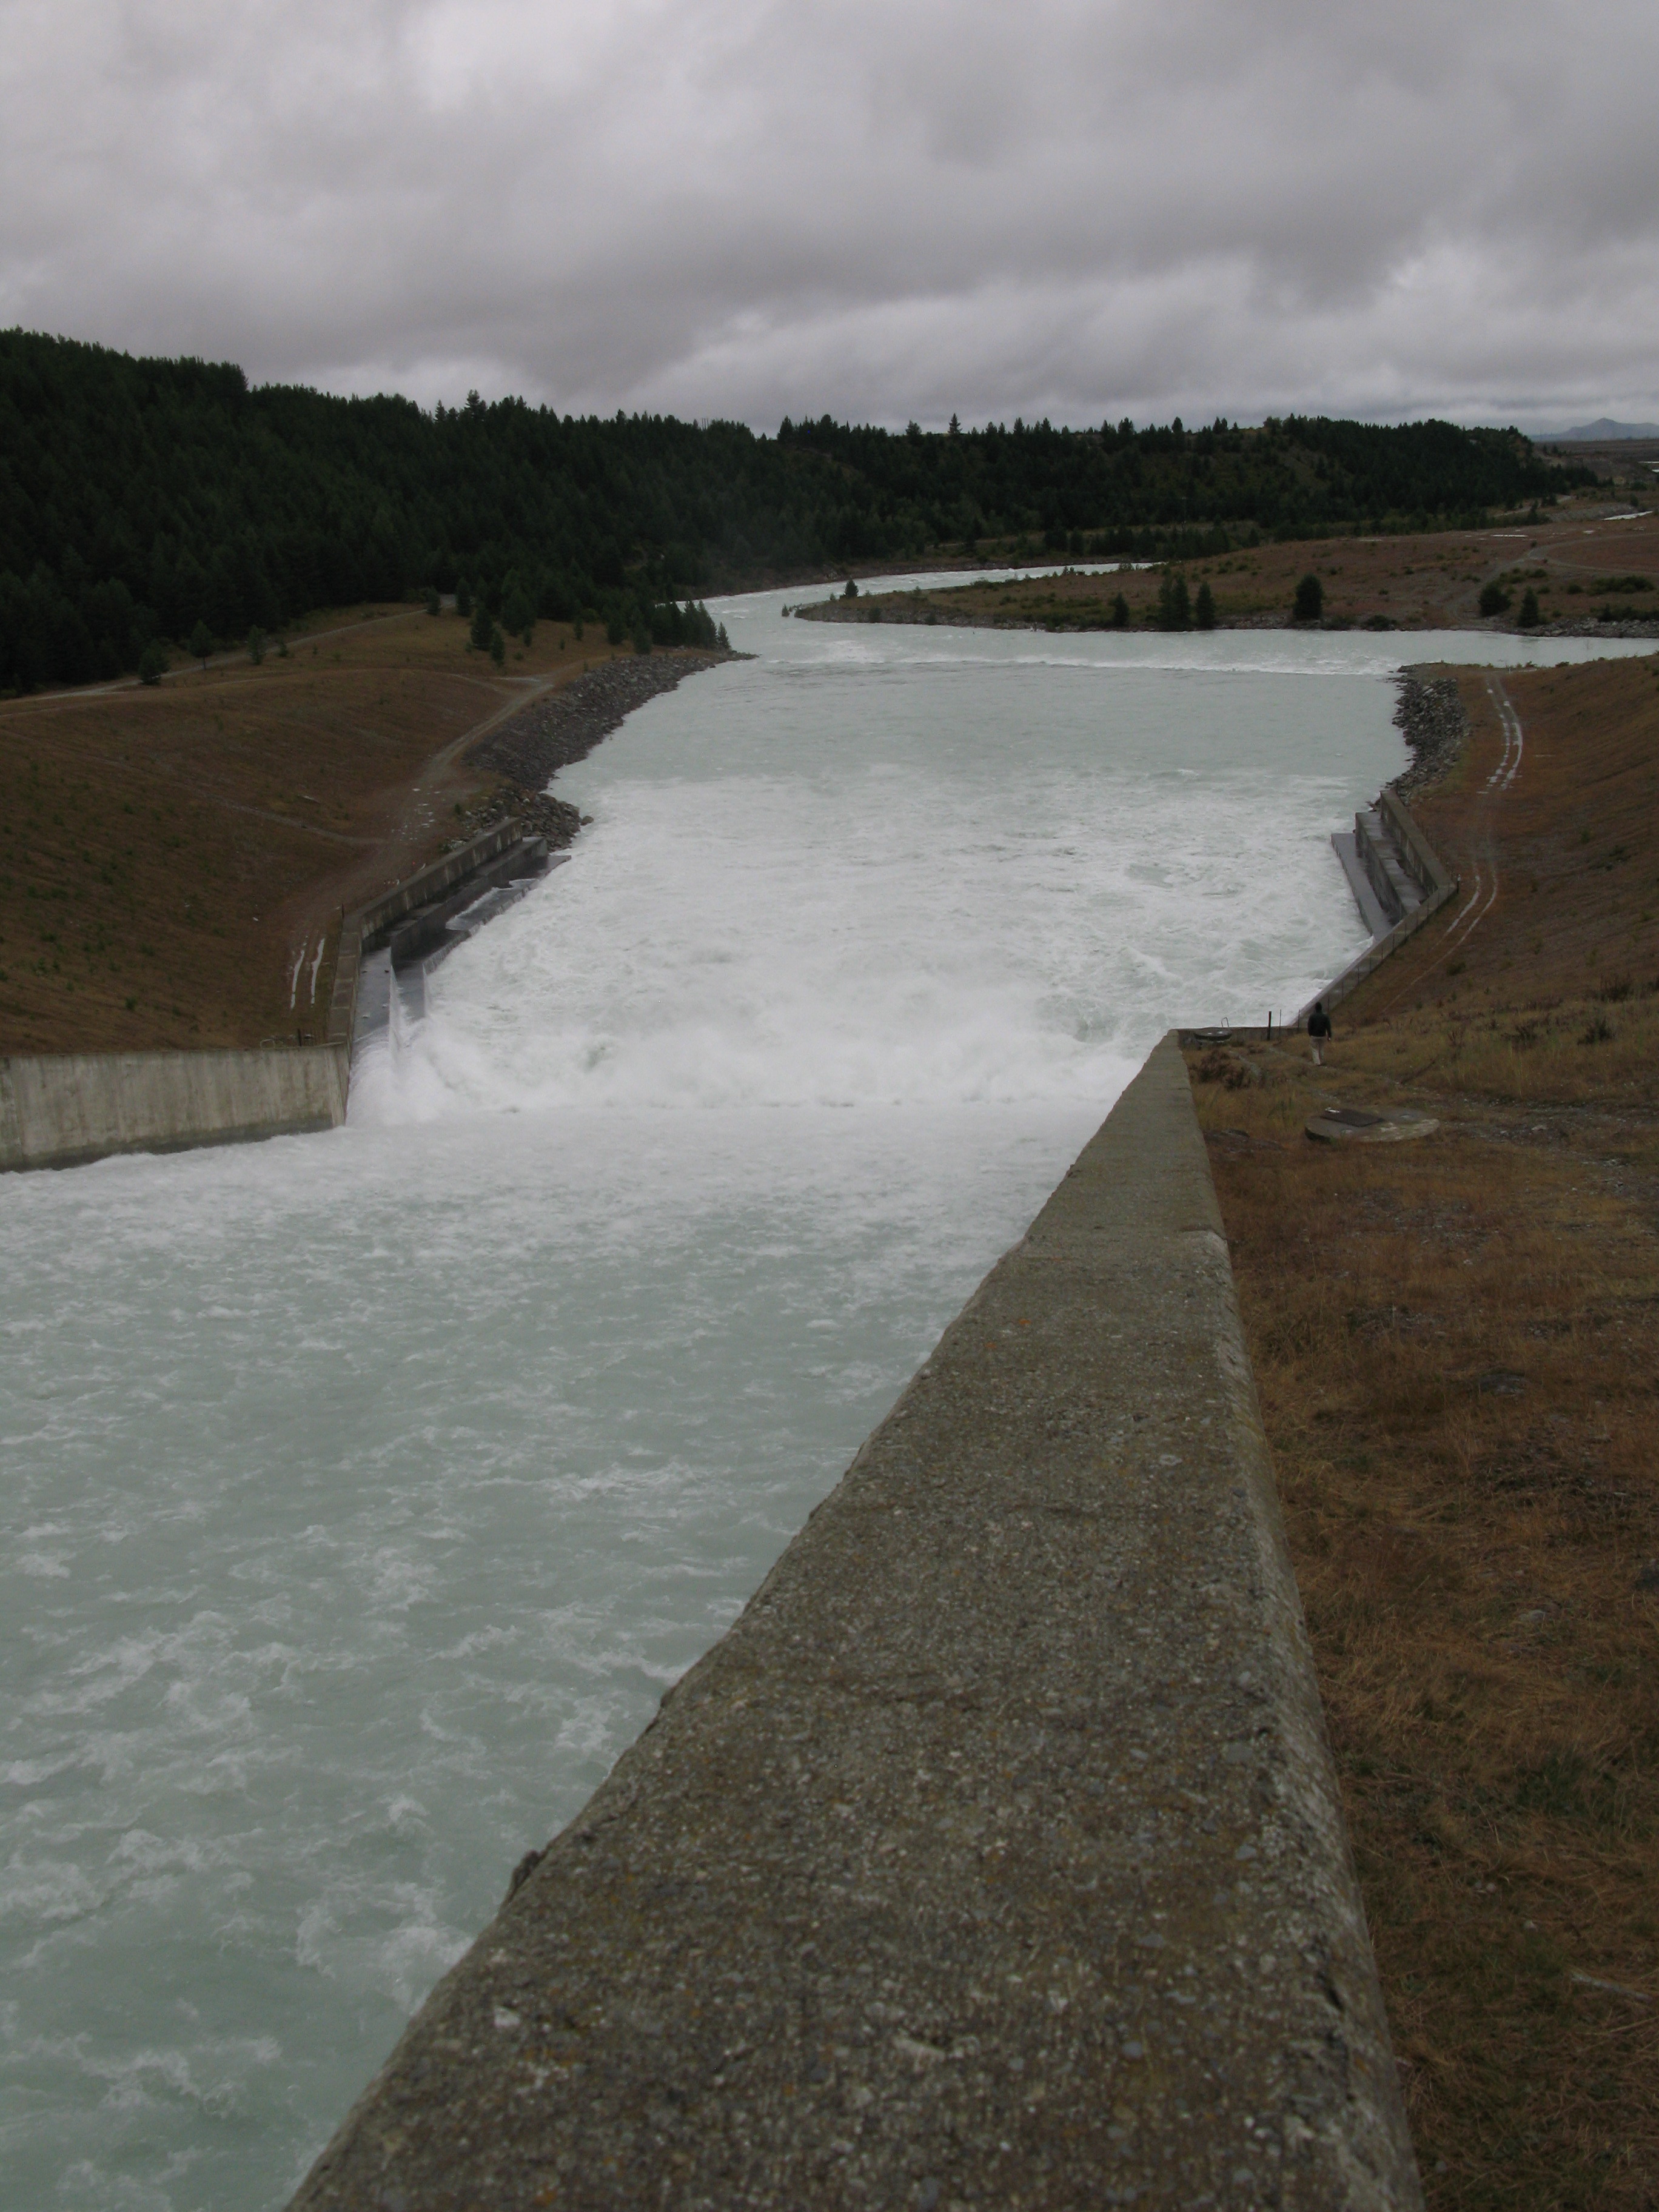
| Lake Pukaki outflow. |
| Lake Pukaki outflow. |
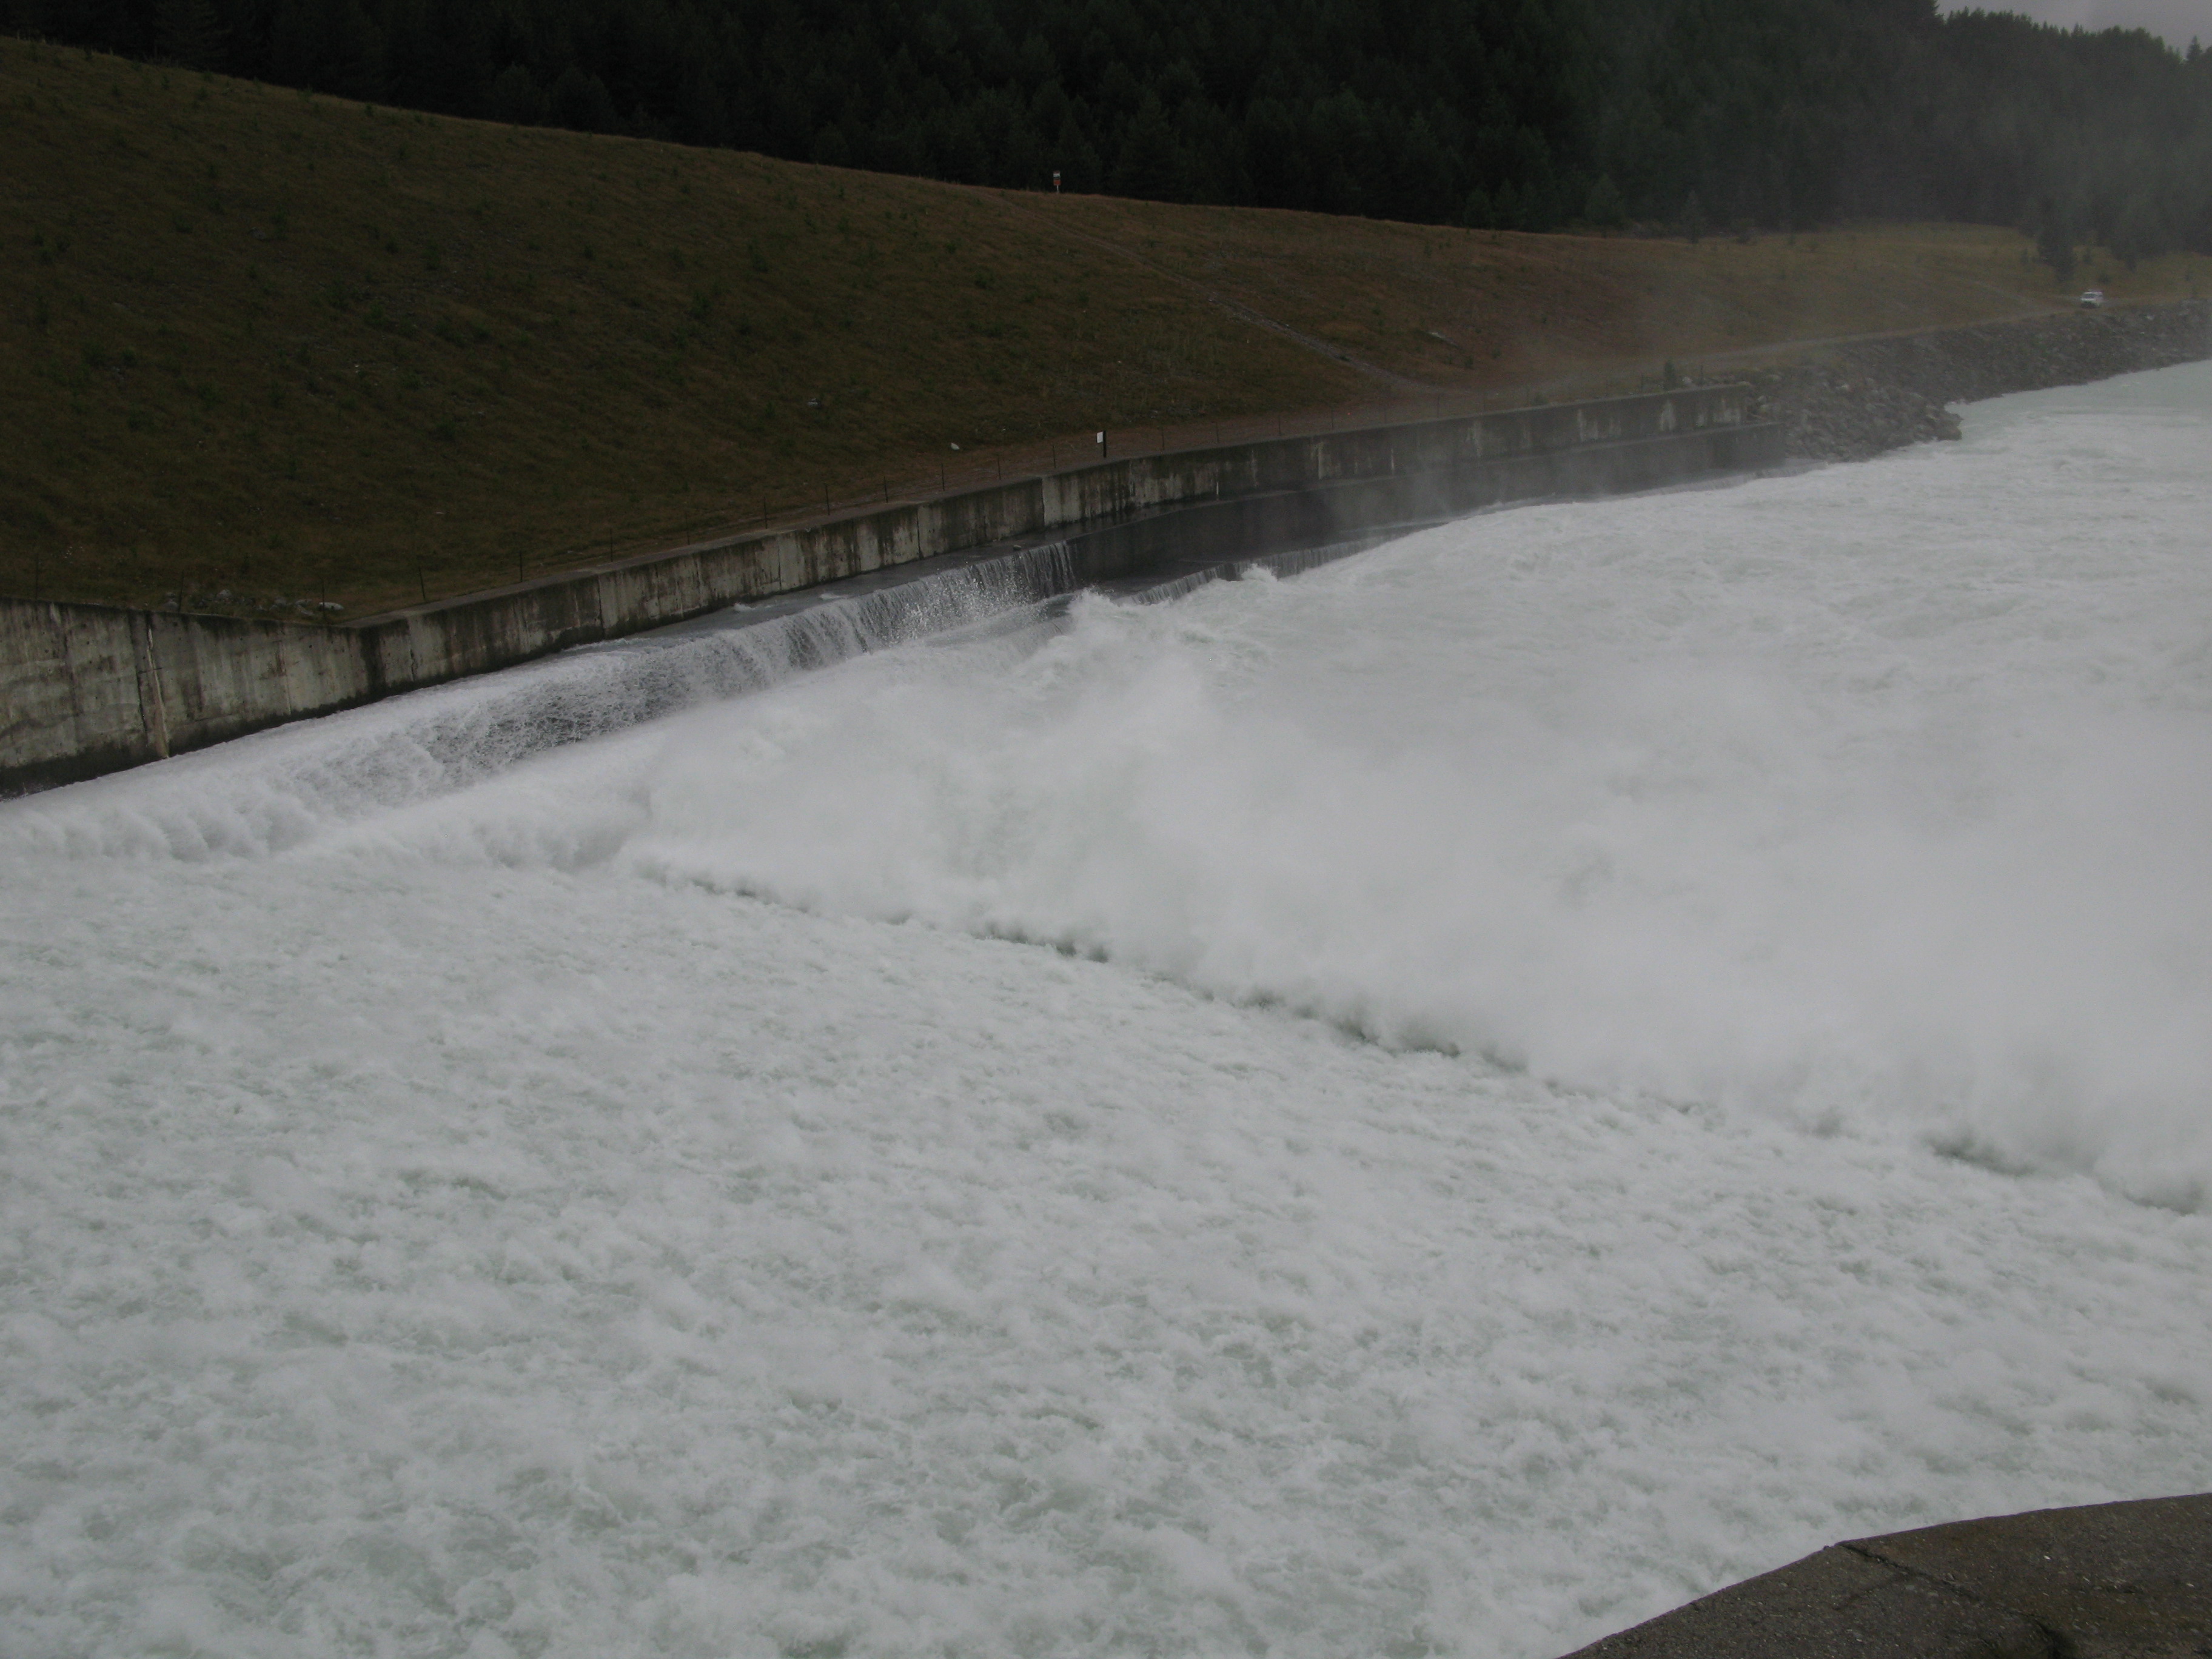
| Lake Pukaki outflow. There was a lot of water flowing through the gates. |
| Lake Pukaki outflow. |
| Lake Pukaki outflow. |
| Central Twizel. |
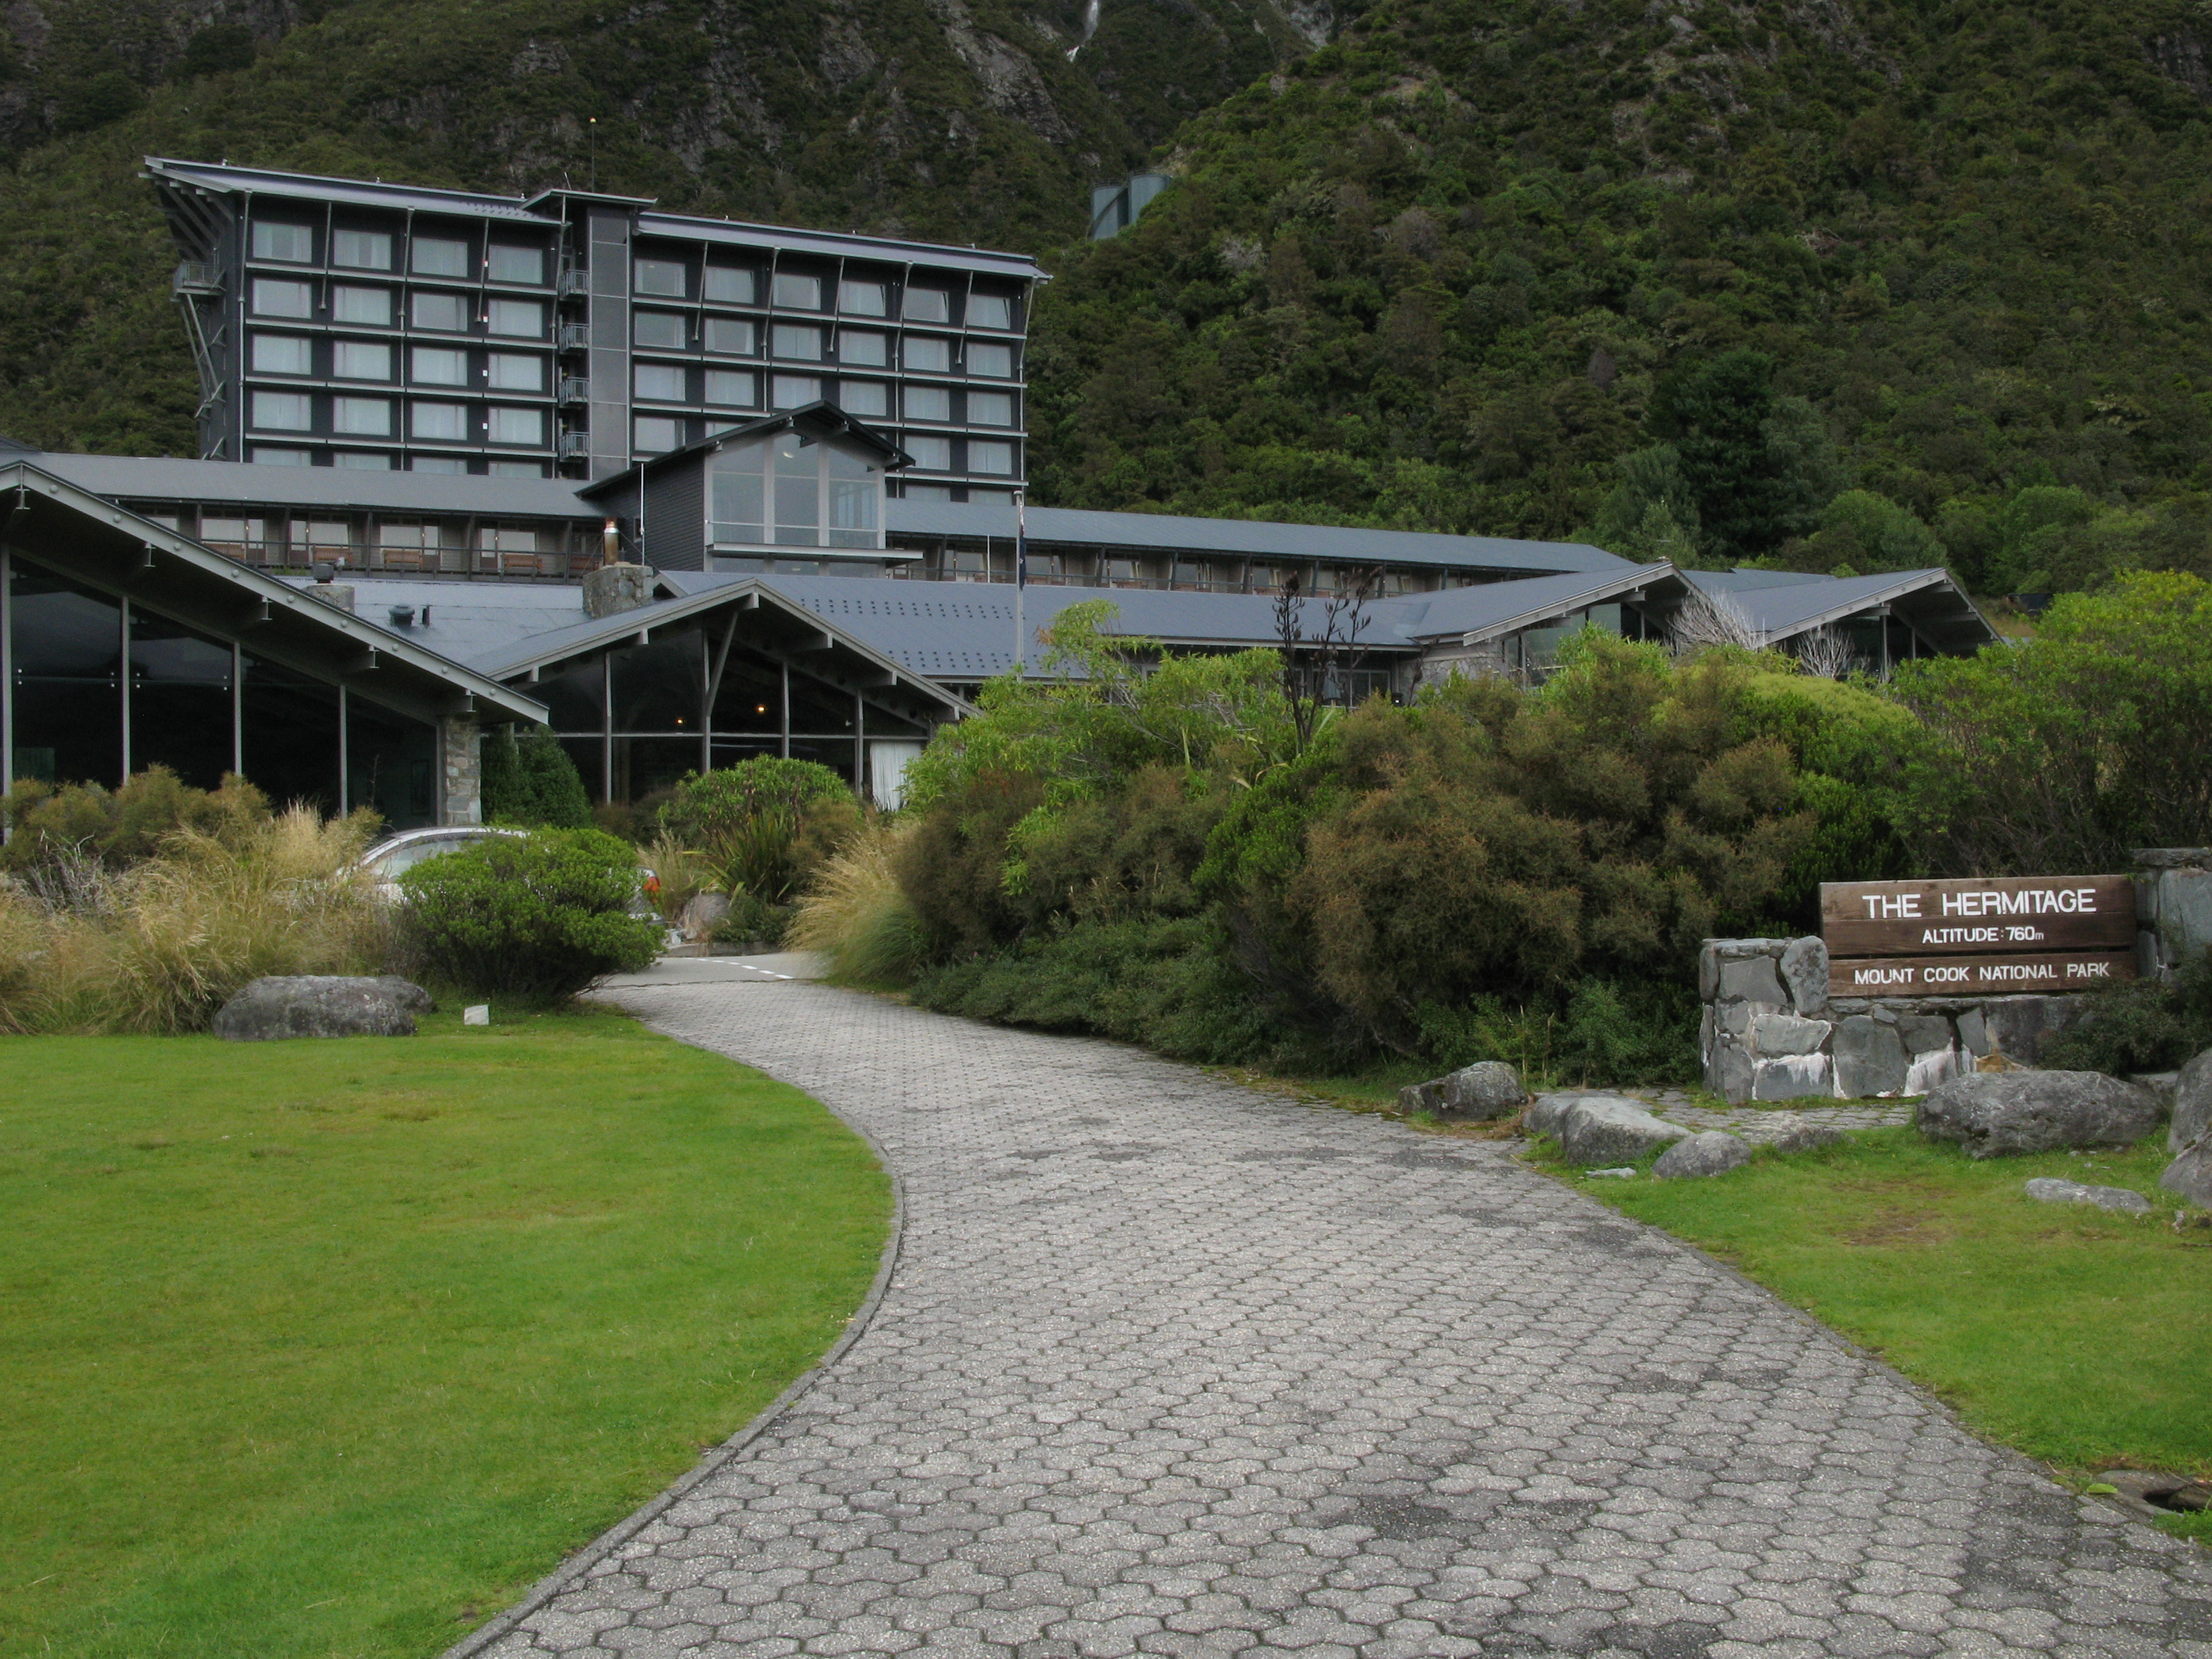
| The Hermitage at Mount Cook. |
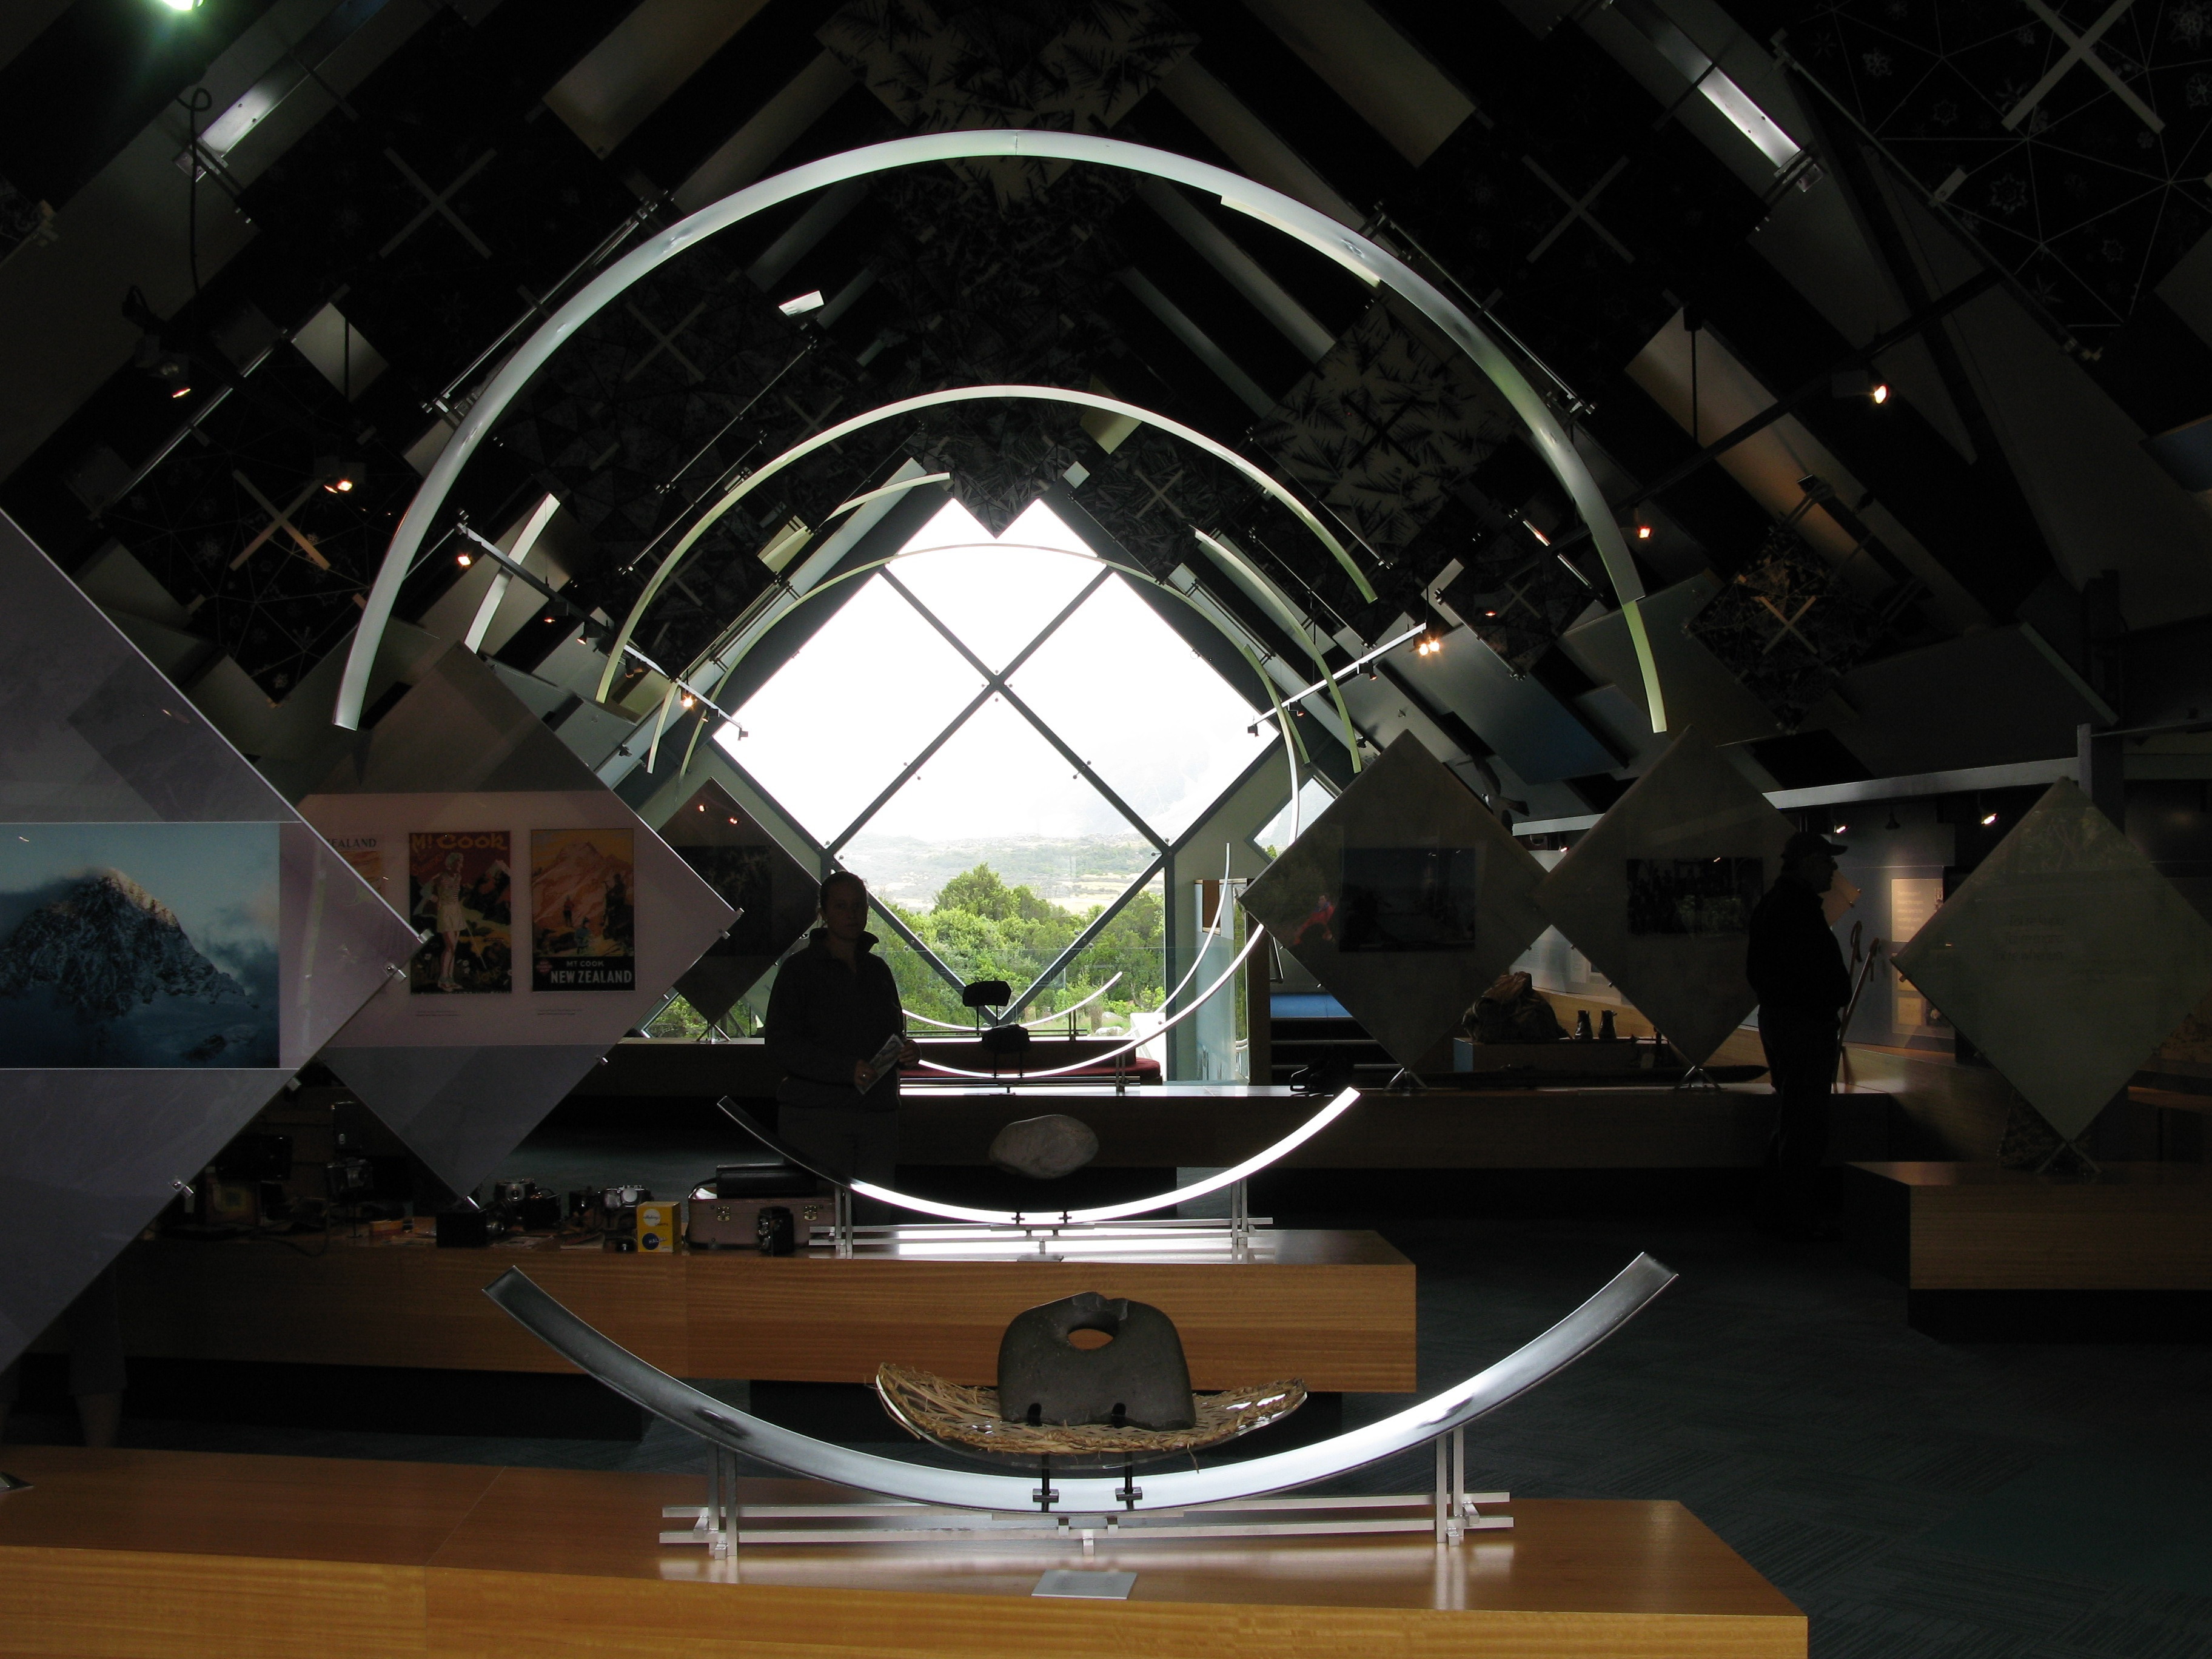
| Inside the visitor's centre. |
| The "view" of Mount Cook from the Hermitage. |
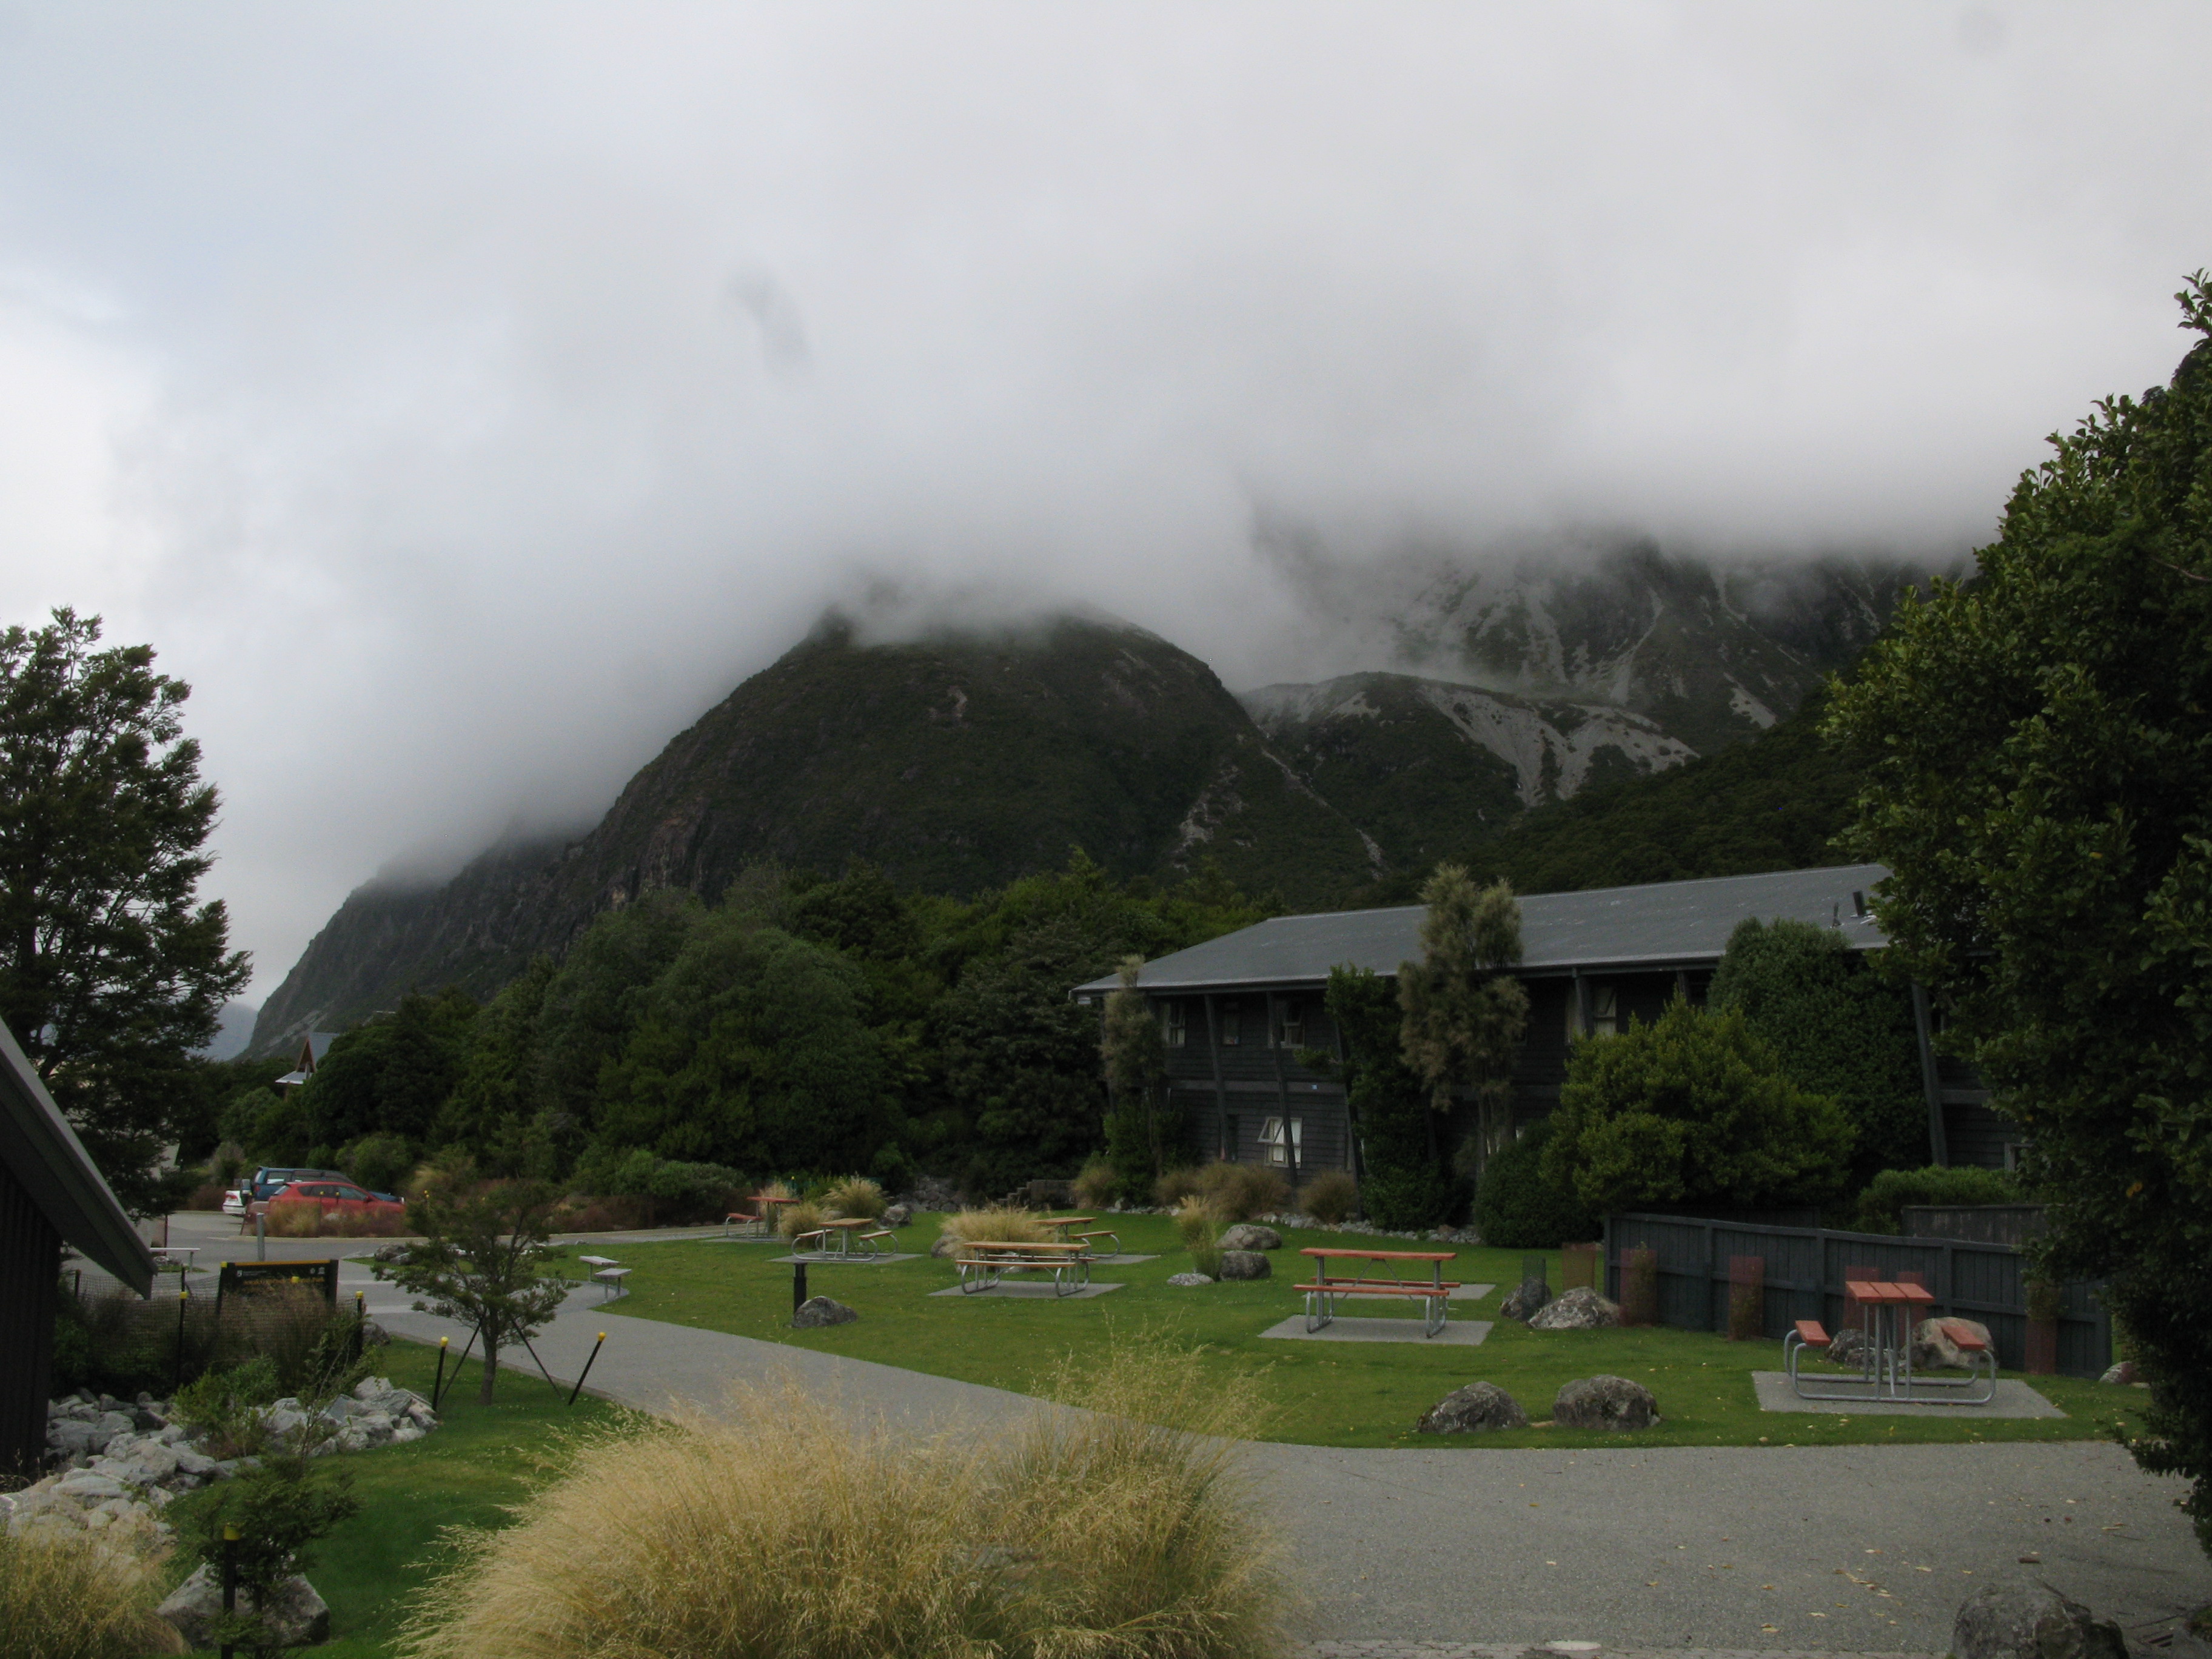
| Hermitage grounds. |
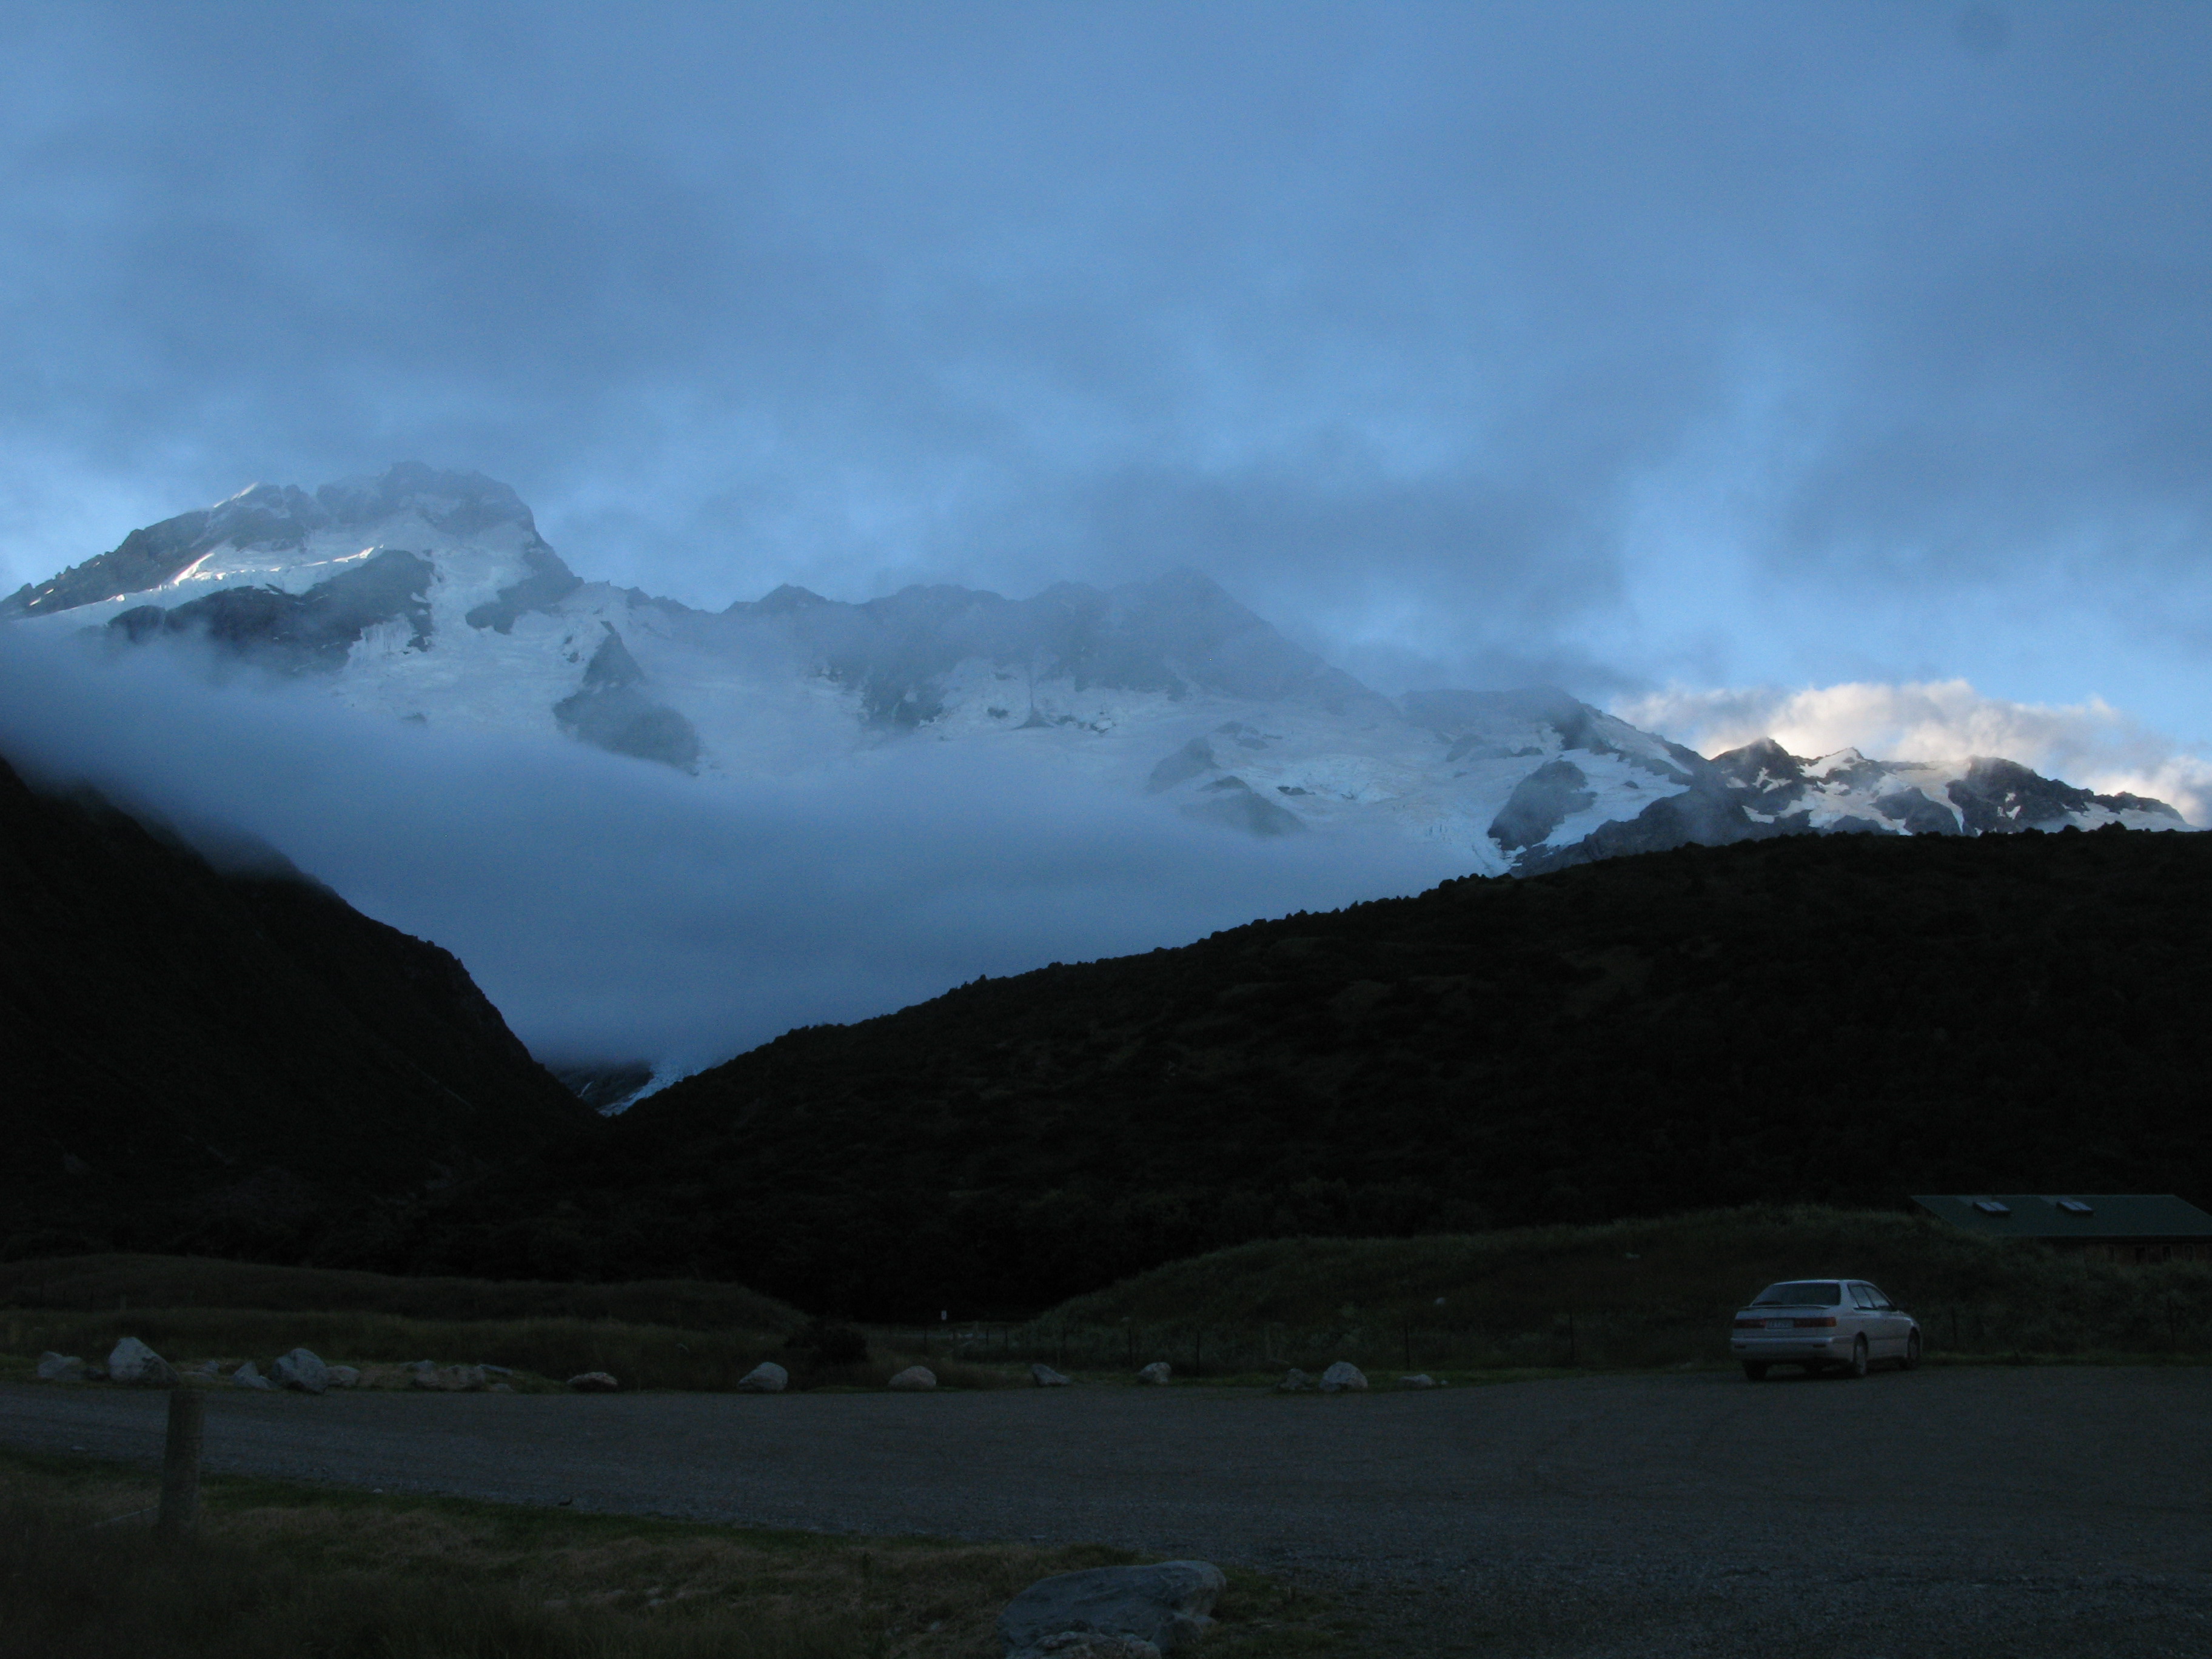
| Low hanging cloud. |
| The Hermigate. |
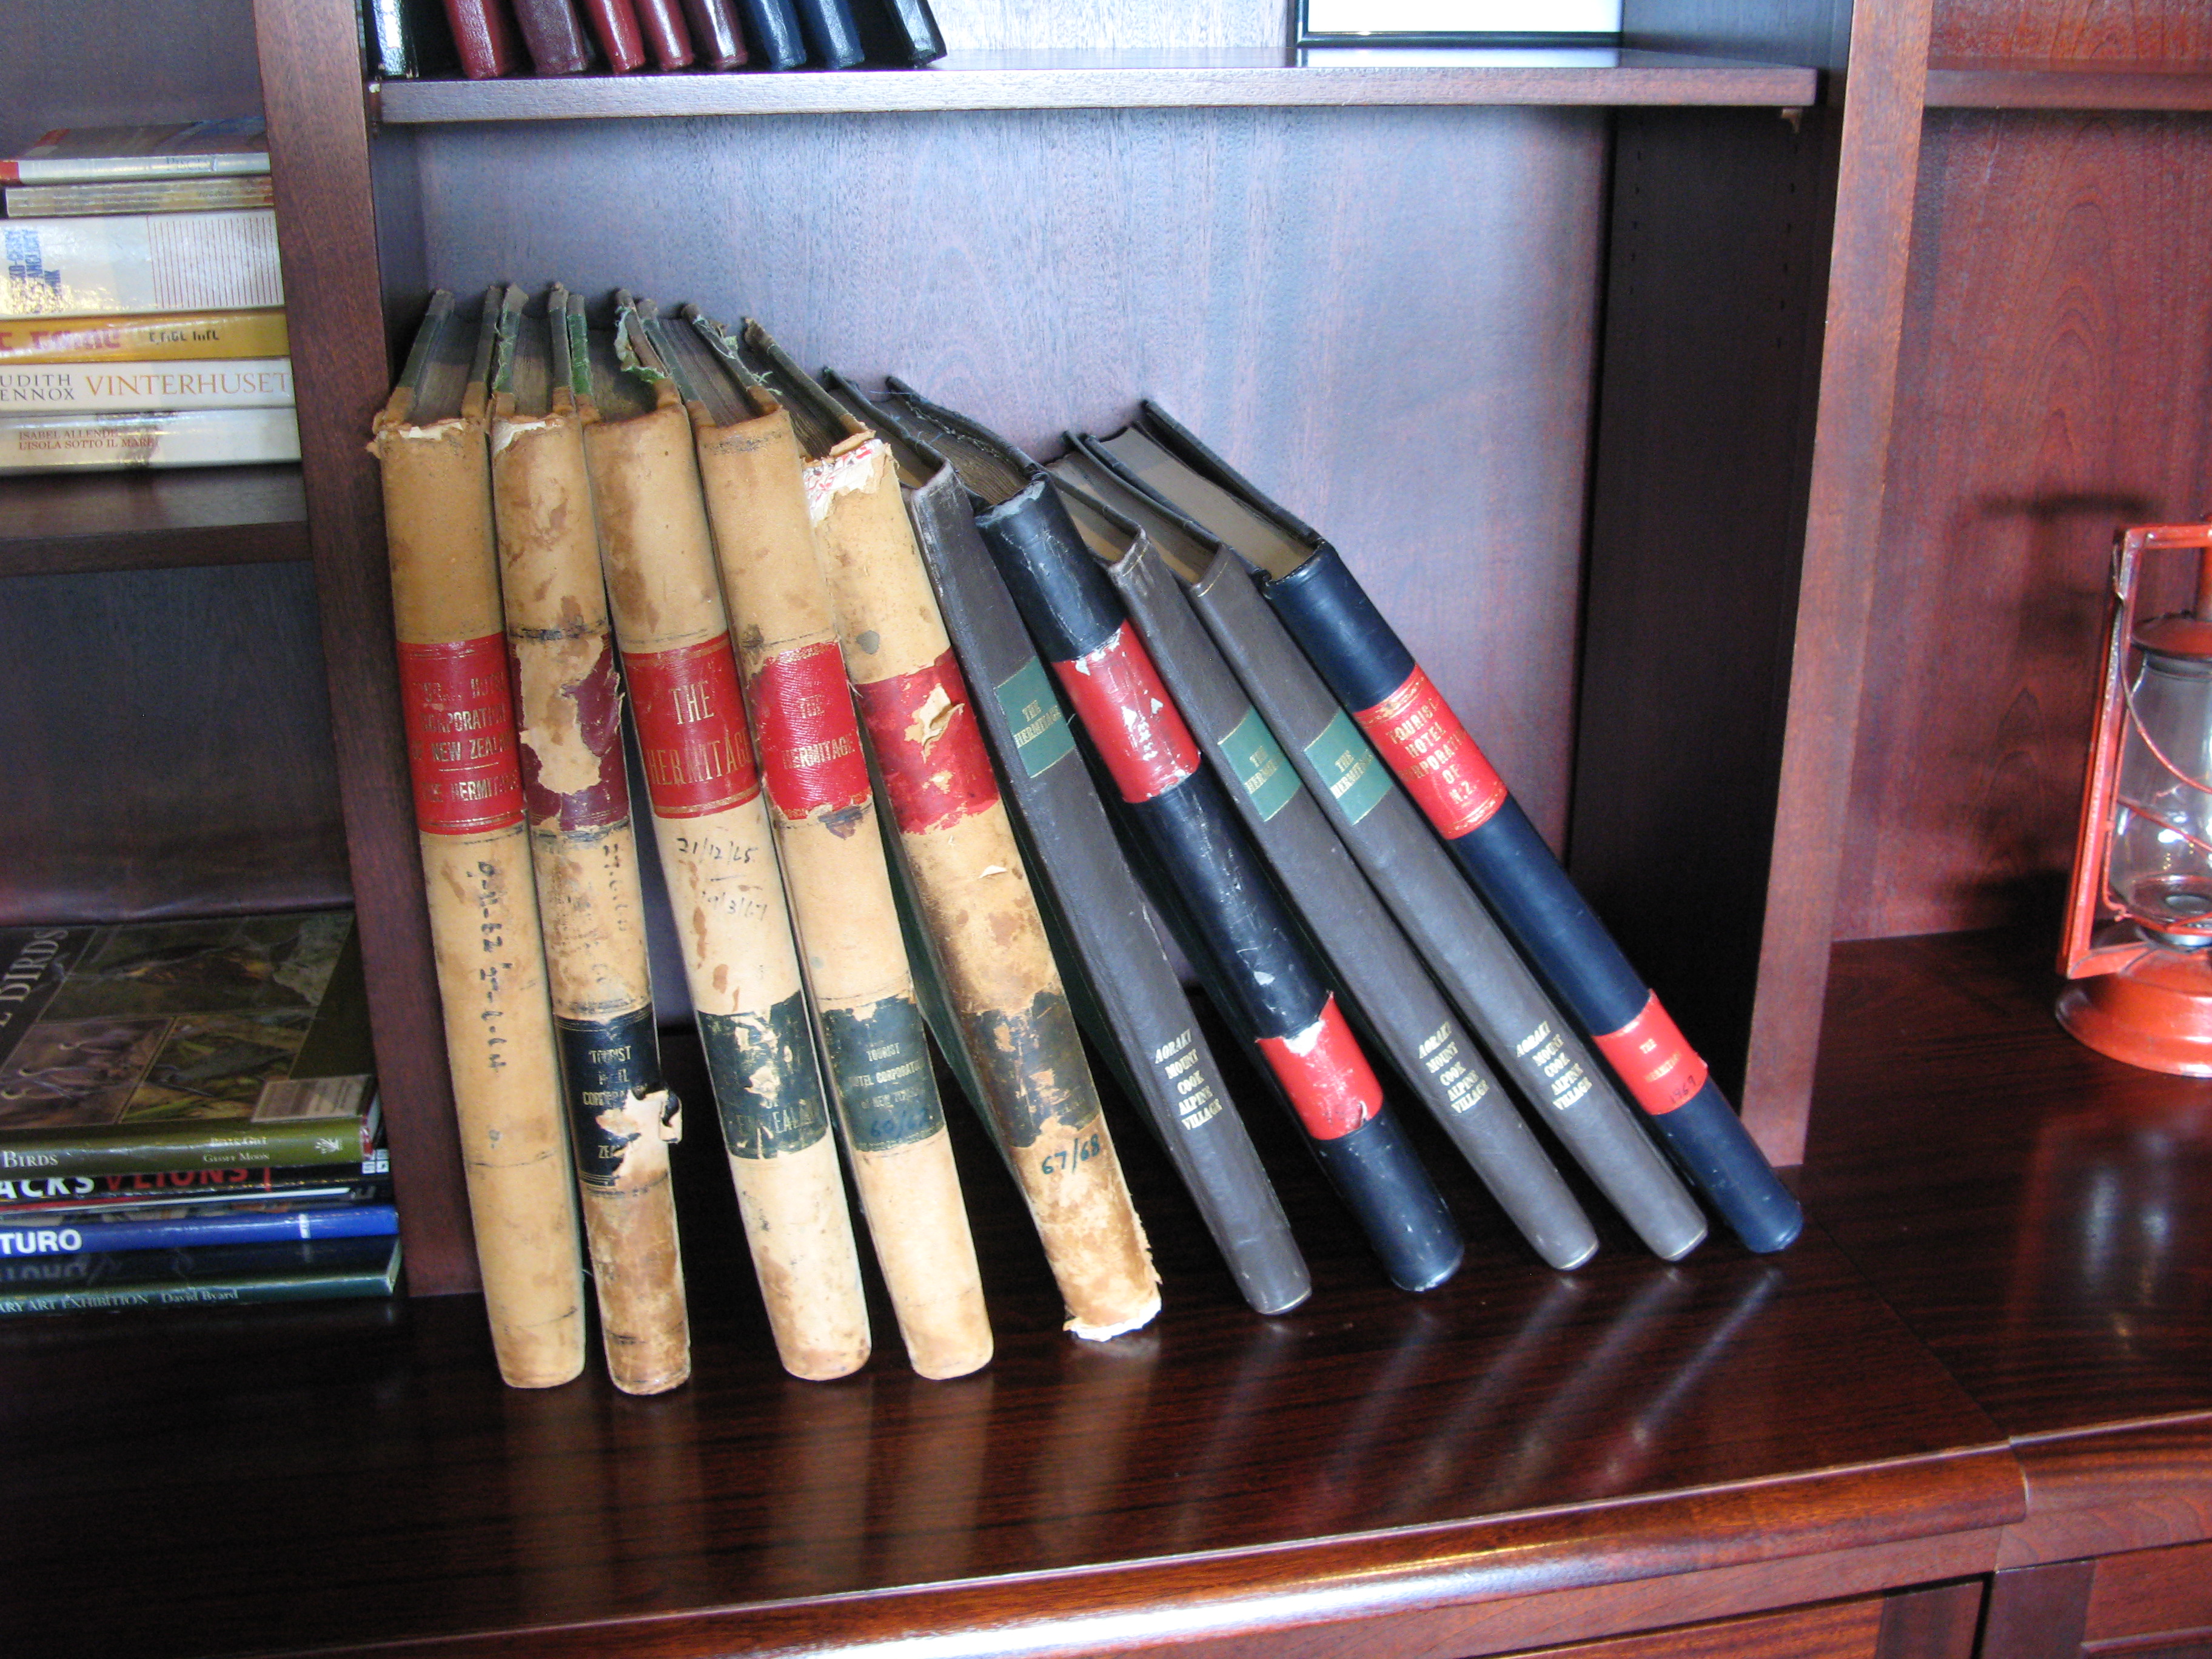
| Old guest ledgers in the Hermitage bar. |
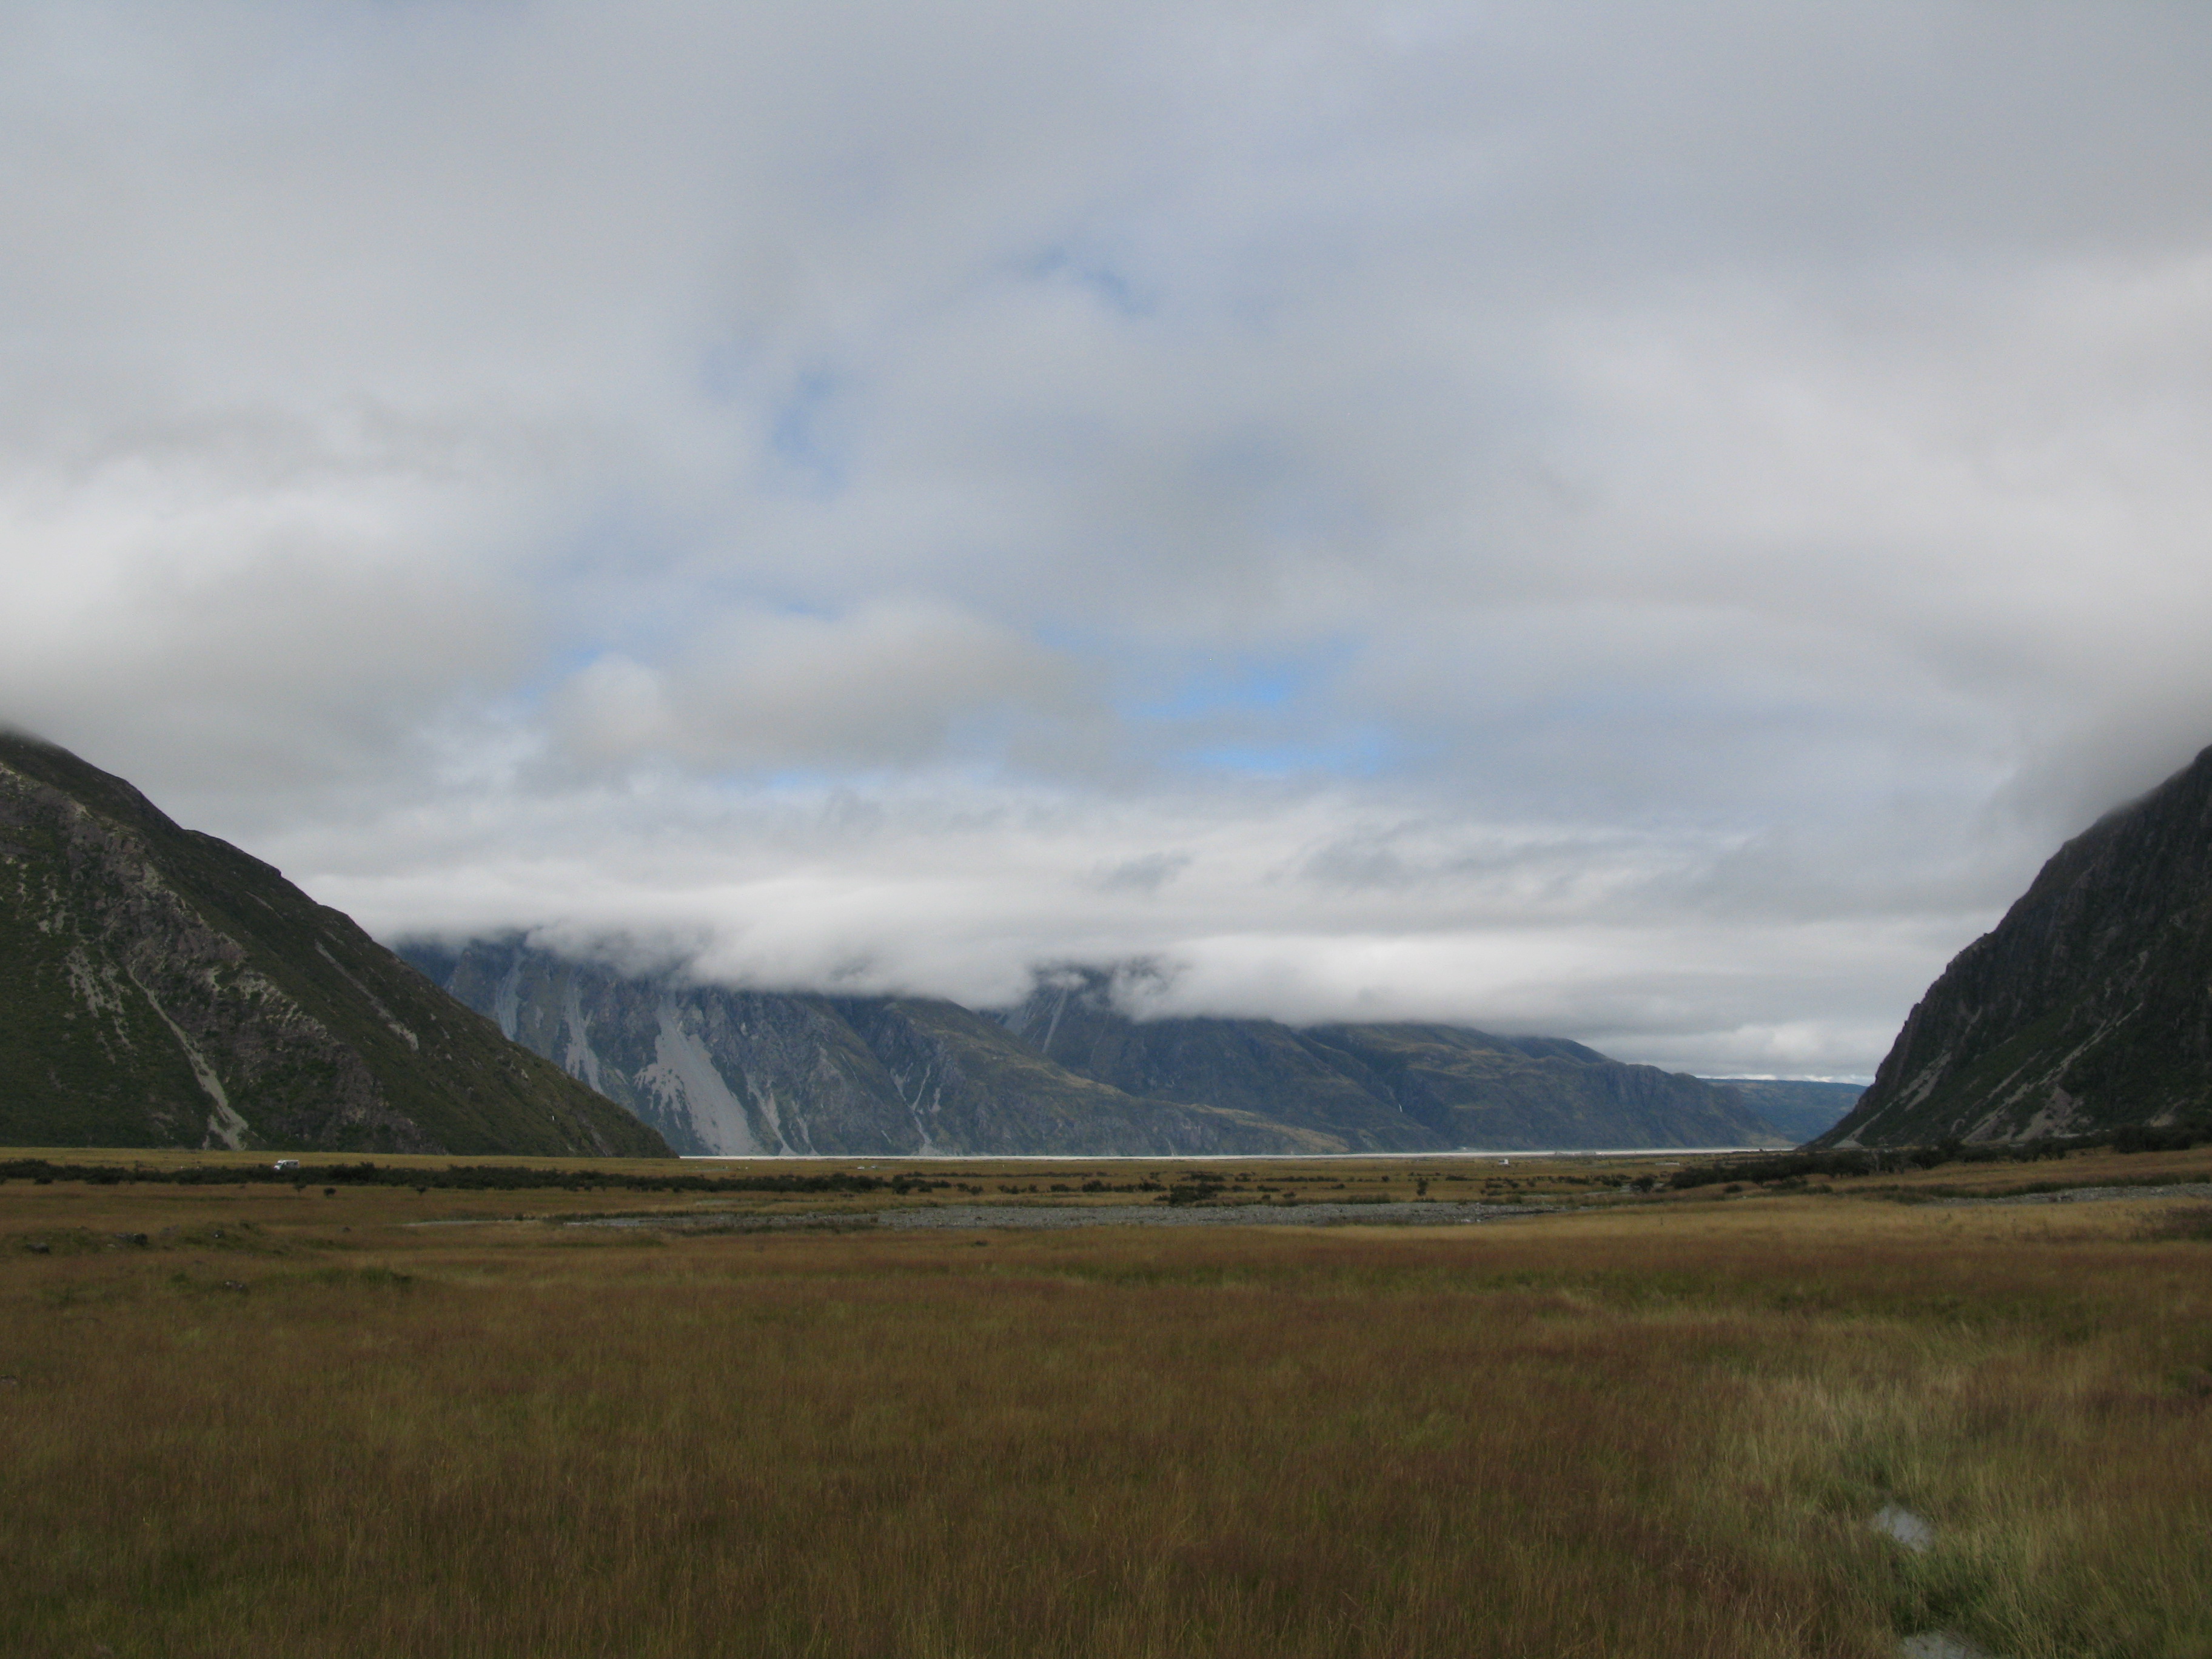
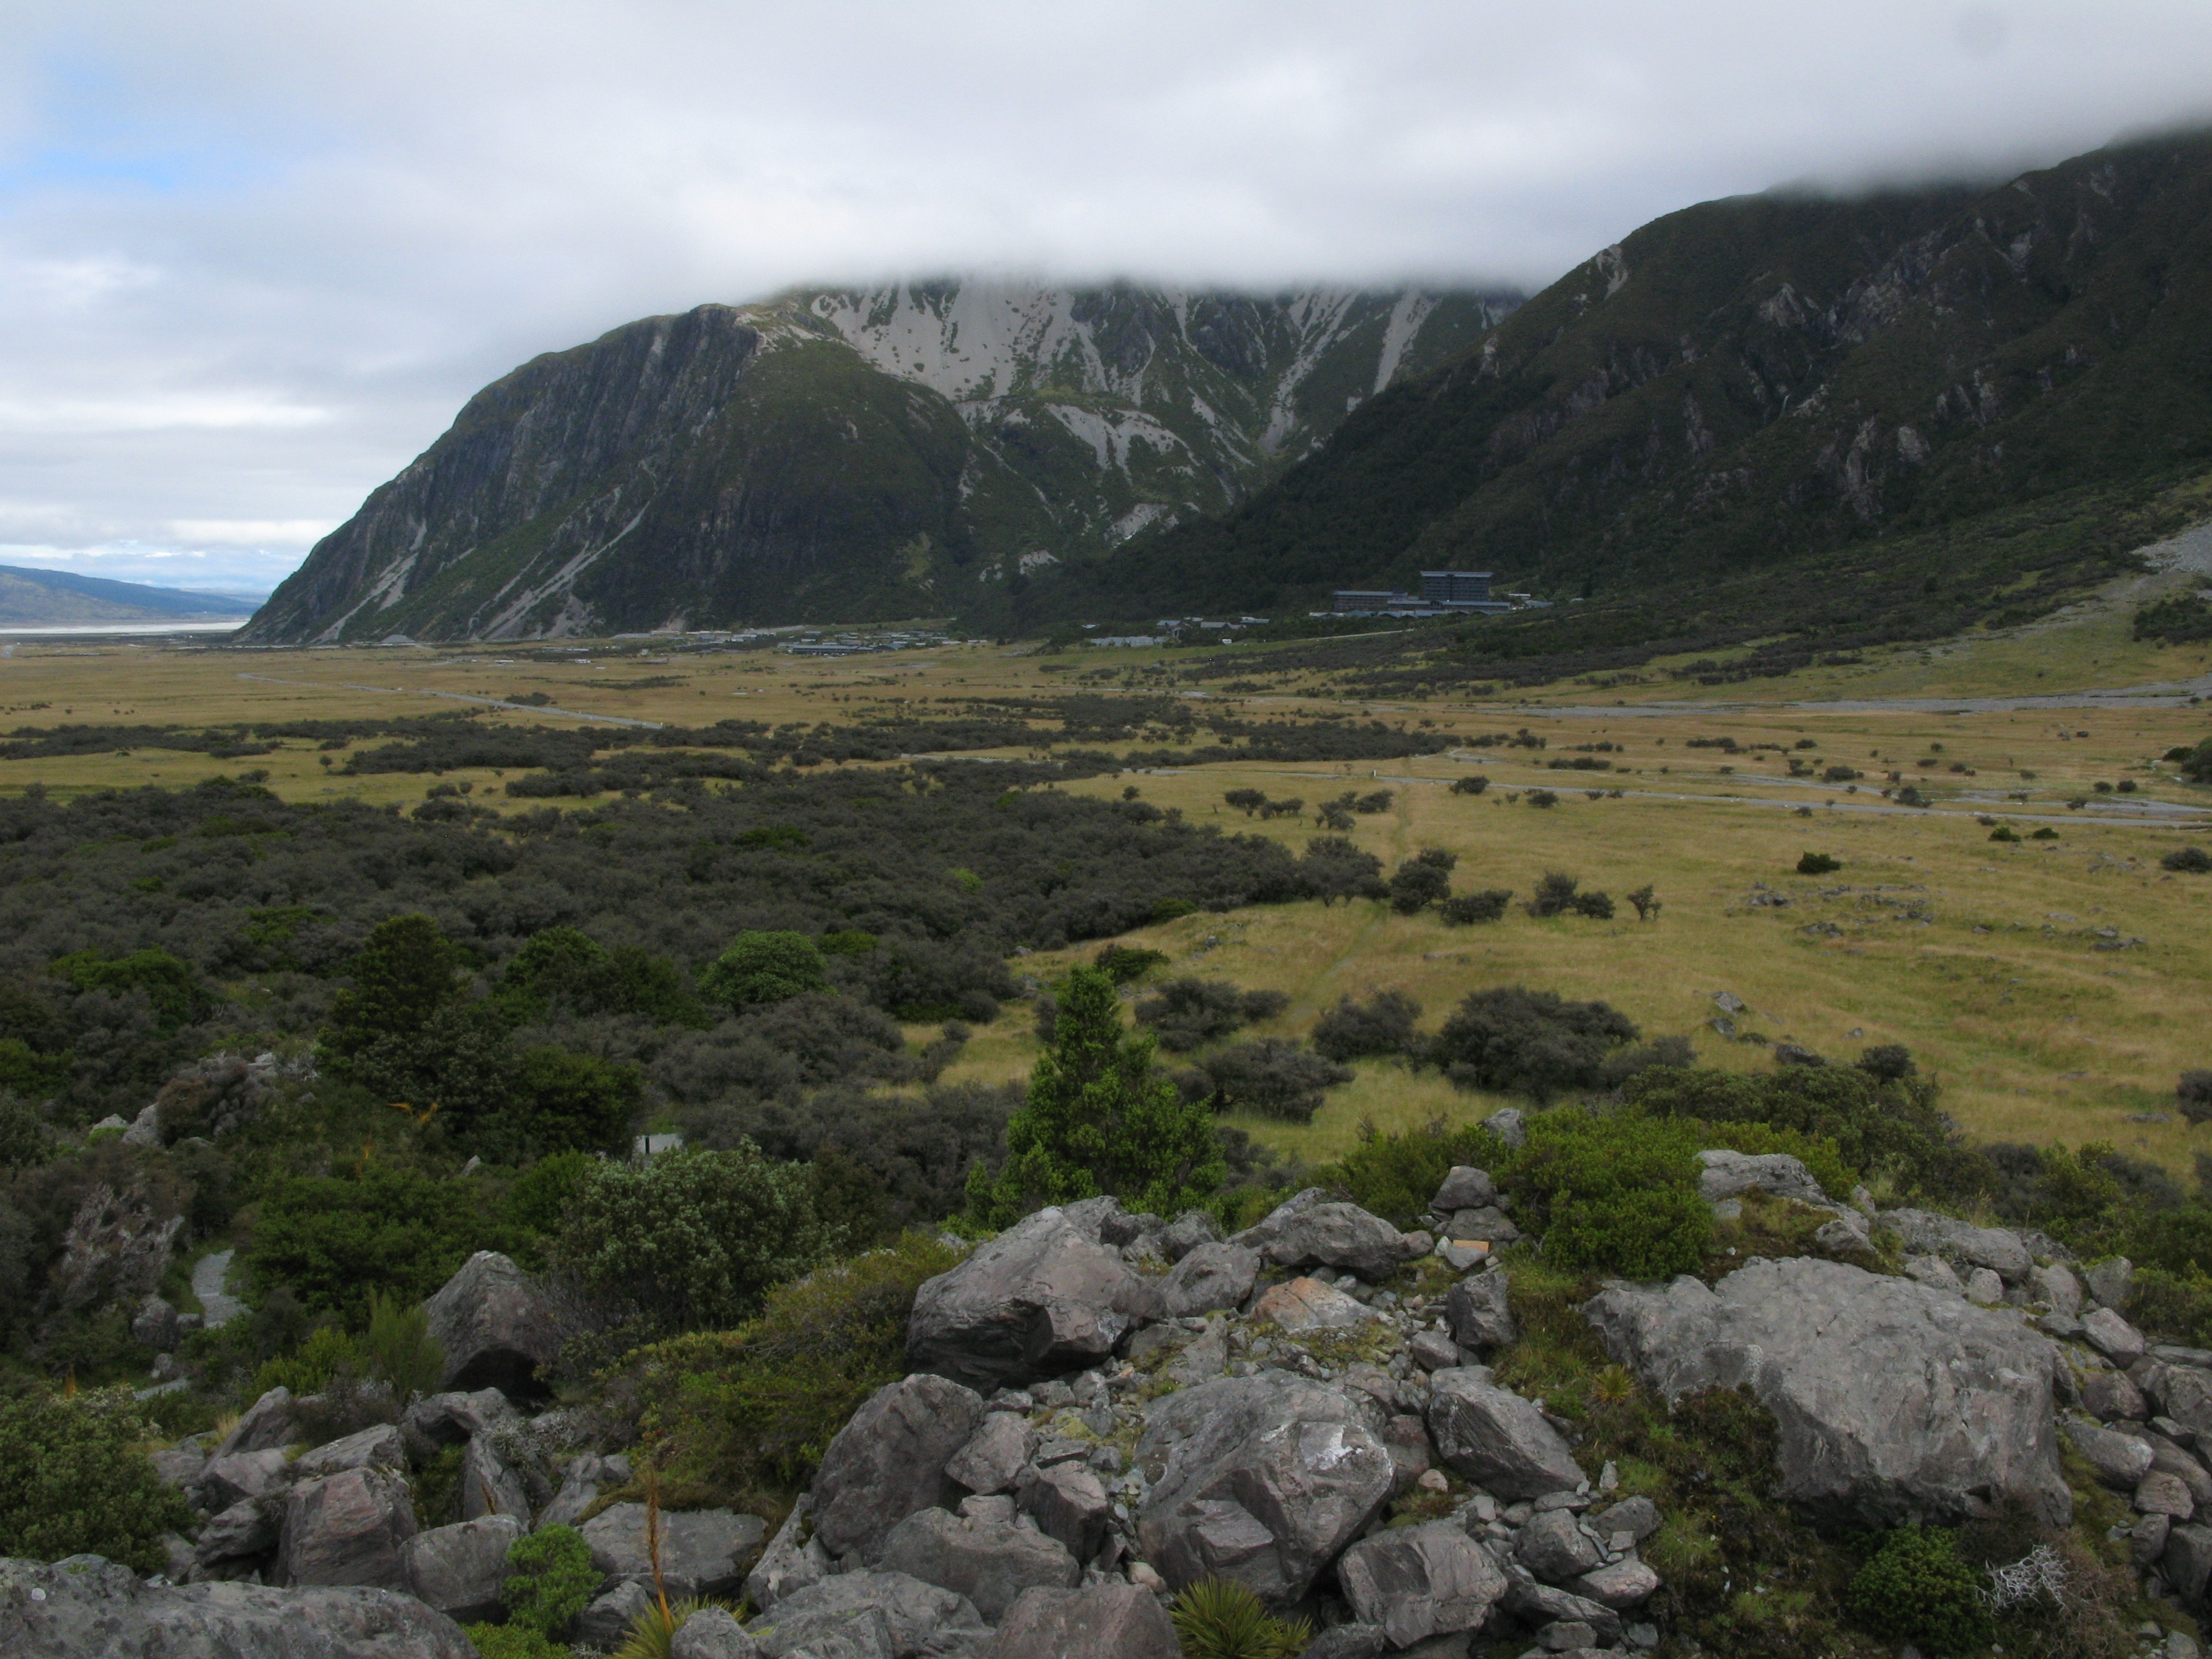
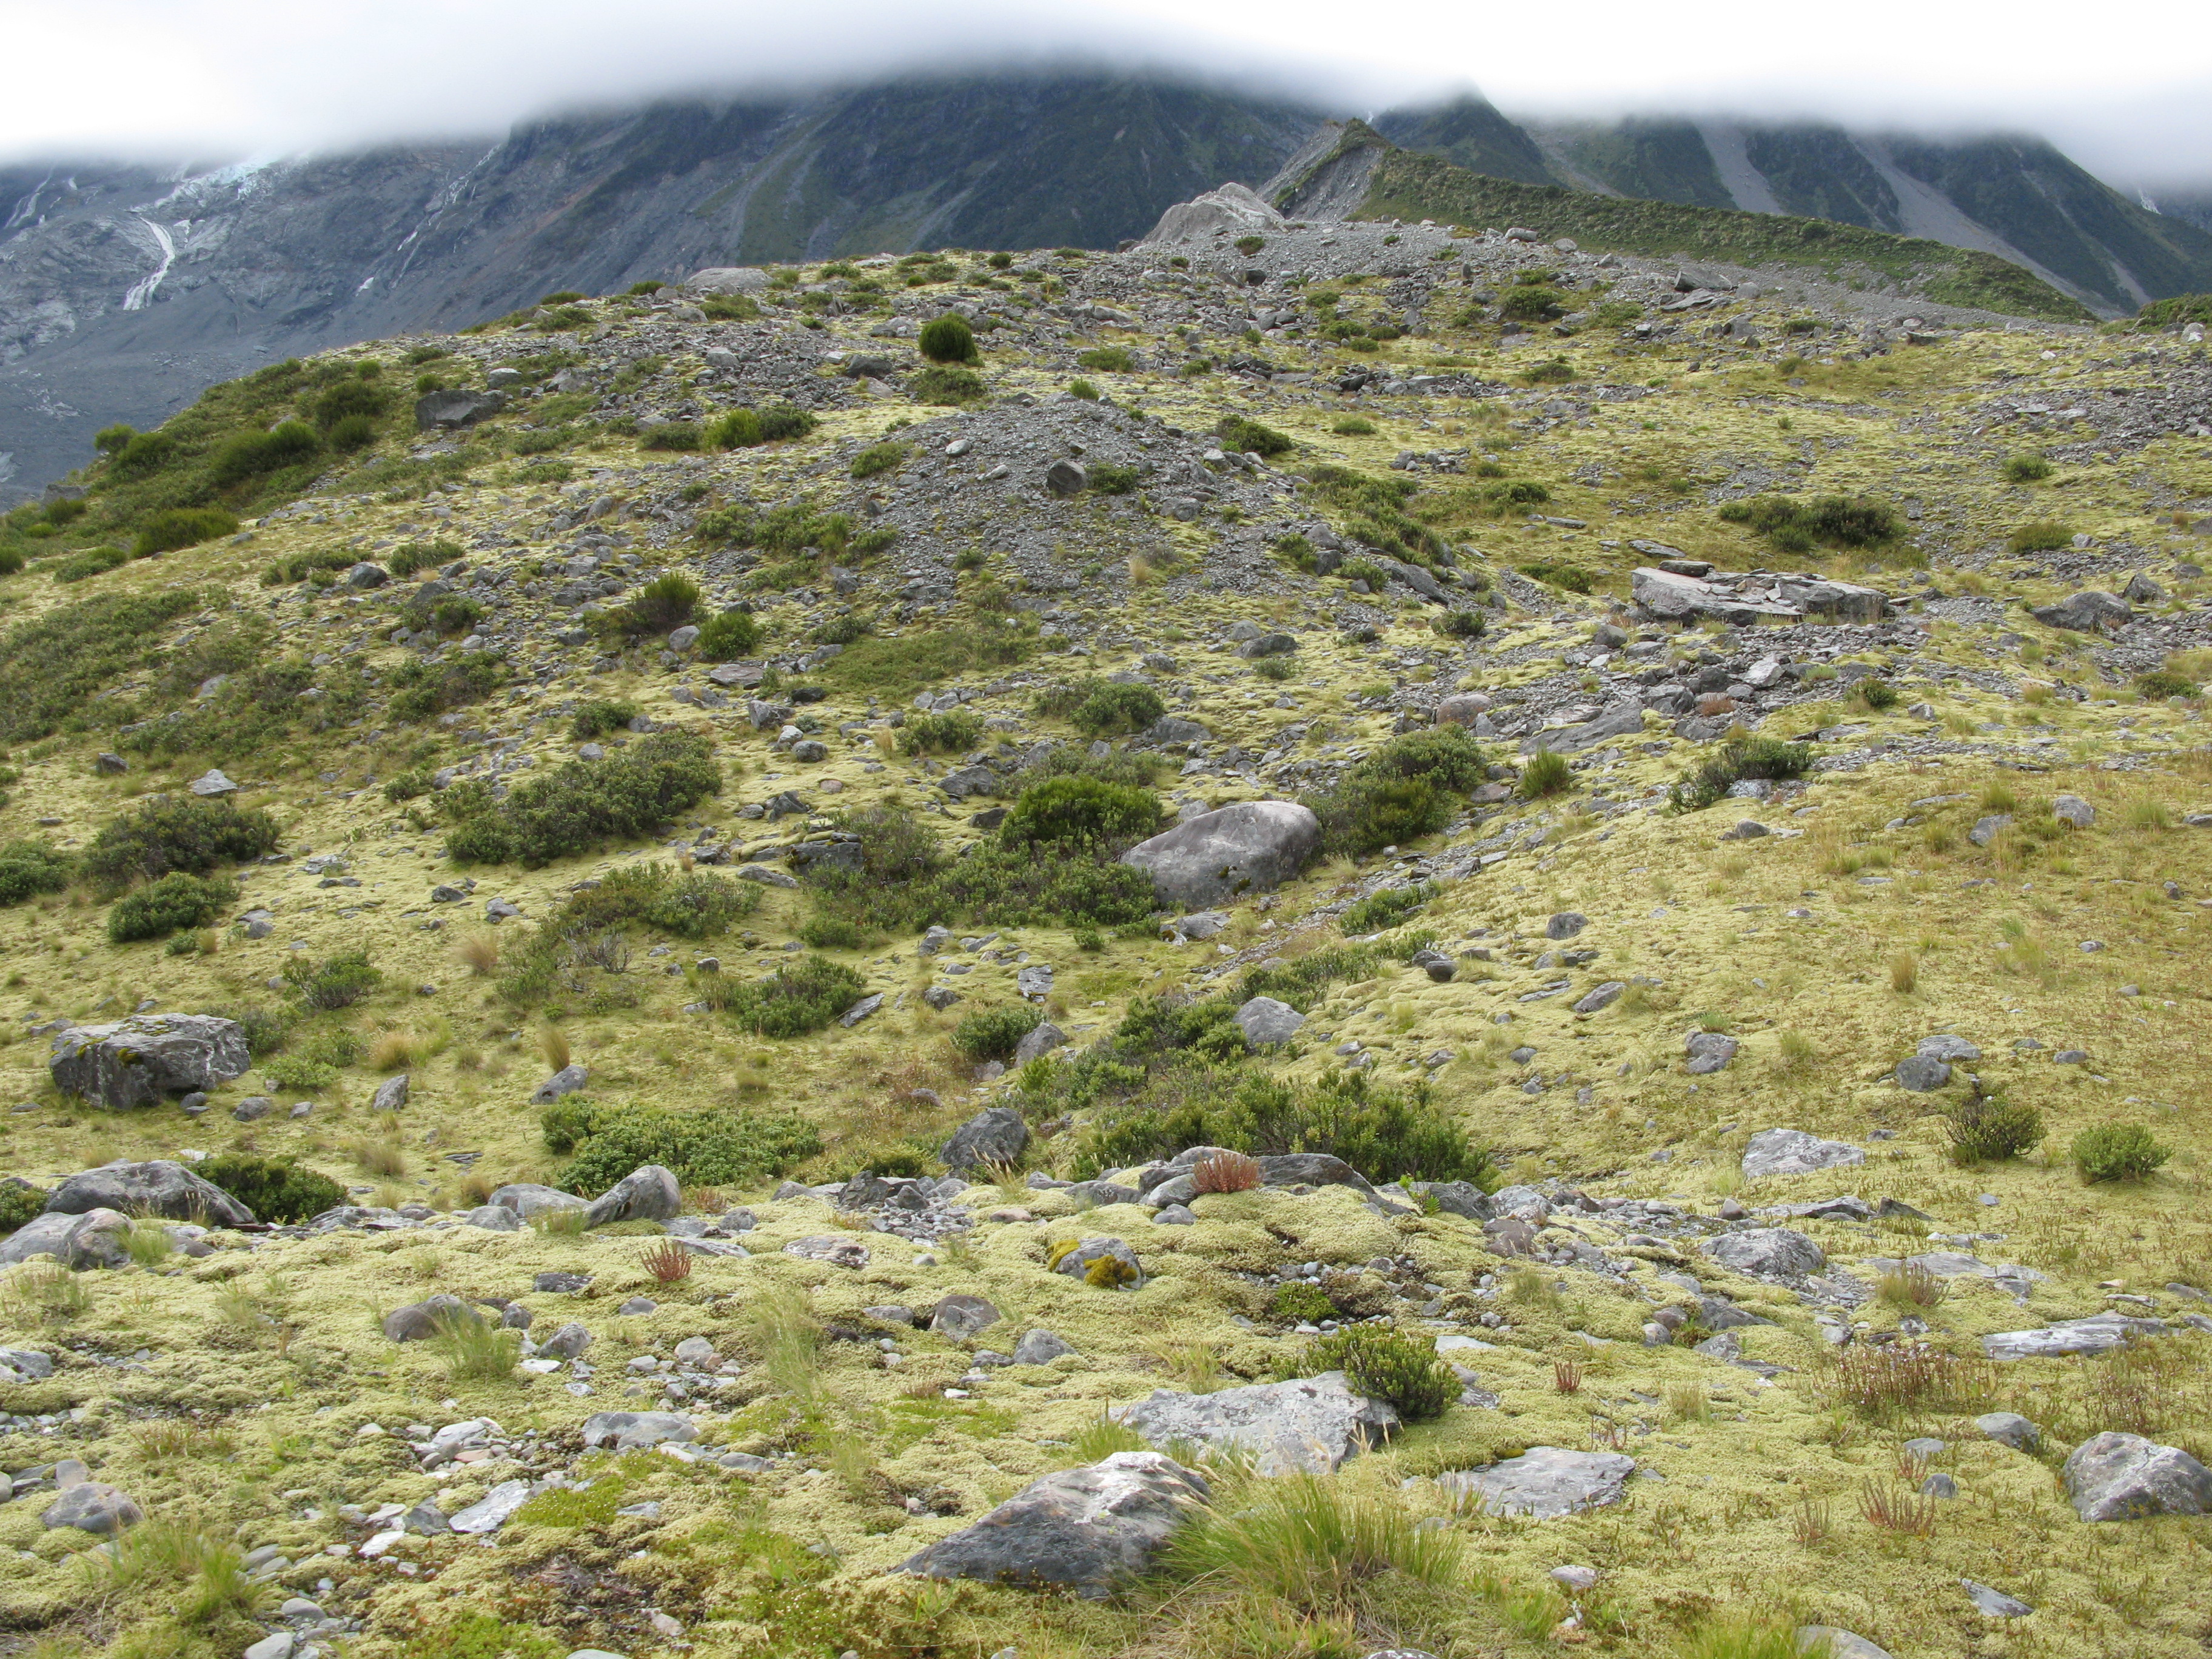
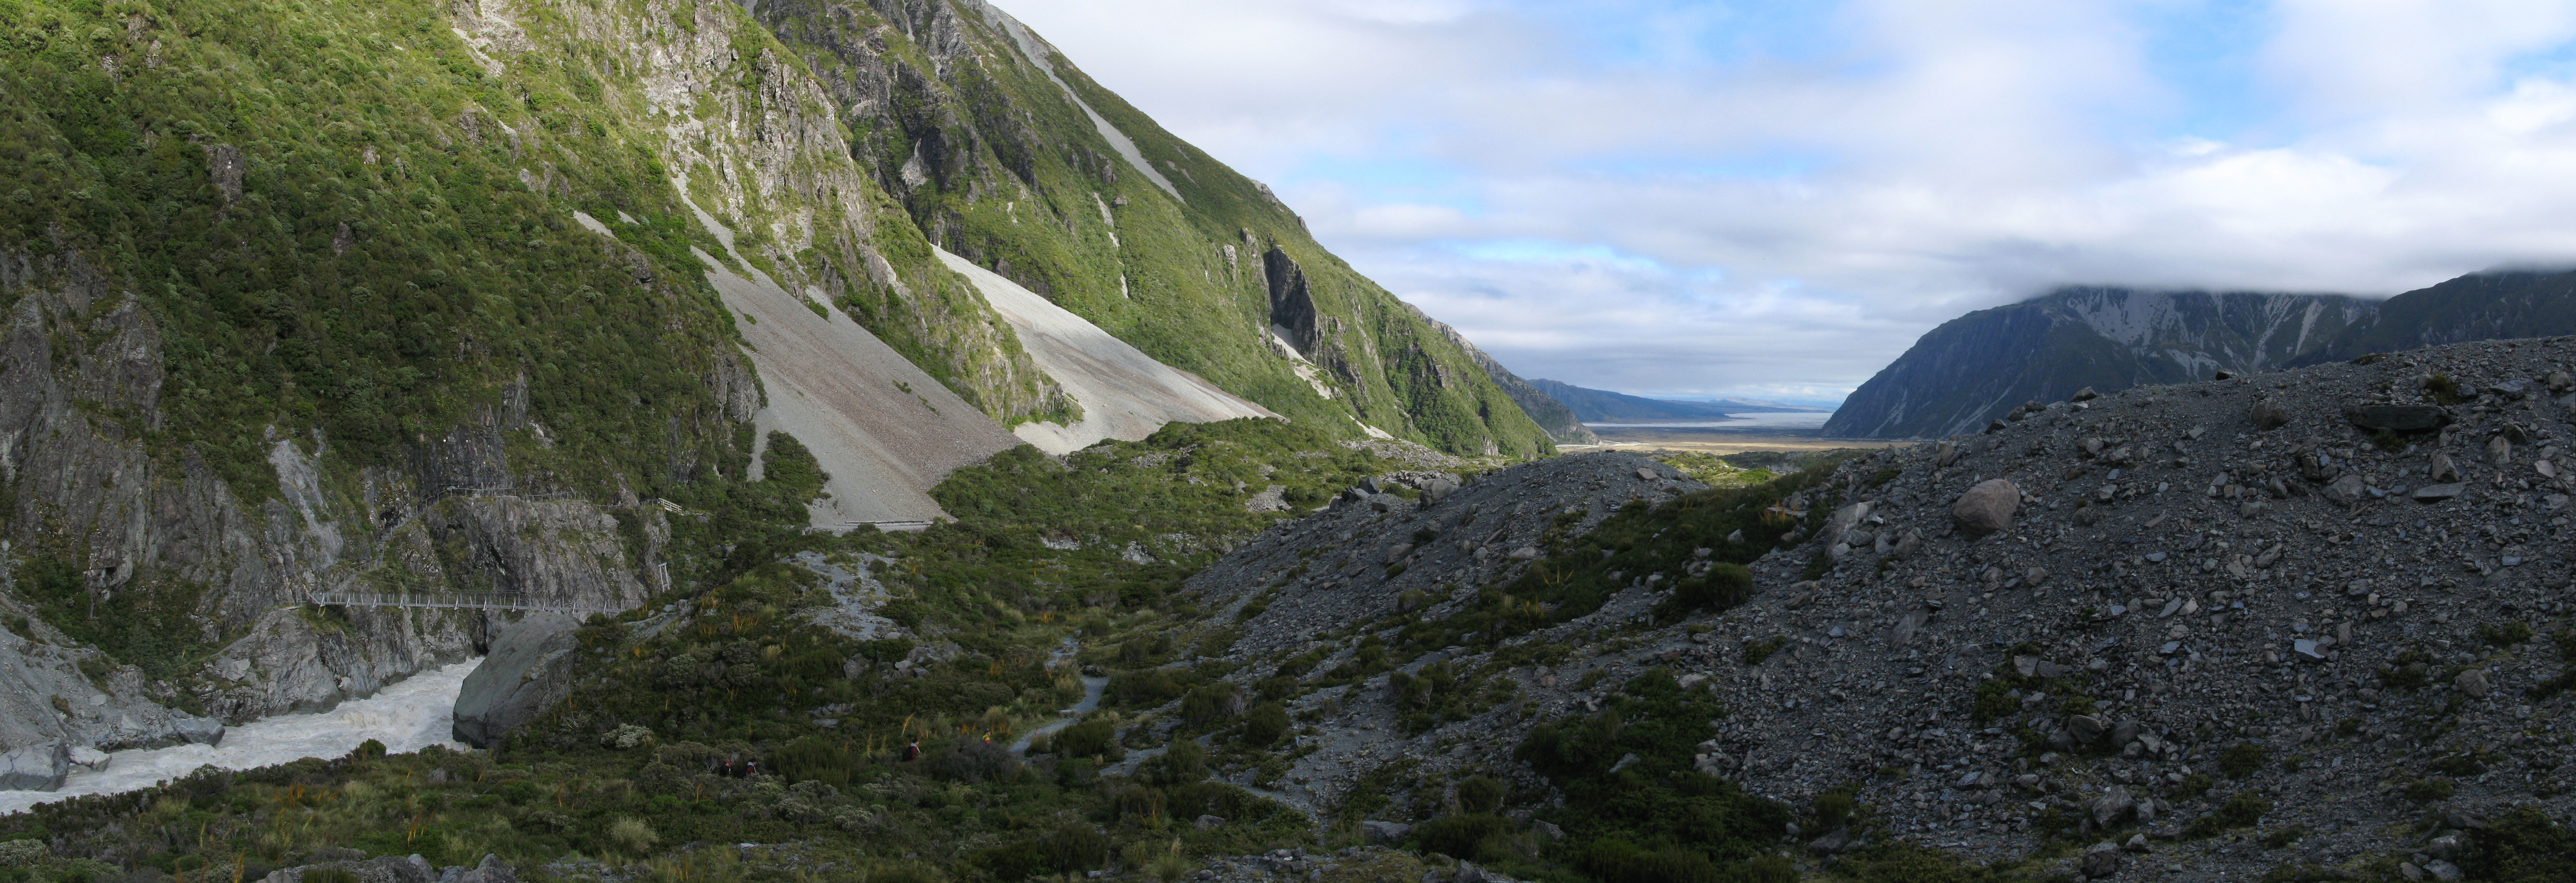
| Looking down the valley. |
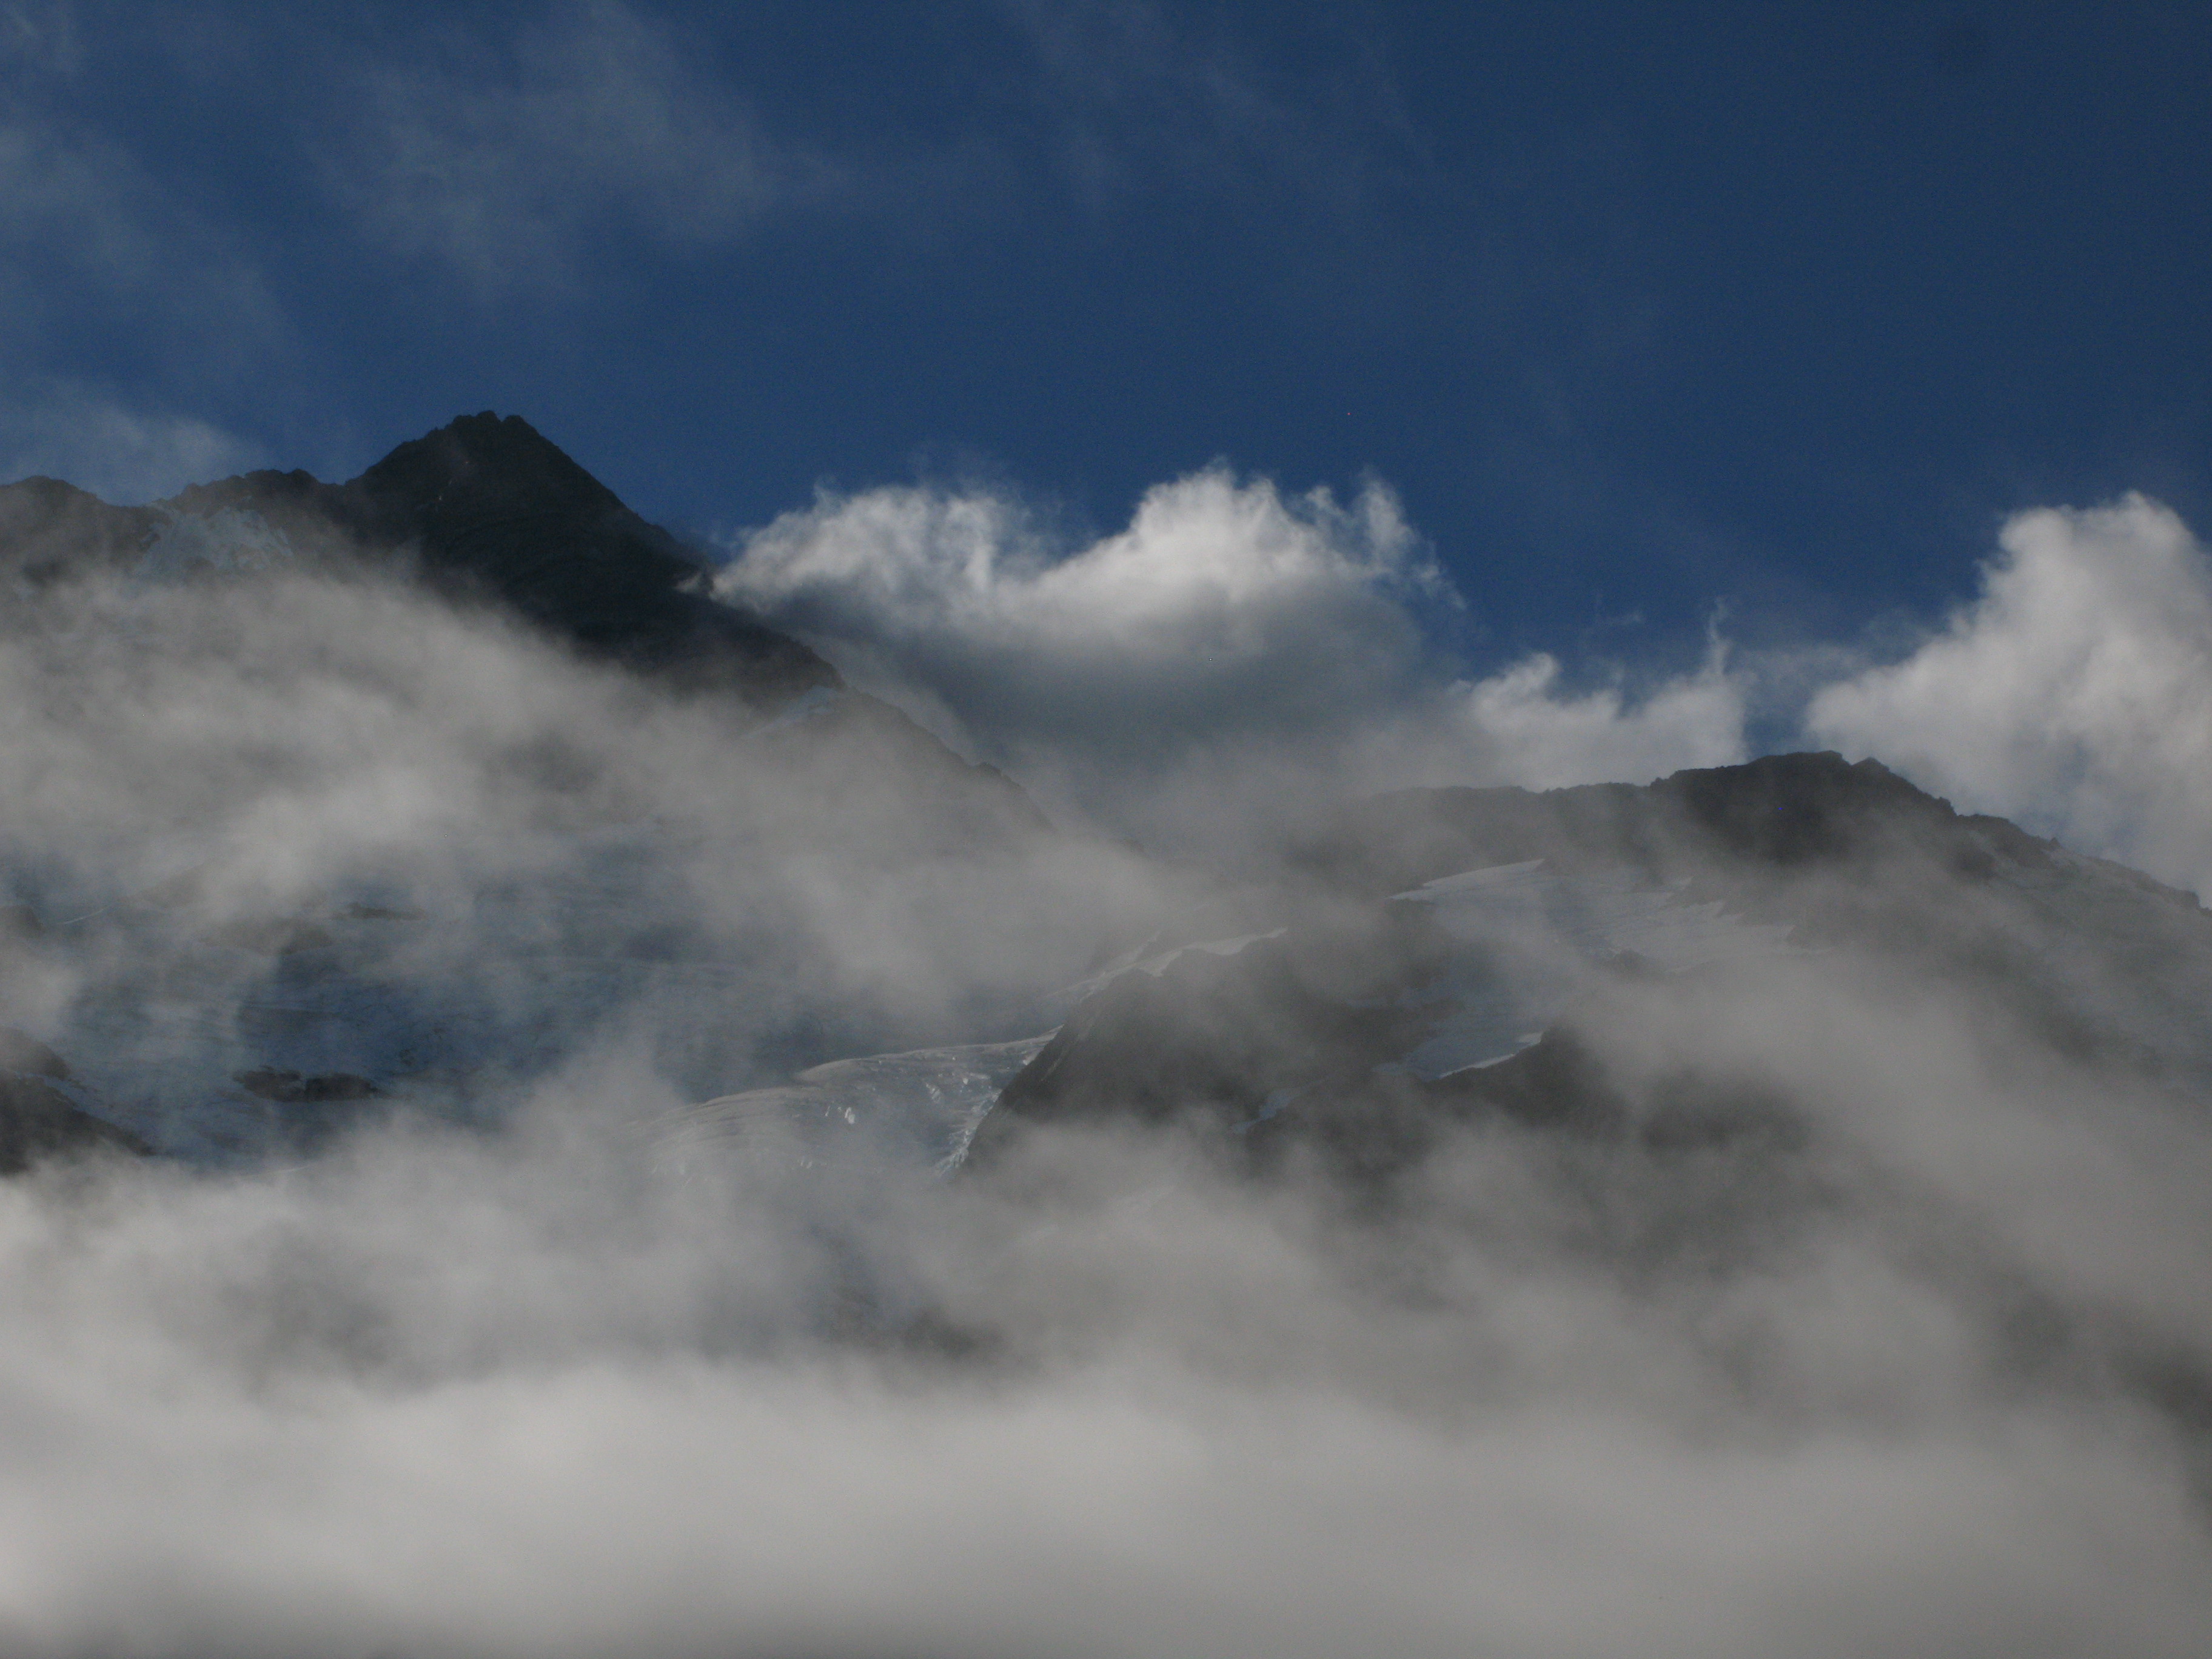
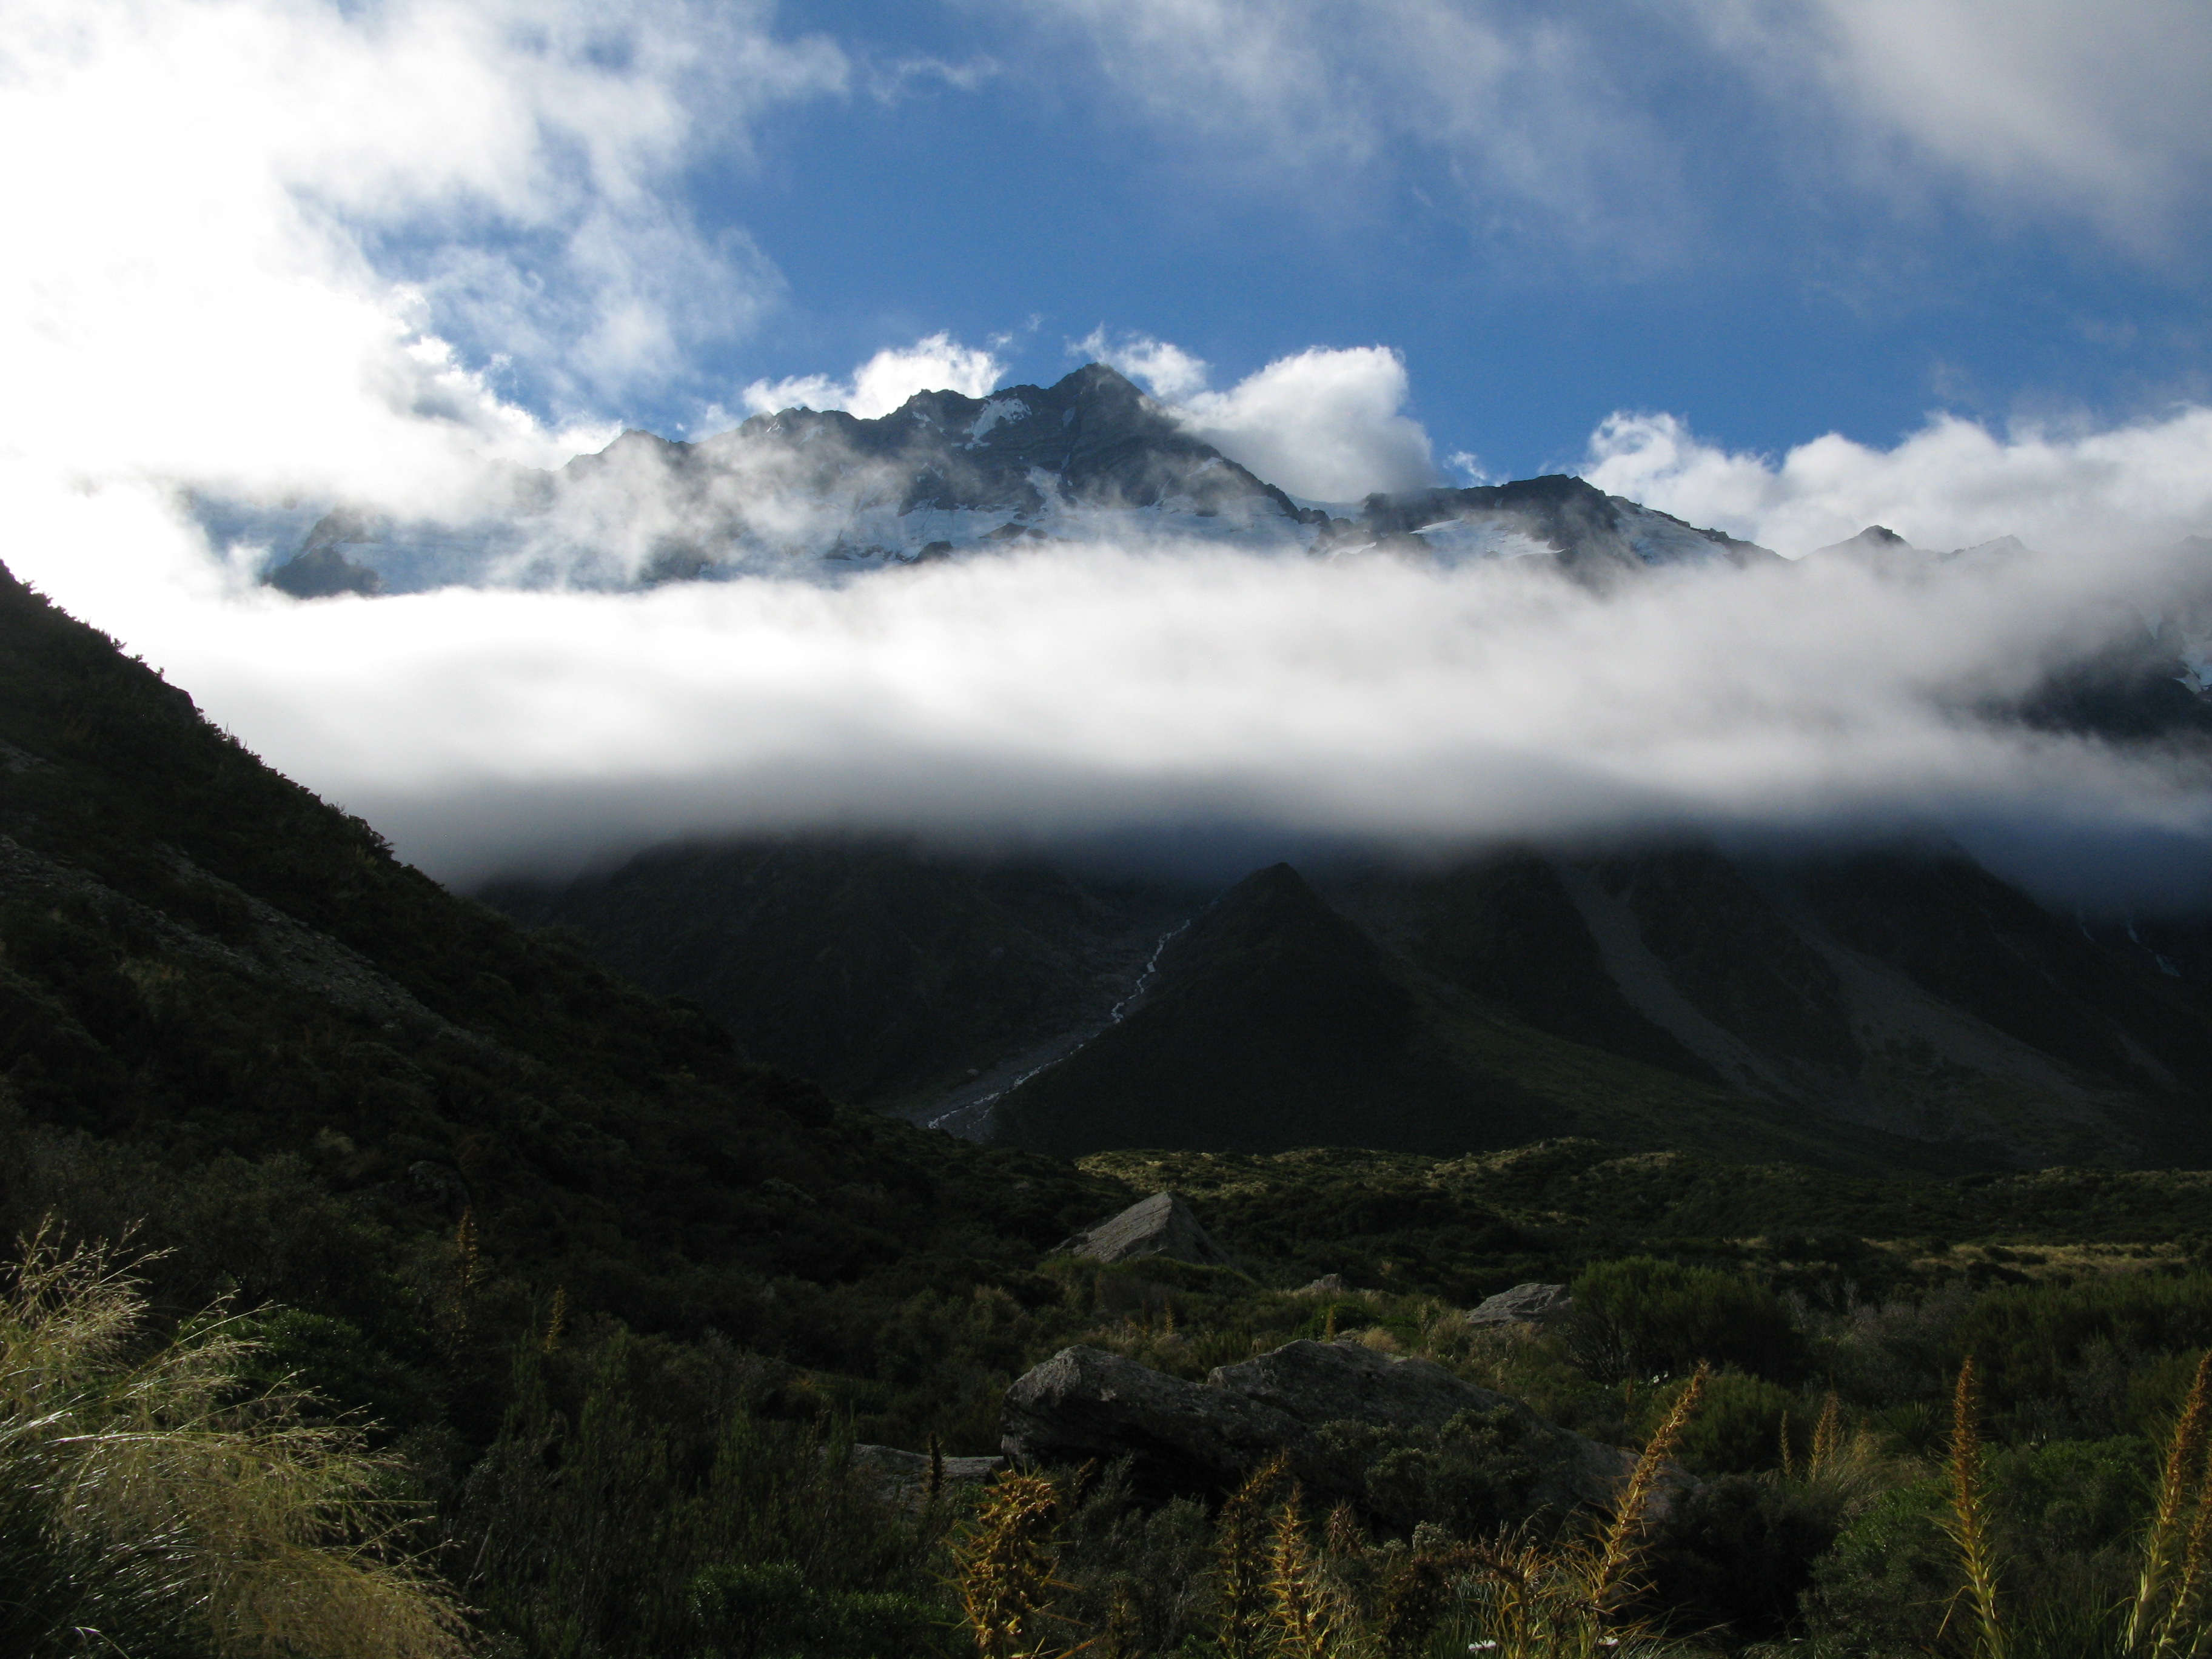
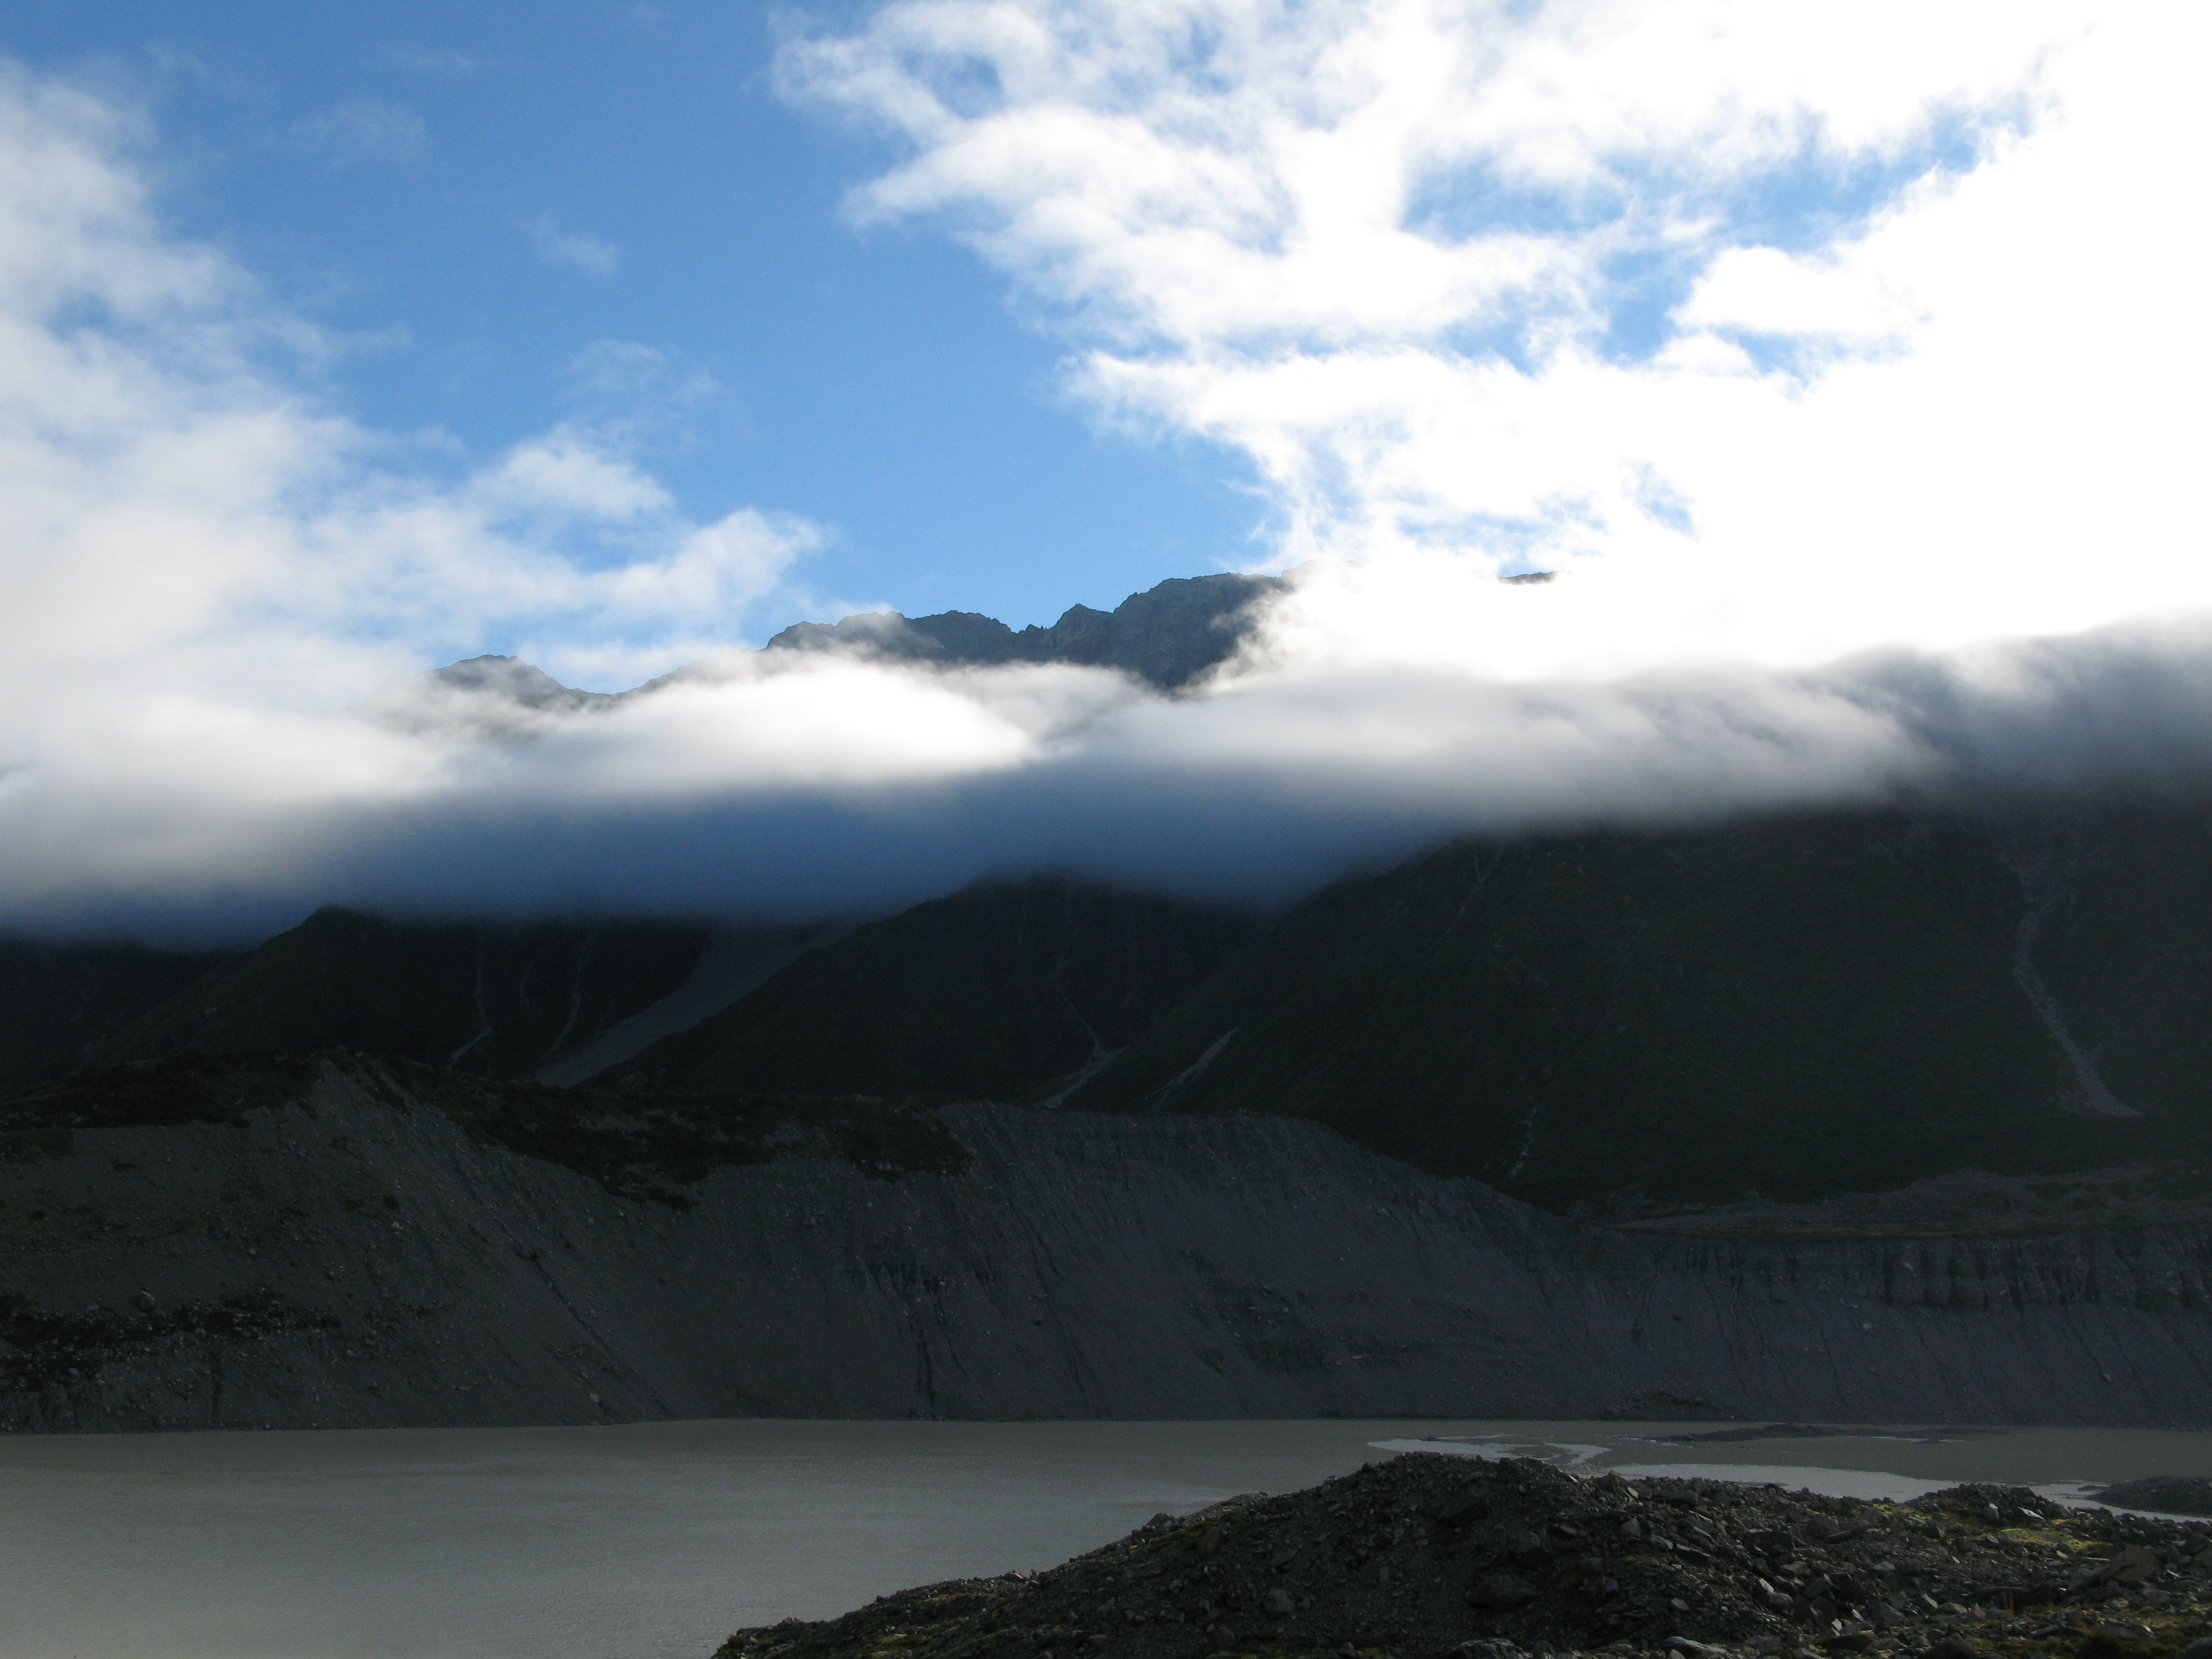
| Looking up the valley; still very cloudy. |
| Looking up the valley; still very cloudy. |
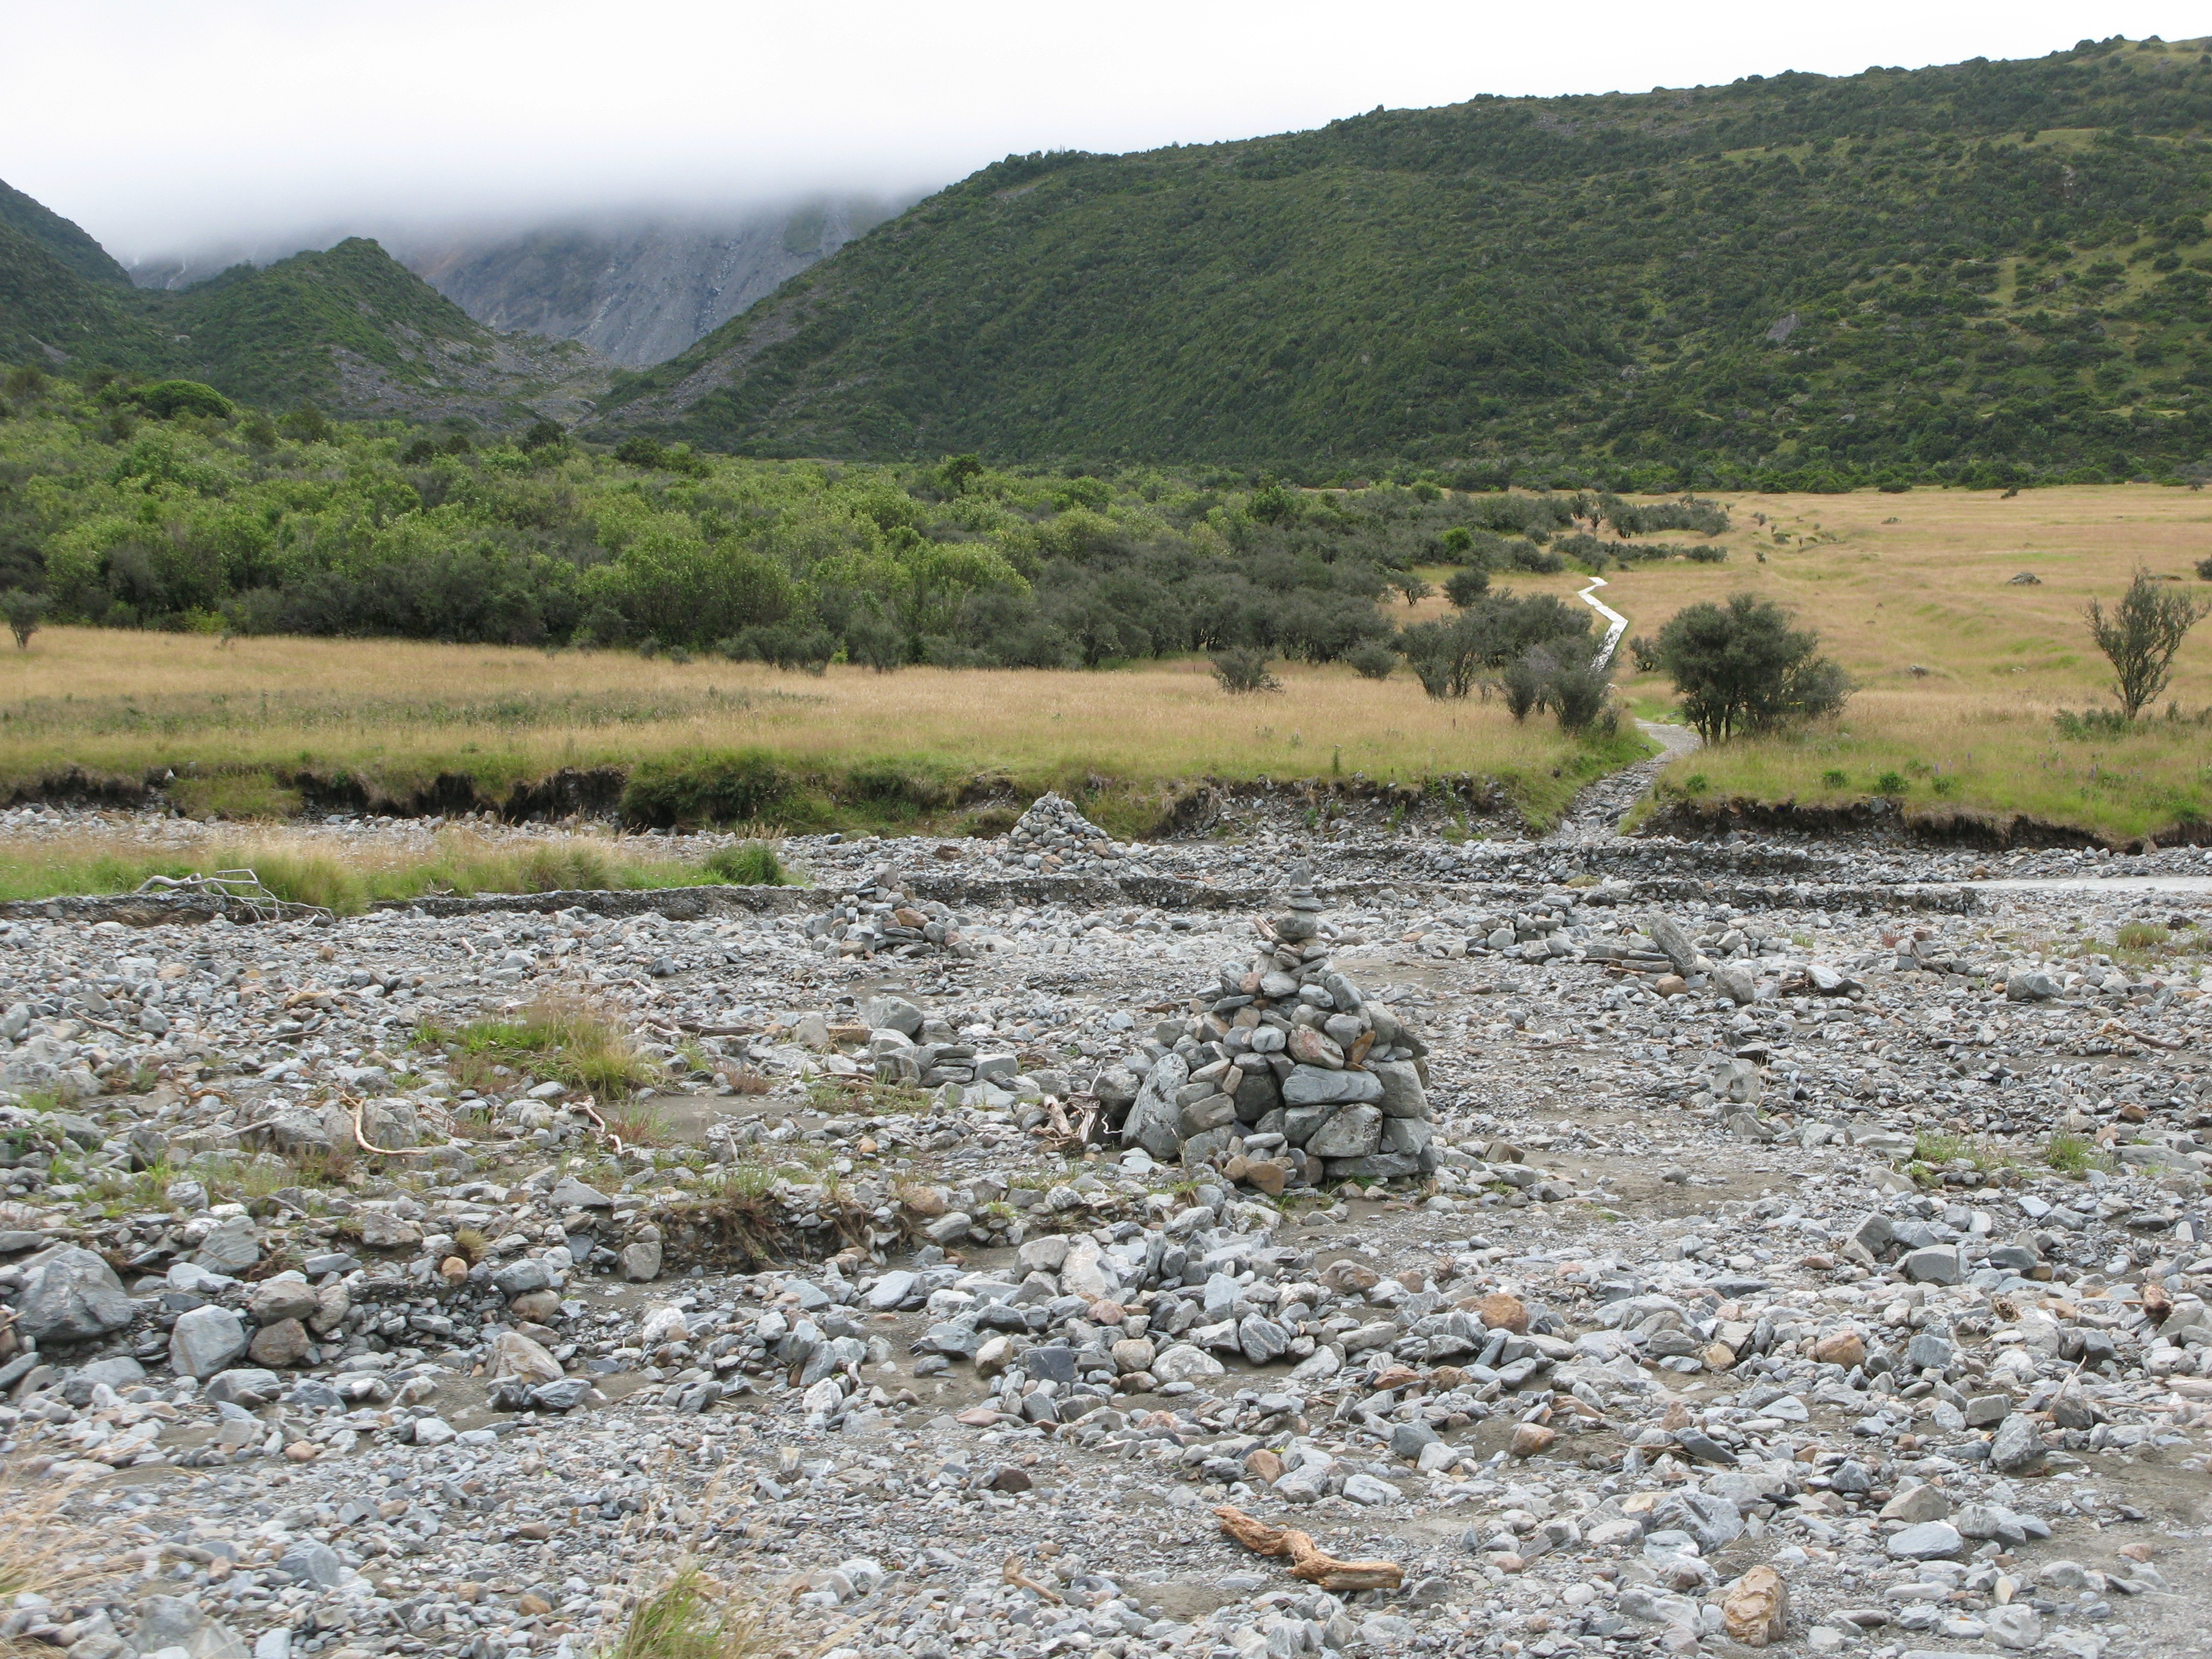
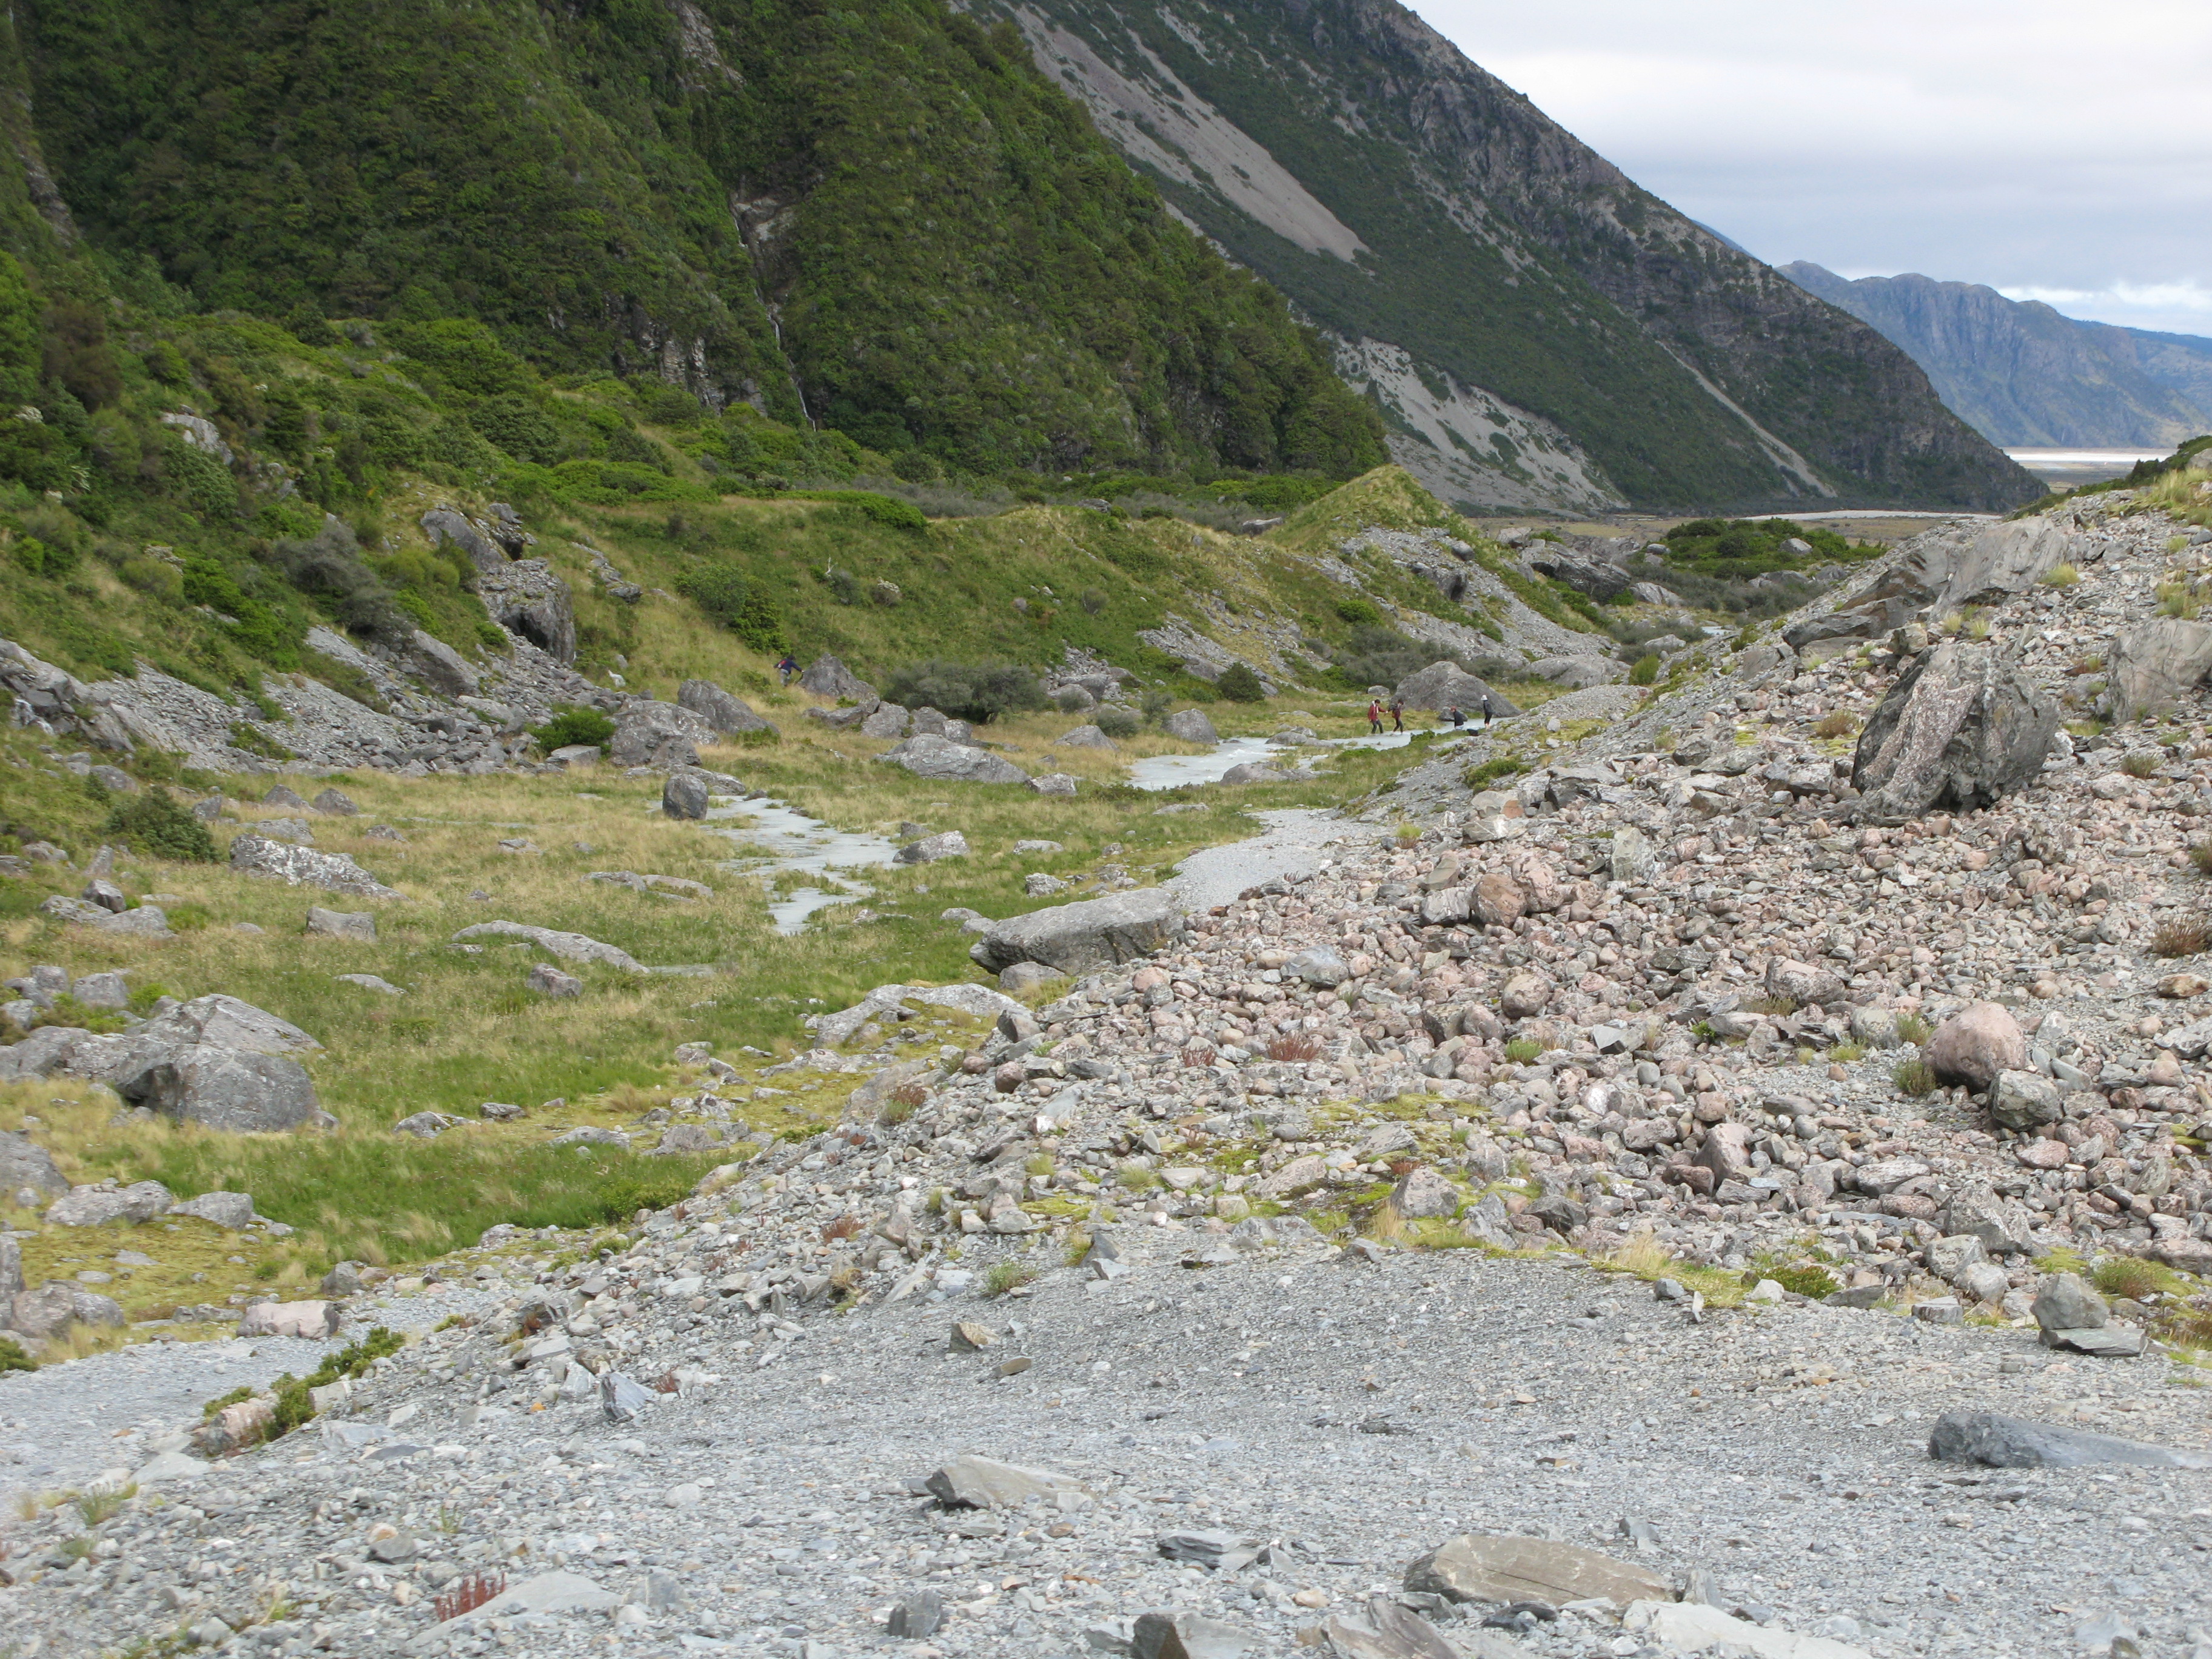
| Stone cairns marking the path across Kitchener Creek. |
| Stone cairns marking the path across Kitchener Creek. |
| Some fording required. |
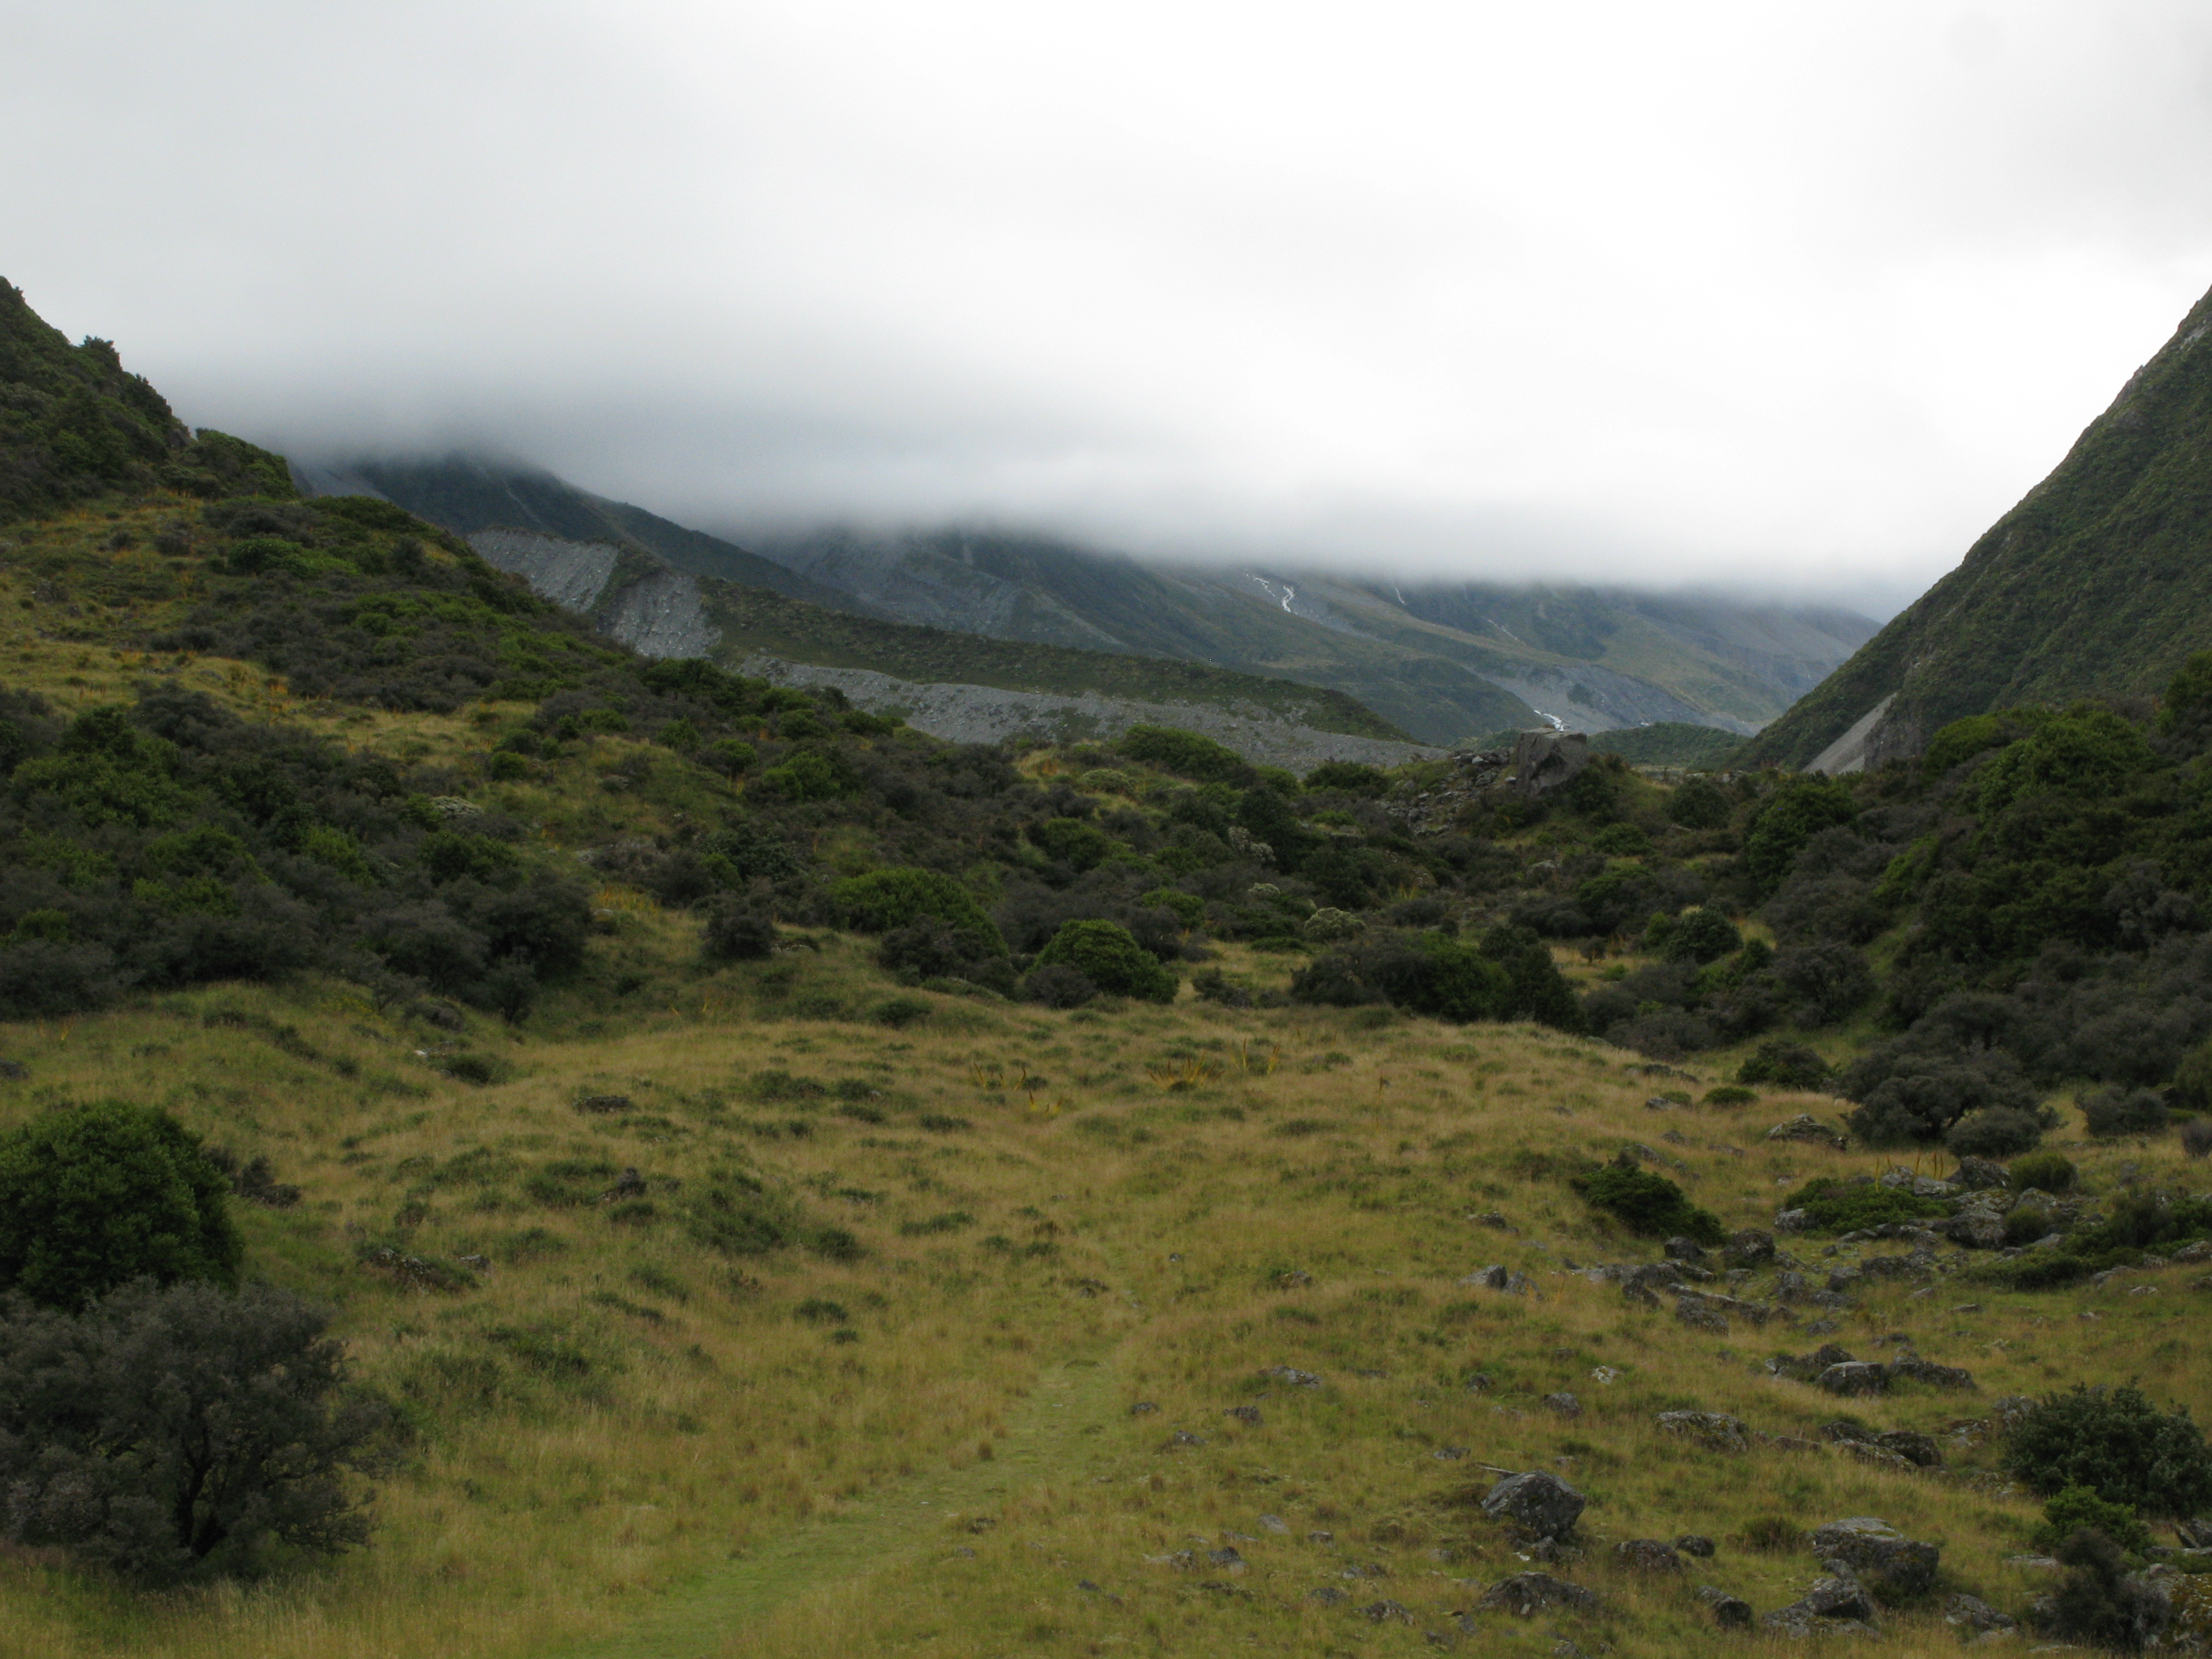
| Starting to clear further down the valley. |
| Glaciers: nature's litterbugs. |
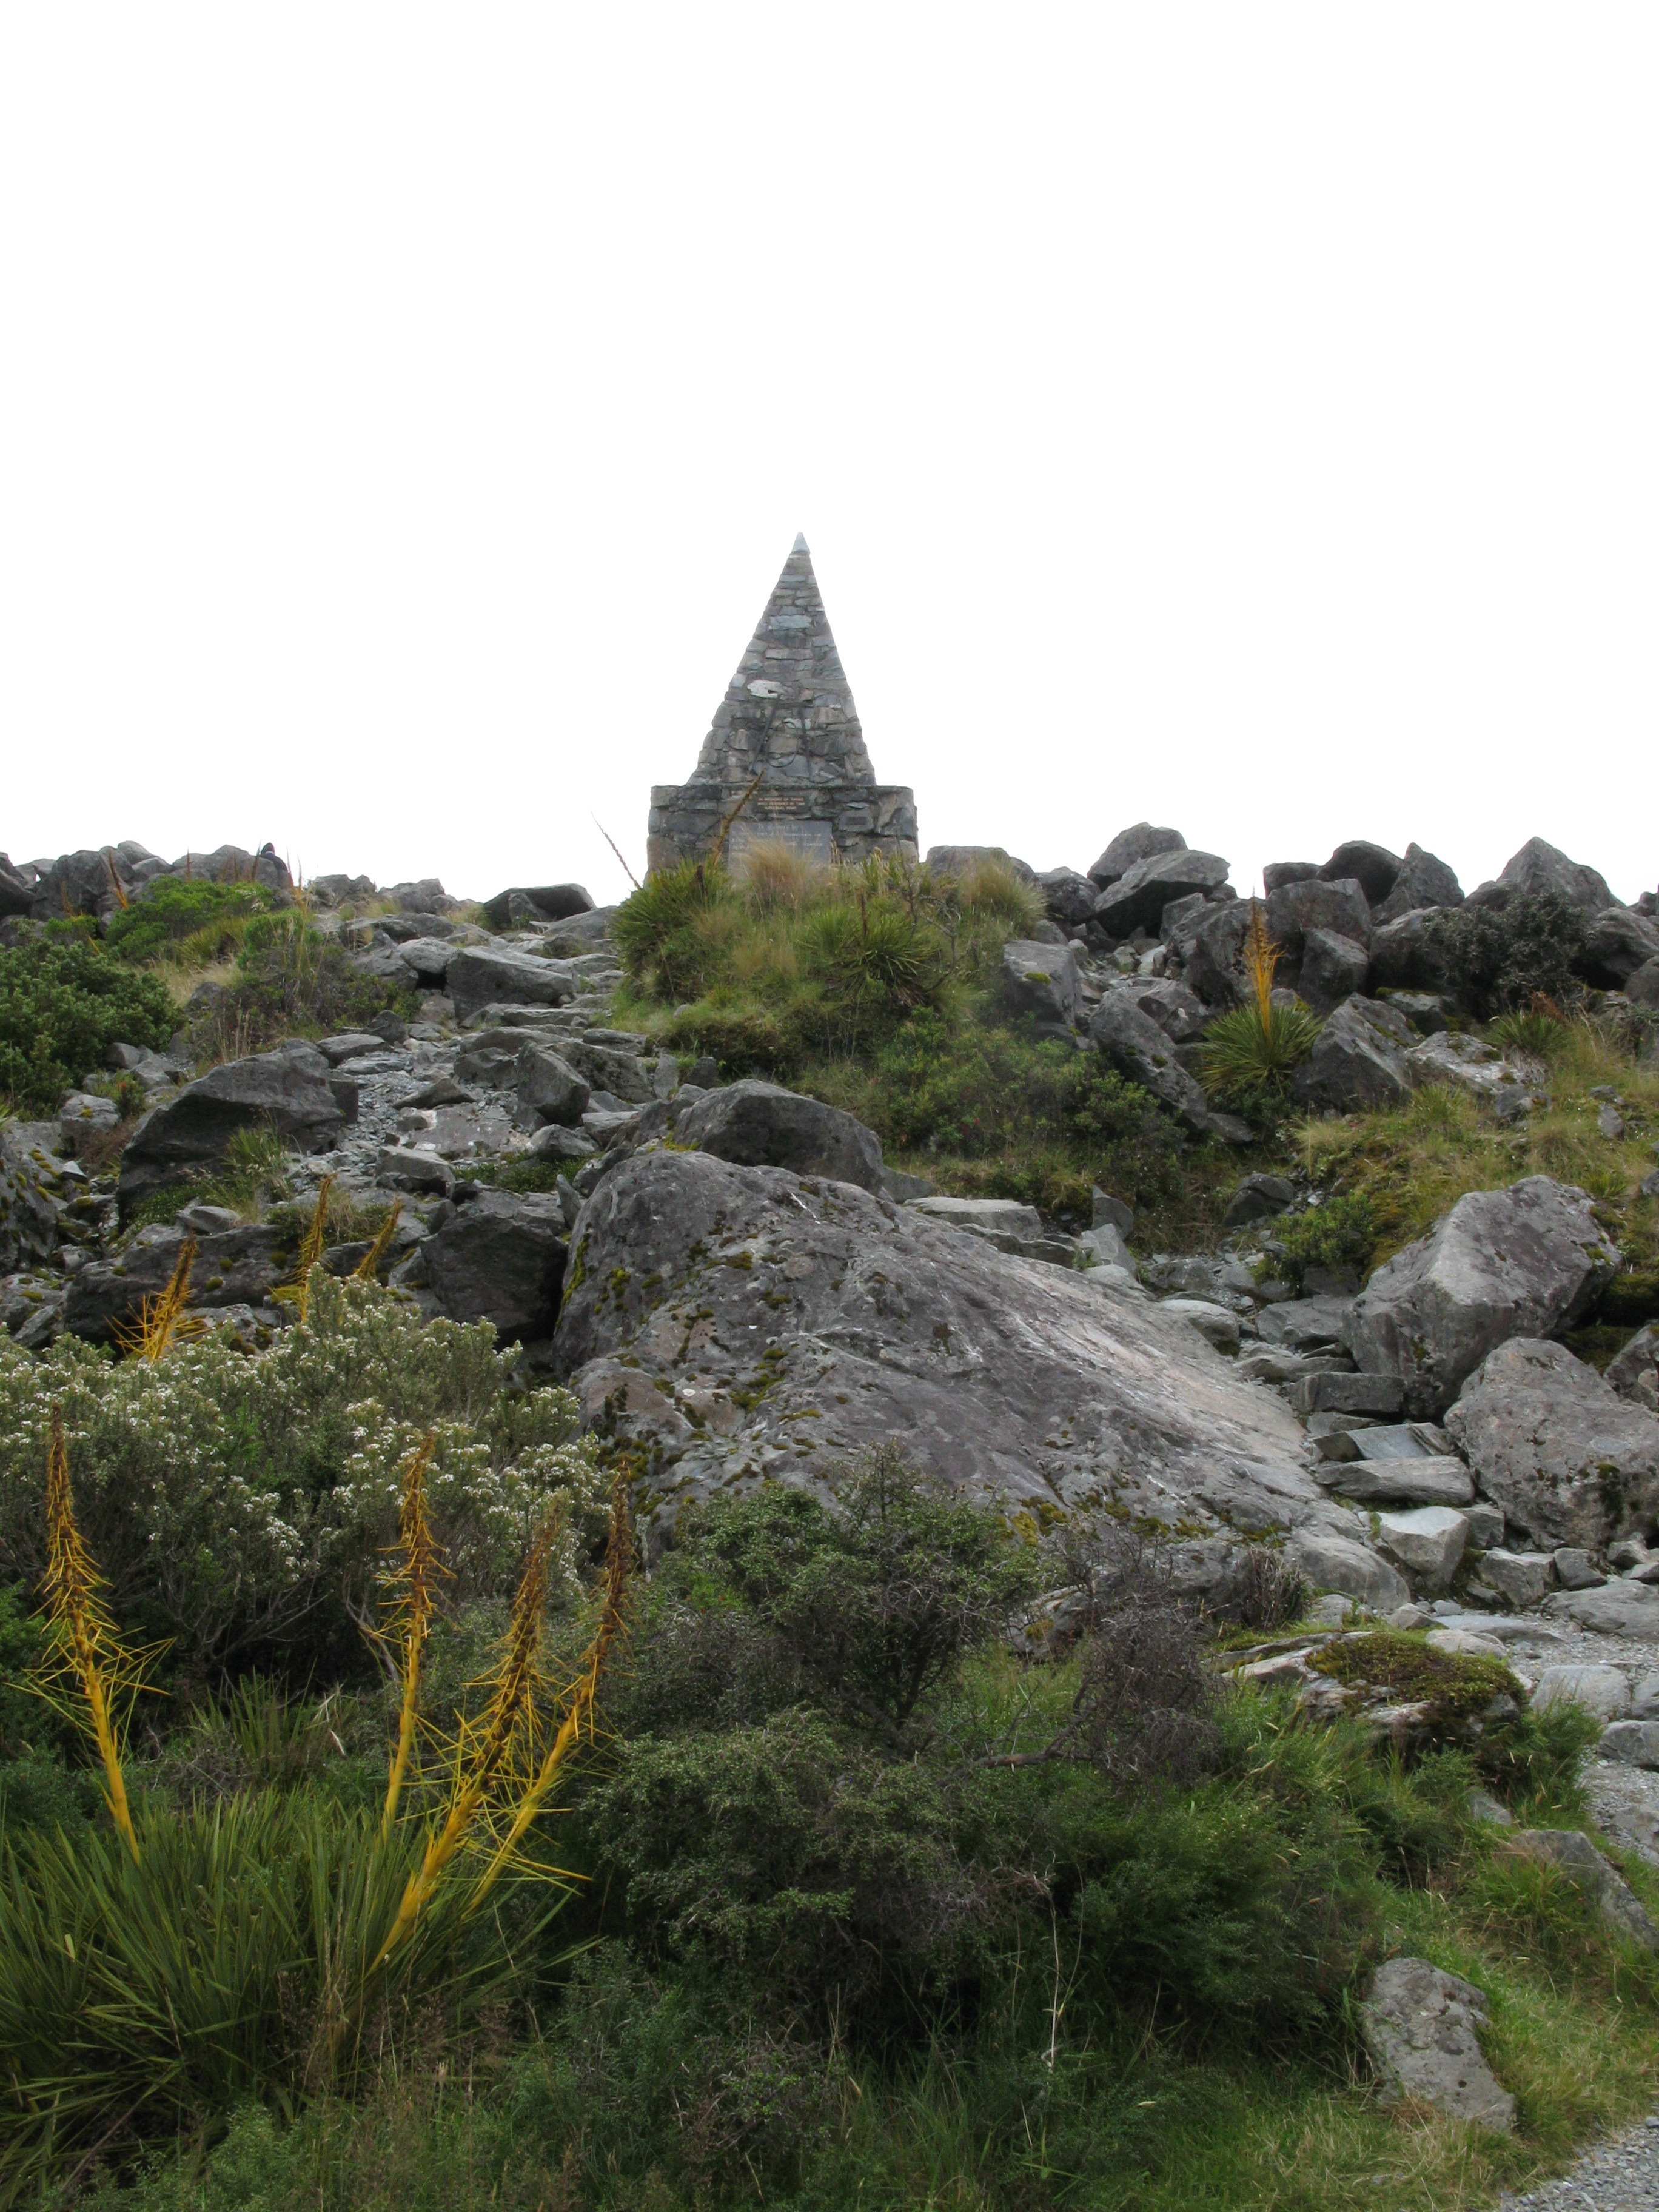
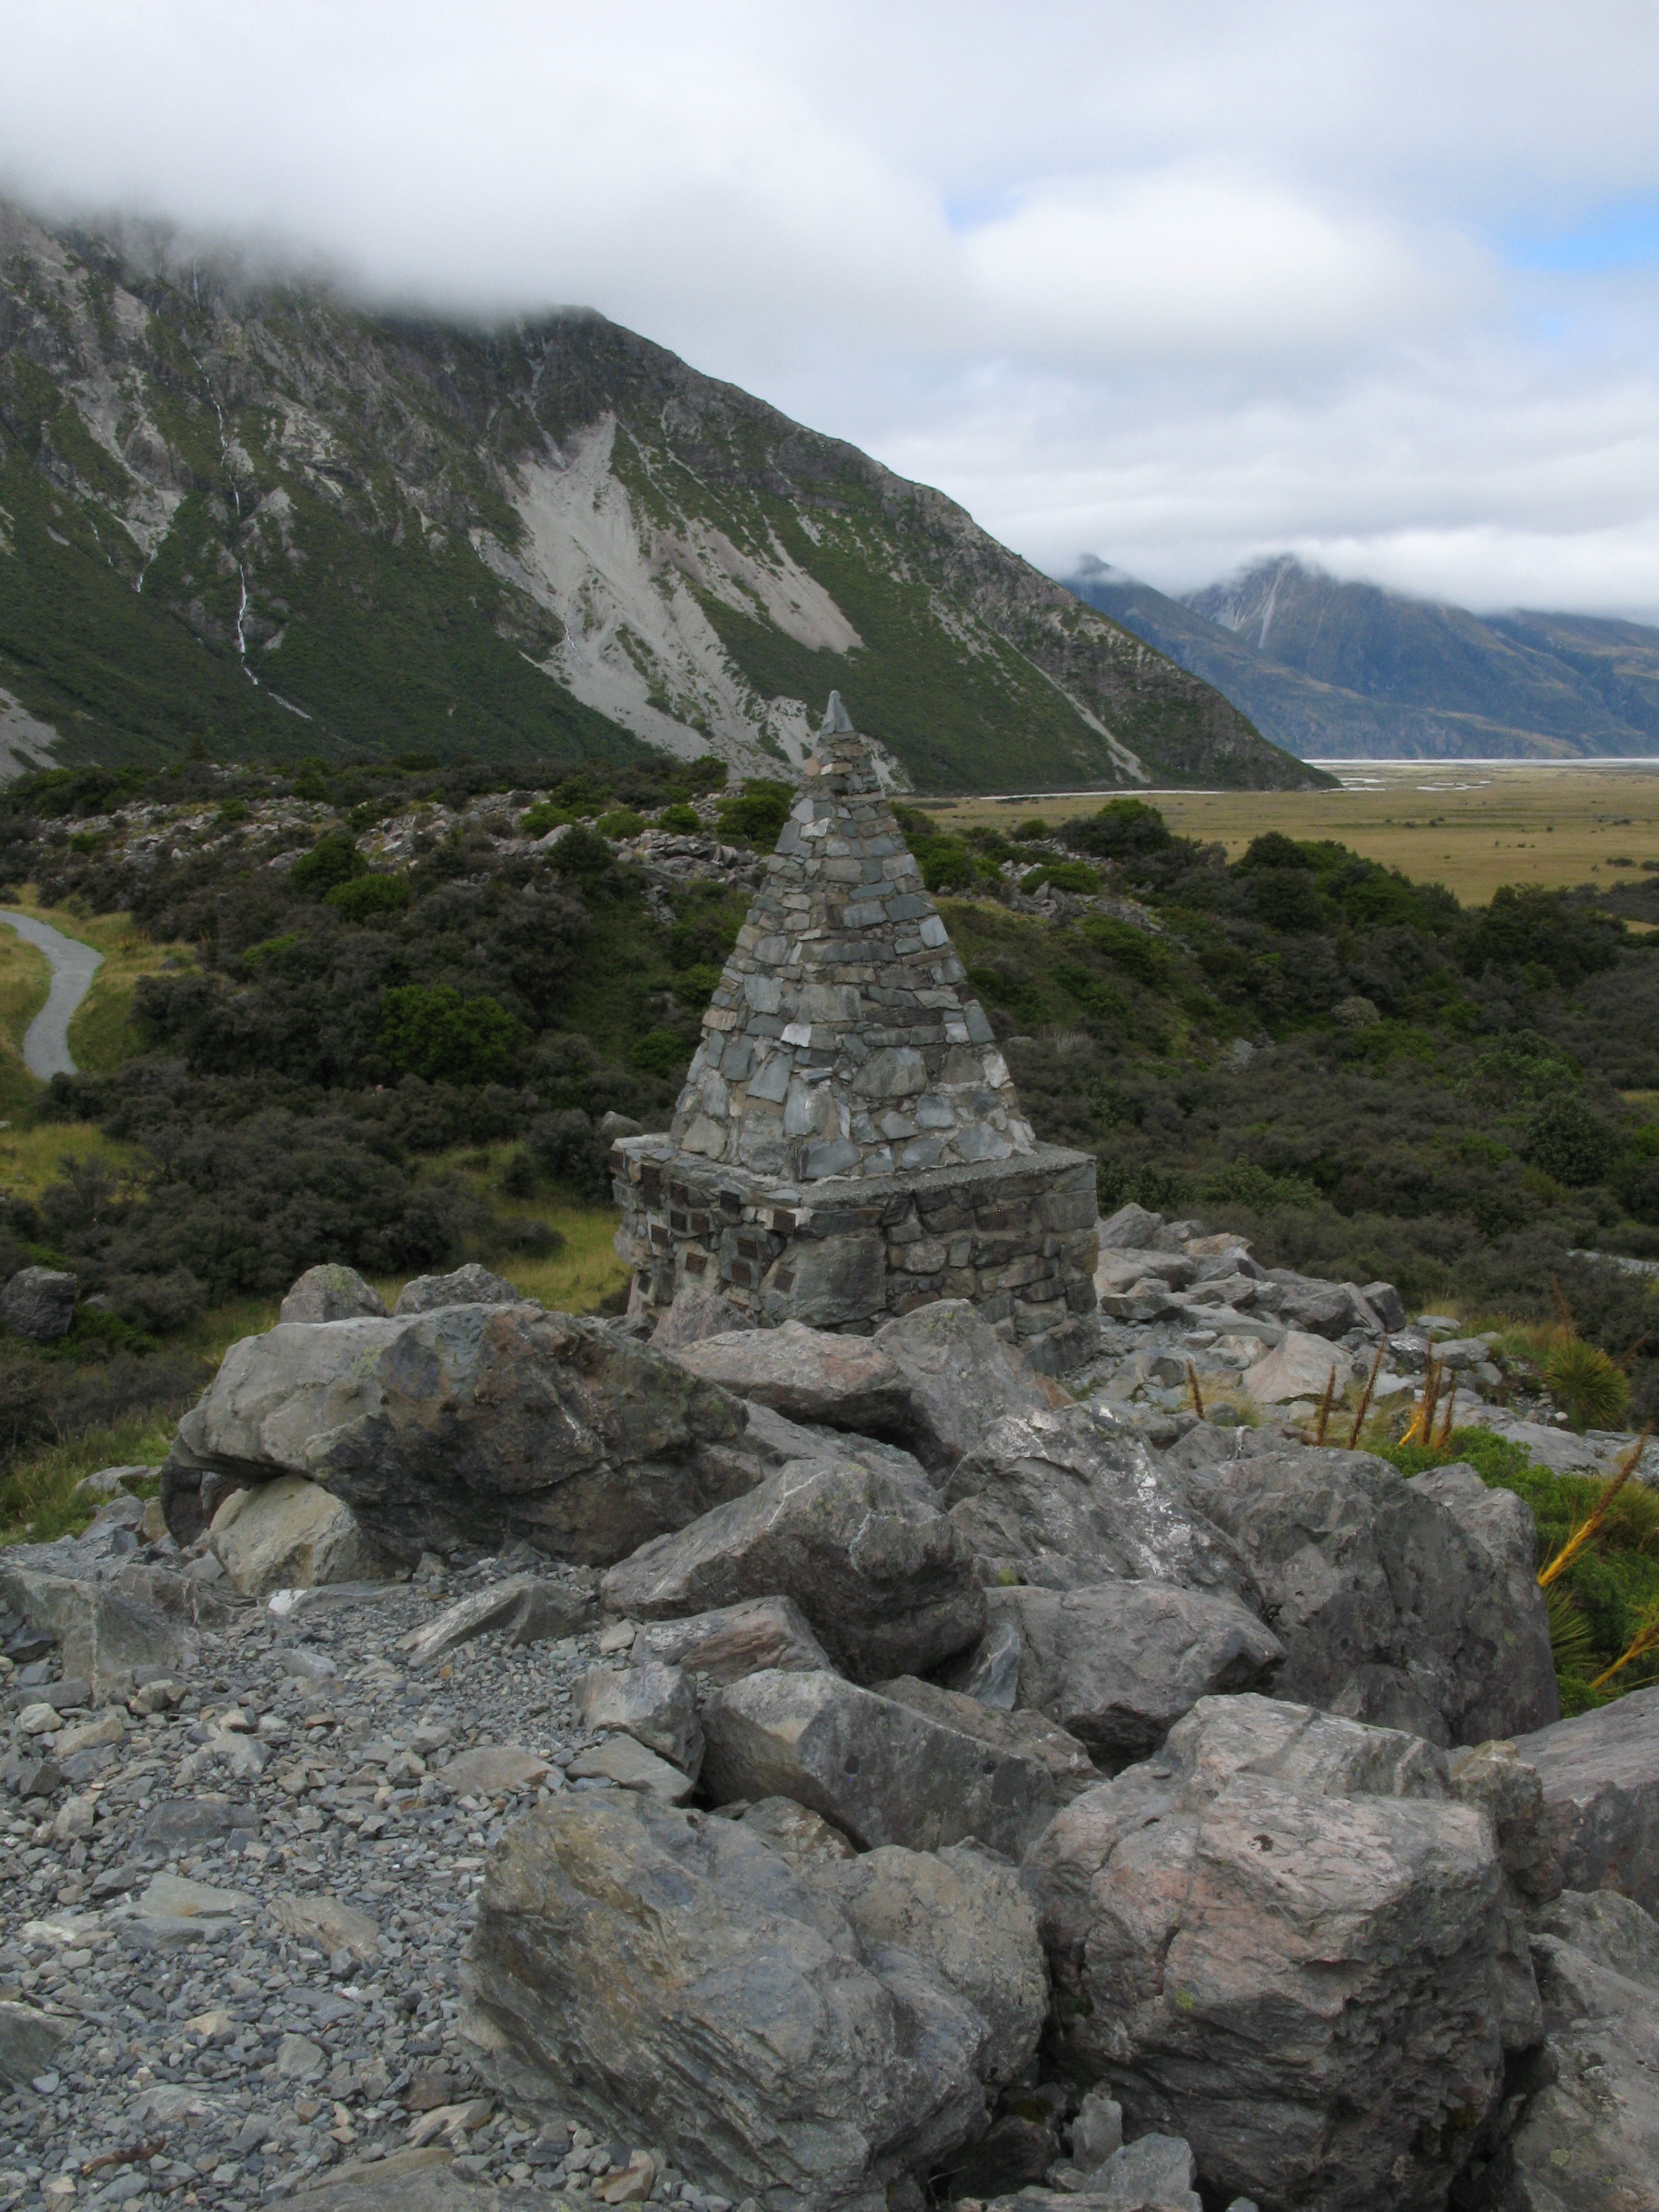
| The Alpine Memorial. |
| The Alpine Memorial. |
| The Alpine Memorial, originally erected to commemorate some climbers who perished in 1914, it has since accrued many more plaques. |
| Some of the plaques on the Memorial. |
| Some of the plaques on the Memorial. |
| The view of the village from the Memorial. |
| The Alpine Memorial. |
| Another look up the valley. |
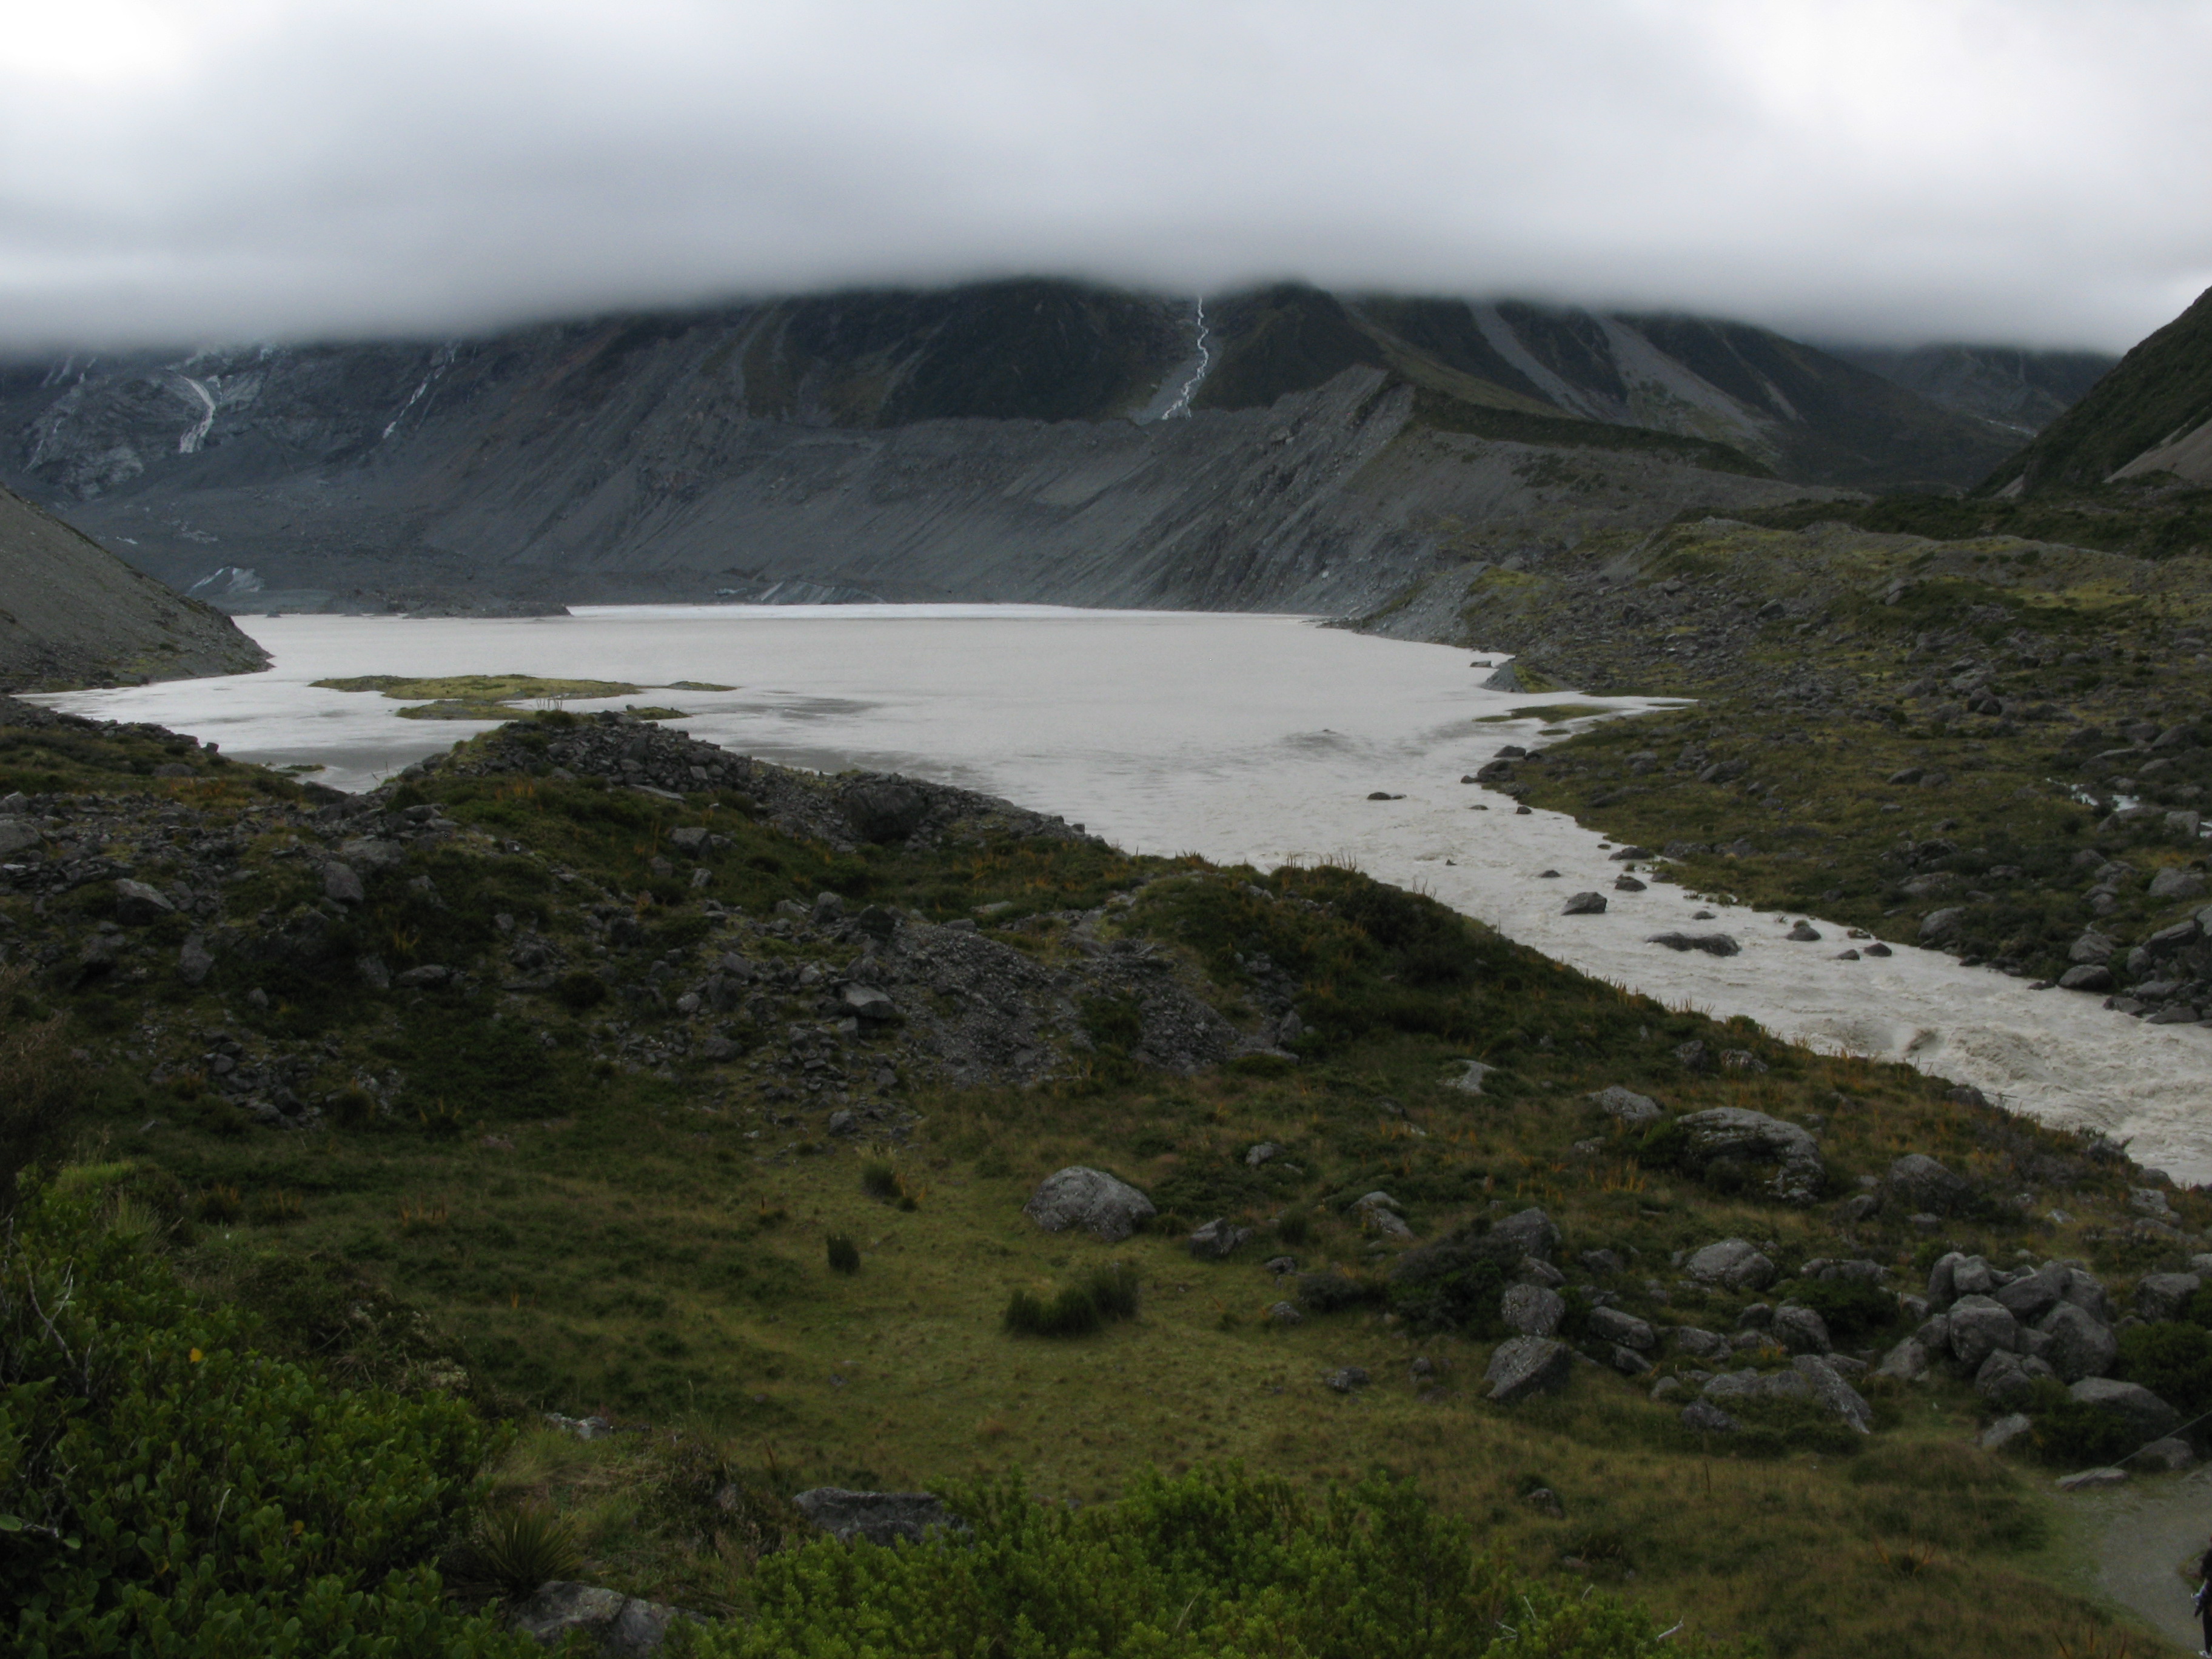
| Mueller Lake with a very dirty Mueller Glacier behind. |
| The first swing bridge across Hooker River. |
| The first swing bridge. |
| The first swing bridge. |
| The first swing bridge. |
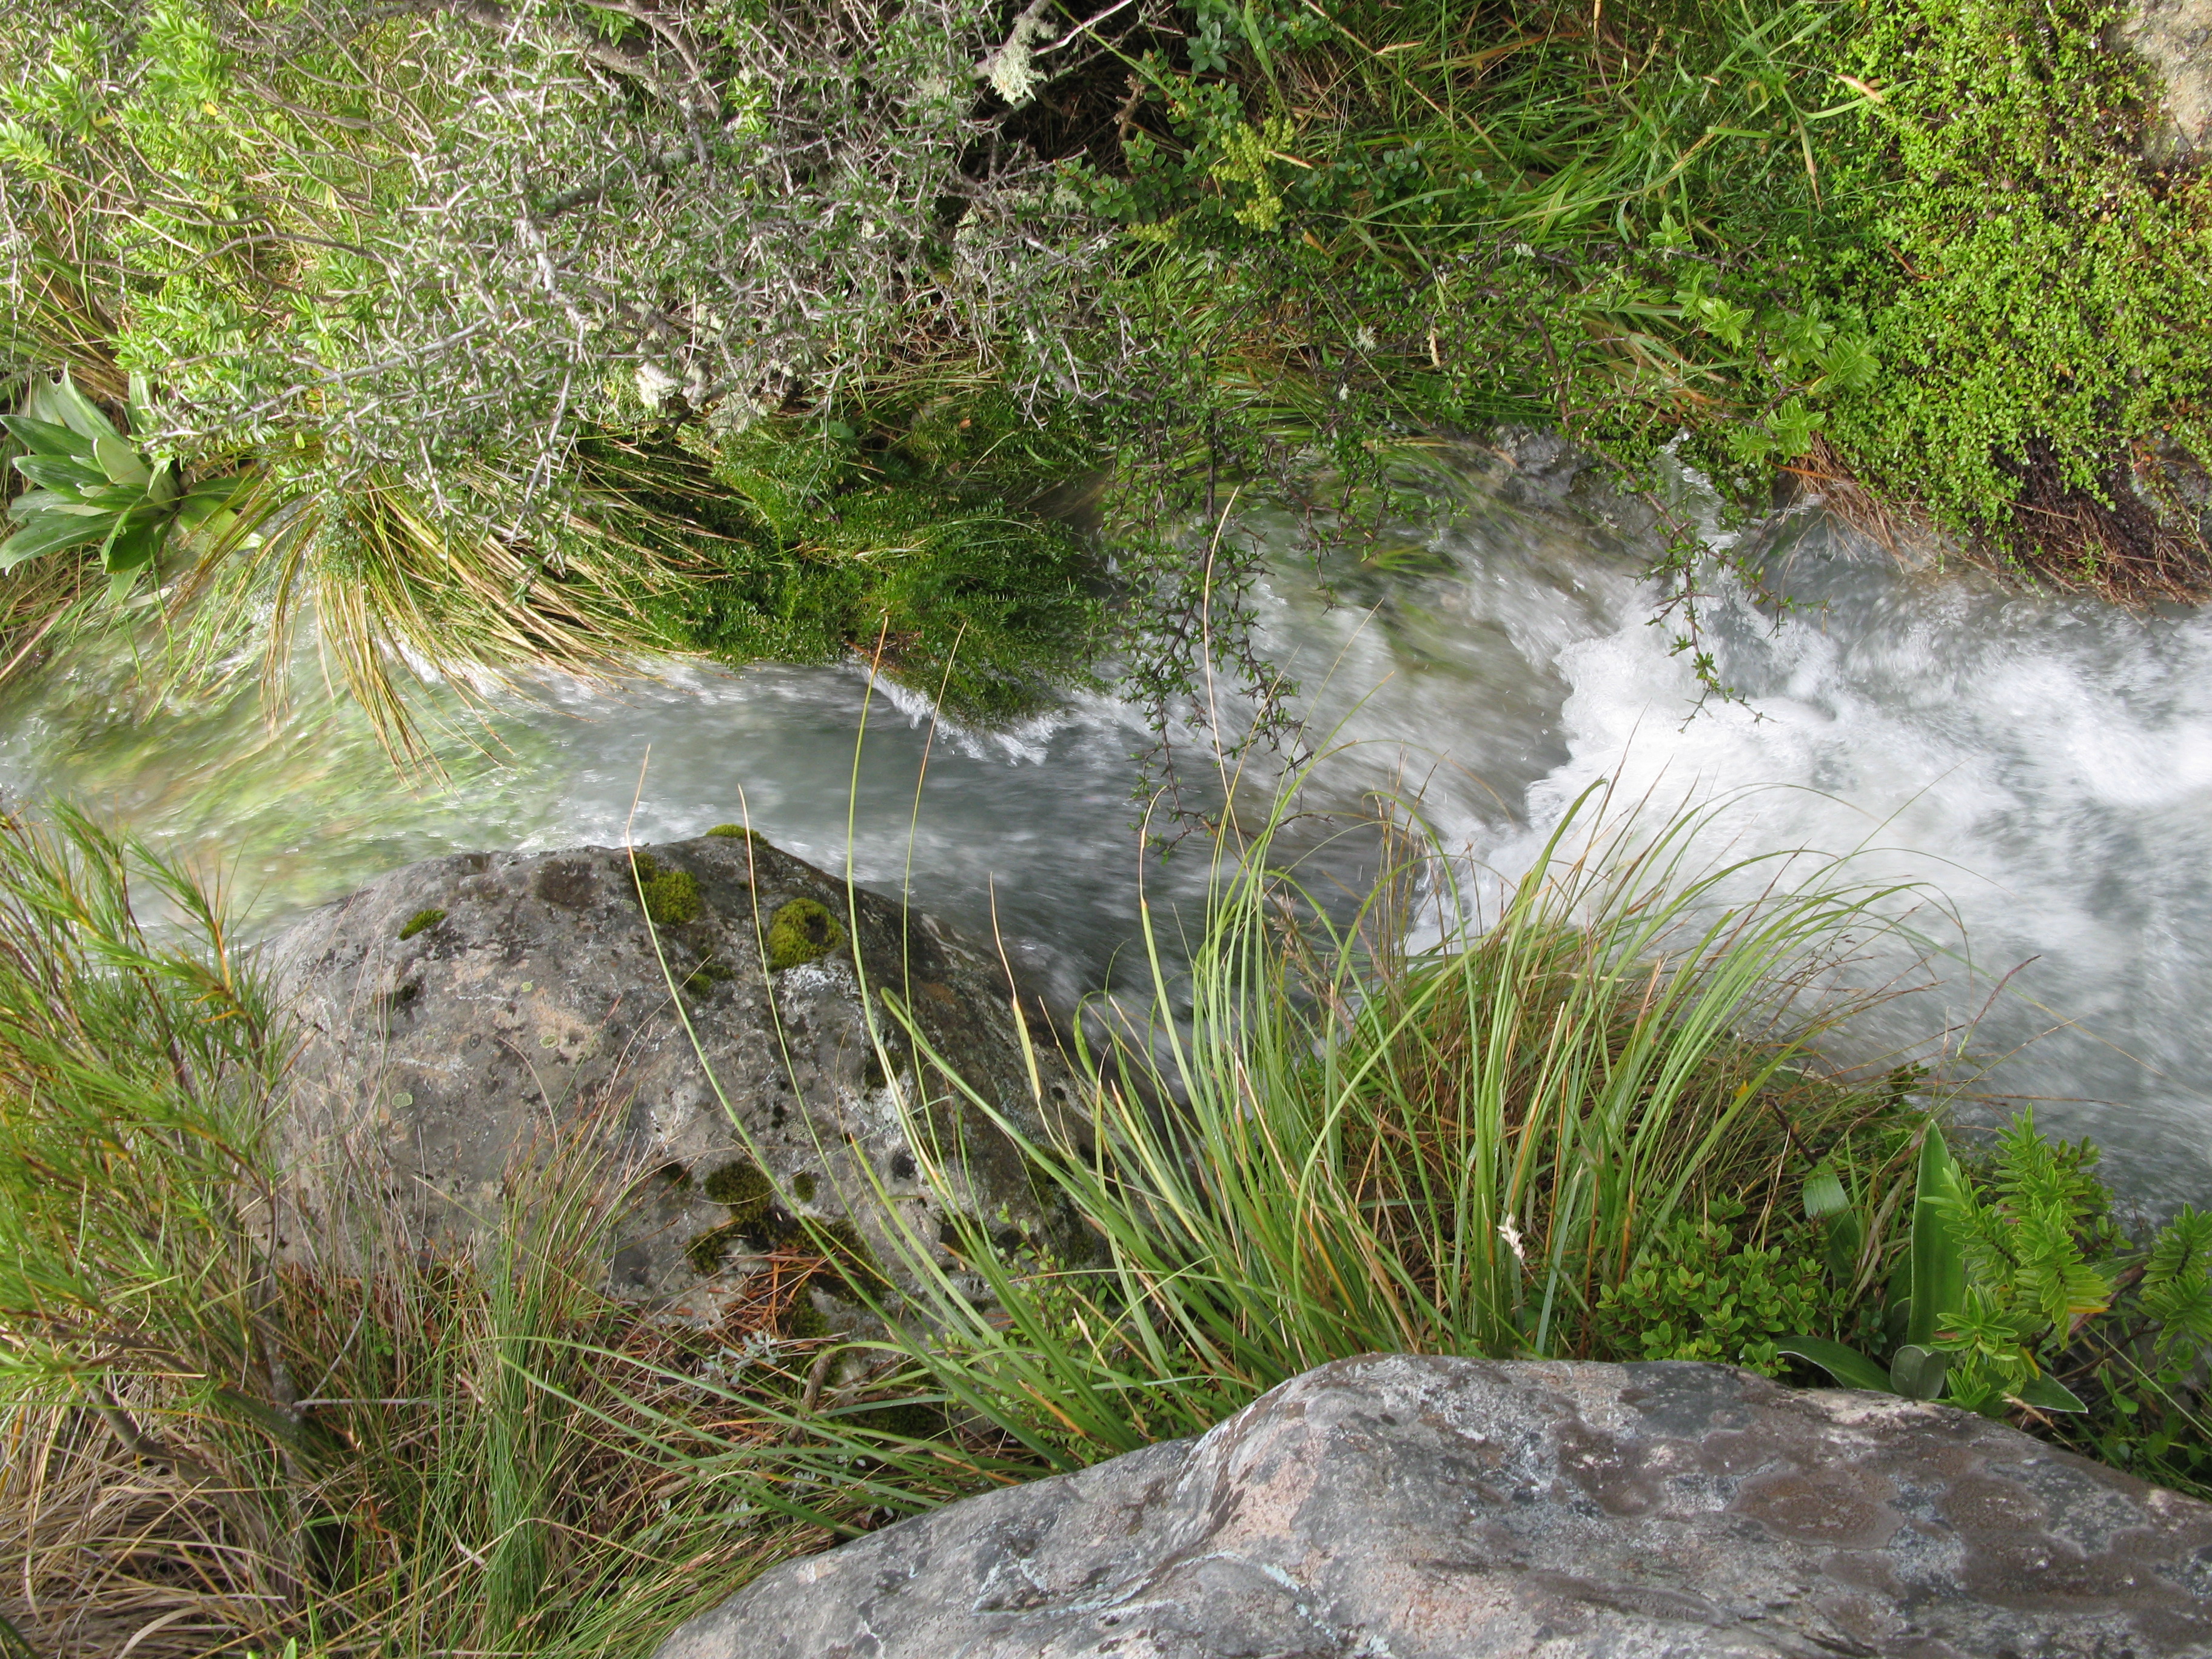
| This thing that looks like a stream is actually the path. Some pathforging required. |
| |
| (10990x2493, 6882.30 kb) Mueller Lake below low cloud. | |
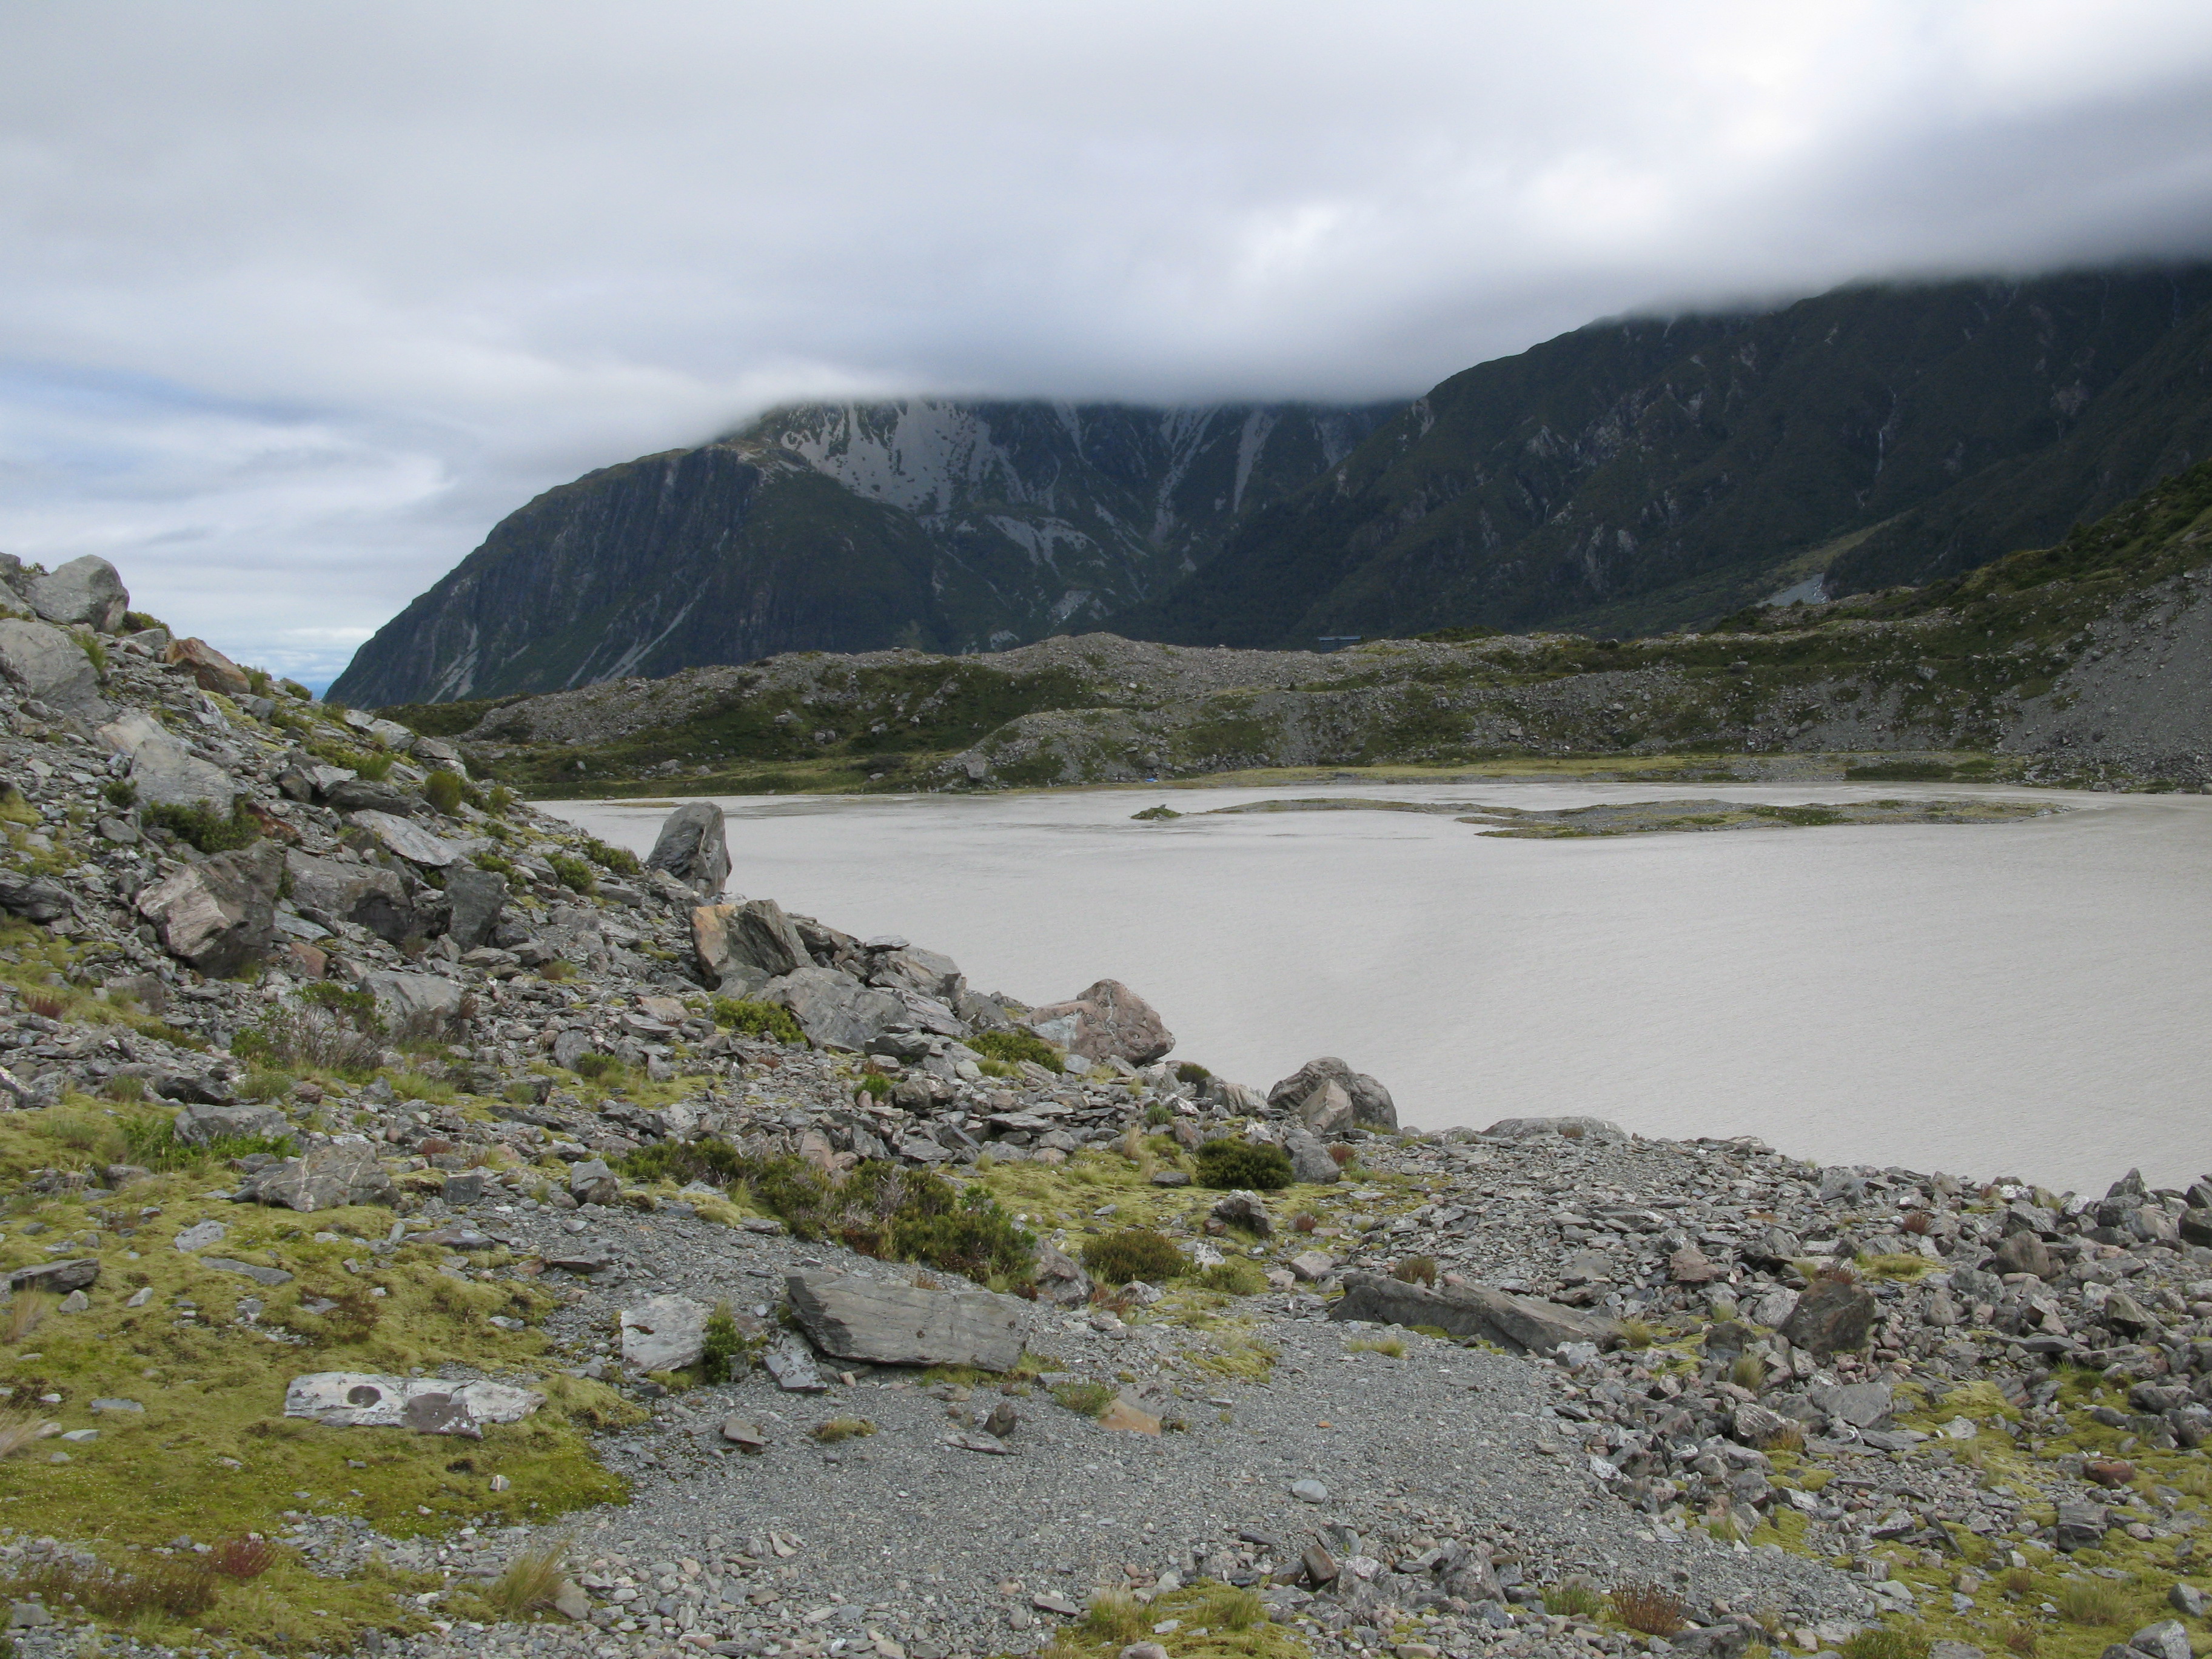
| Mueller Lake. |
| Mueller Lake and Glacier. |
| Climbing up. |
| Some fellow trampers attempt to ford the new stream. |
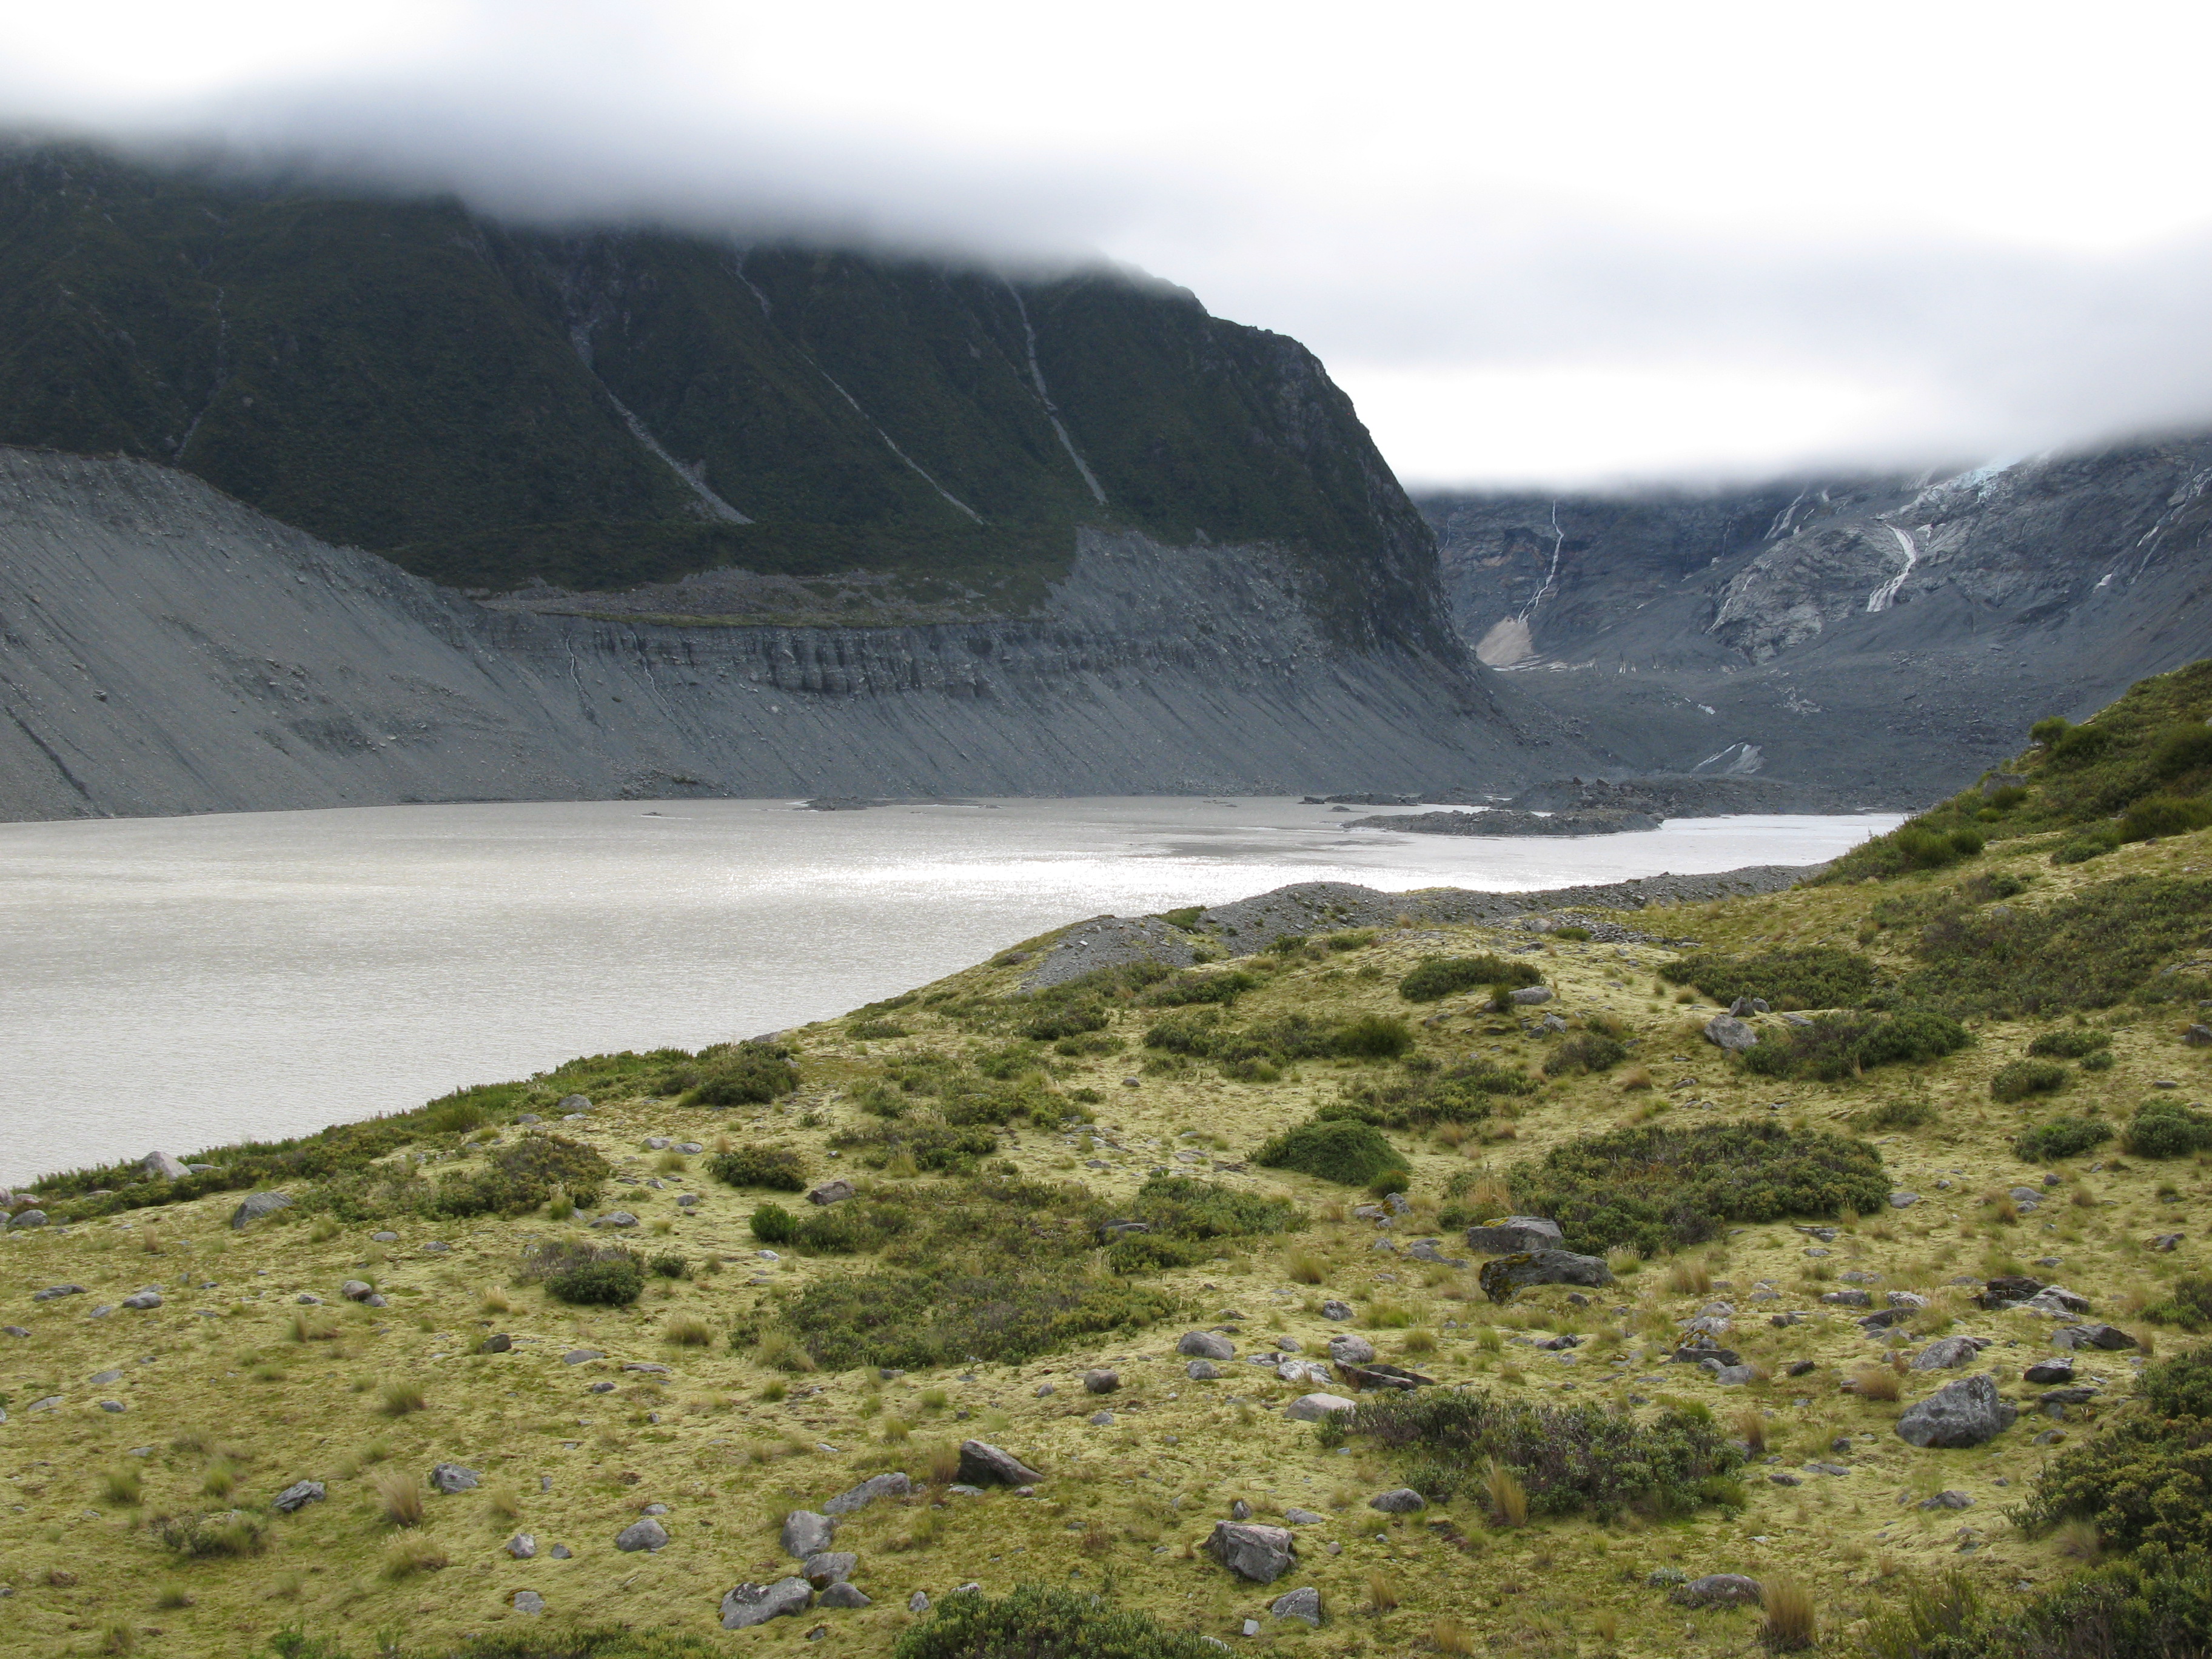
| Mueller Lake and Glacier. |
| Mueller Glacier. |
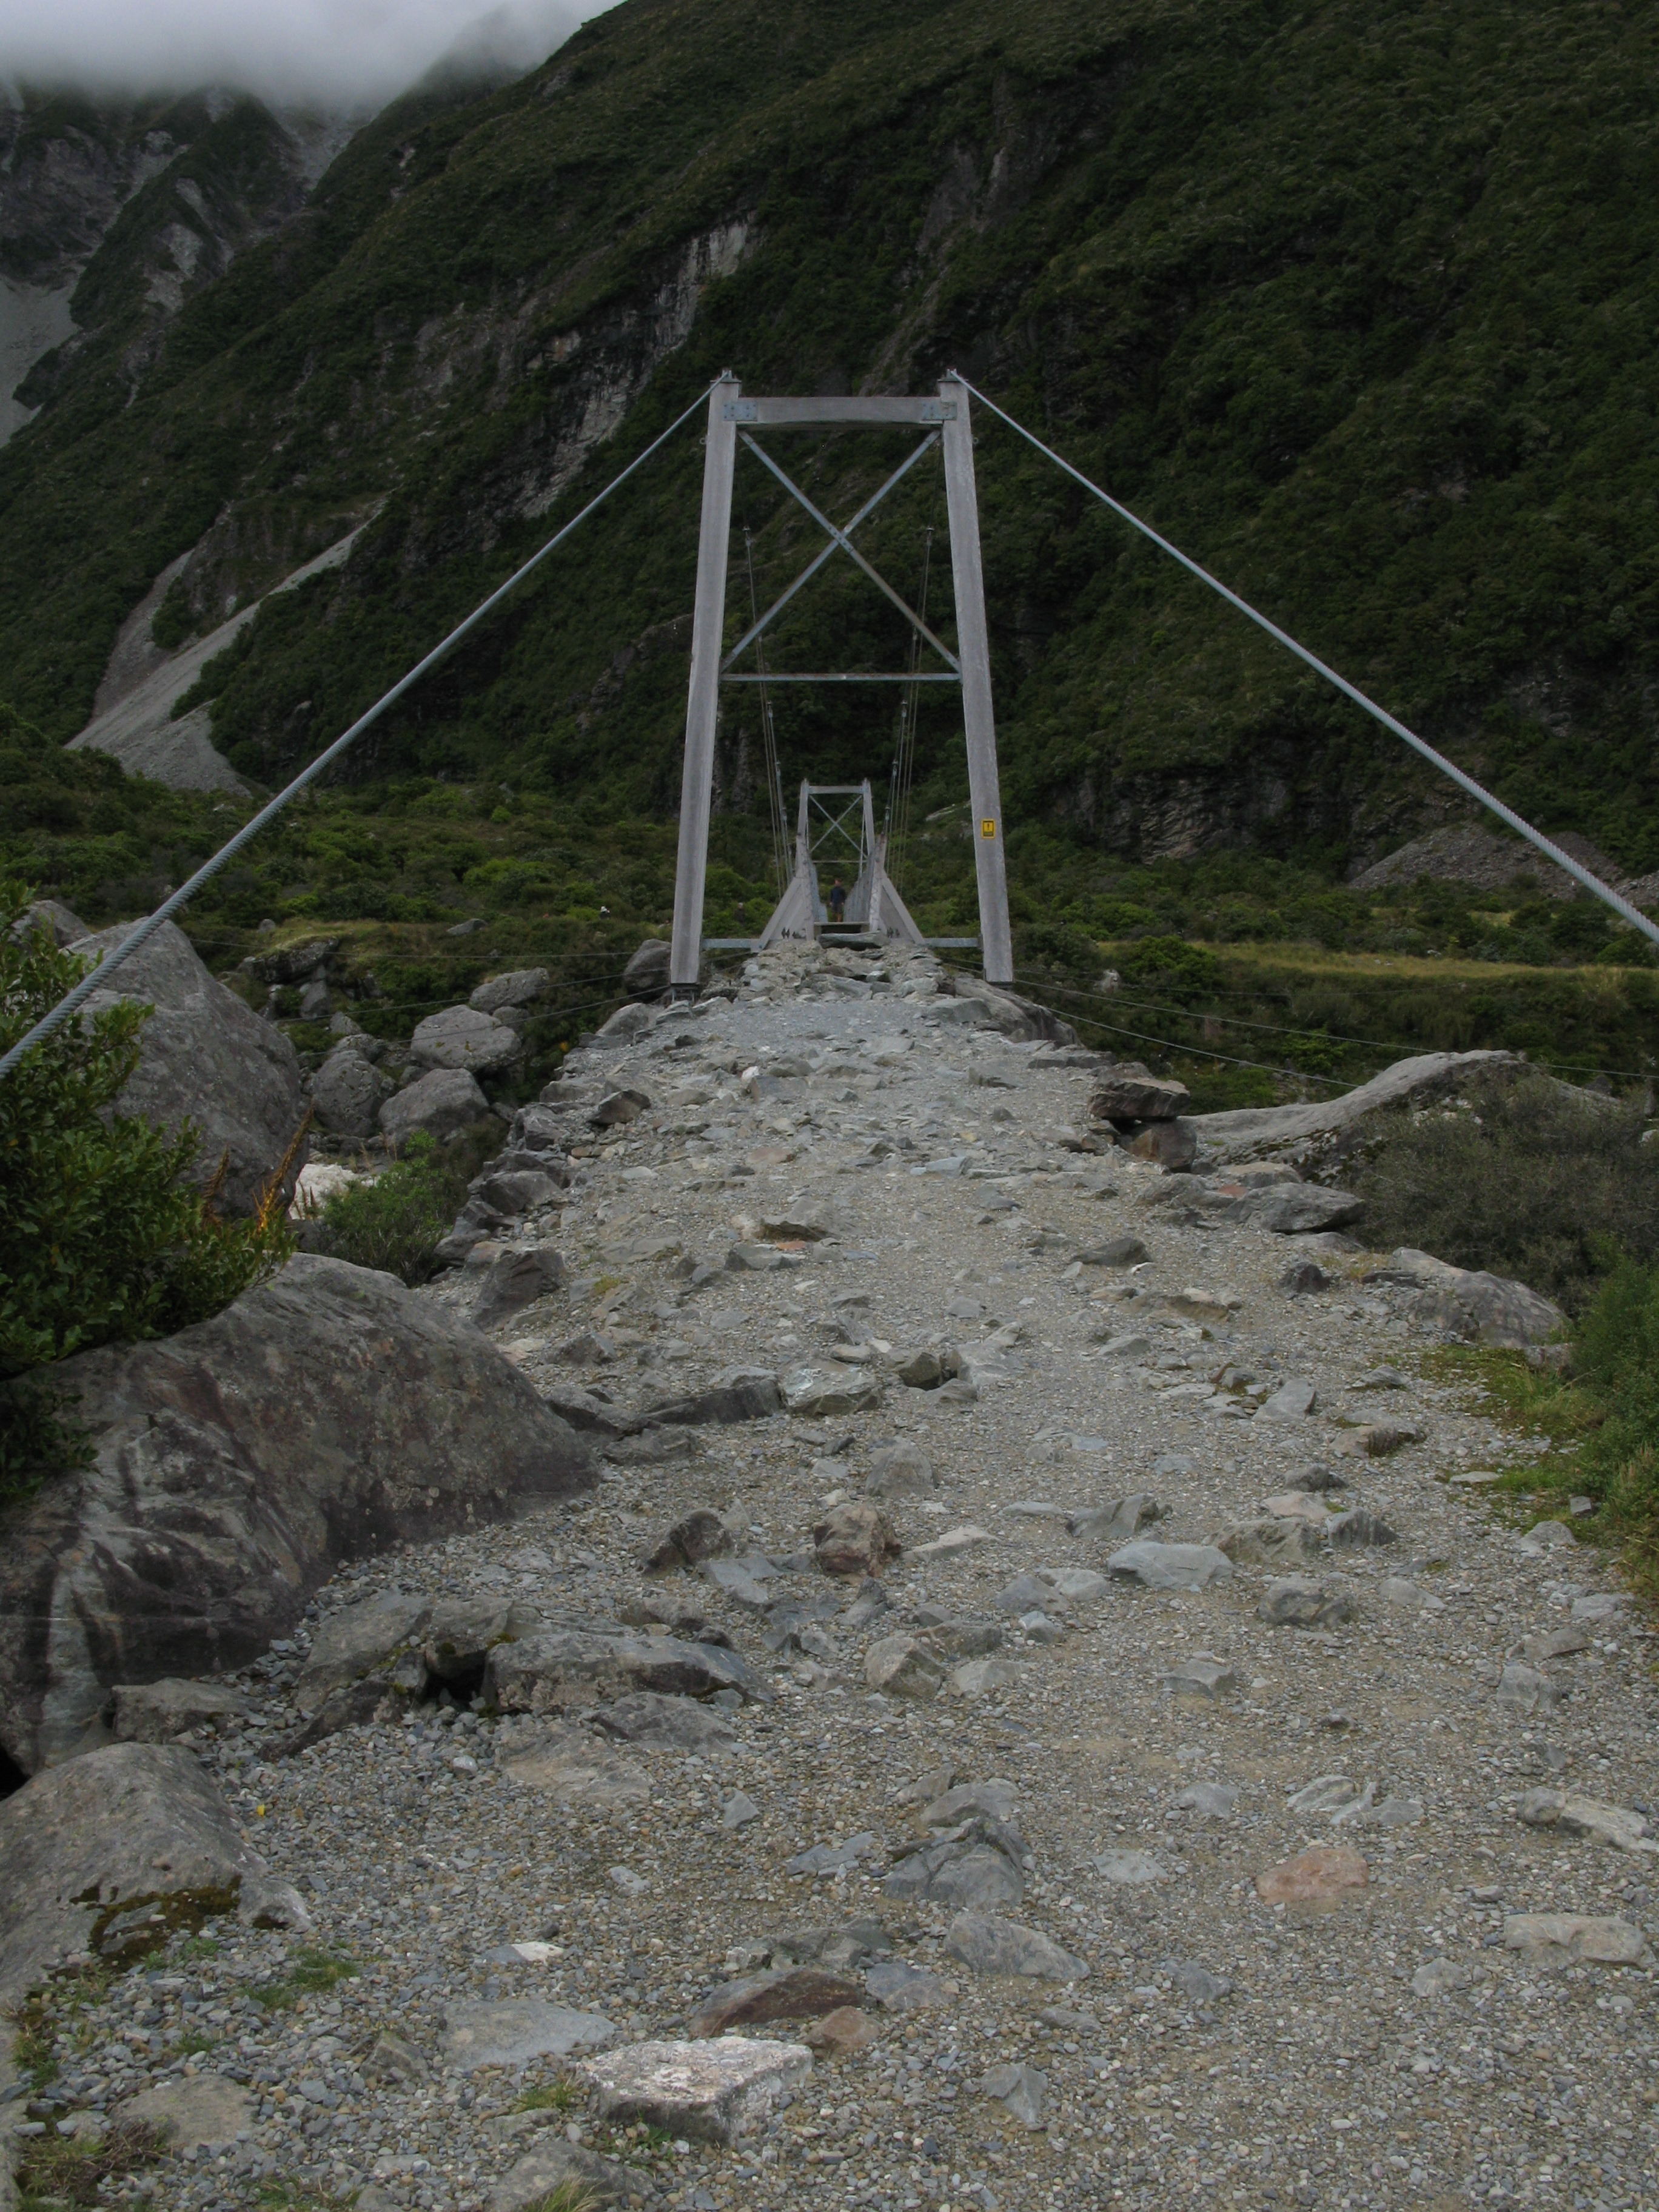
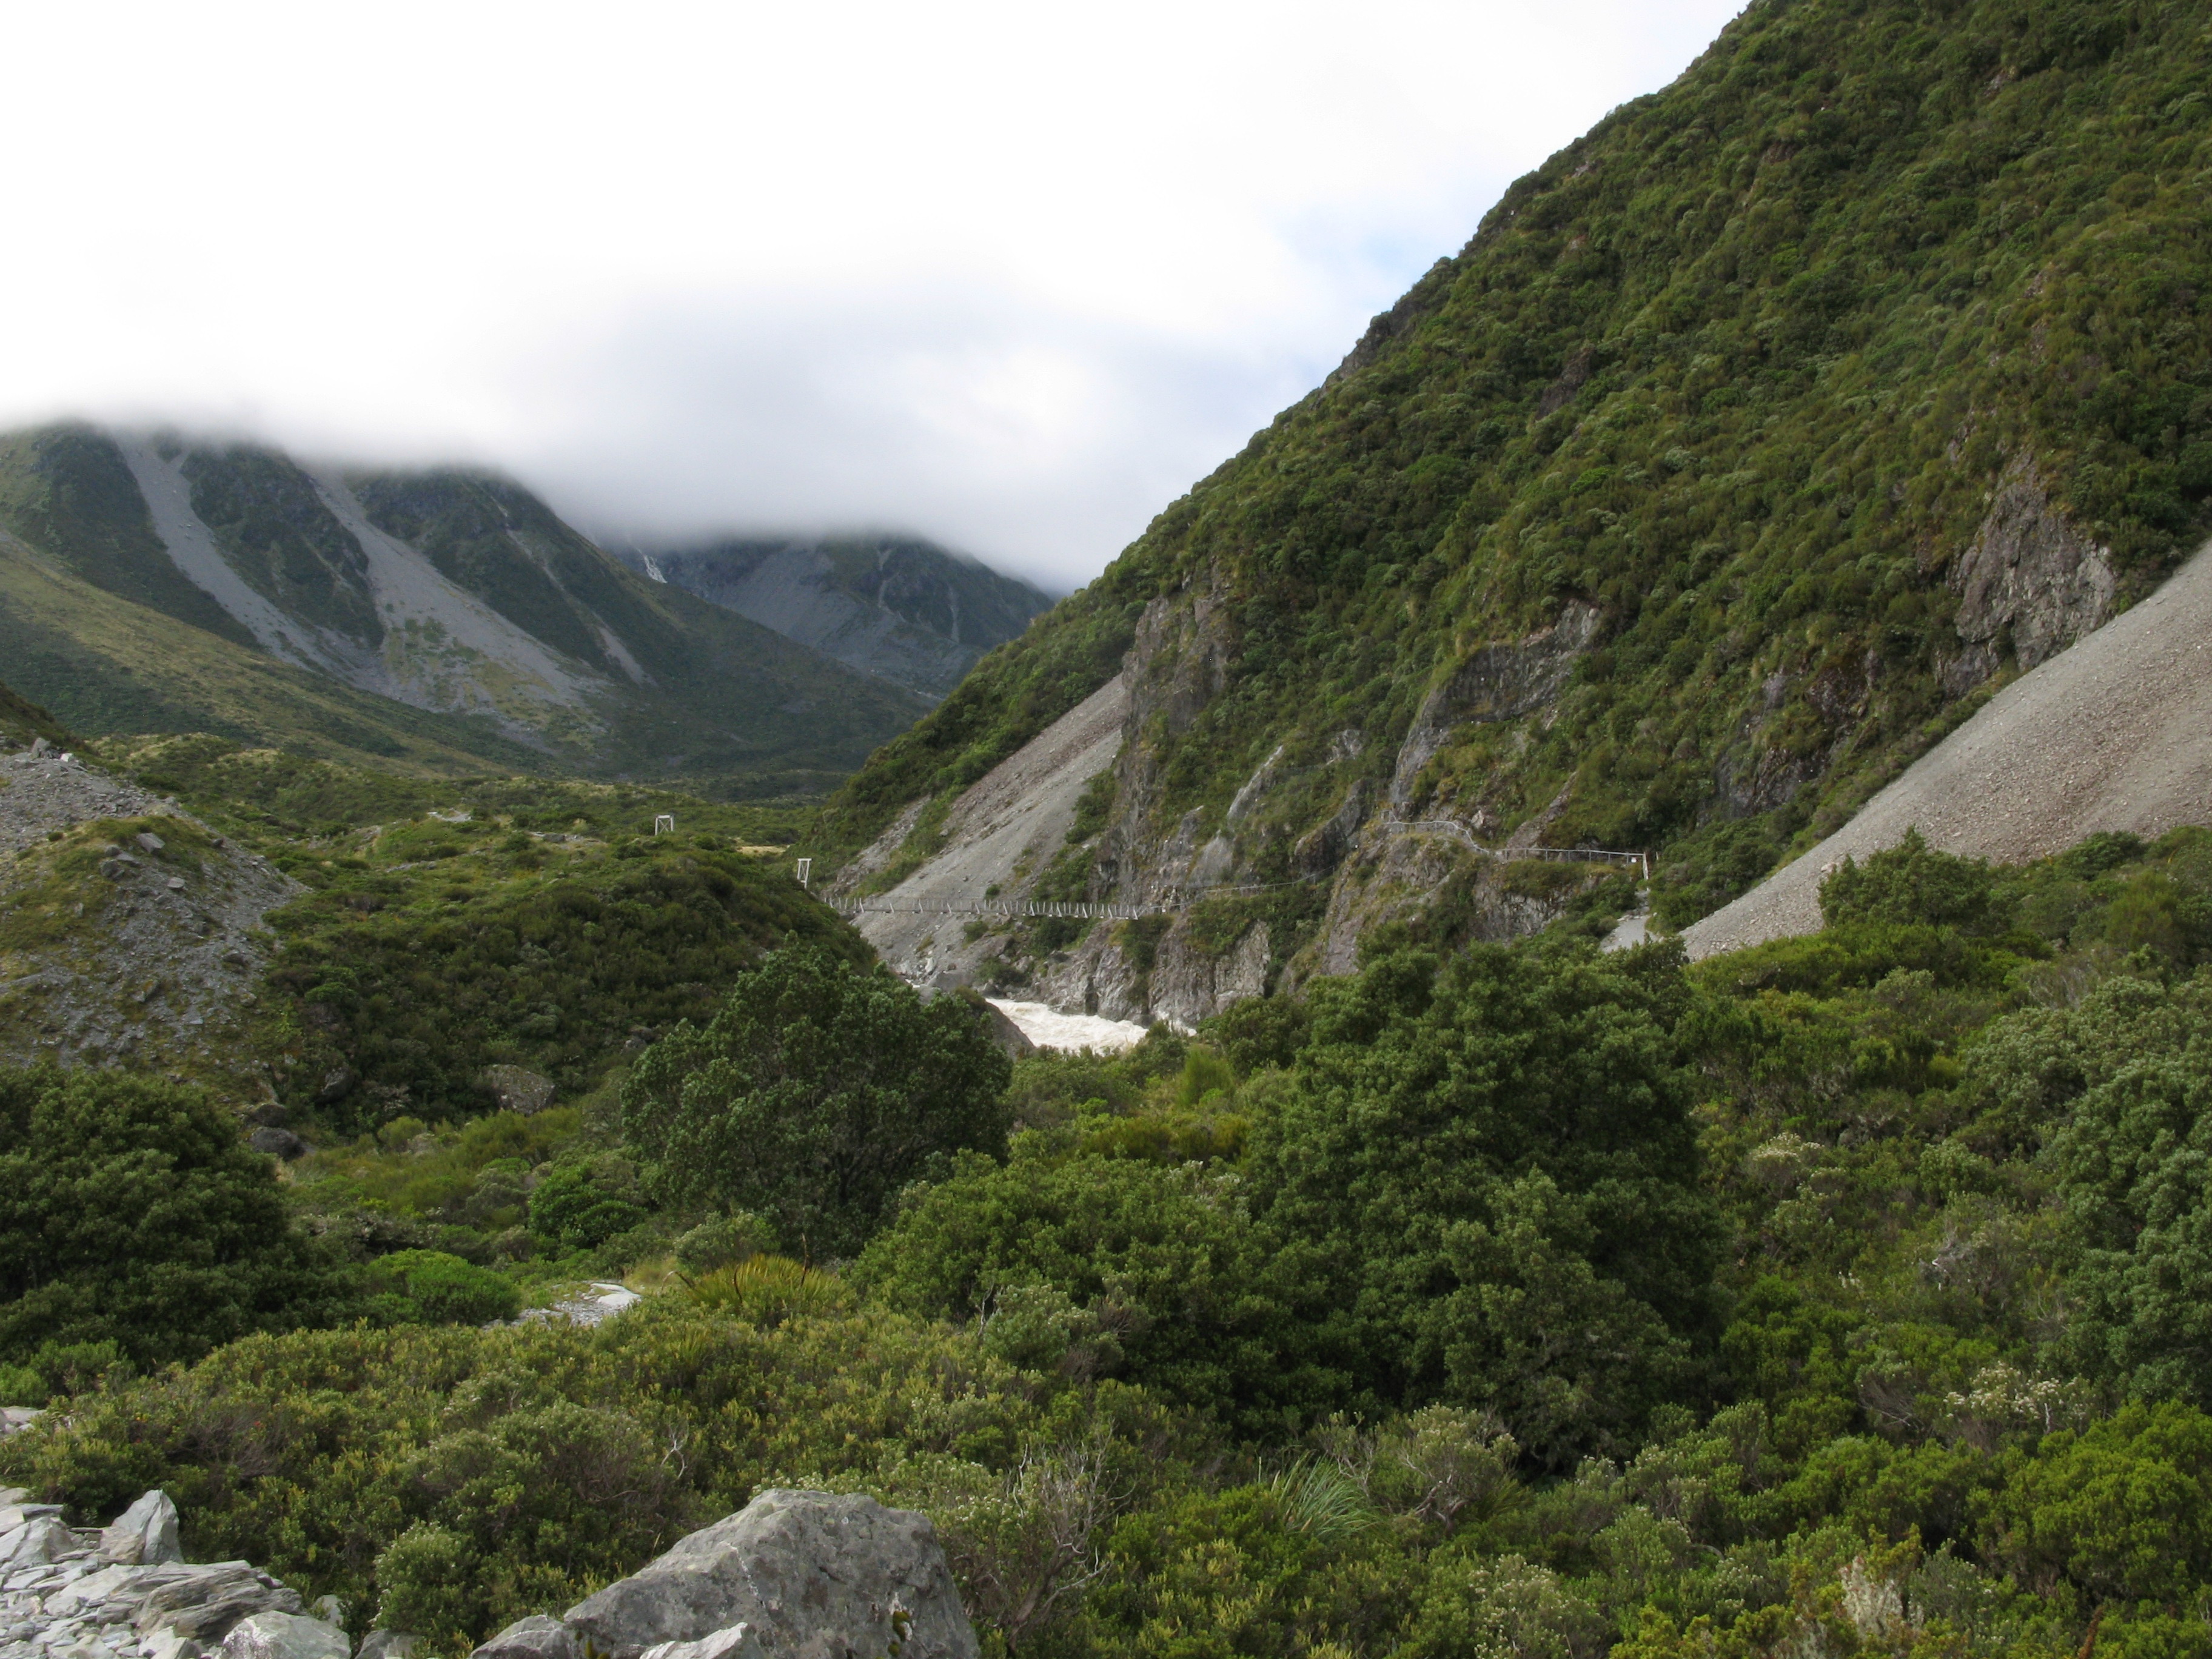
| Coming up on the second swing bridge. |
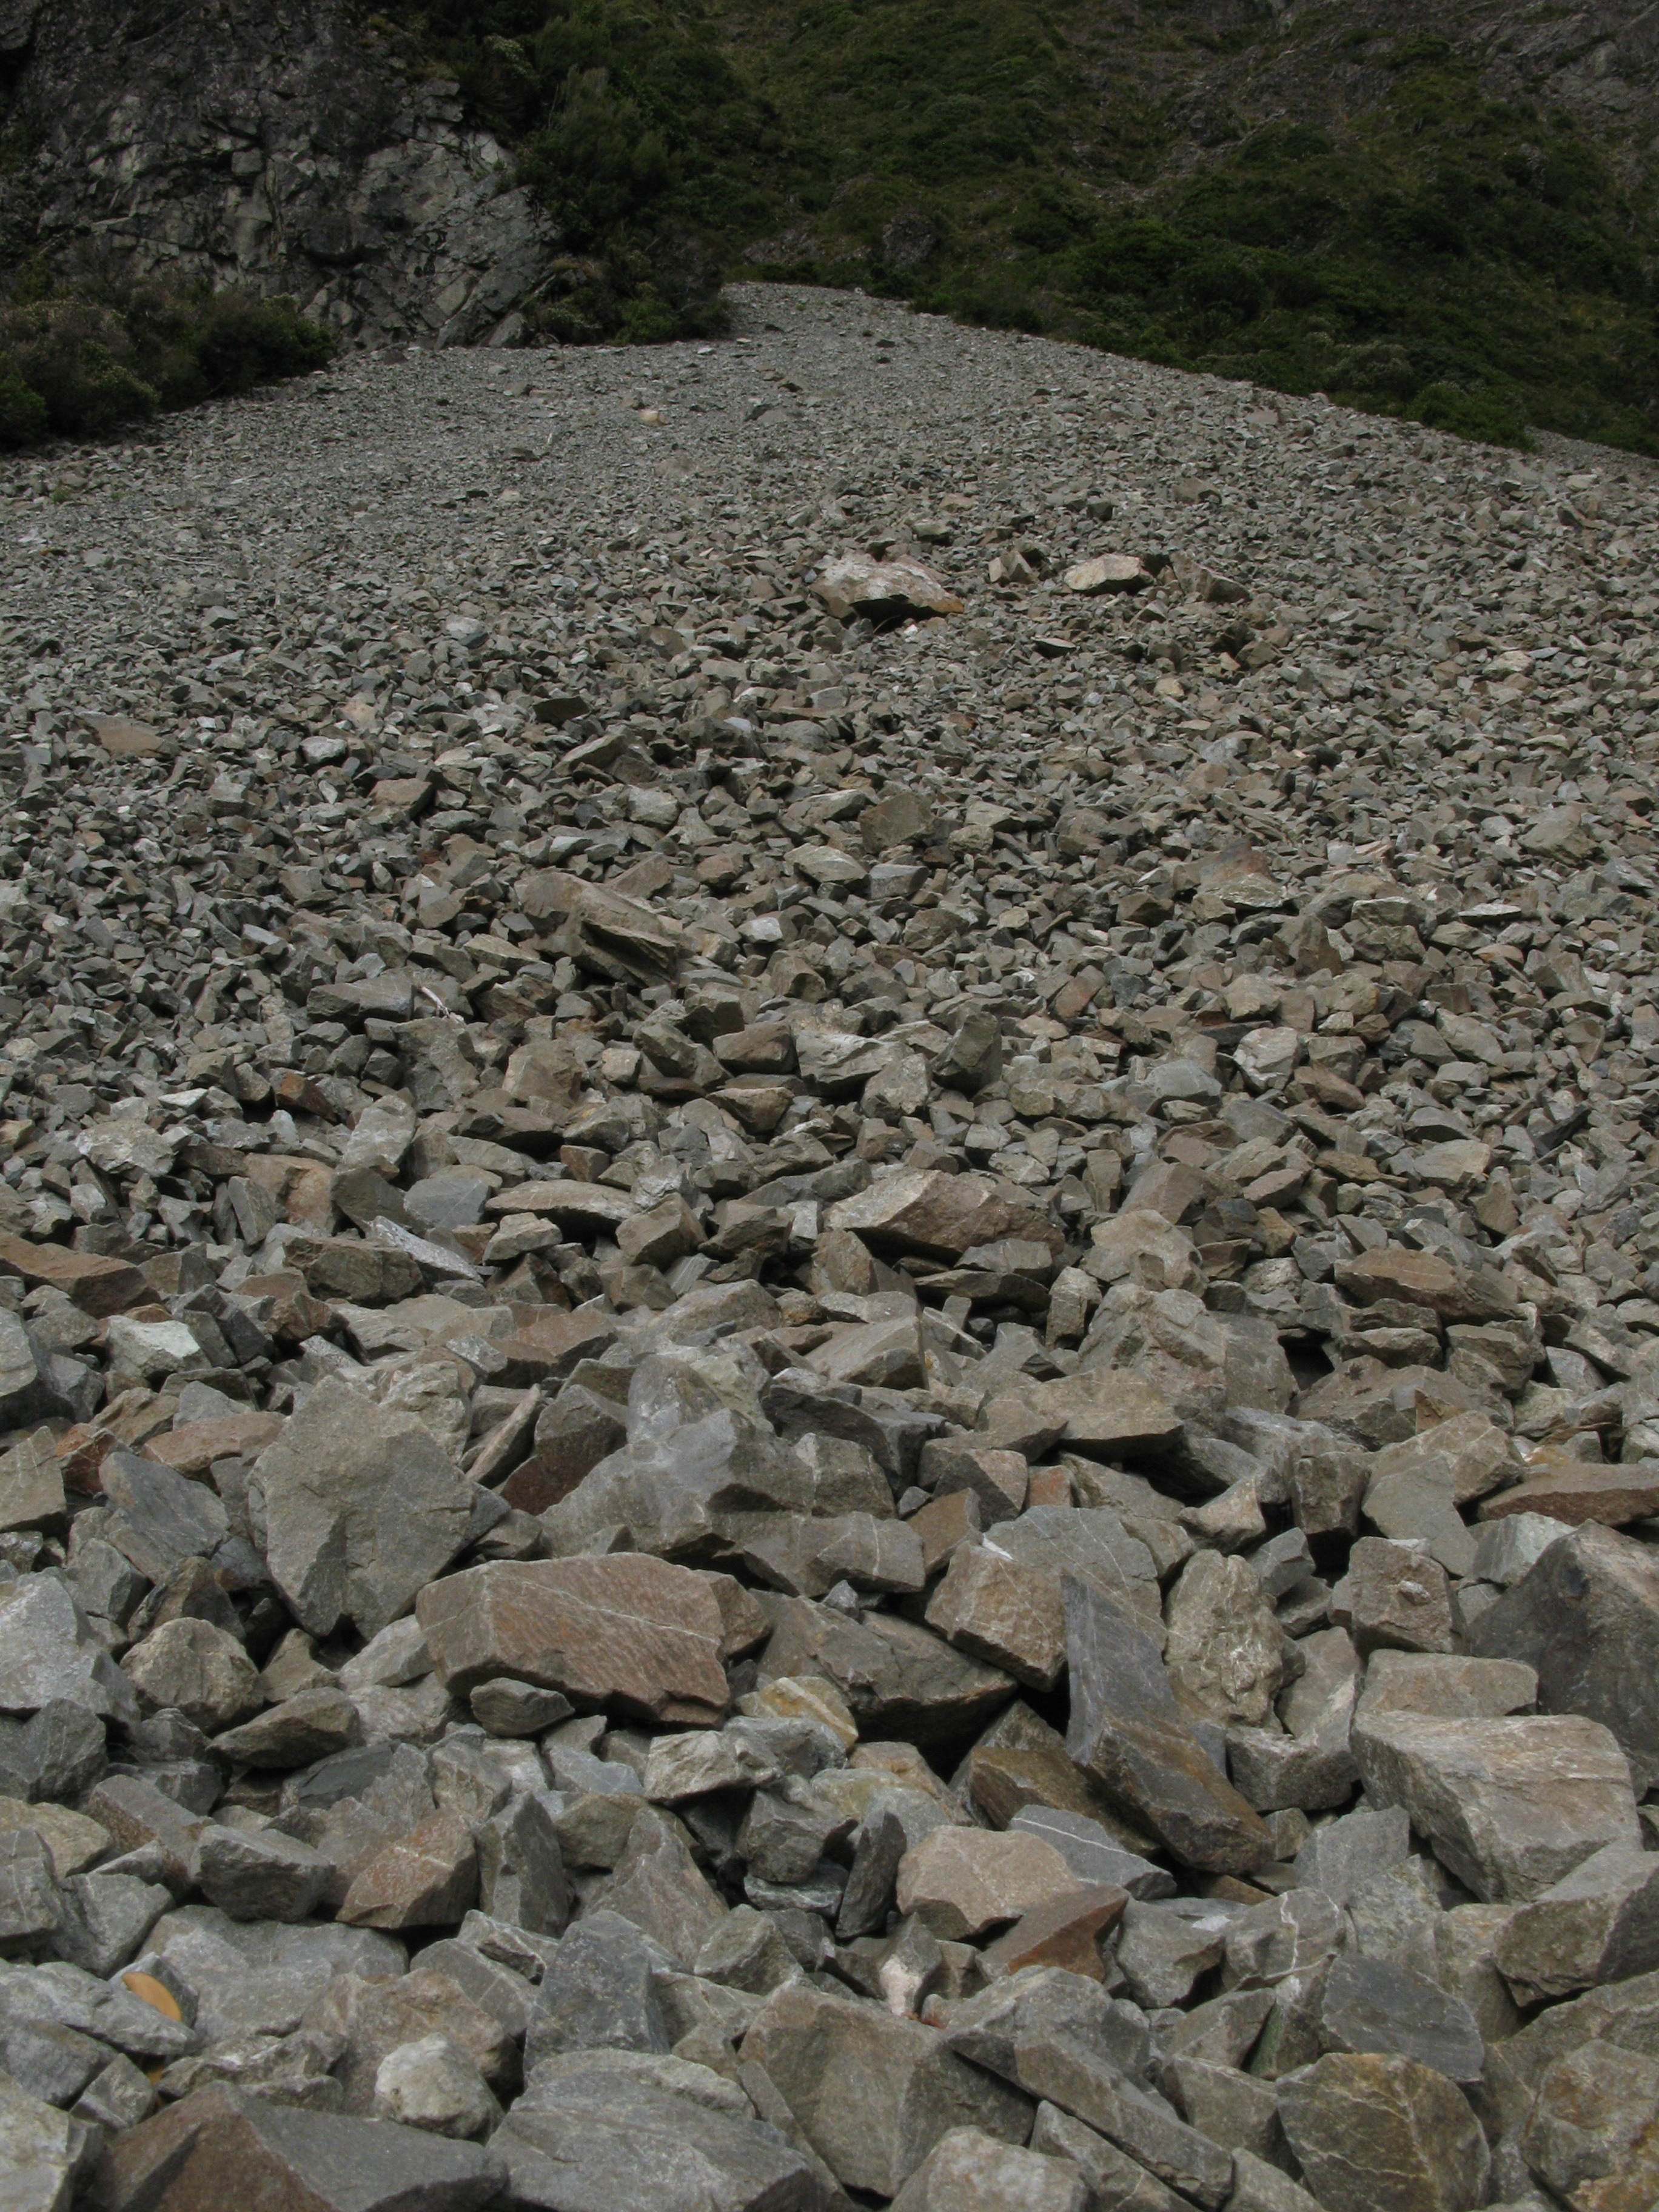
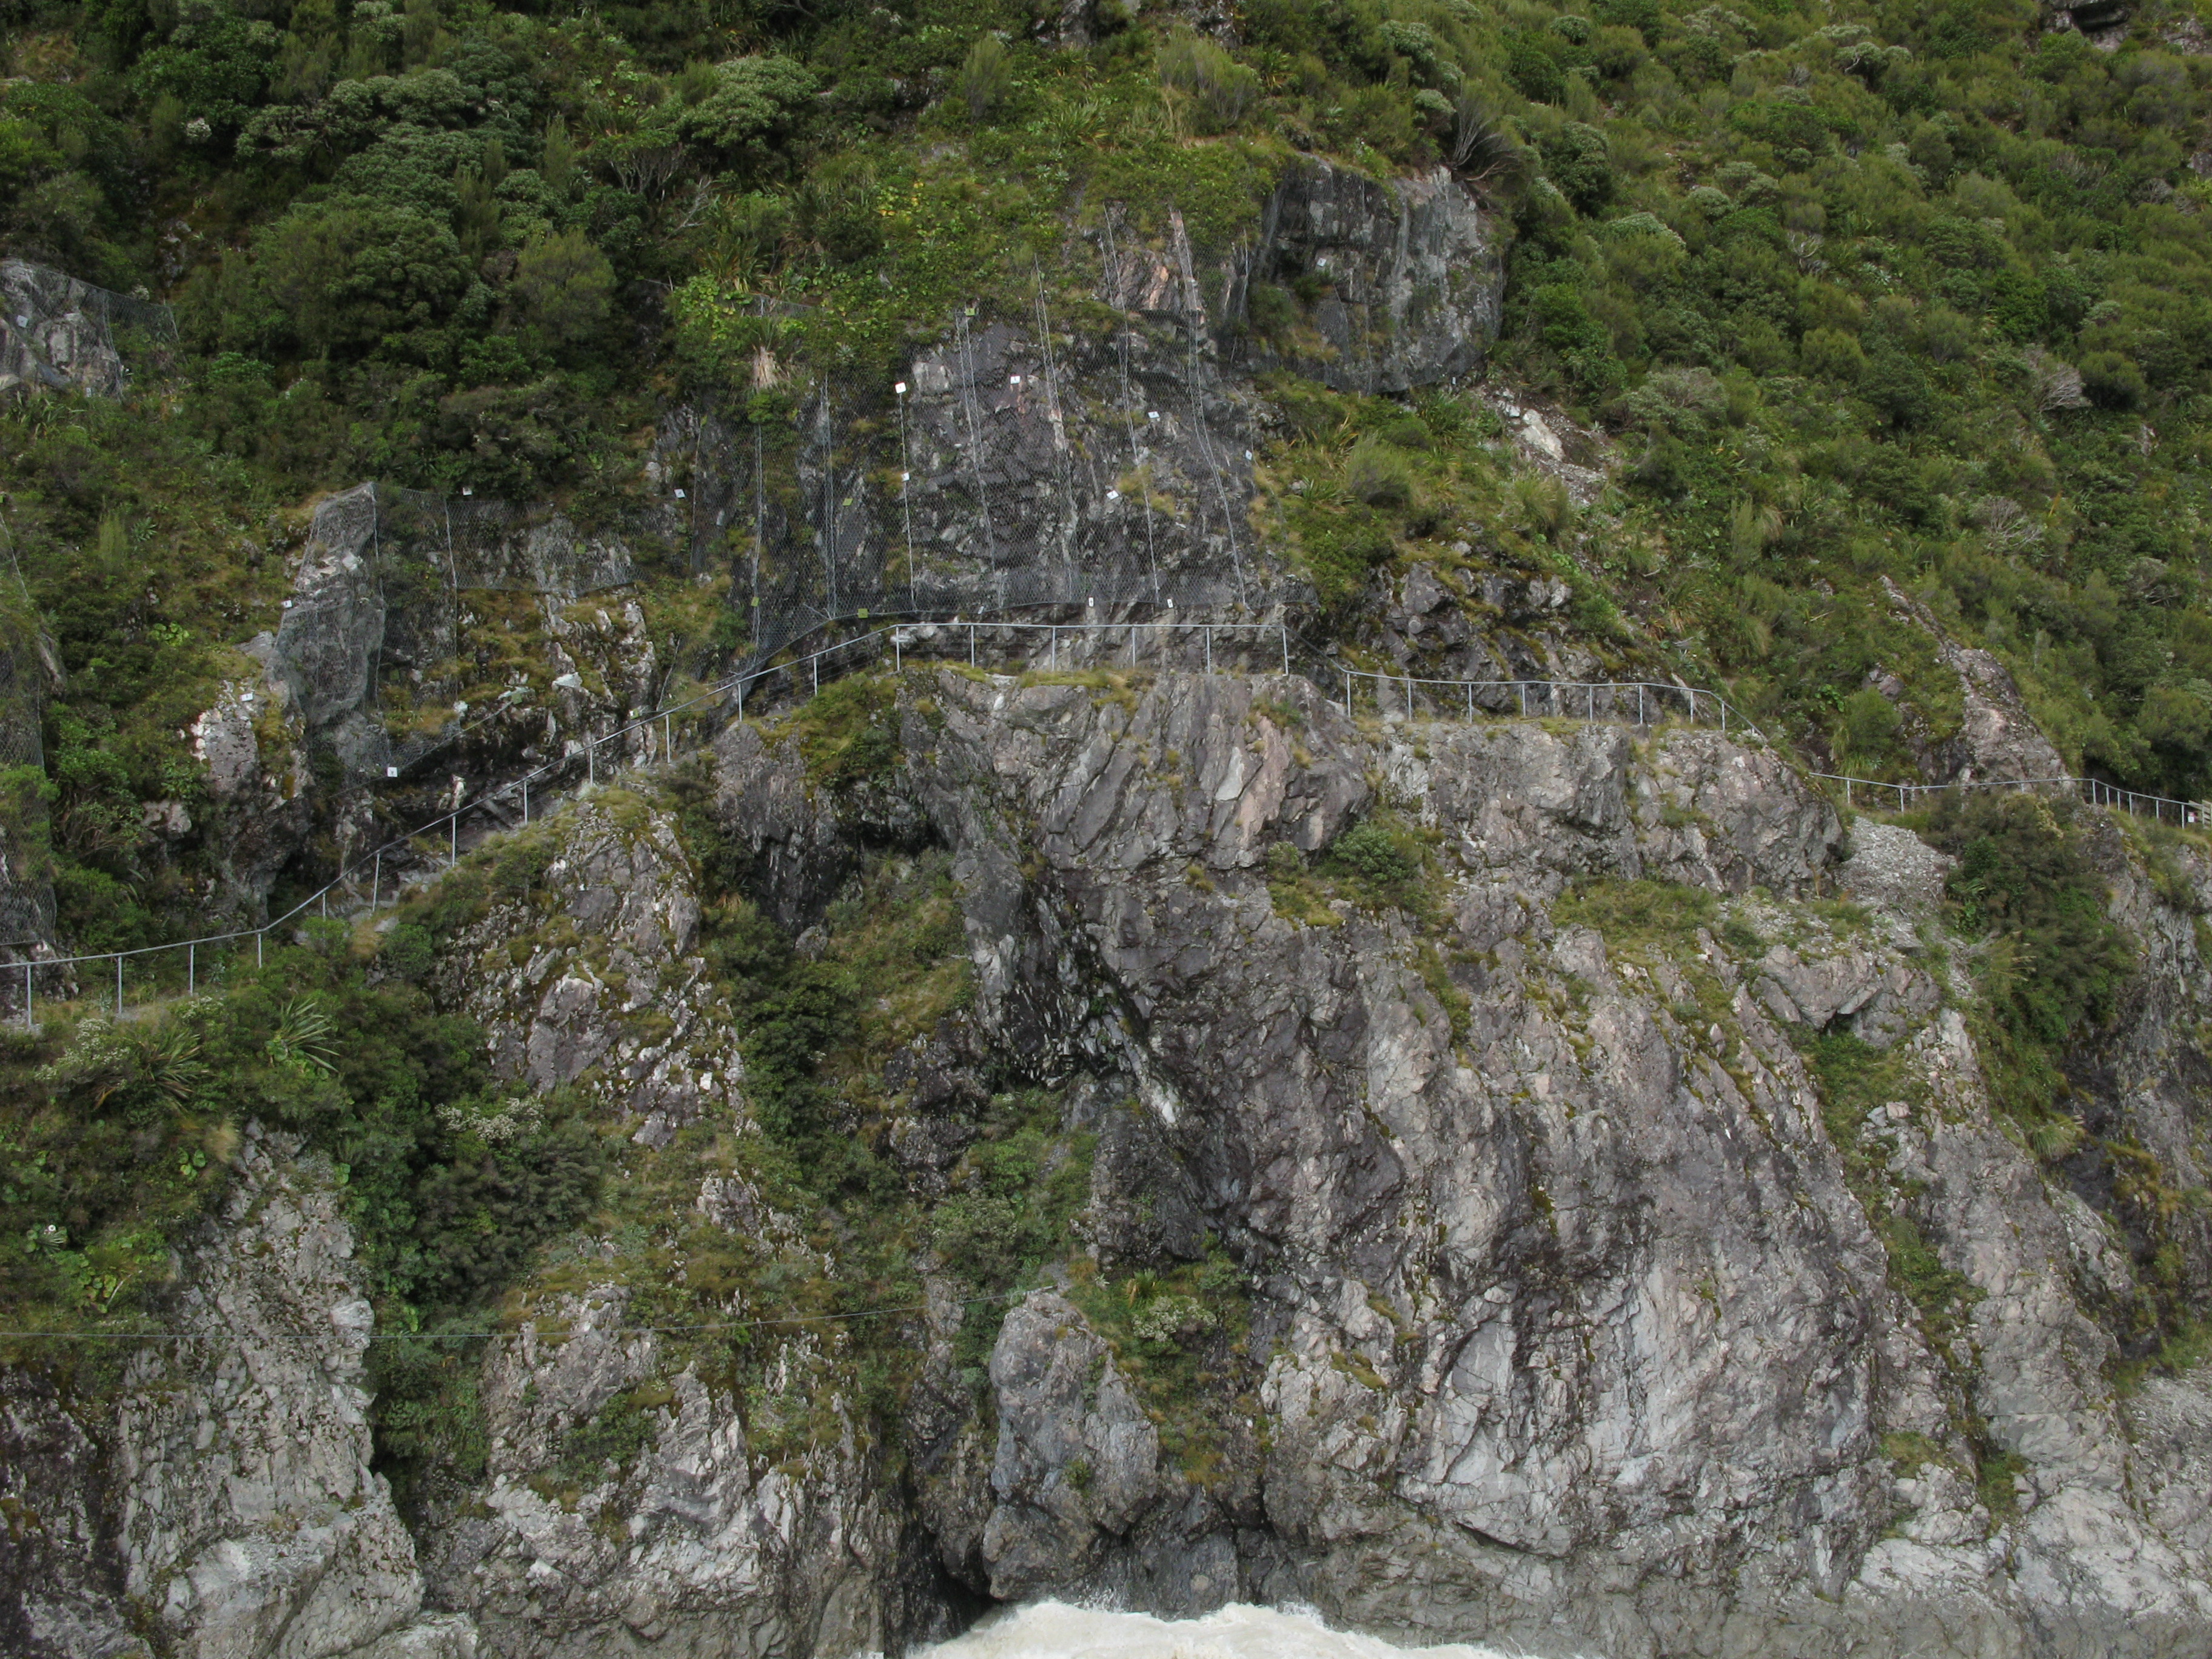
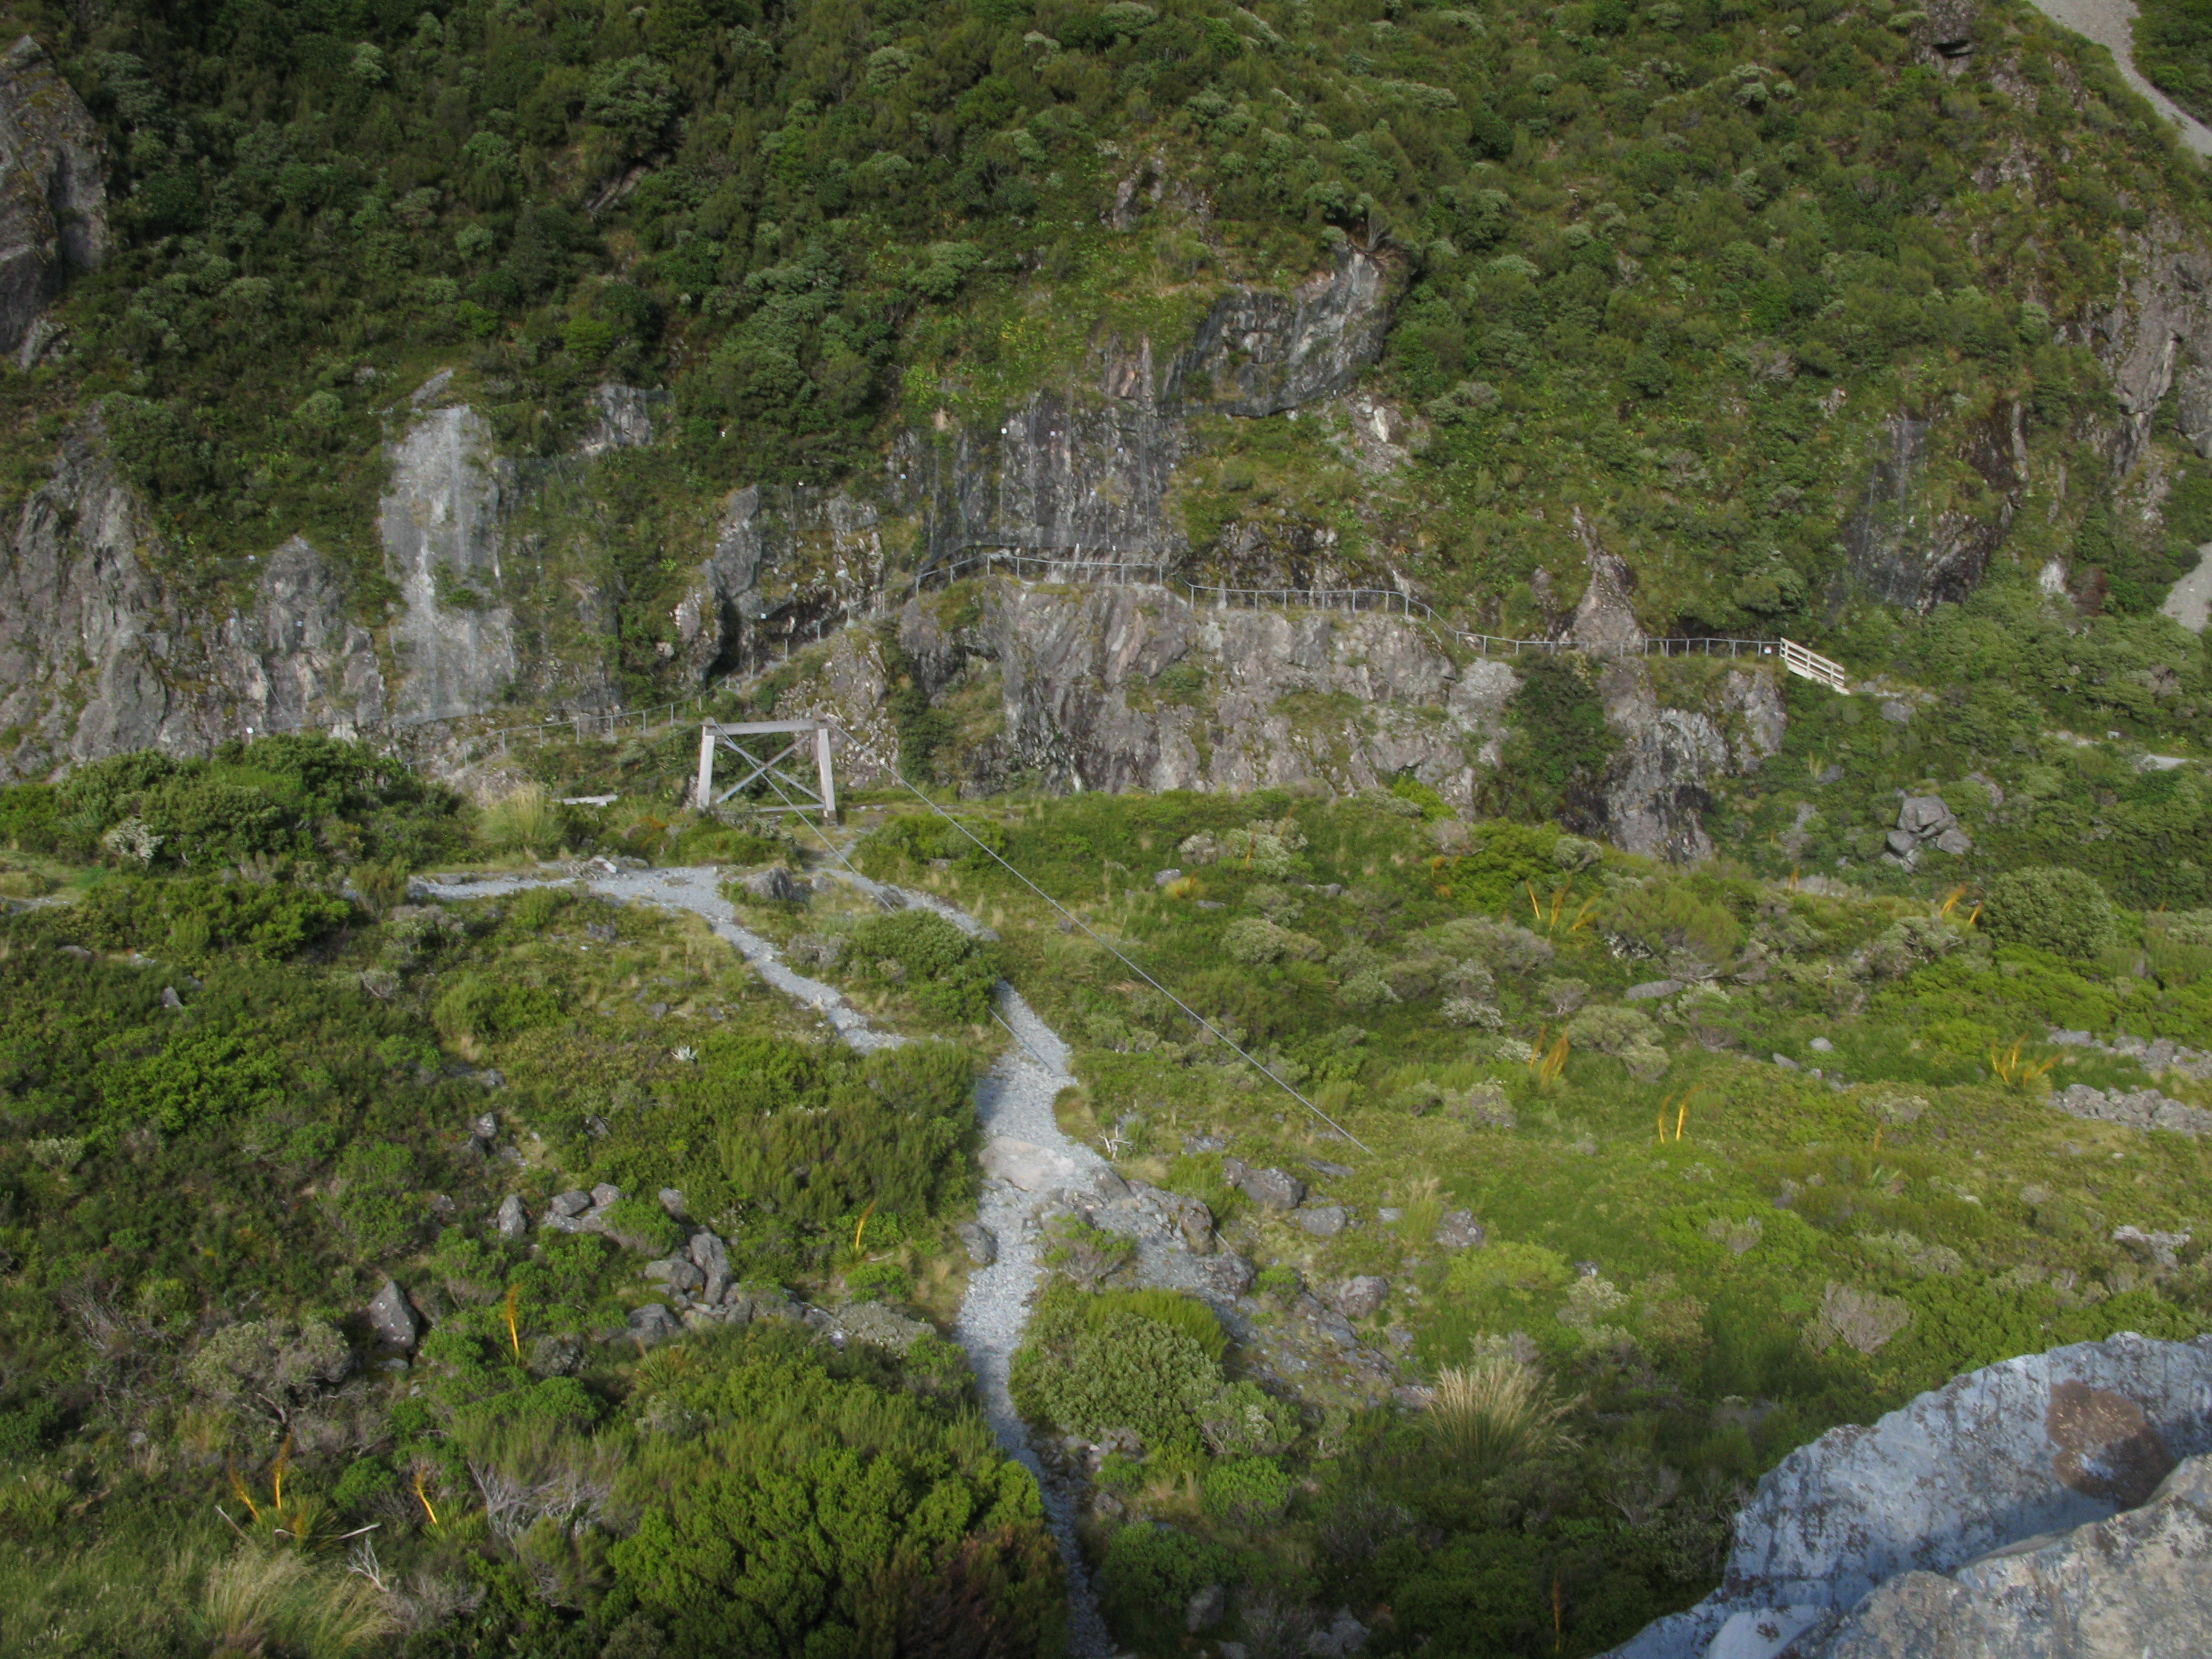
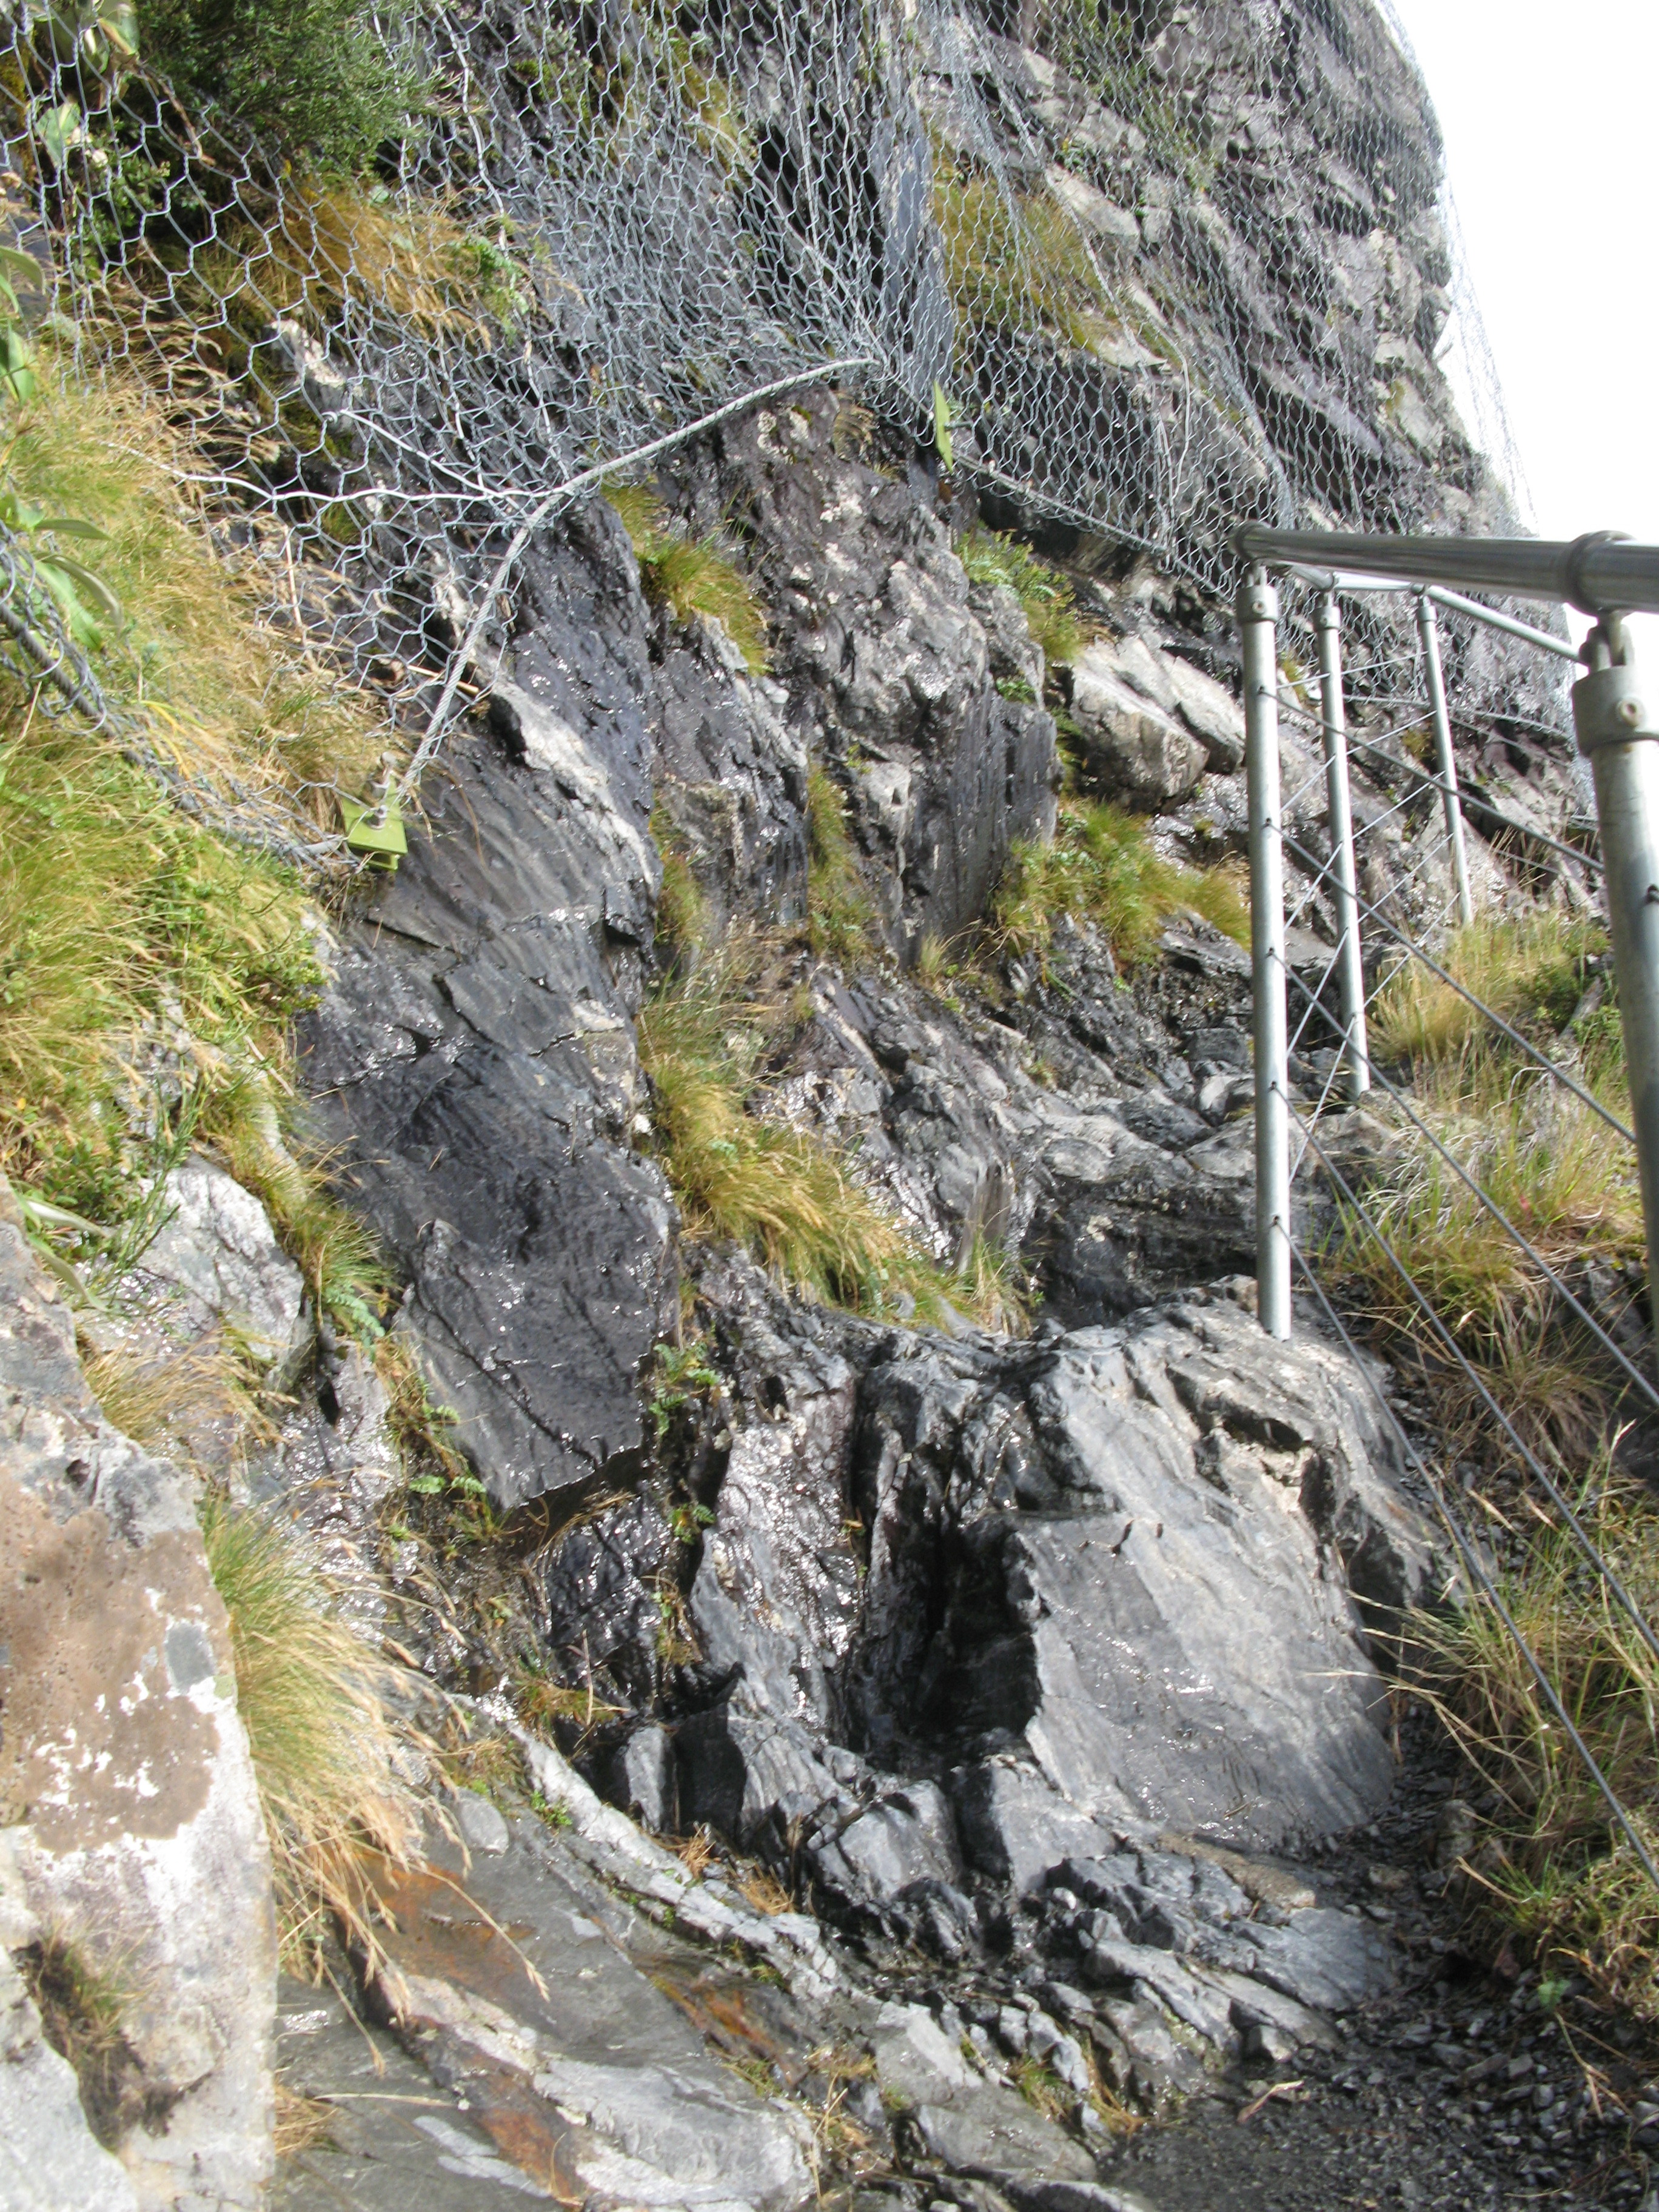
| Looking up at a recent rock slide. |
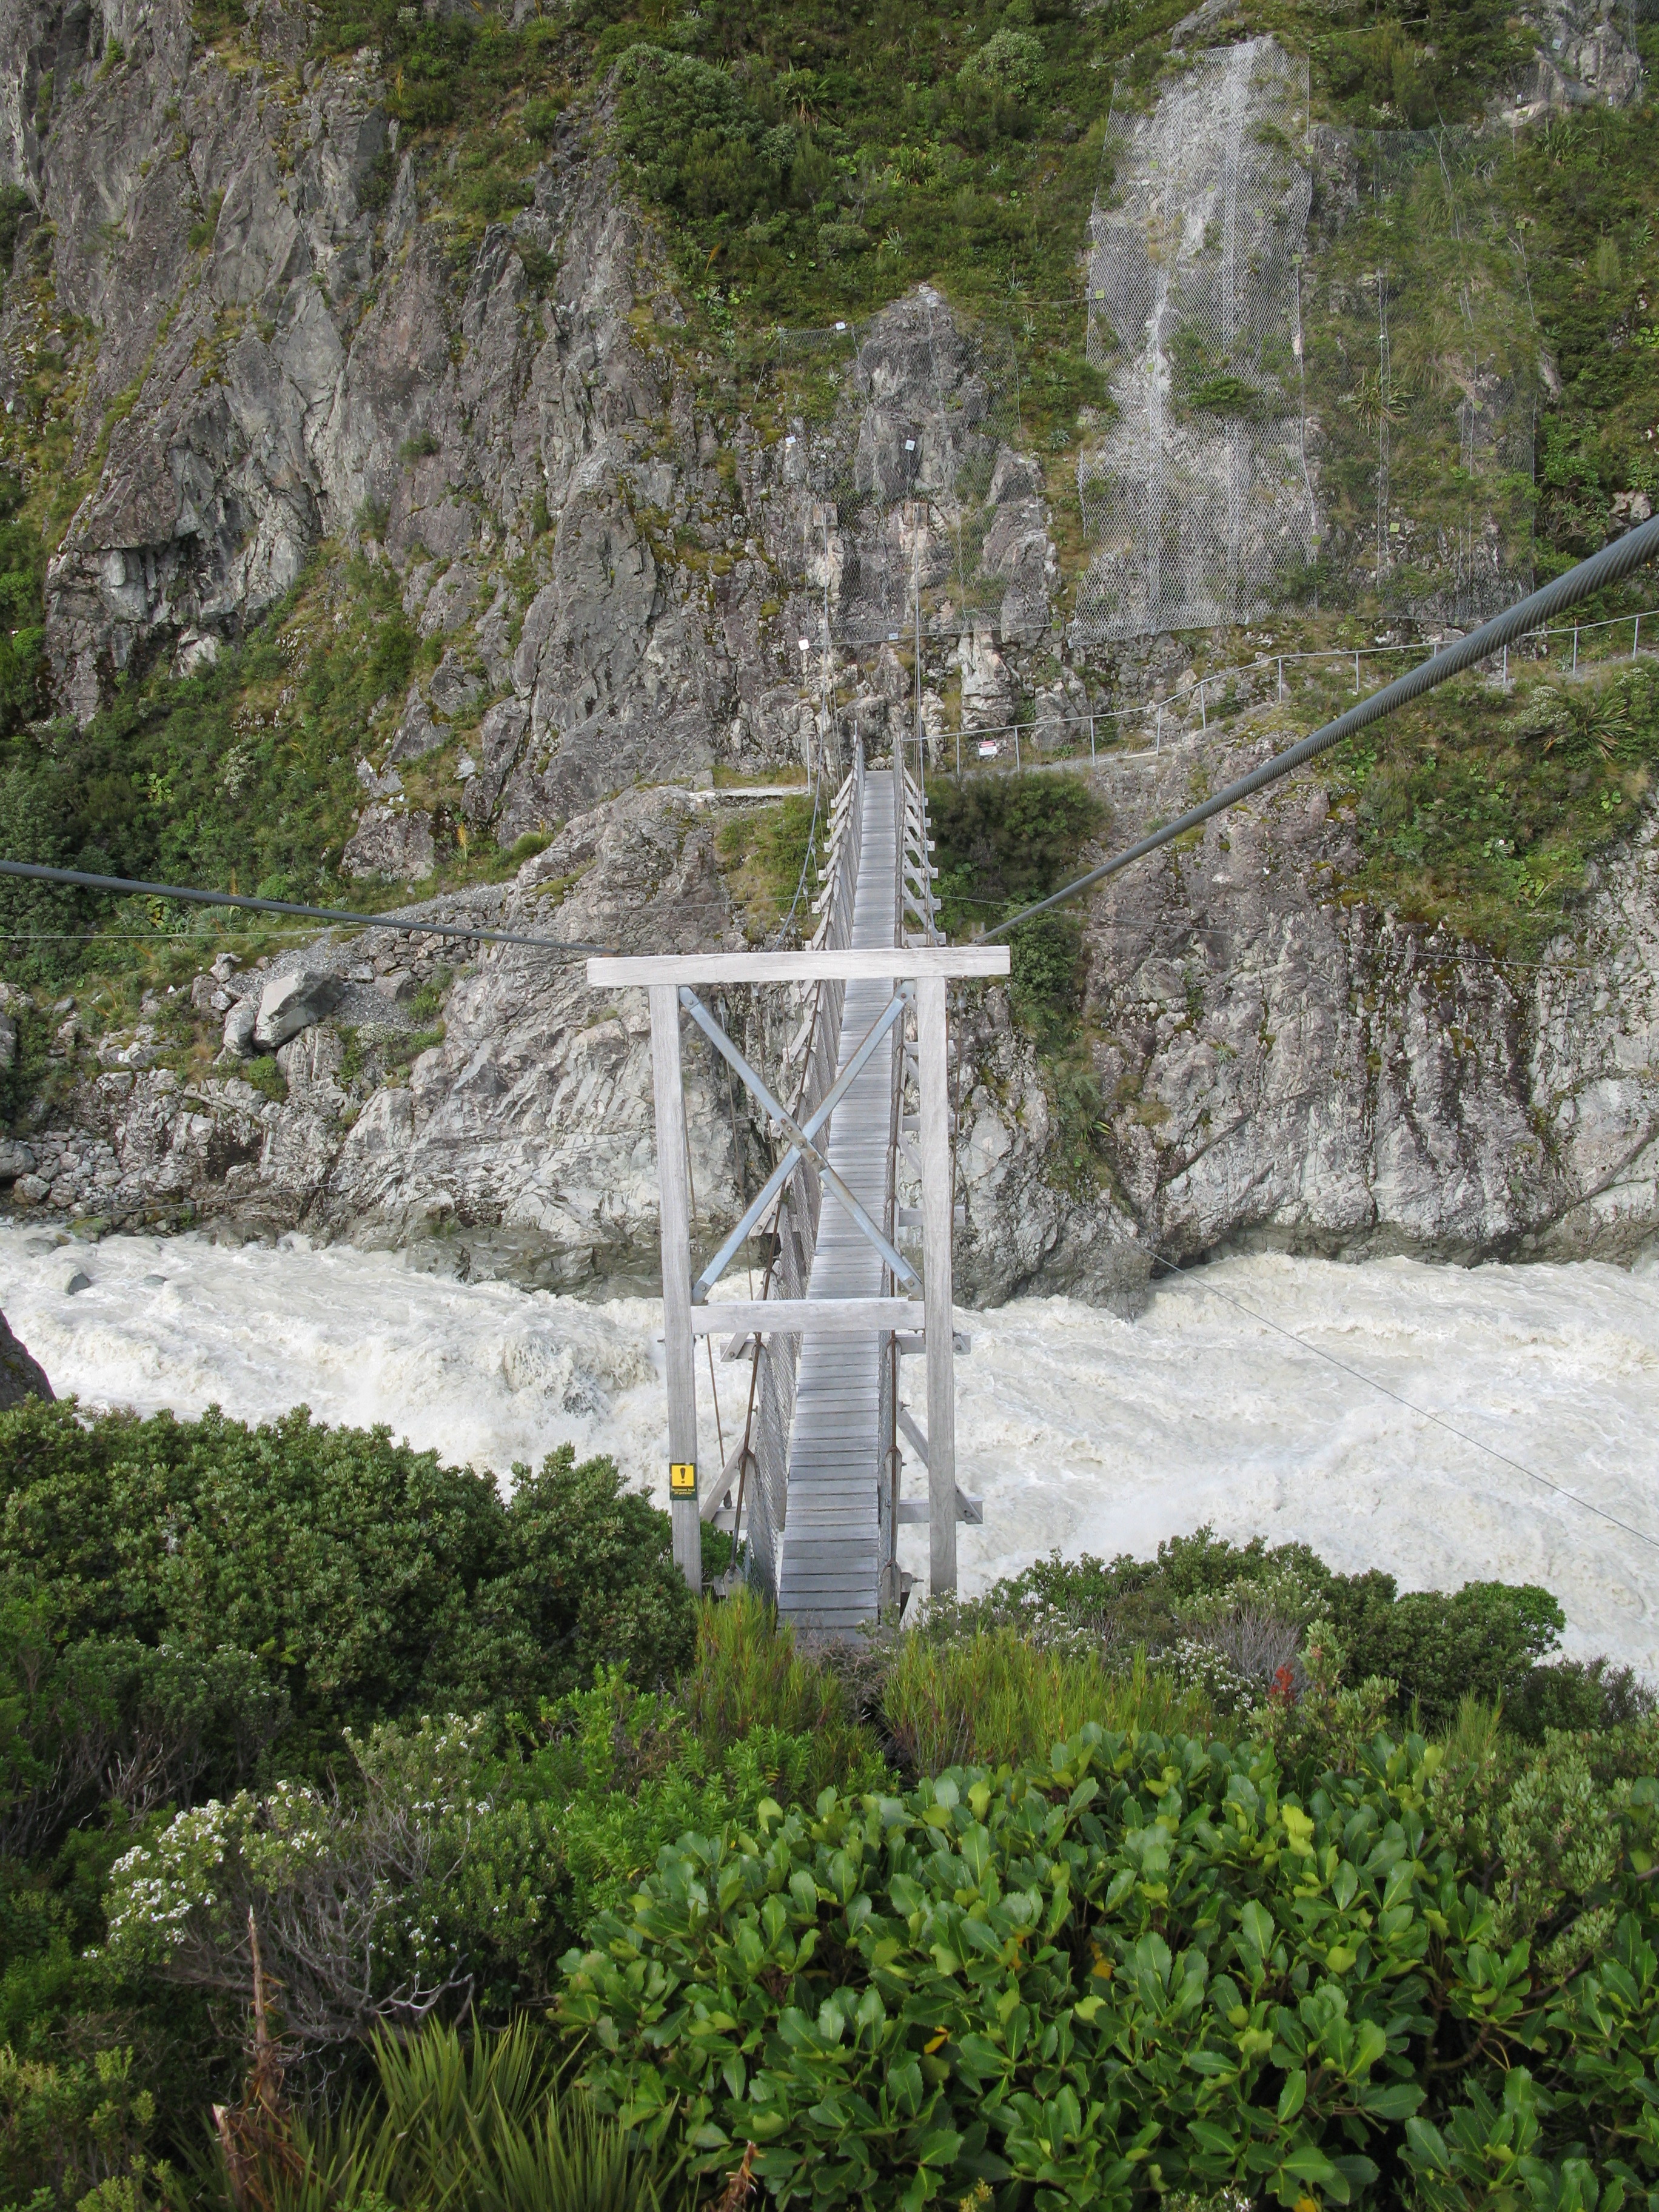
| The second swing bridge. |
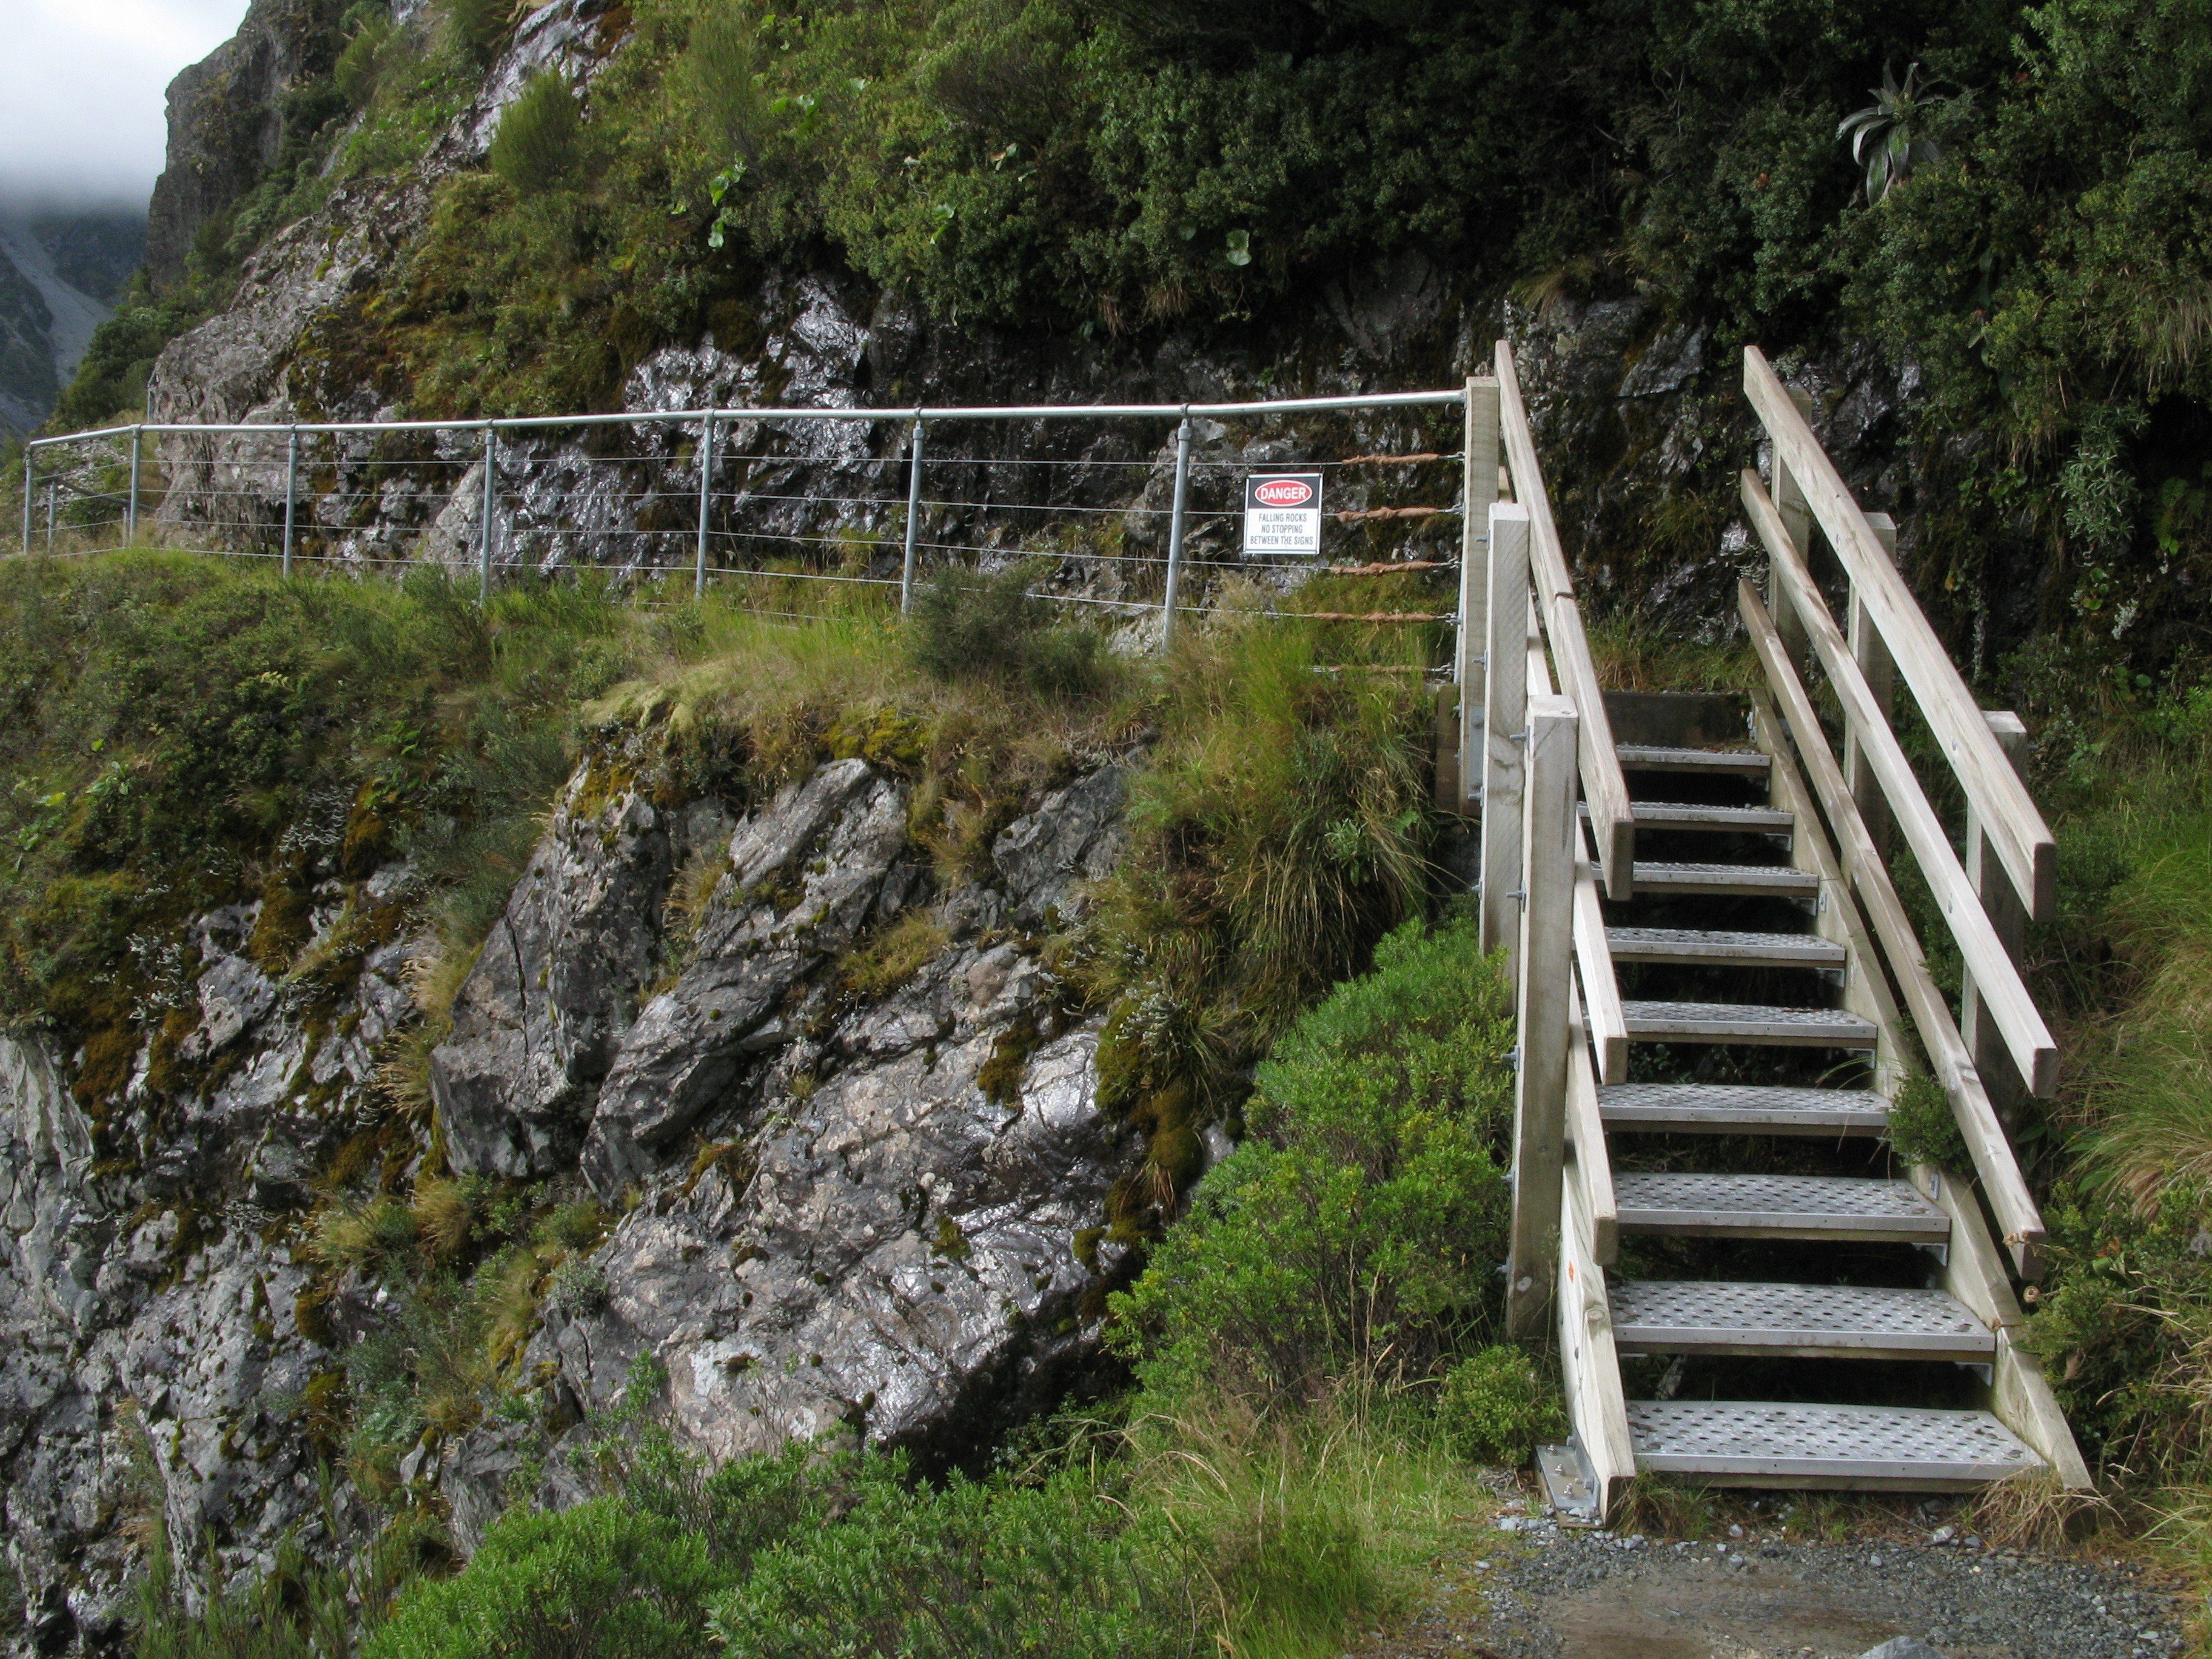
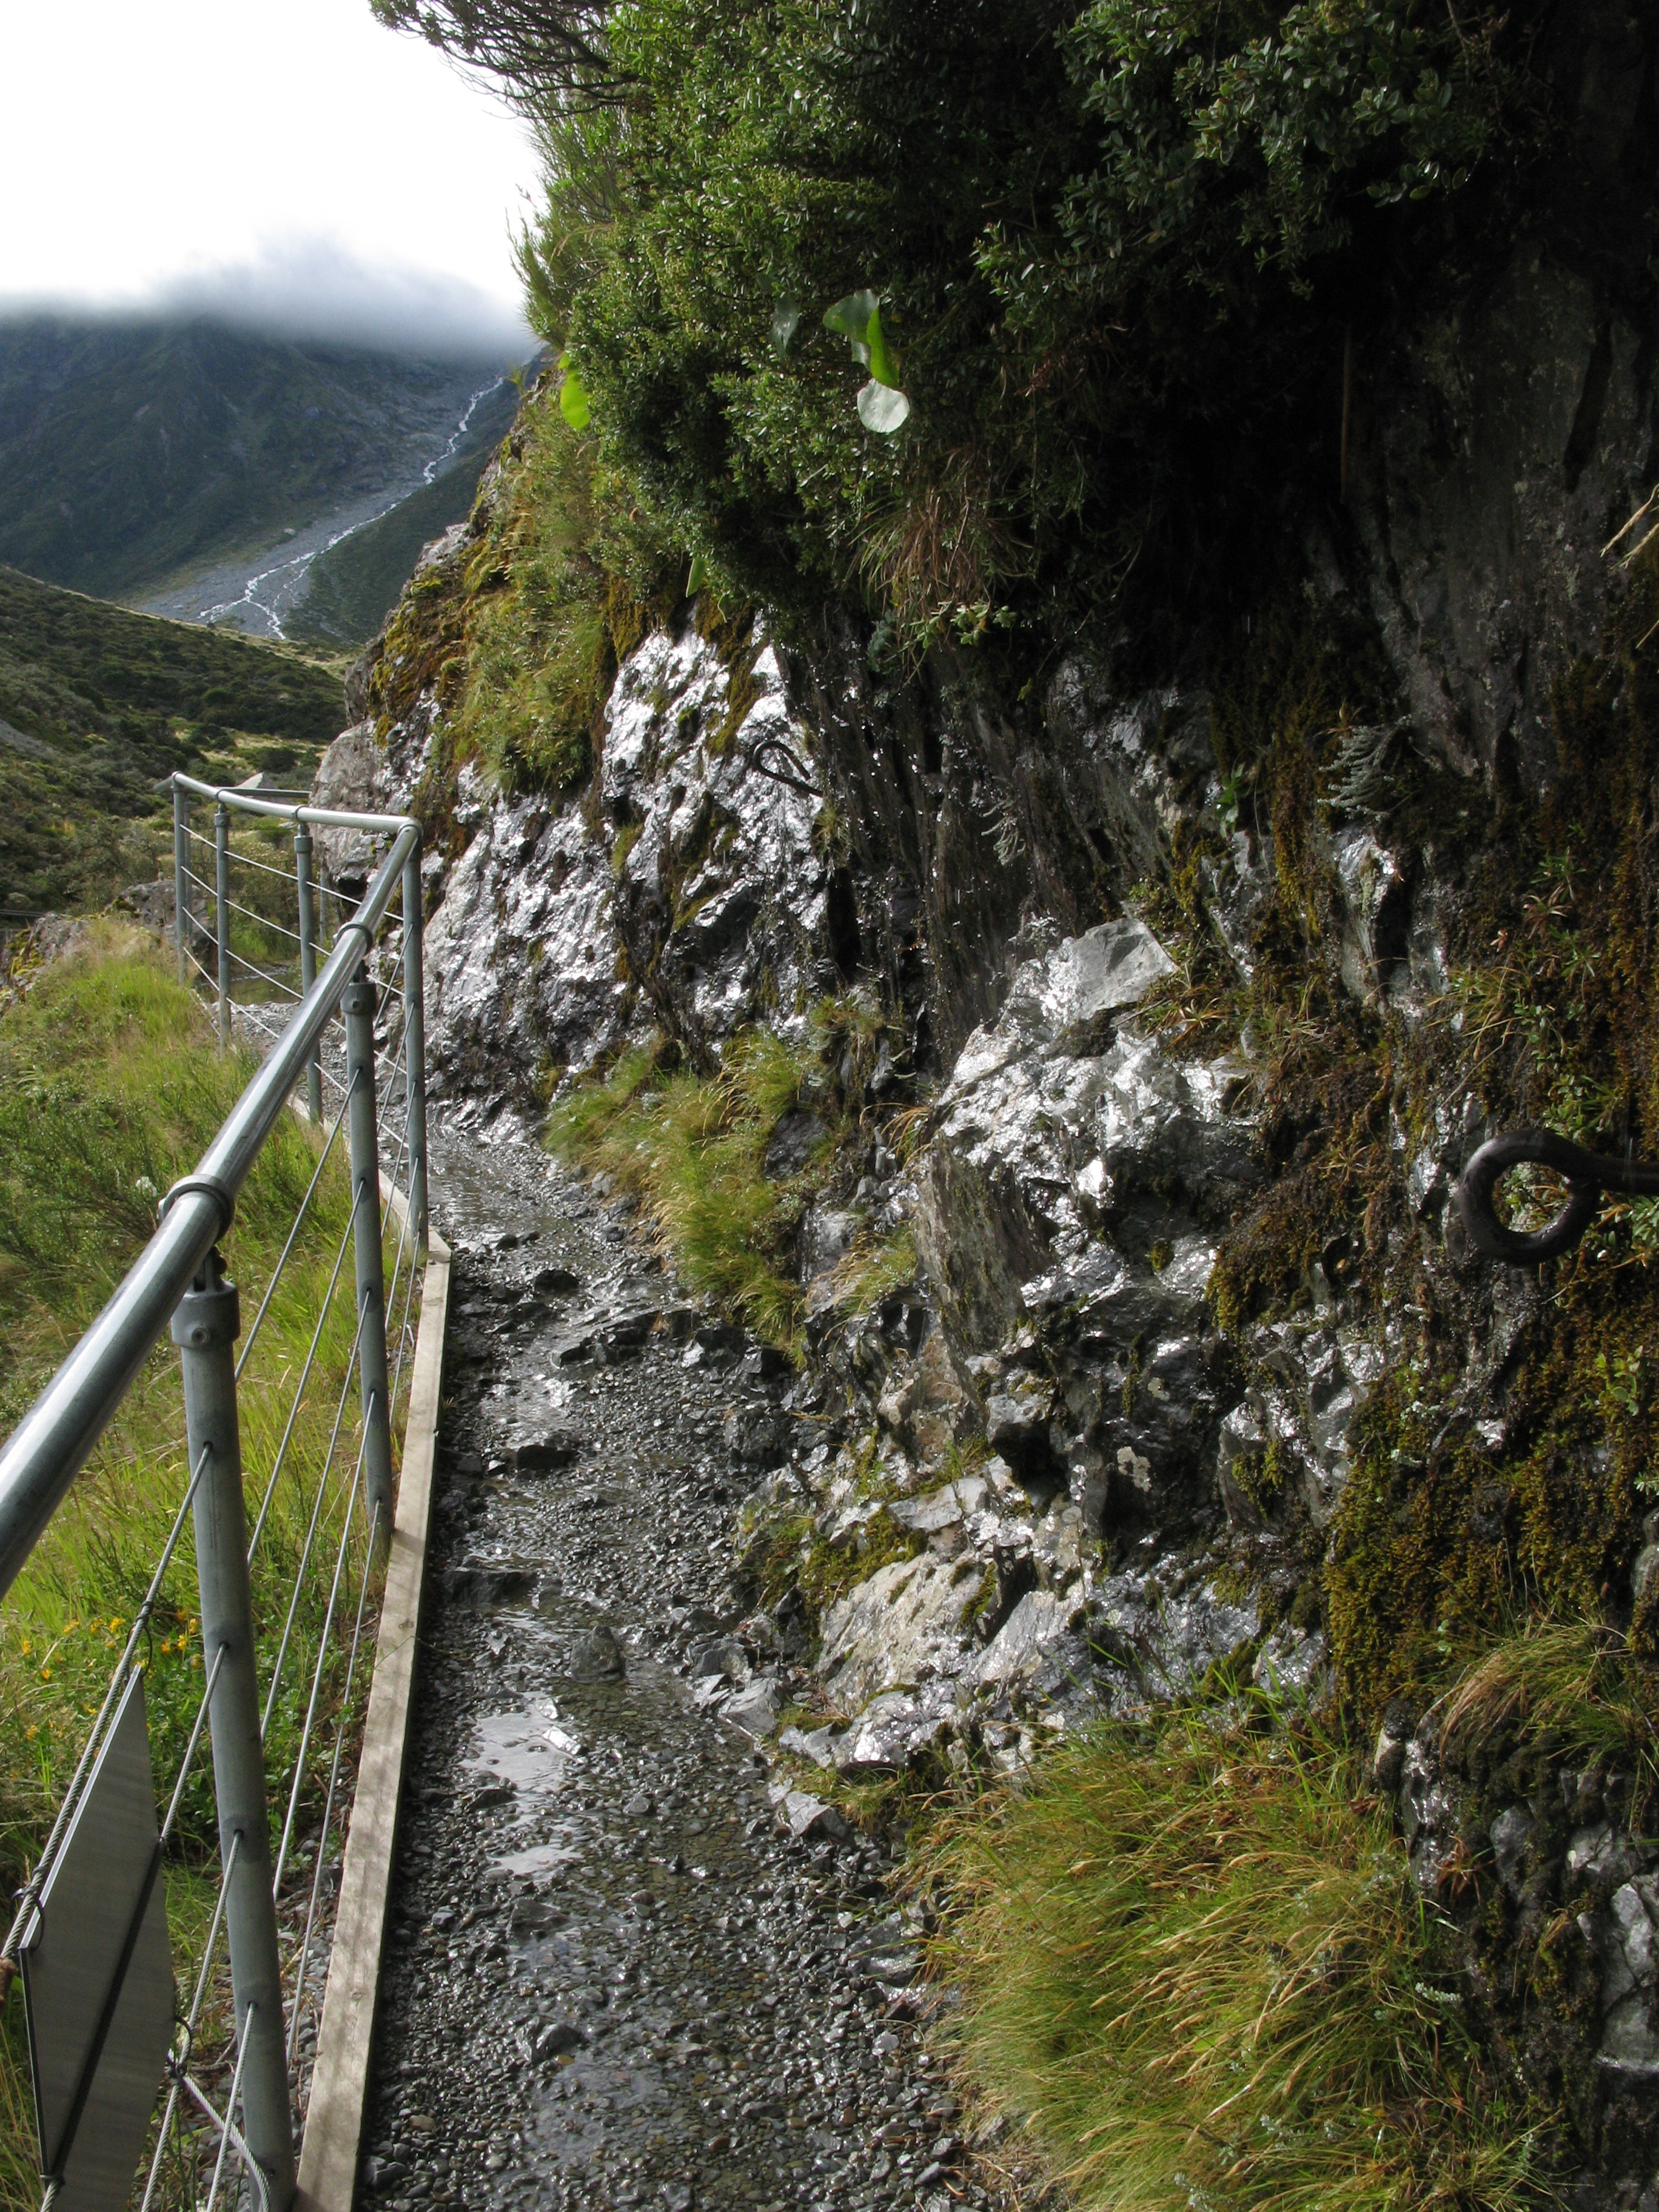
| Danger. Falling rocks. |
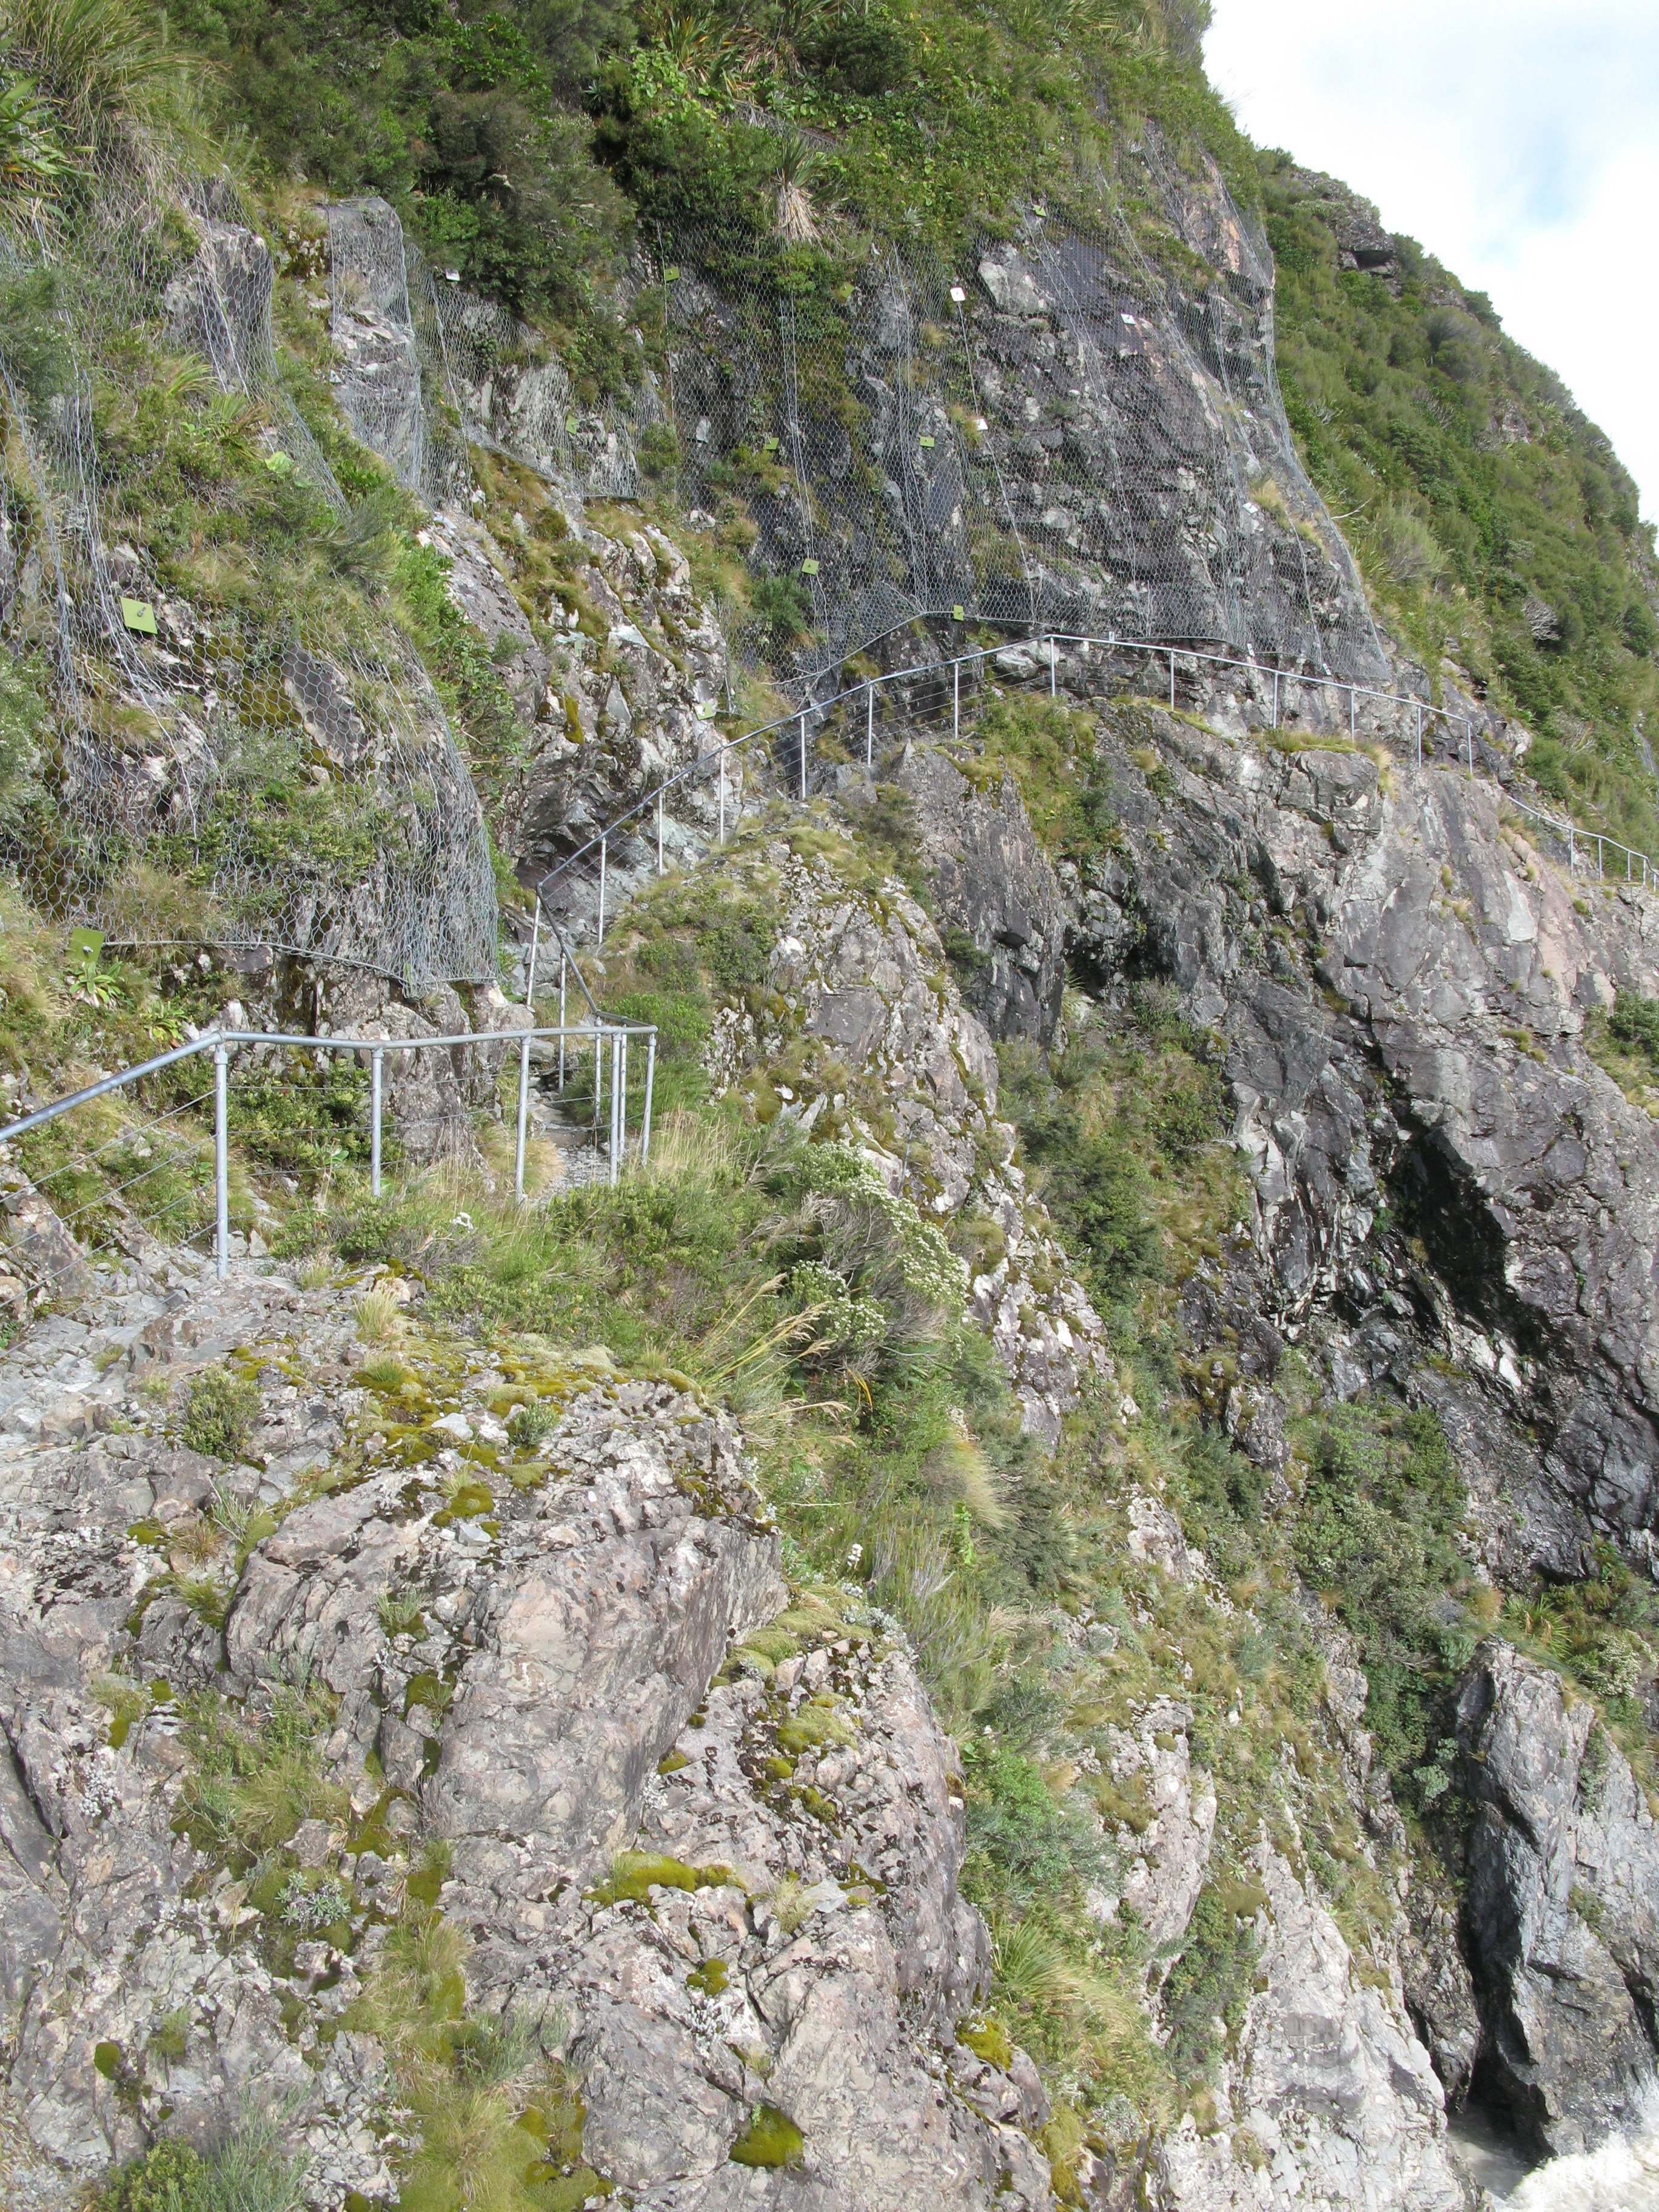
| The path up to the second swing bridge. |
| The path up to the second swing bridge. |
| The second swing bridge. |
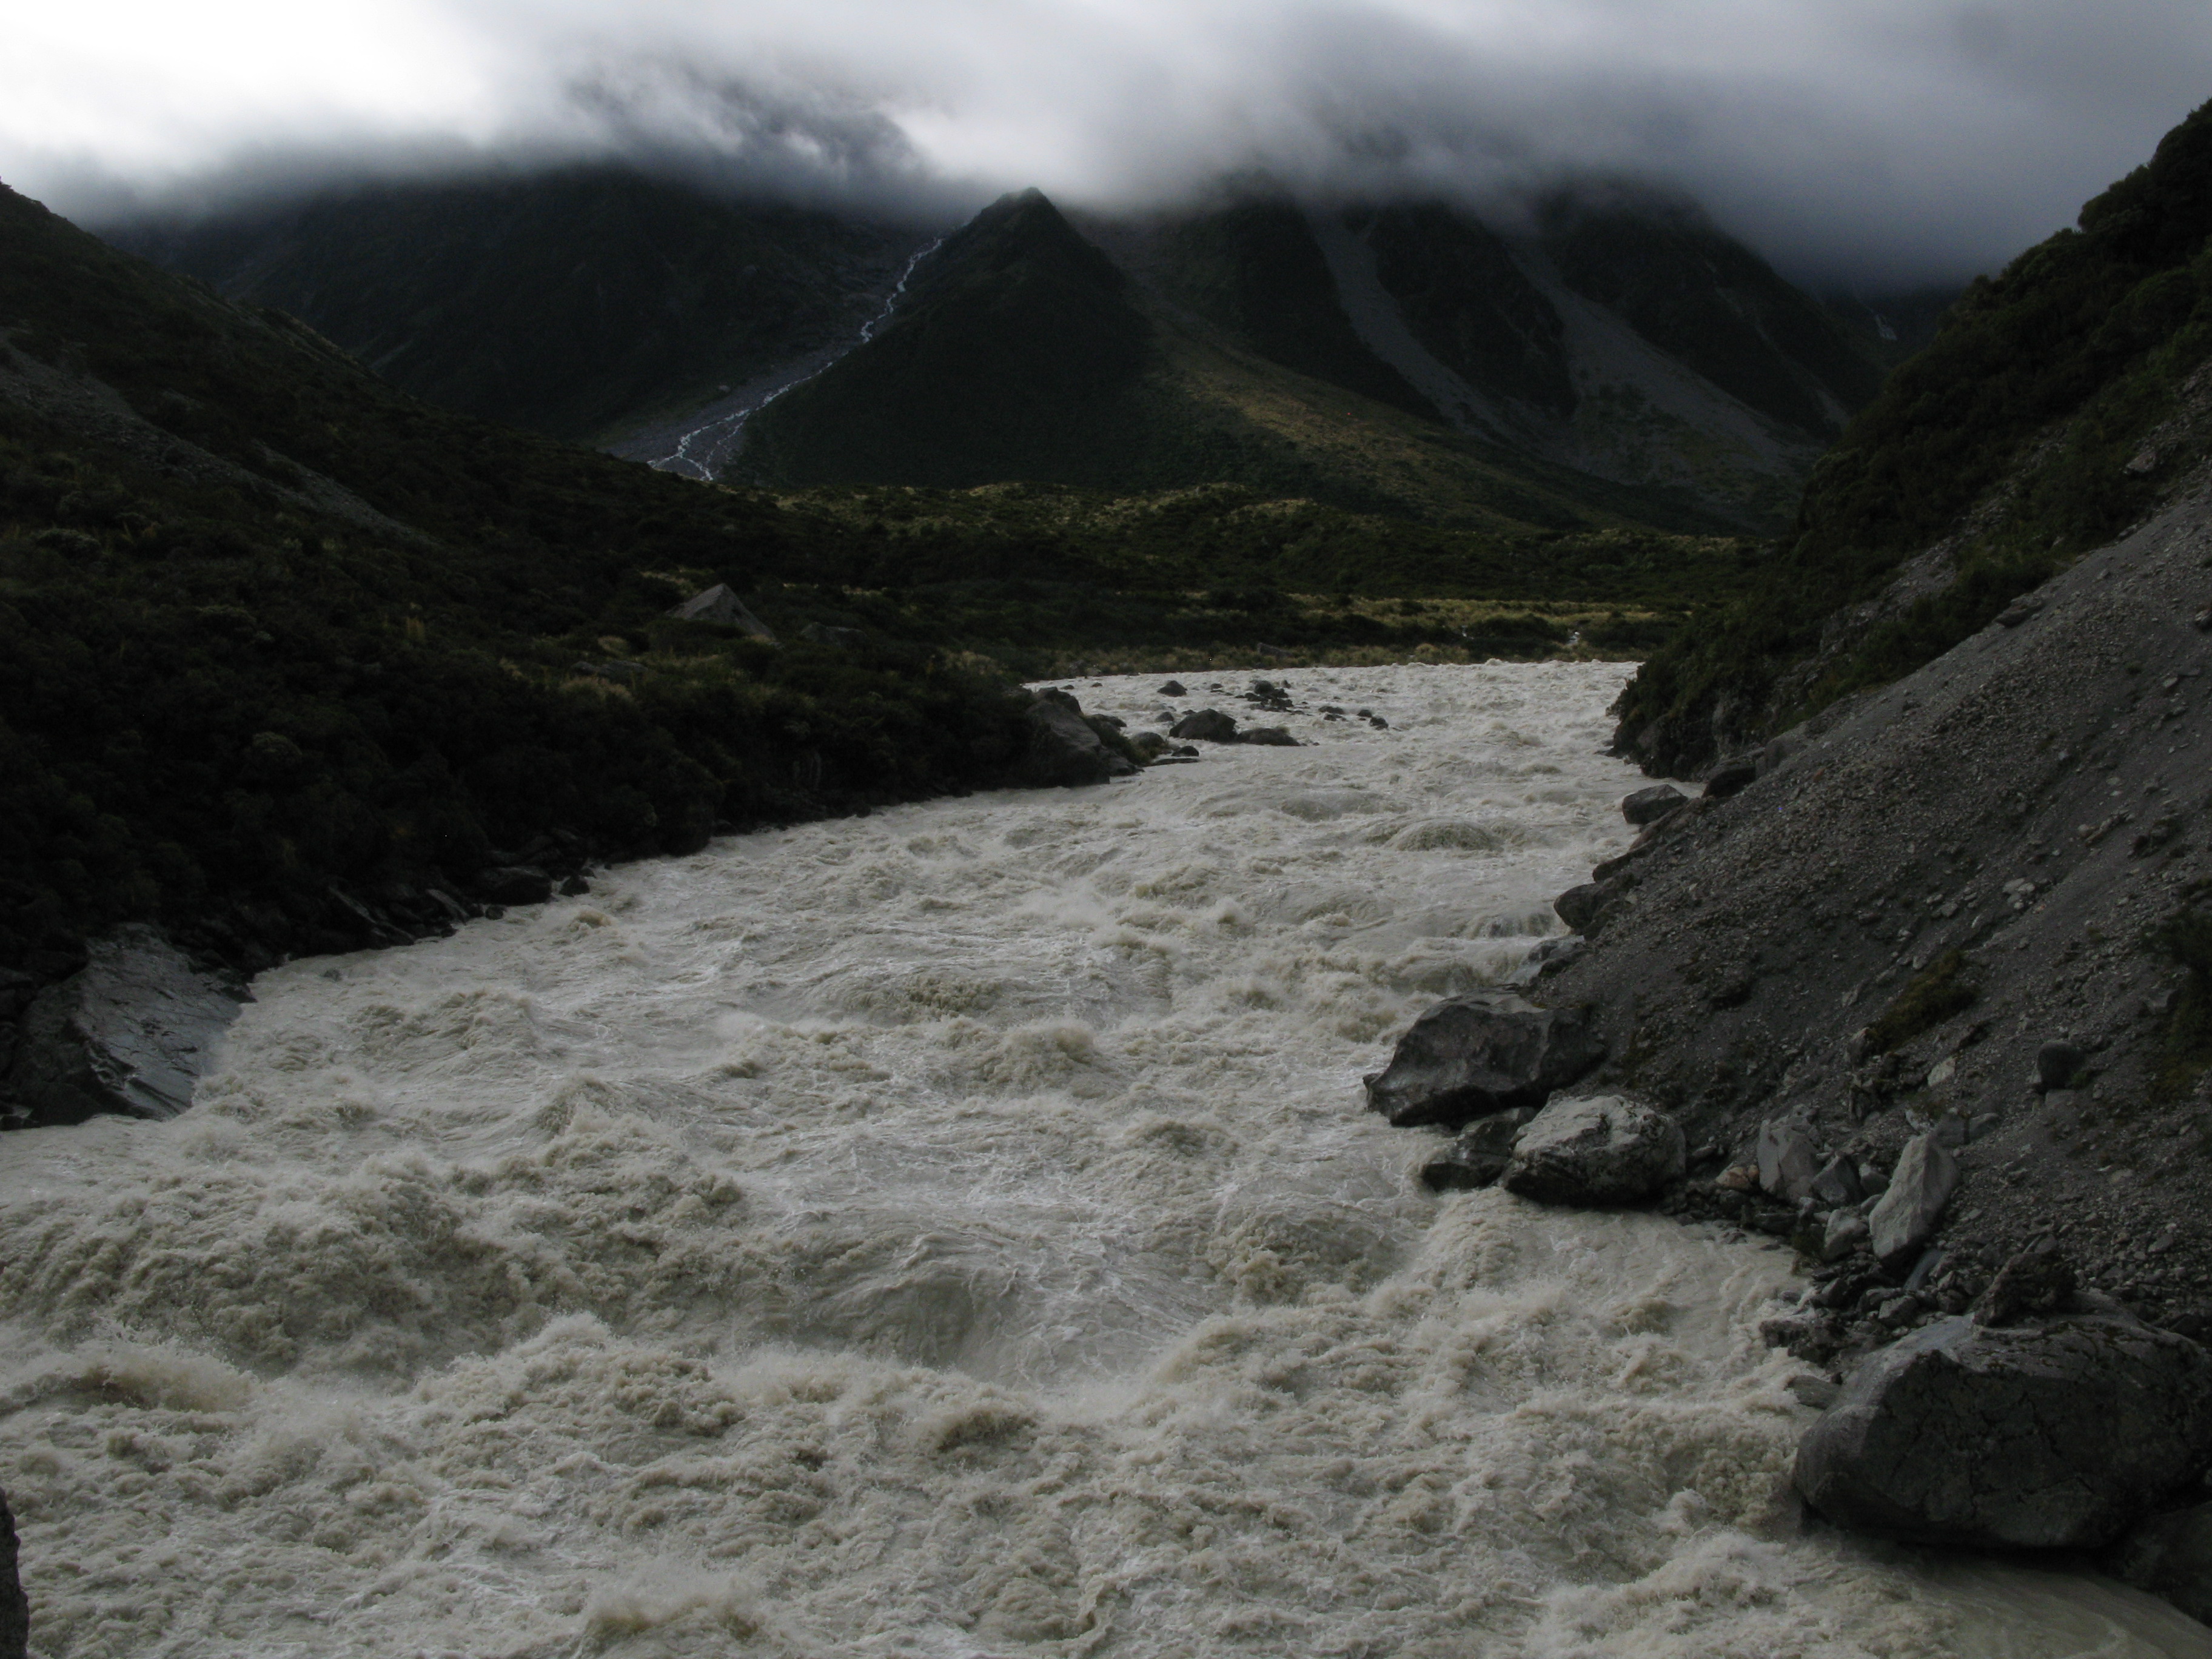
| Hooker River. |
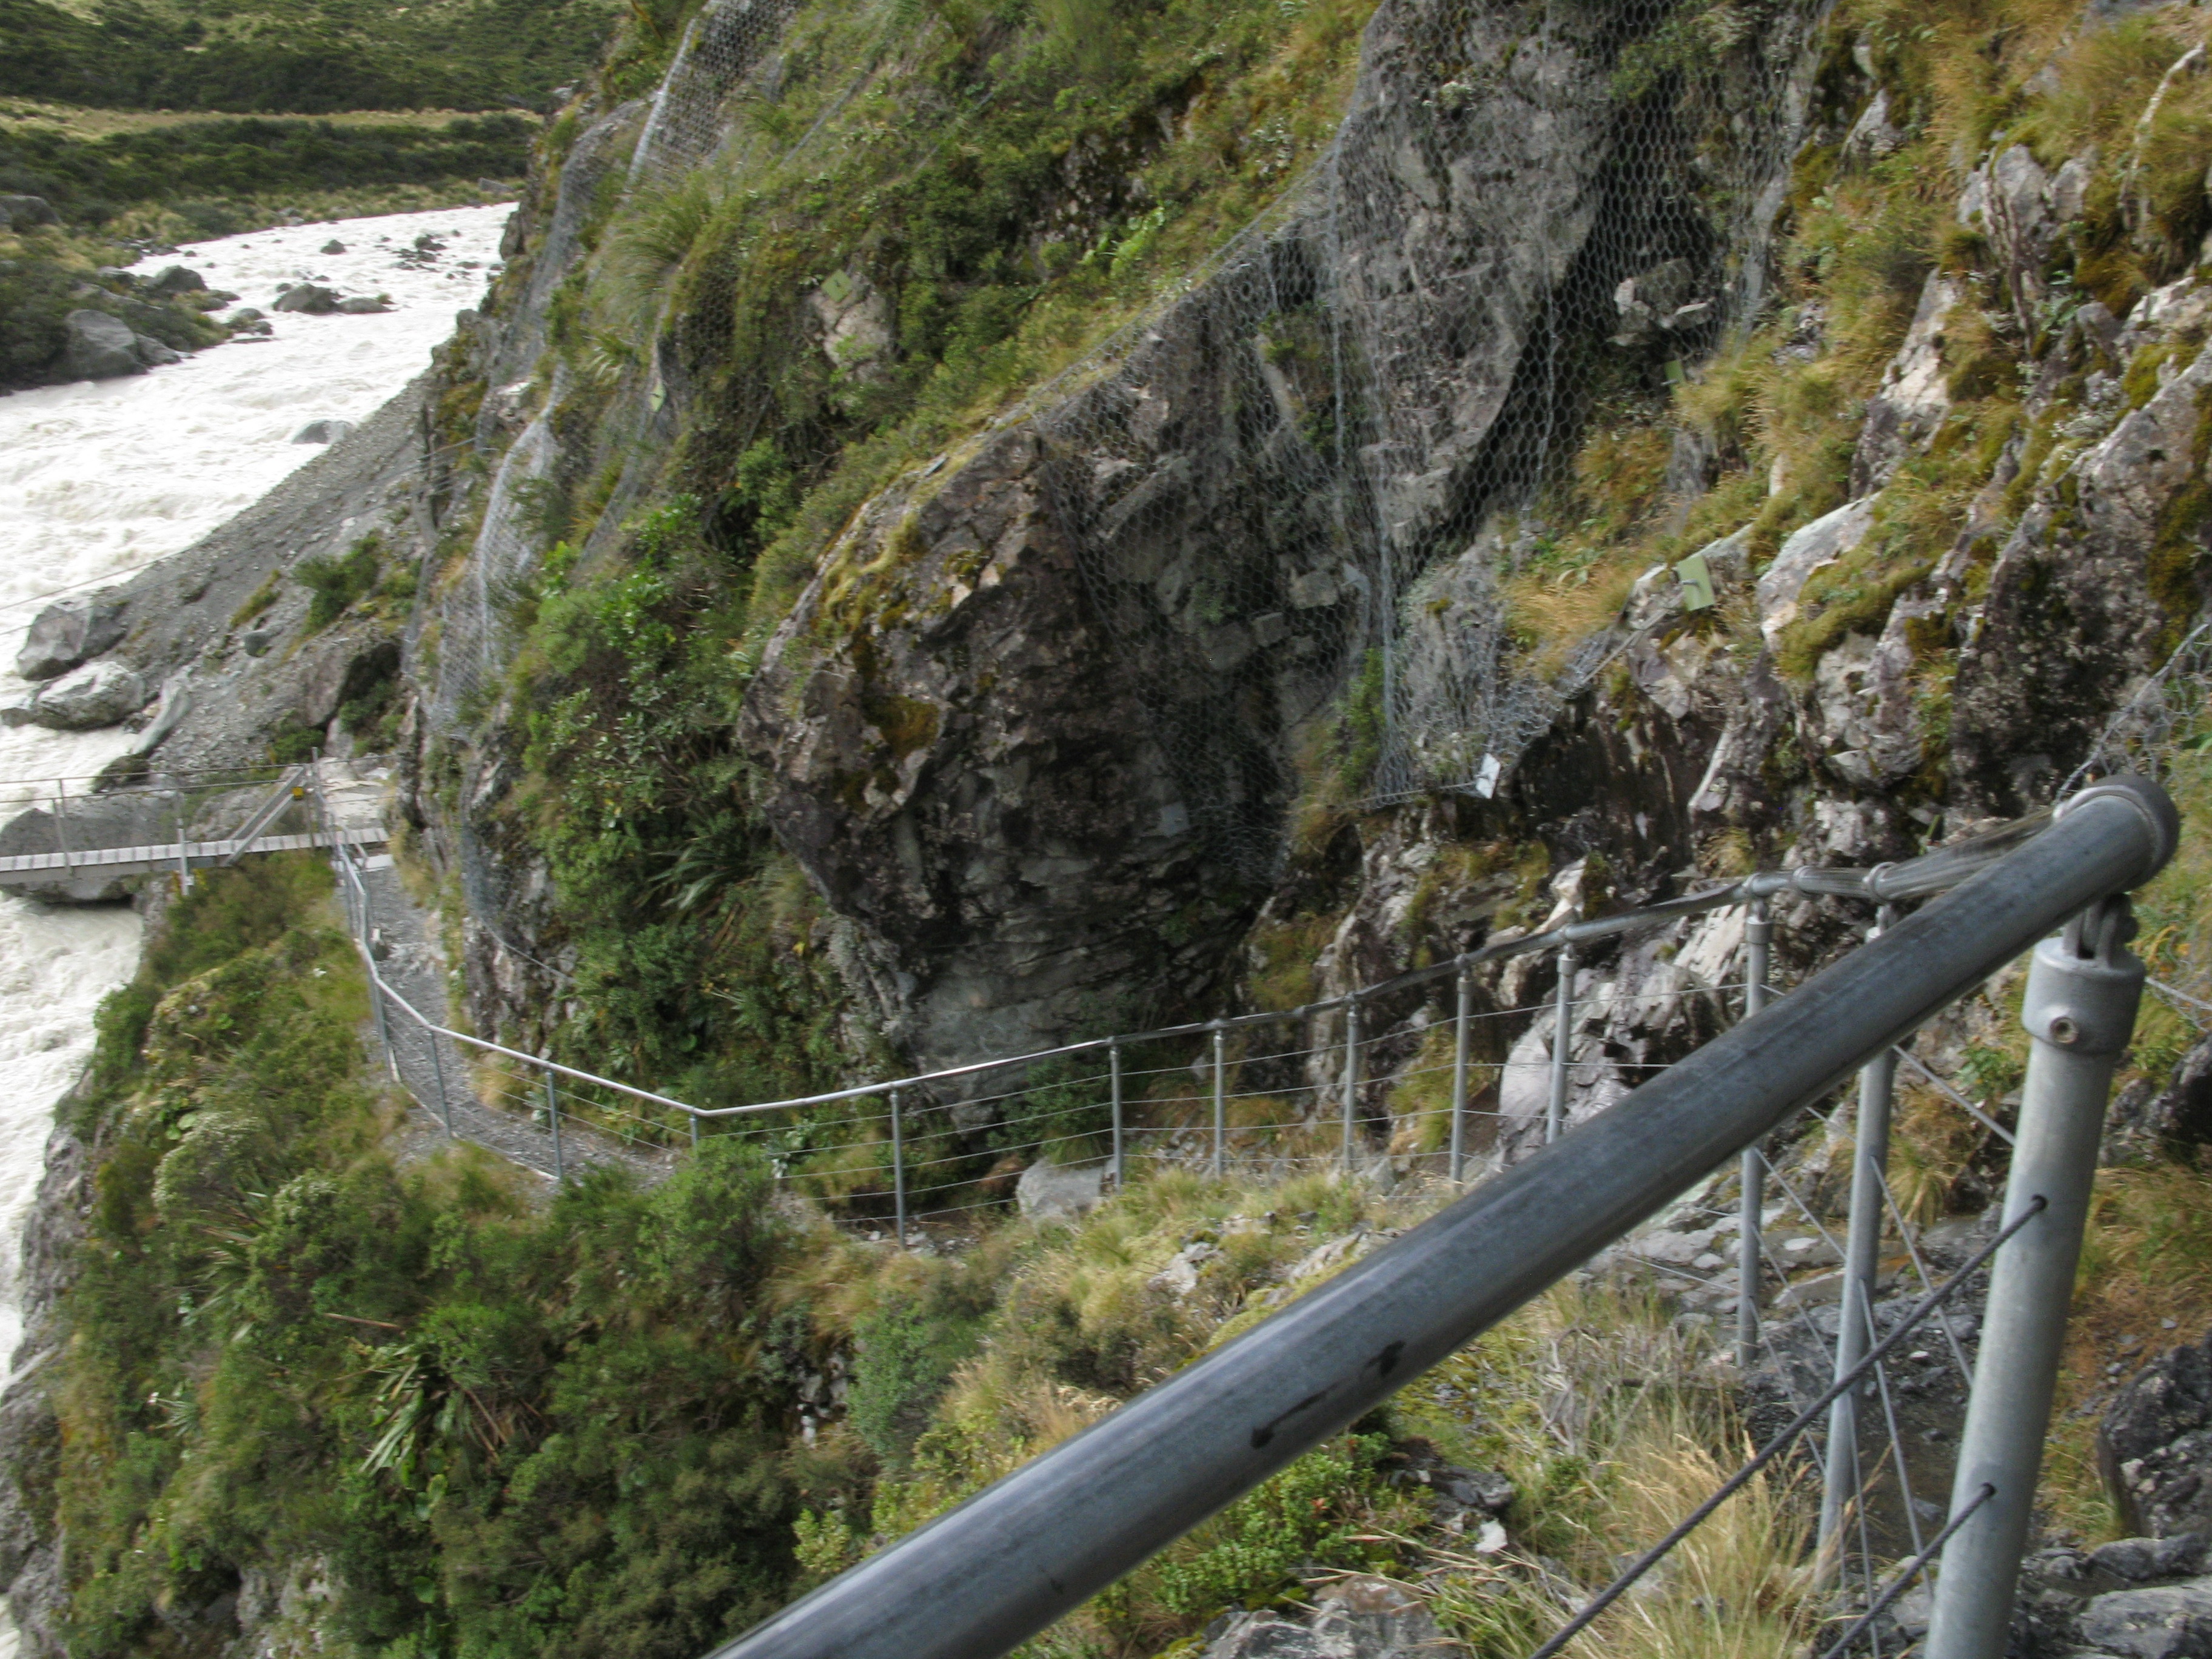
| Looking back across the gorge at the path leading up to the second swing bridge. |
| The second swing bridge. |
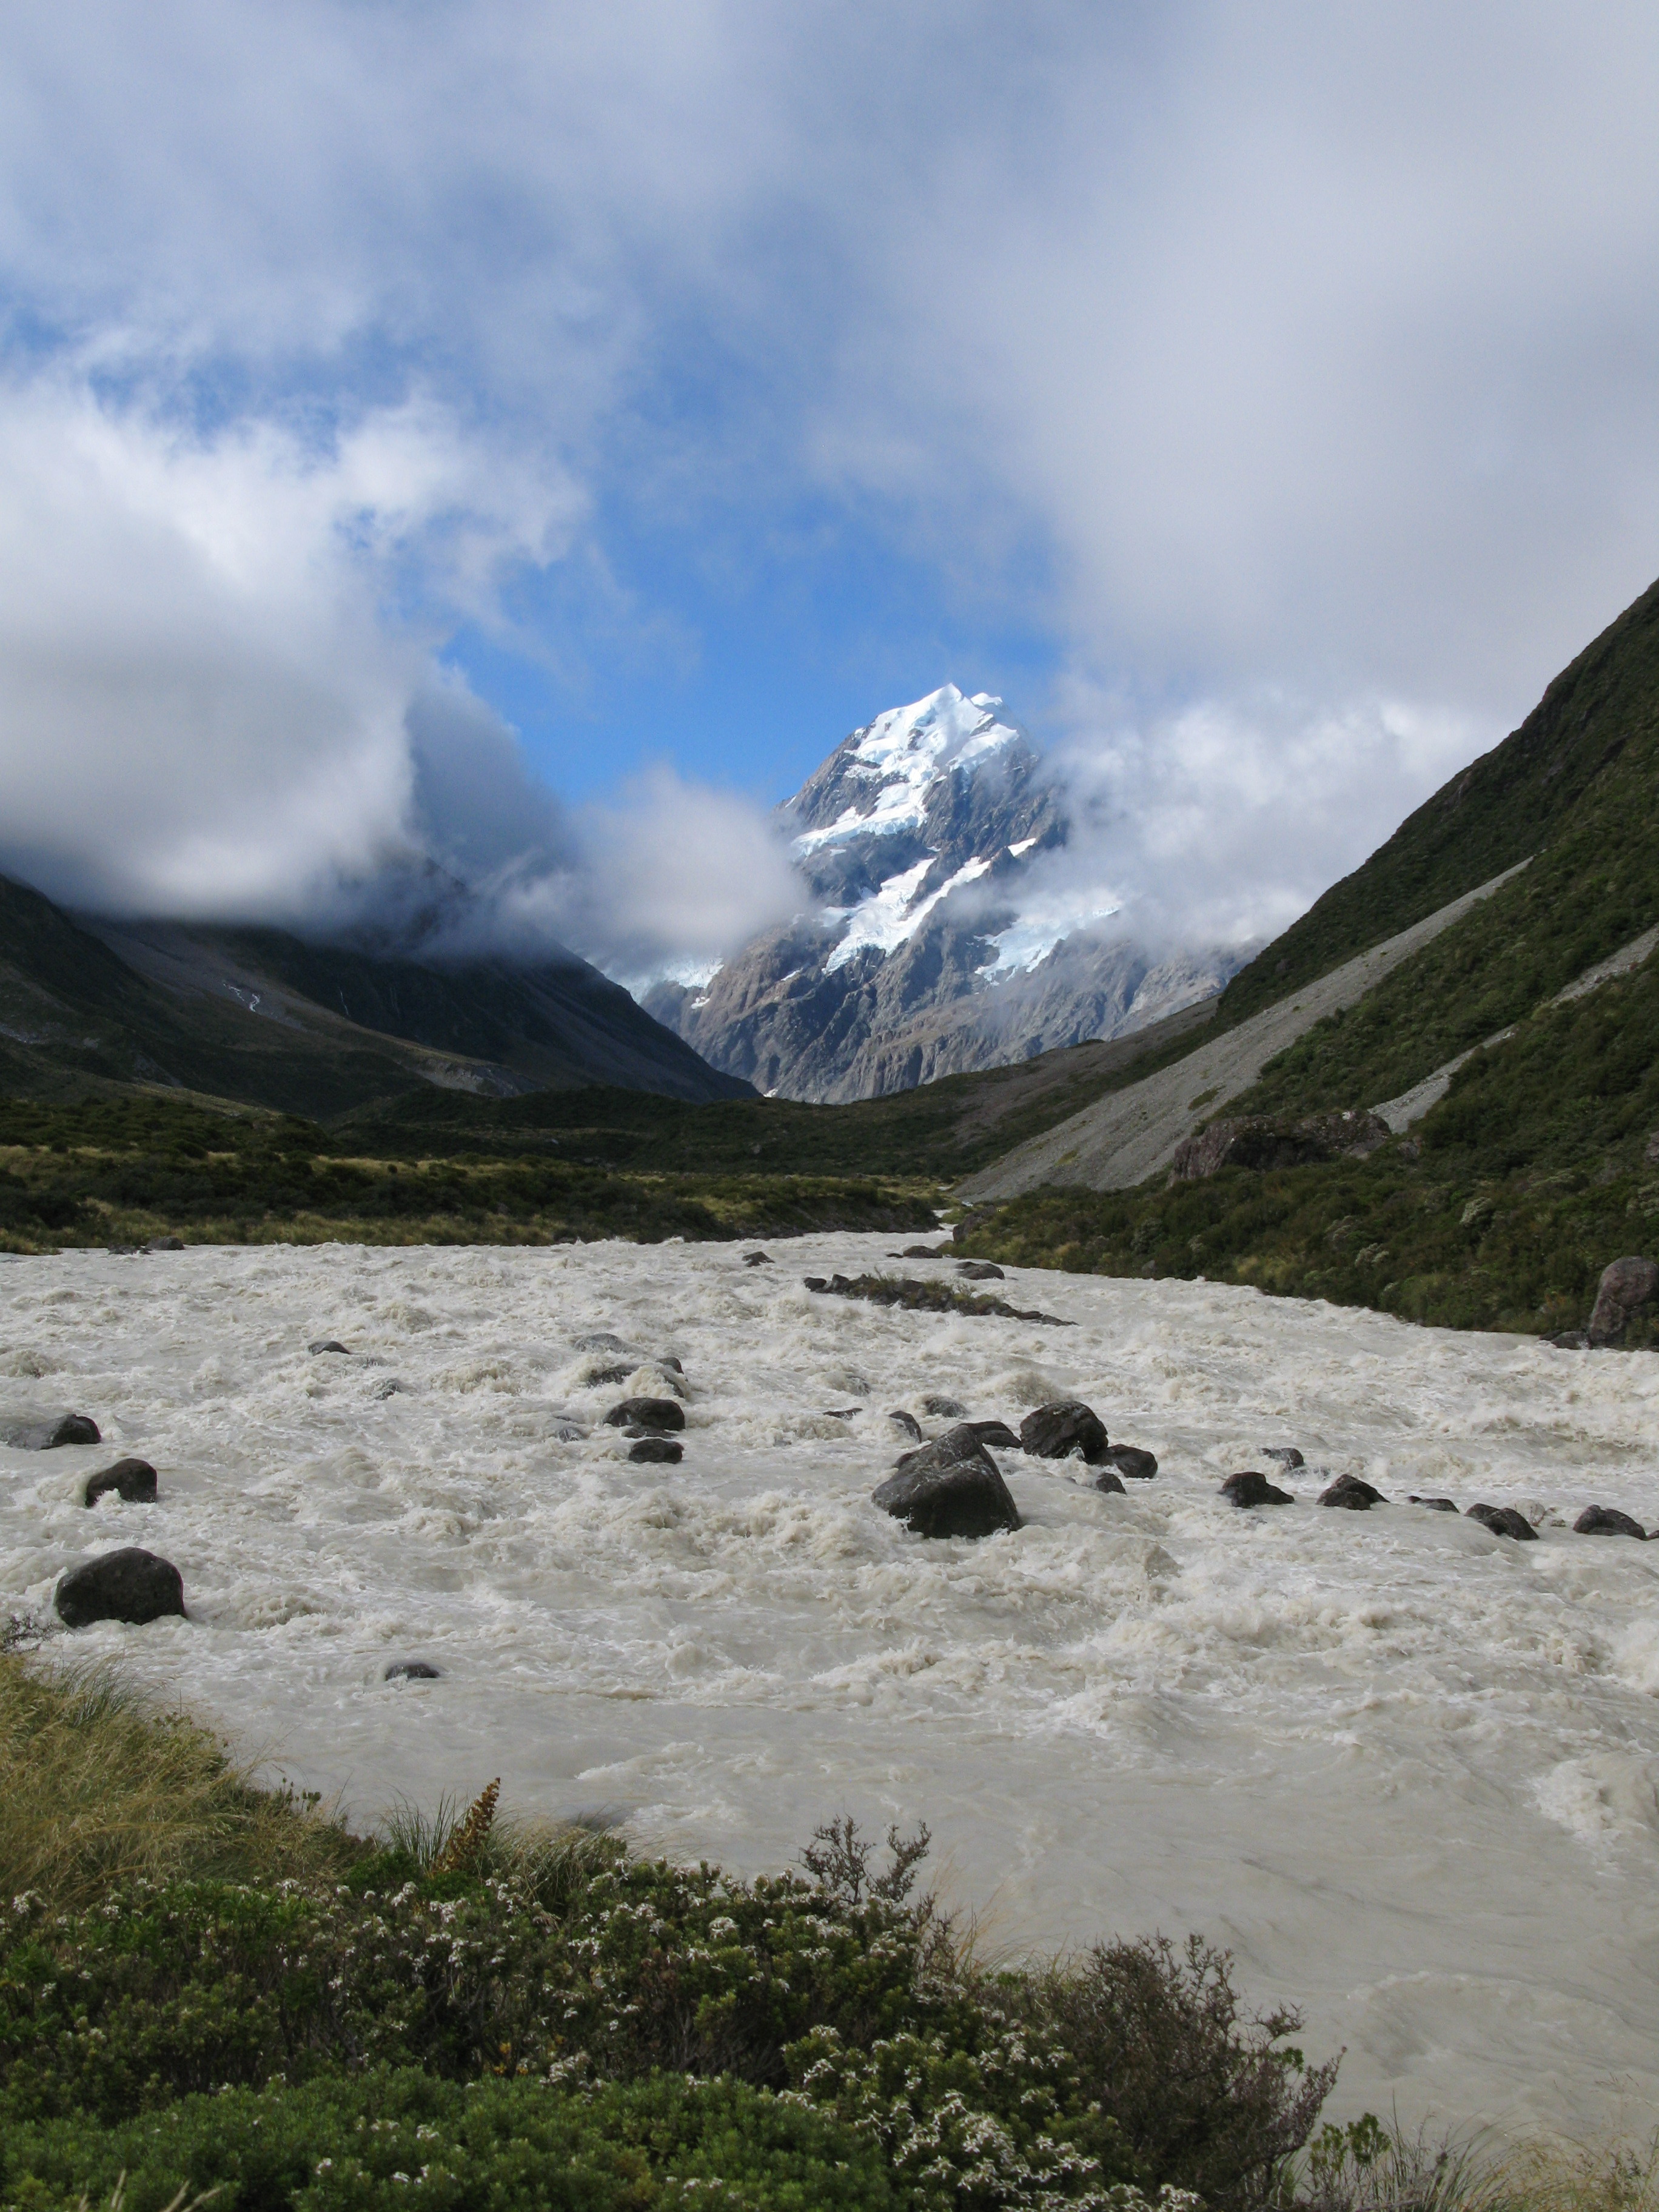
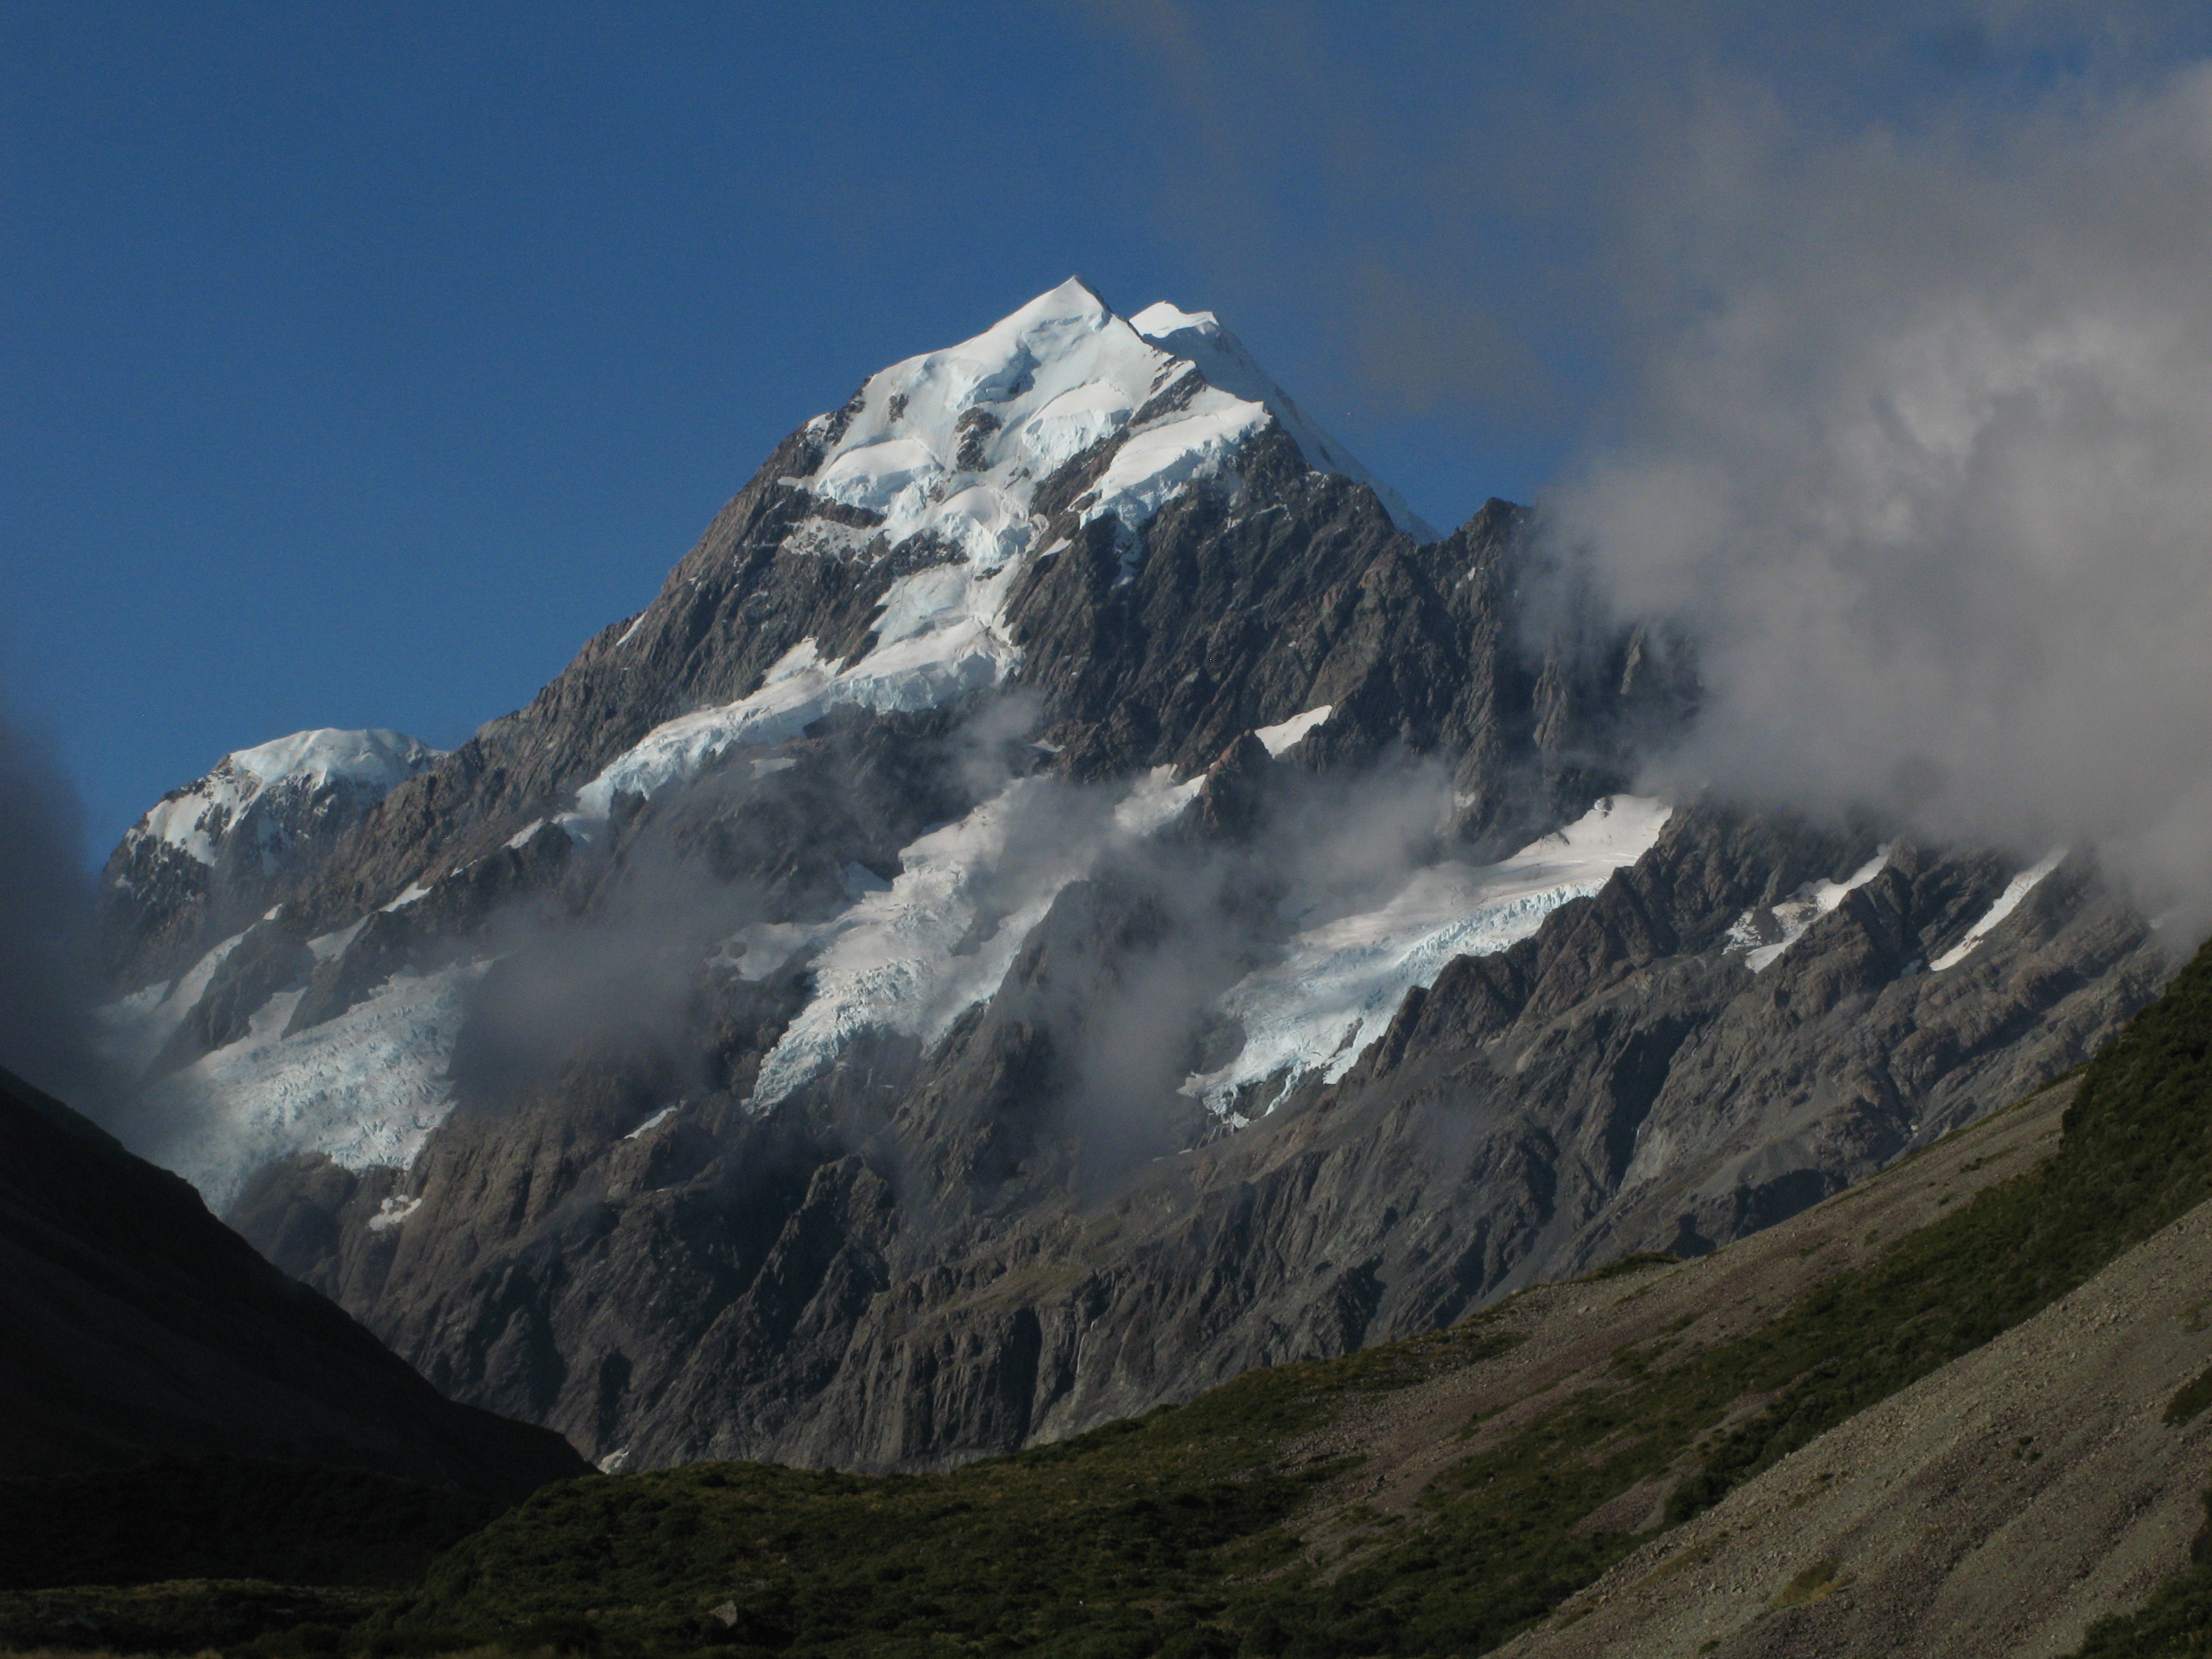
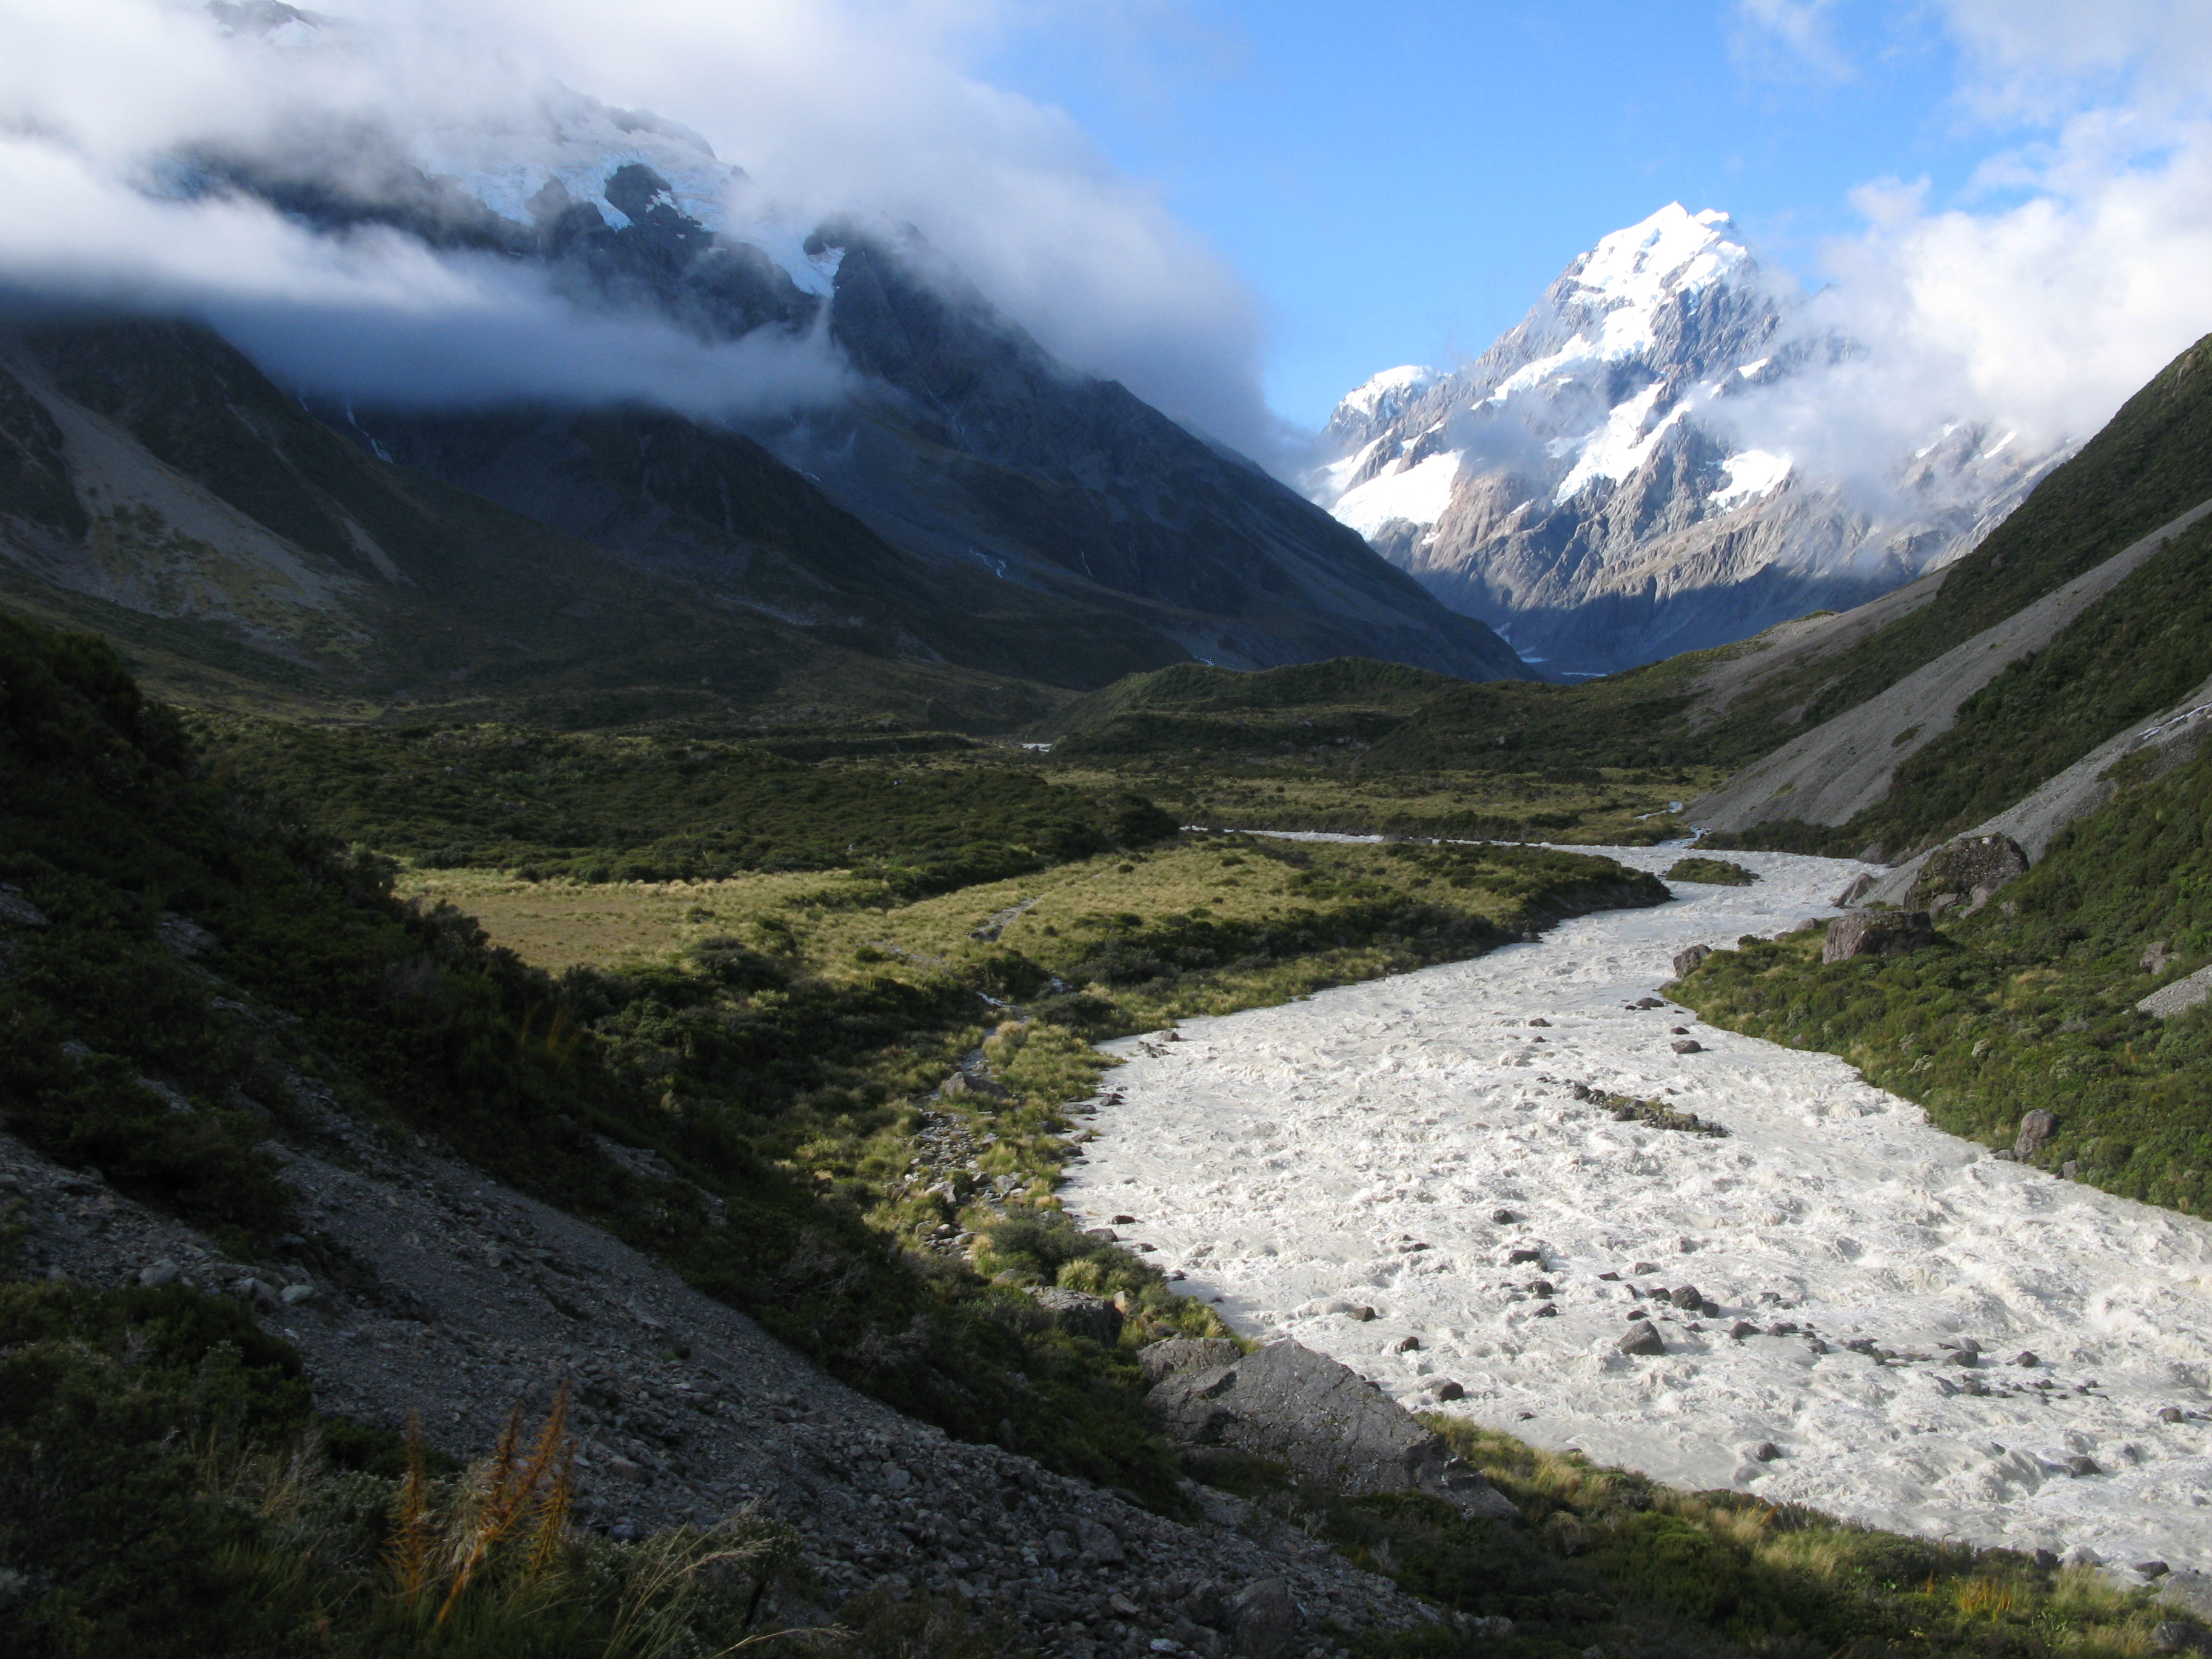
| Success! The clouds part to reveal Aoraki (Cloud Piercer), AKA Mount Cook. |
| Mount Cook and the Hooker River. |
| Mount Cook and the Hooker River. |
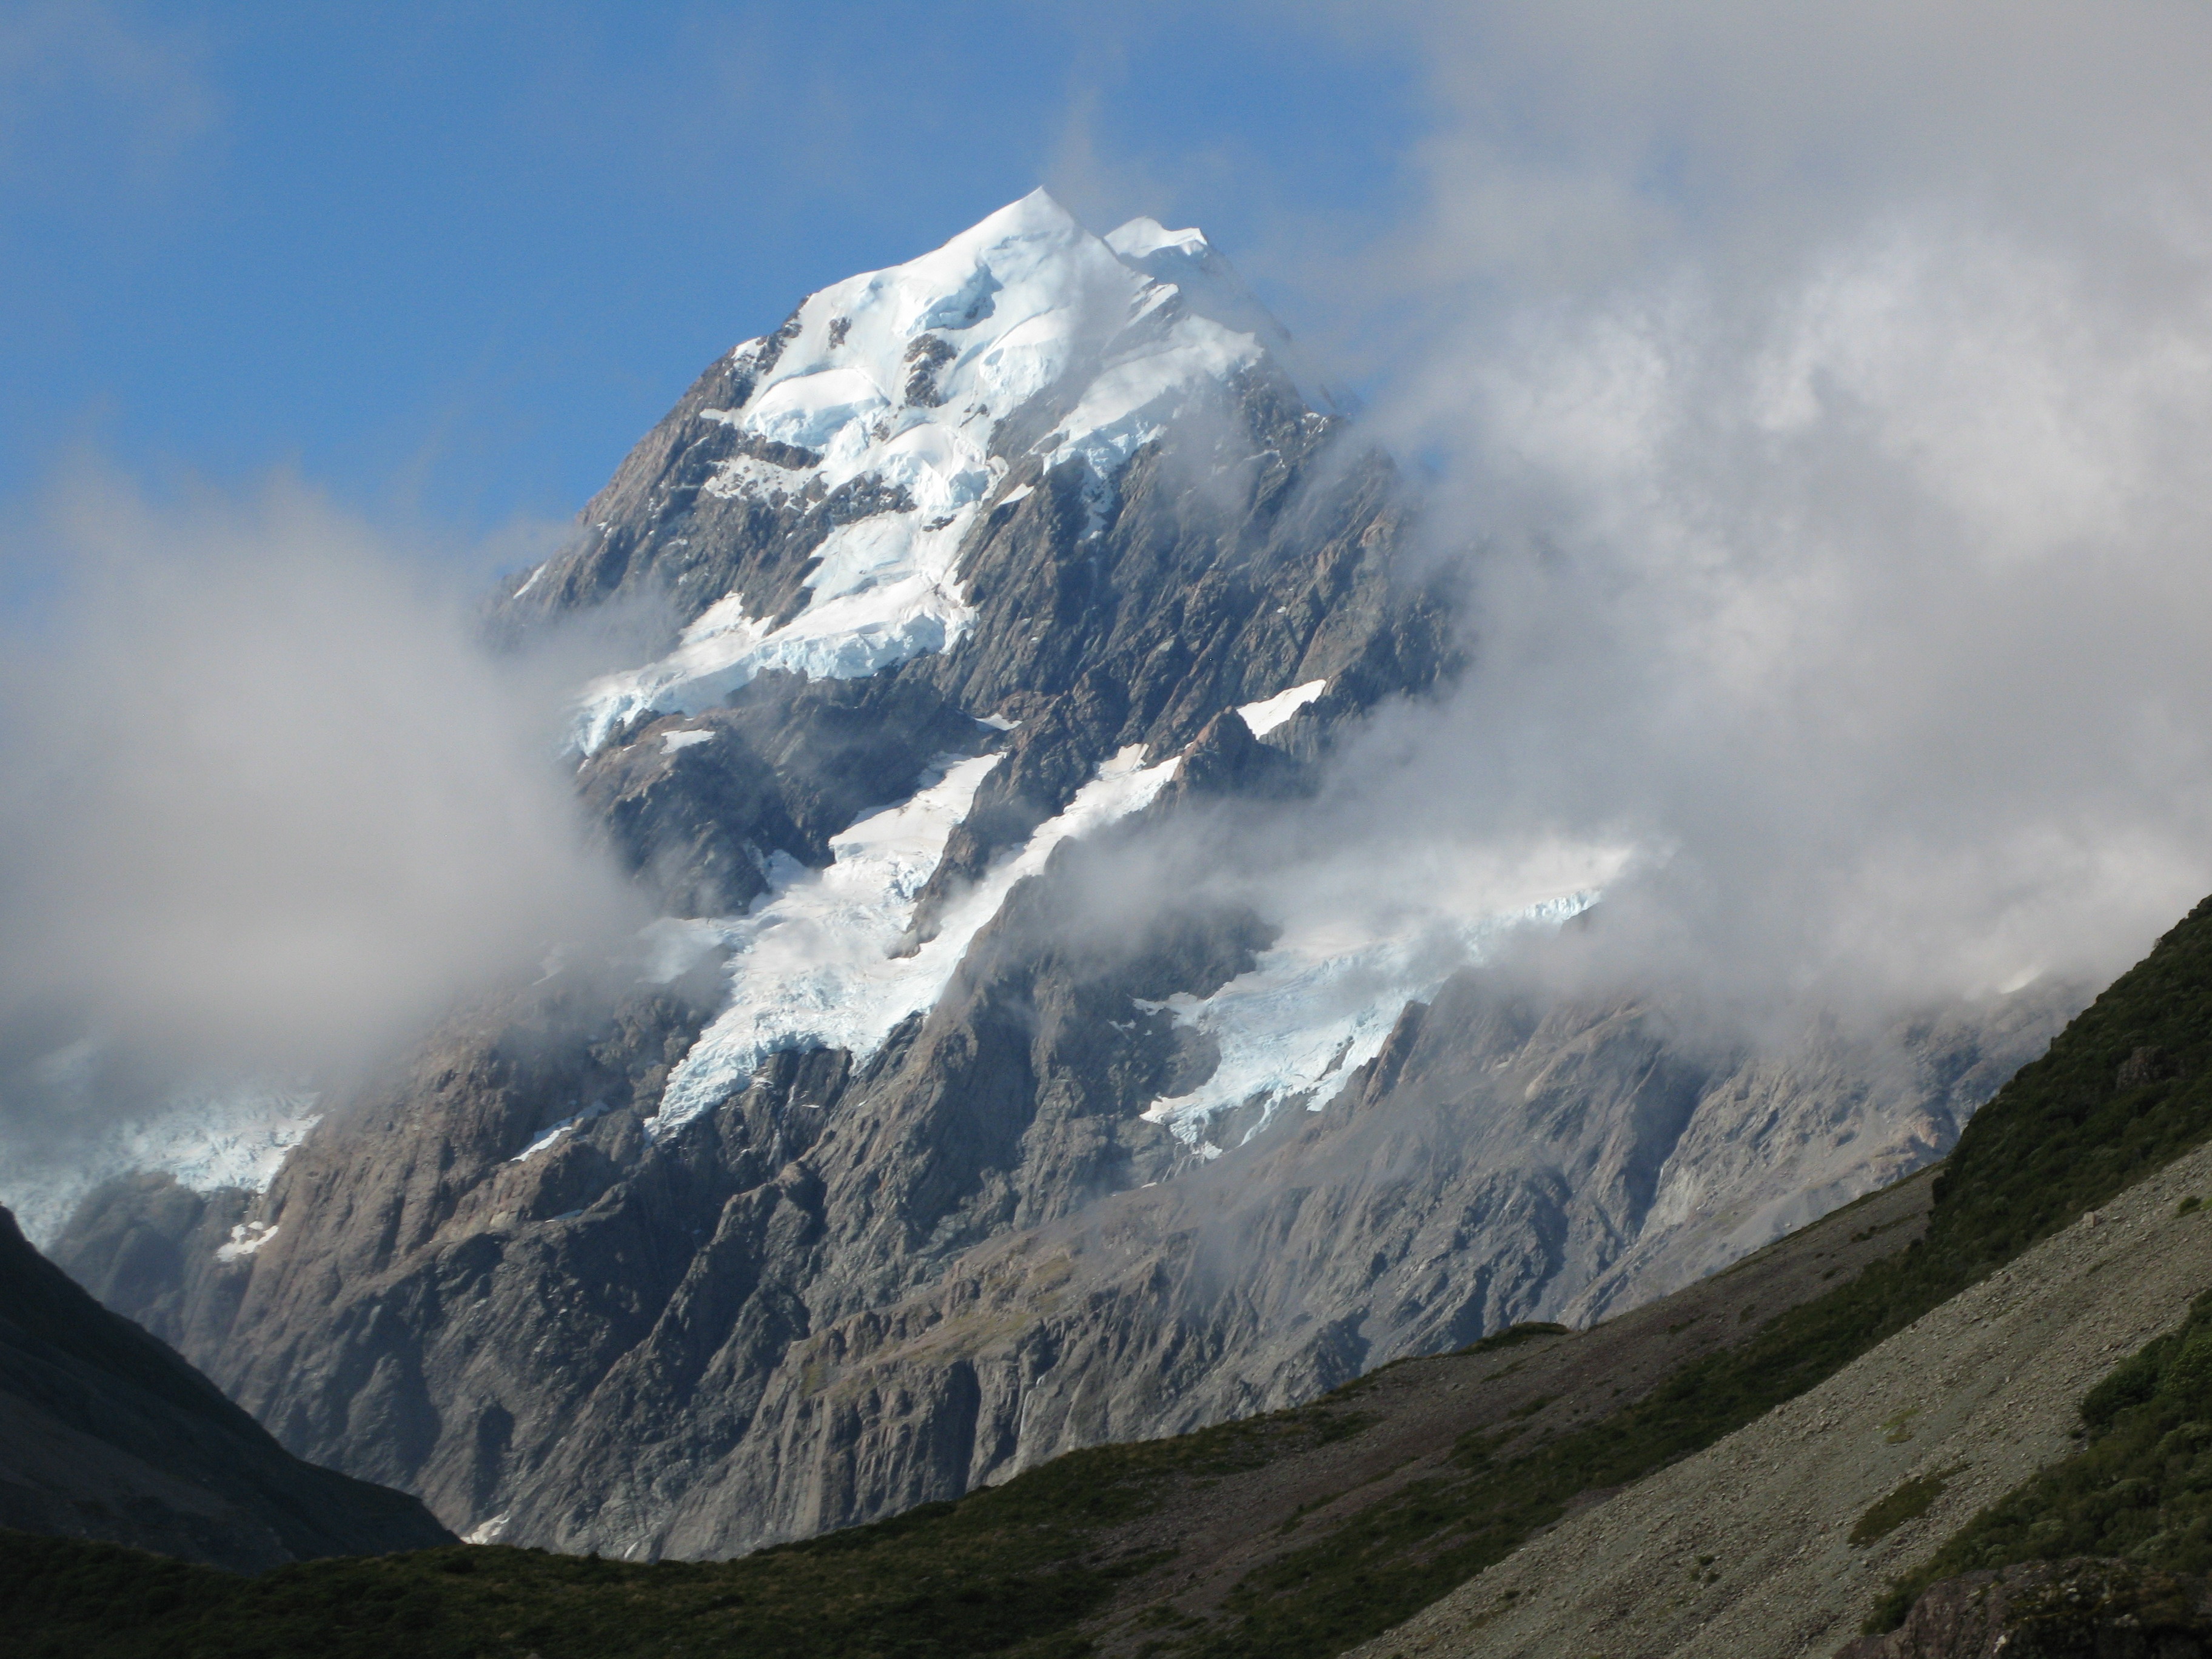
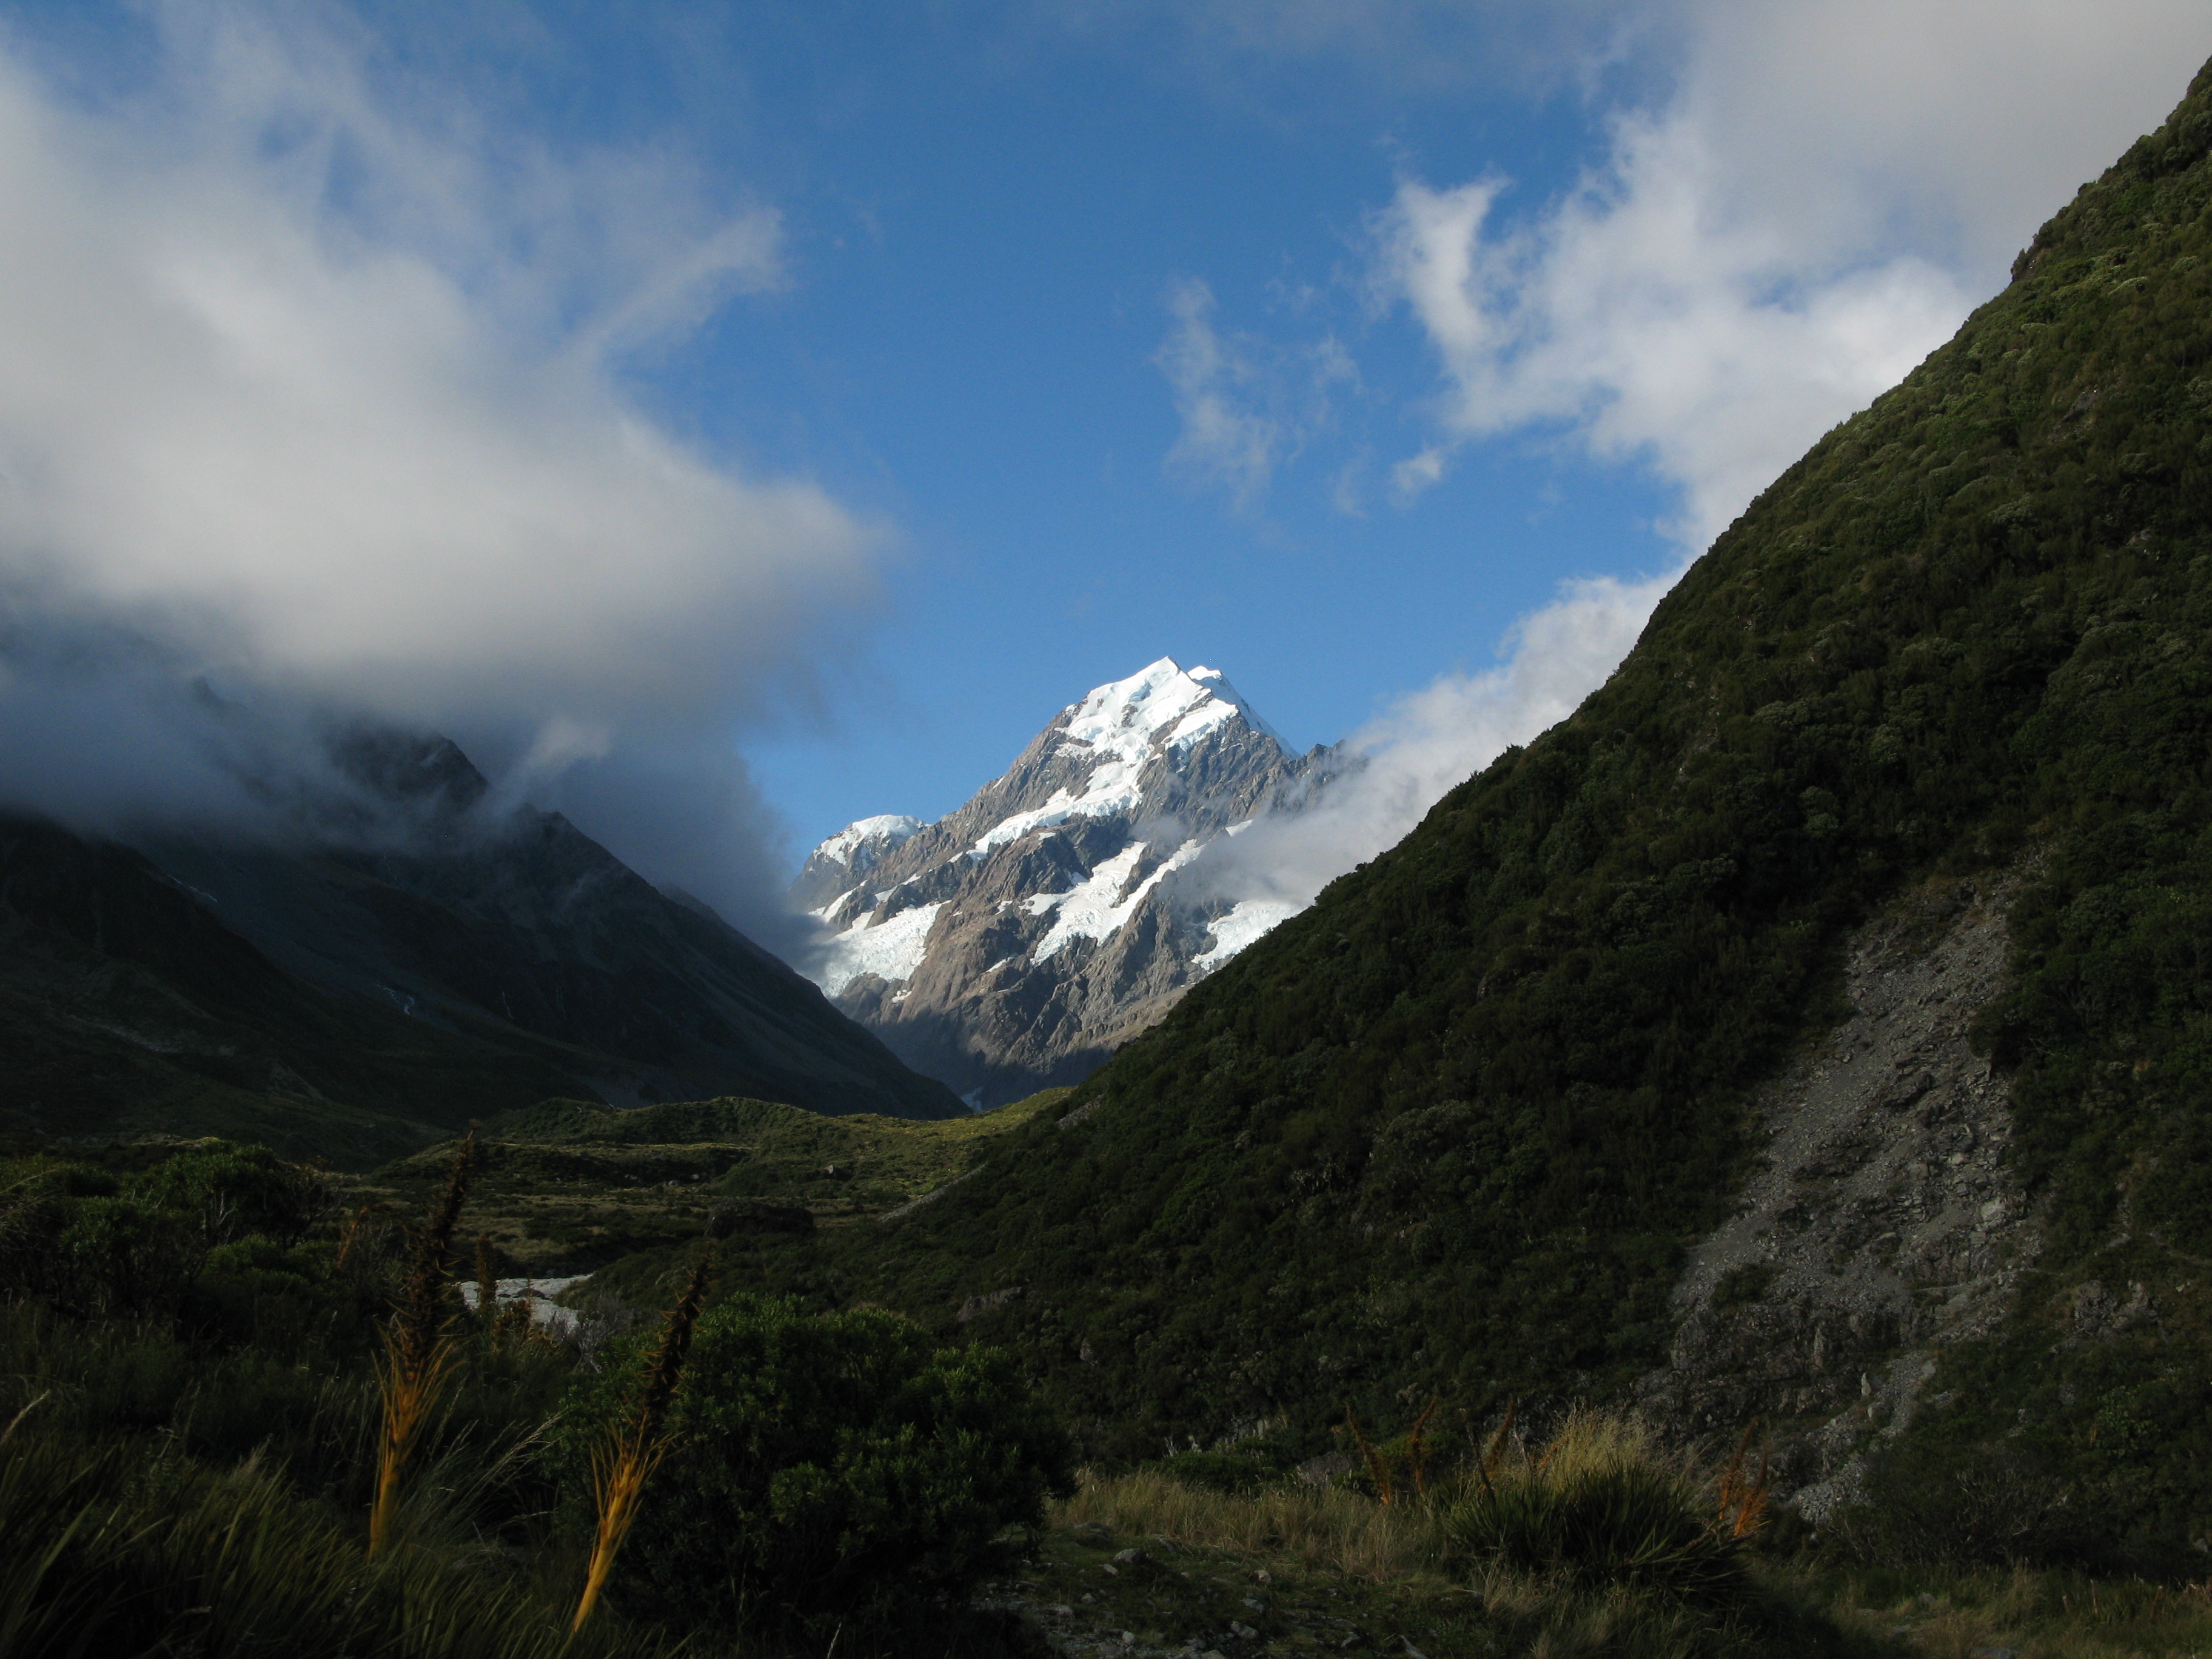
| Mount Cook. |
| Mount Cook. |
| The path continues this way. |
| This thing that looks like a pool is the path. It then heads up where that thing that looks like a stream is. I tried to find a reasonable way around that wouldn't involve water in my boots, but there really wasn't anywhere to go. |
| Mount Cook, again. |
| Another view of the pool-path. I did manage to make it to the other side of the pool, but that didn't help much. |
| The torrent flowing down the path. |
| An attempt at a self-portrait. |
| Eagle Rock. |
| Mount Cook. |
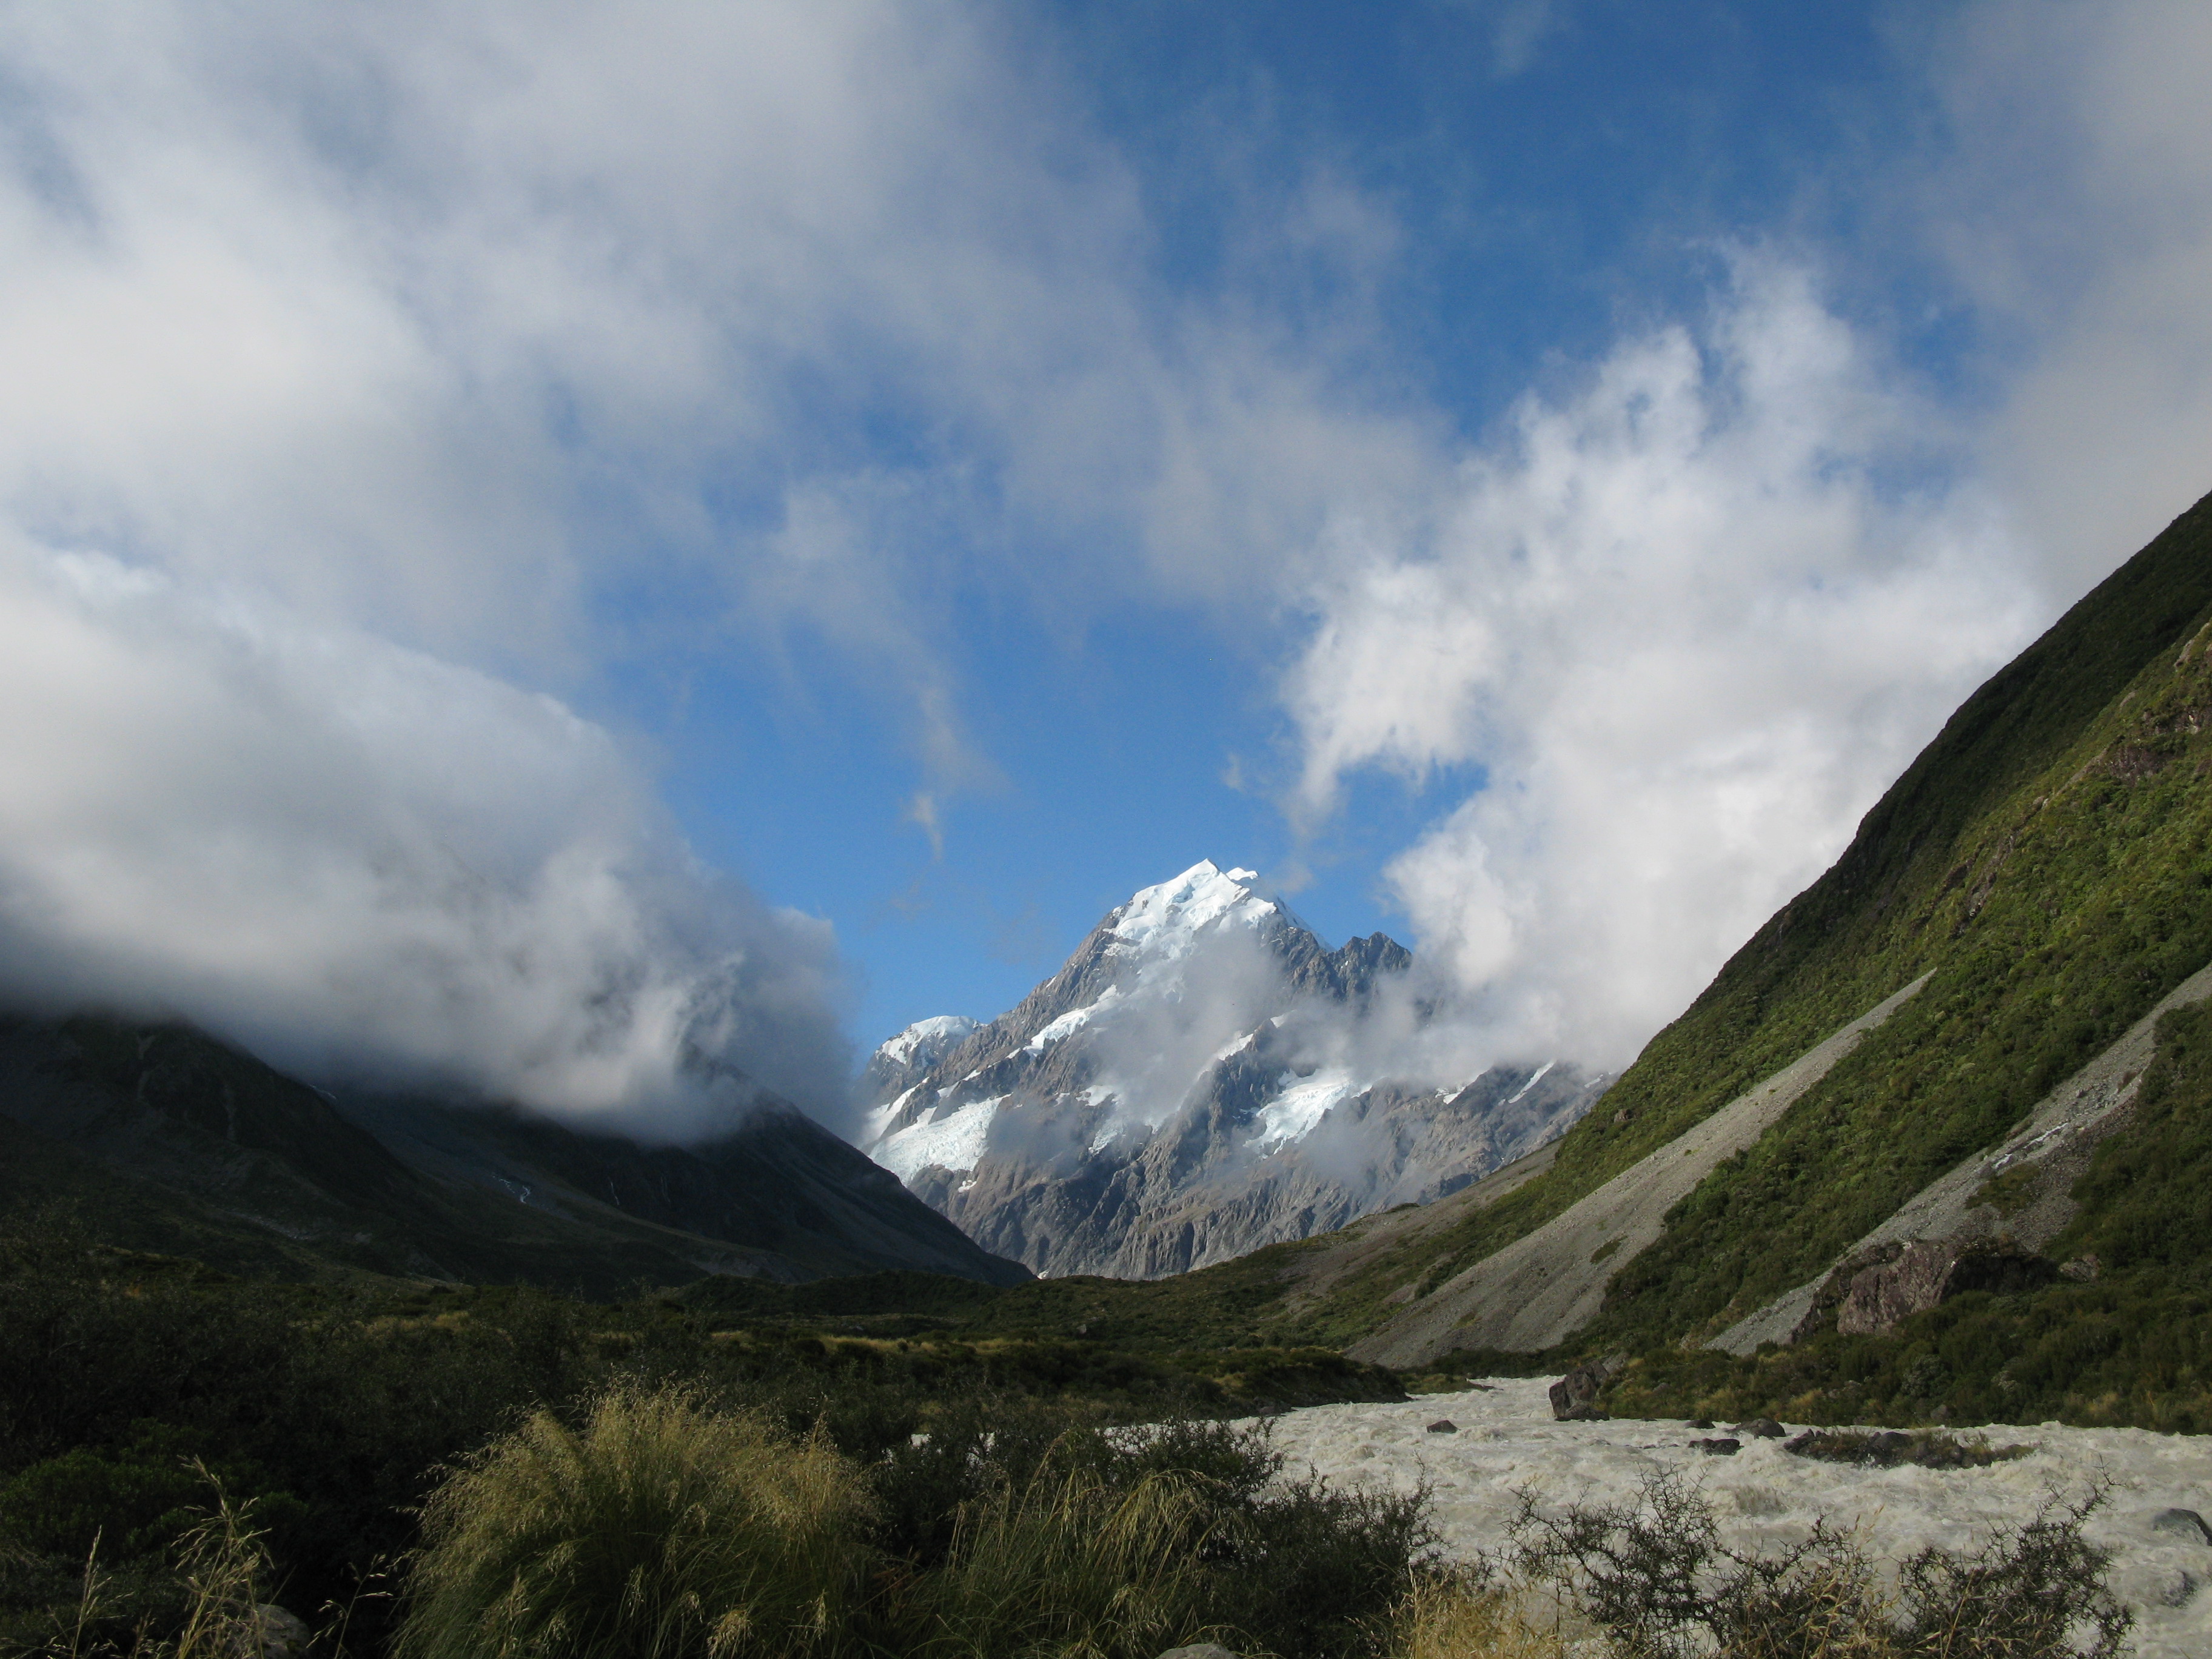
| The lower peaks start to show themselves, as well. |
| The lower peaks start to show themselves, as well. |
| |
| (13184x2542, 5870.59 kb) Aoraki from the Hooker Valley. | |
| The lower peaks start to show themselves, as well. |
| |
| (7199x2468, 4547.58 kb) Looking down the Hooker Valley past the second swing bridge. | |
| A view up Hooker Valley from higher up. |
| A last view of Mount Cook on the way back to town. |
| Back above the second swing bridge. |
| Looking back down the valley. The lake in the distance is Lake Pukaki. |
| Clearing above Mueller Lake. |
| The second swing bridge. |
| Hooker River. |
| The second swing bridge. |
| Another view of the path on the lower side of the second swing bridge. |
| Actually maybe it's more of a scramble than a path. |
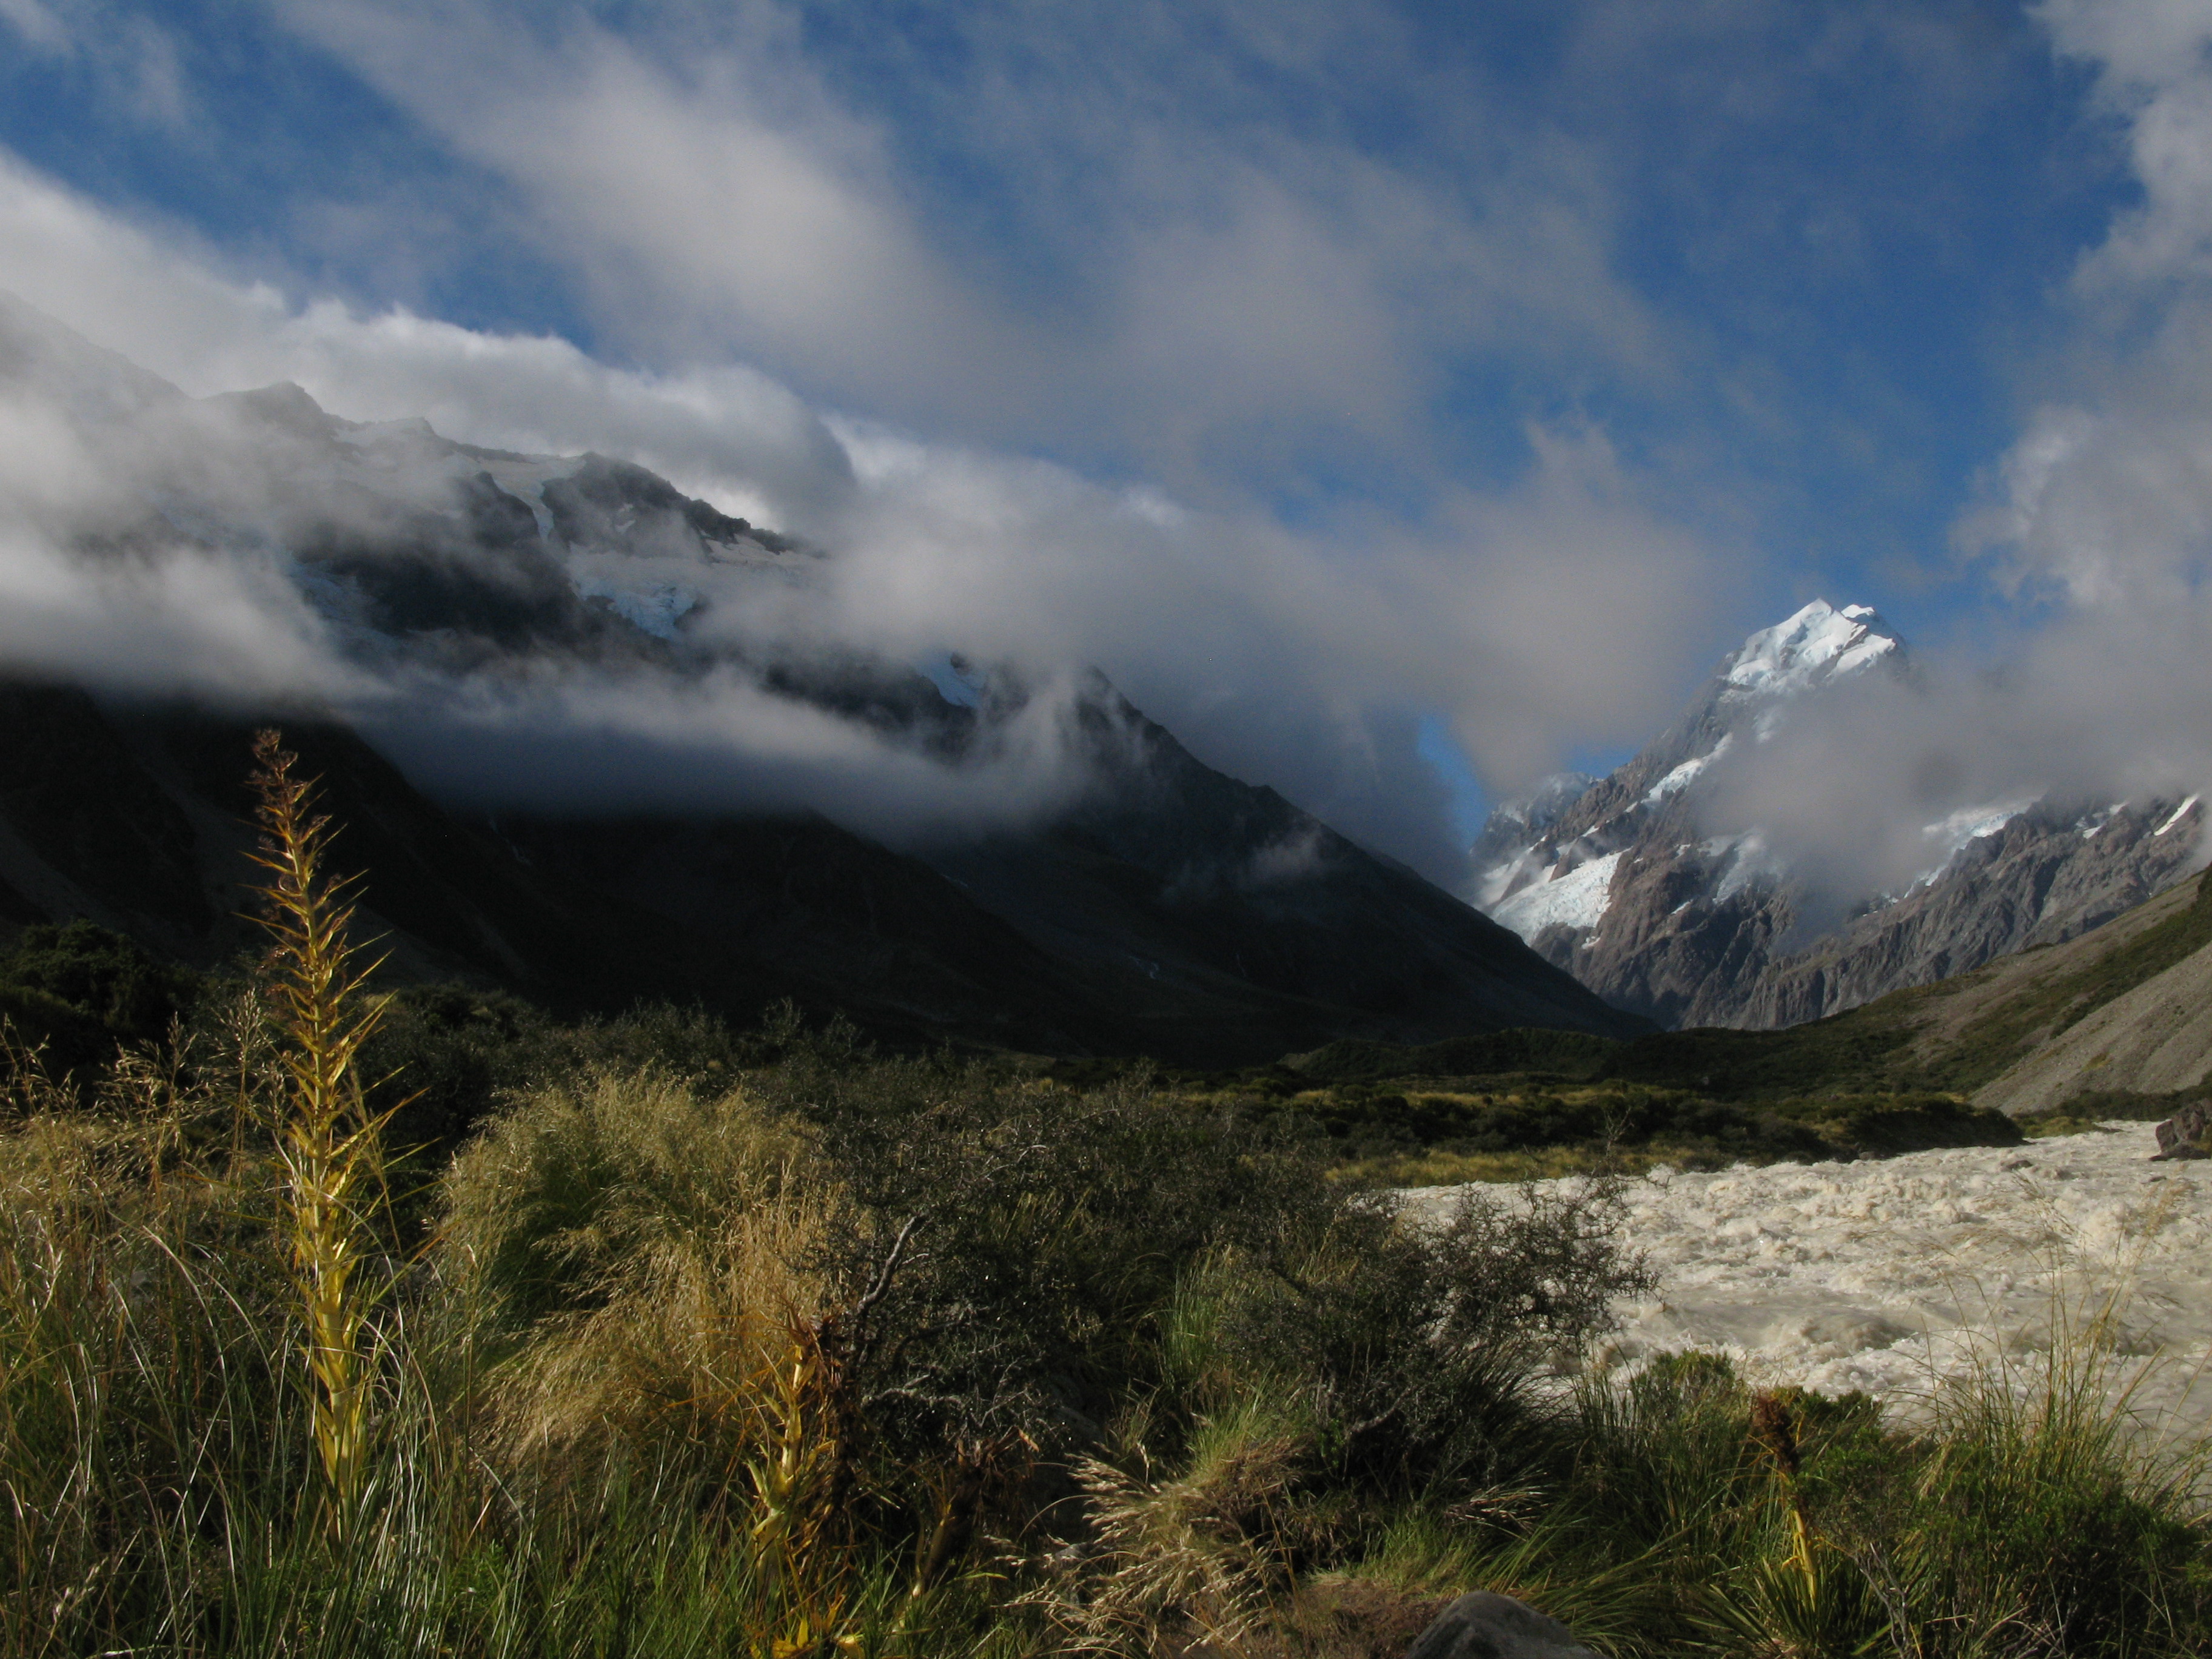
| Cloud clearing. |
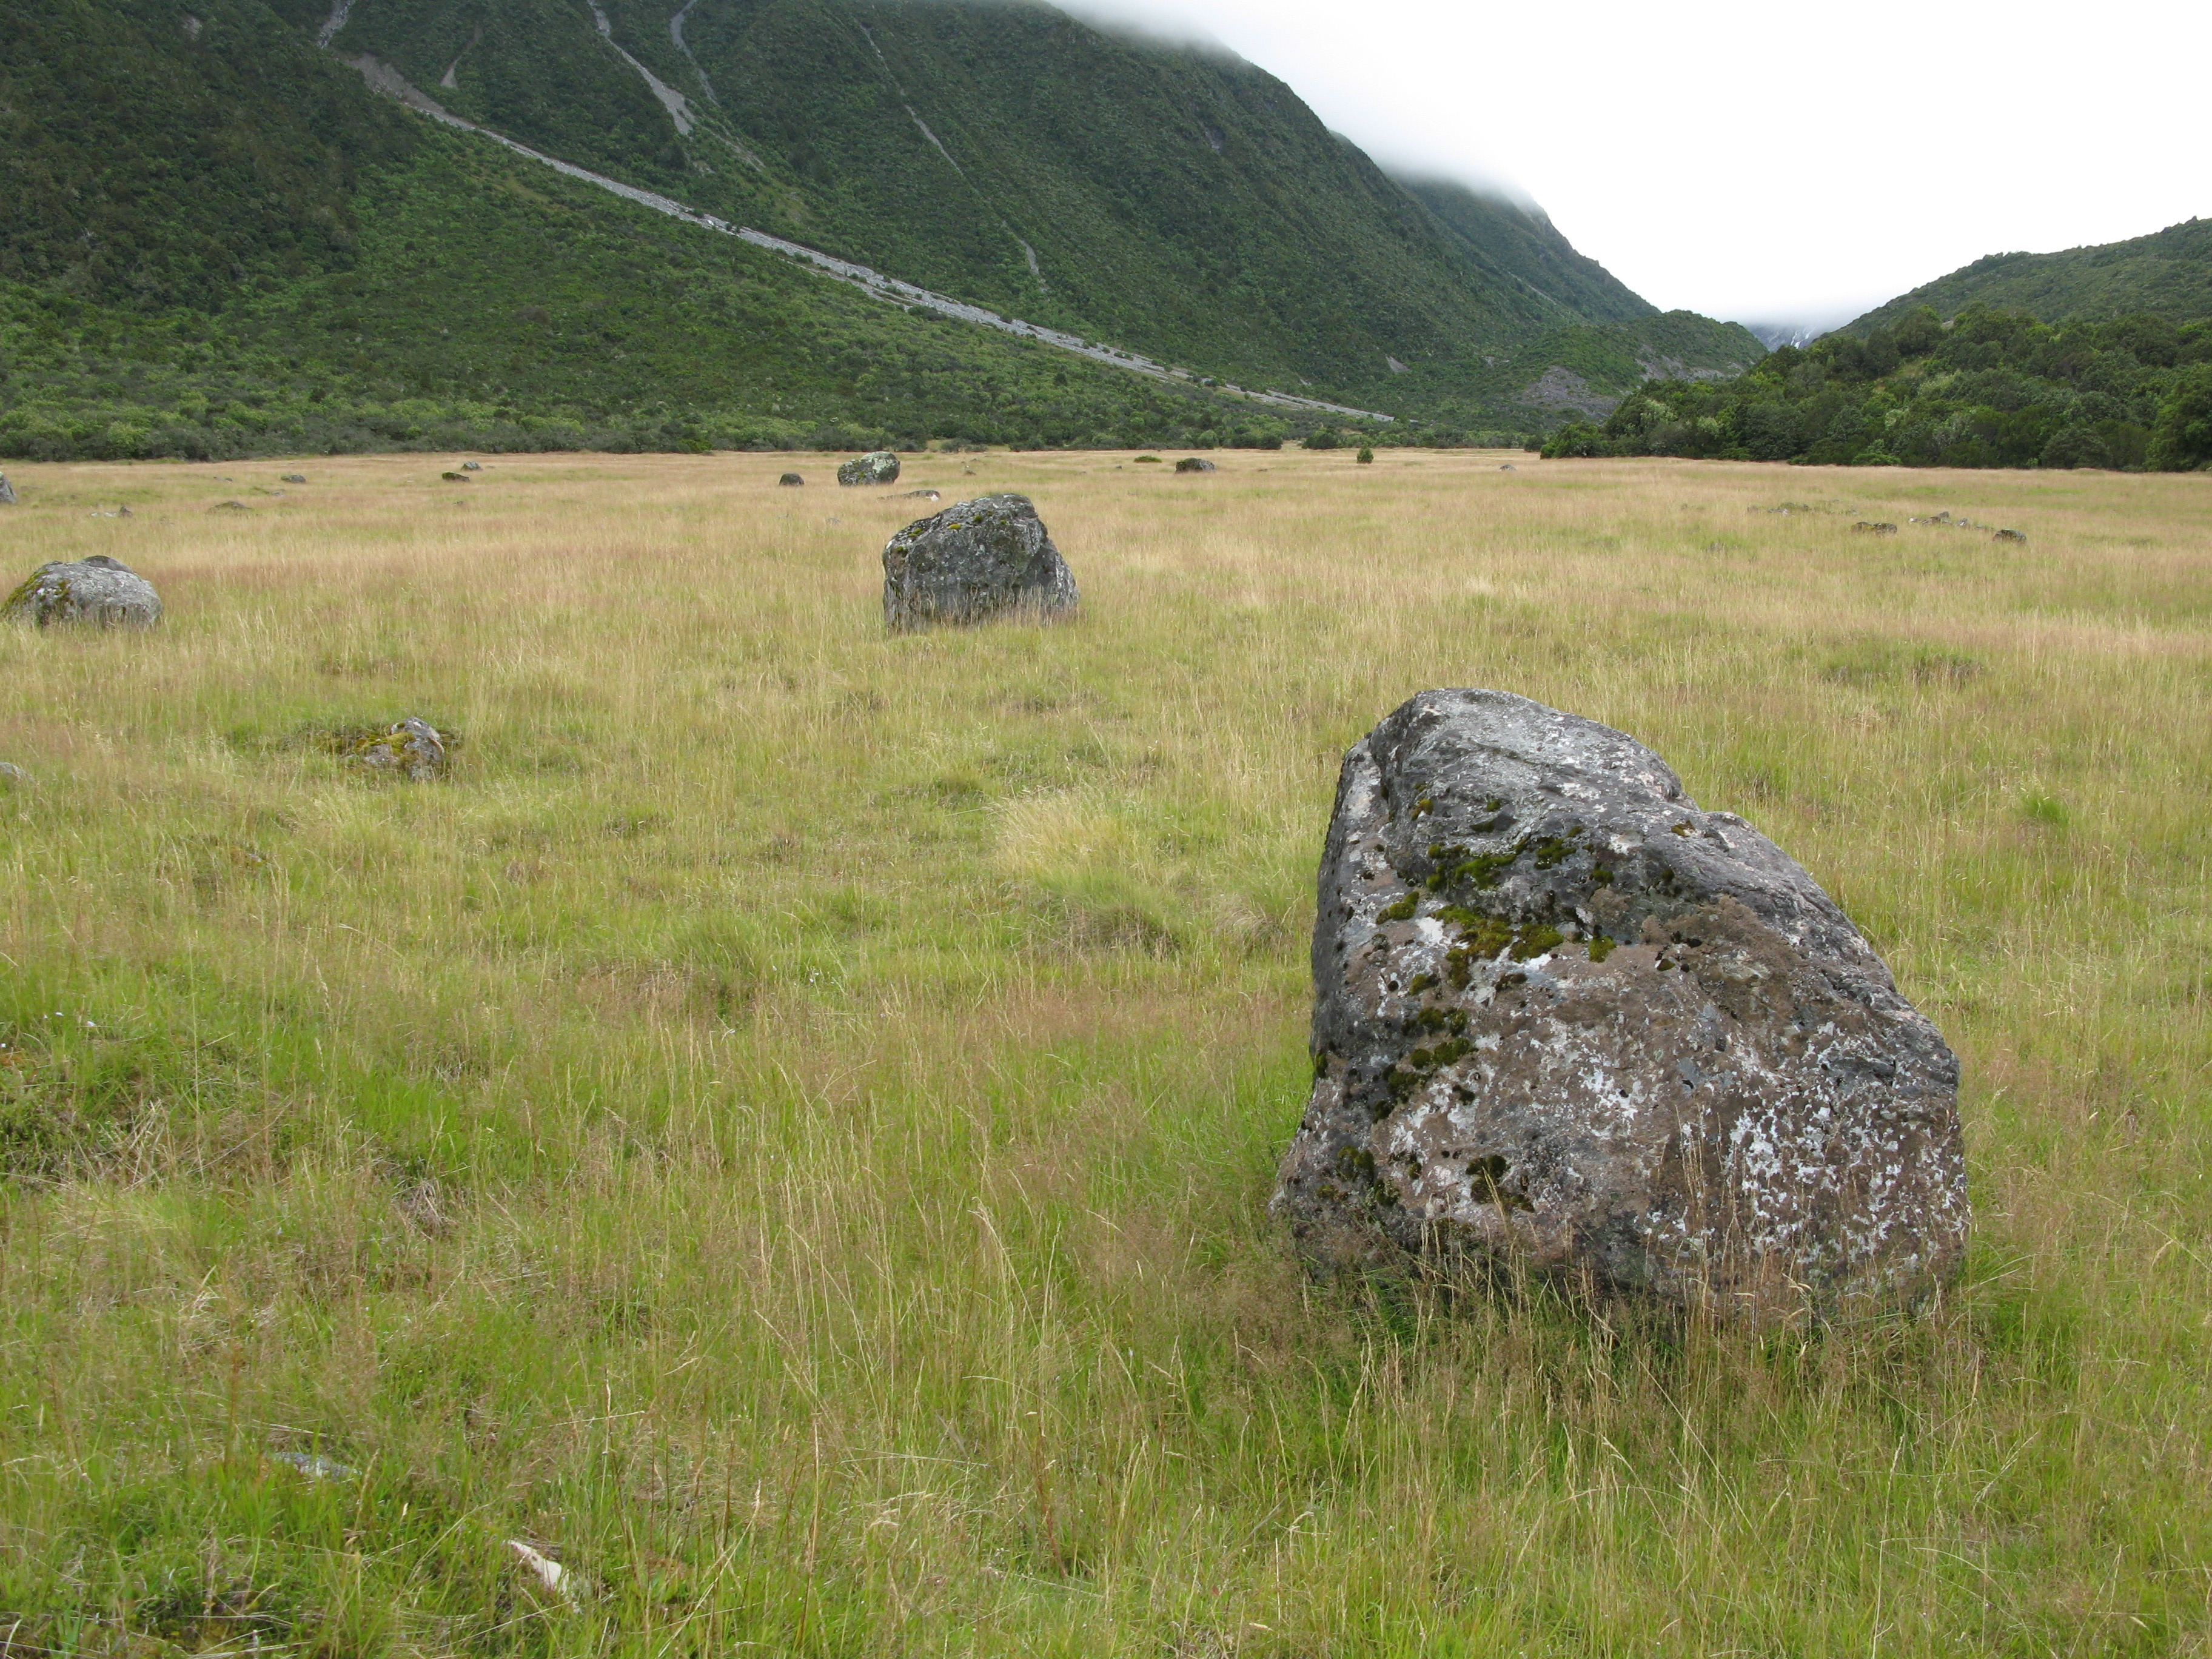
| A random hill. |
| Lower slopes. |
| Freda's Rock. |
| Sunlight on the eastern slopes. |
| Mountians. |
| Aoraki. |
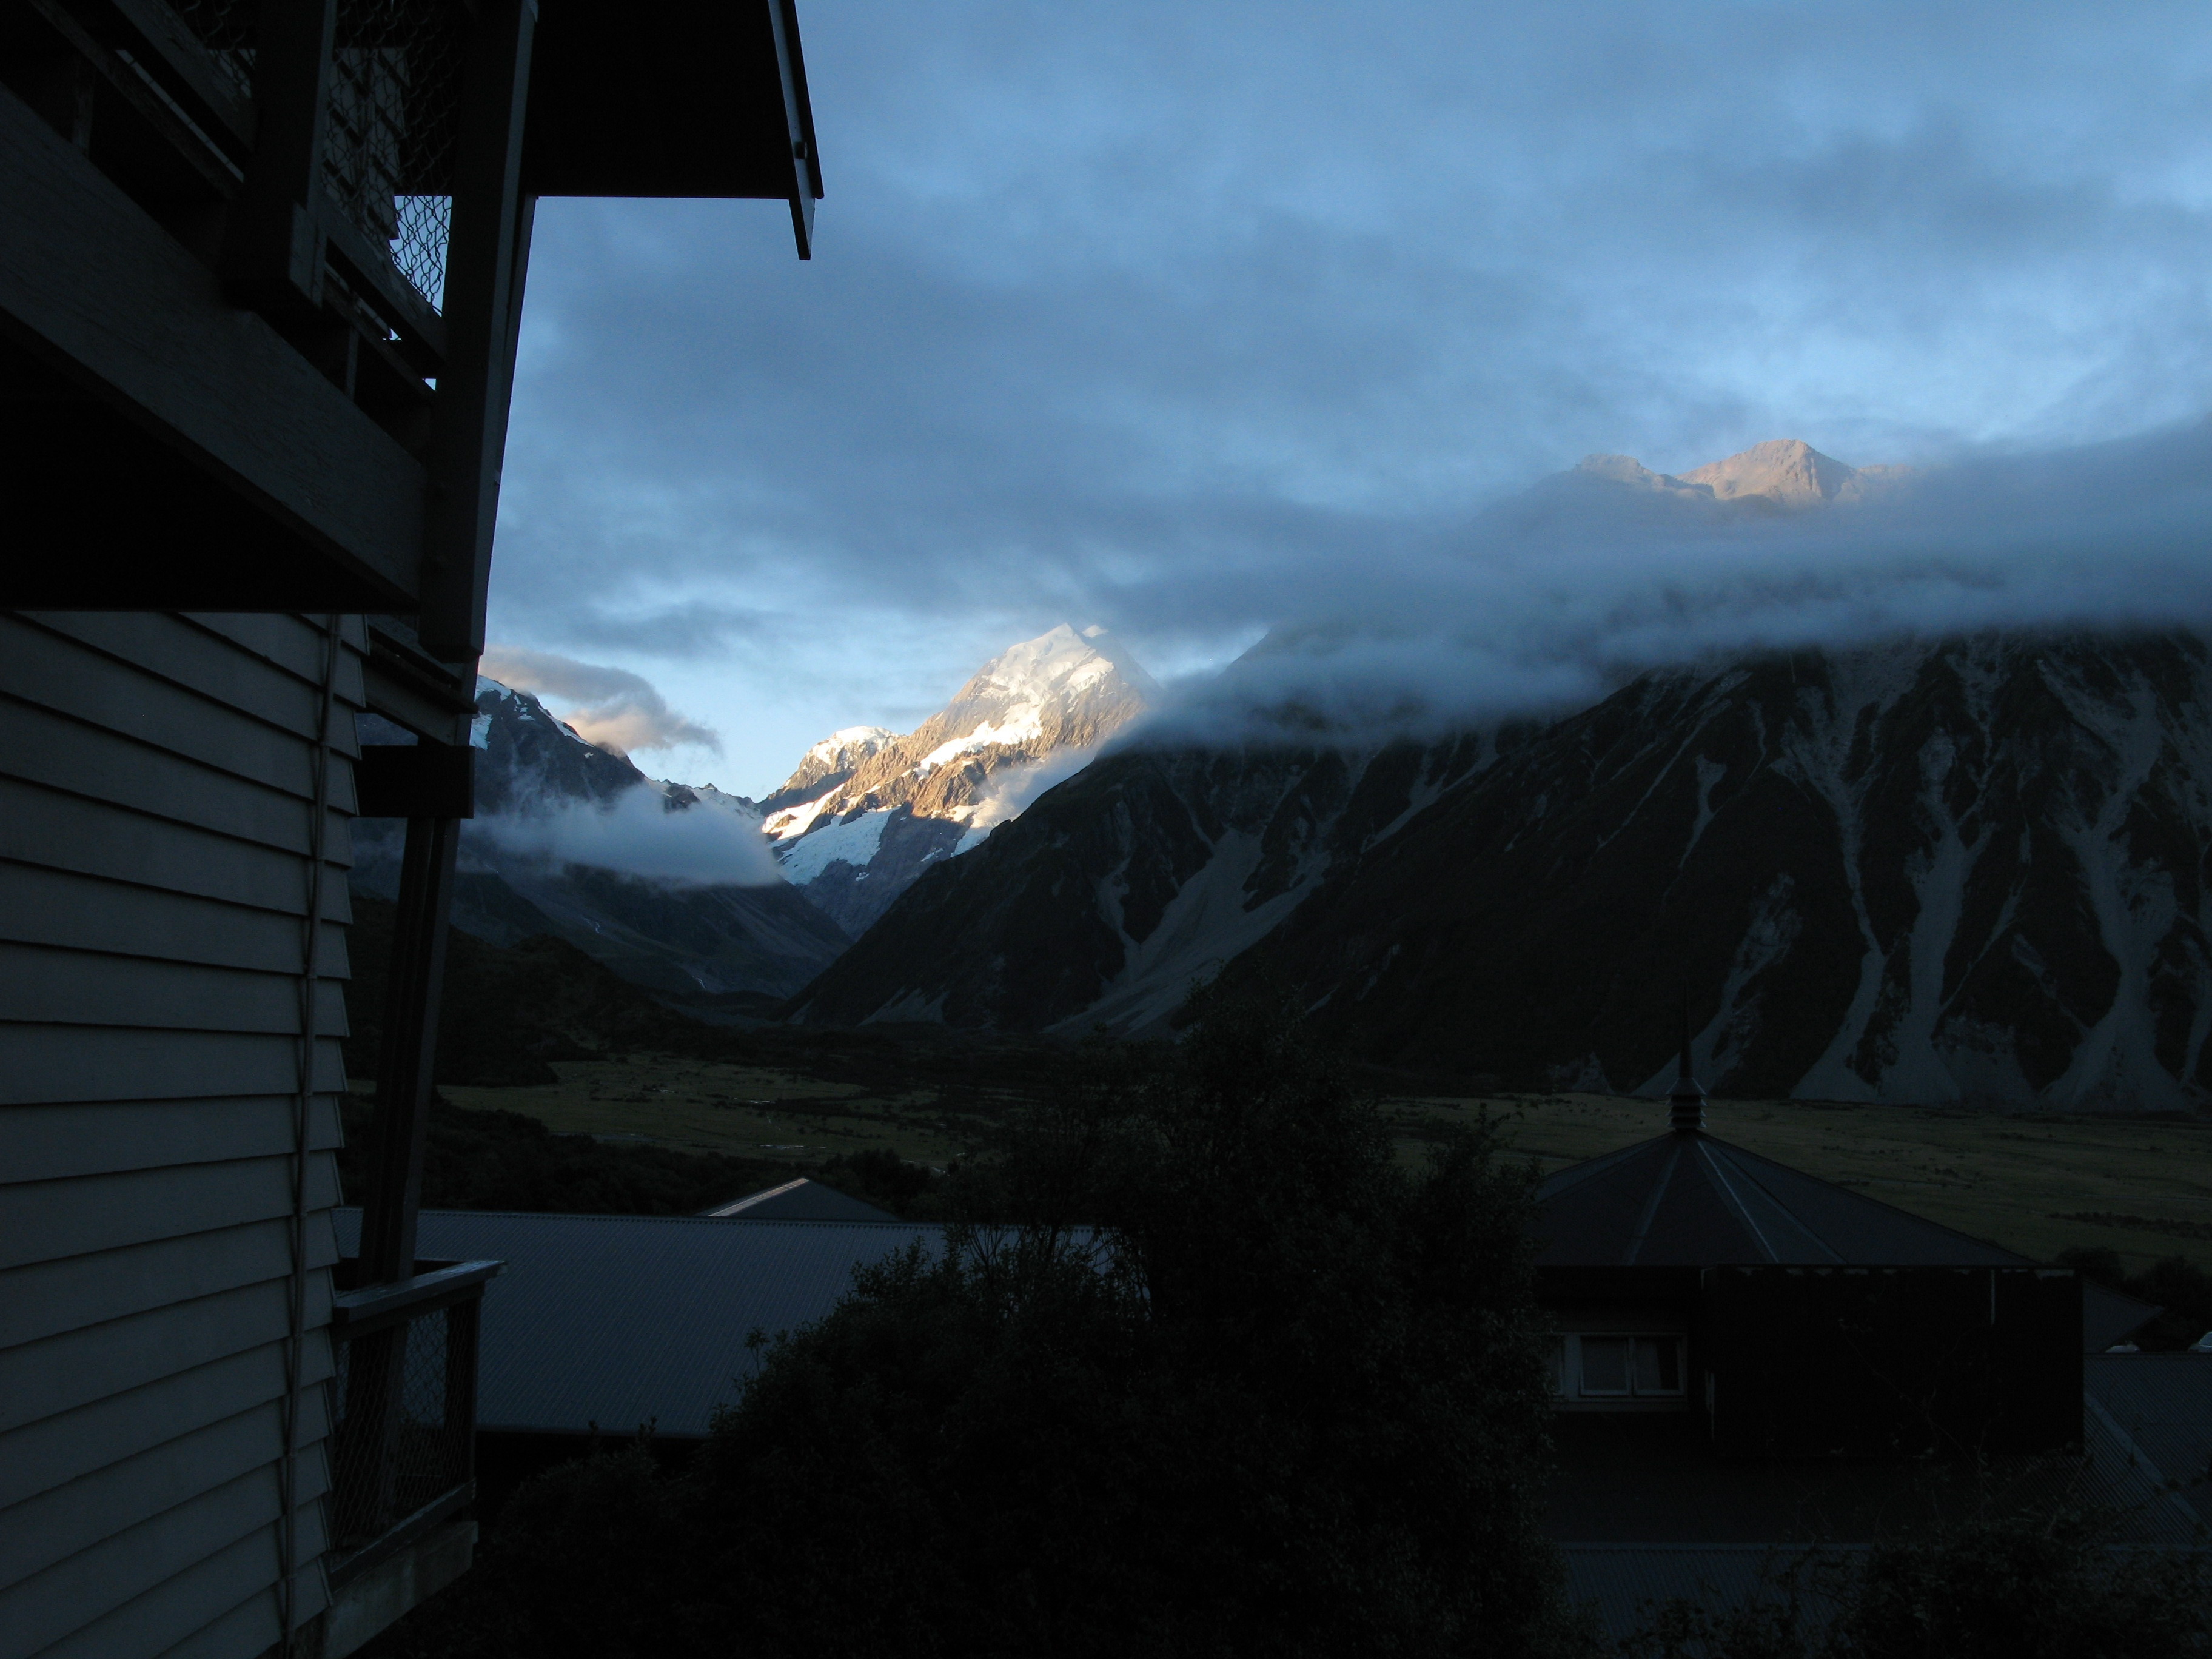
| My room at the Hermitage was cheap because I didn't have a view of Mount Cook. This is the view from my balcony. I guess it didn't count? |
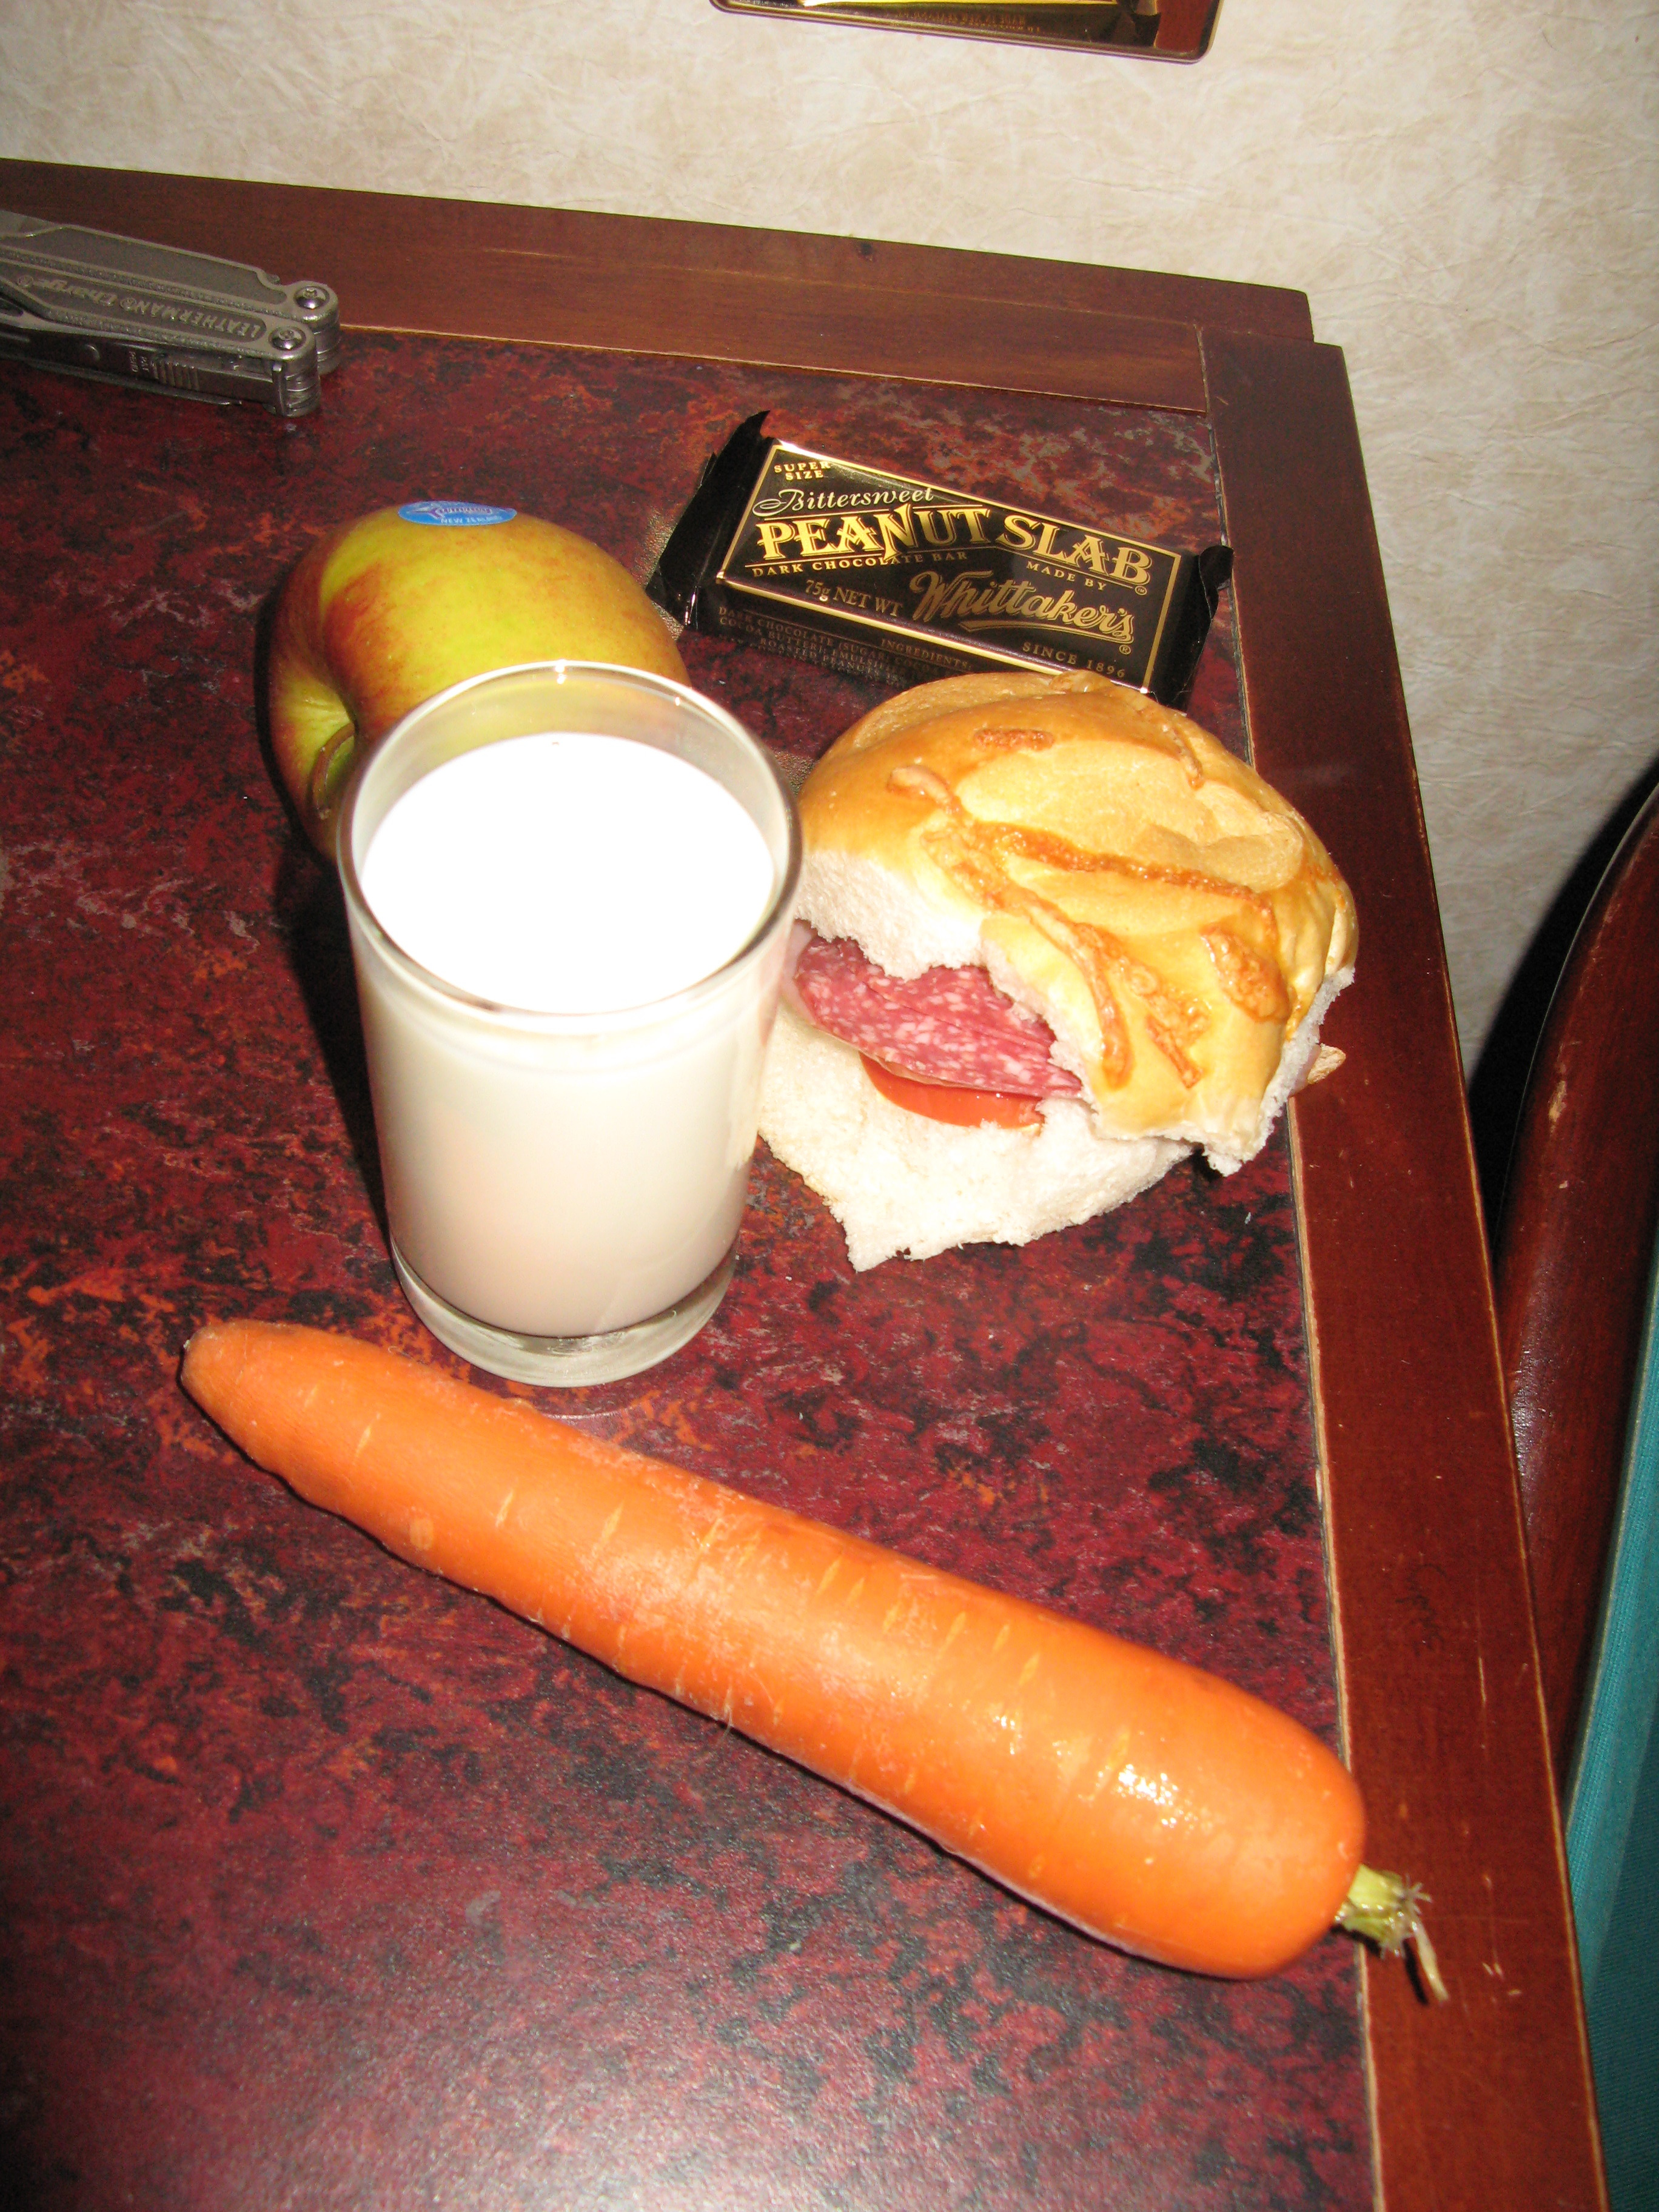
| Dinner! Everything was closed by the time I got back from my tramp. Fortunately, I came prepared. |
| One last look back, heading out. |
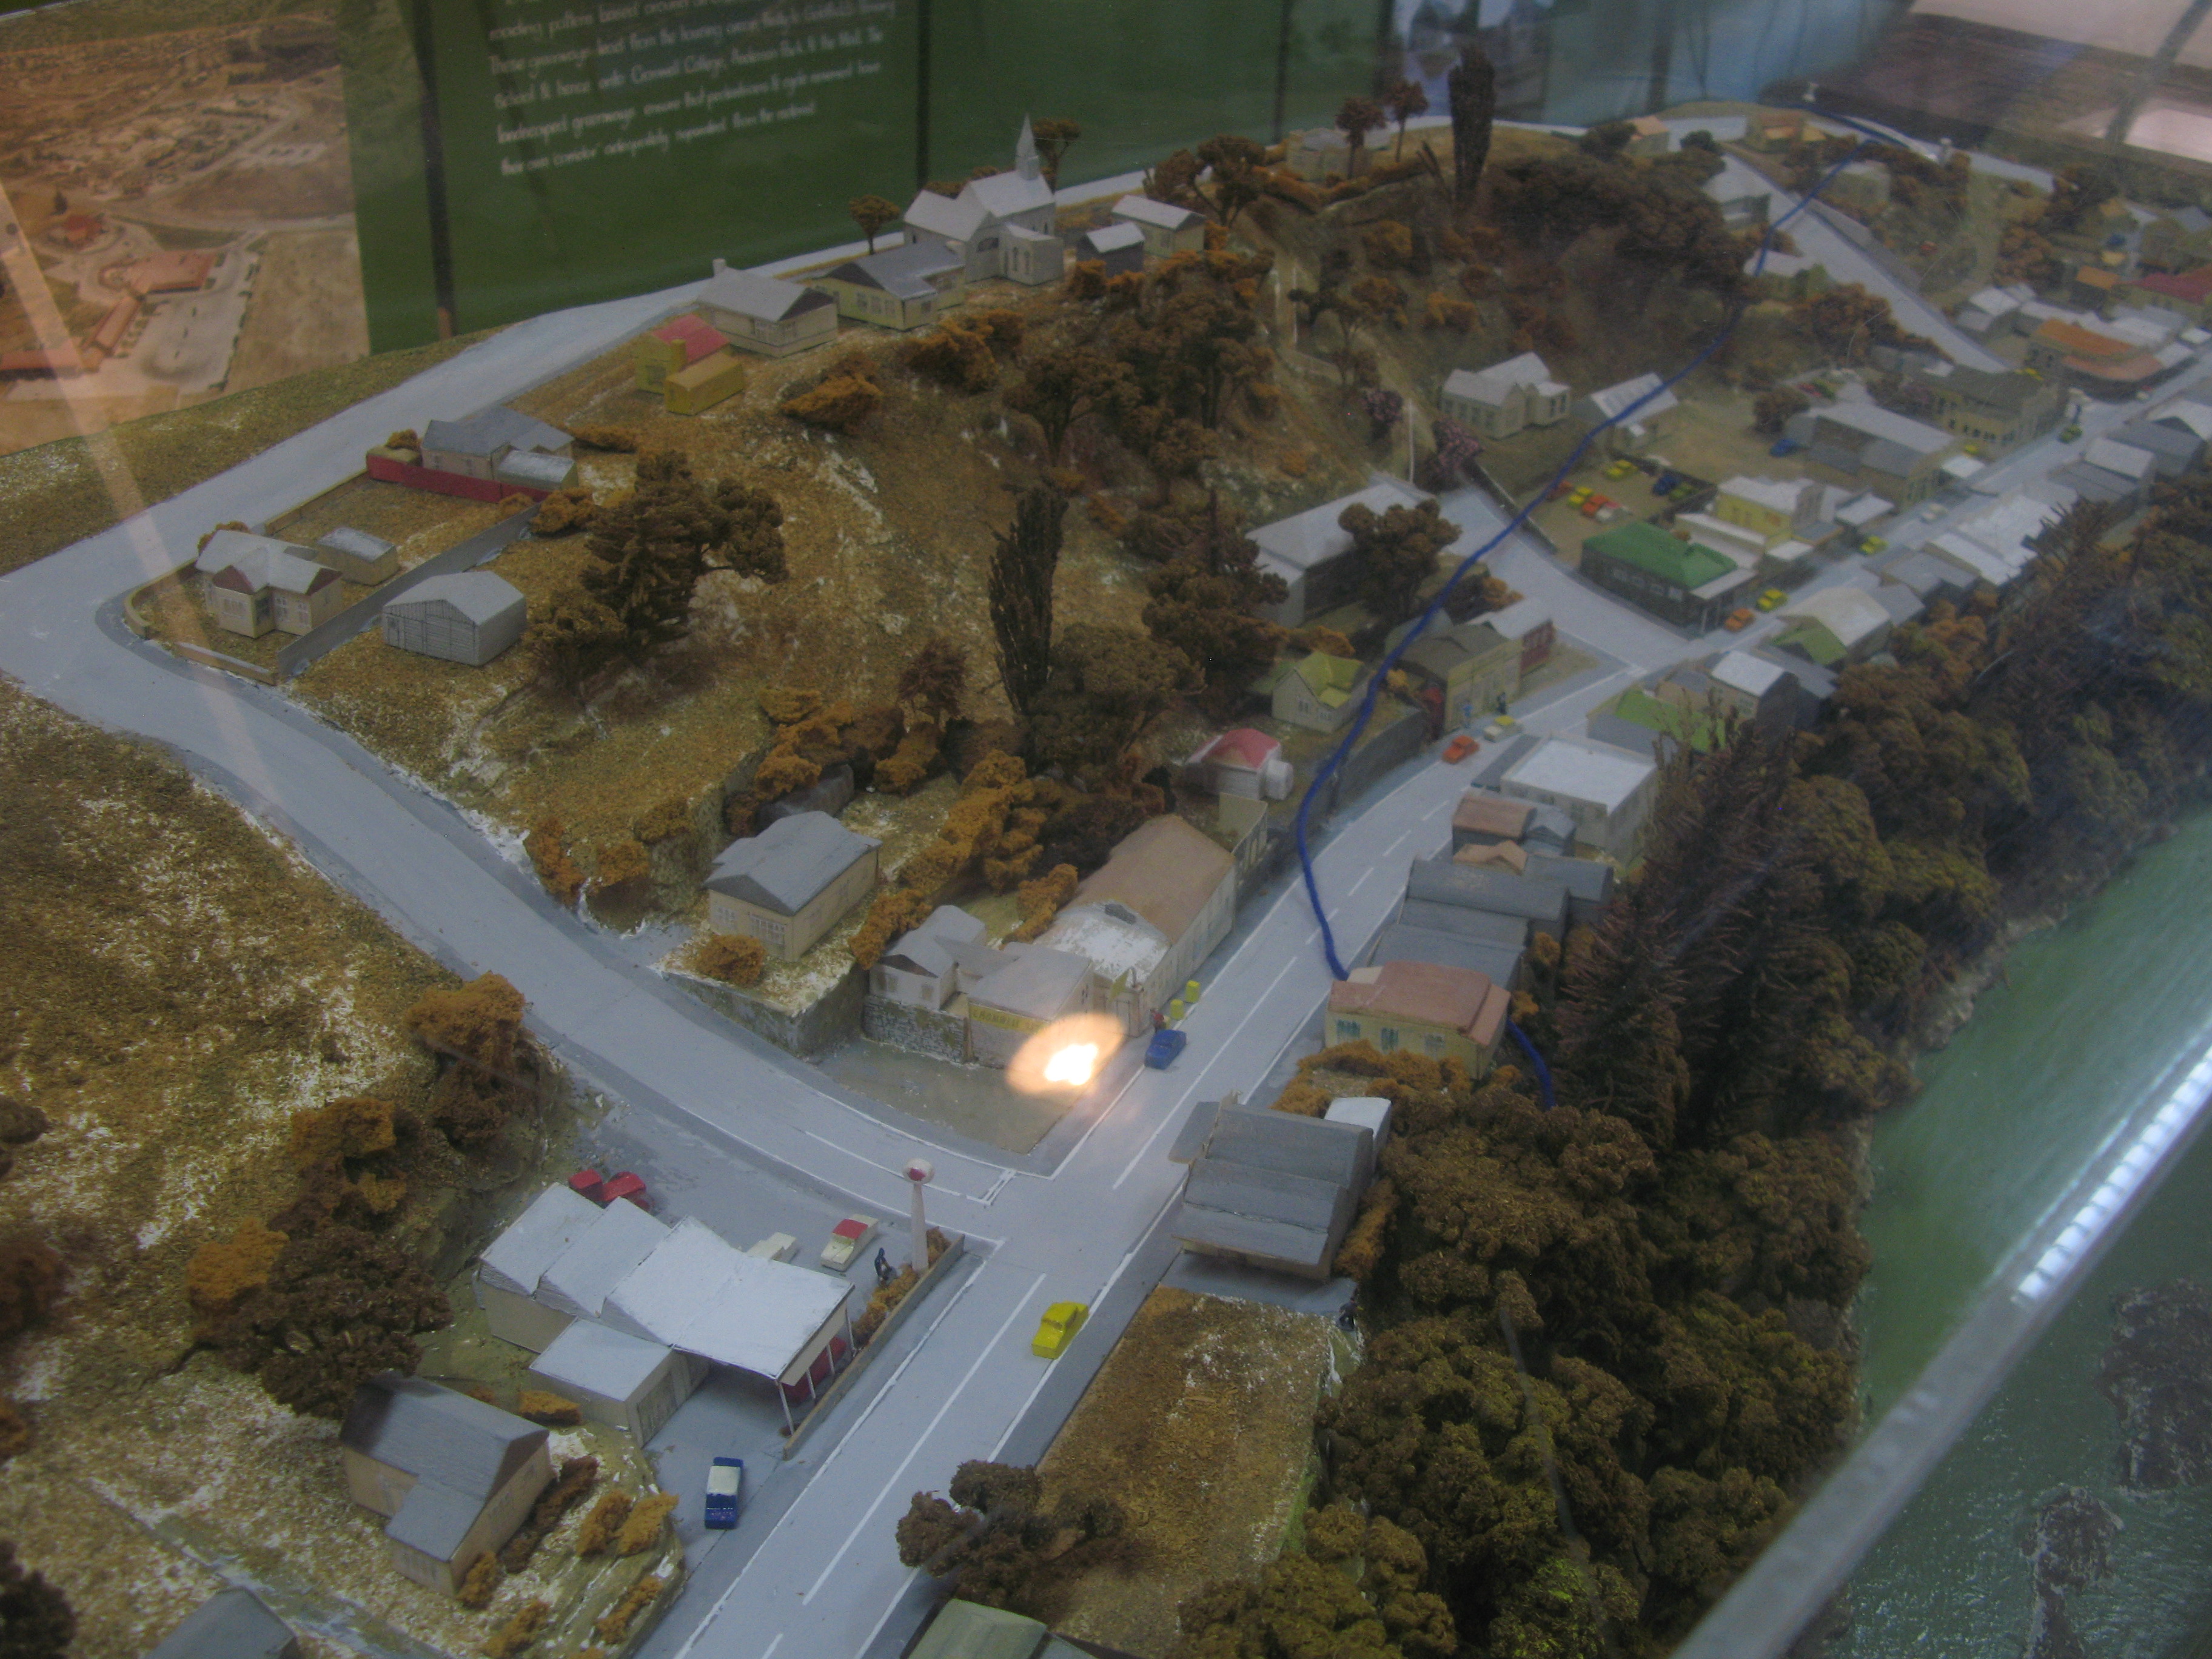
| The model of old Cromwell before it was flooded in 1984 when the dam was constructed. The blue yarn indicates the current lake level. |
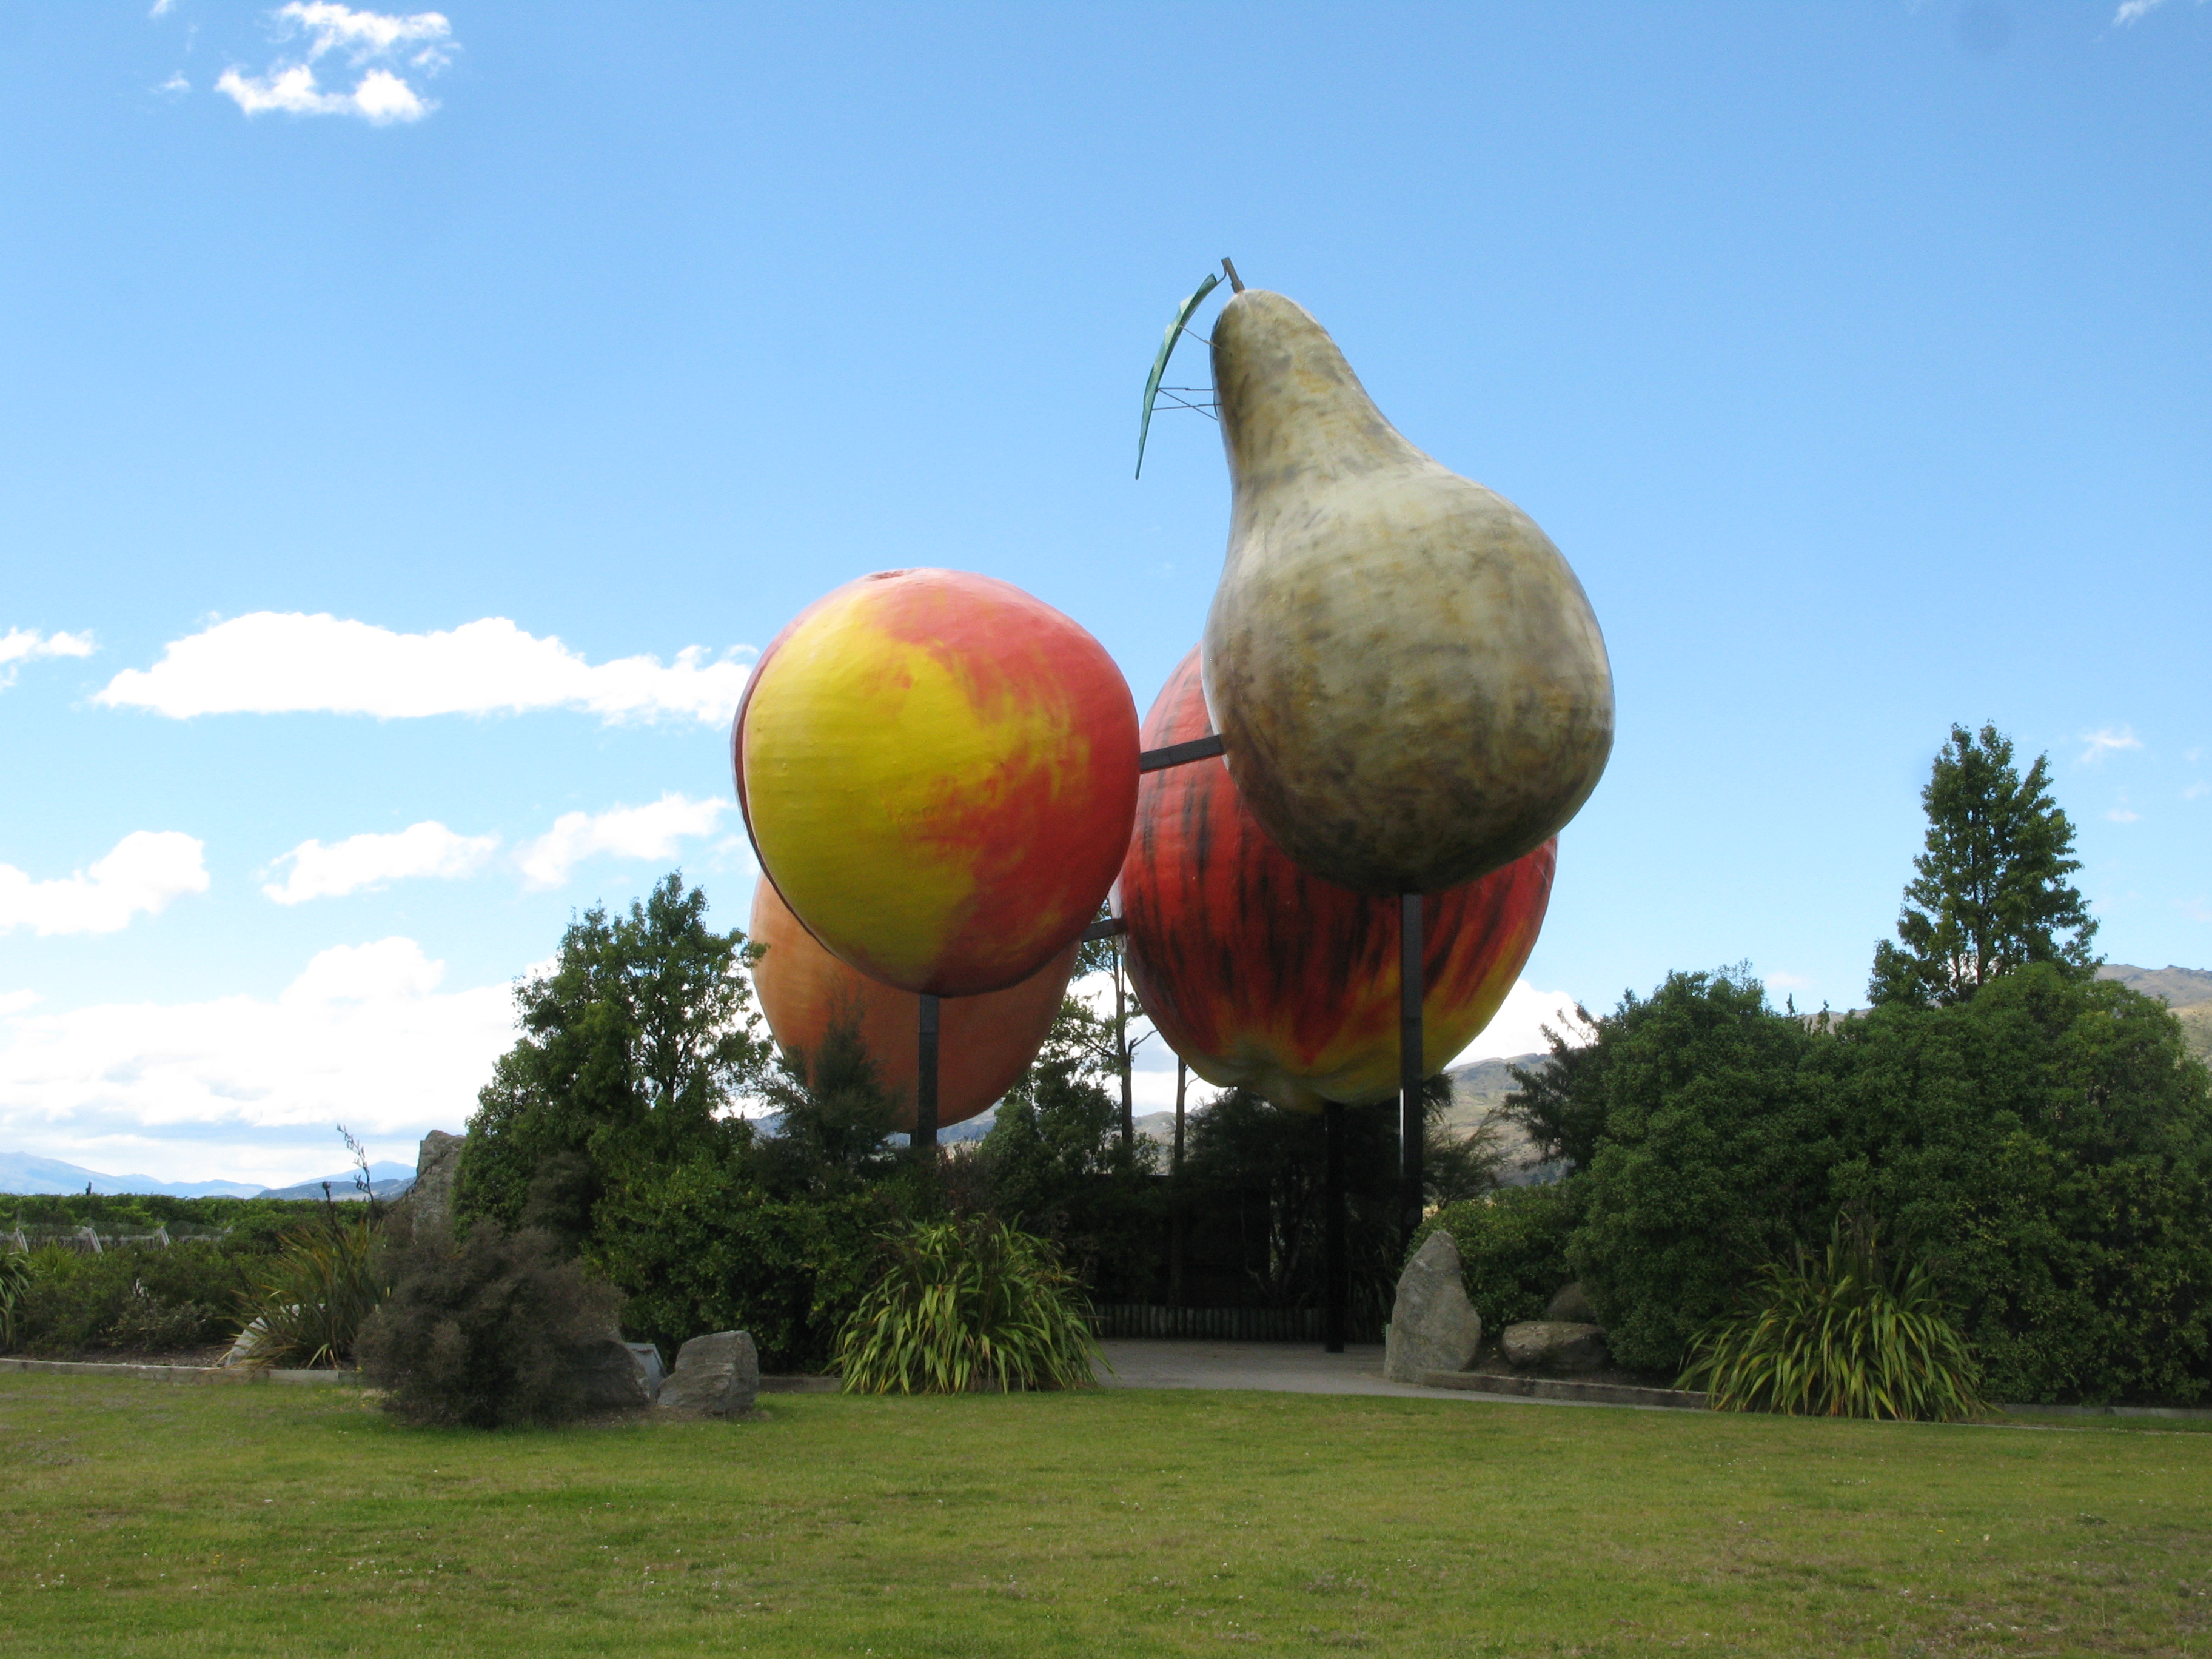
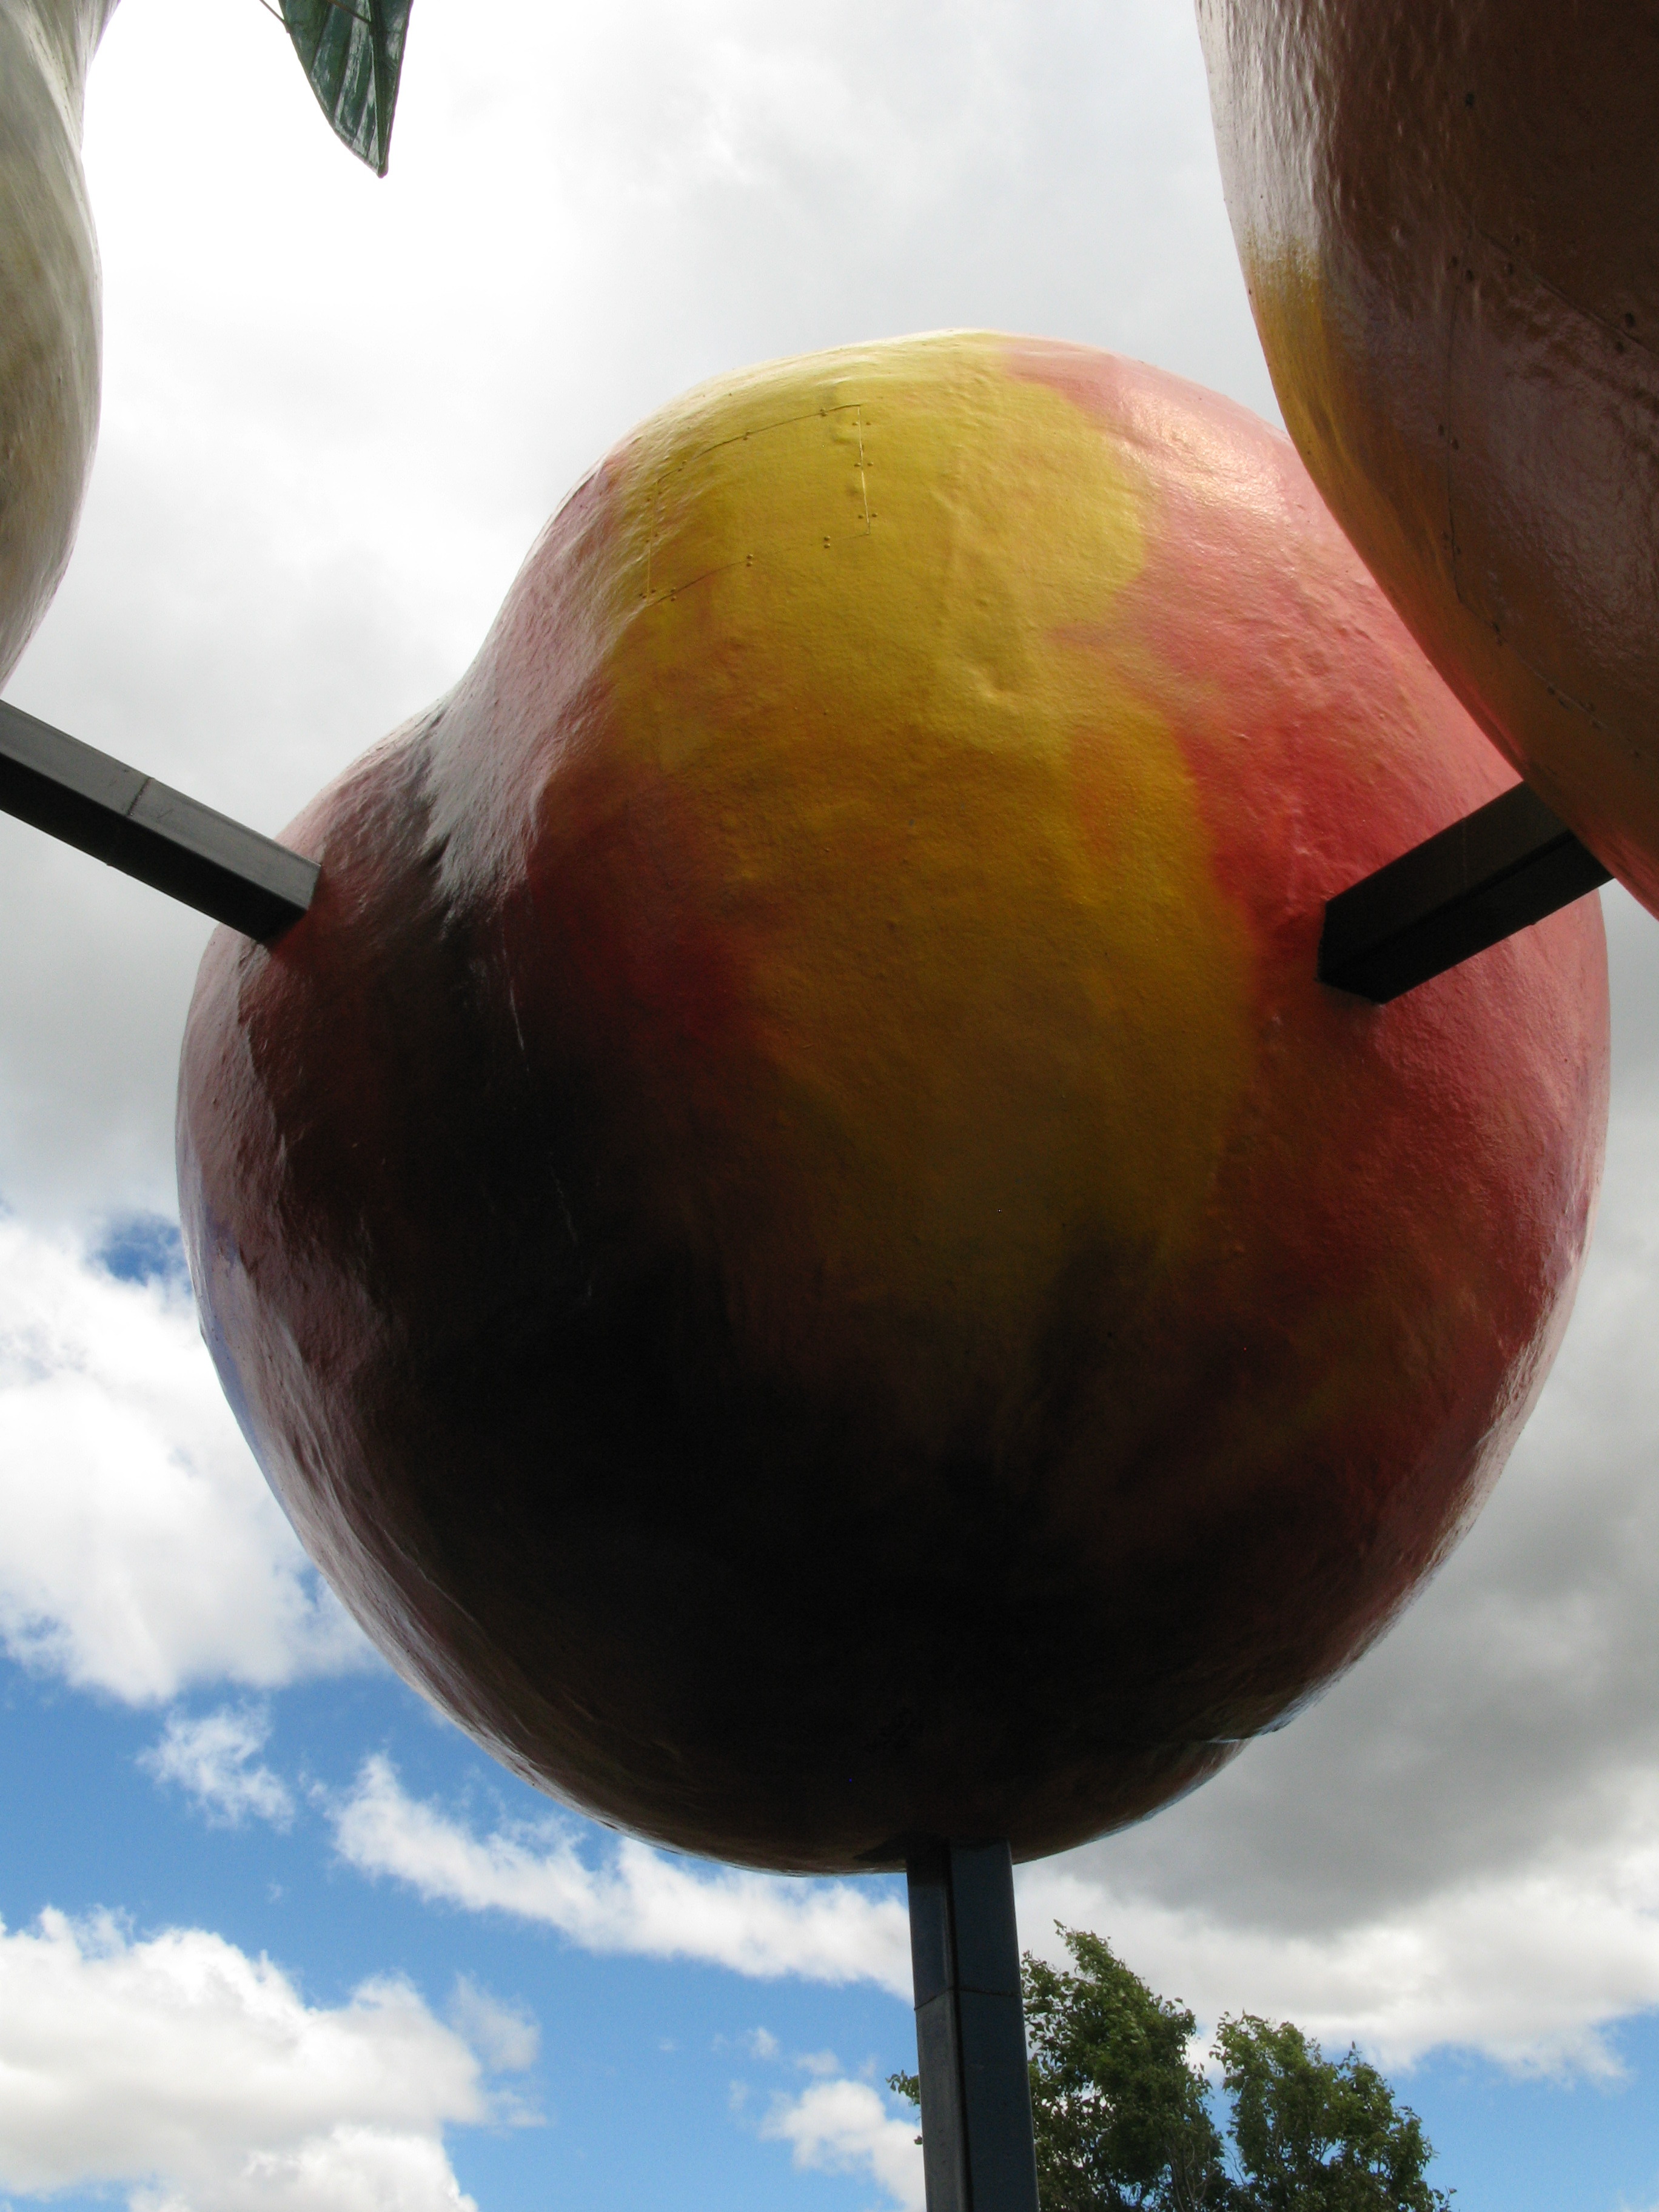
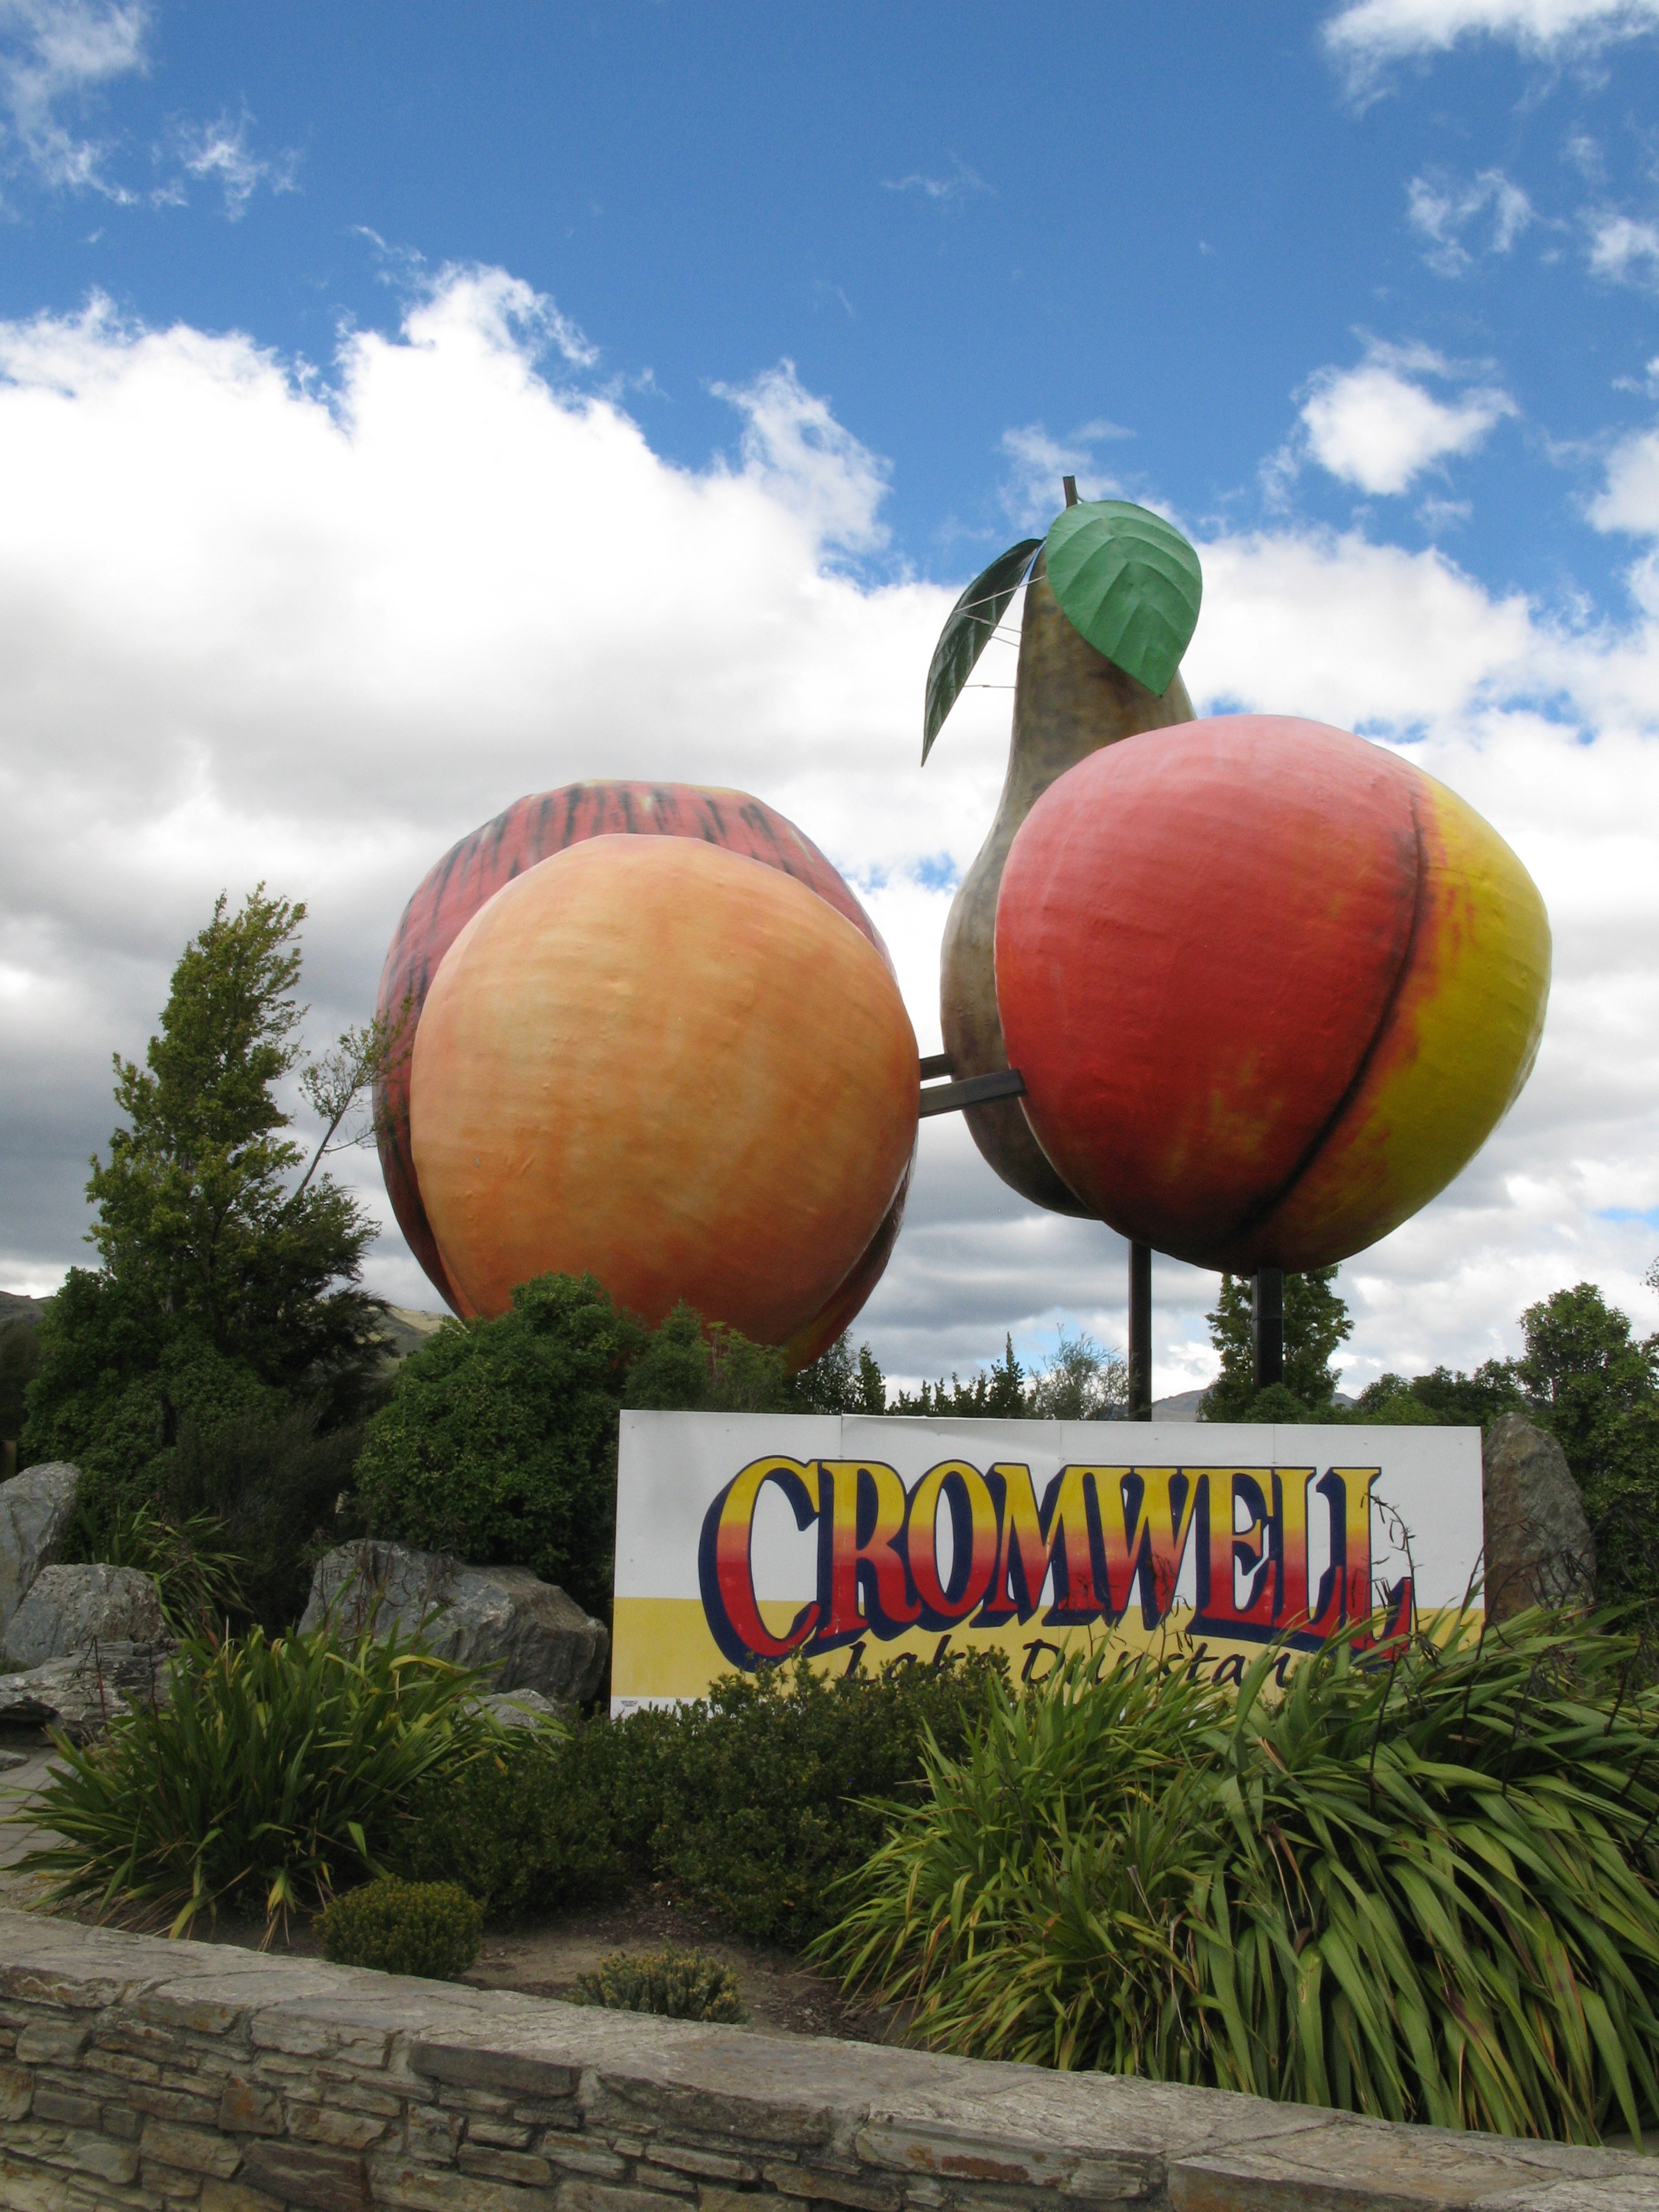
| Fruit! |
| Fruit! |
| Fruit! |
| Old Cromwell (after relocation). |
| Stopped for construction in Central Otago. |
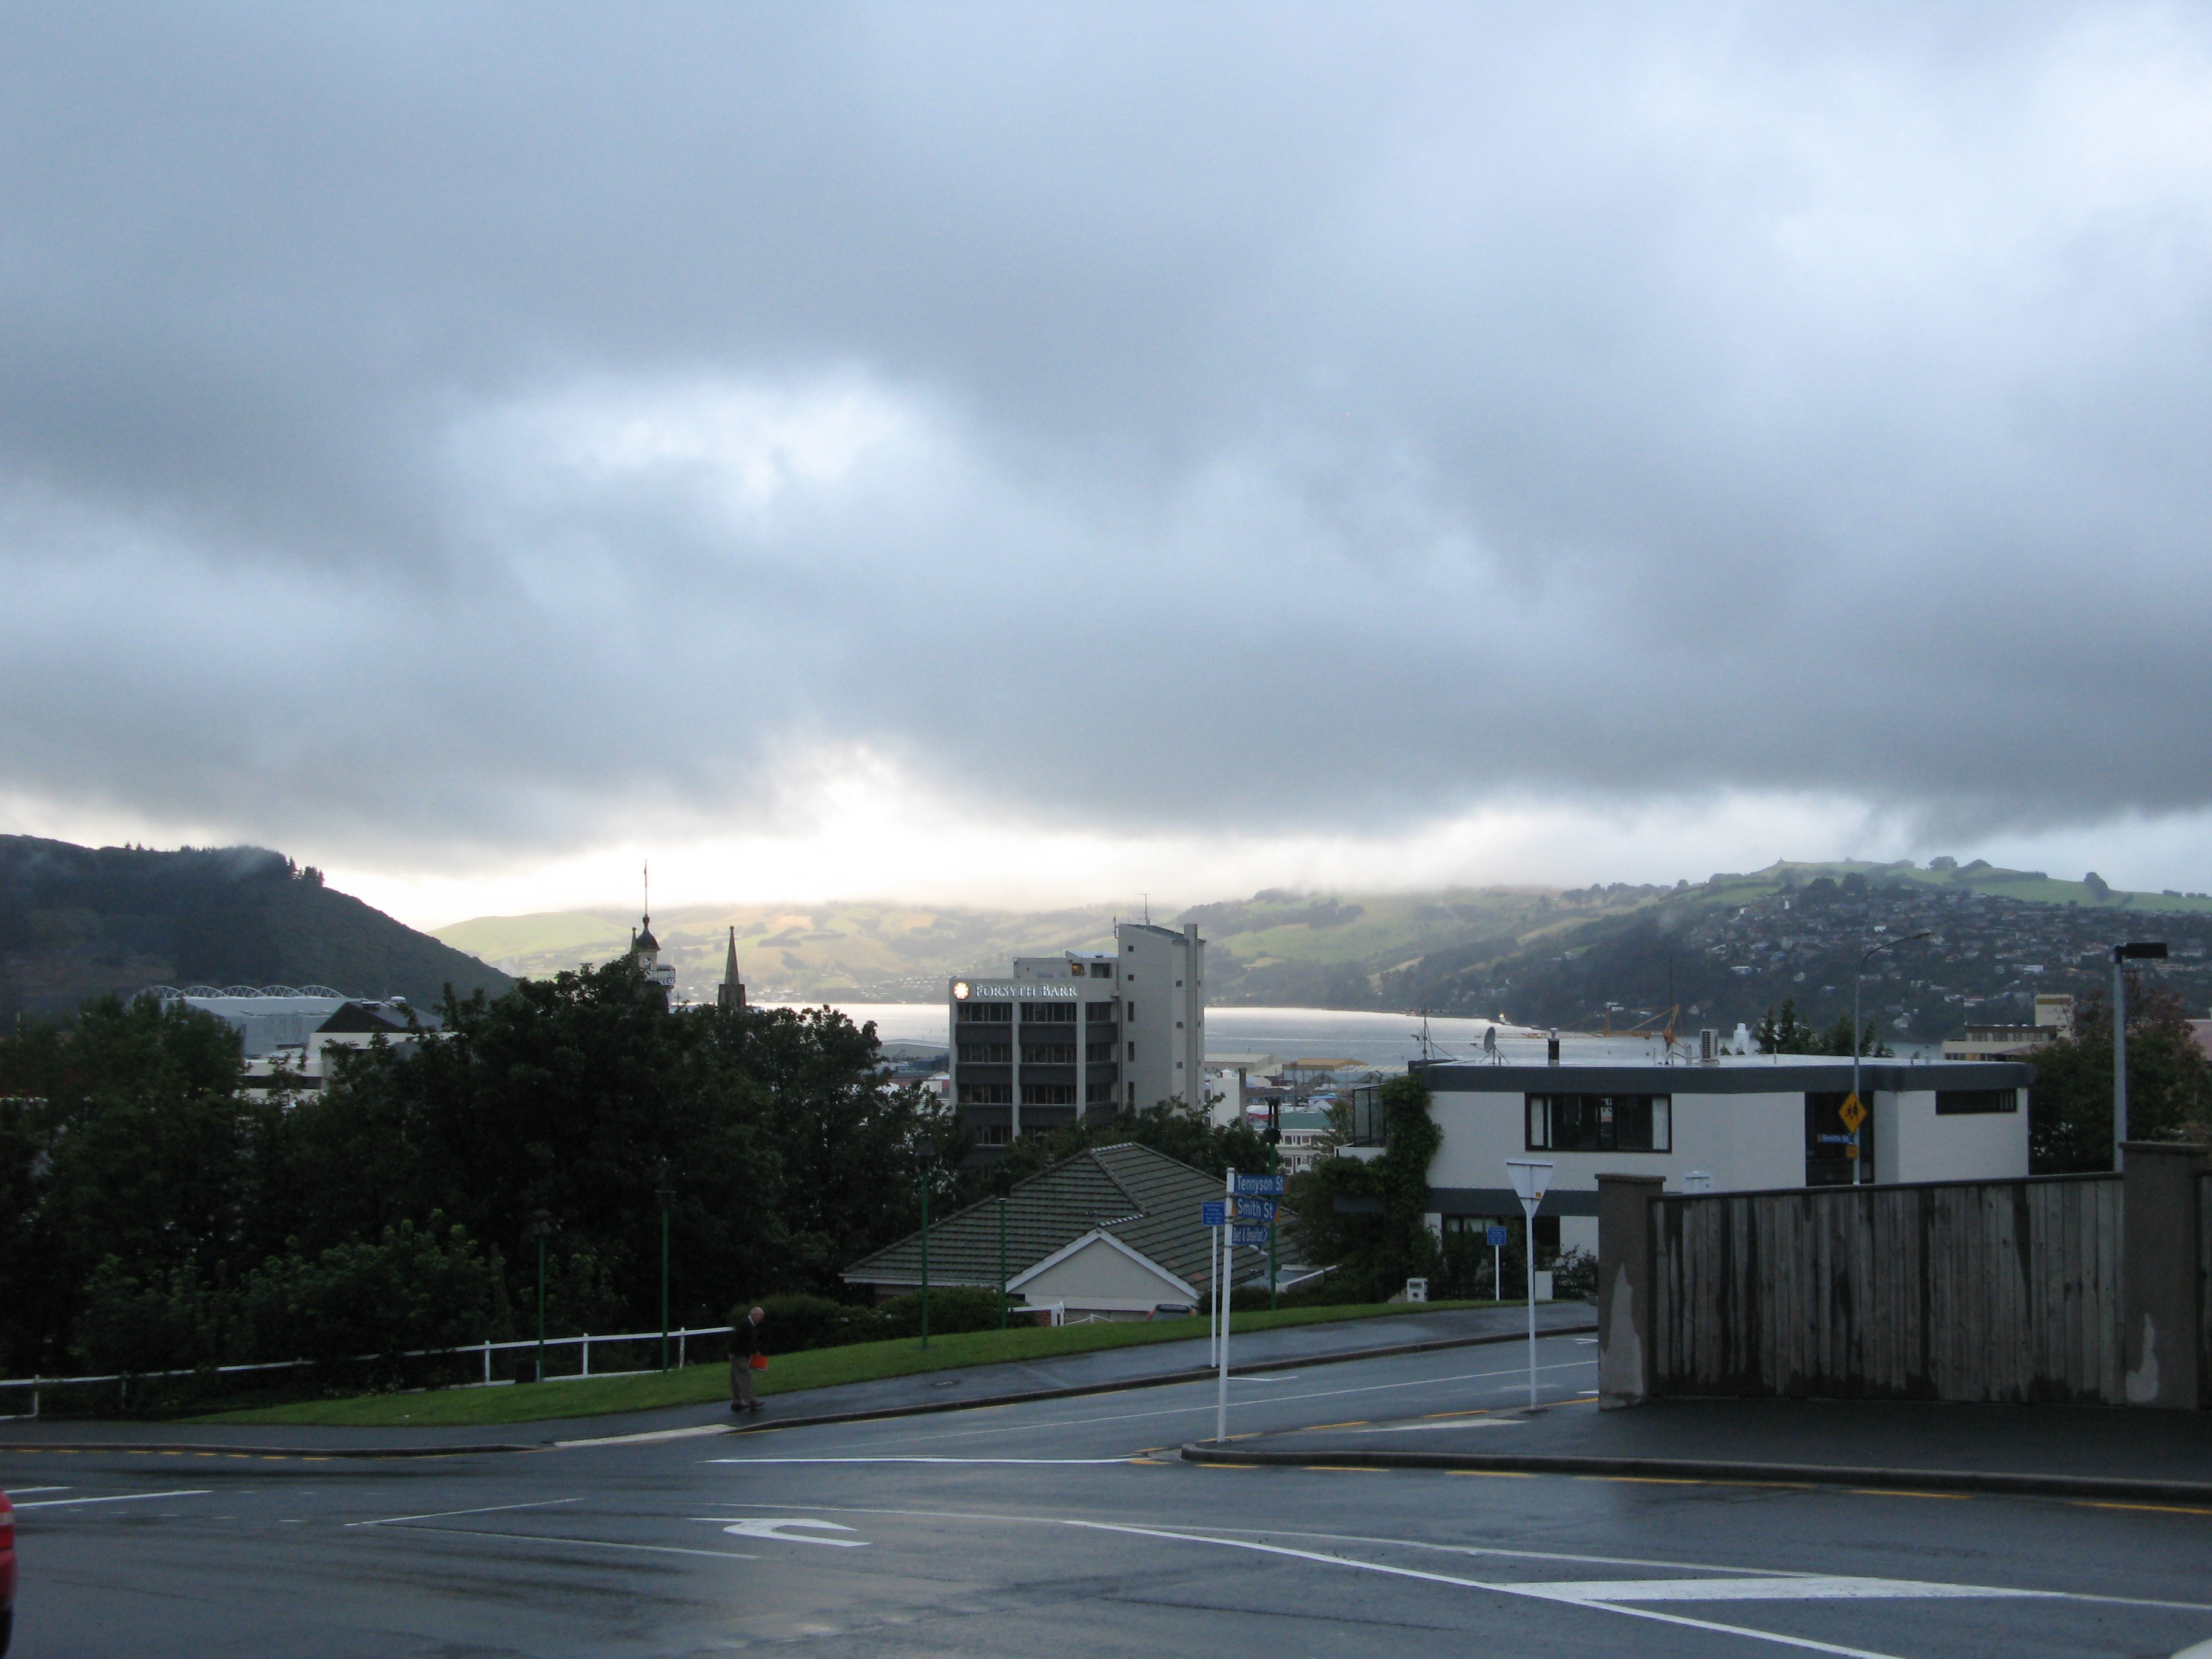
| Rain over the Otago Peninsula, as seen from central Dunedin. |
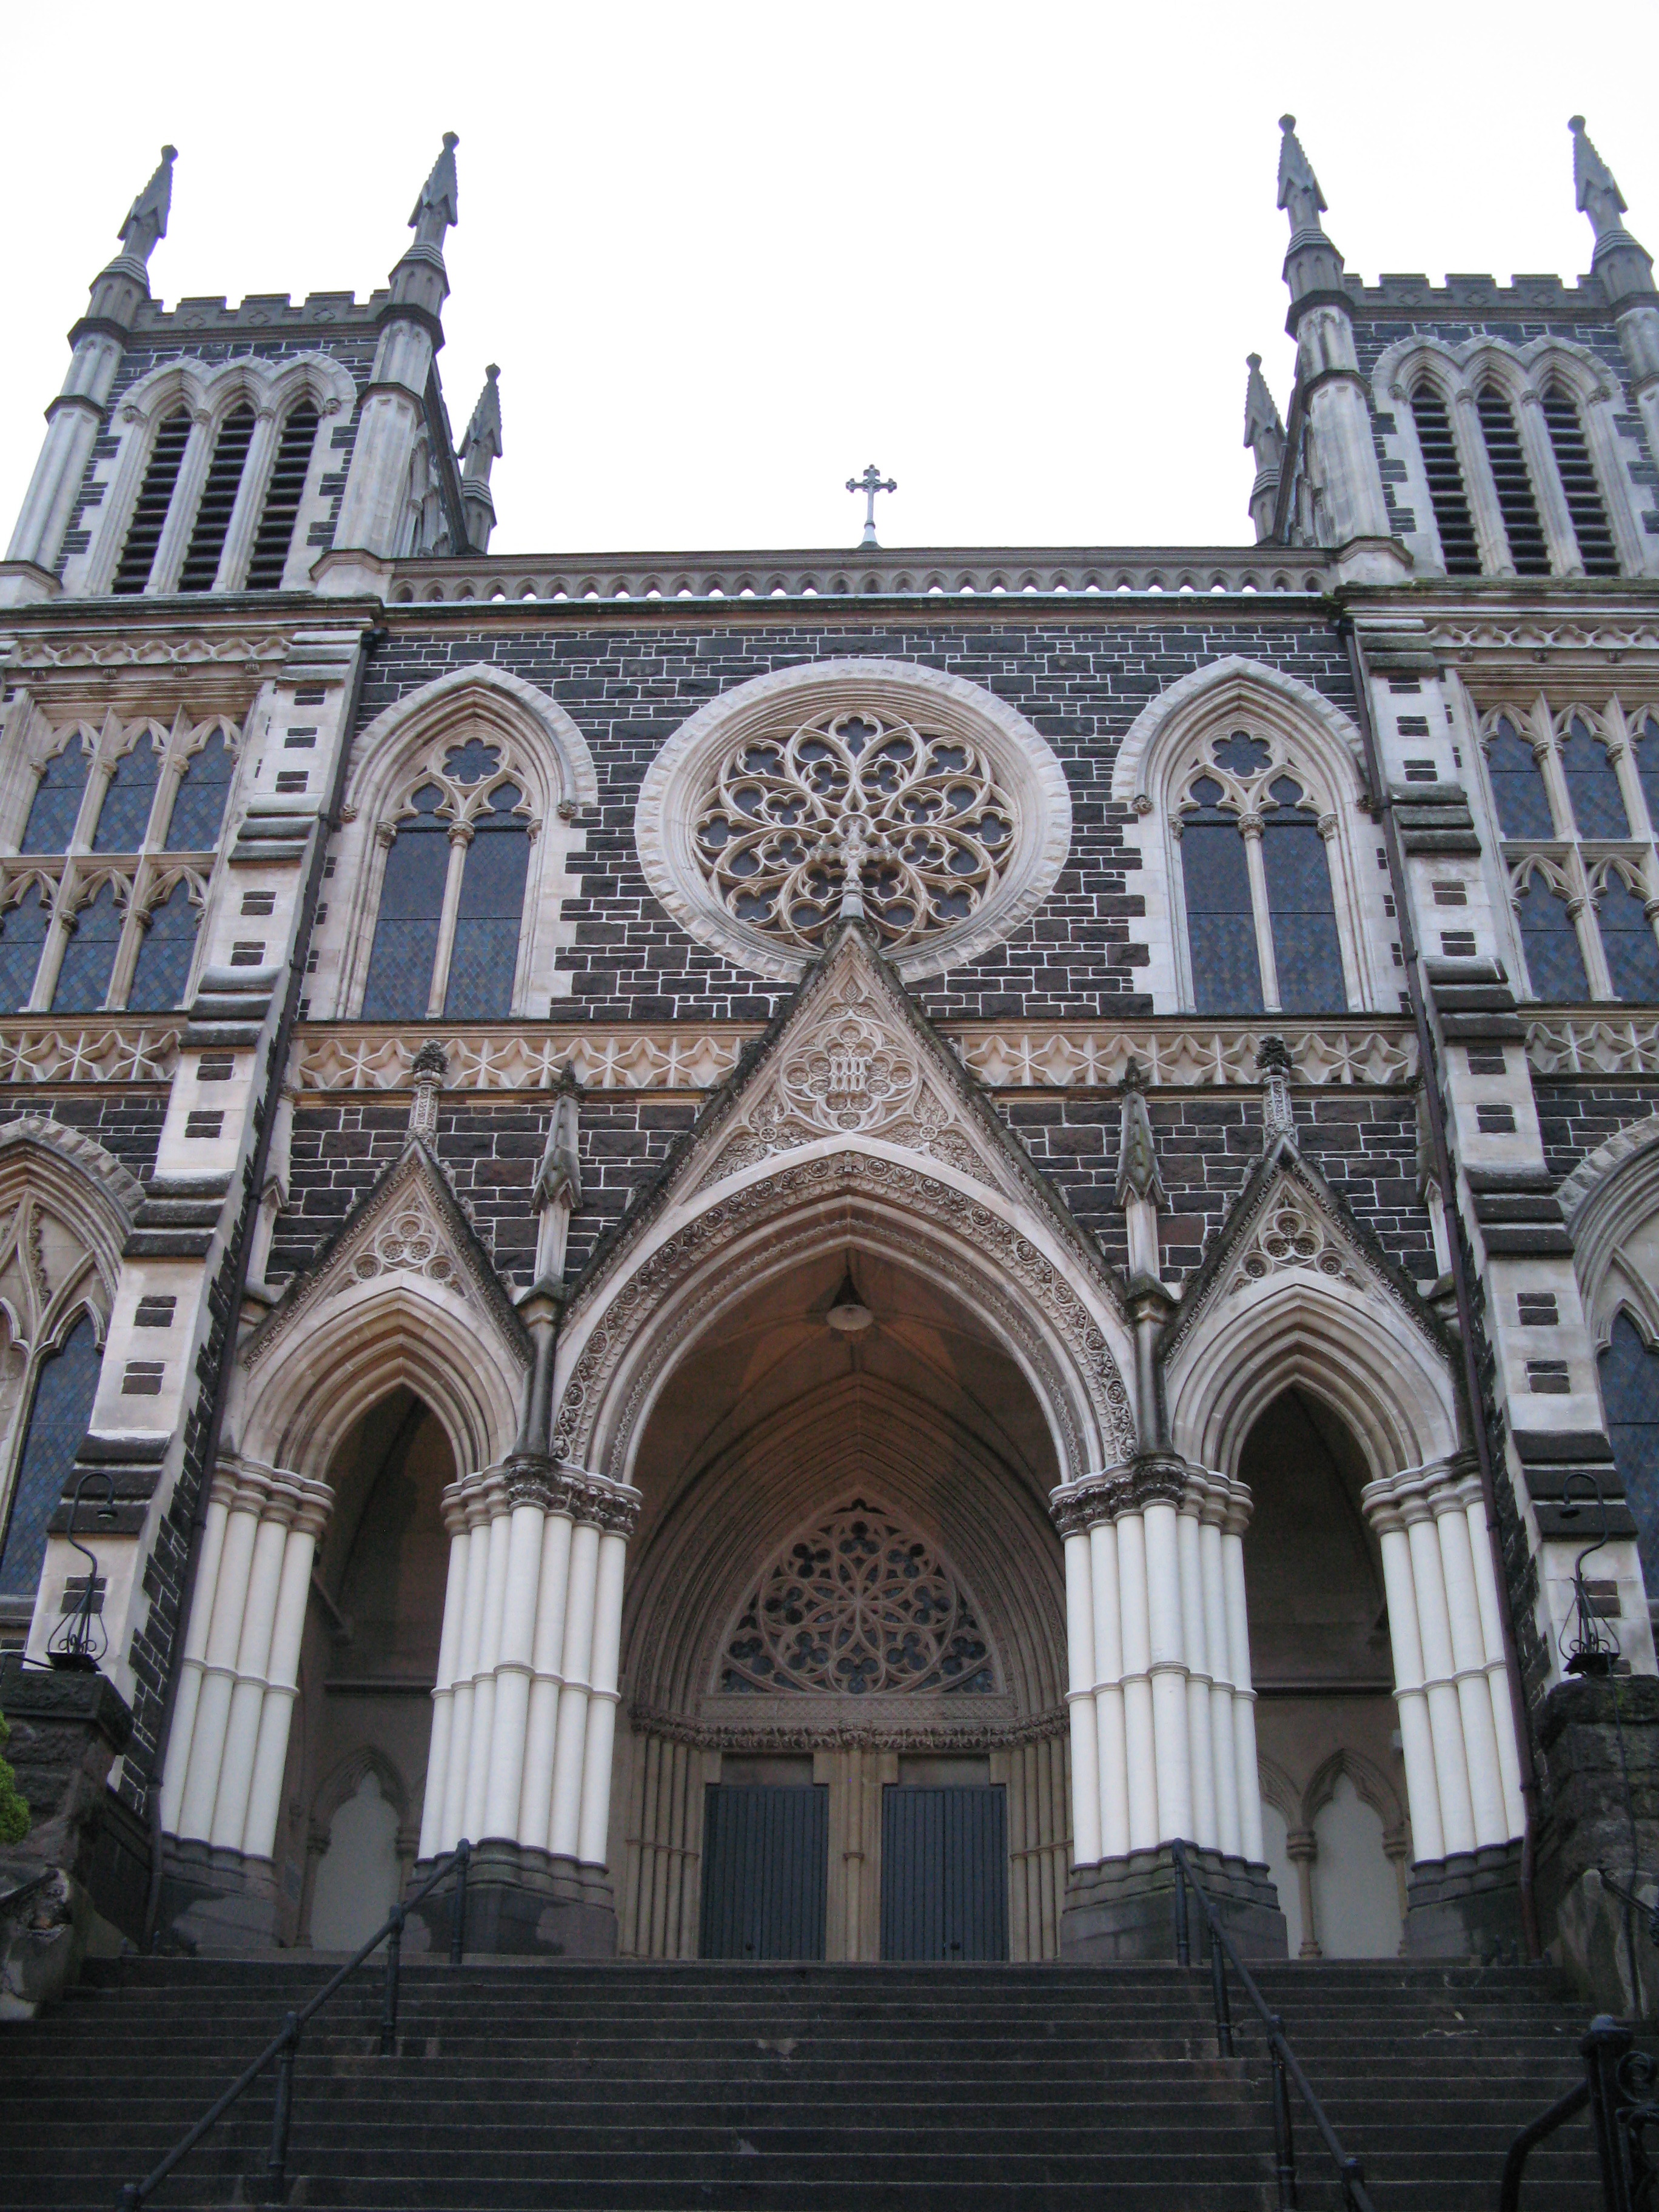
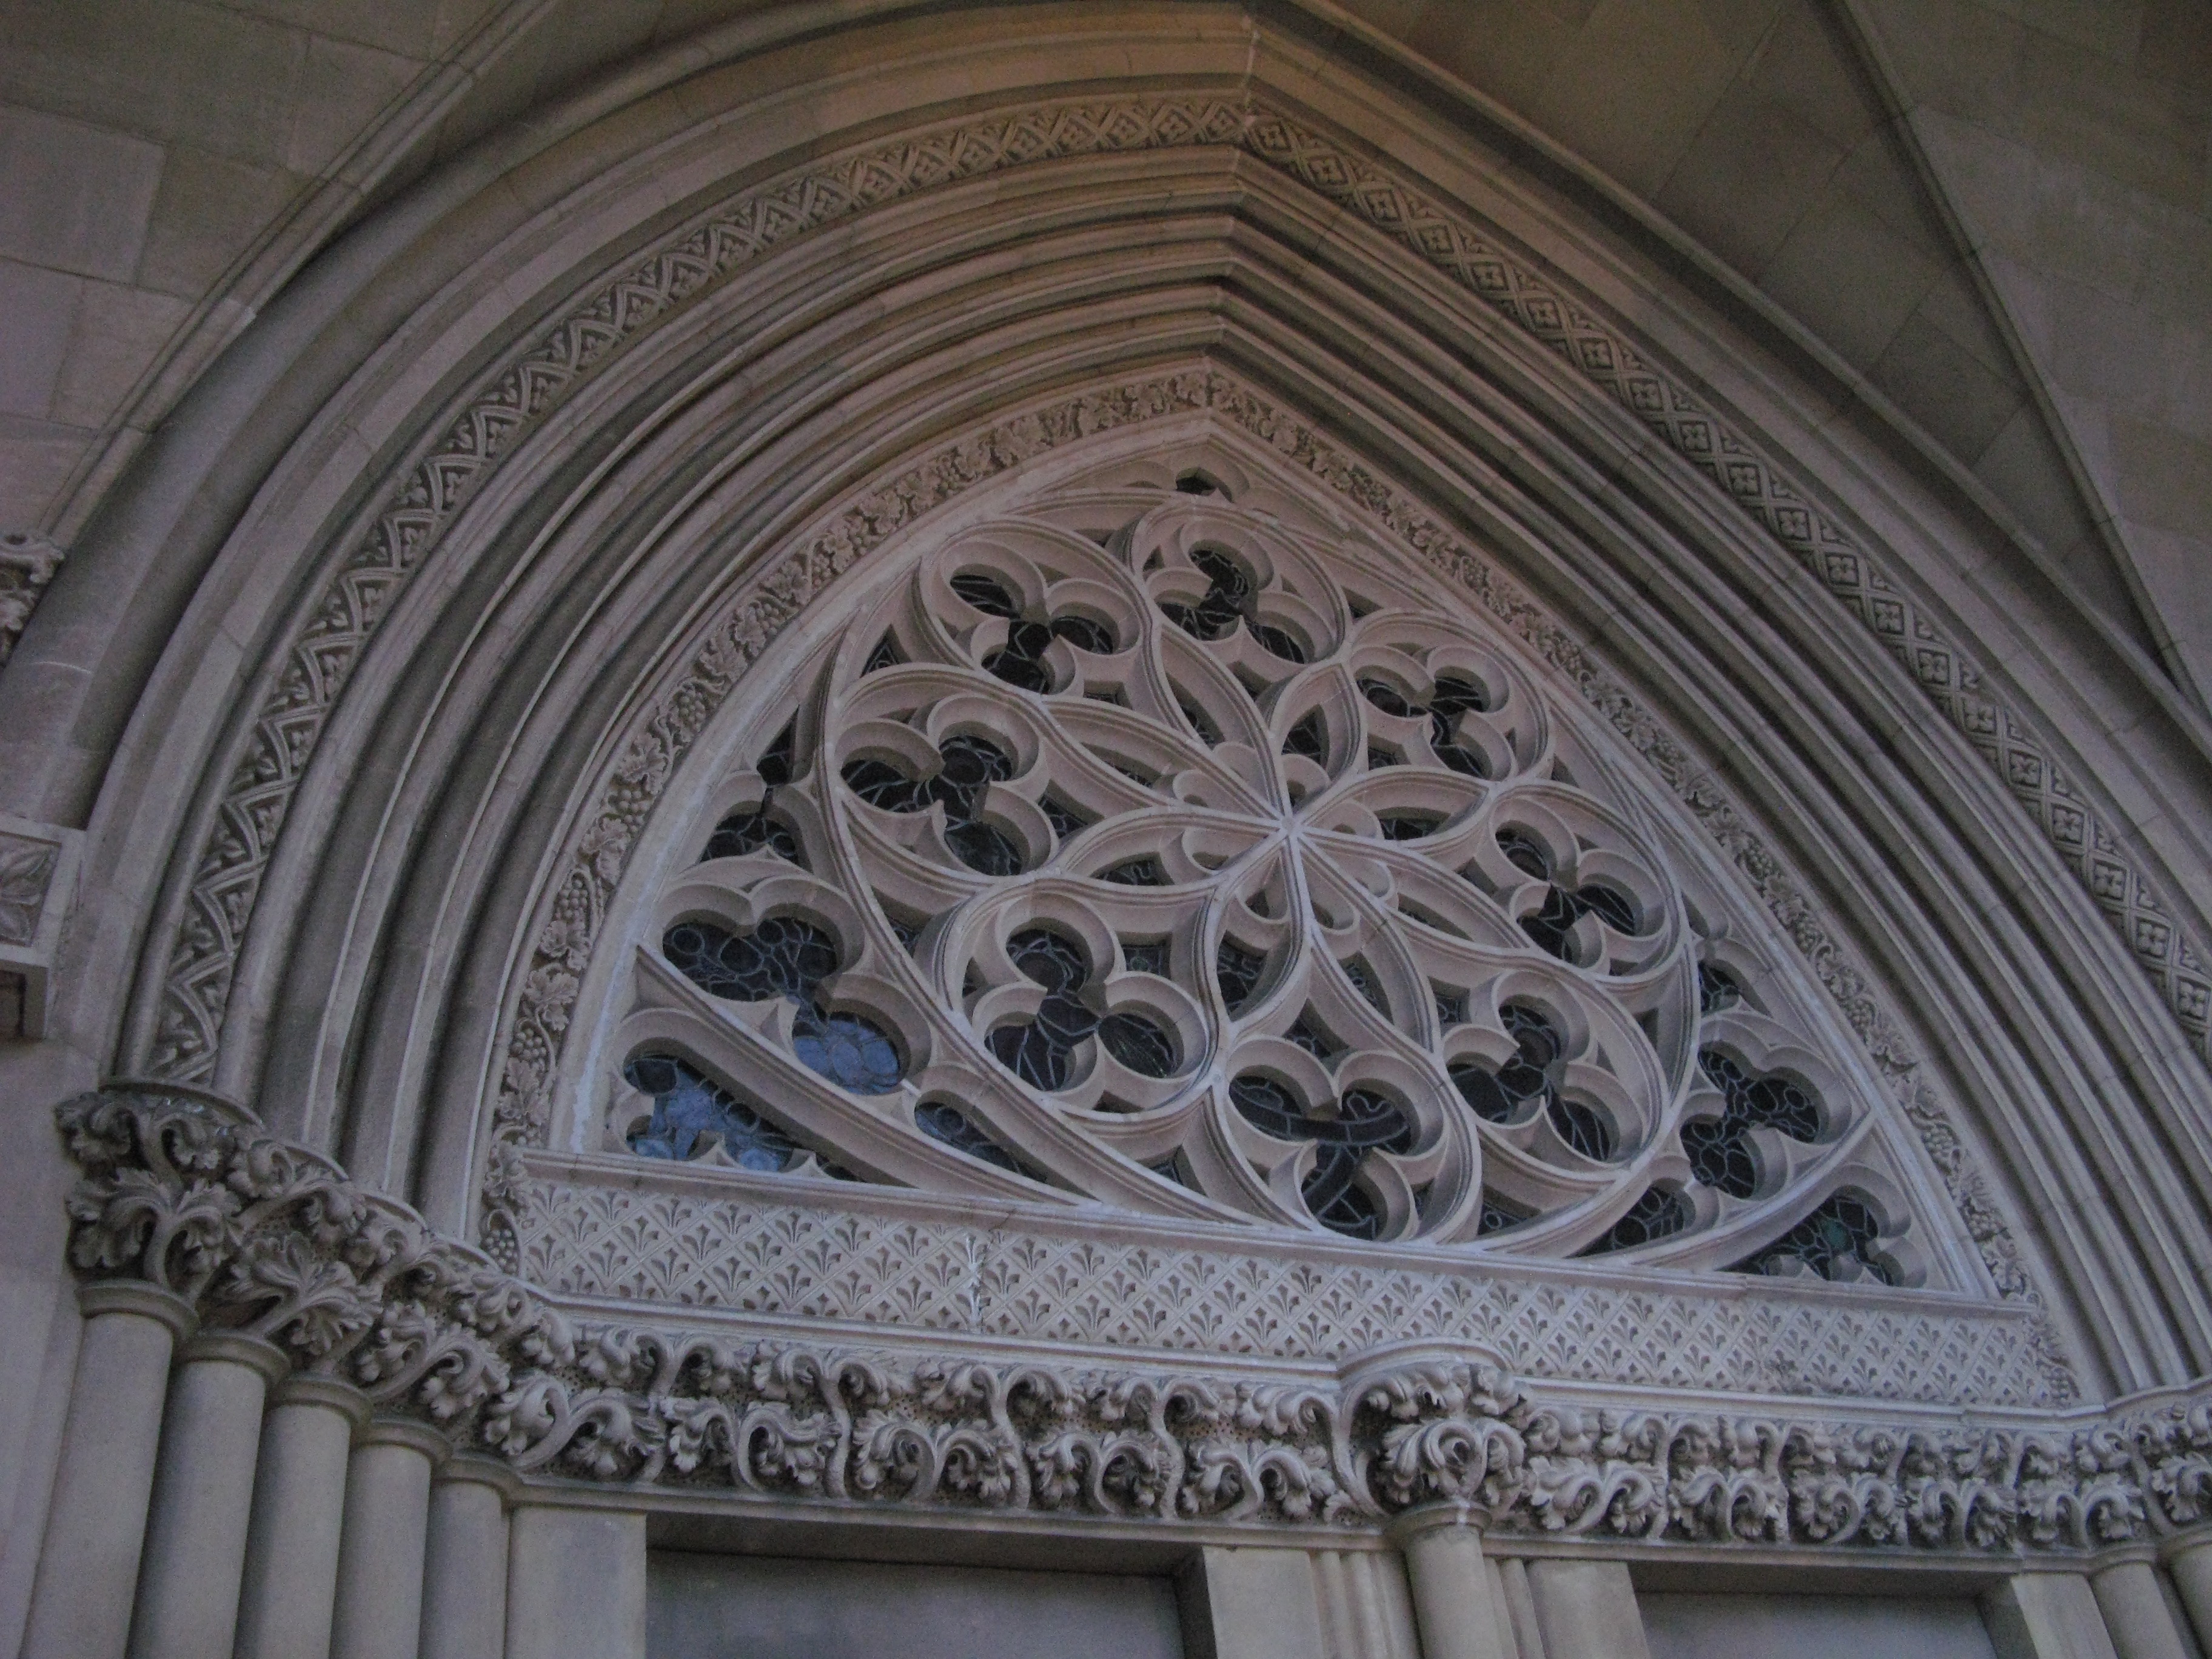
| St. John's Cathedral (catholic). I'm staying in the Bishop's old residence. |
| Stone detailing. |
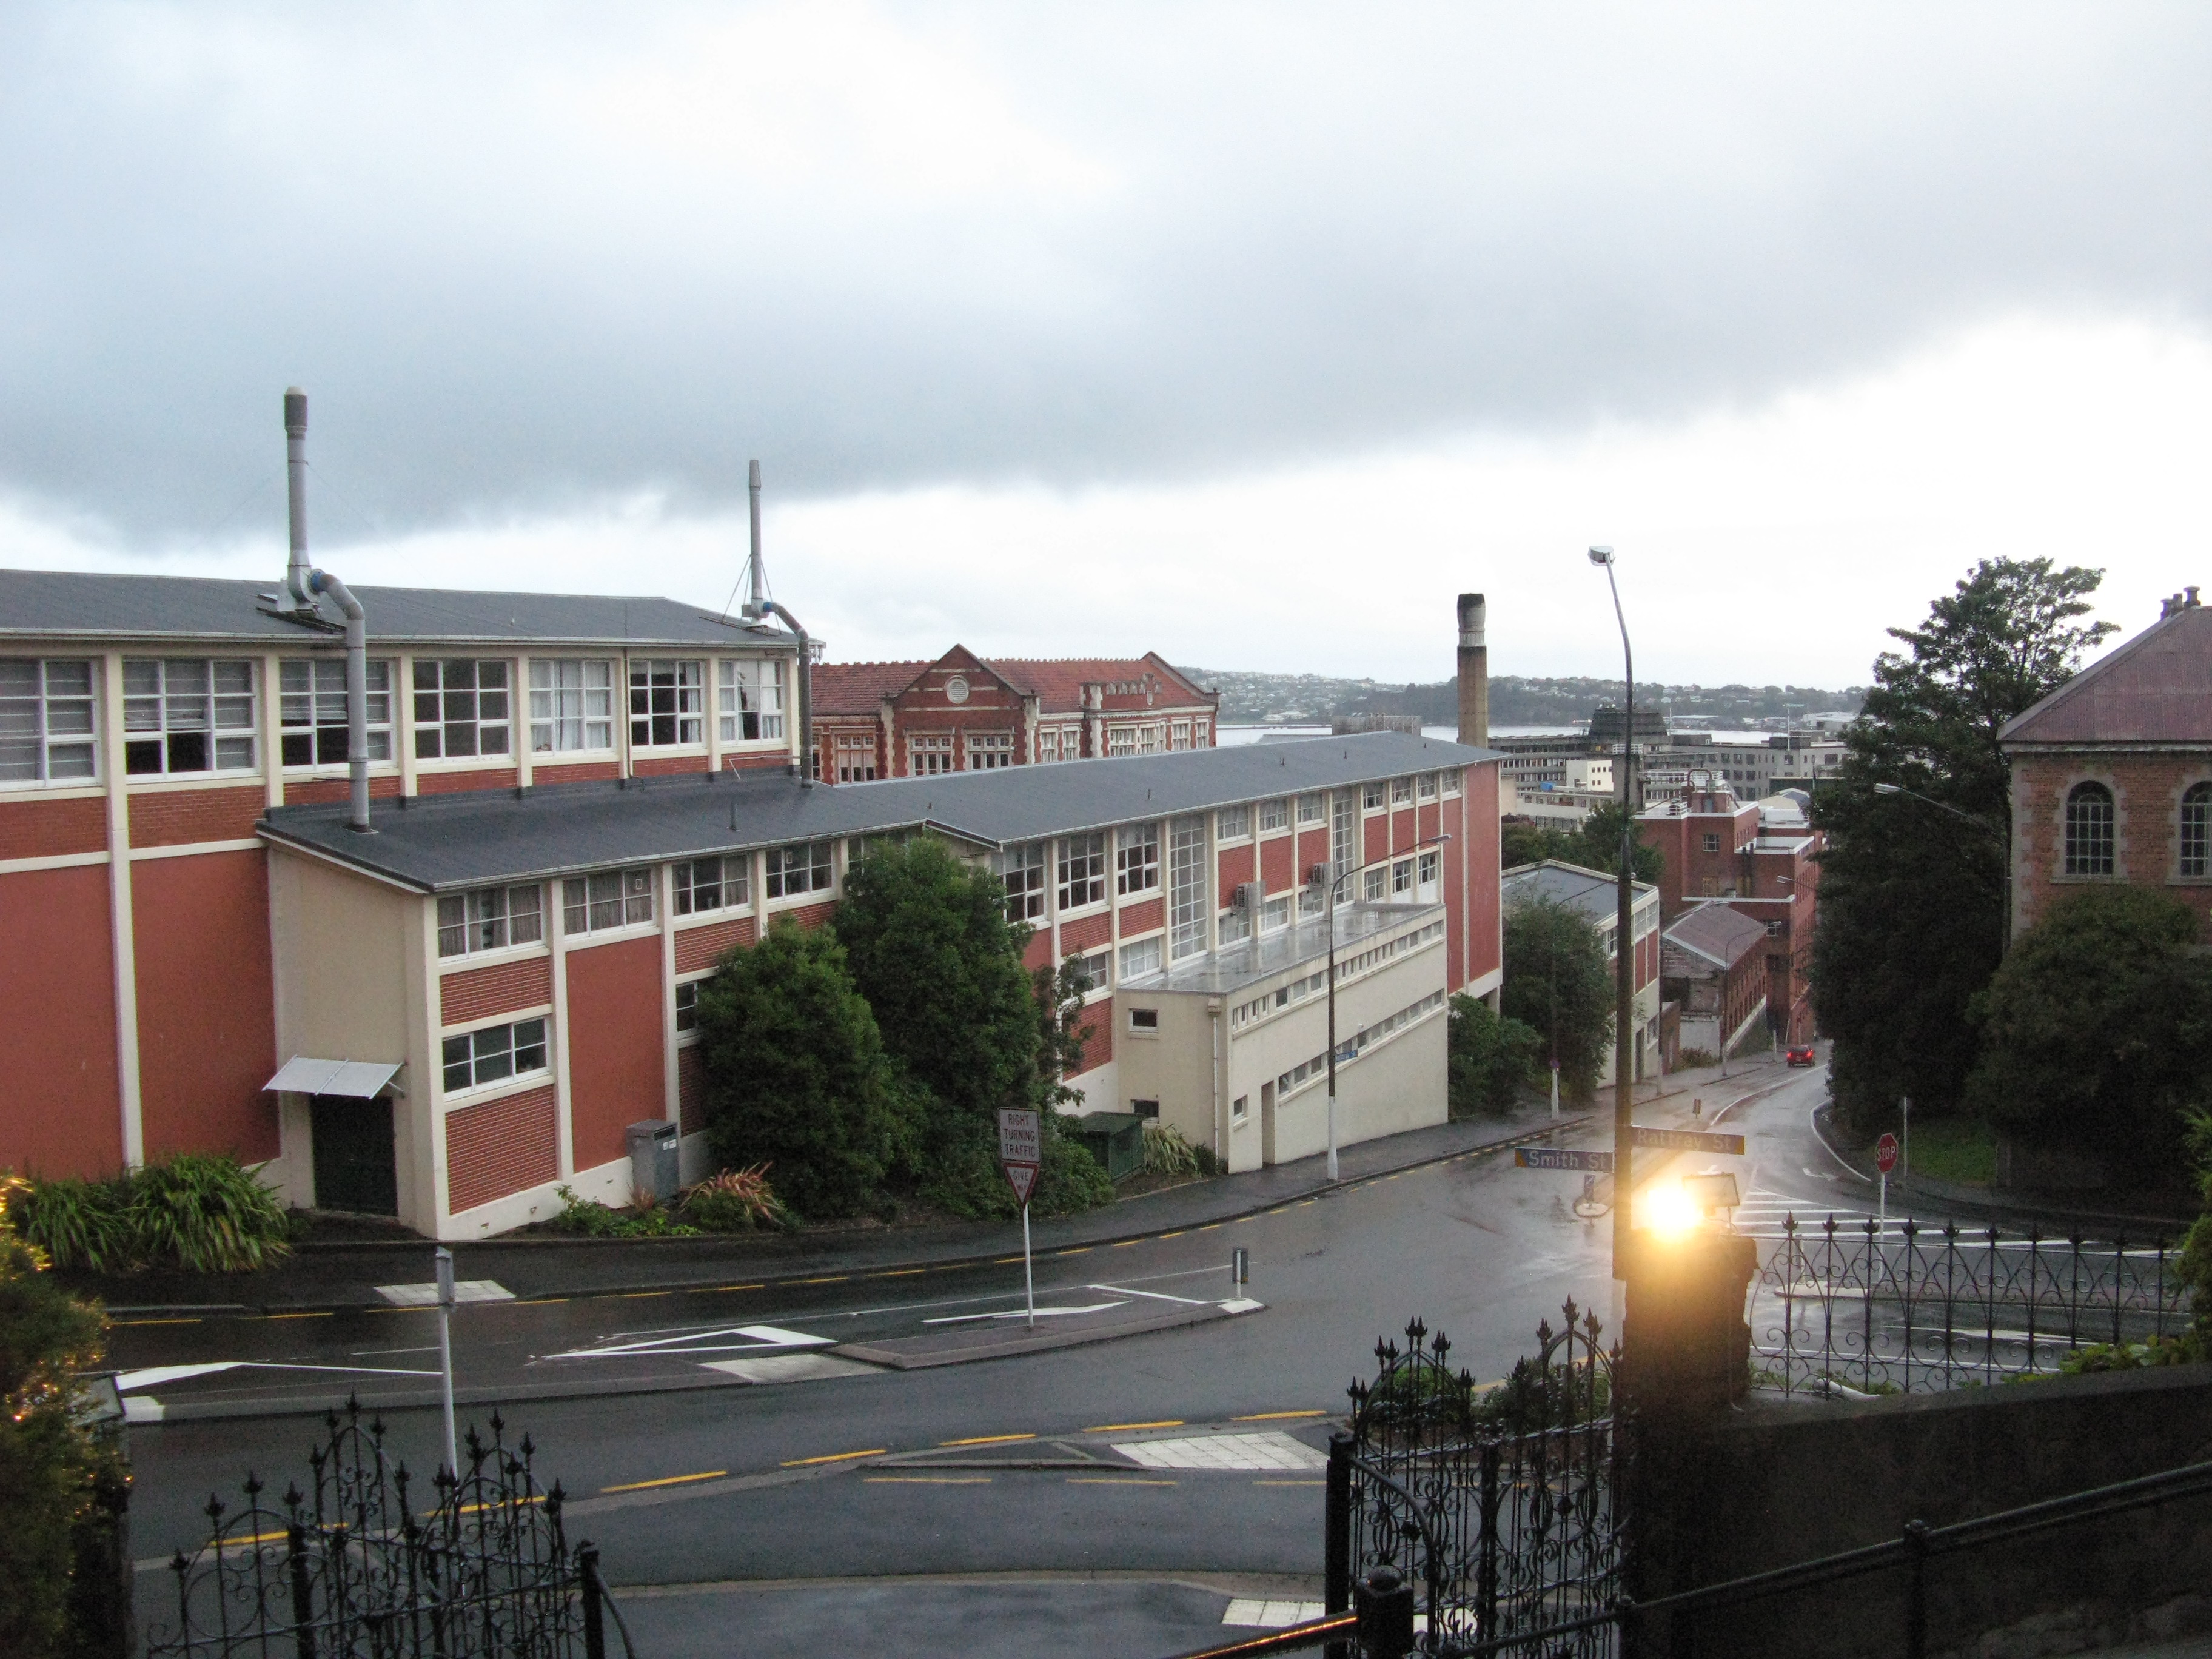
| The view from the doors of the Cathedral. The buildings at left is the Otago Girl's School. The chimney with the barrel on top is part of the Speight's Brewery. |
| Slanty building. |
| Otago Harbour beyond Speight's Brewery. |