

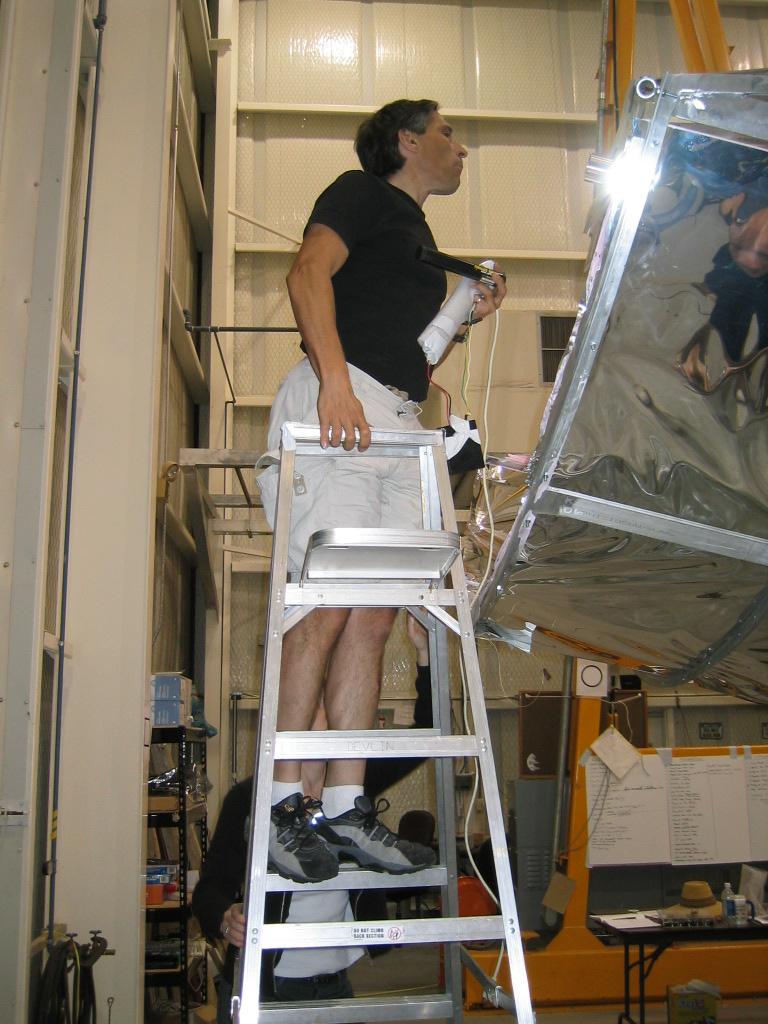
| Matt testing the motorised valves. |
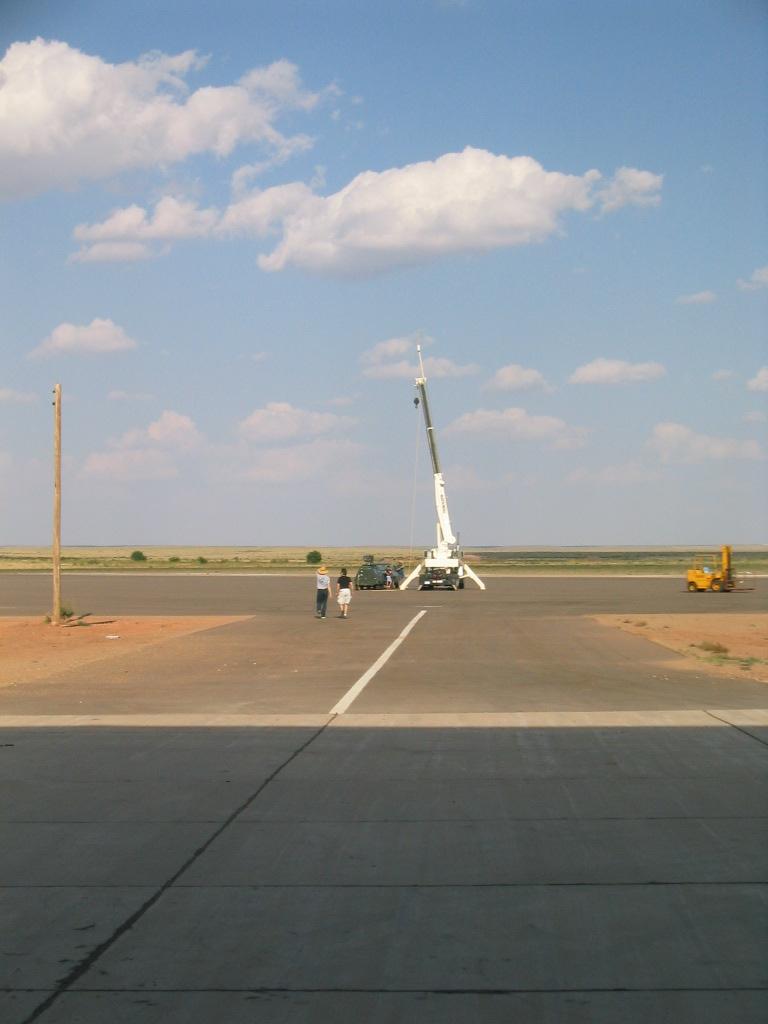
| Setting up the crane target for beam mapping. |
| Setting up the crane target for beam mapping. |
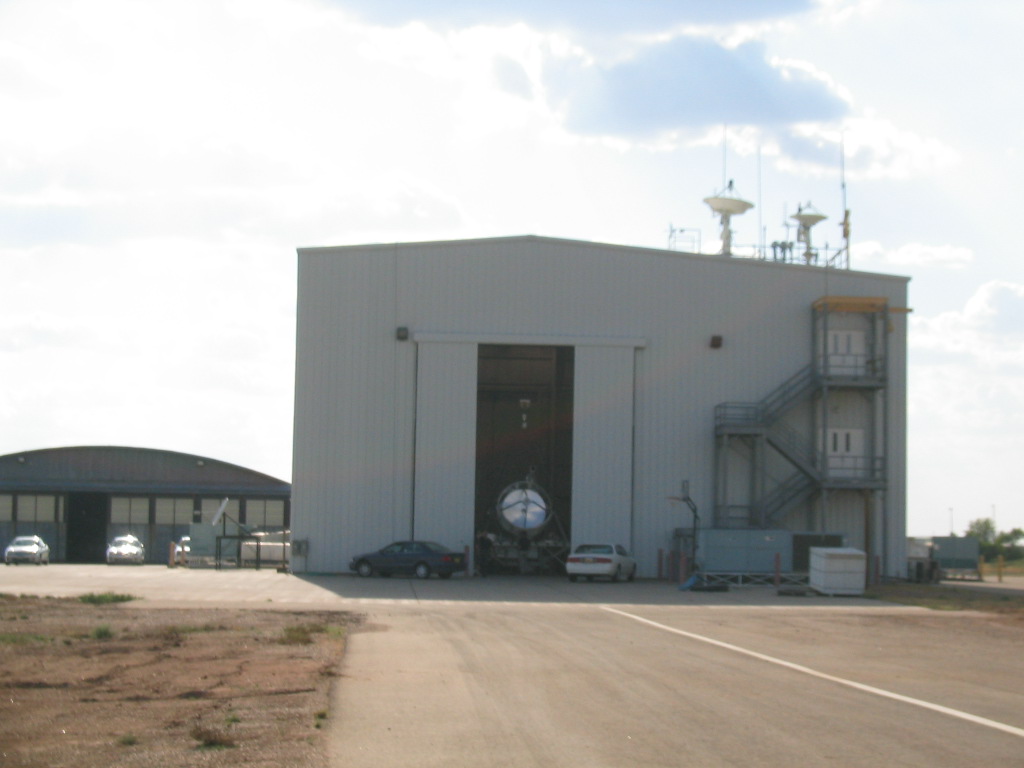
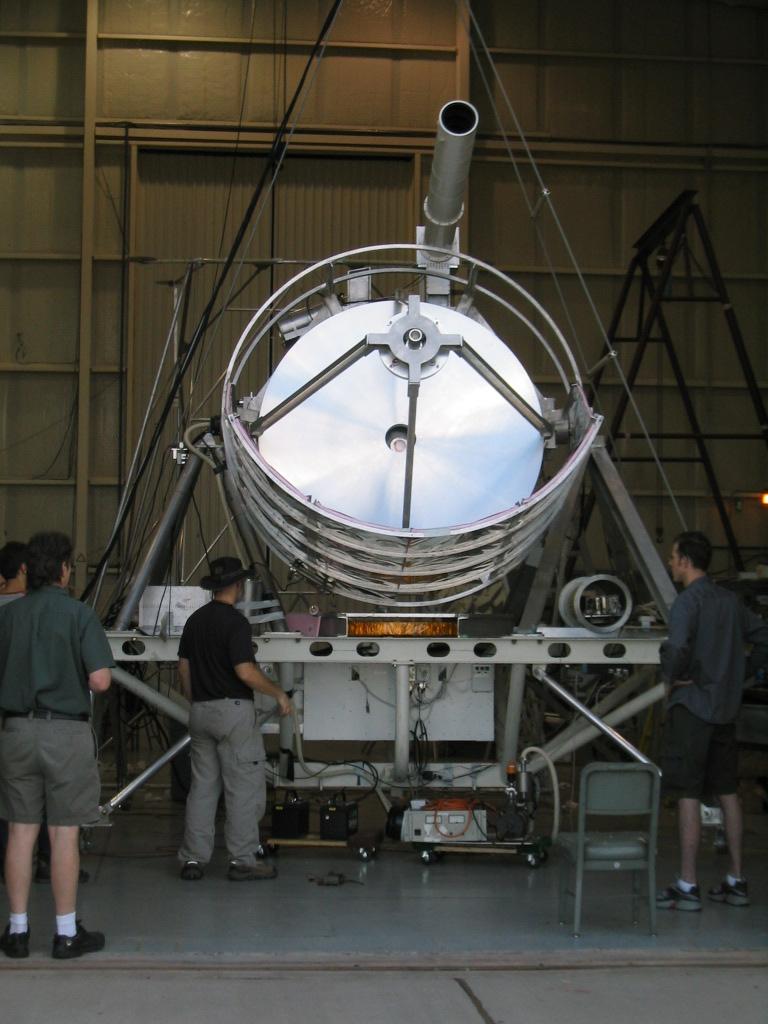
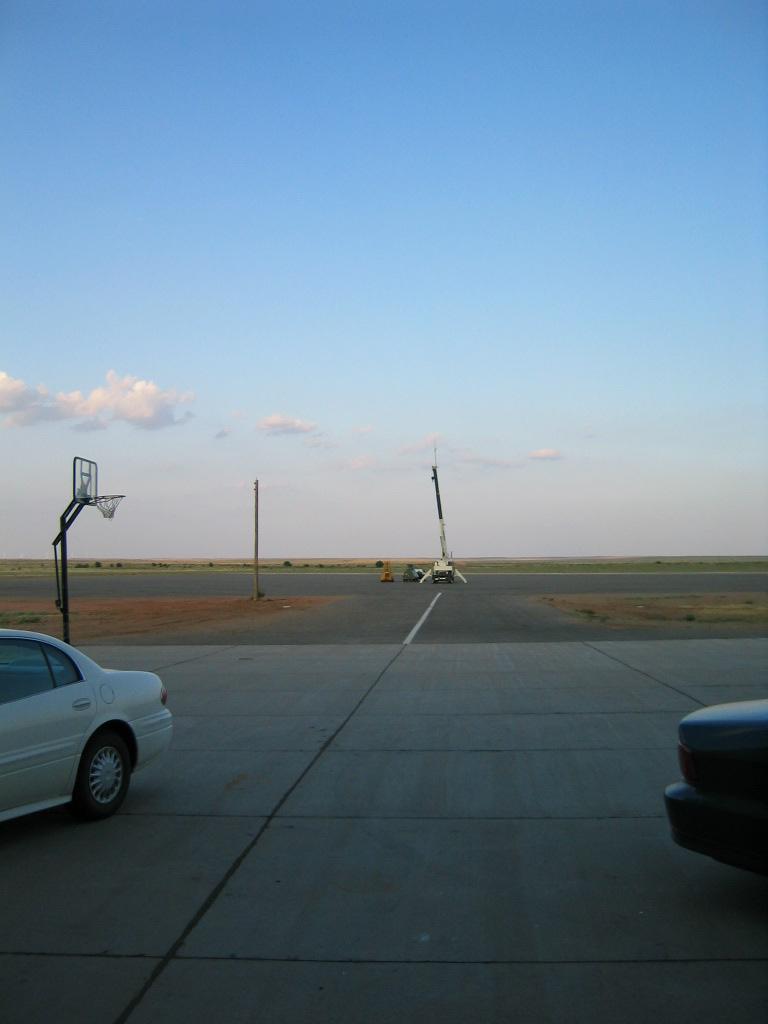
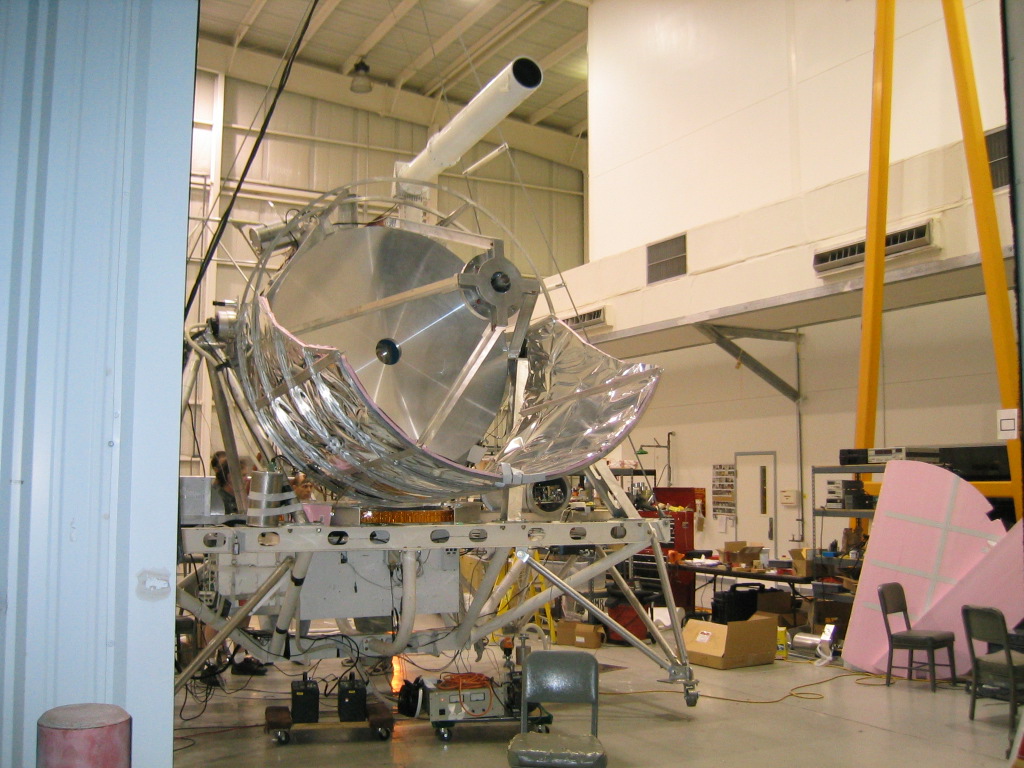
| The telescope looking out the door at the crane. |
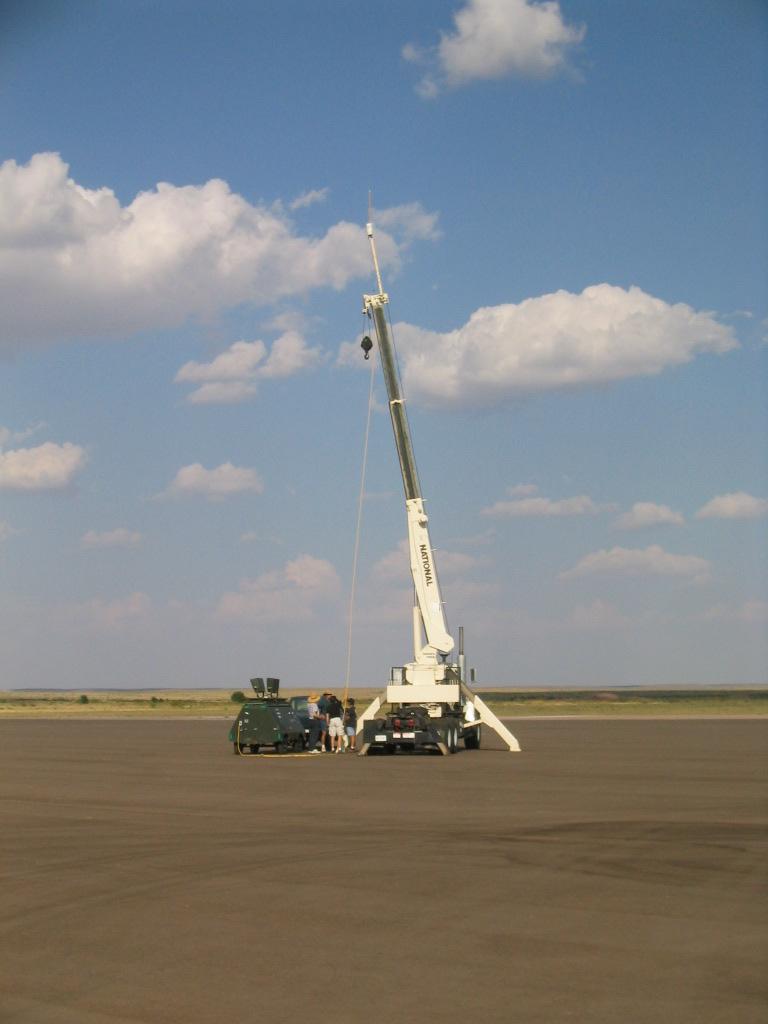
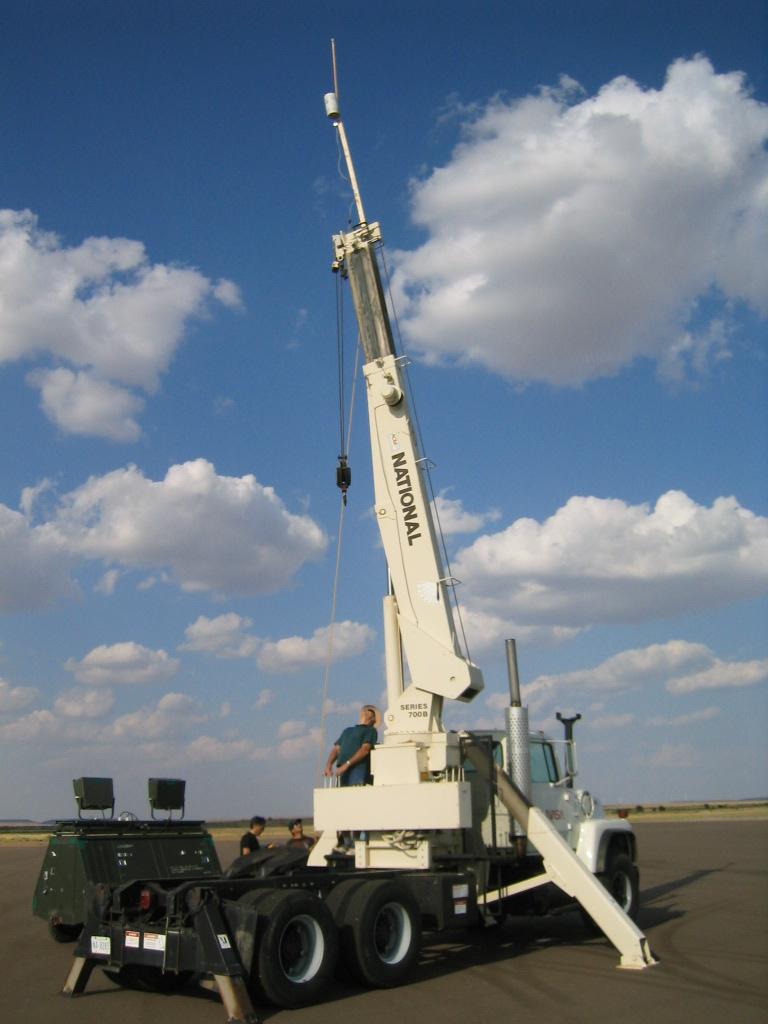
| Adjusting the crane. |
| The dewar of nitrogen. |
| Trying to find the target. |
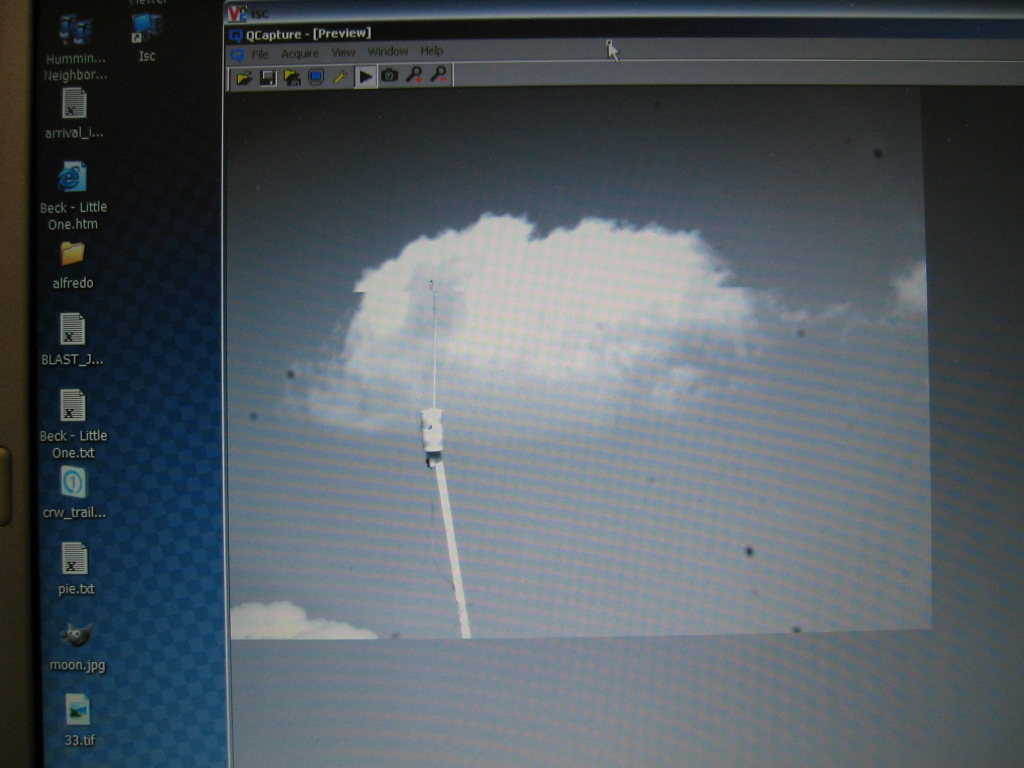
| The target detected in the star camera. |
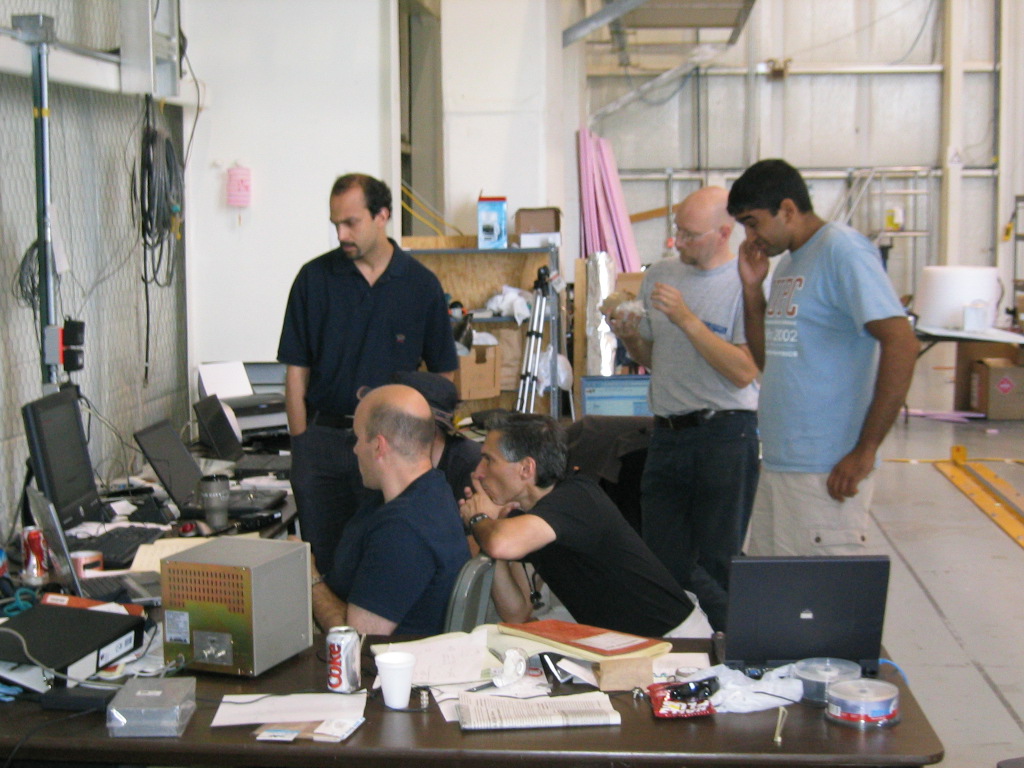
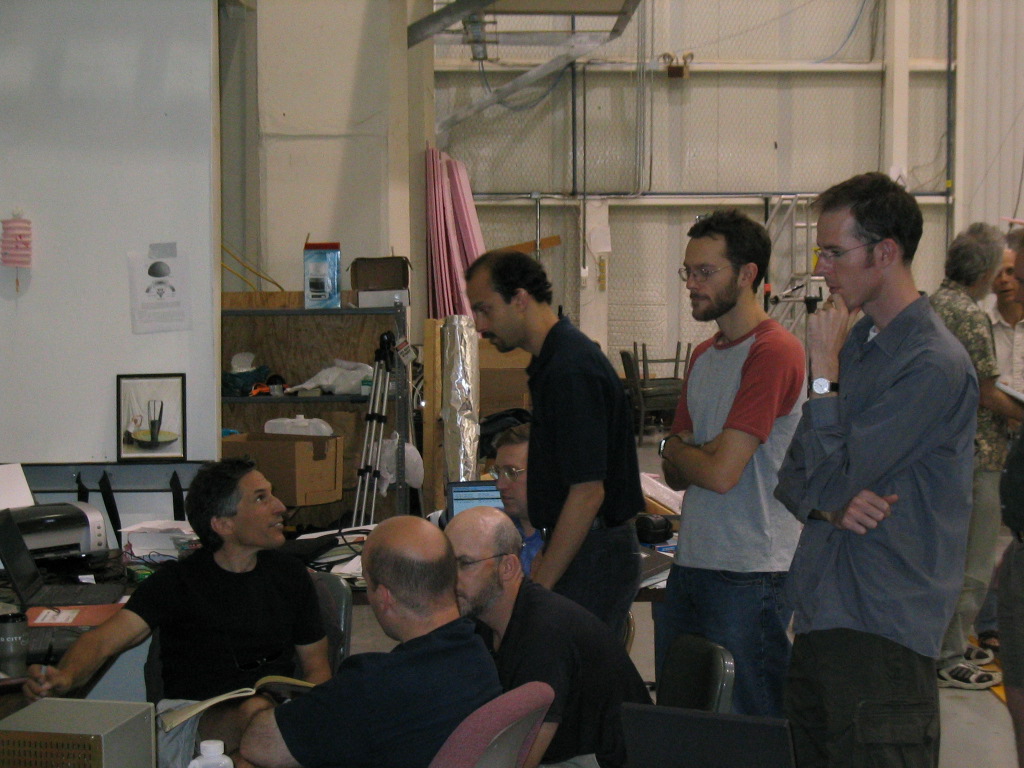
| The receiver team looking for a signal. |
| The receiver team looking for a signal. |
| Pointing tests. |
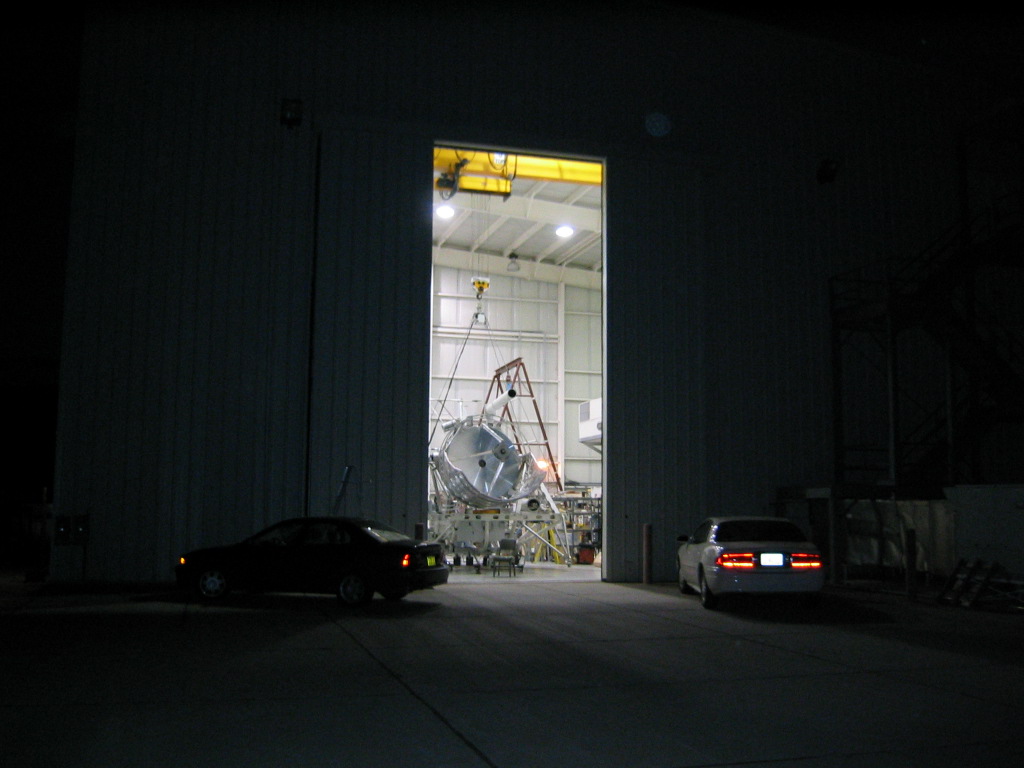
| Looking out from the doors of the hangar at the target. |
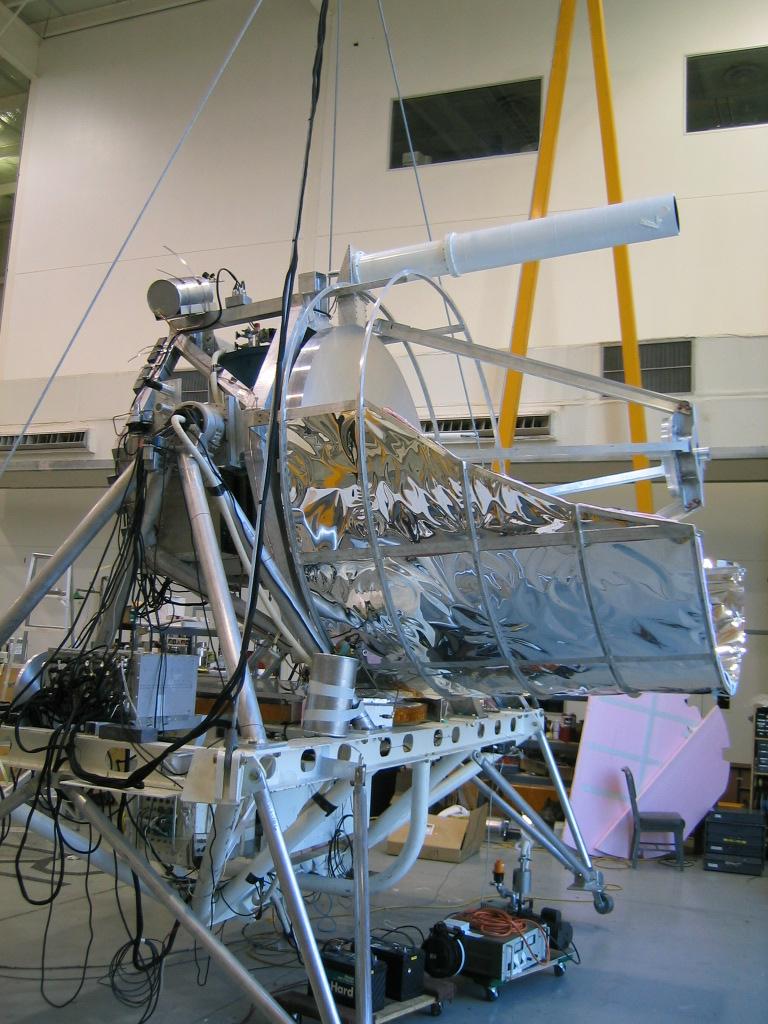
| Looking through the gondola. |
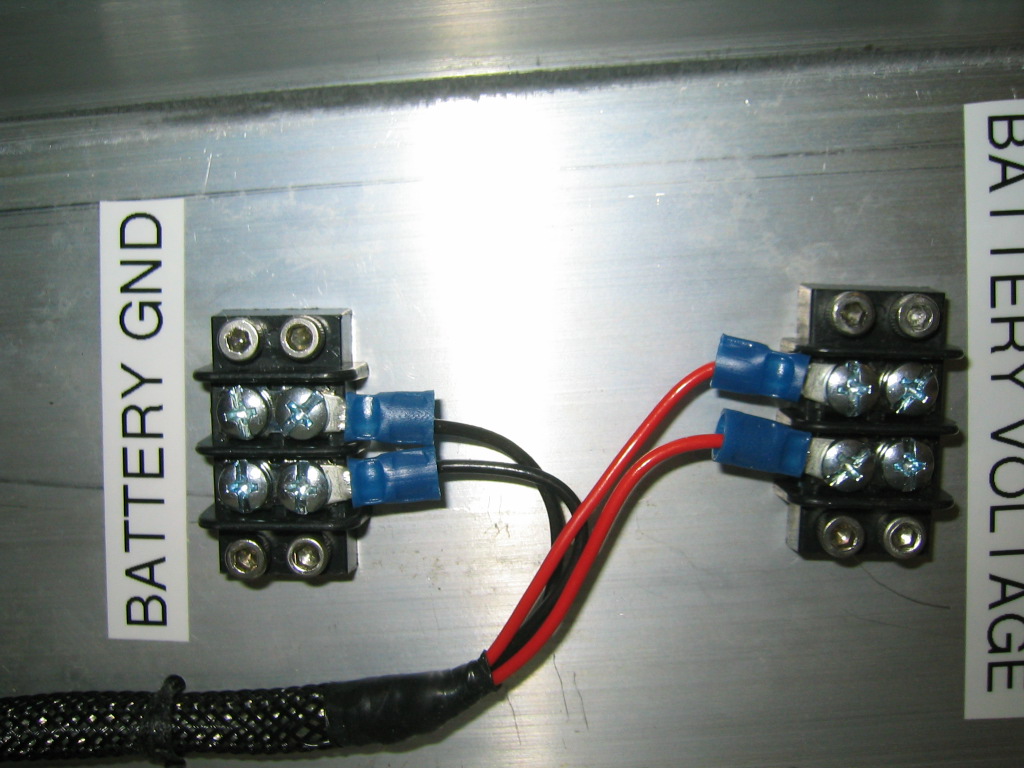
| Battery connection terminals. |
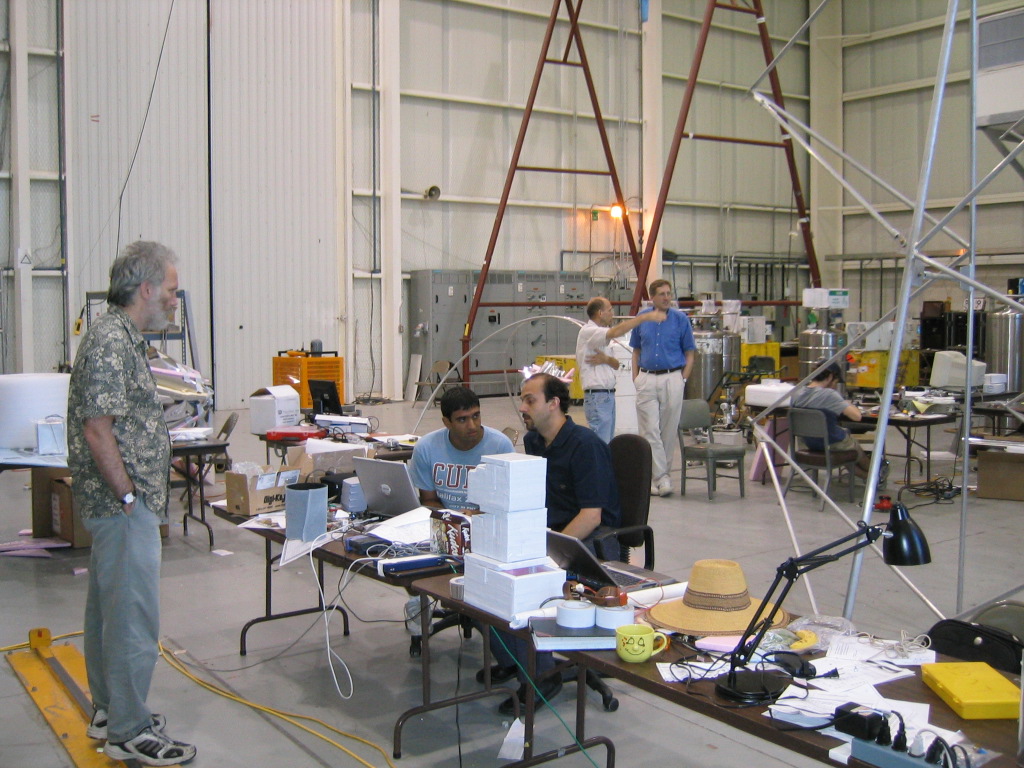
| Phil talks with Jaspaul. |
| Me as helmsman trying to scan the gondola over the source. |
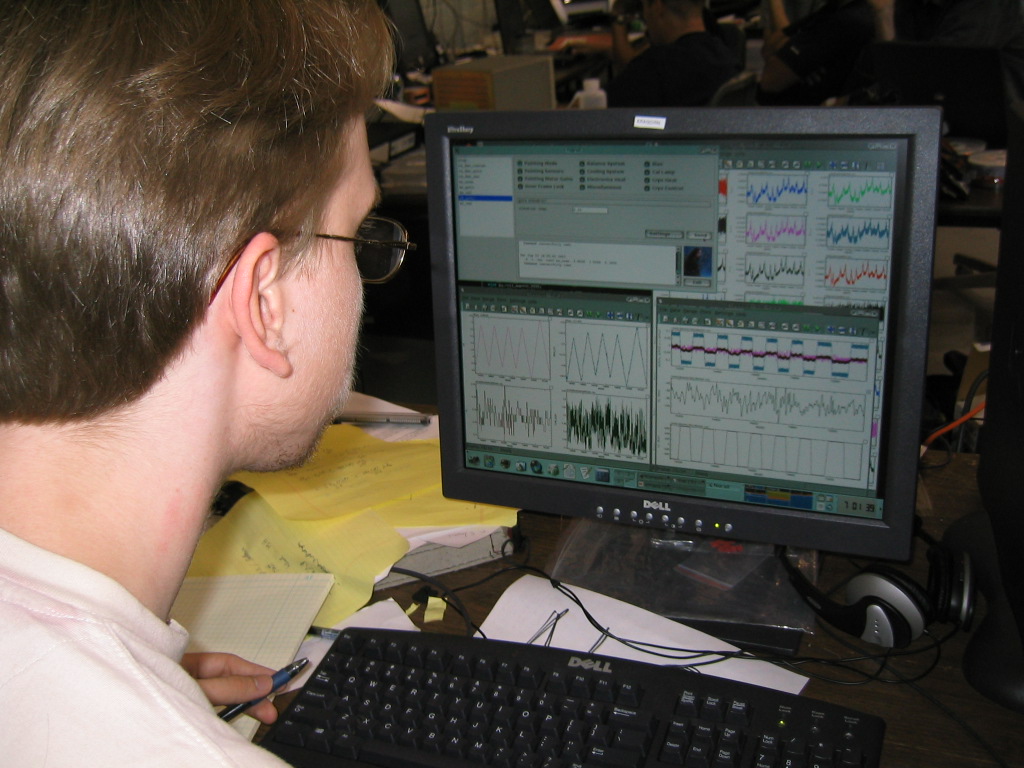
| The source is detected. |
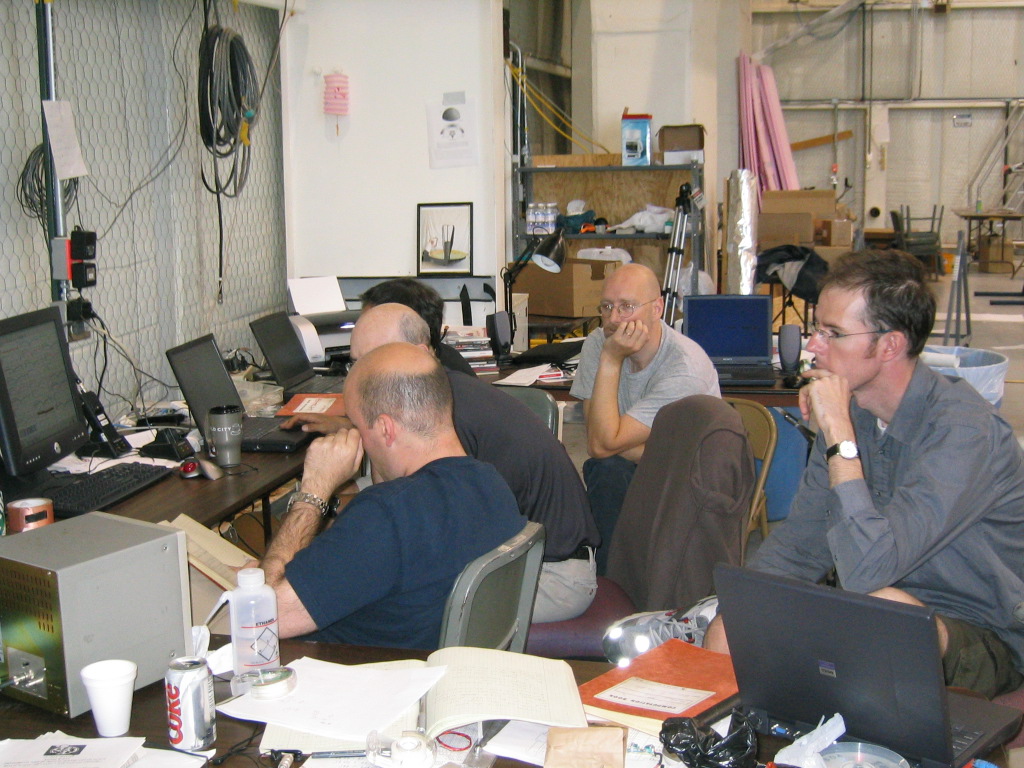
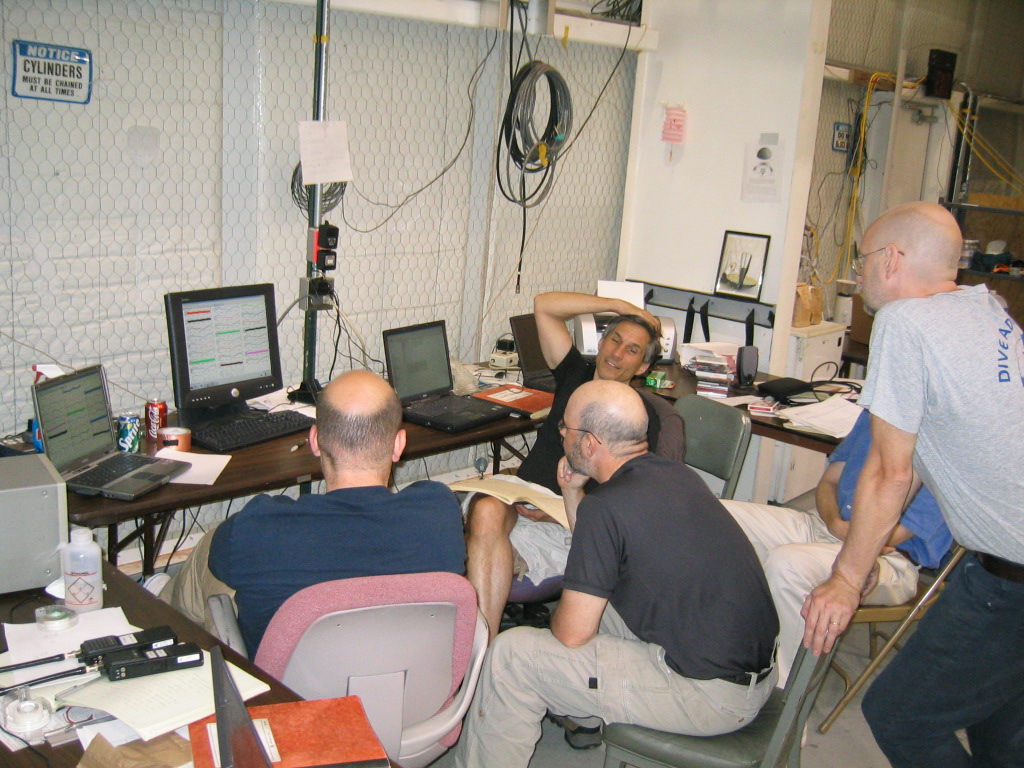
| The receiver team. |
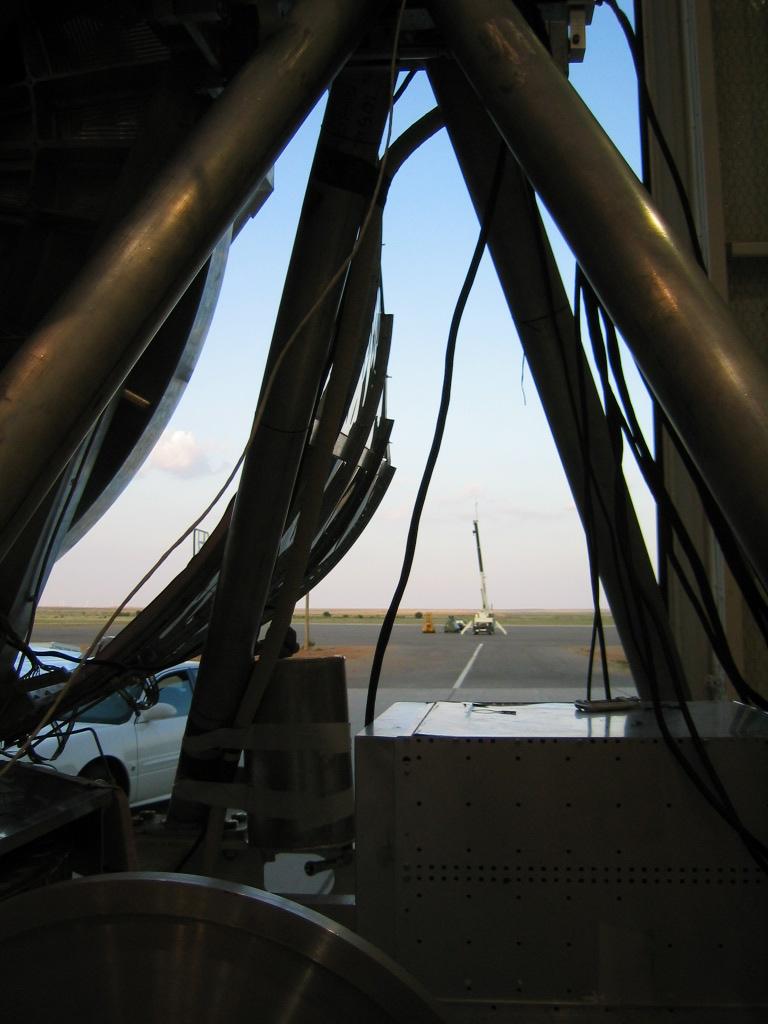
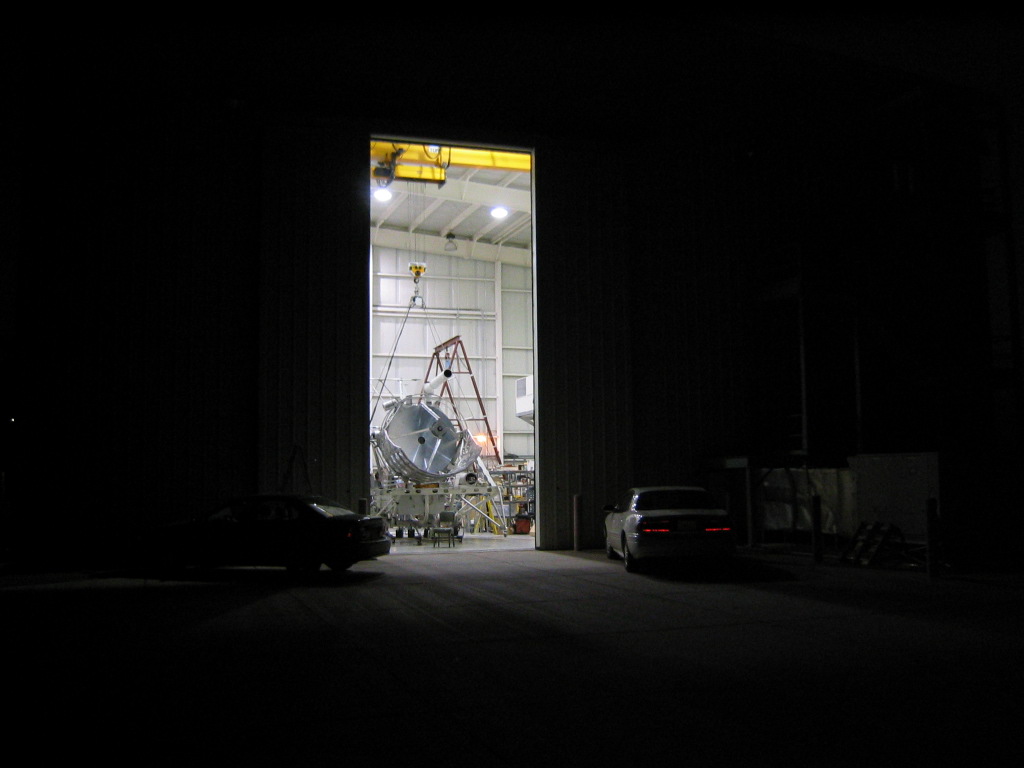
| Pointing out of the high bay. |
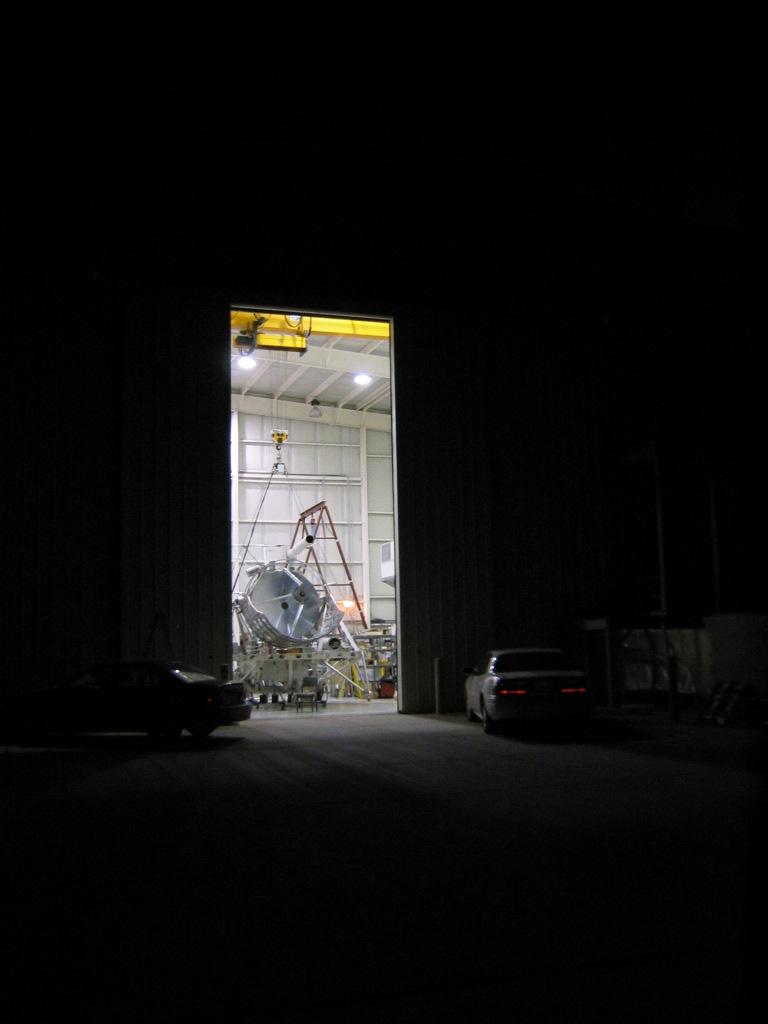
| Getting dark, still pointing. |
| Getting dark, still pointing. |
| Getting dark, still pointing. |
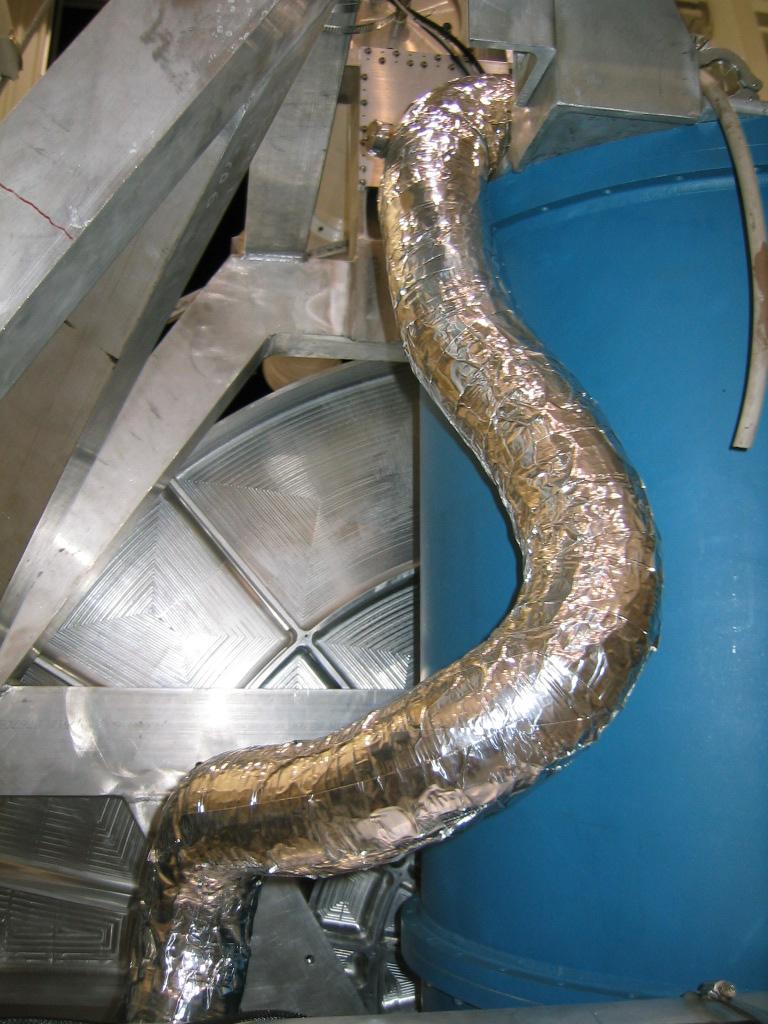
| The dryer tube connecting the cryostat to the receiver covered now in aluminum tape. |
| Jeff prepares to install a laser on the secondary so we can point it at the source. |