


| LDB operations centre. |
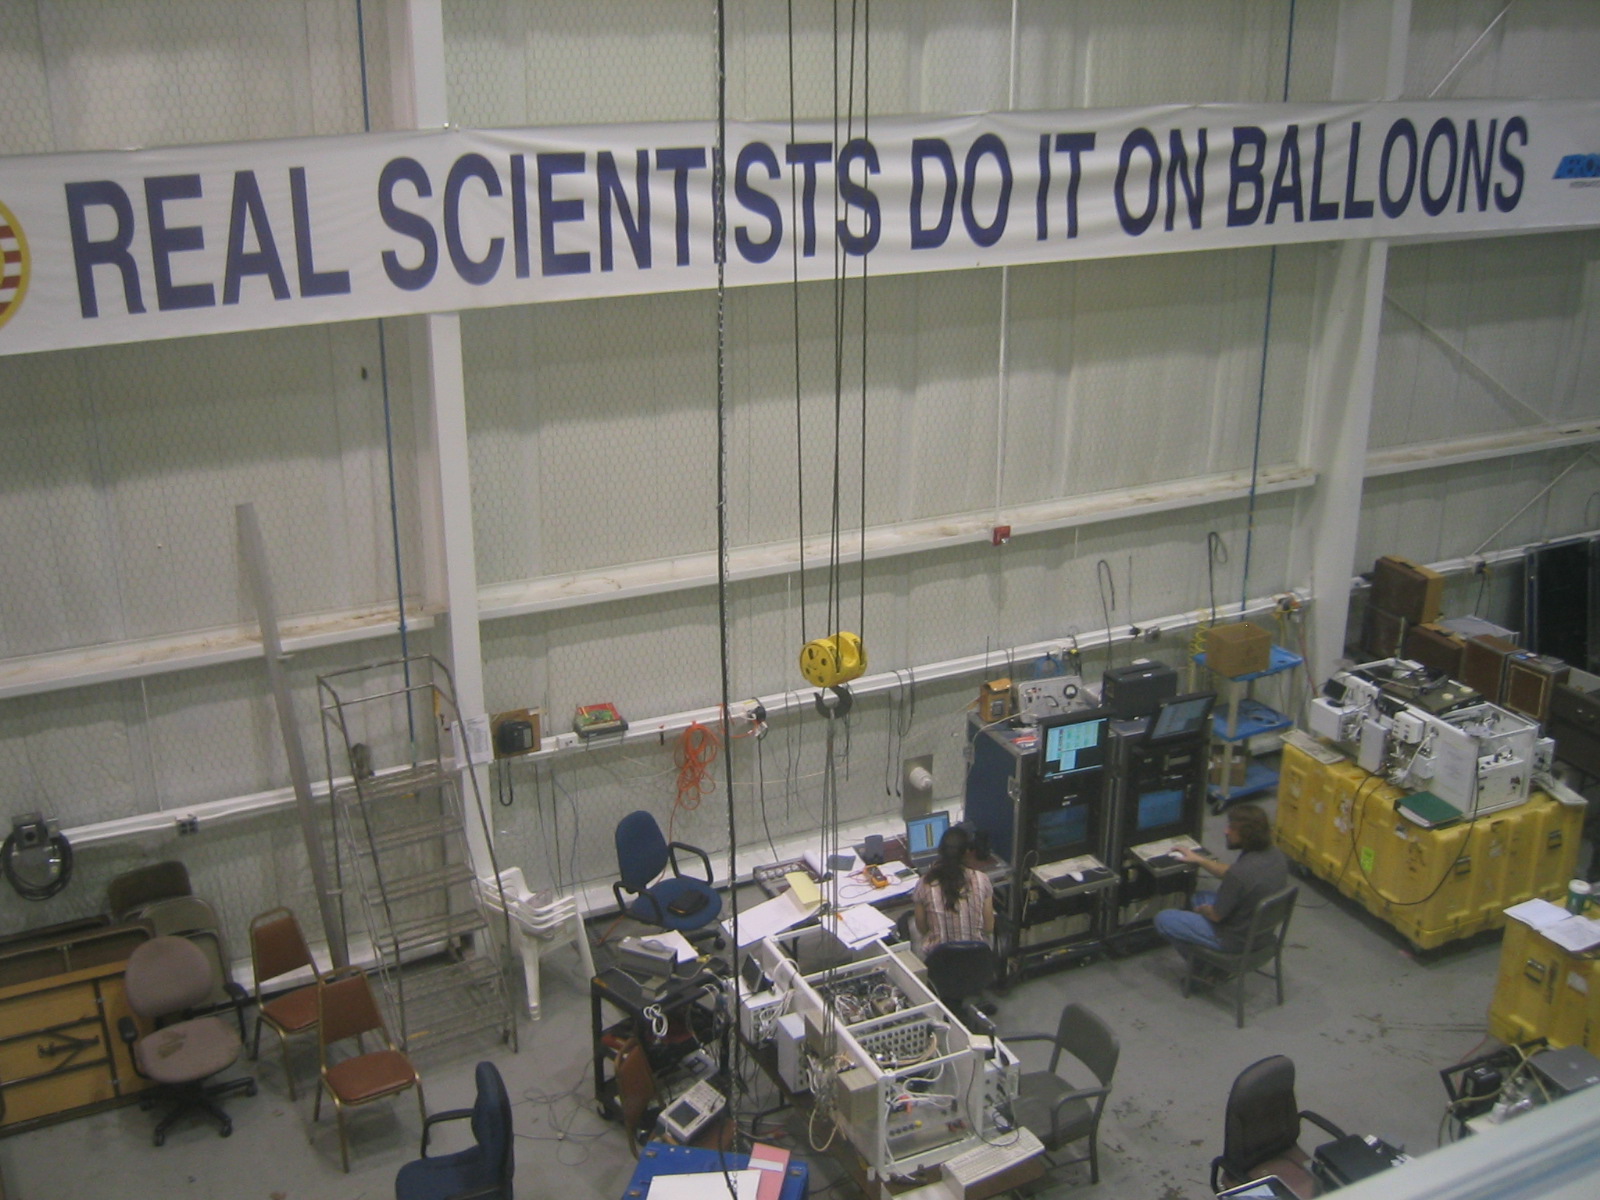
| The LDB bay. |
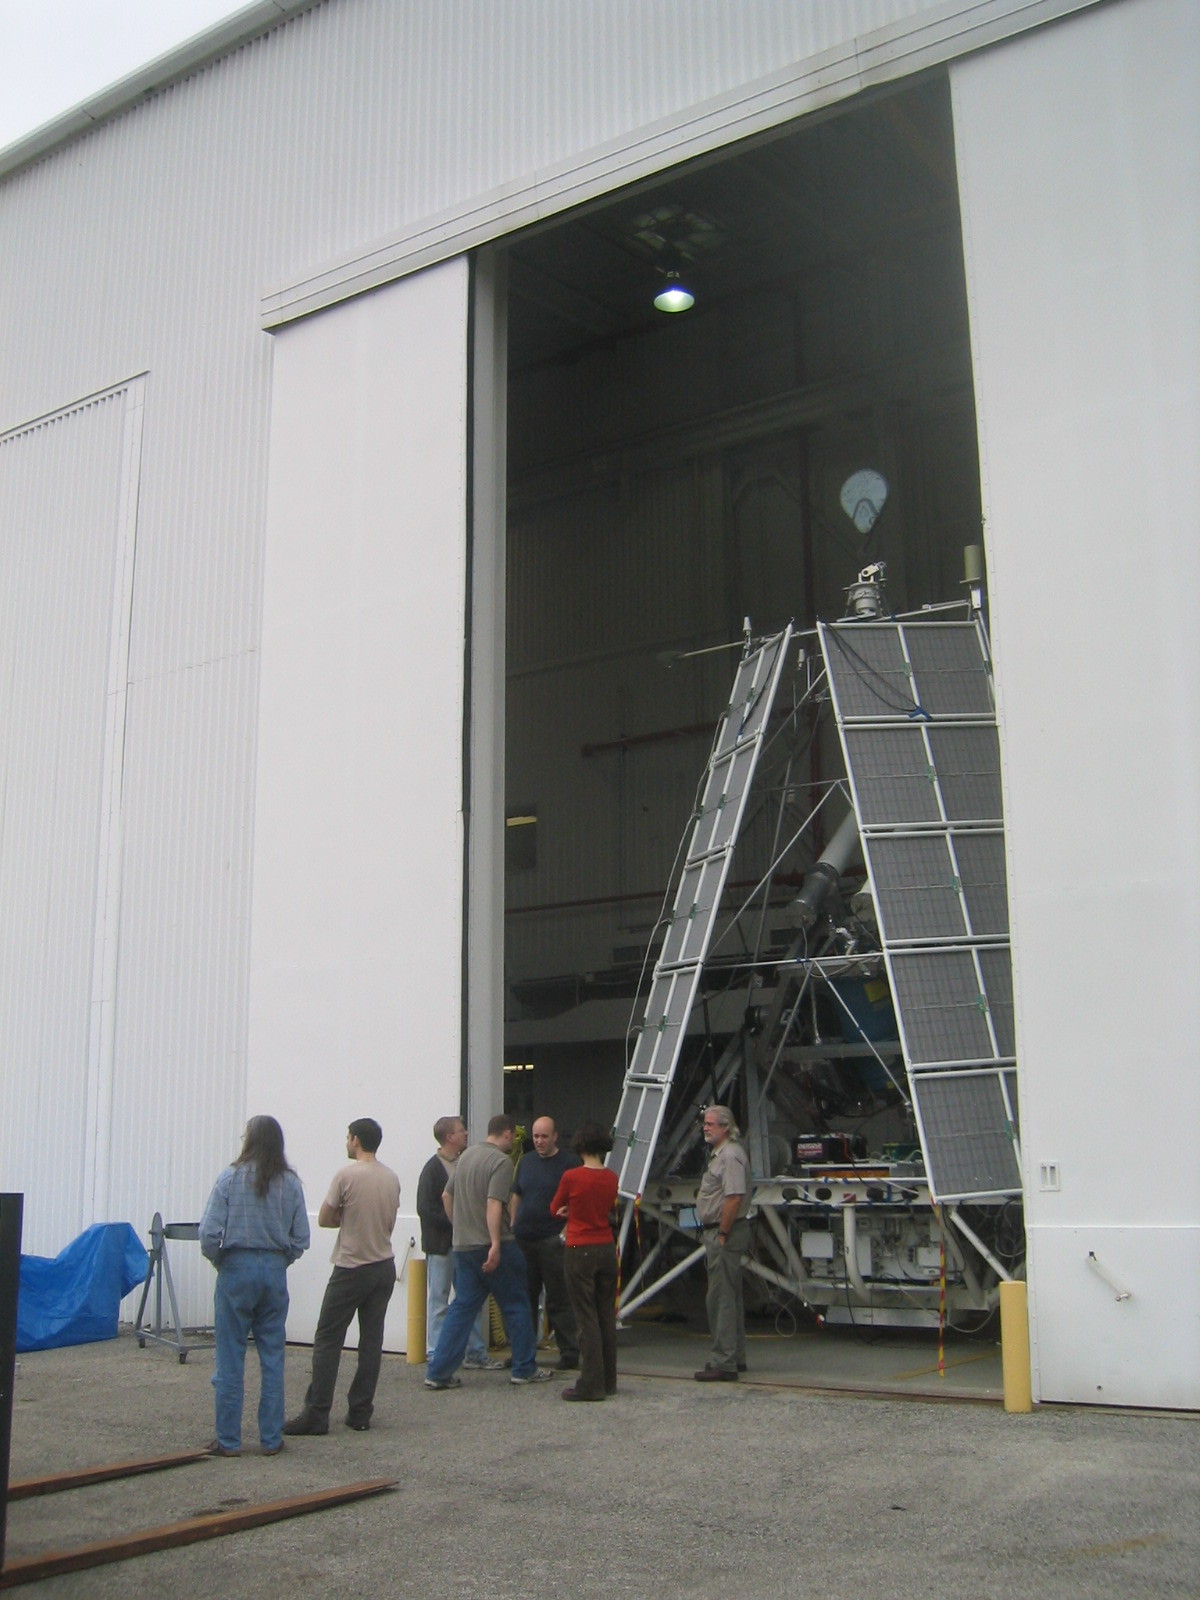
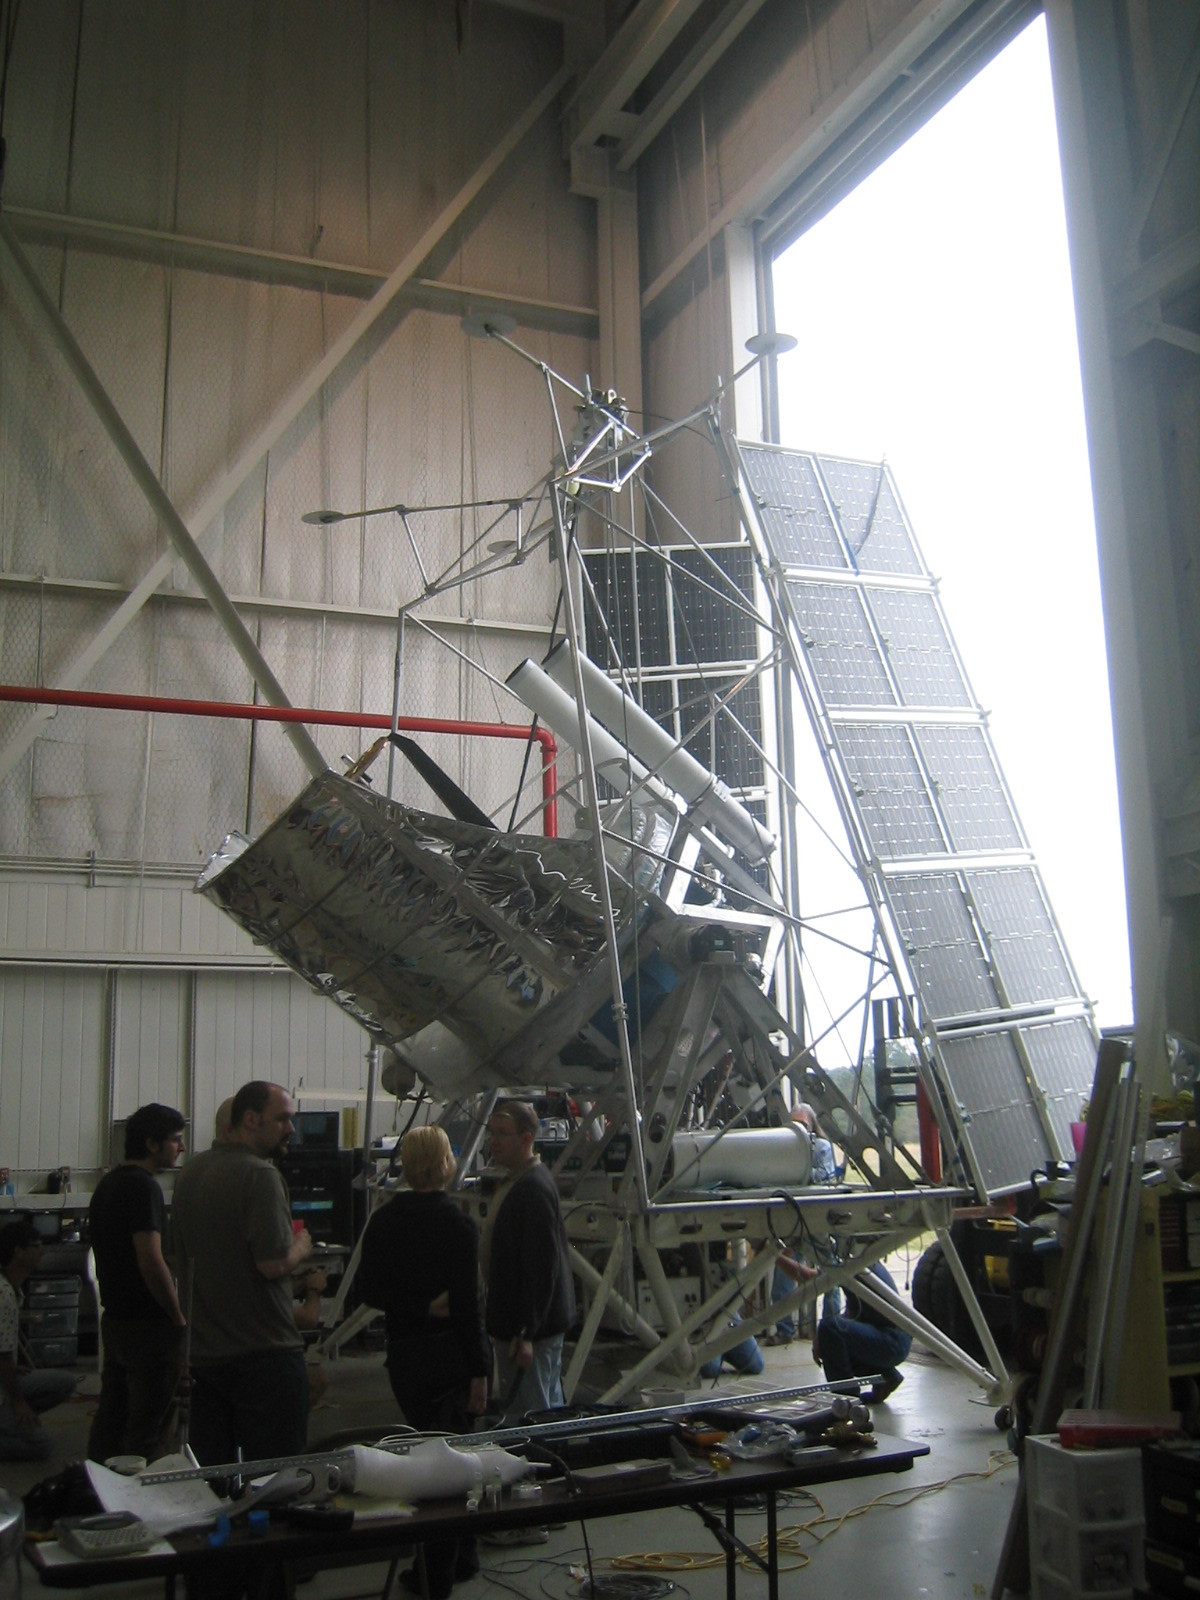
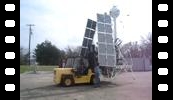
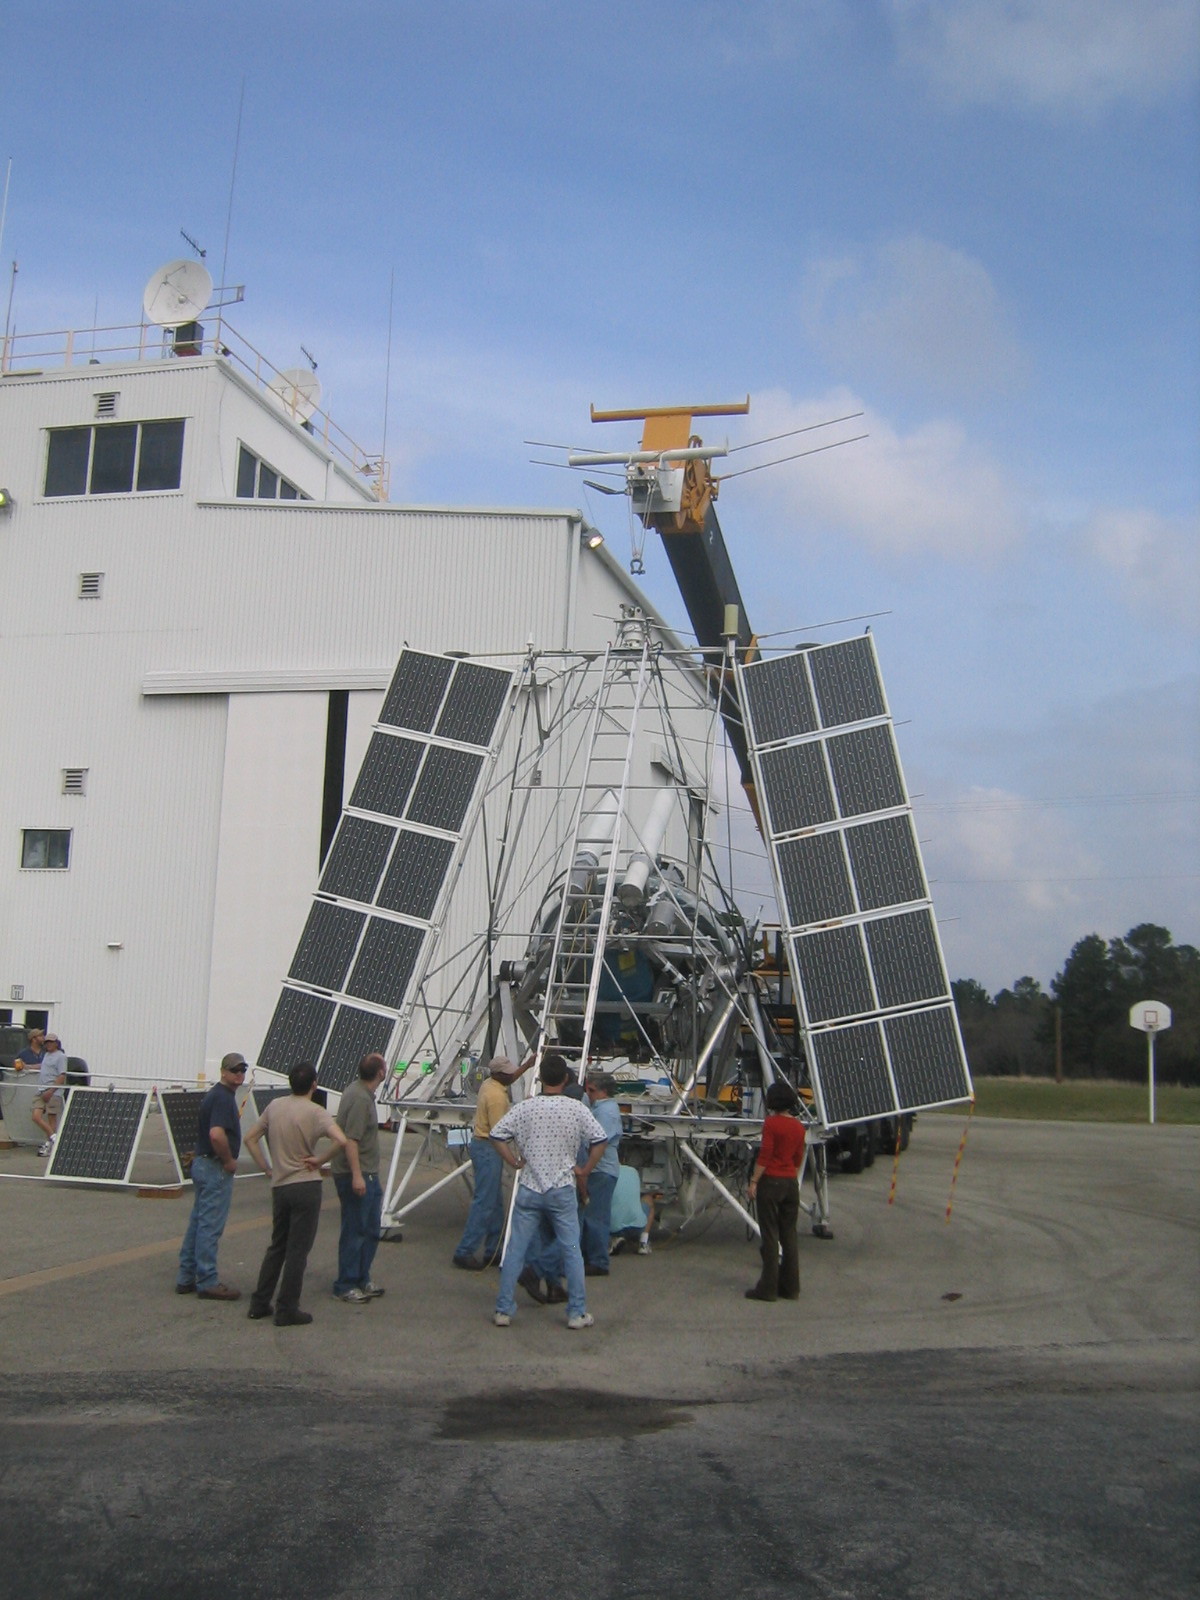
| Getting ready to take BLAST out for compatibility. |
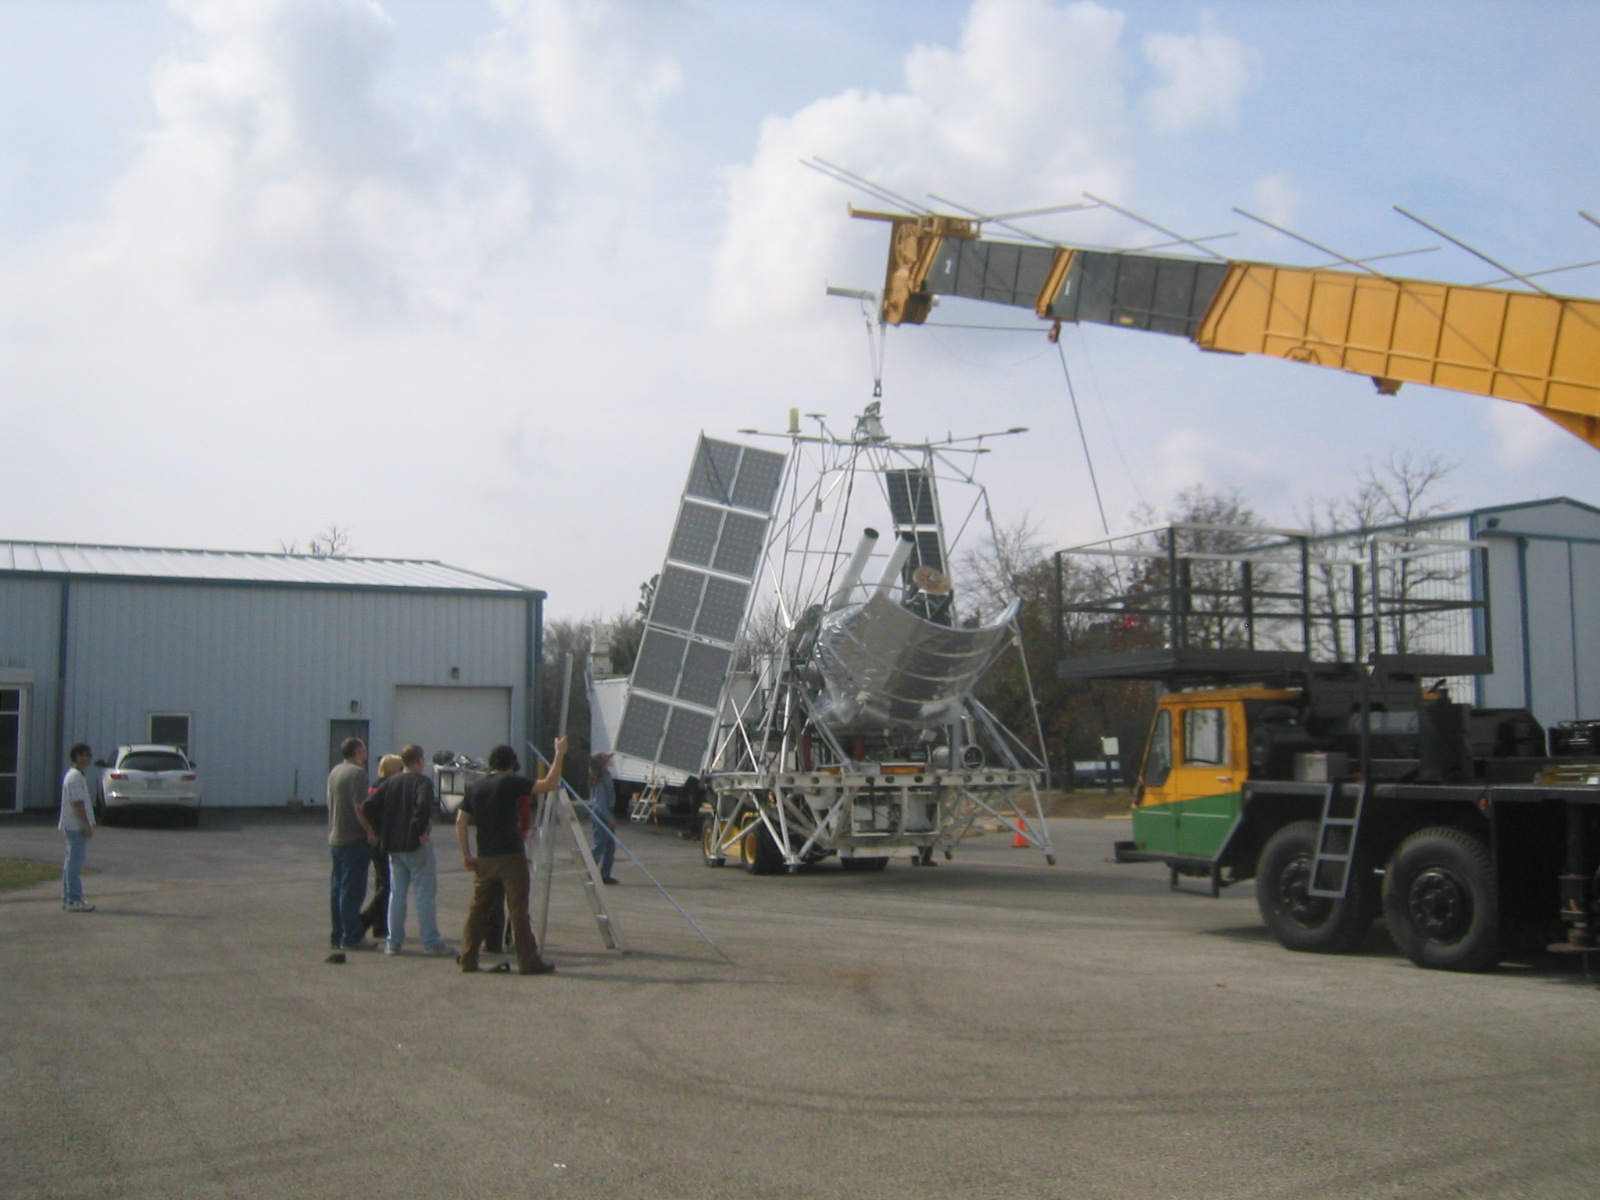
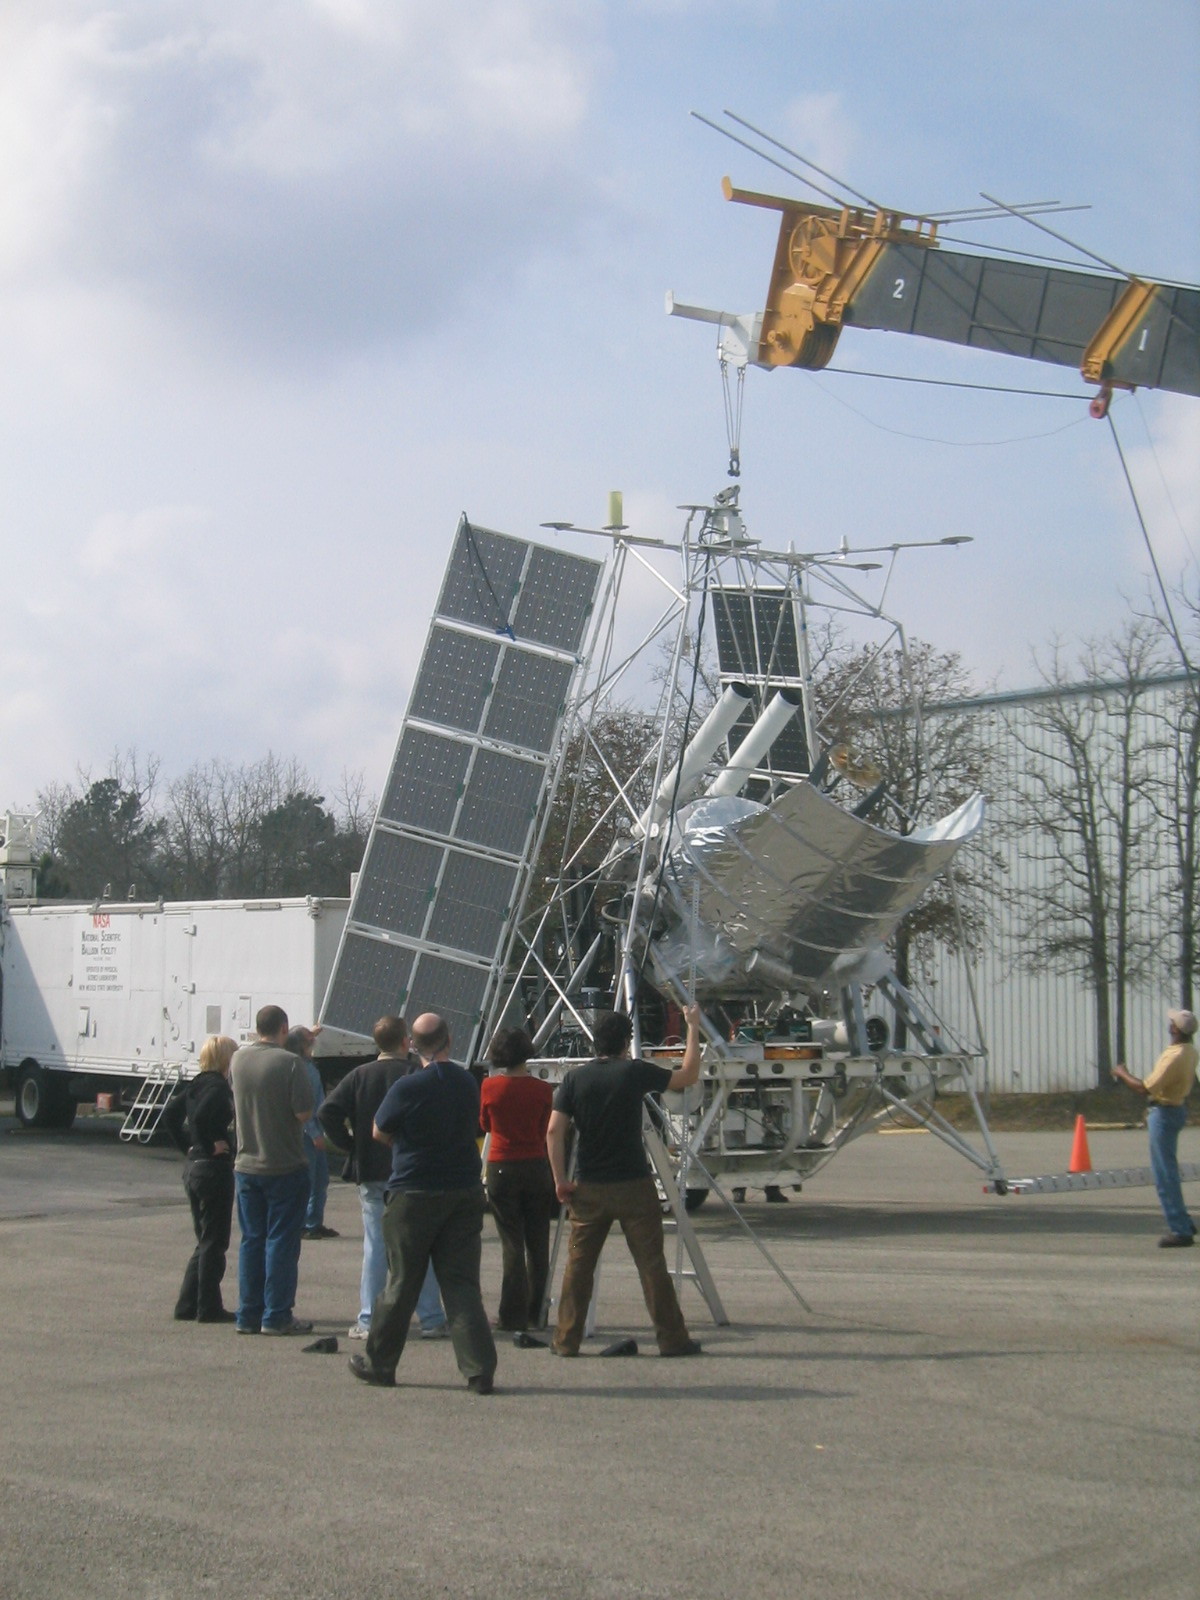
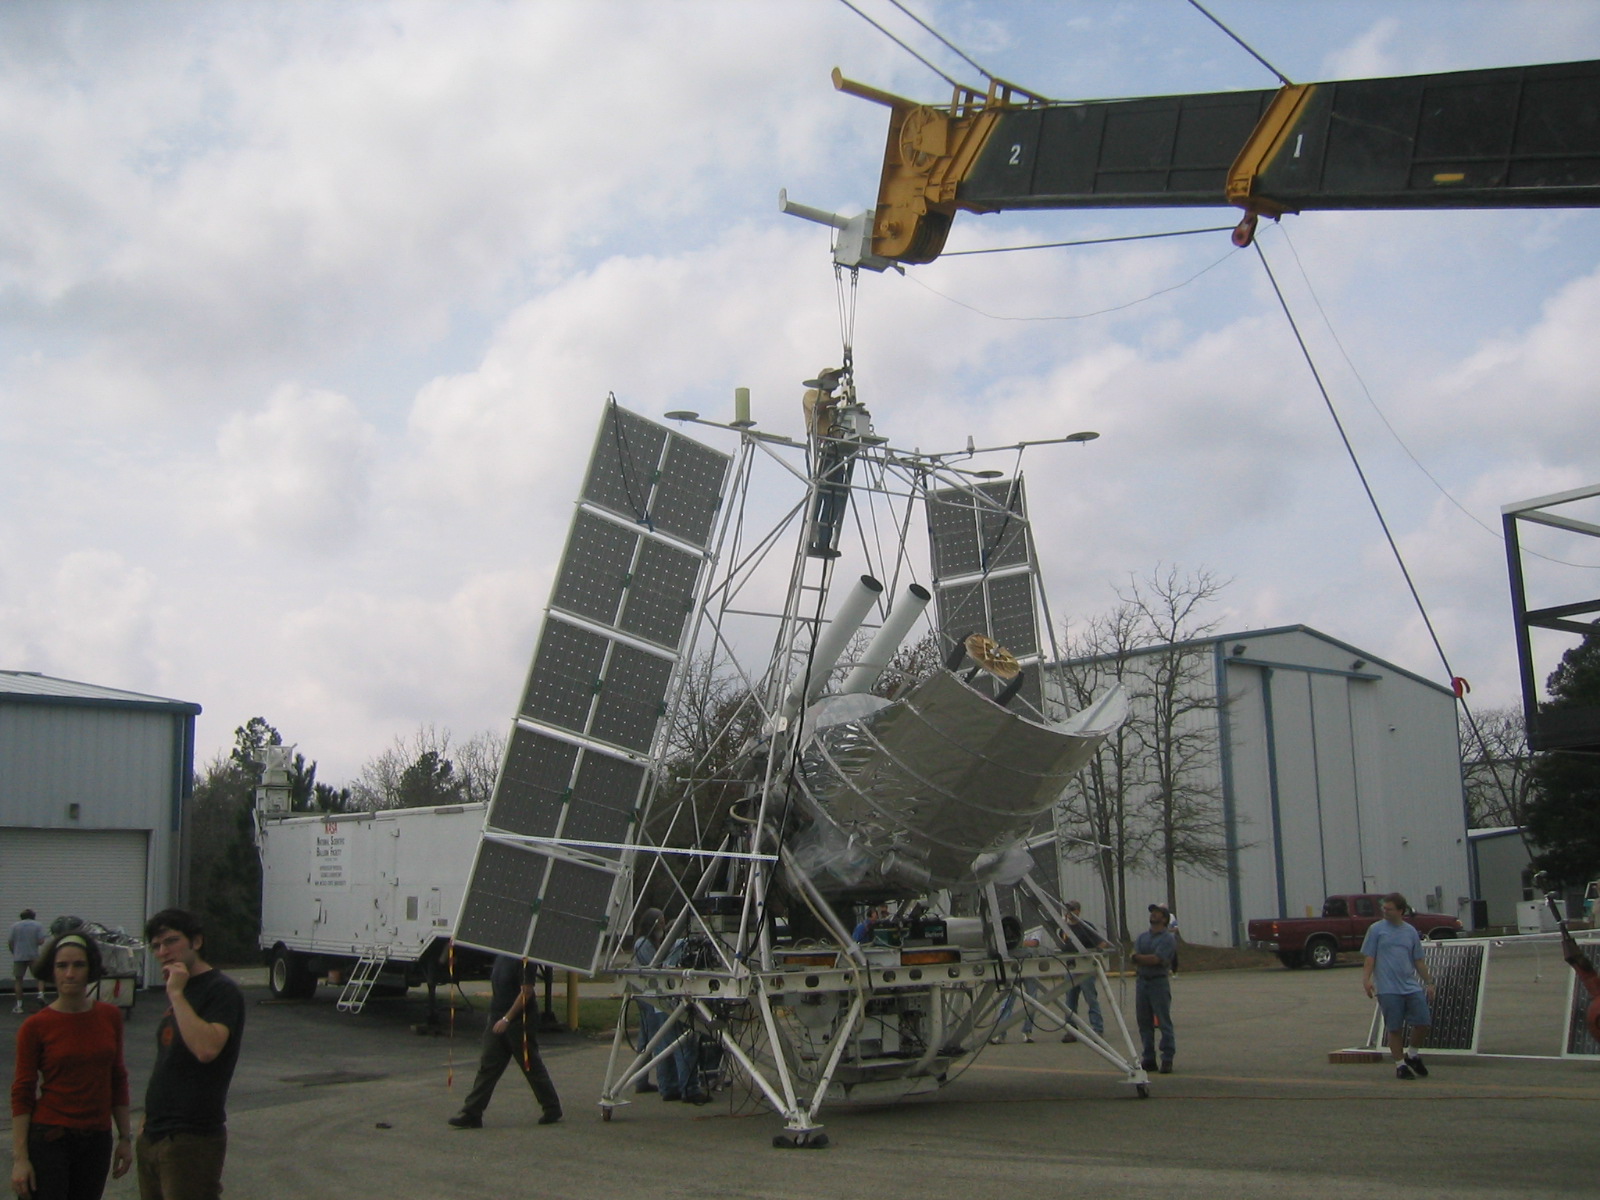
| Picking up the gondola. |
| Picking up the gondola. |
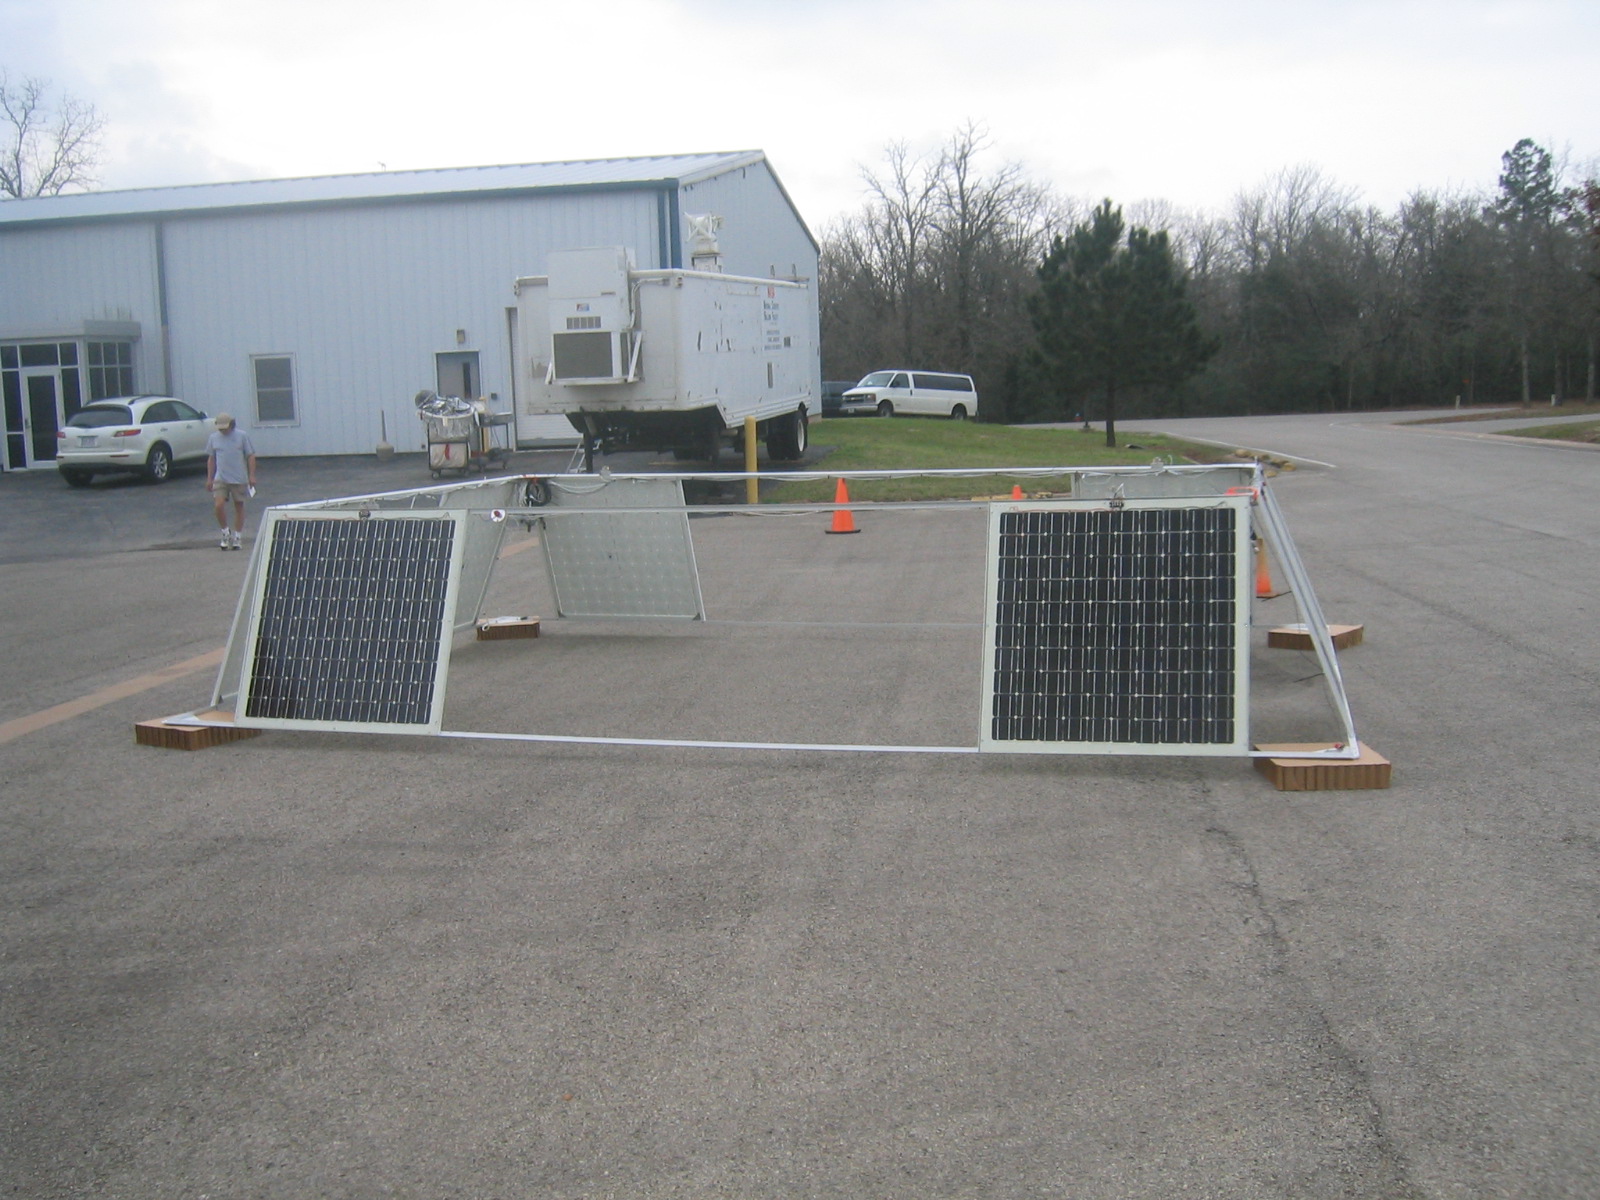
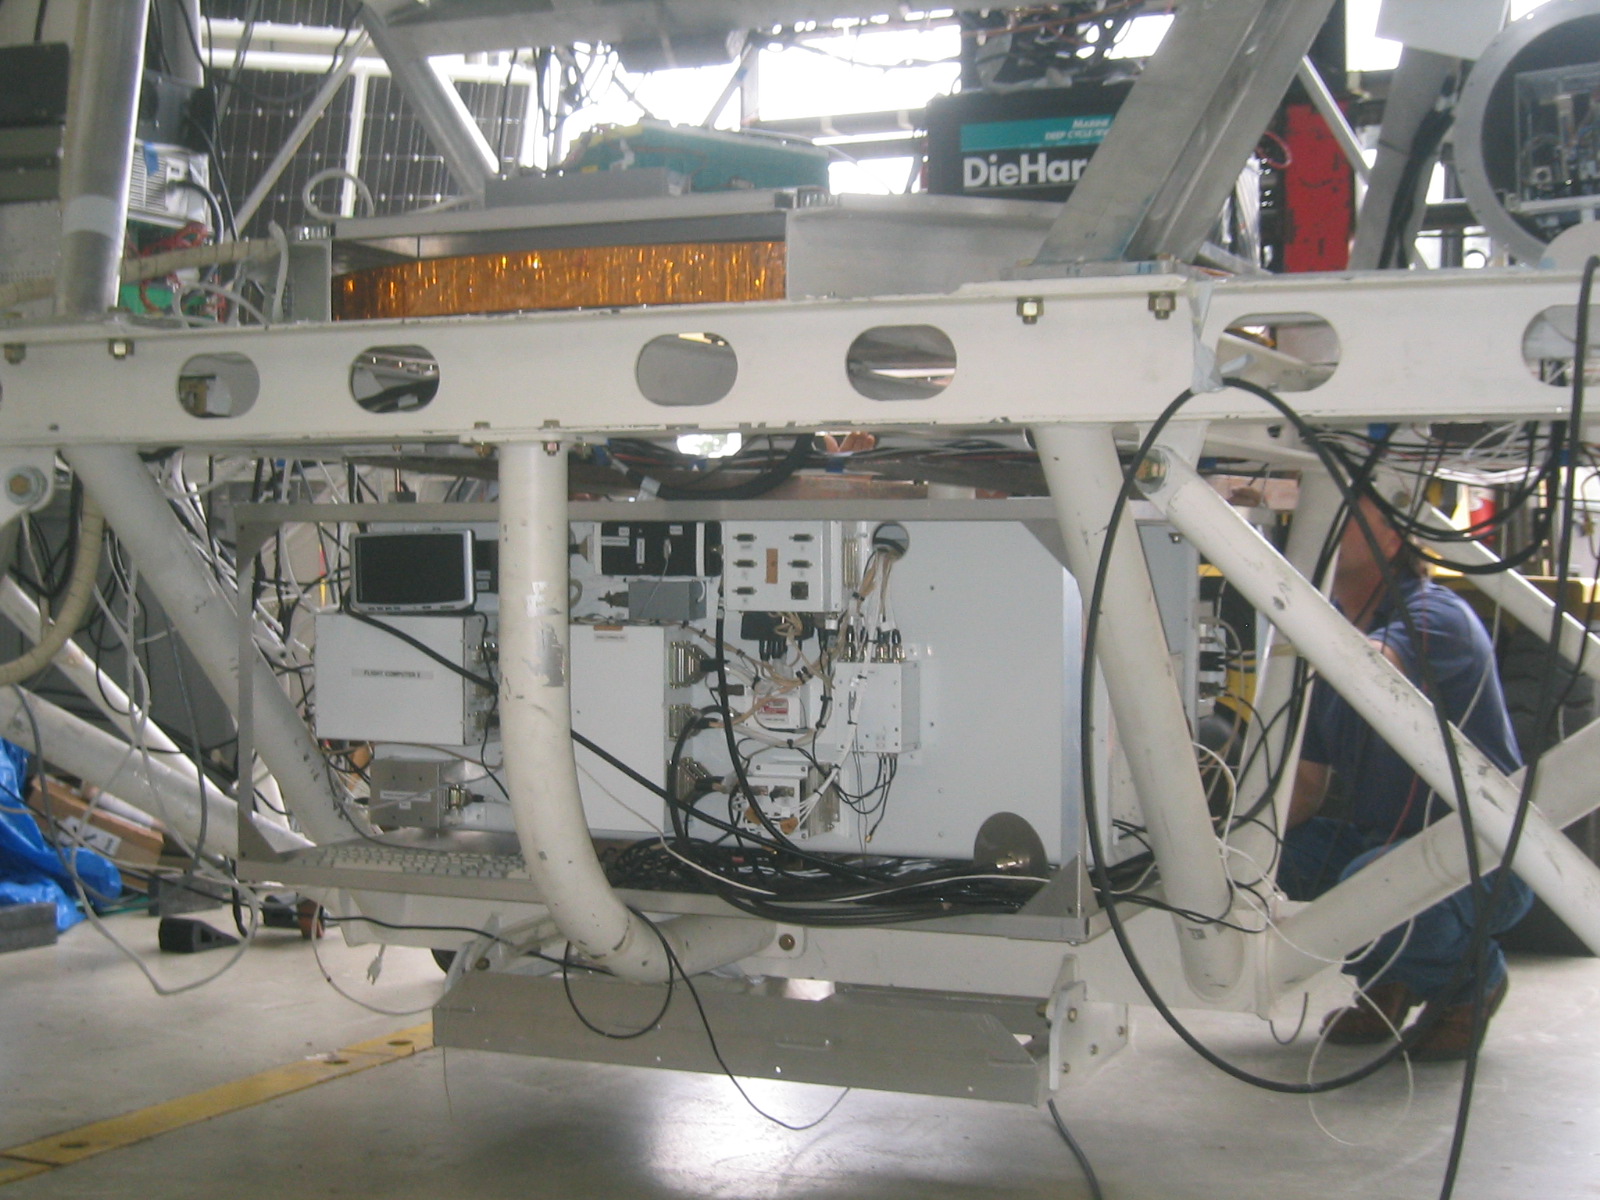
| The SIP solar array. |
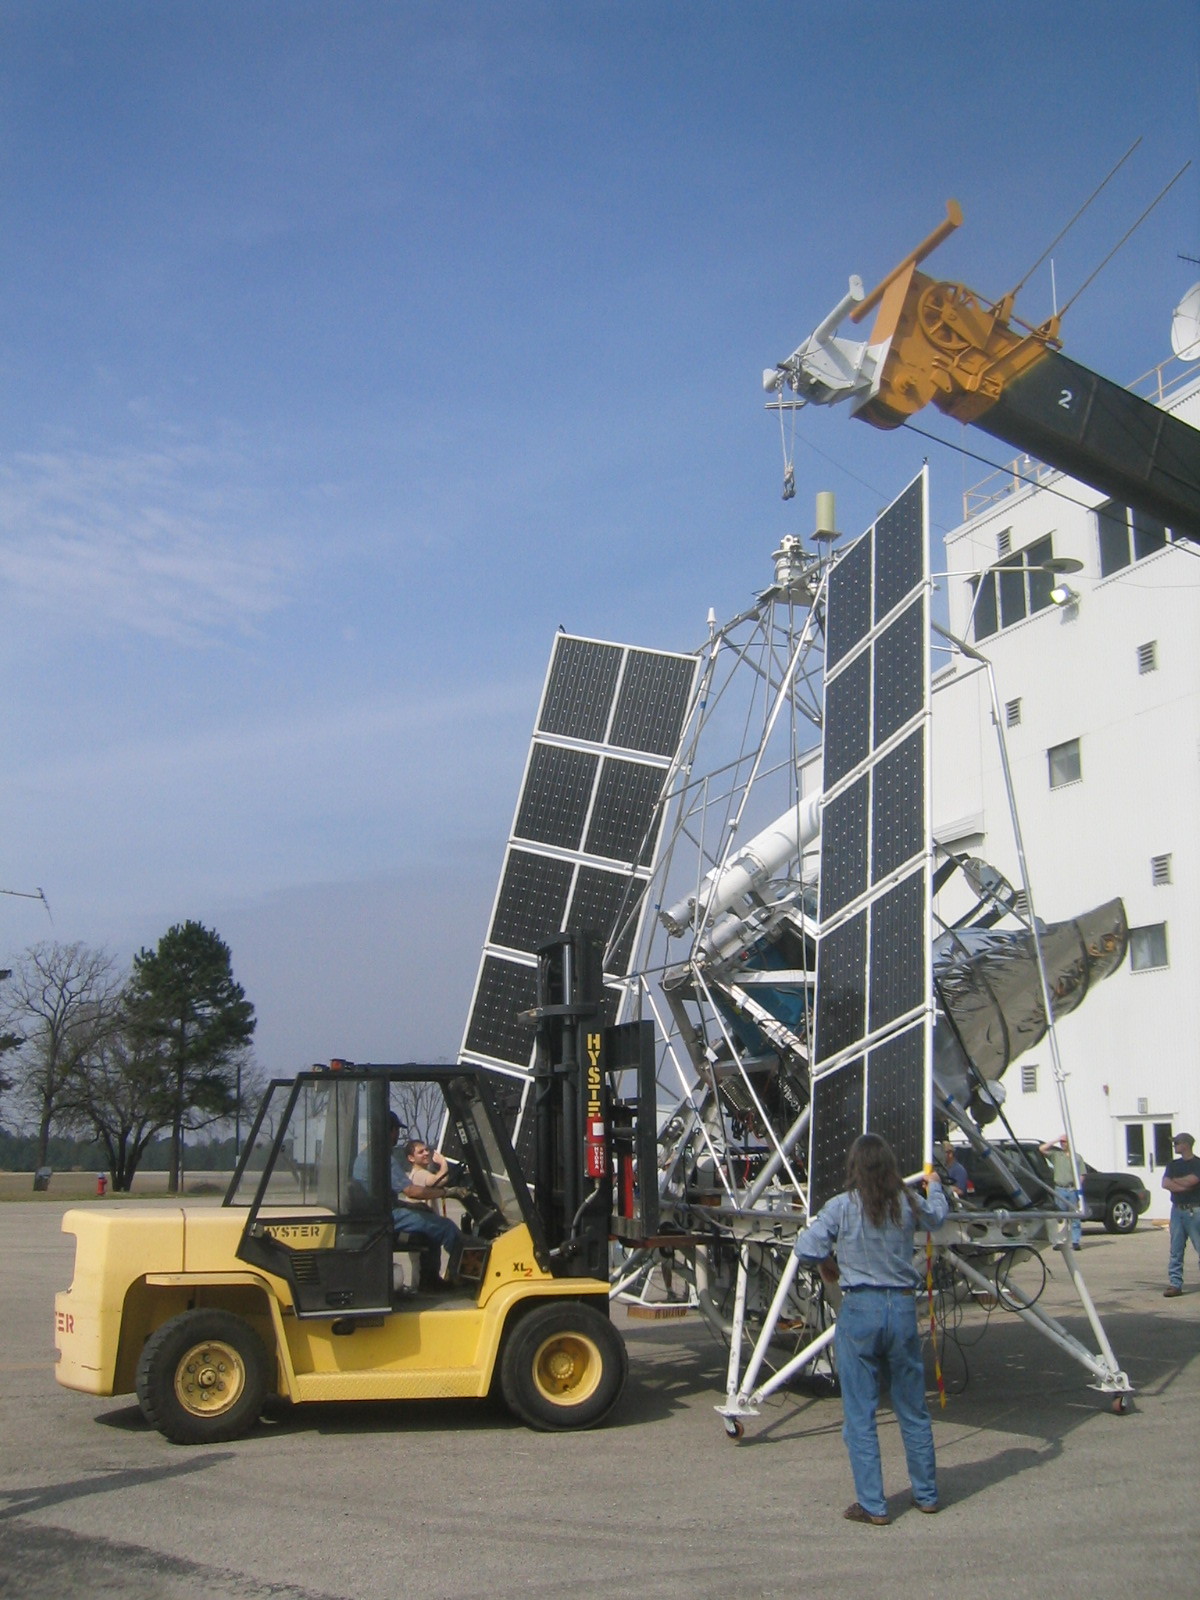
| Nudging the forklift into place. |
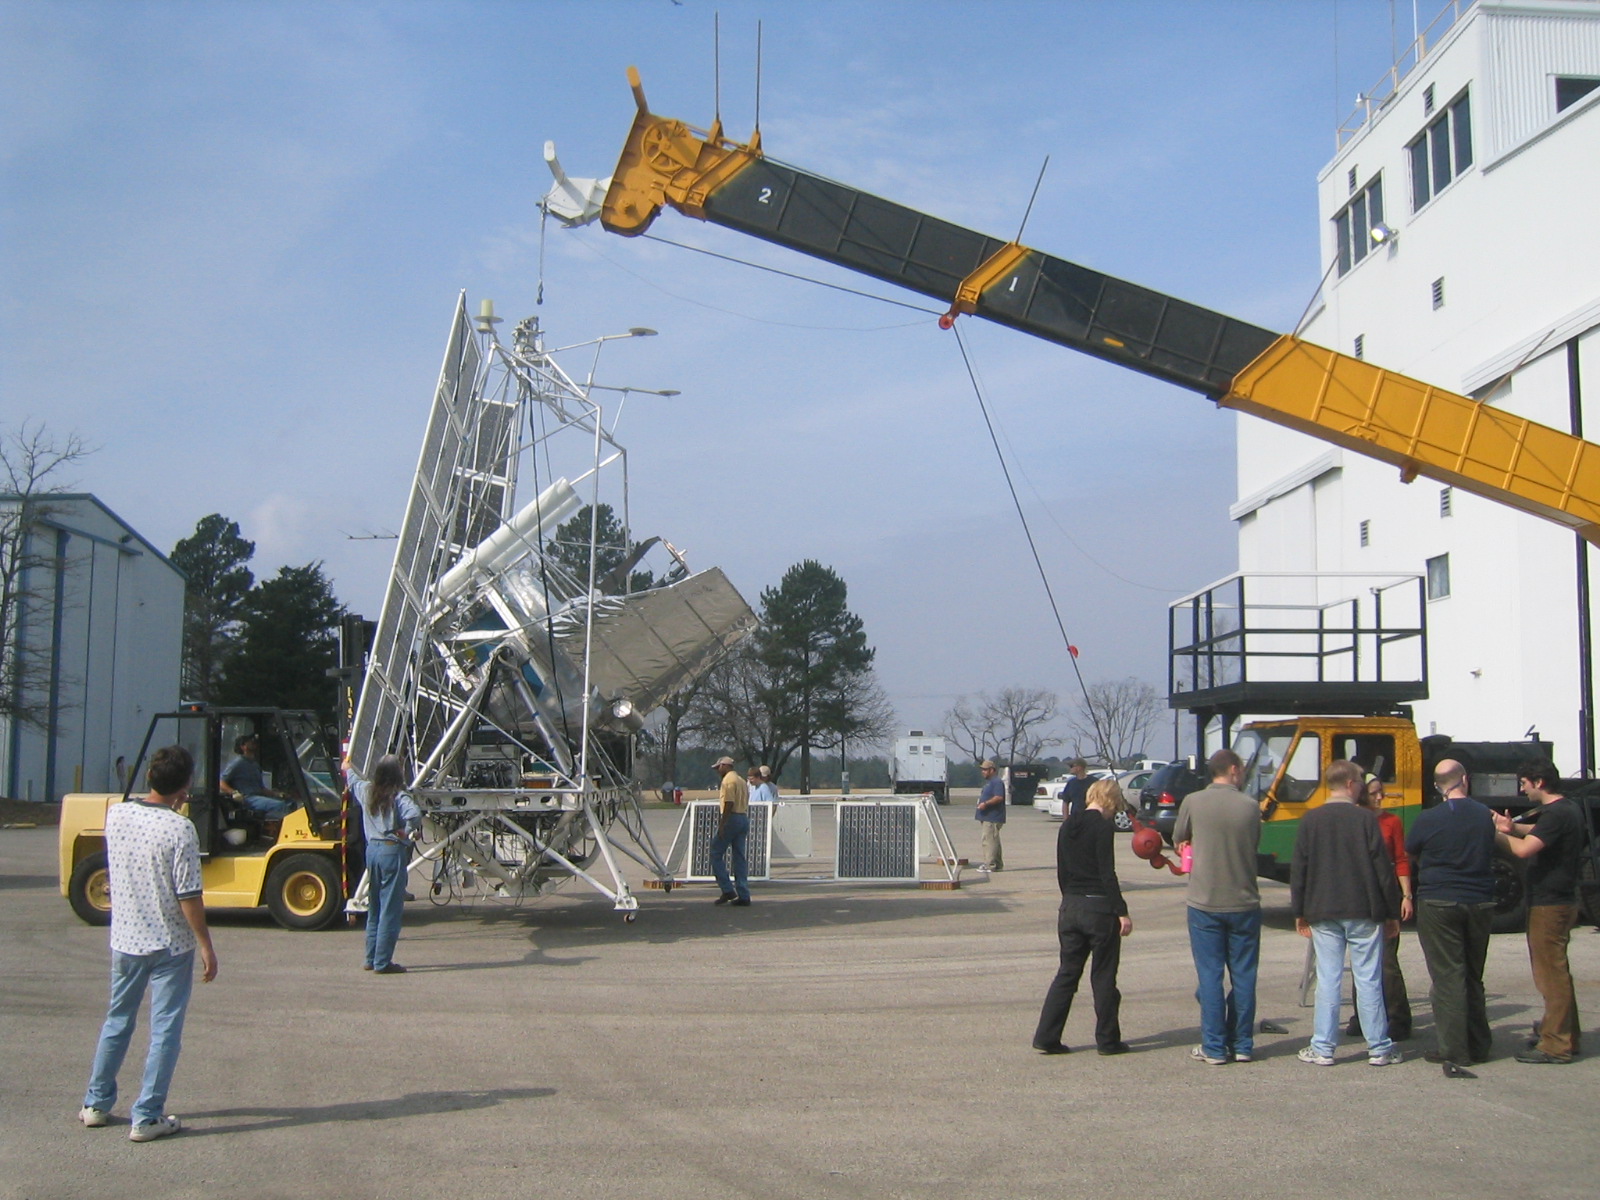
| BLAST leaves the high bay. |
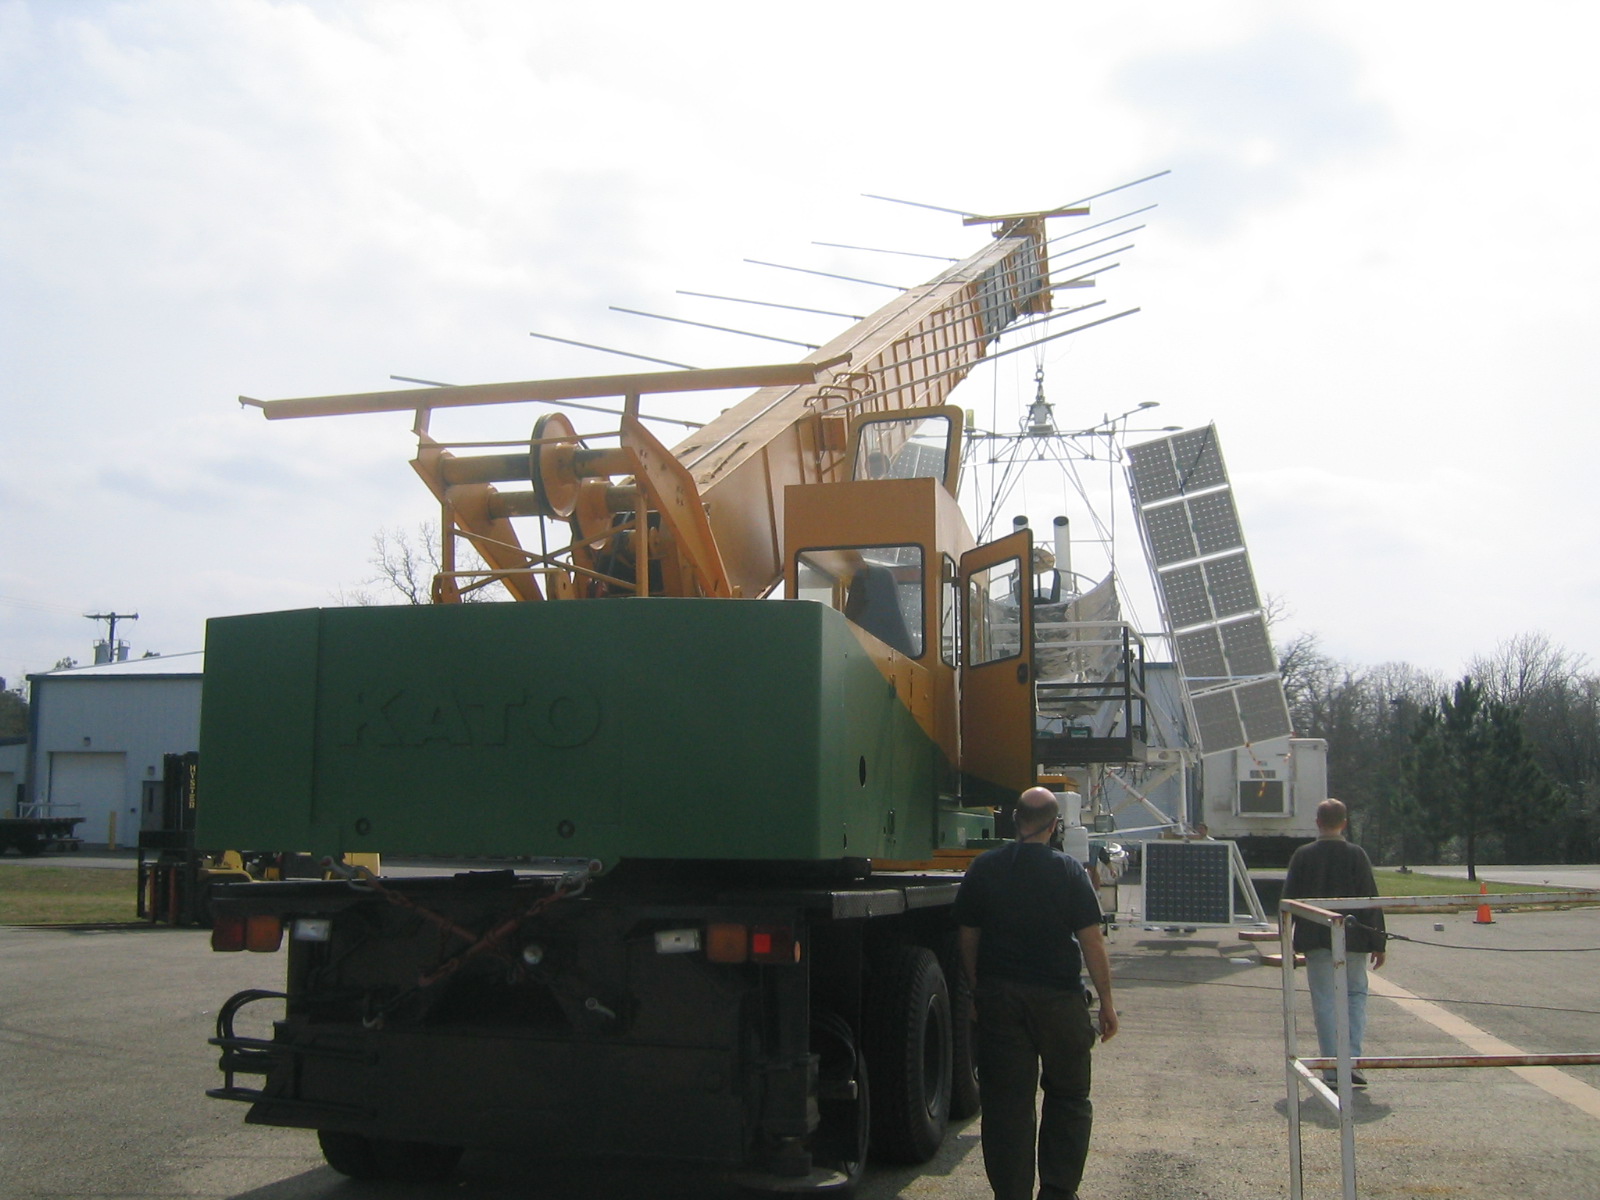
| Manouevering the gondola into place. |
| Manouevering the gondola into place. |
| Manouevering the gondola into place. |
| Manouevering the gondola into place. |
| Manouevering the gondola into place. |
| Manouevering the gondola into place. |
| The ladder, parachute and associated electronics awaiting compatibility testing. |
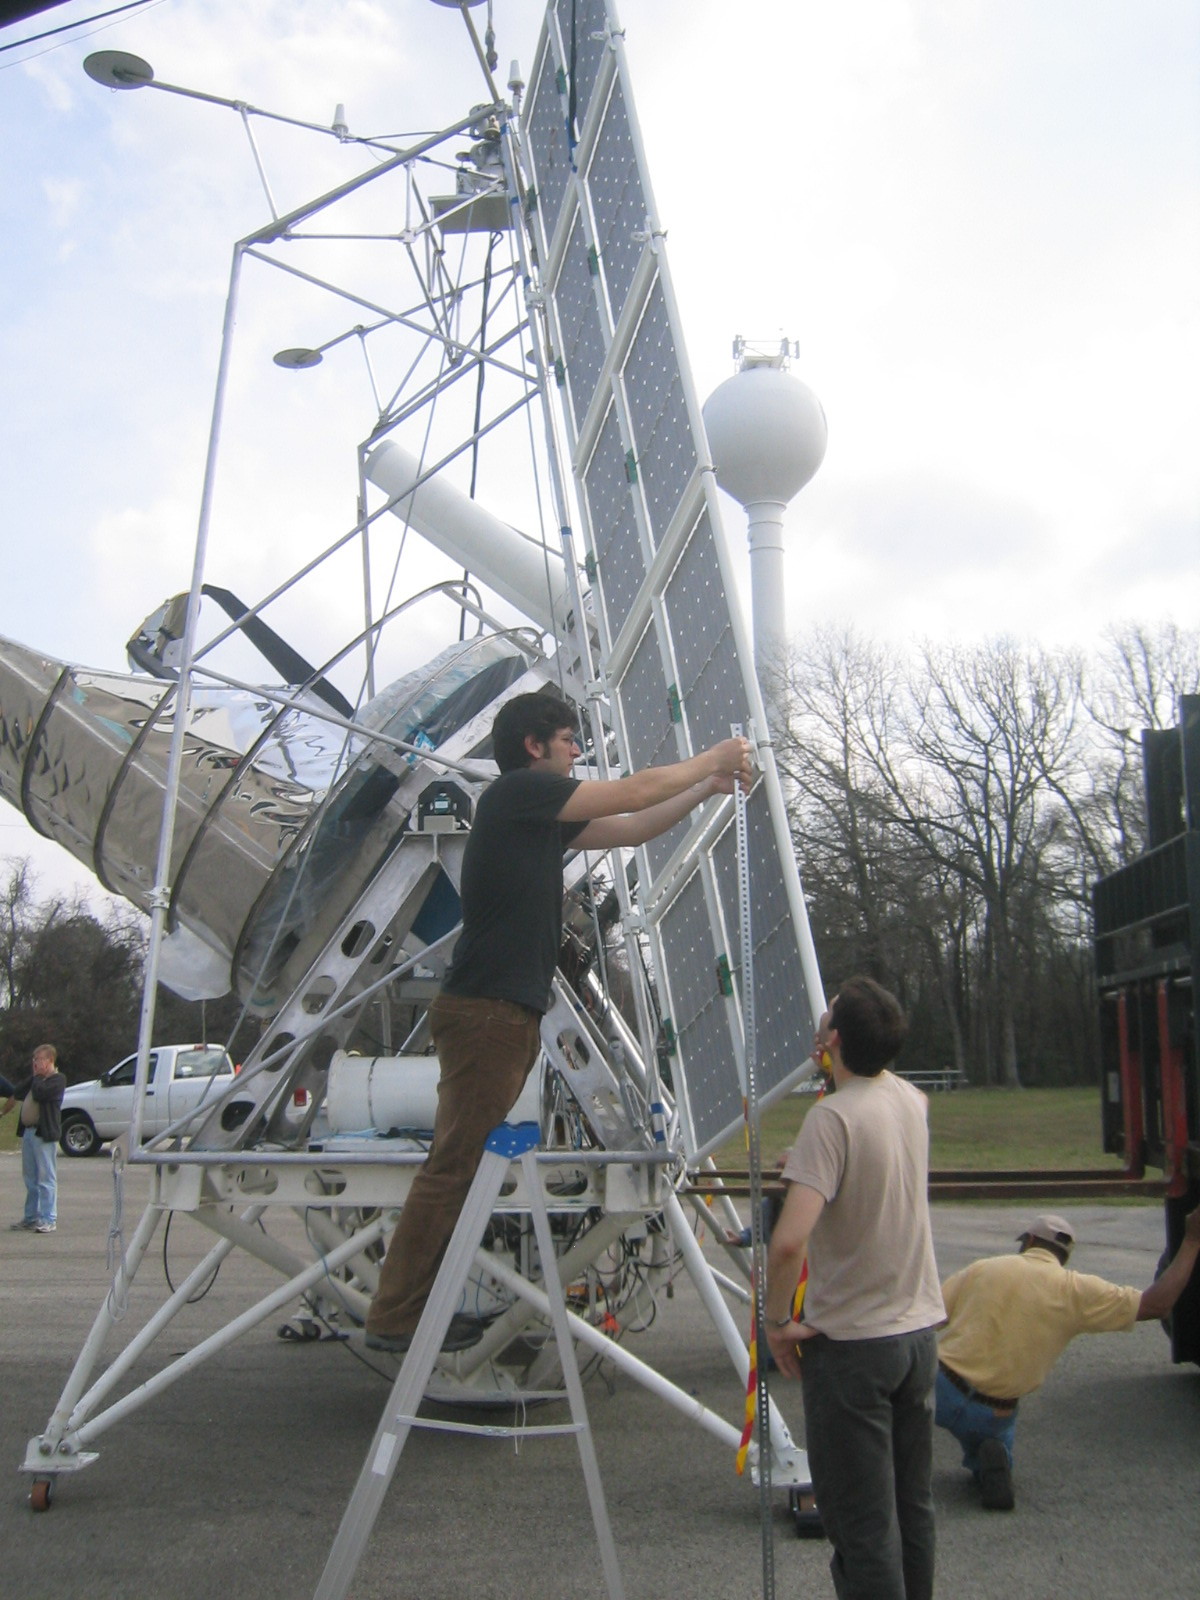
| Turning the SIP array around. |
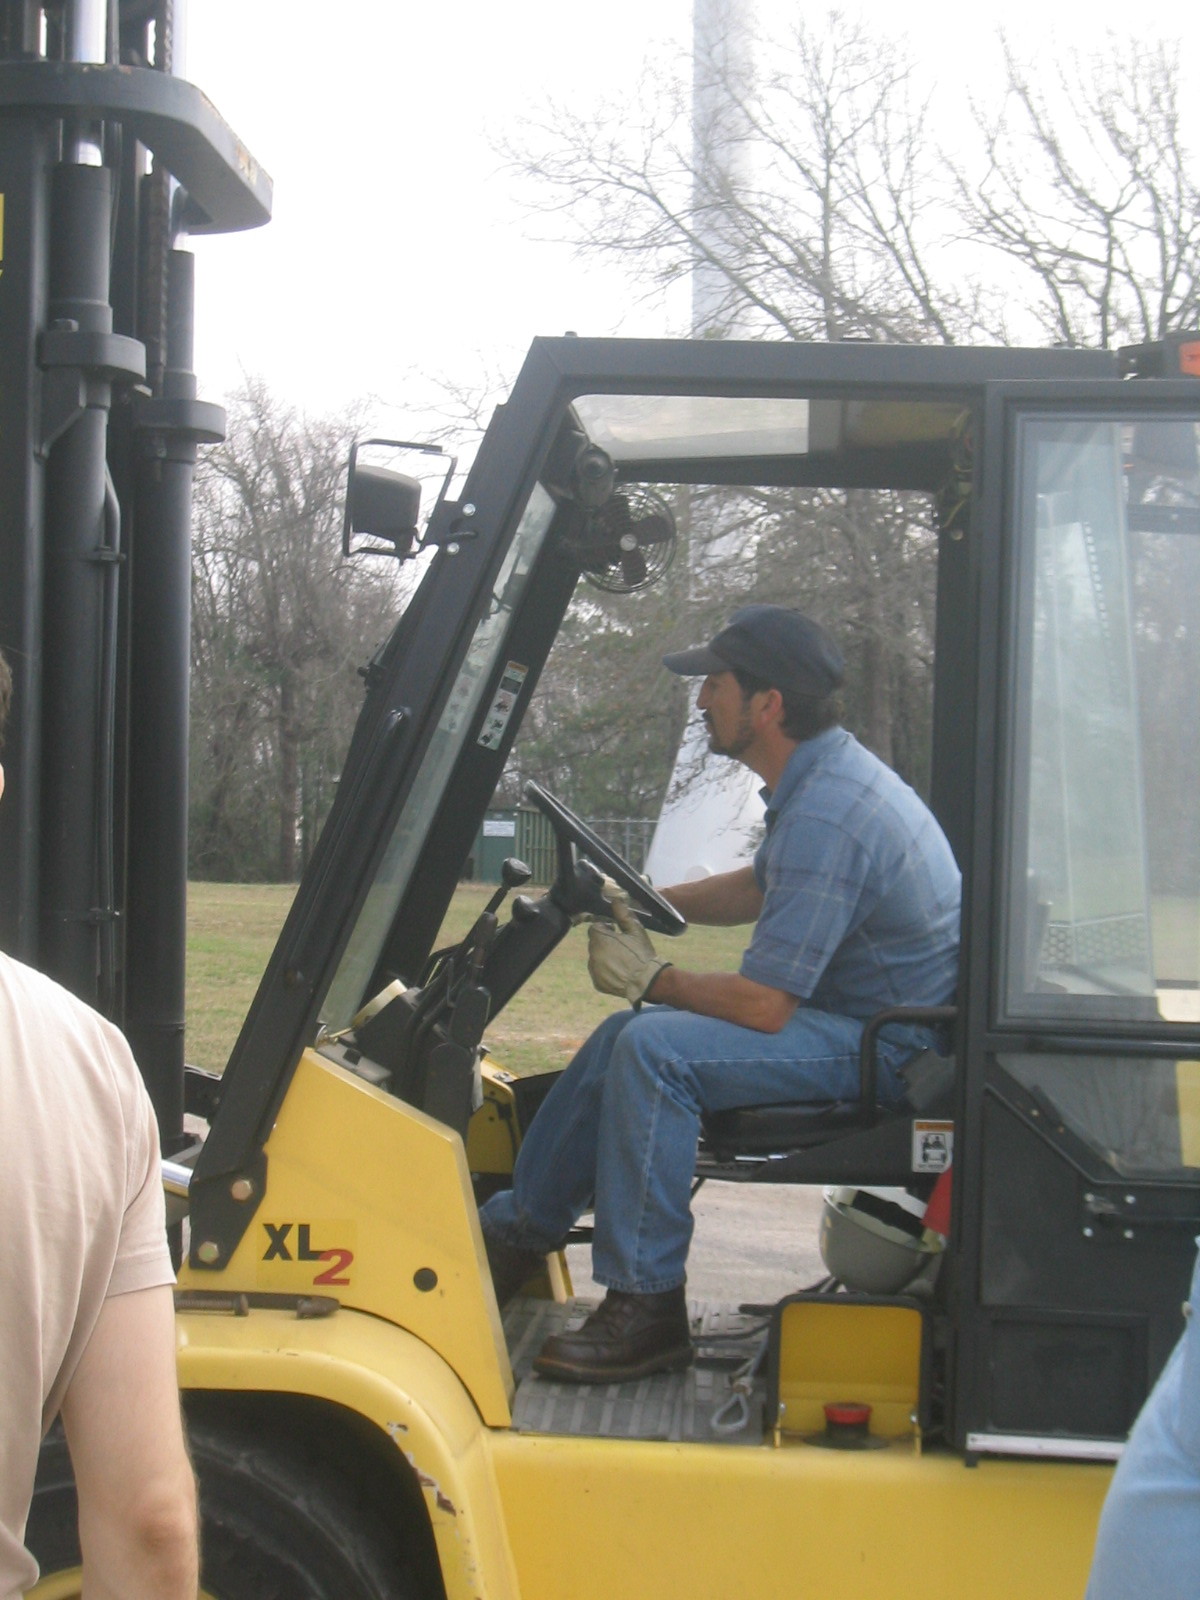
| Frank on the fork lift |
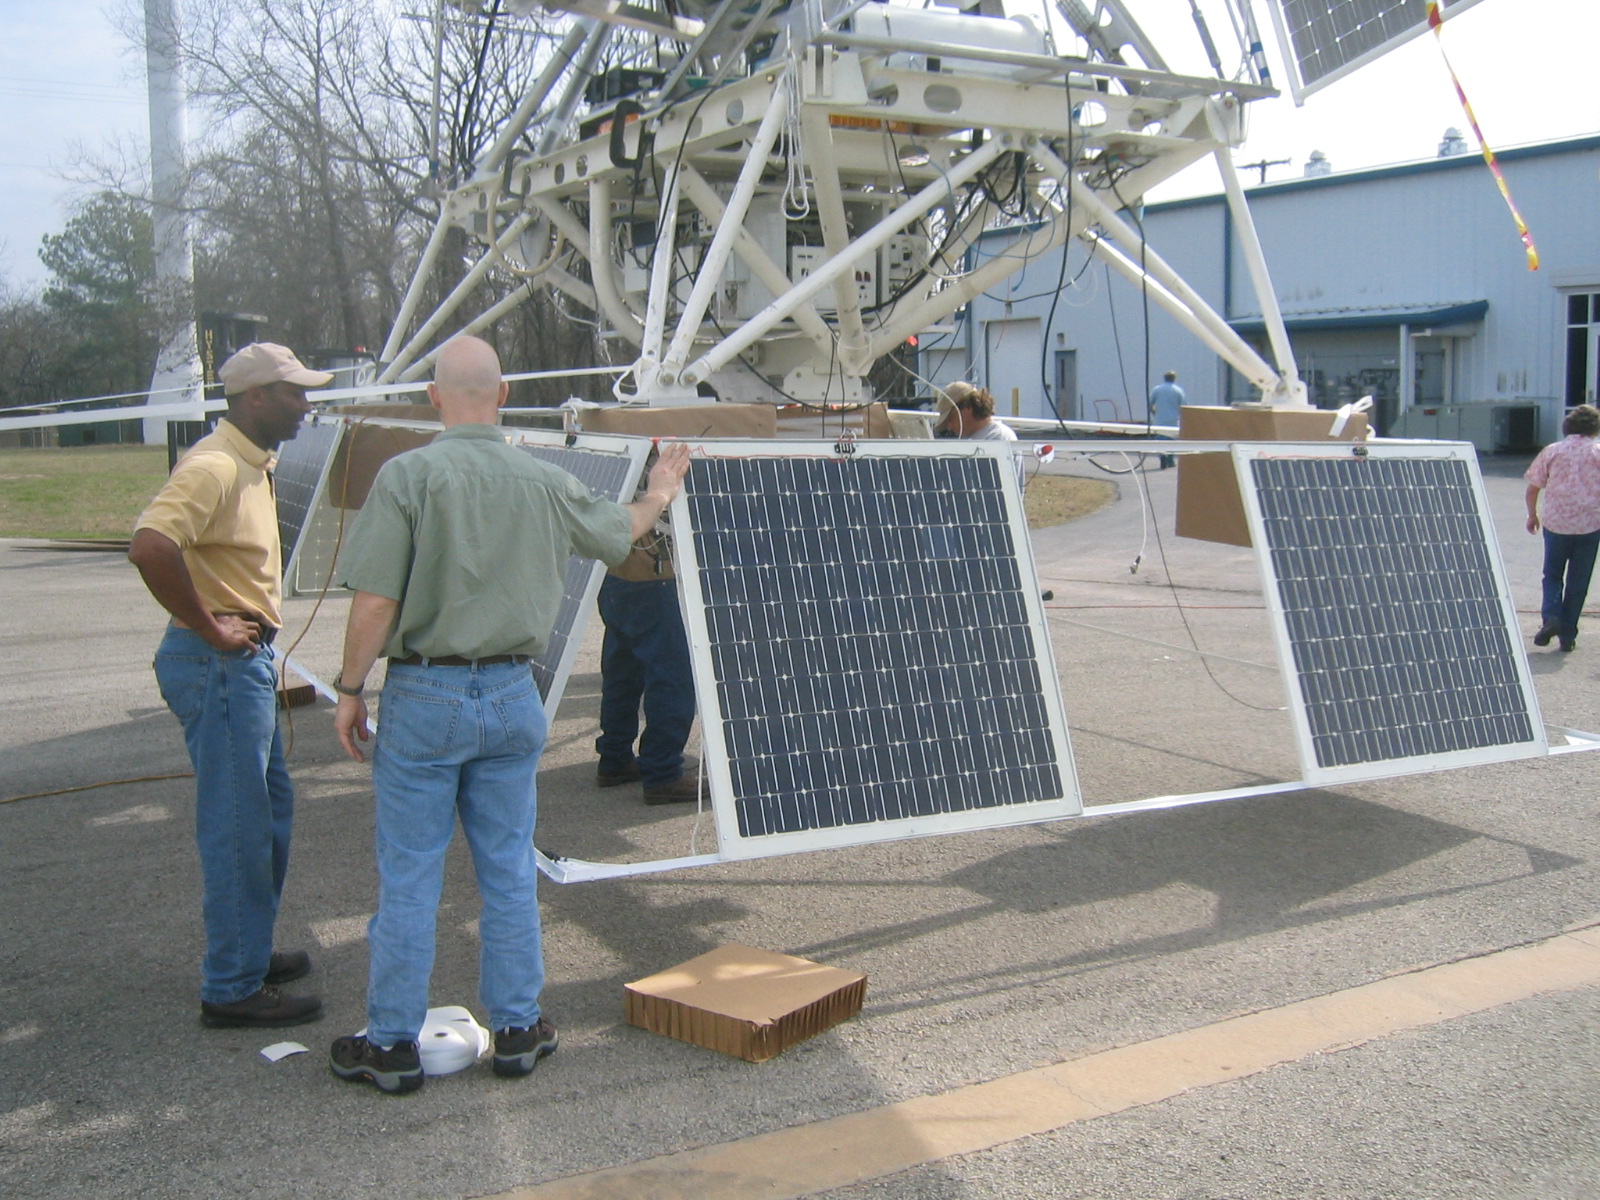
| Marco secures the solar array. |
| Victor prepares to hang the gondola. |
| Victor prepares to hang the gondola. |
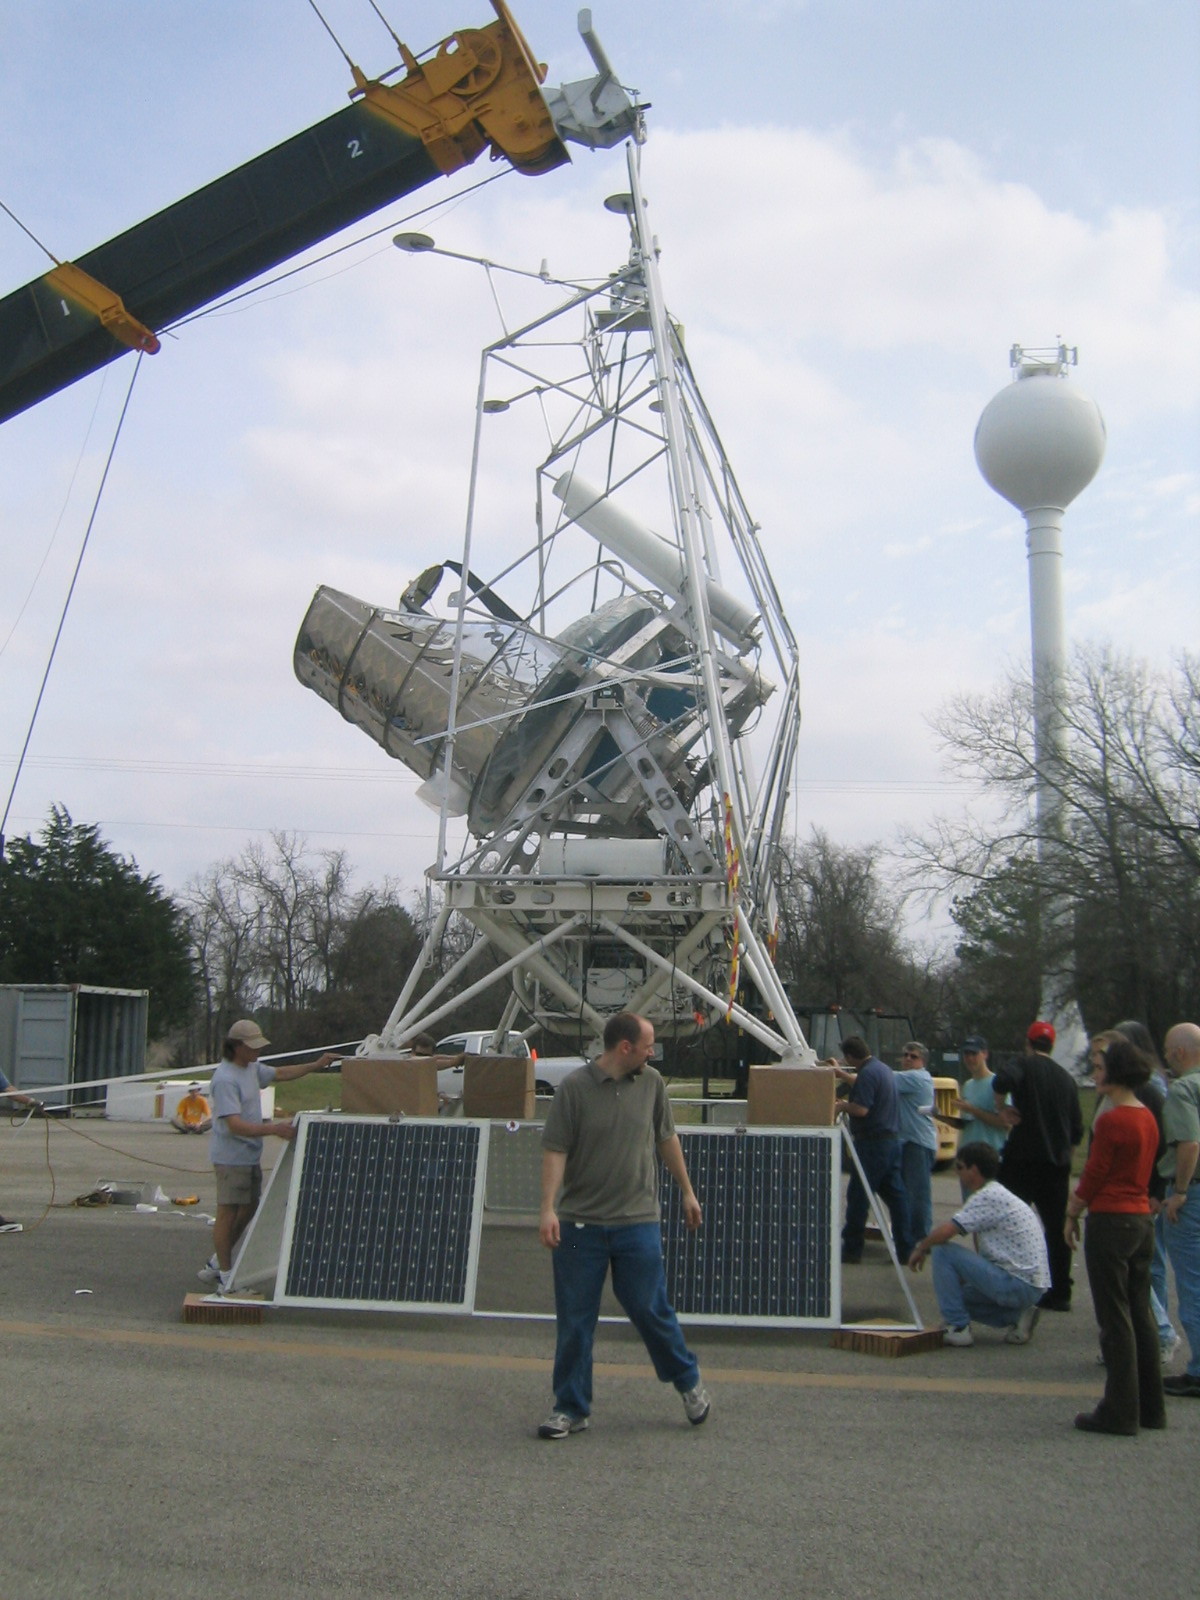
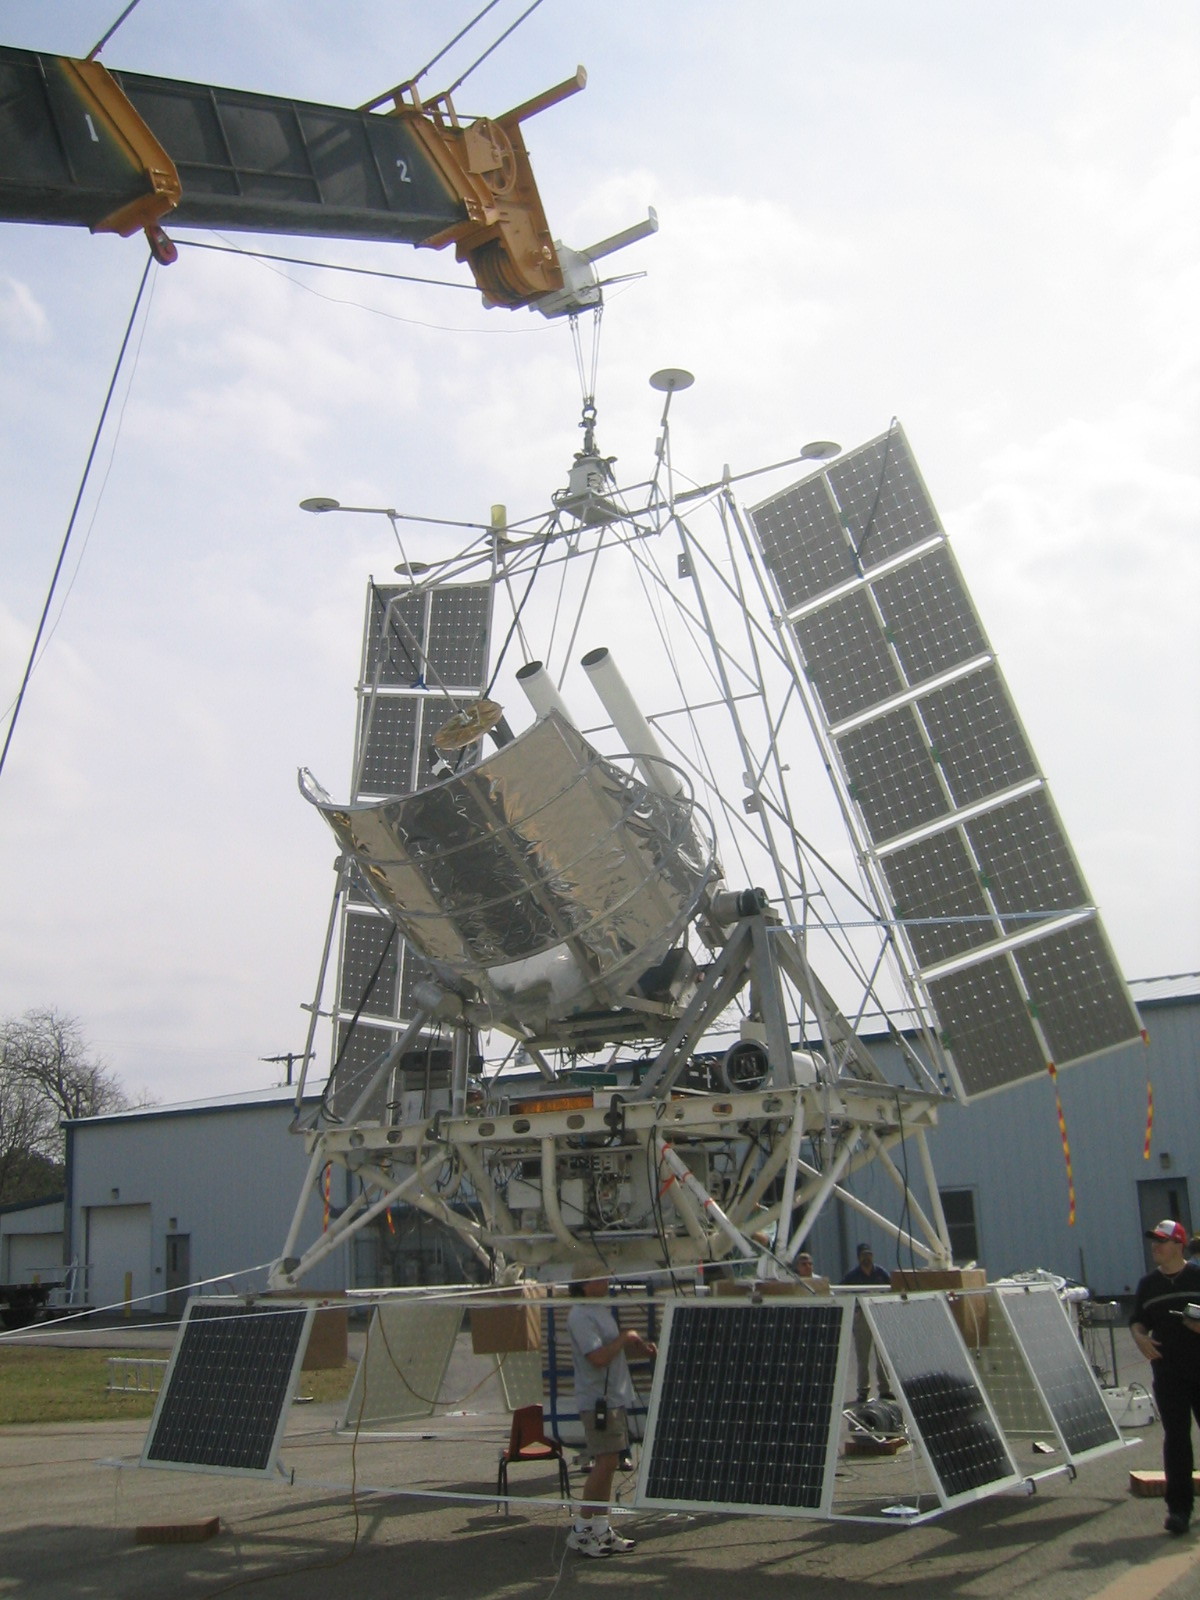
| Hanging the gondola. |
| Hanging the gondola. |
| Hanging the gondola. |
| Hanging the gondola. |
| The pivot has been attached to the truck plate. |
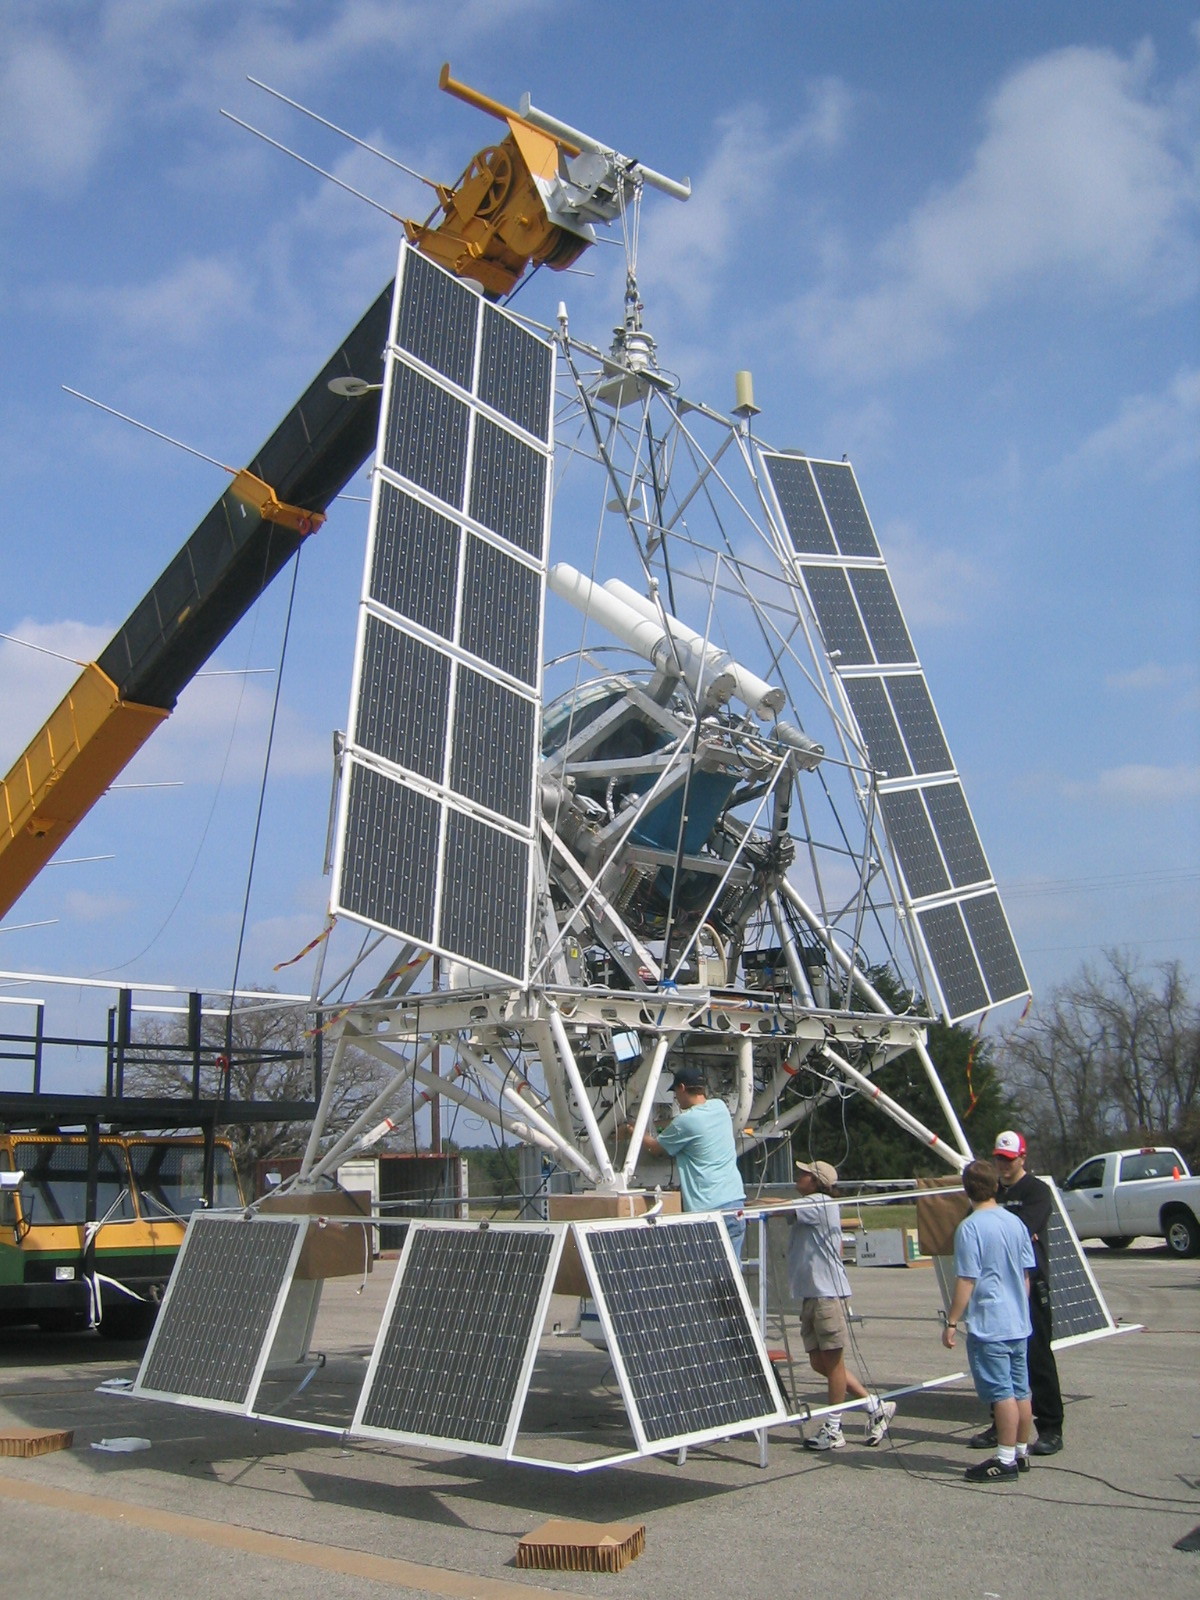
| Fit testing the mirror box. It fits with zero clearance. |
| Getting ready to hang. |
| Getting ready to hang. Note the large, cubic crush pads. |
| Preparing for the SIP array. |
| The ballast hoppers. |
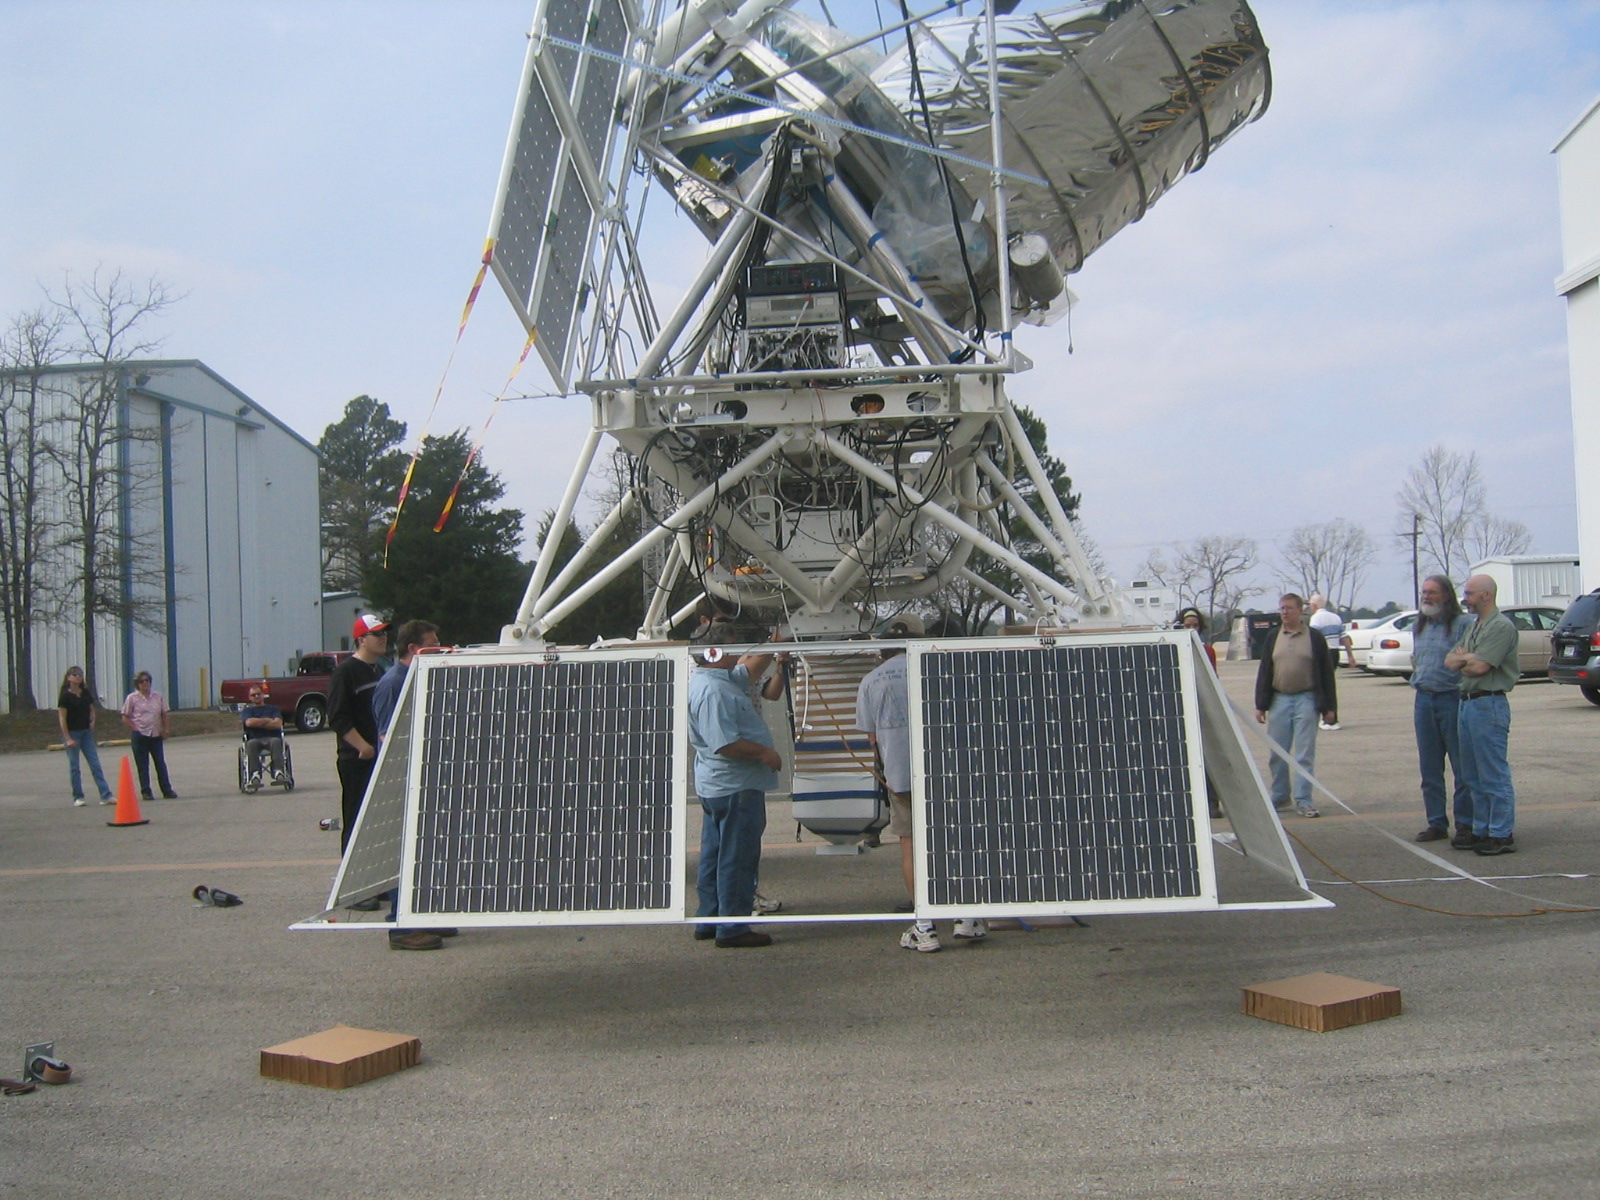
| The SIP array in position. |
| The SIP array in position. |
| Attaching the ballast hoppers. |
| Attaching the ballast hoppers. |
| Mark and Victor discuss the rigidity of the SIP array. |
| Barth and Enzo look on. |
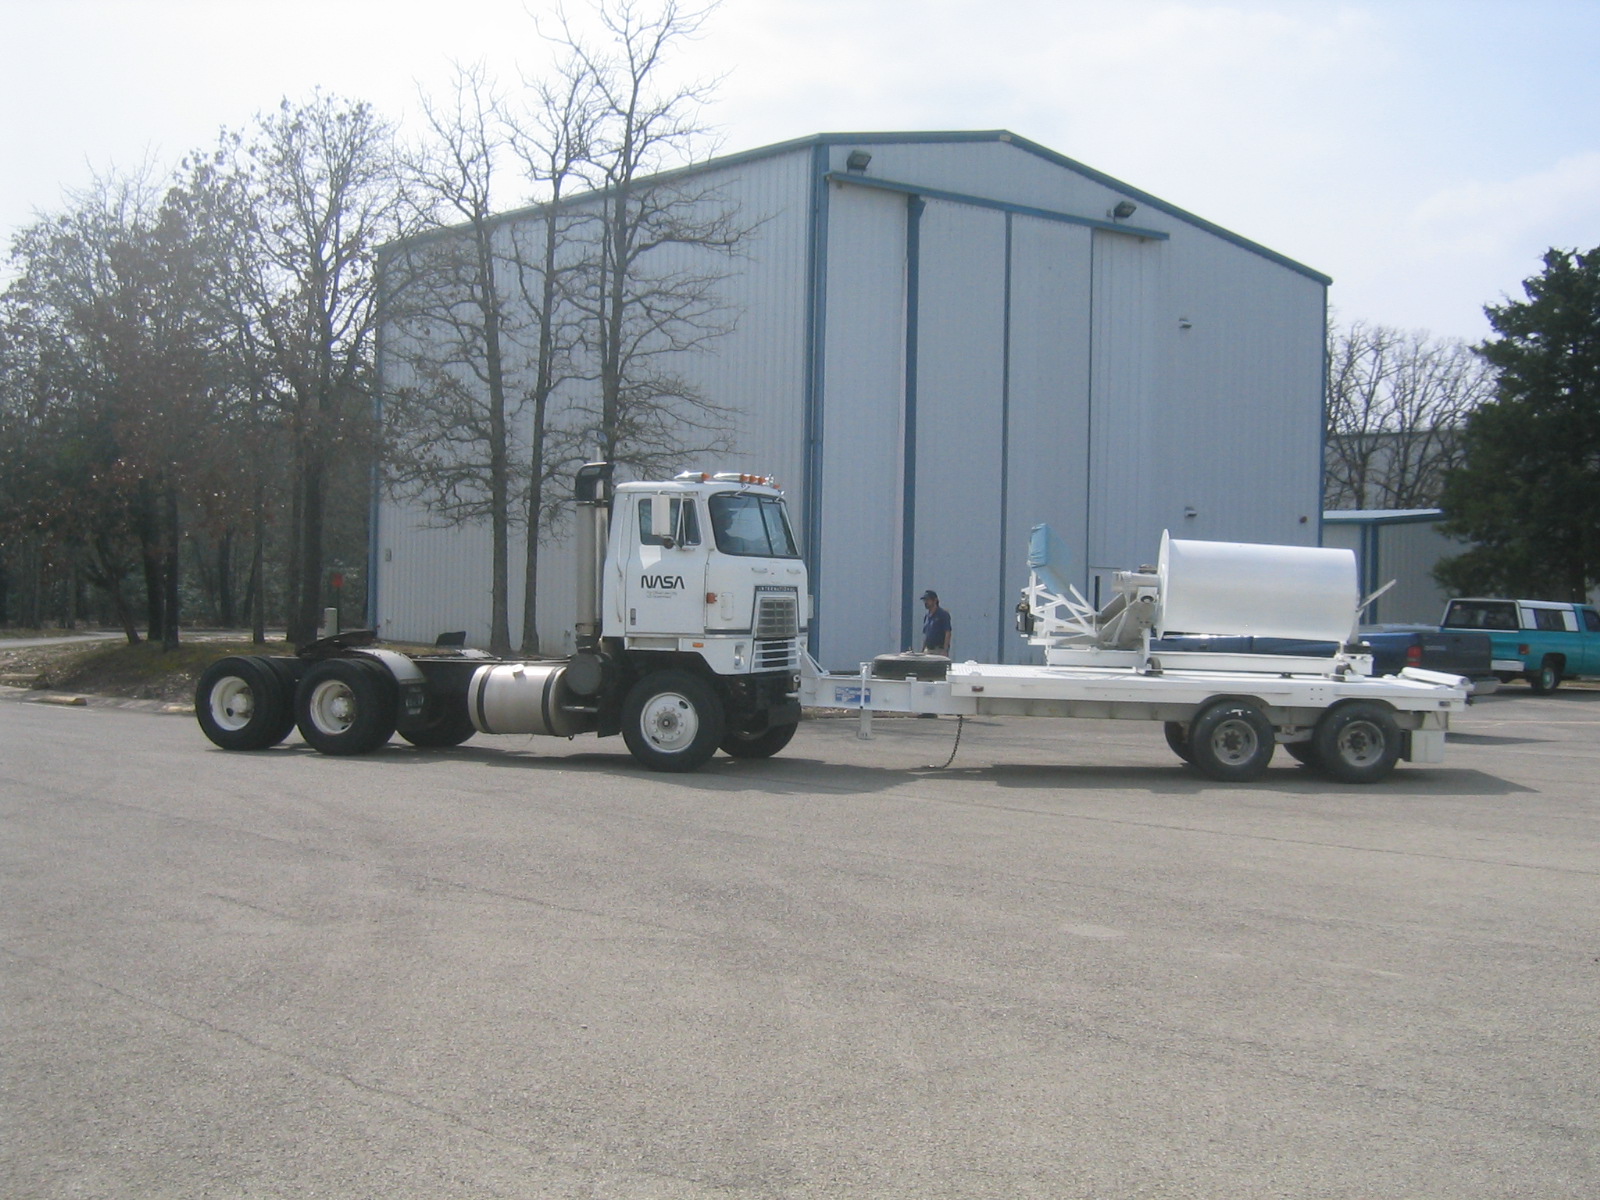
| Bringing the spool trailer. |
| Why pull the spool trailer when pushing it is more challenging? |
| BLAST from the port quarter. |
| BLAST from the starboard quarter. |
| BLAST from starboard forward. |
| BLAST from port forward. |