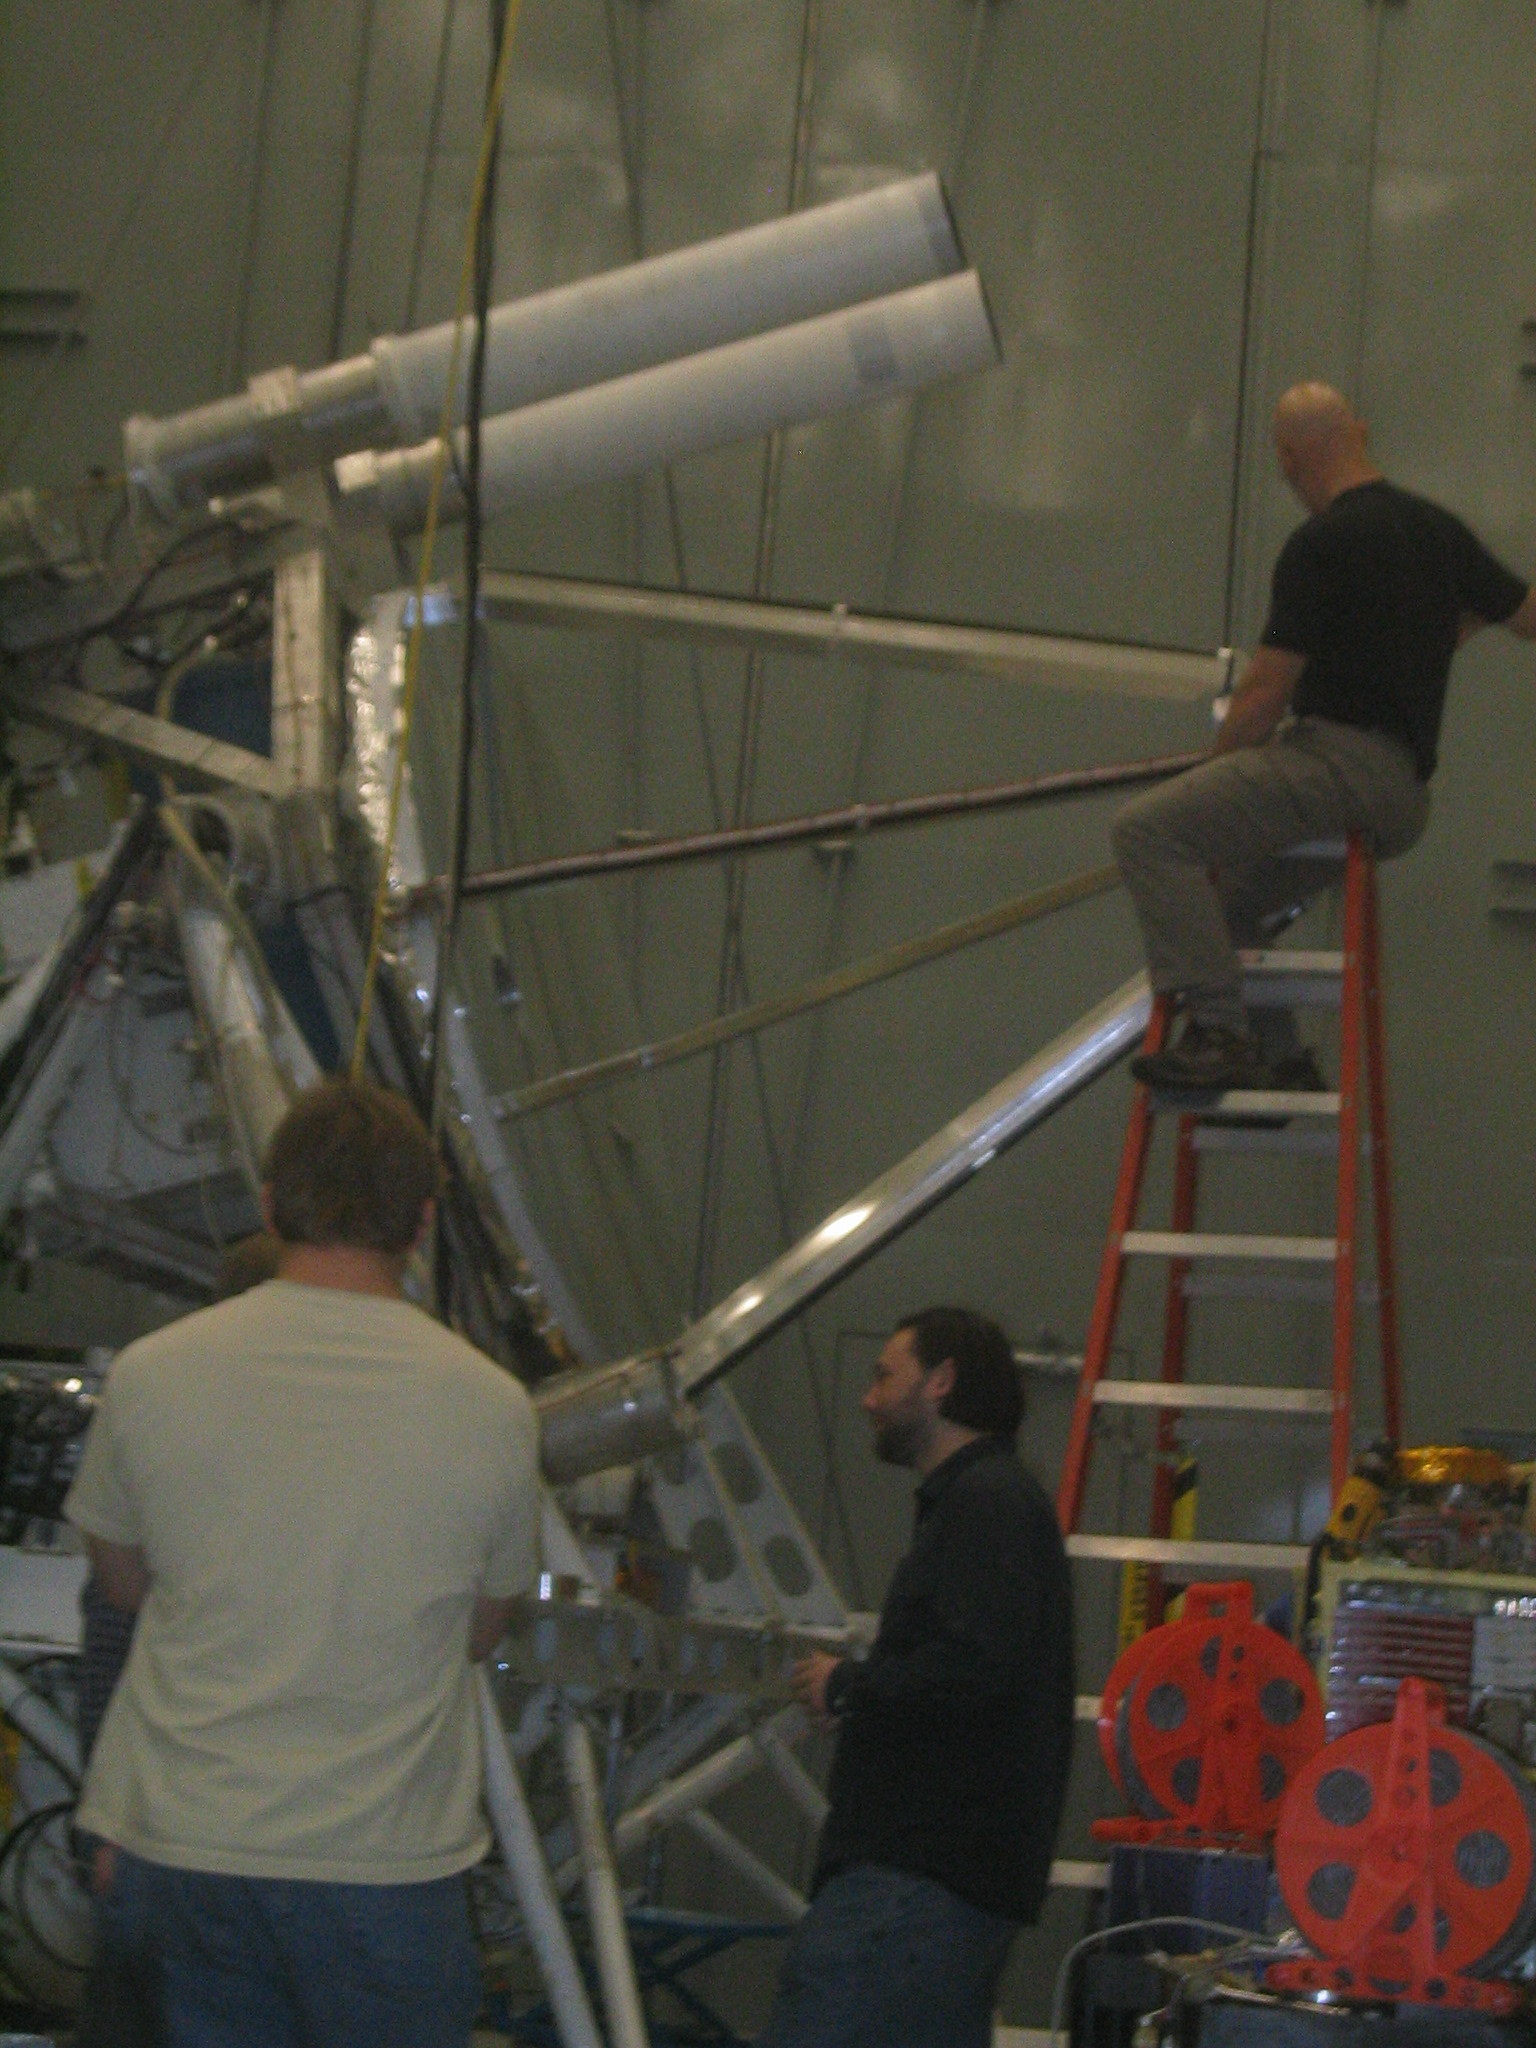
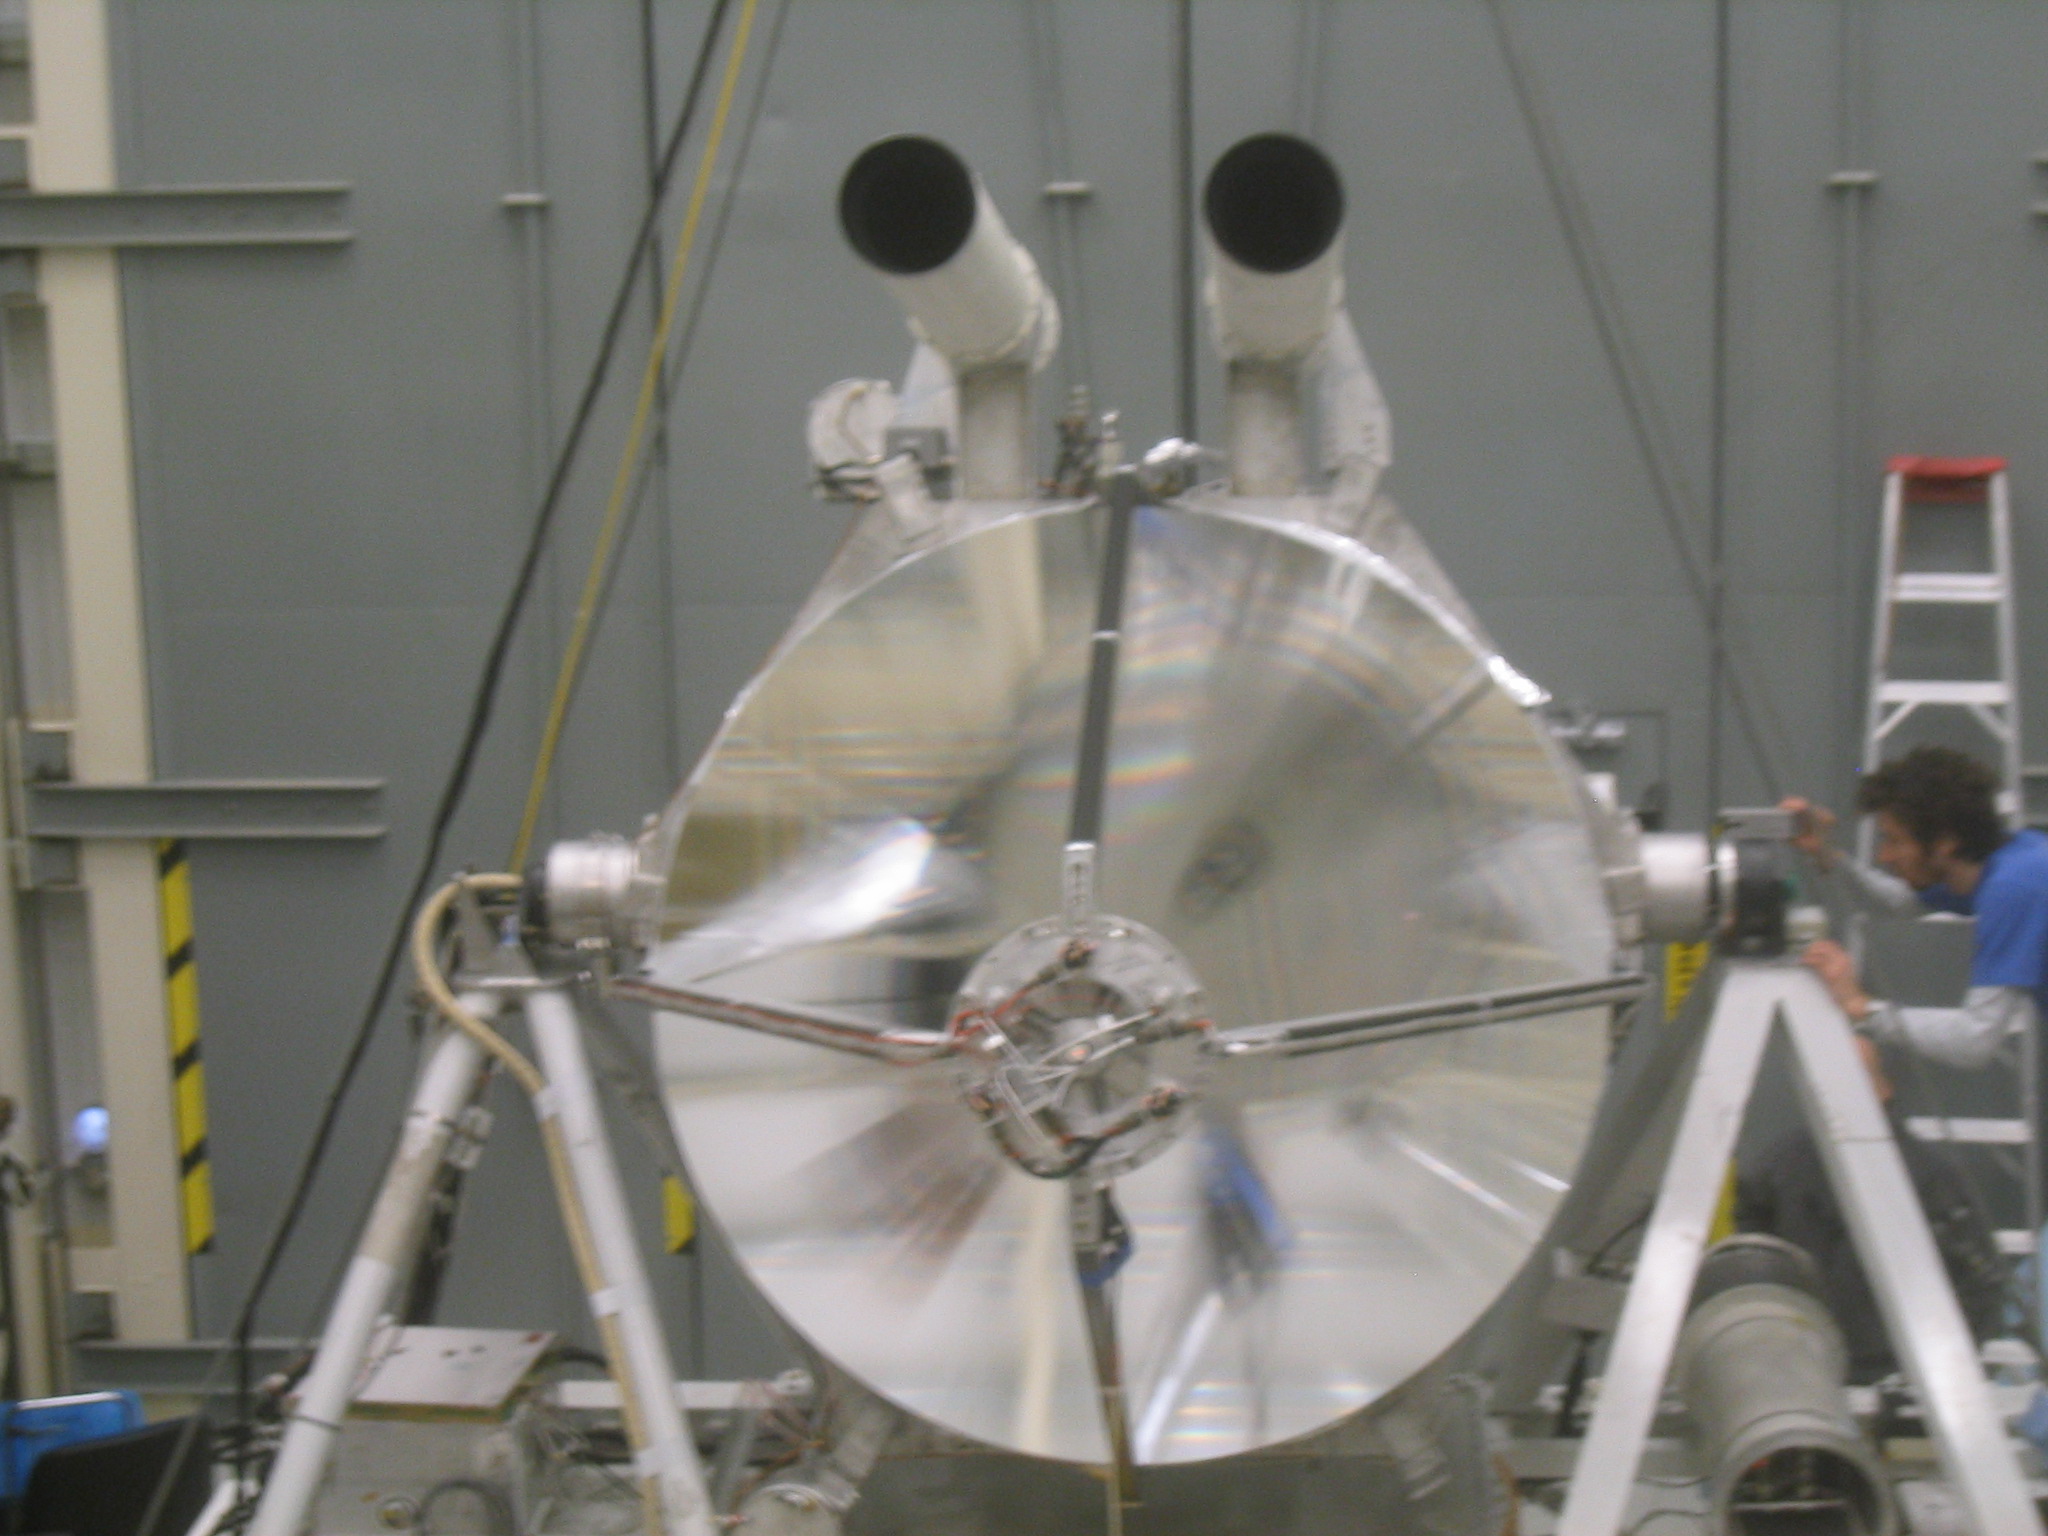


| Mark puts a cold source infront of the telescope to see if the cryostat is aligned. |
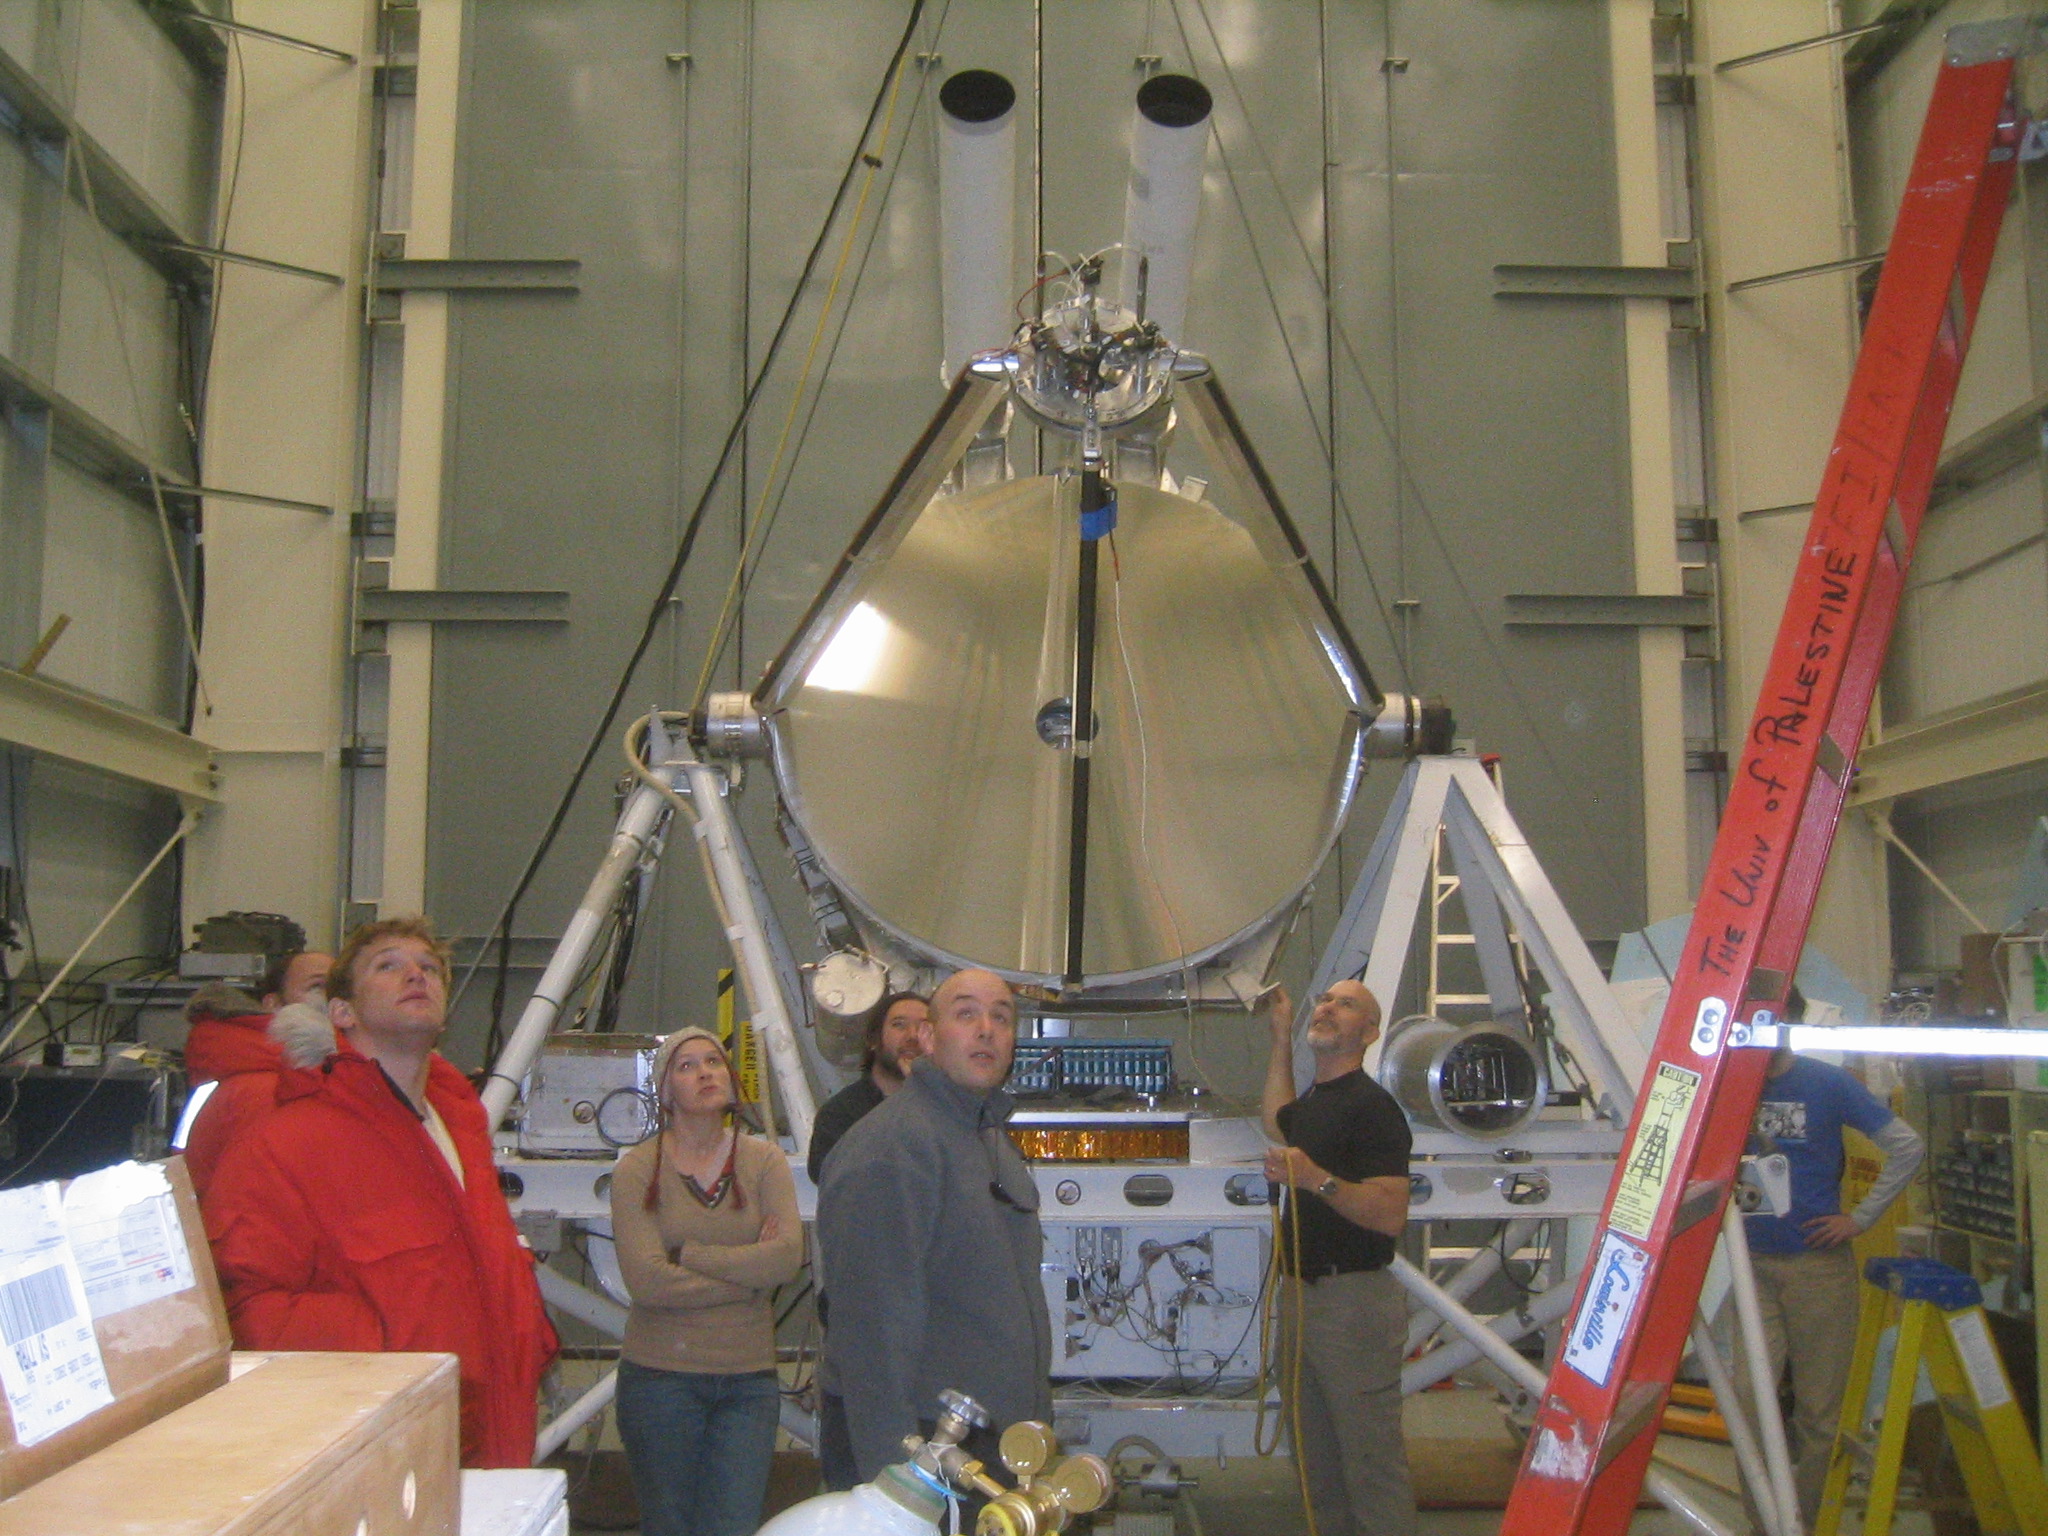
| What's everyone looking at? There's a laser mounted in the centre of the secondary which is shining a dot on the back wall above and behind me. We're checking to see if the elevation axis is aligned by scanning up and down and seeing if the dot moves only up and down as a result, or also side-to-side. |
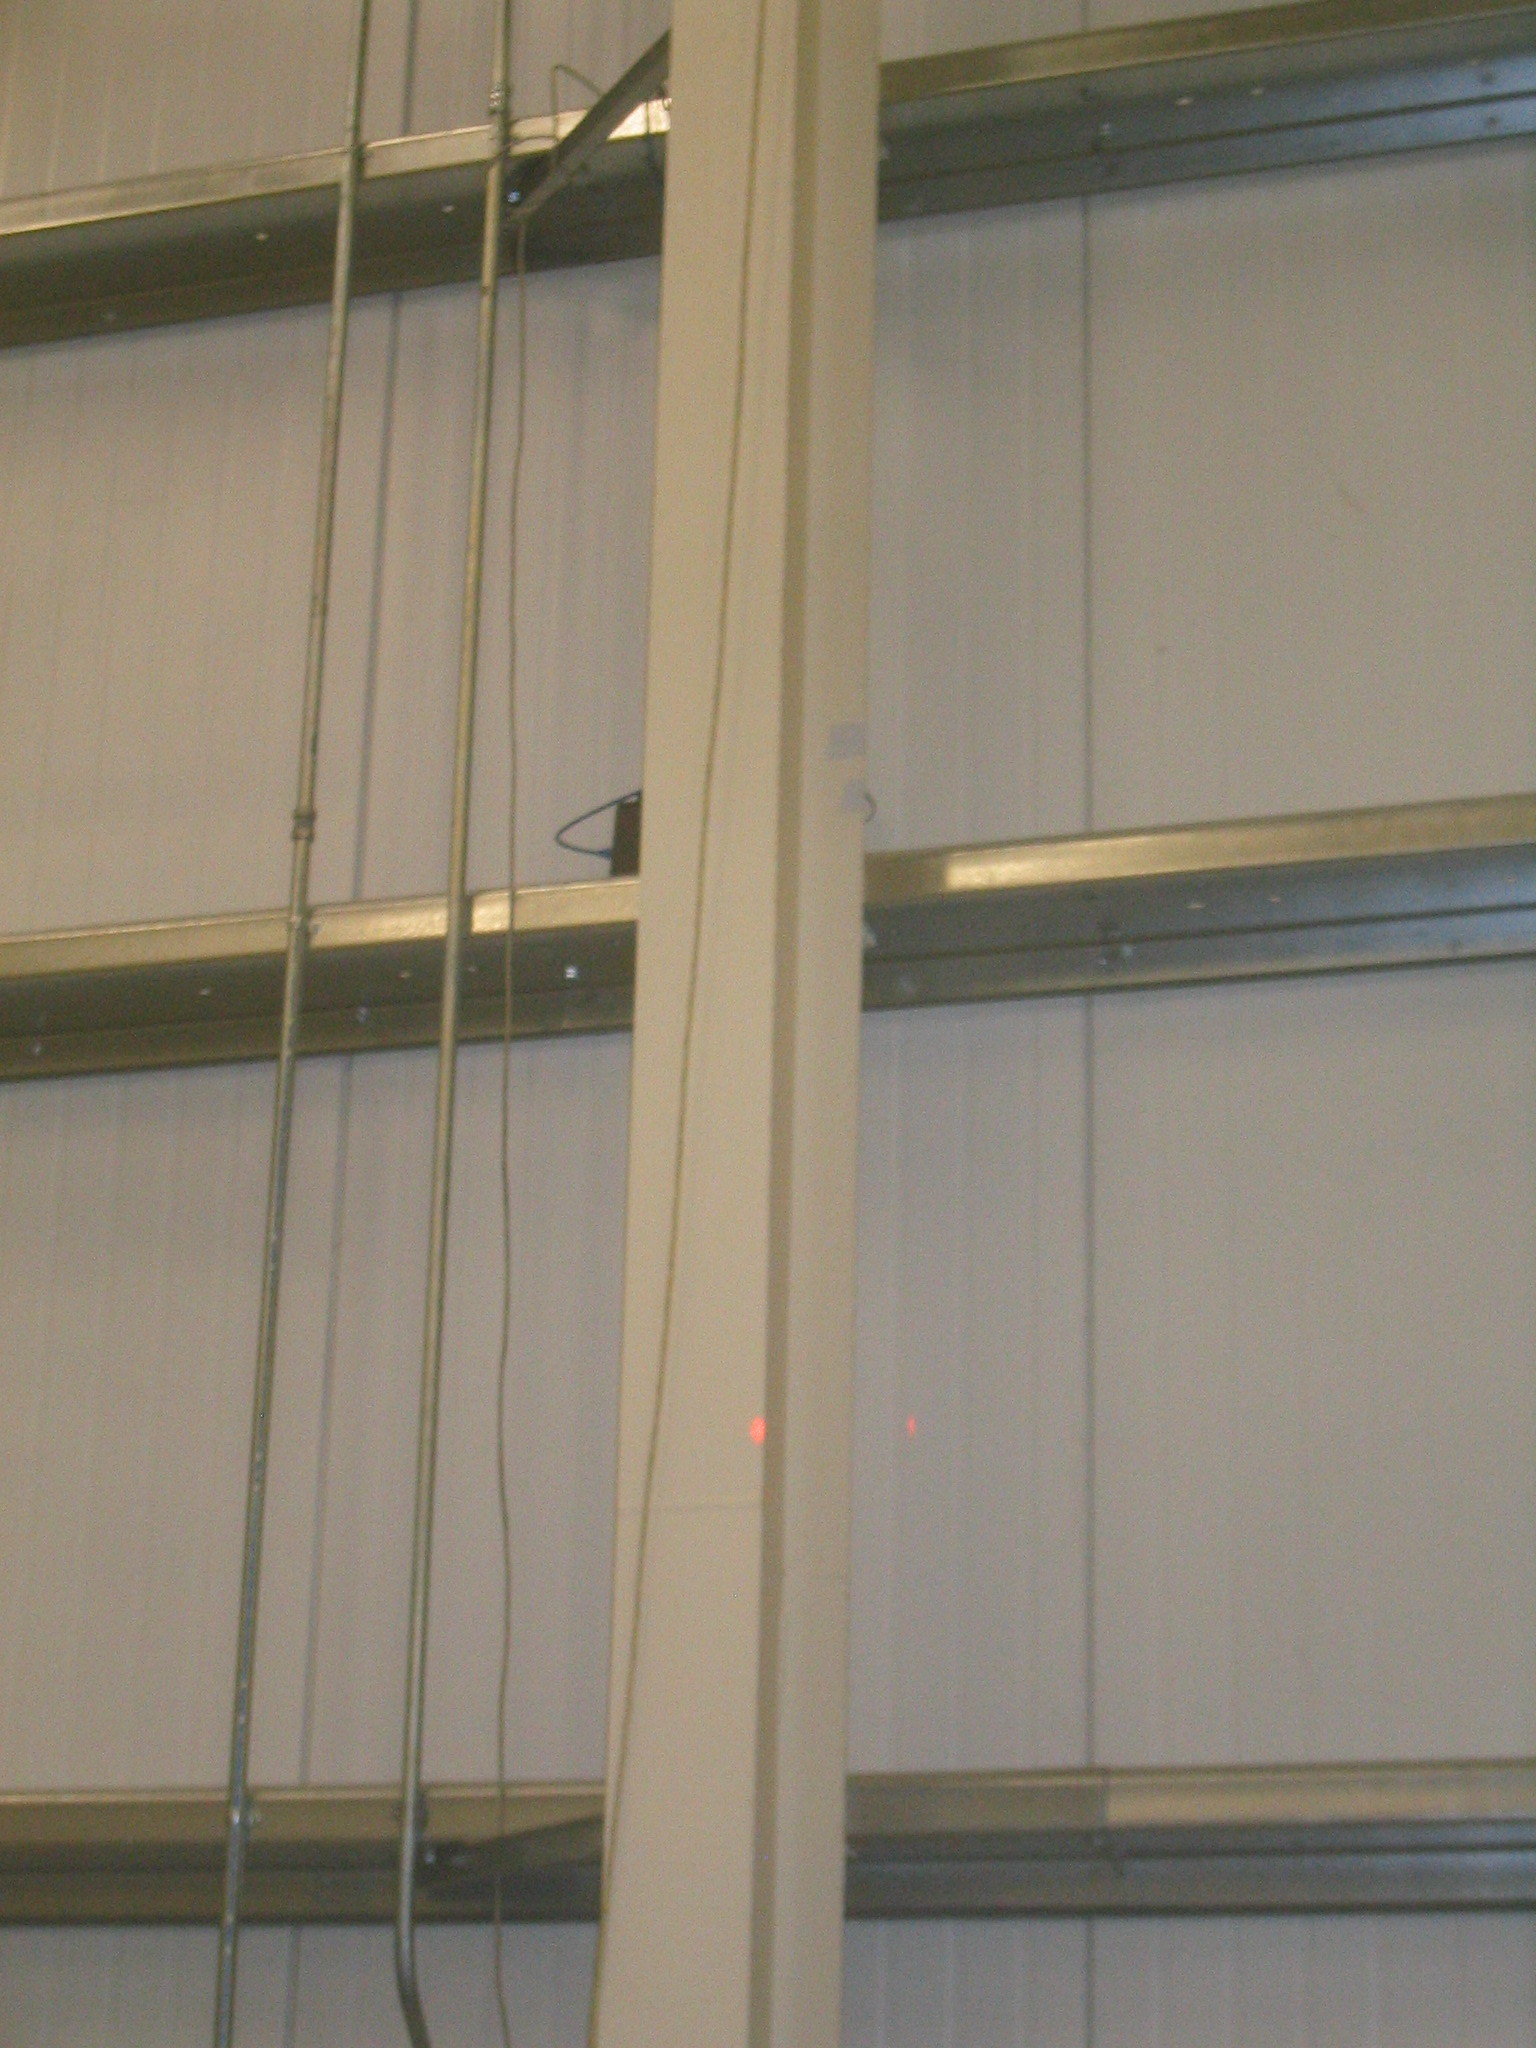
| The red dot on the wall. (It's about two thirds of the way down, on the right edge of the I-beam.) |
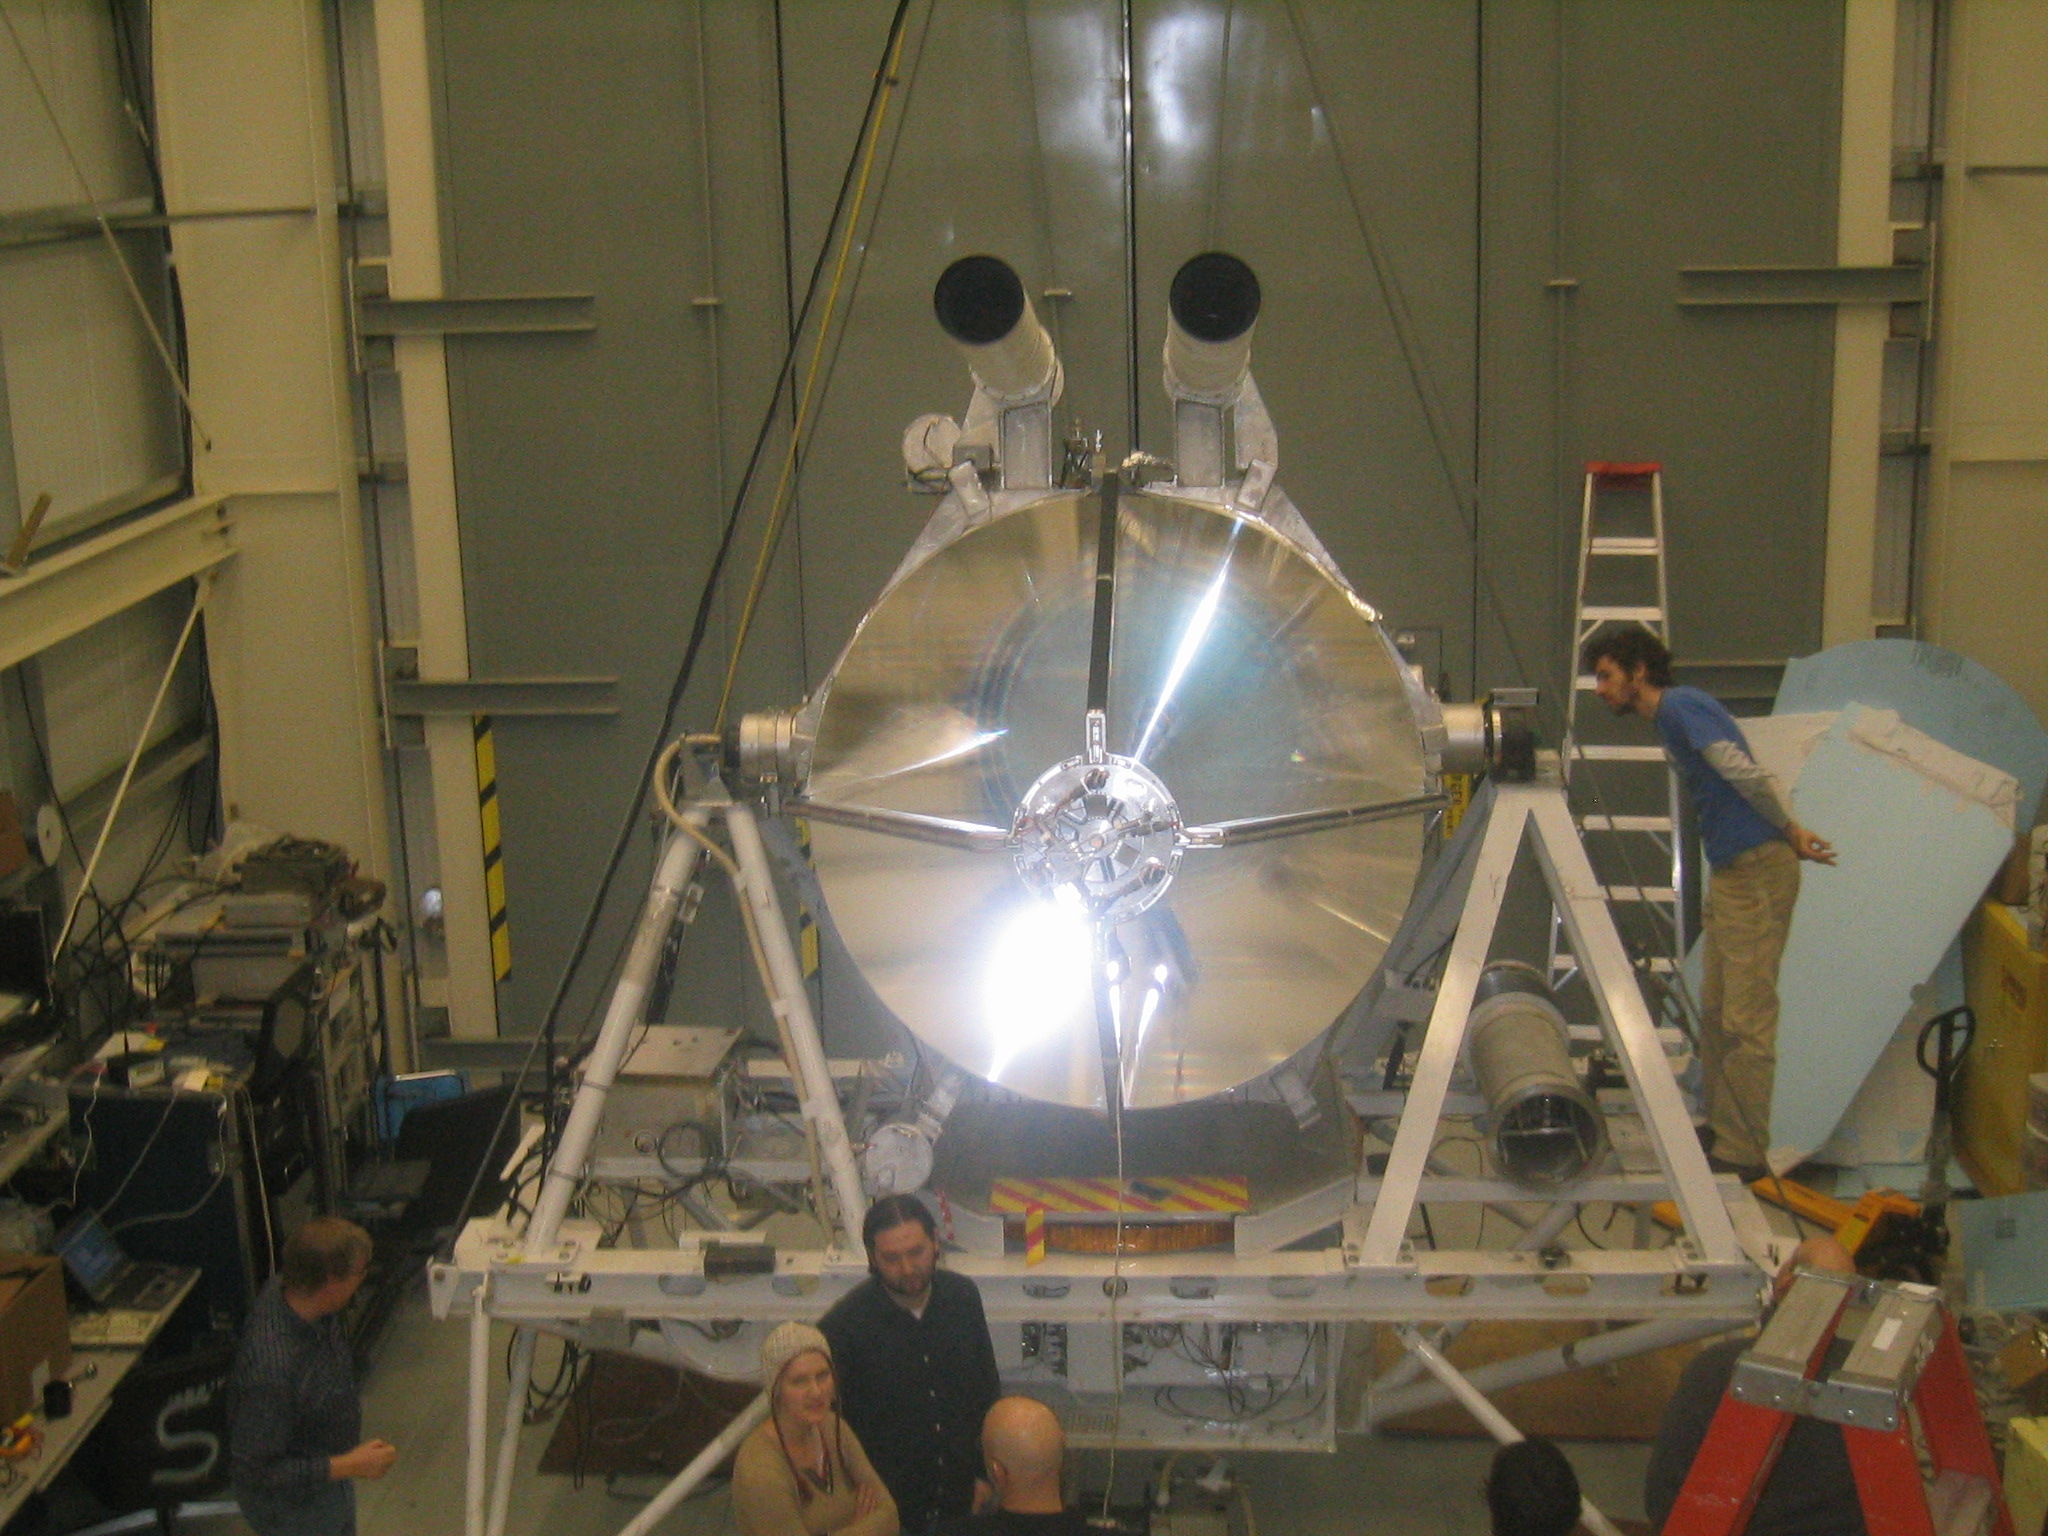
| BLAST's primary picks up my camera flash. On the wall behind you can see light from the flash which bounced off the secondary. |
| Without the flash, I can see myself in the mirror. (The blurry spot lower left.) |
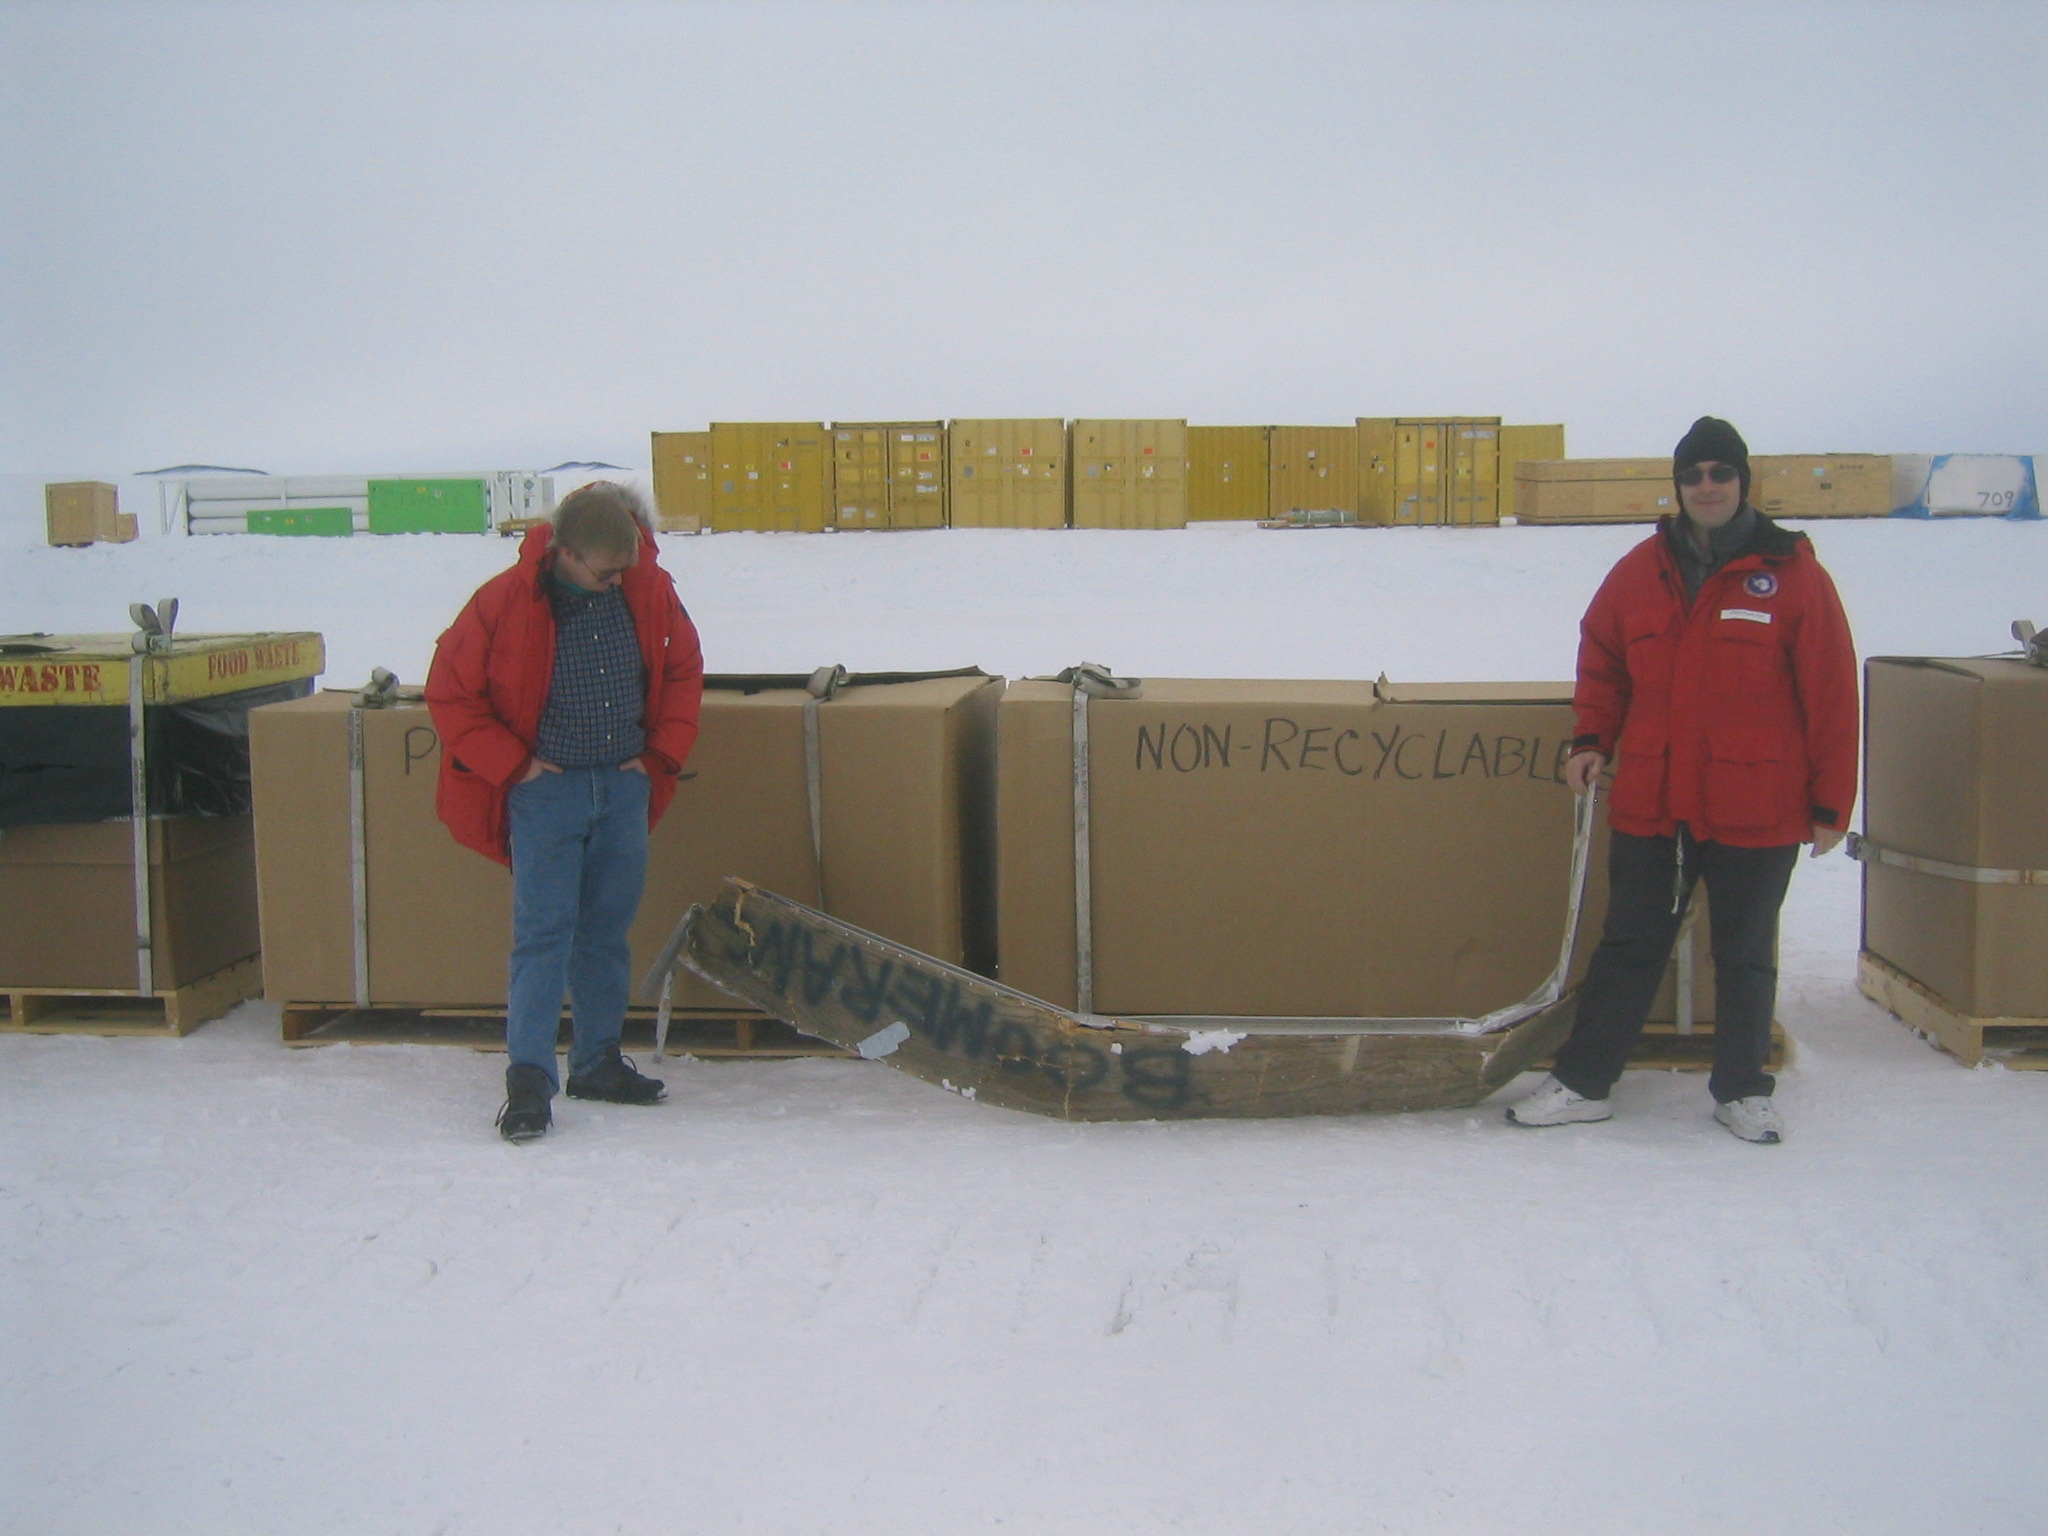
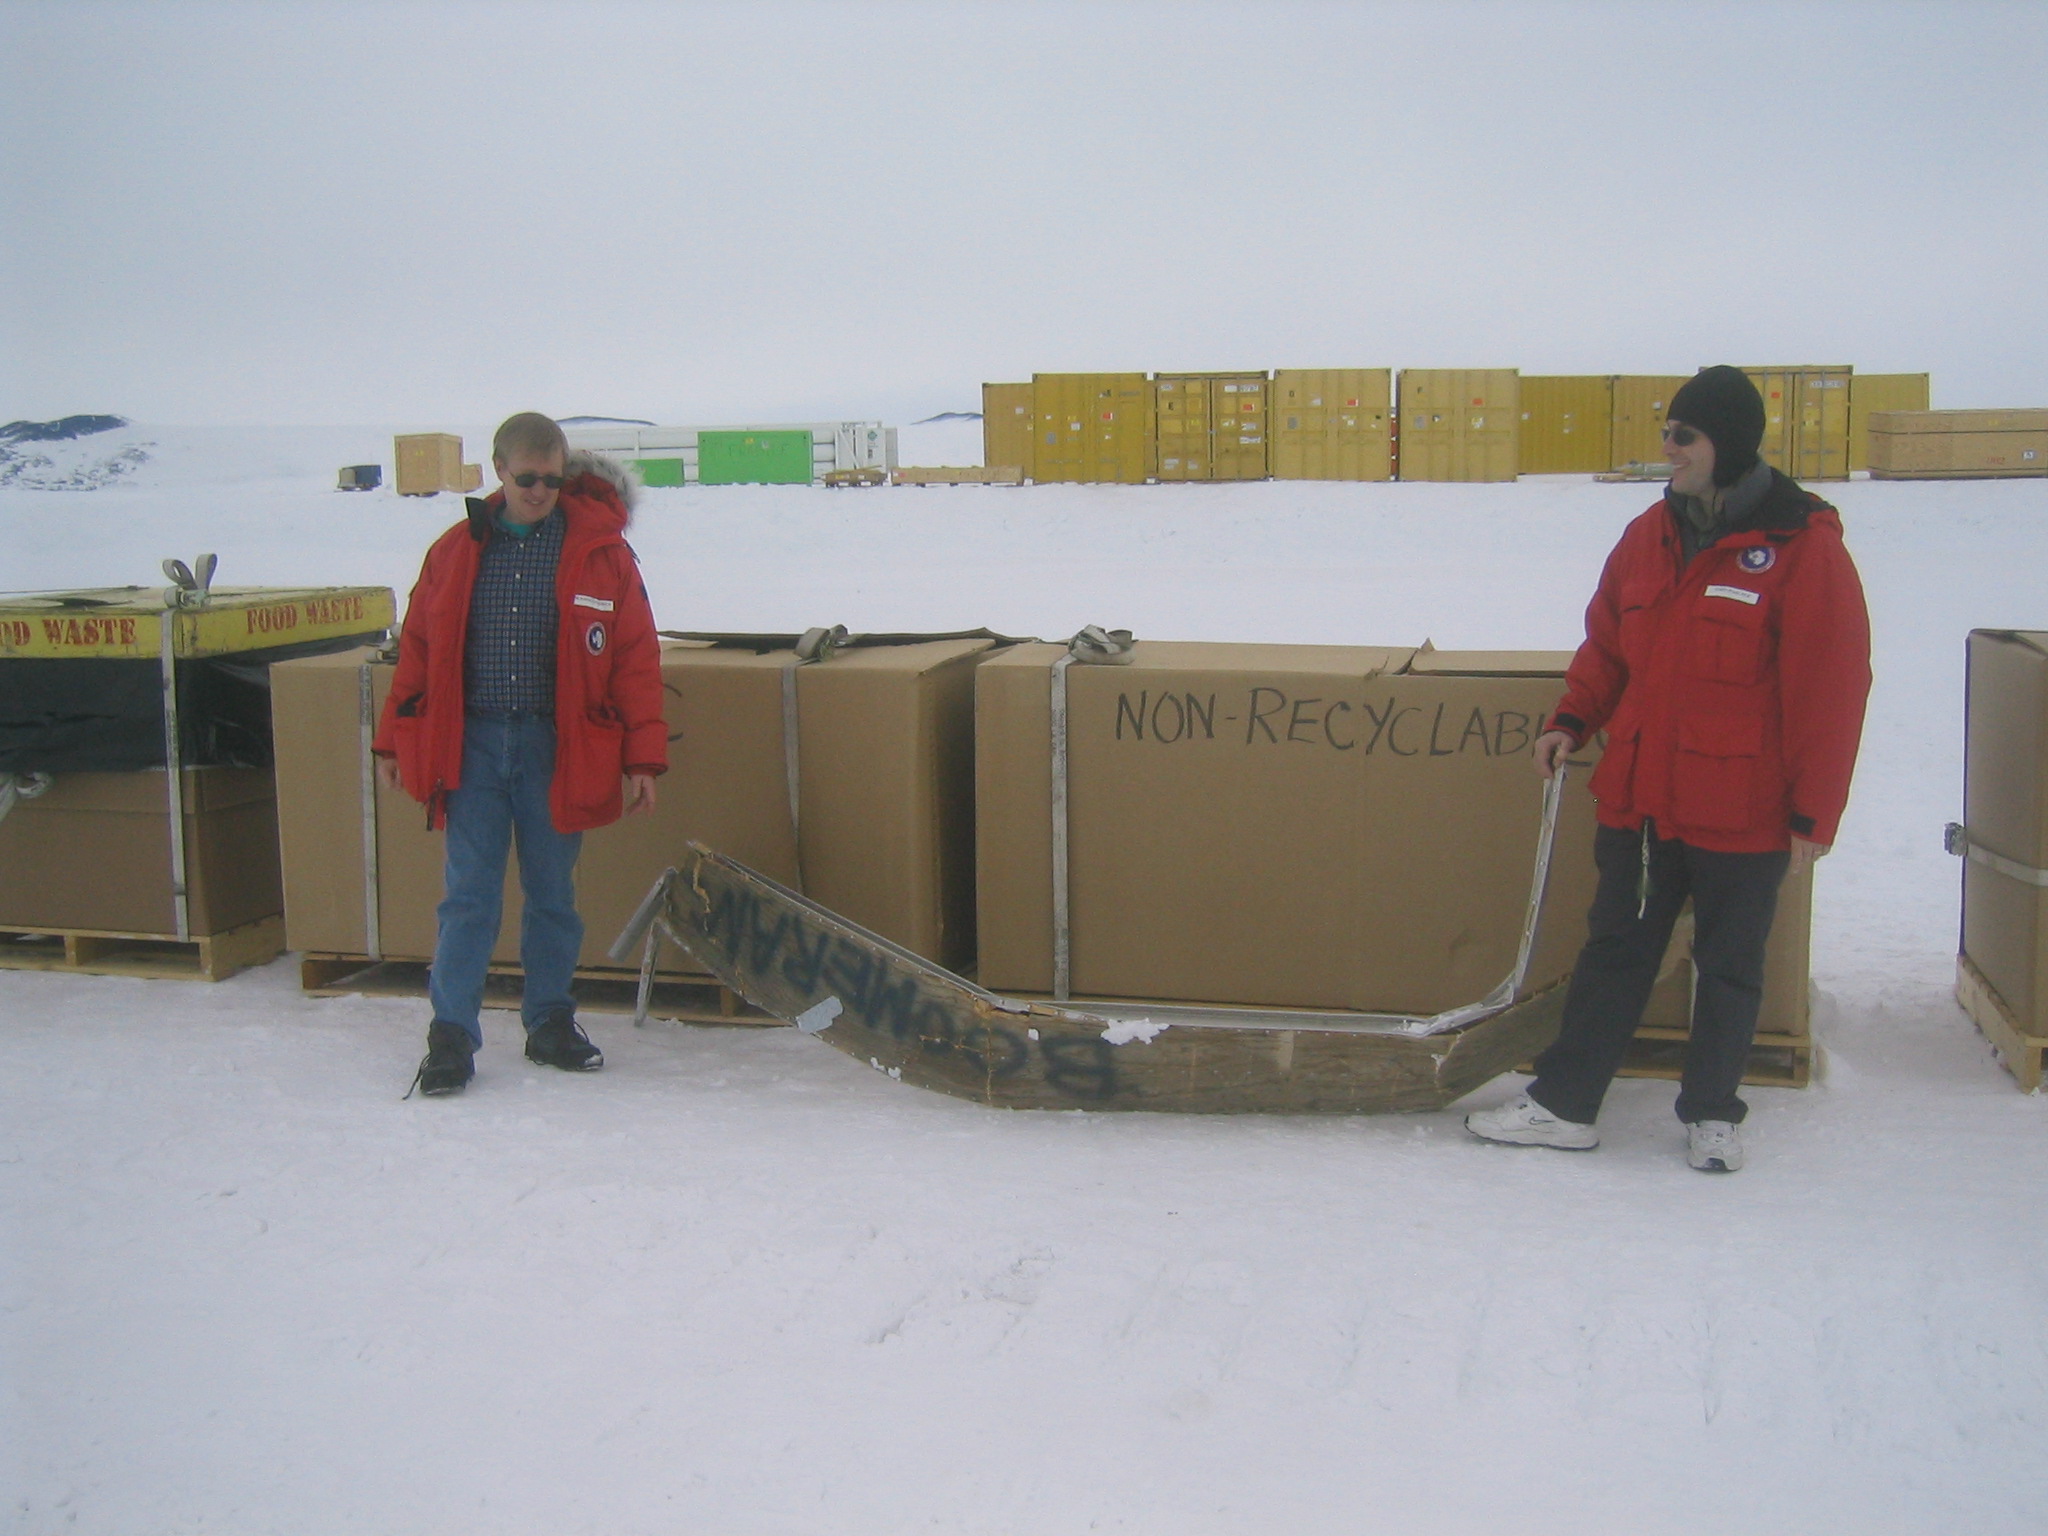
| Enzo and Barth find a piece of the BOOMERanG '98 scaffolding. They're starting to dismantle the pig barn; this was presumably found when they dug it out. |
| Another shot of the same. |
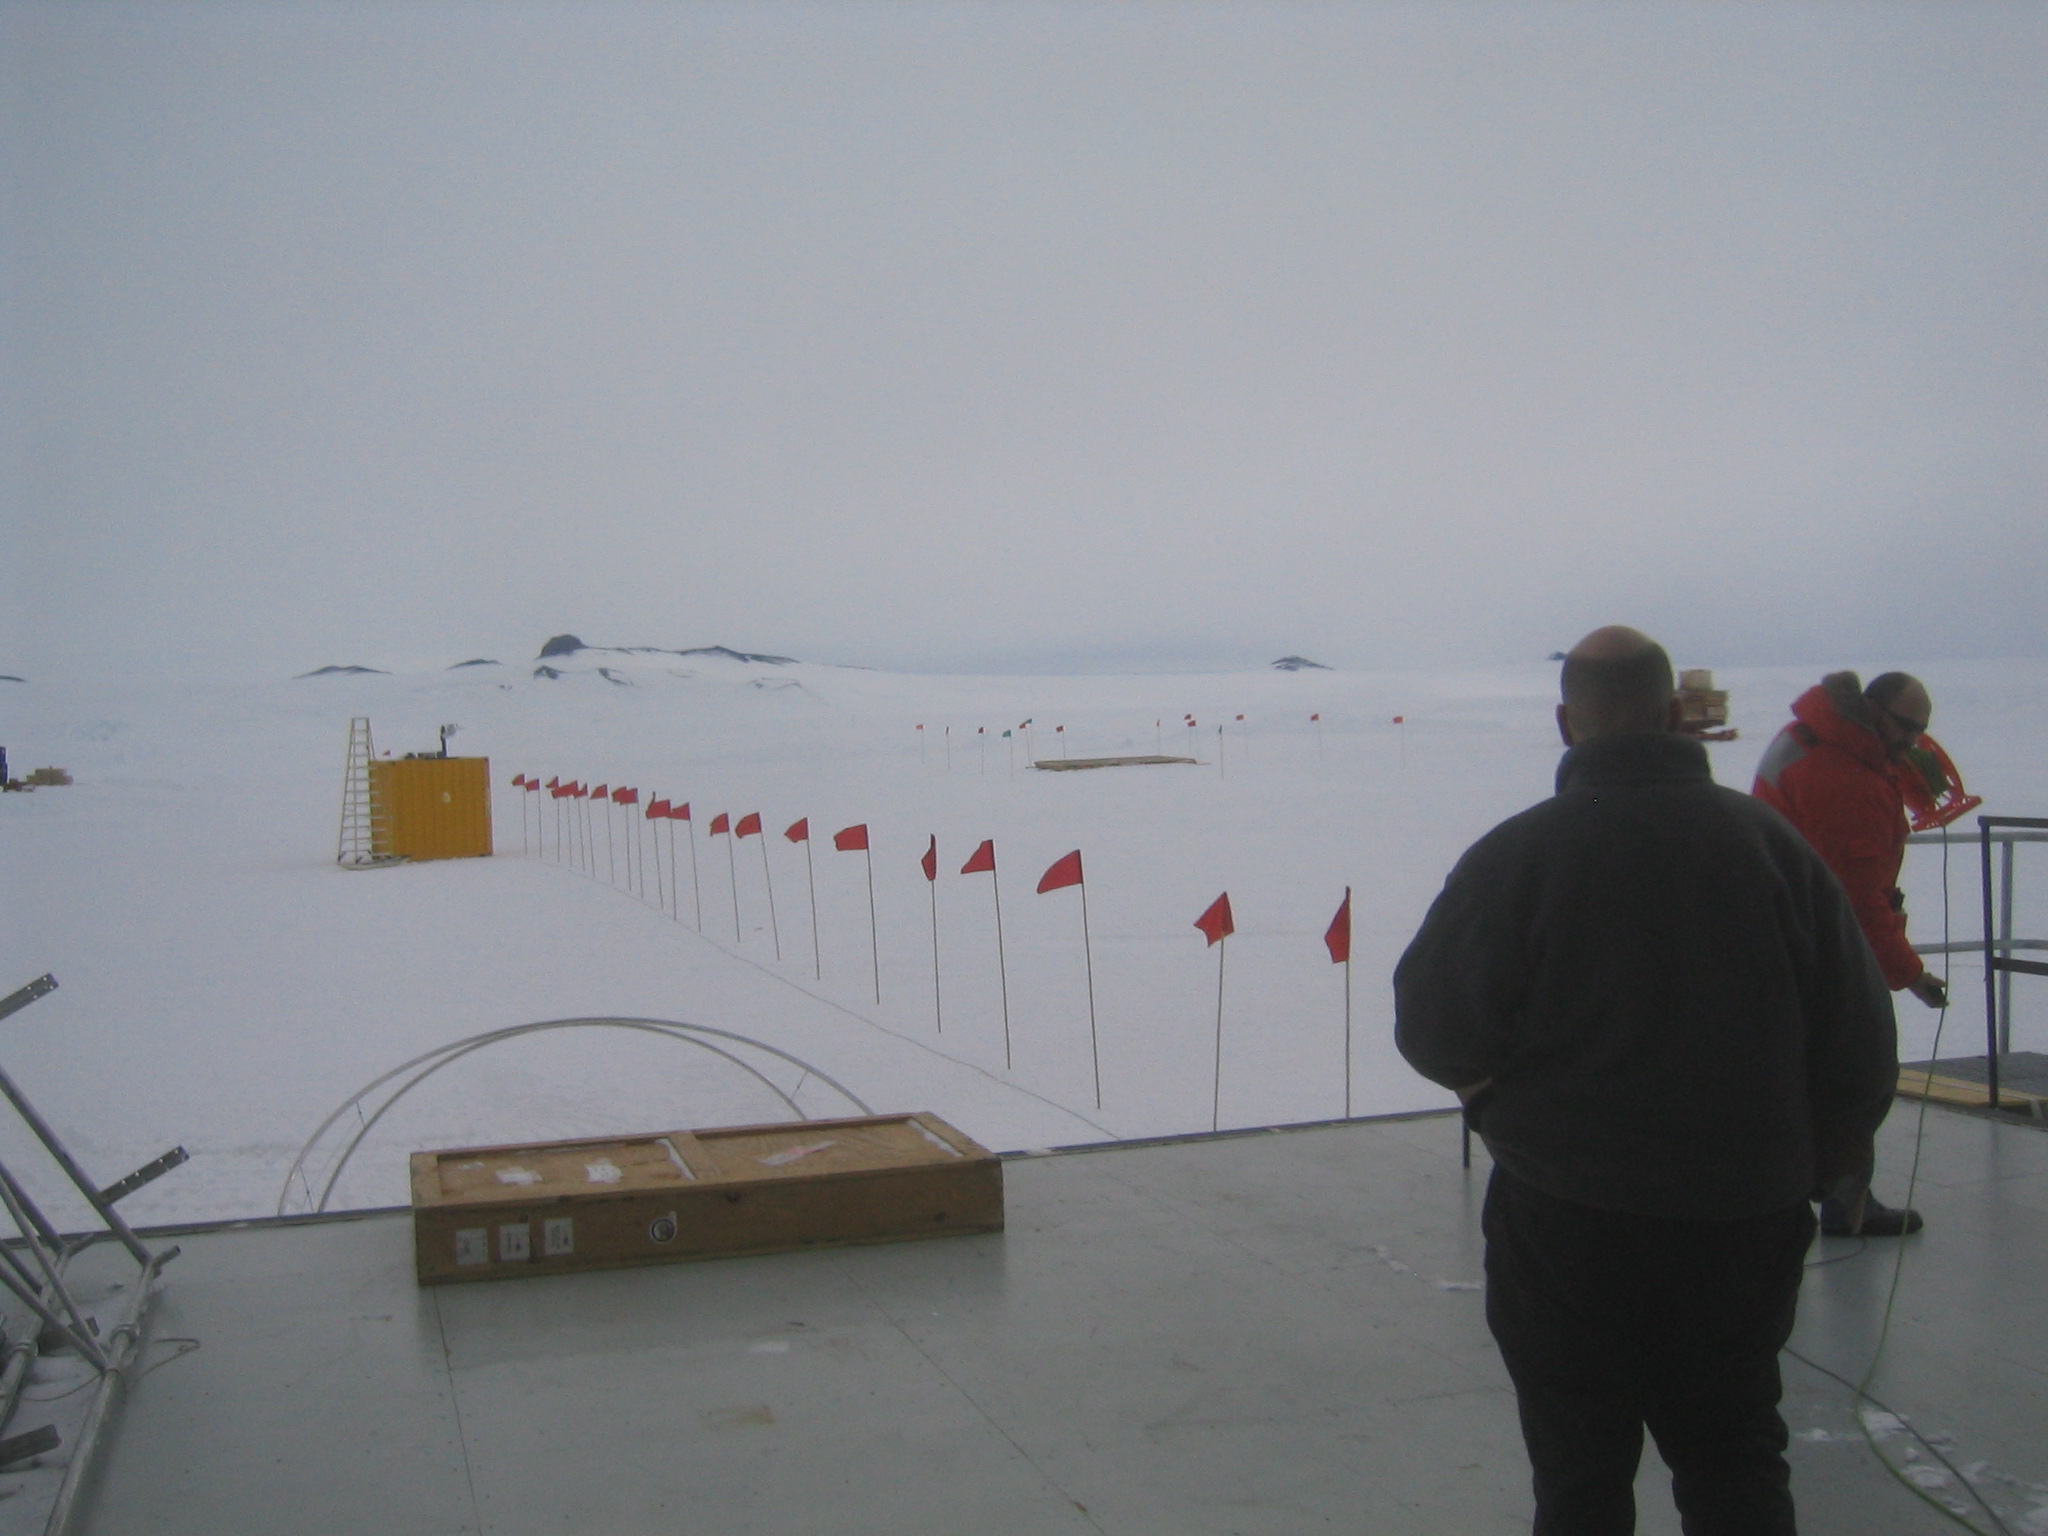
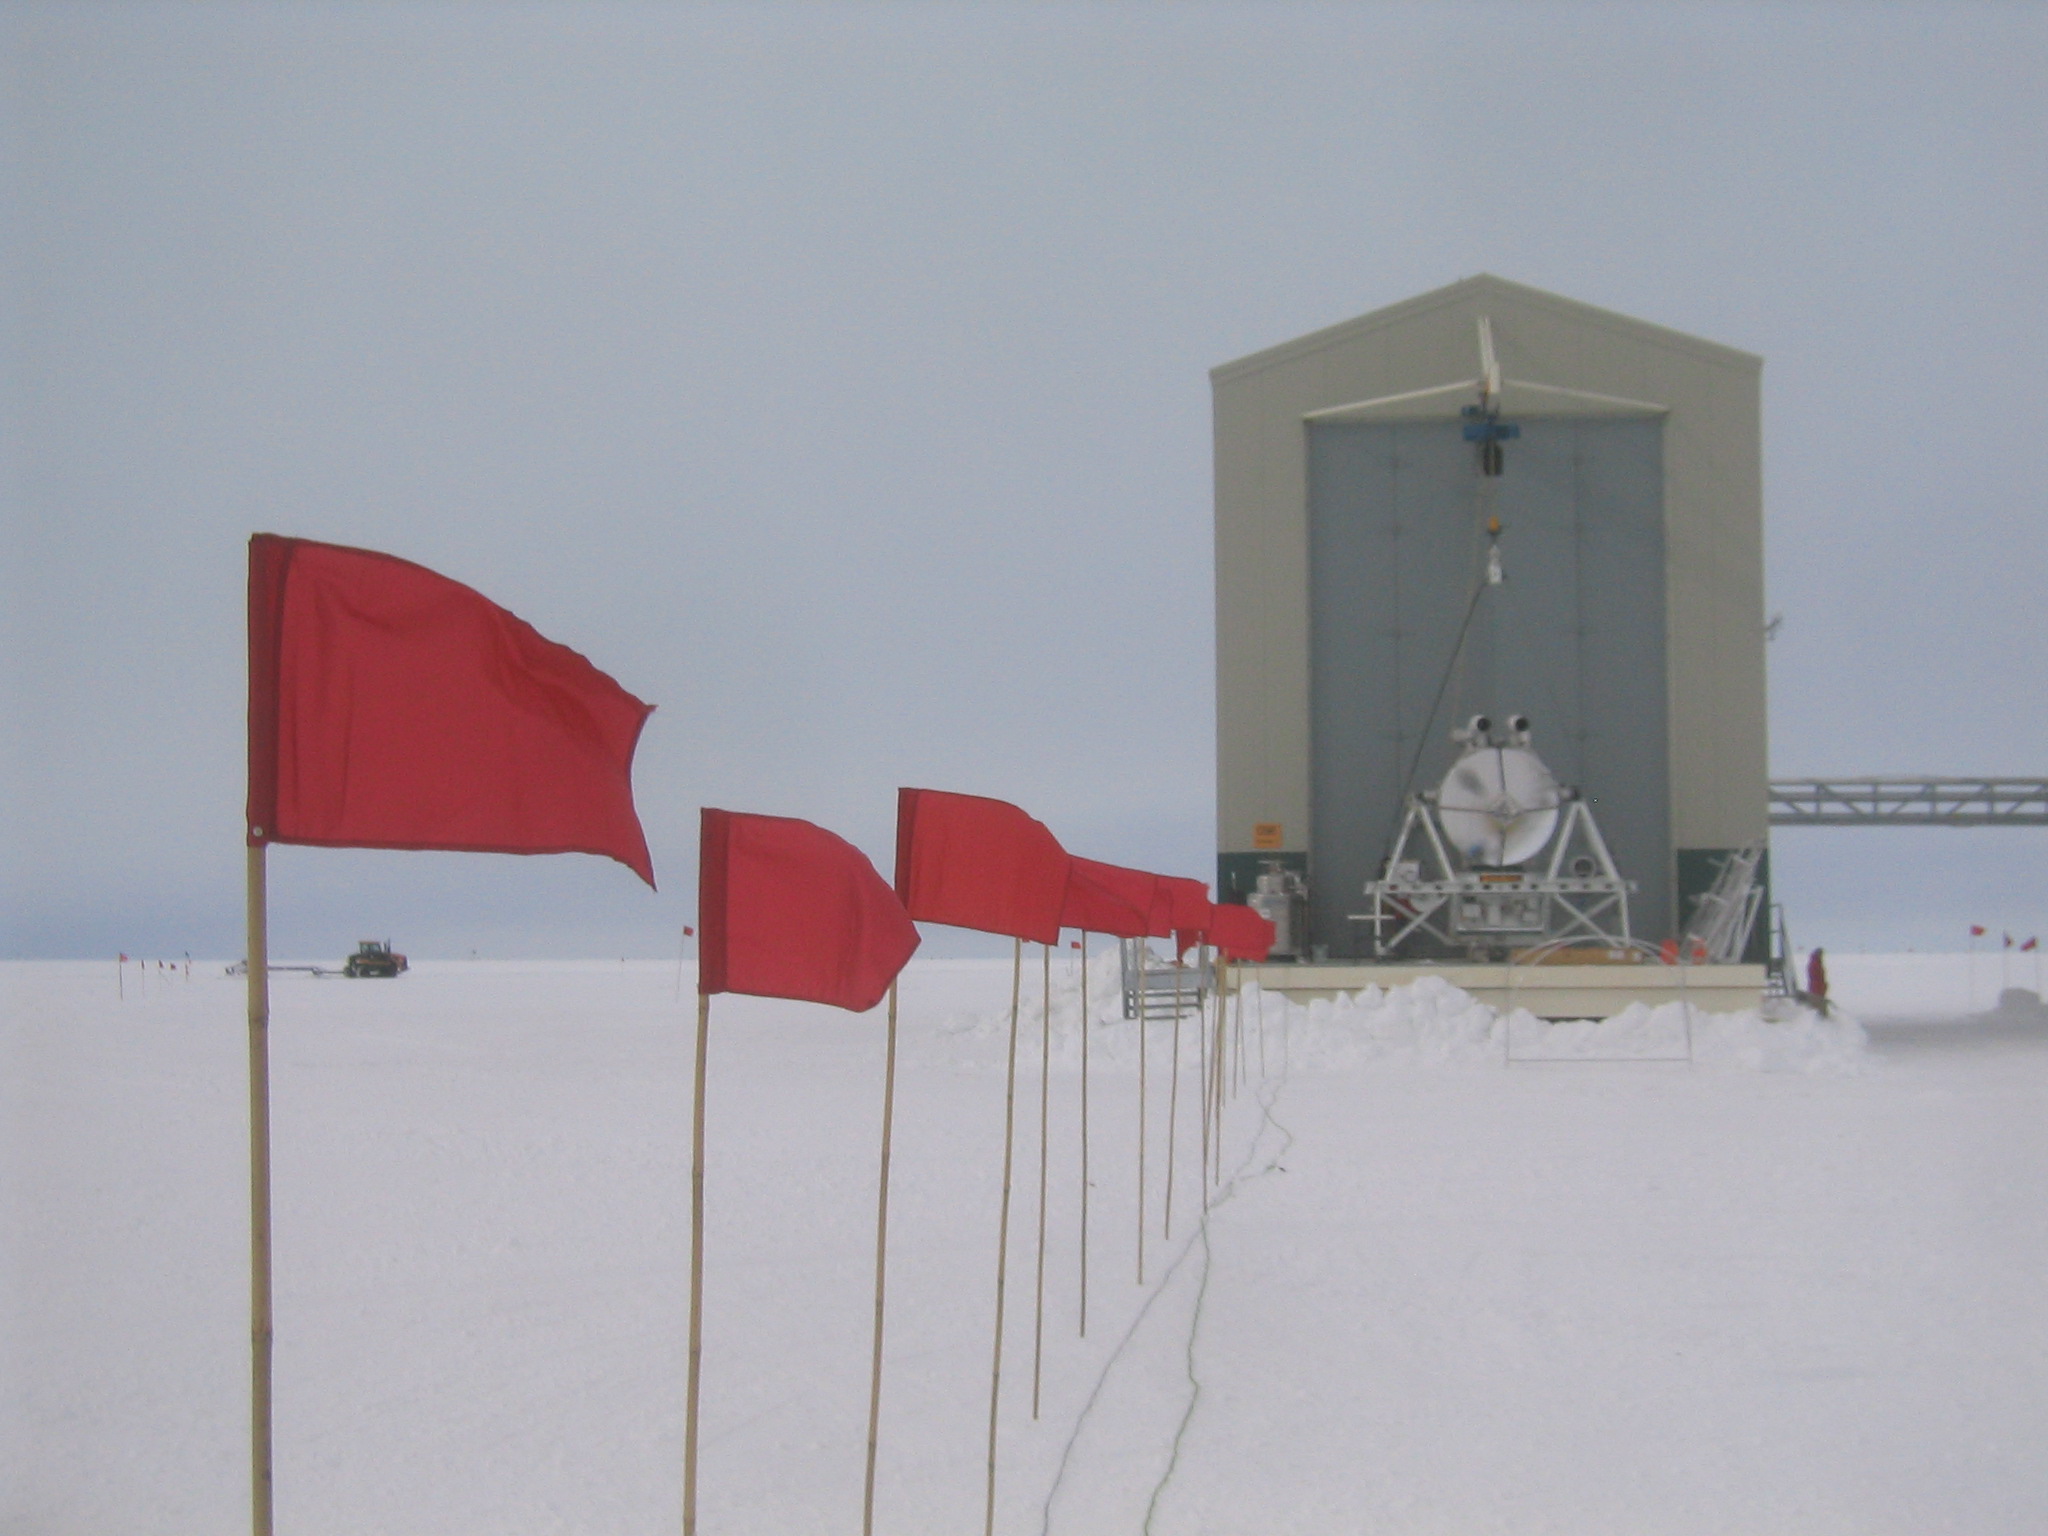
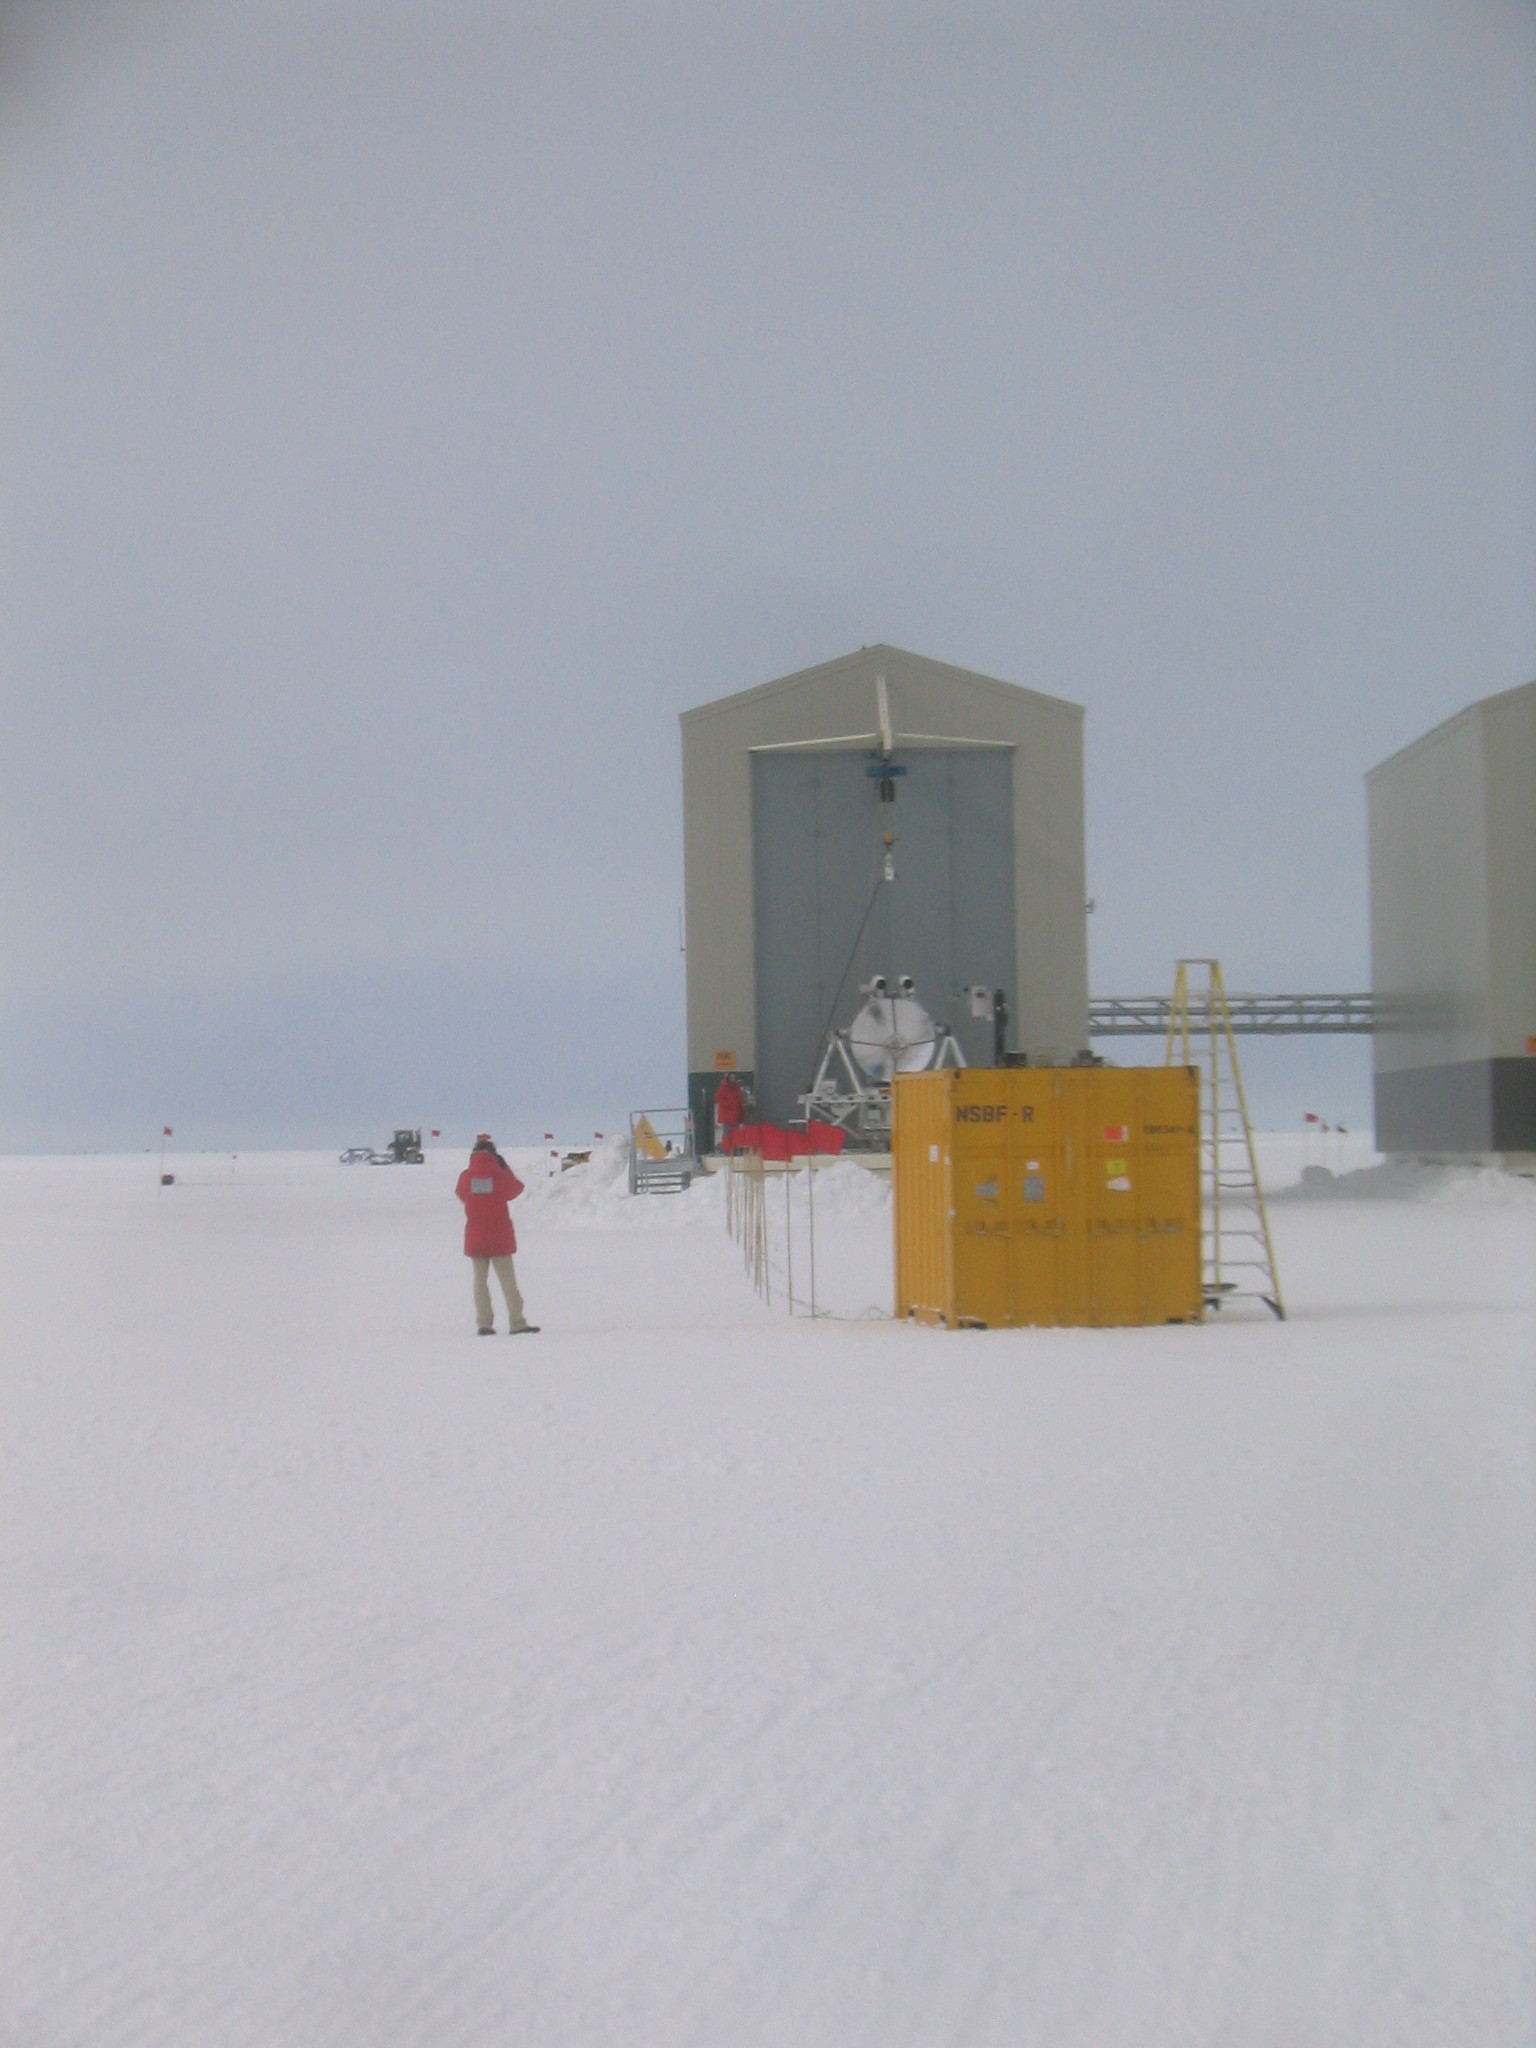
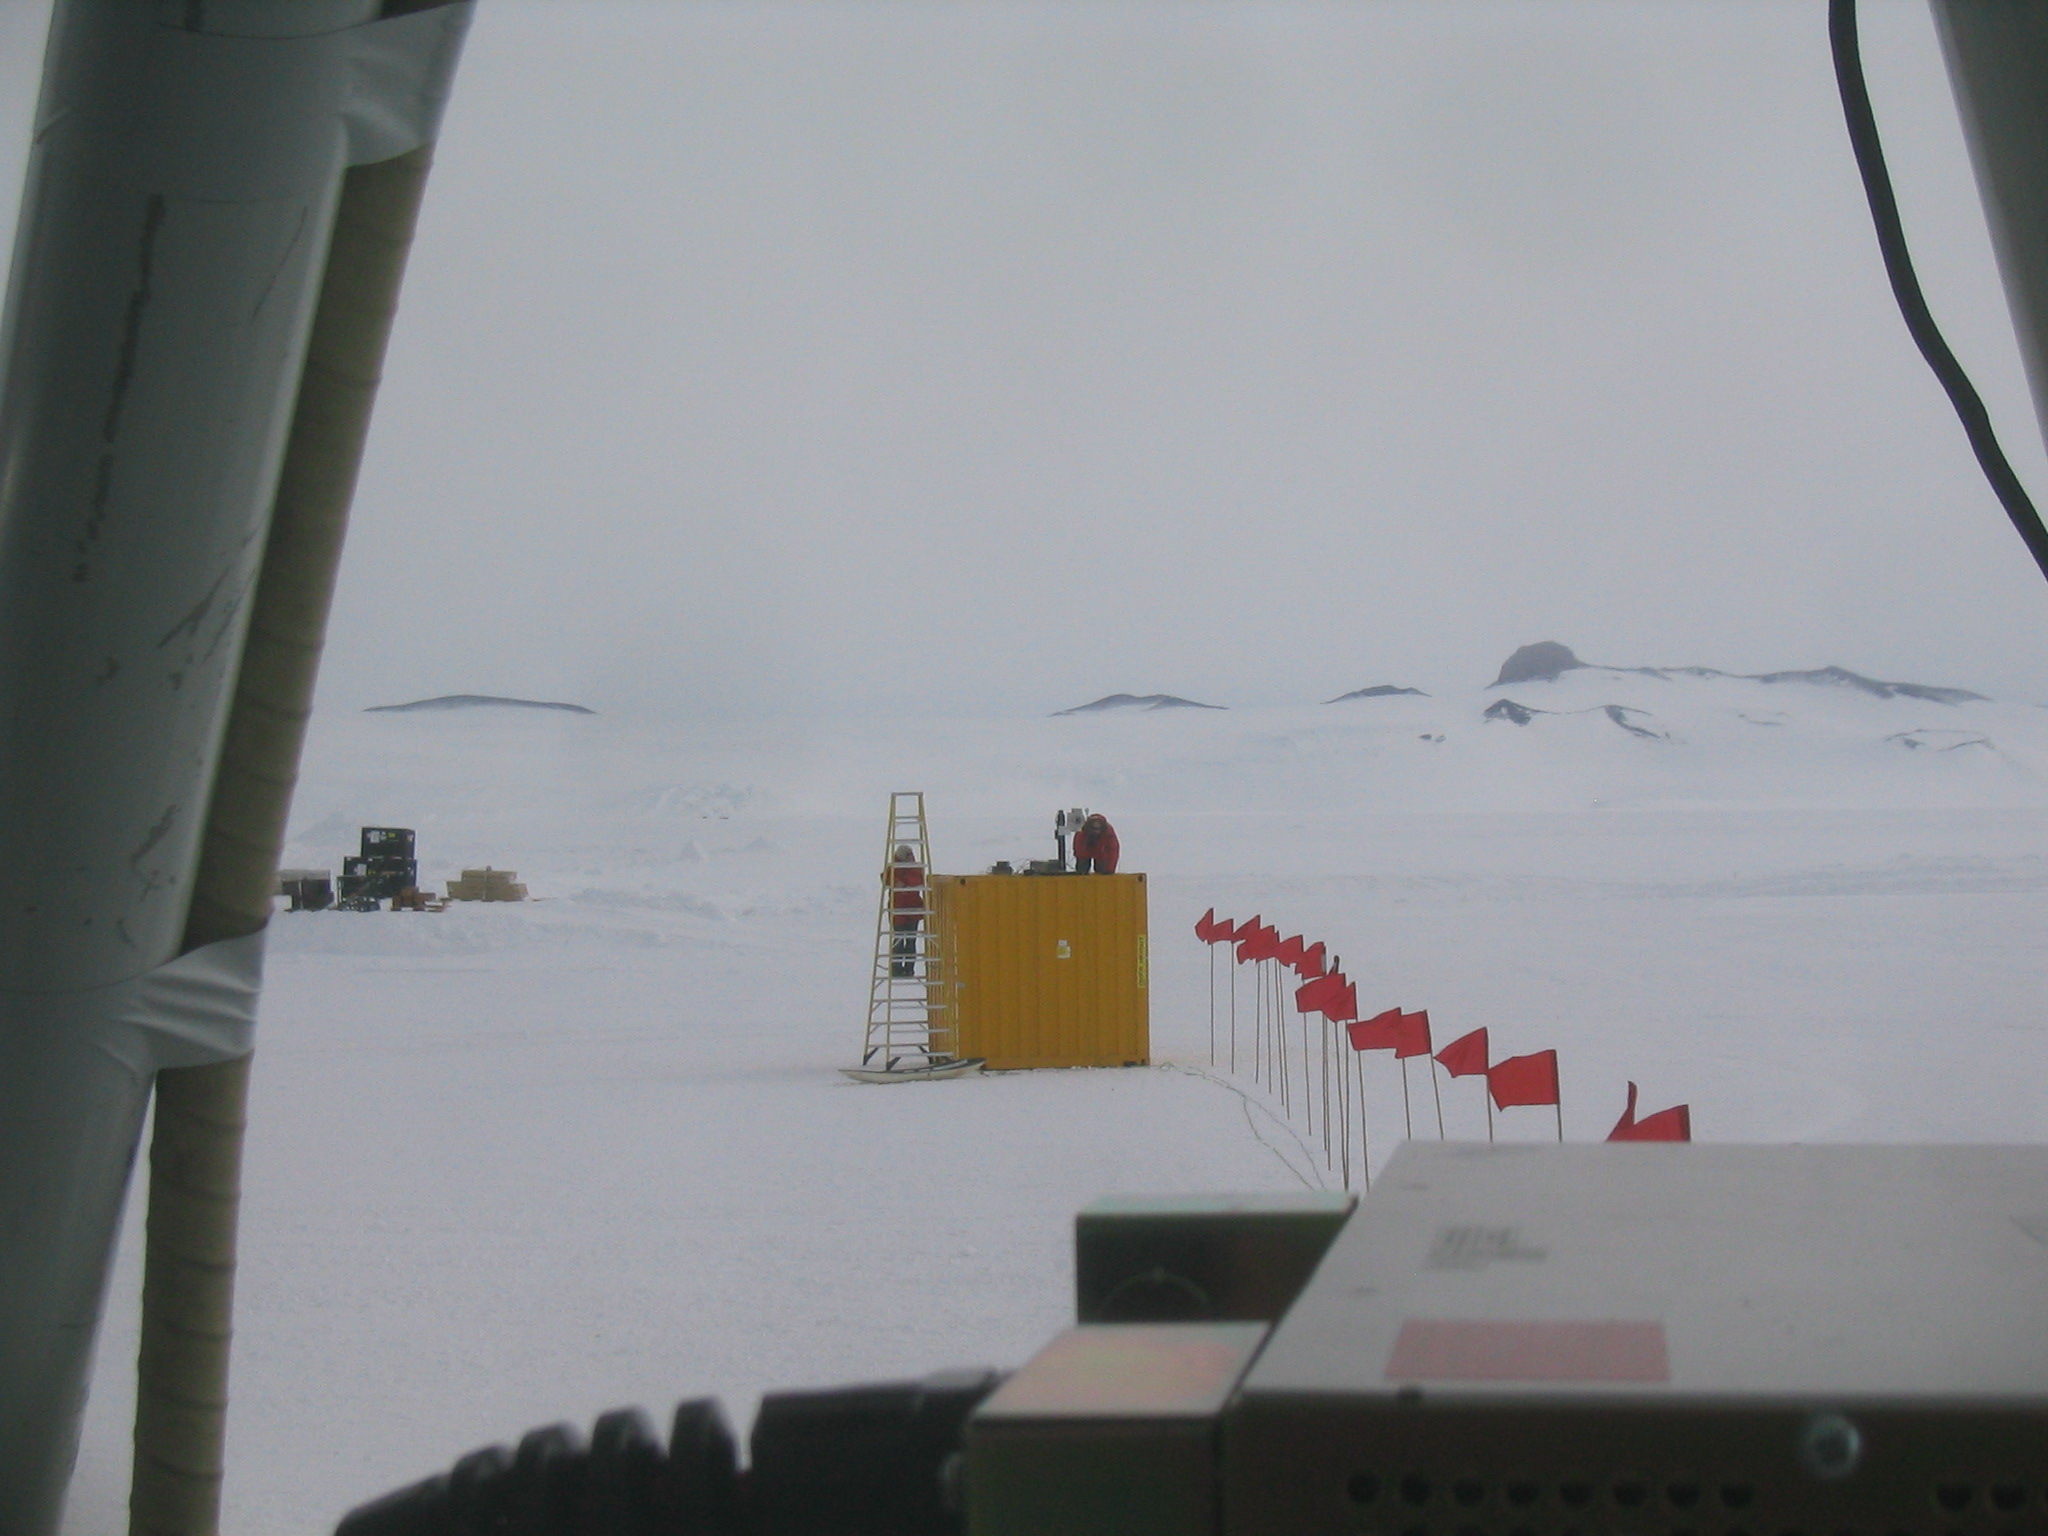
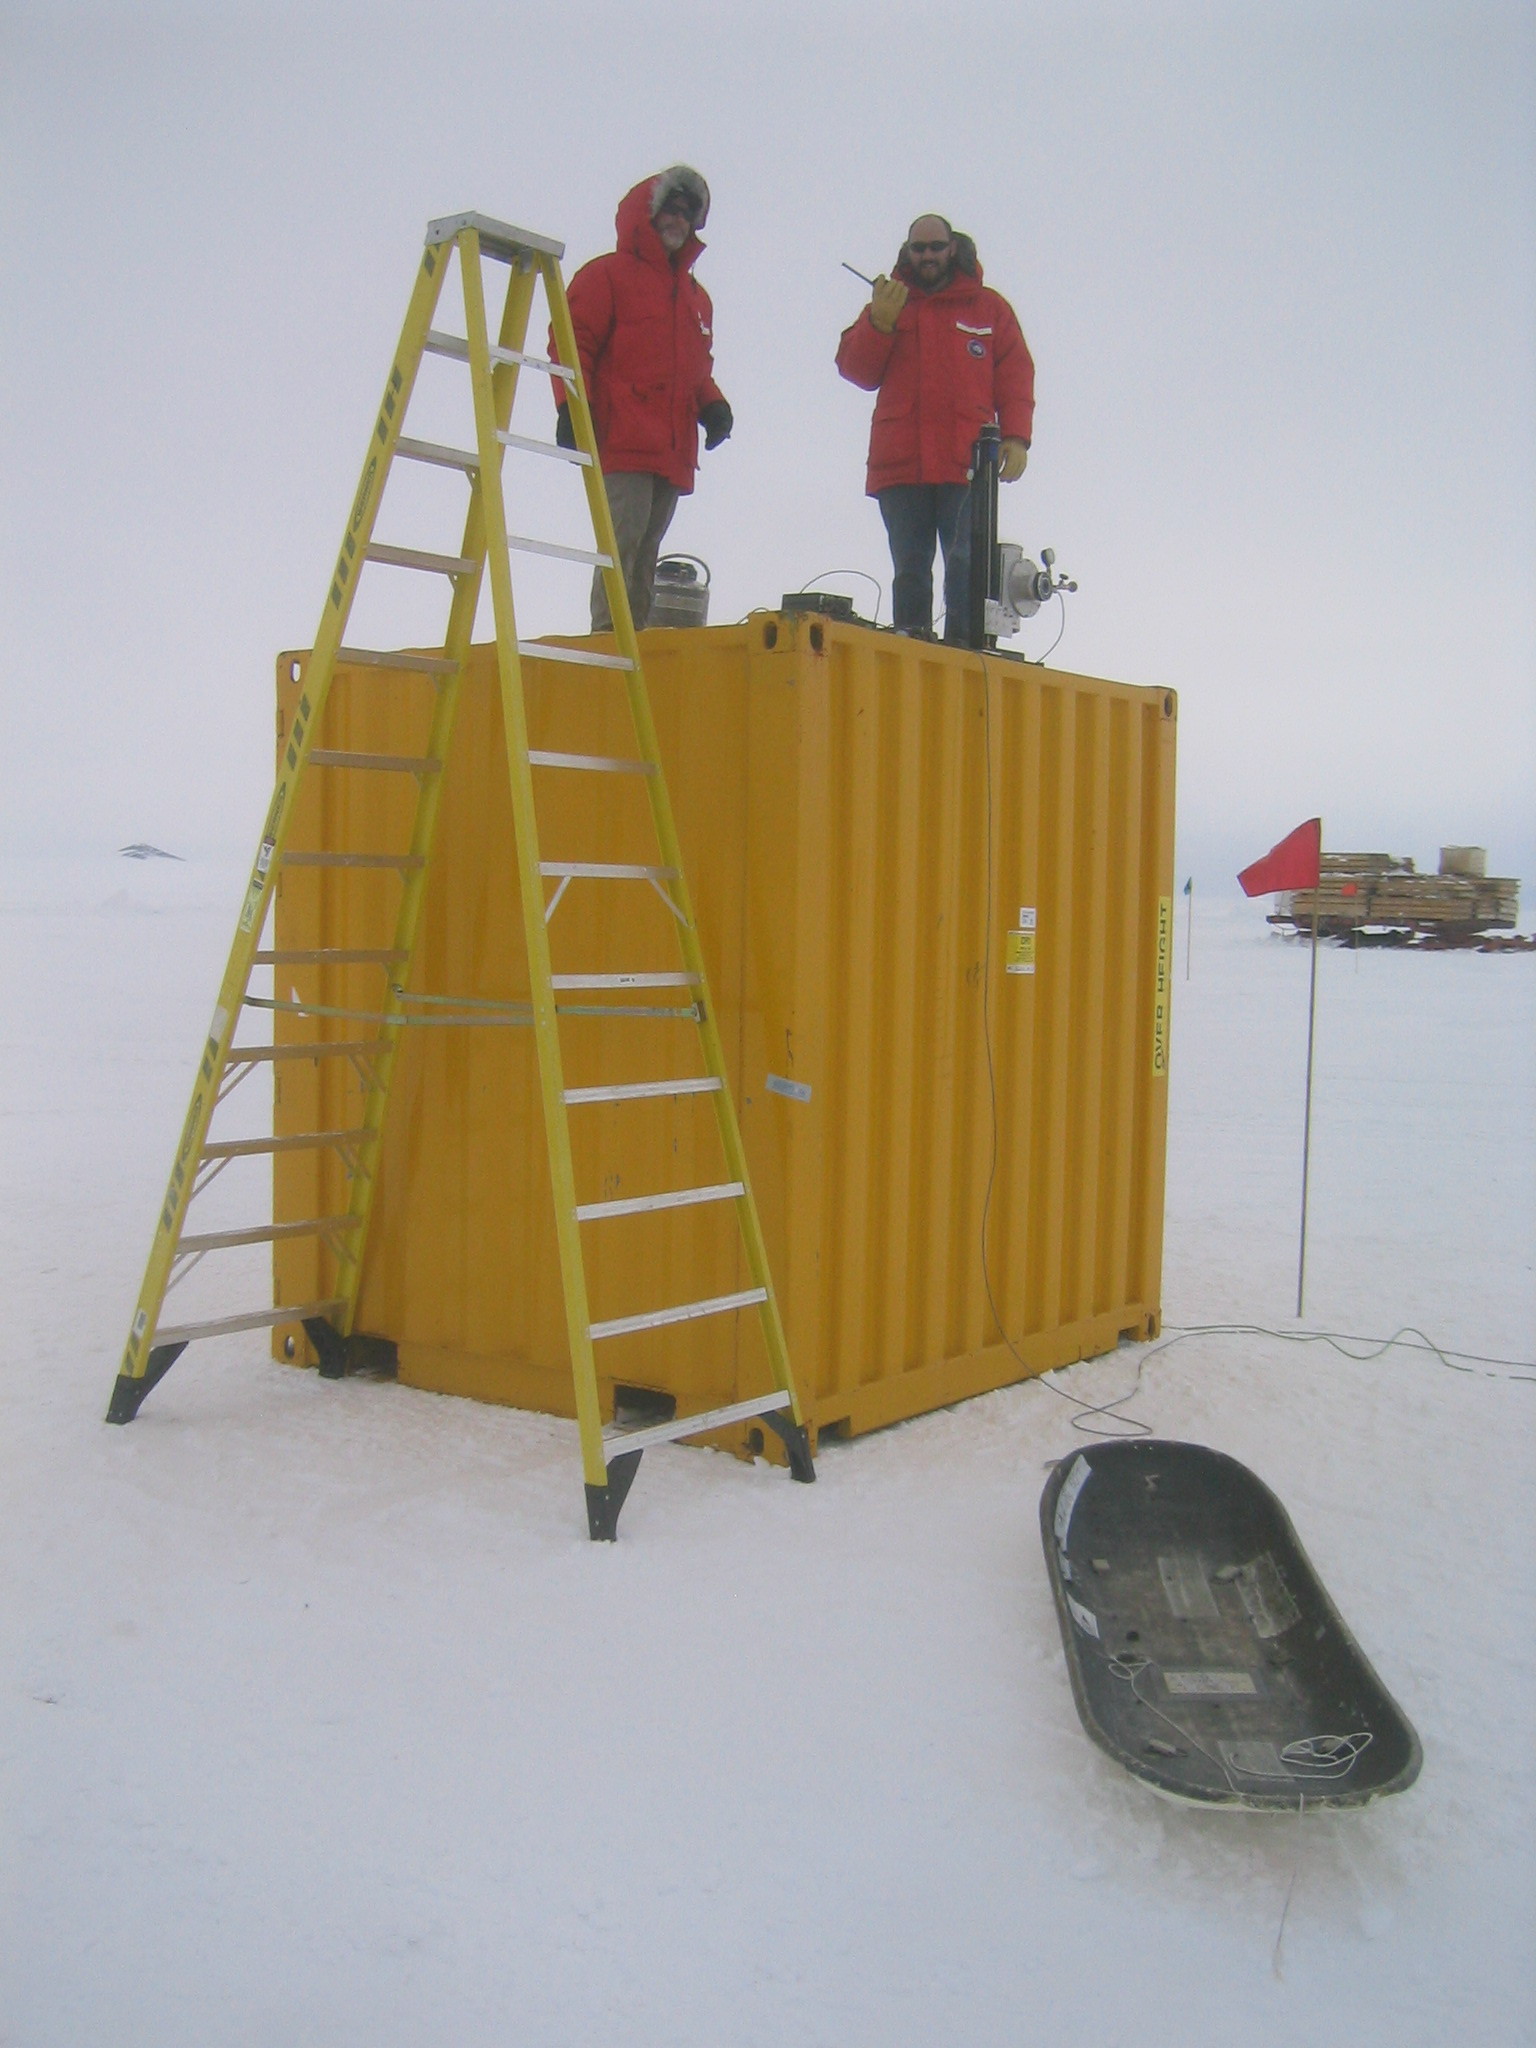
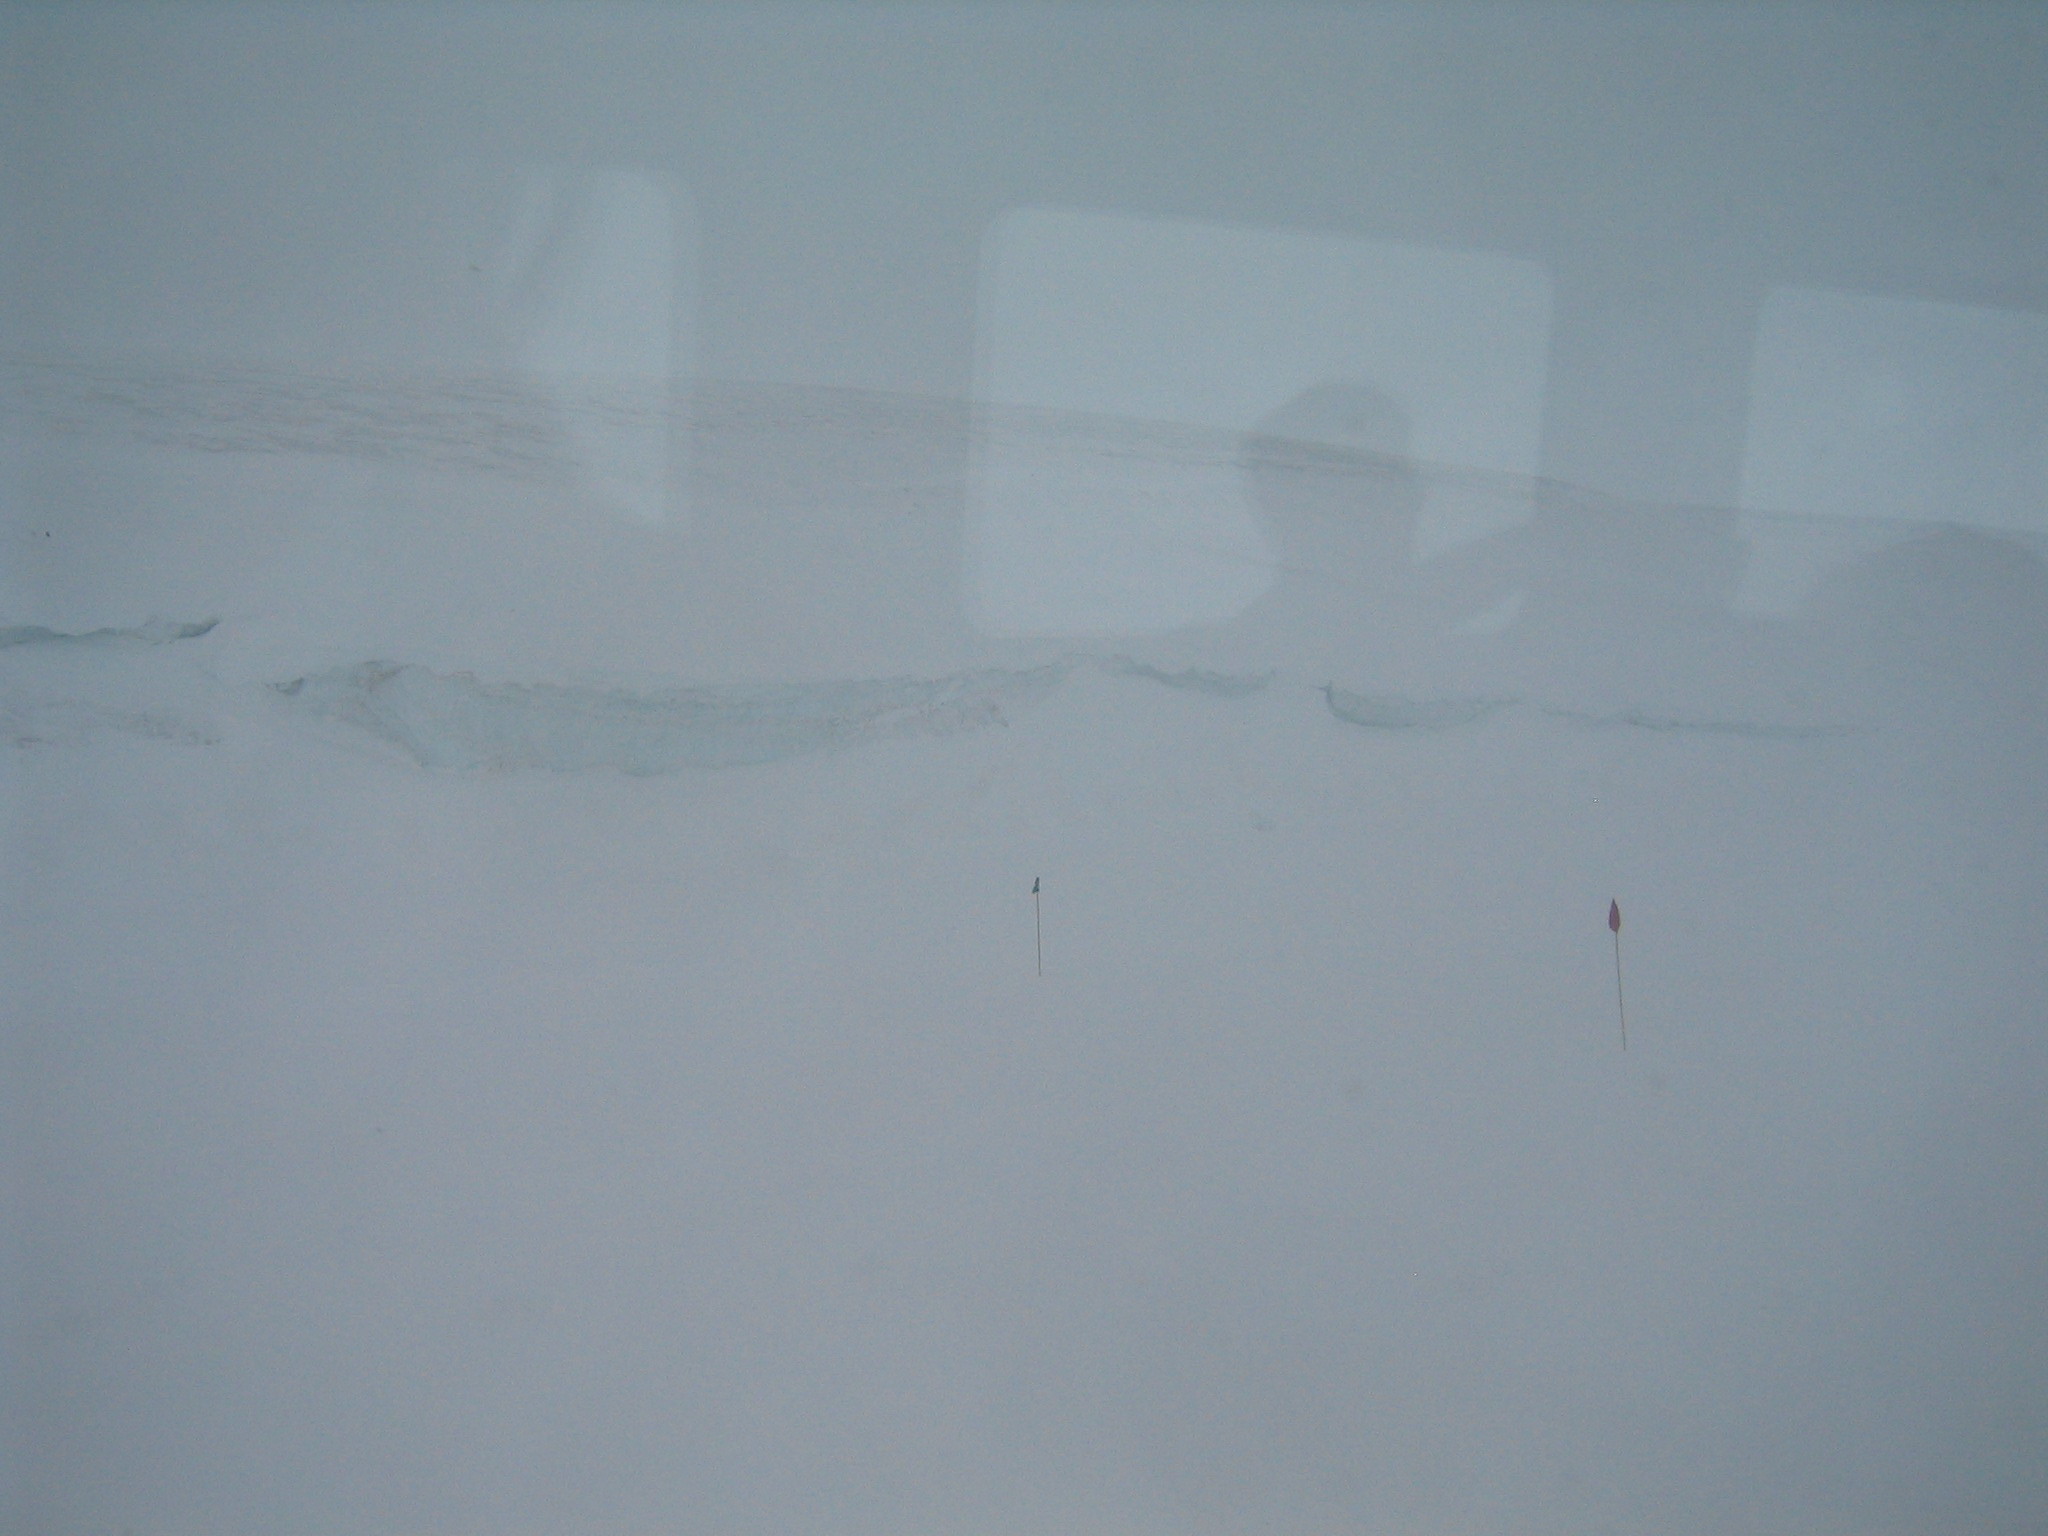
| Getting ready for the 50 meter test. The X-Y stage with chopper and cold source is out on top of the yellow shipping container. The row of red flags demark the cables running over the snow out to the X-Y stage. The flags are there so no-one drives over them. |
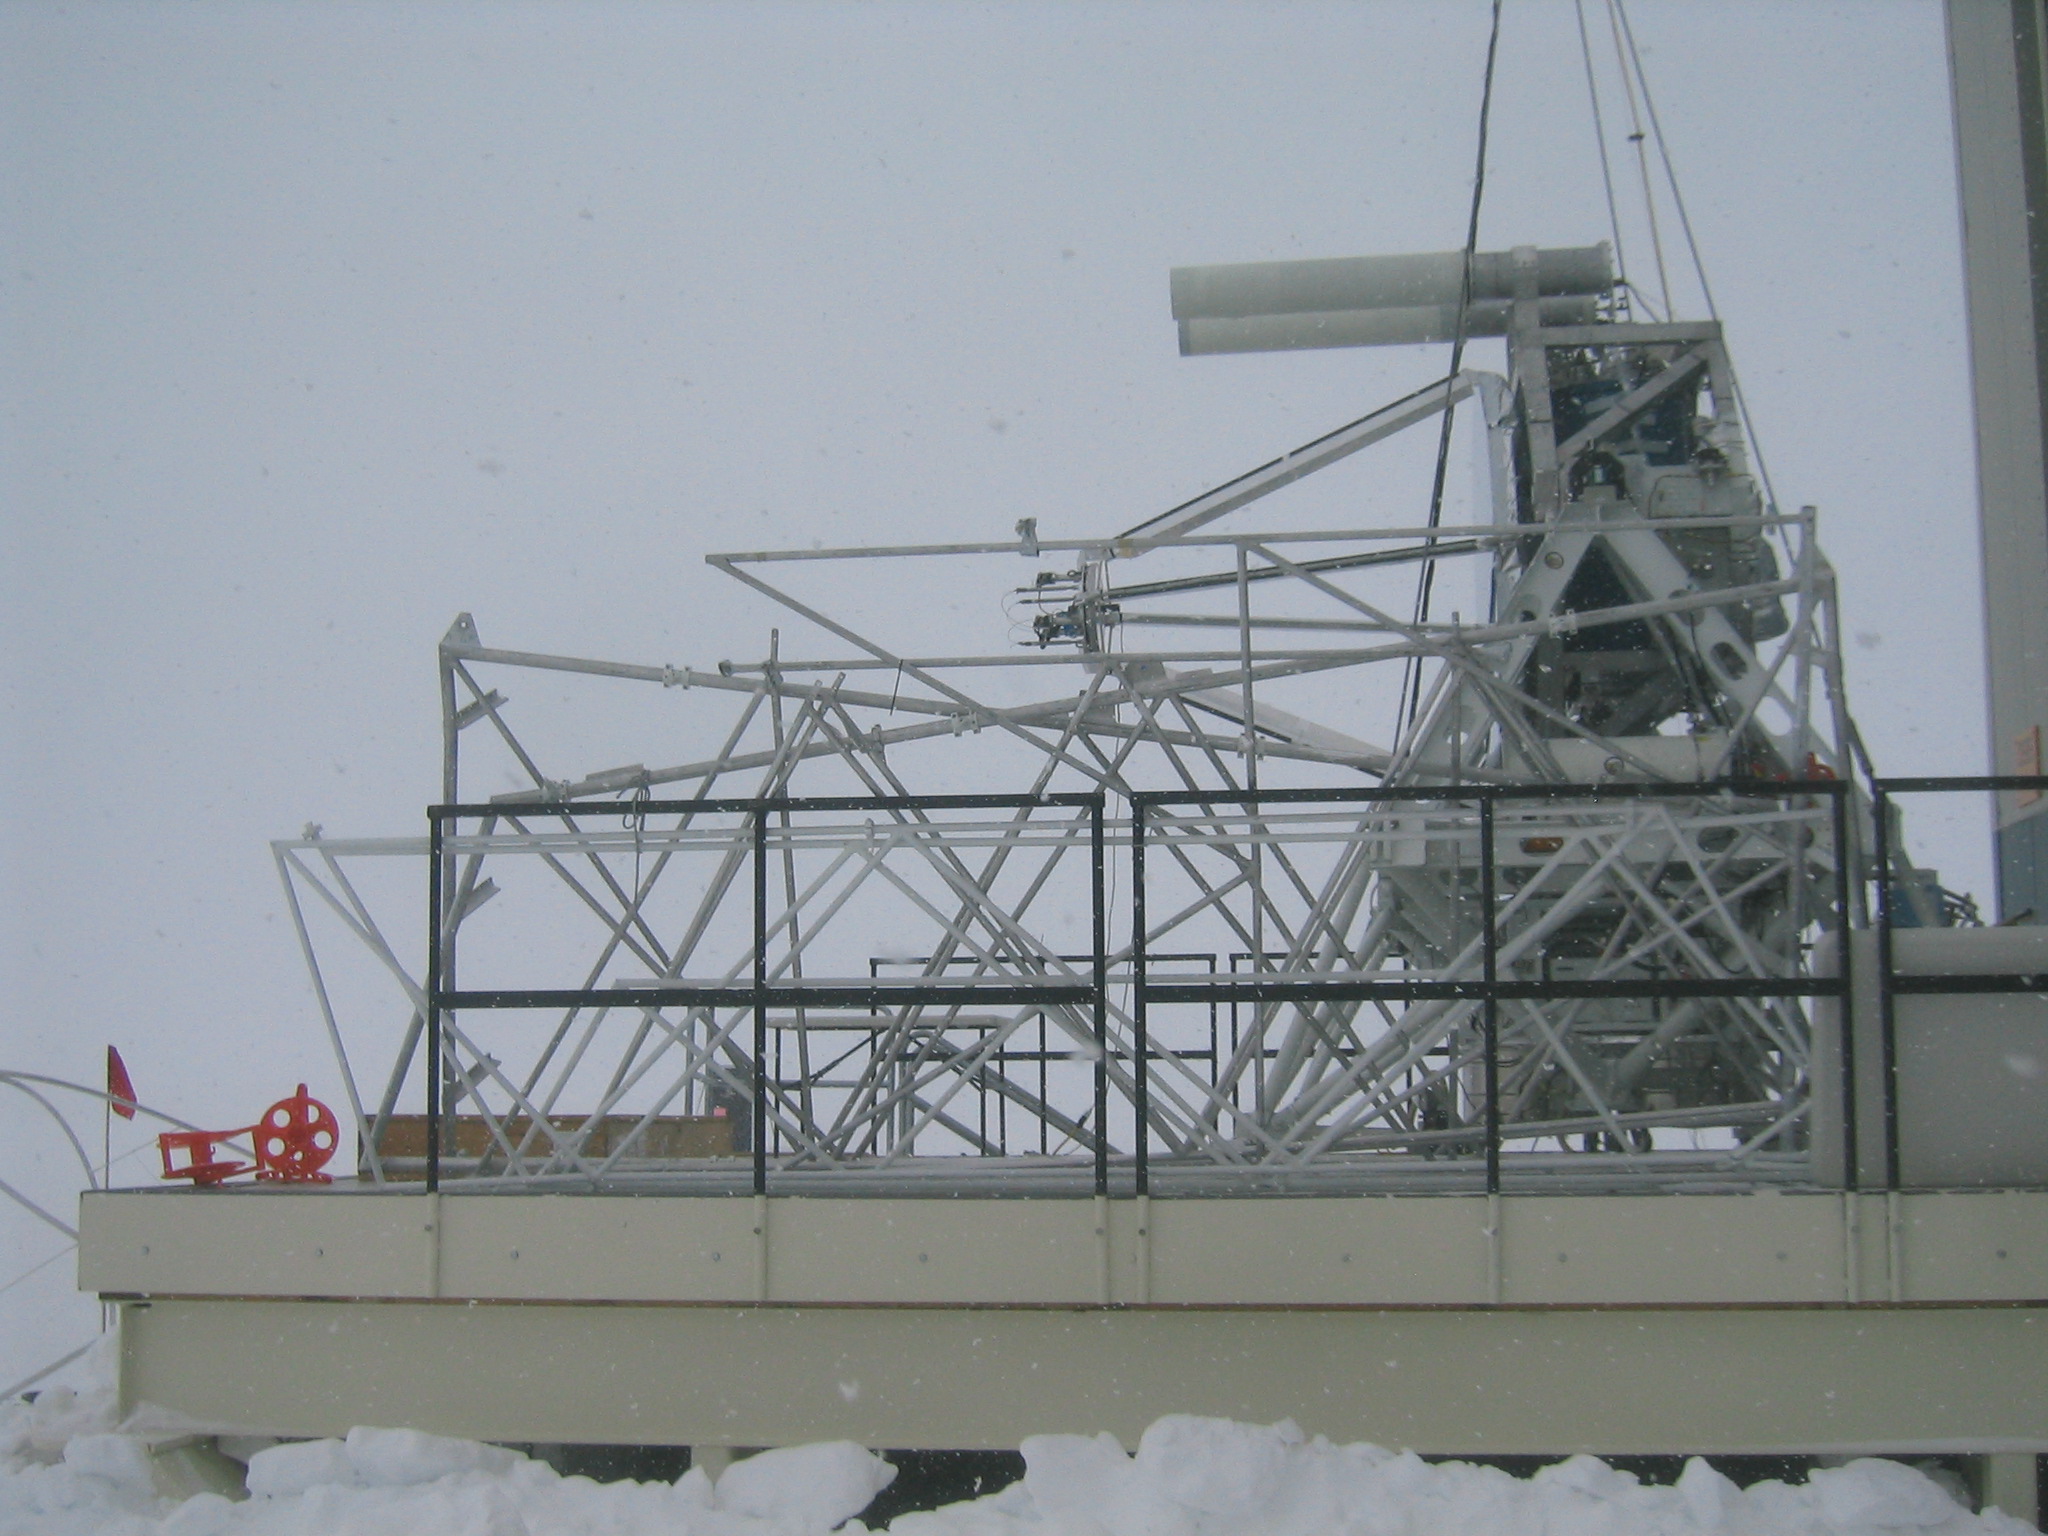
| BLAST on the porch for the scan. |
| BLAST on the porch for the scan. |
| Setting up for the test. |
| Matt and Marie set up the X-Y Stage. |
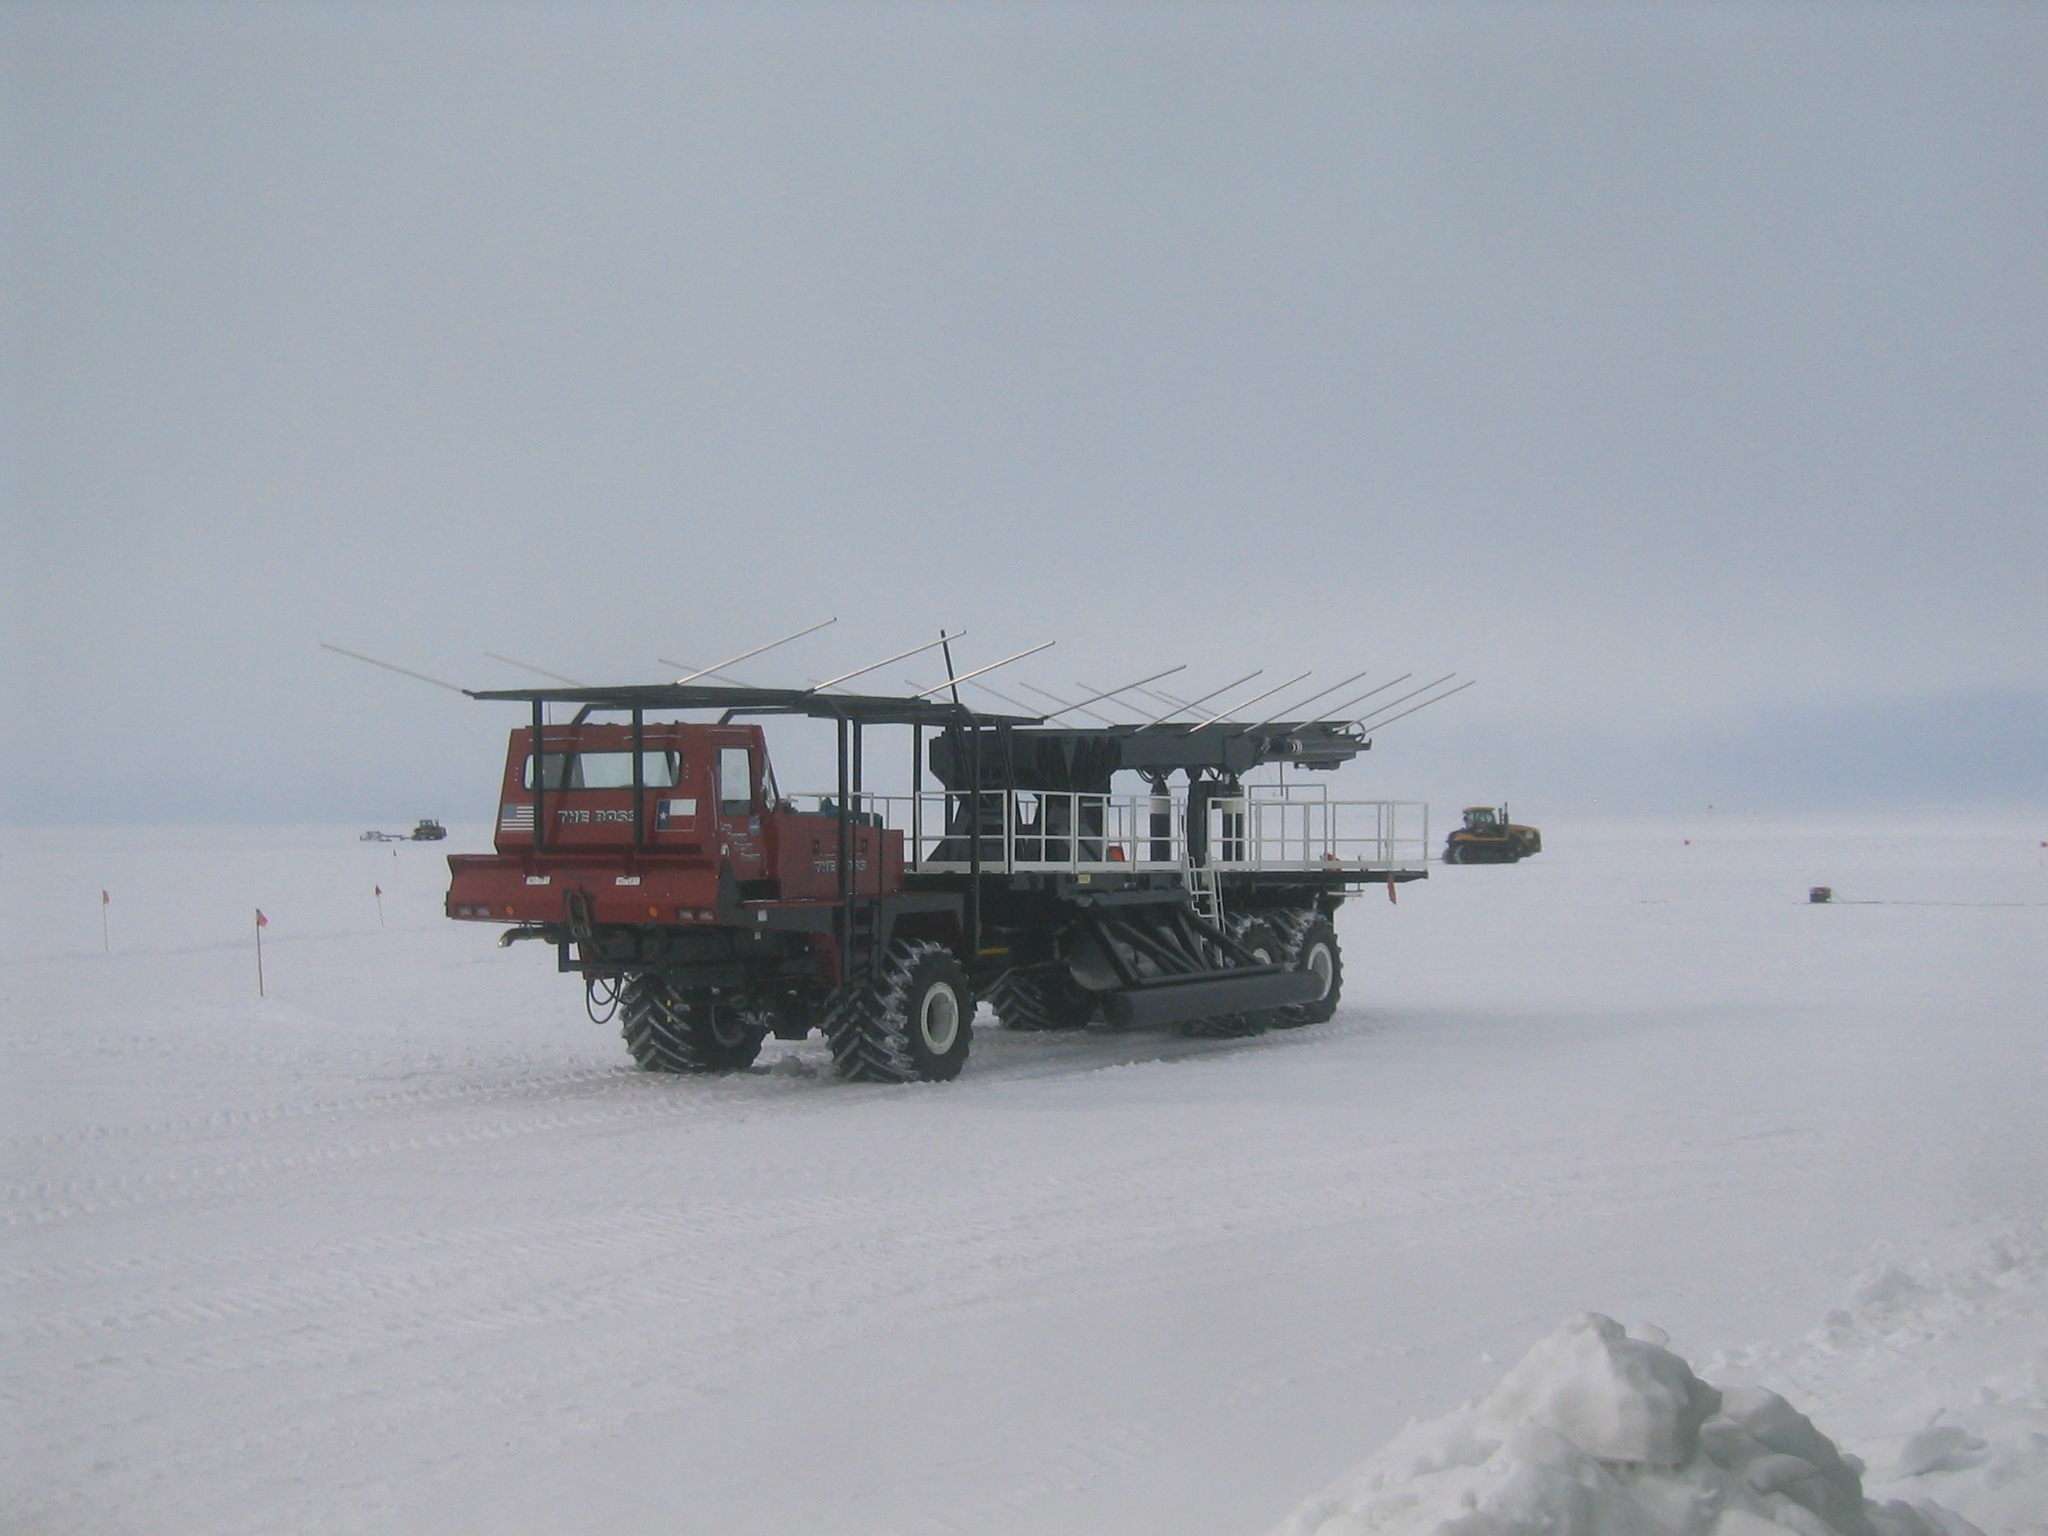
| The Boss goes for a drive. |
| Devlin and Matt on top of the container trying to get everything into position. |
| Devlin and Matt on top of the container trying to get everything into position. |
| Testing alignment. |
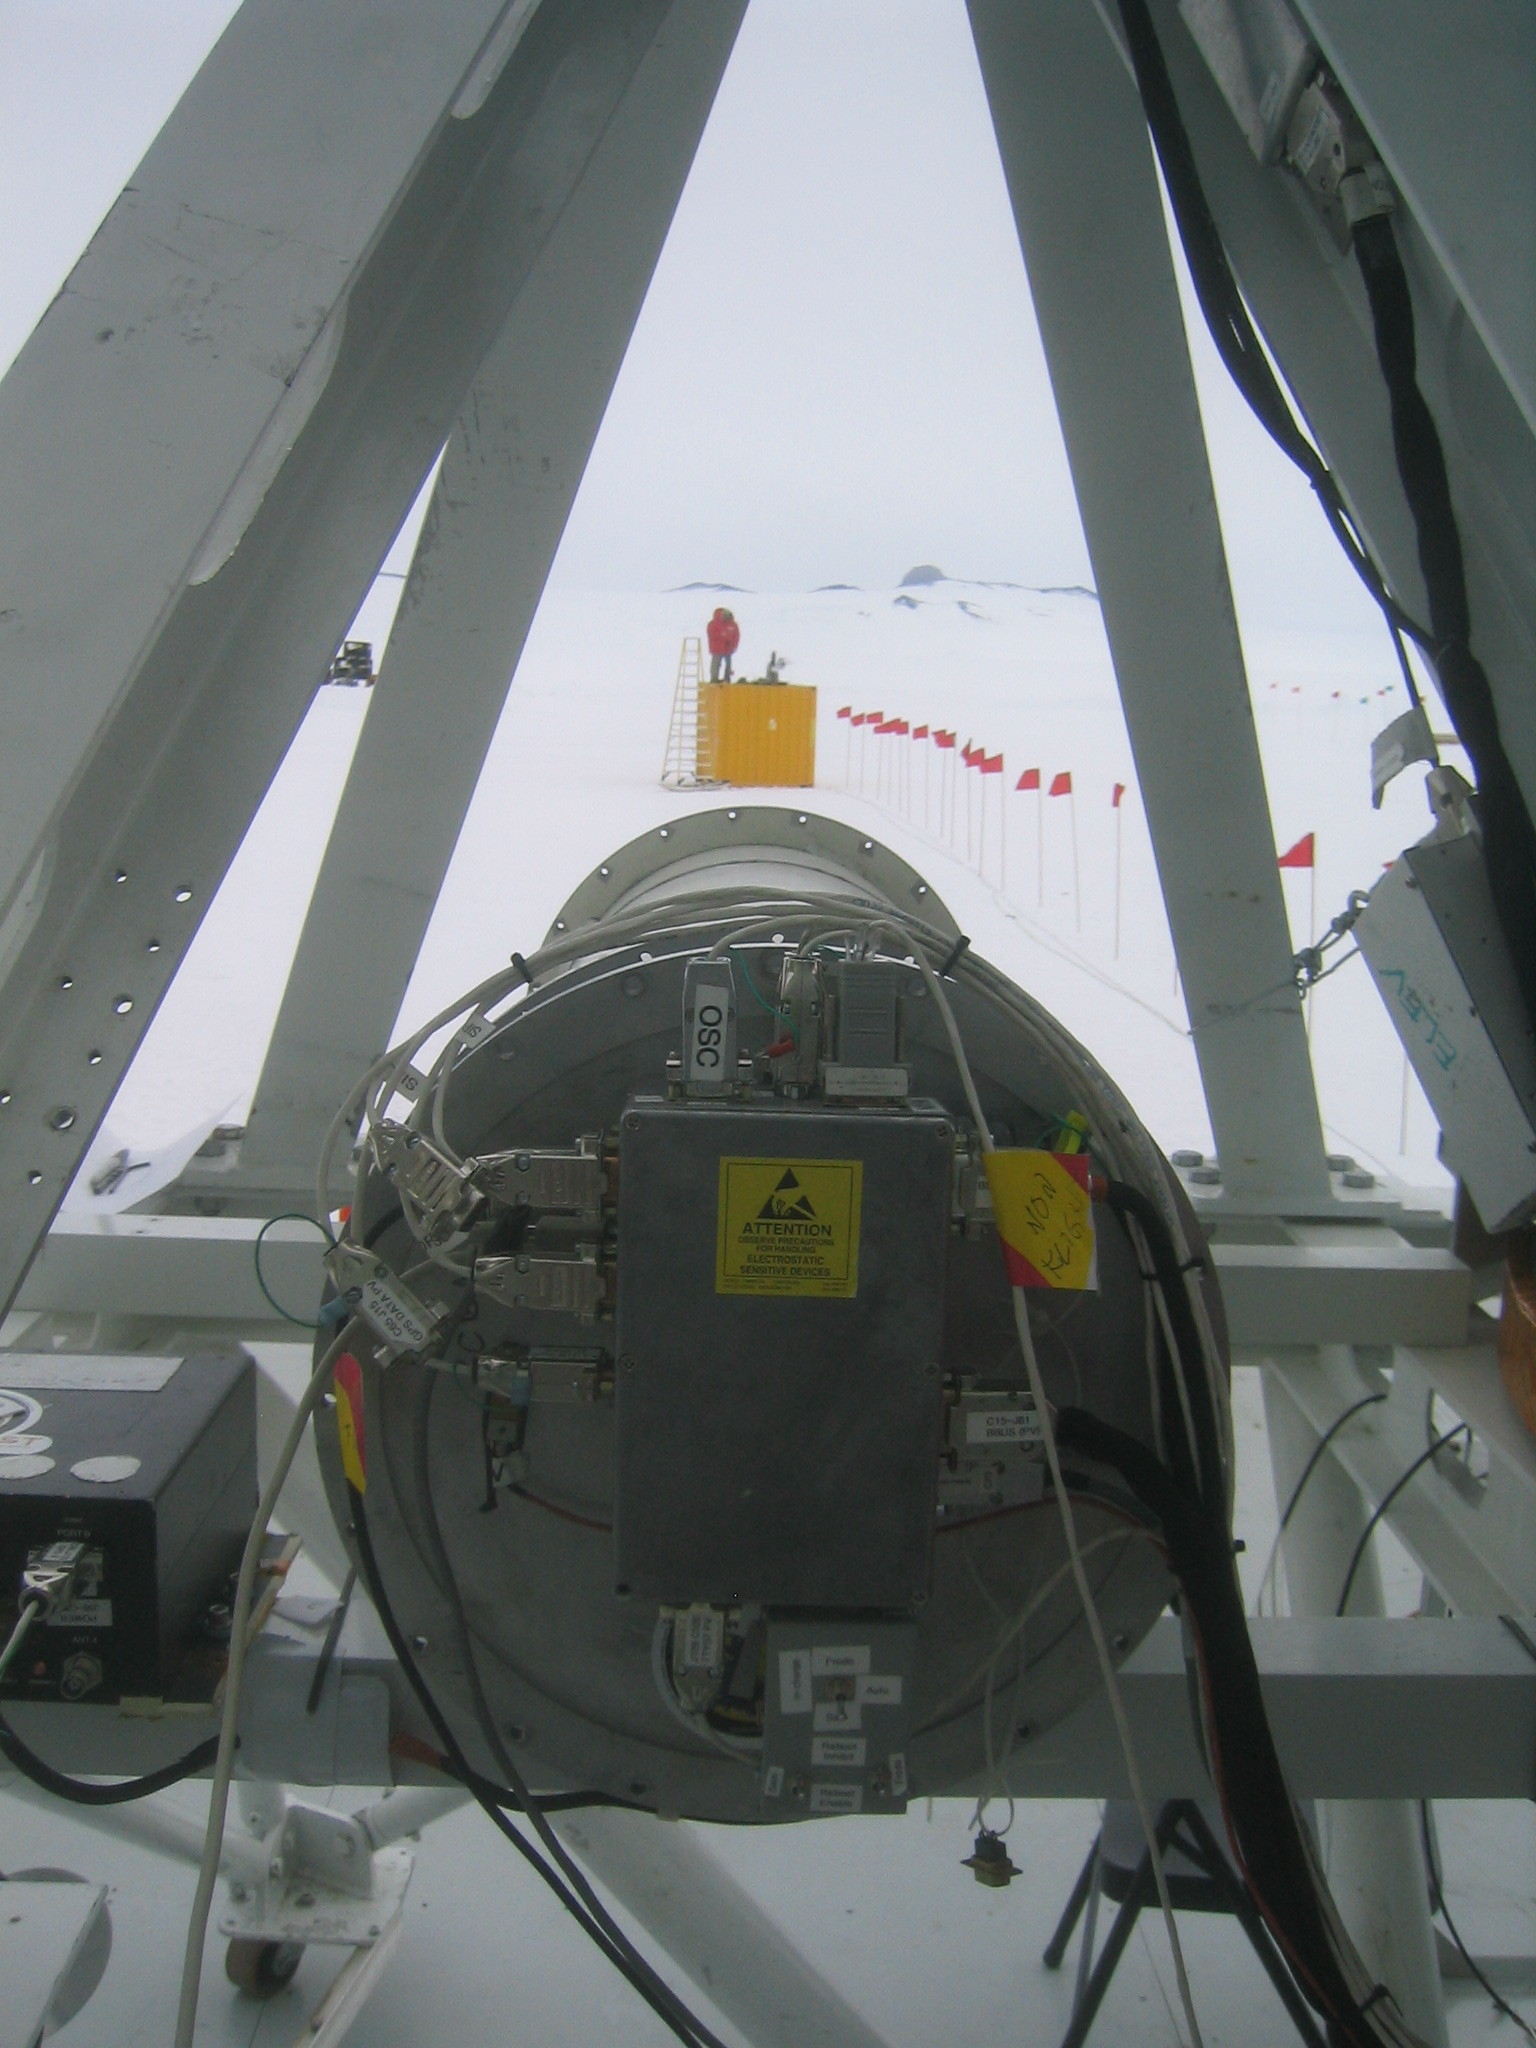
| Looking out towards the container. |
| BLAST on the porch. |
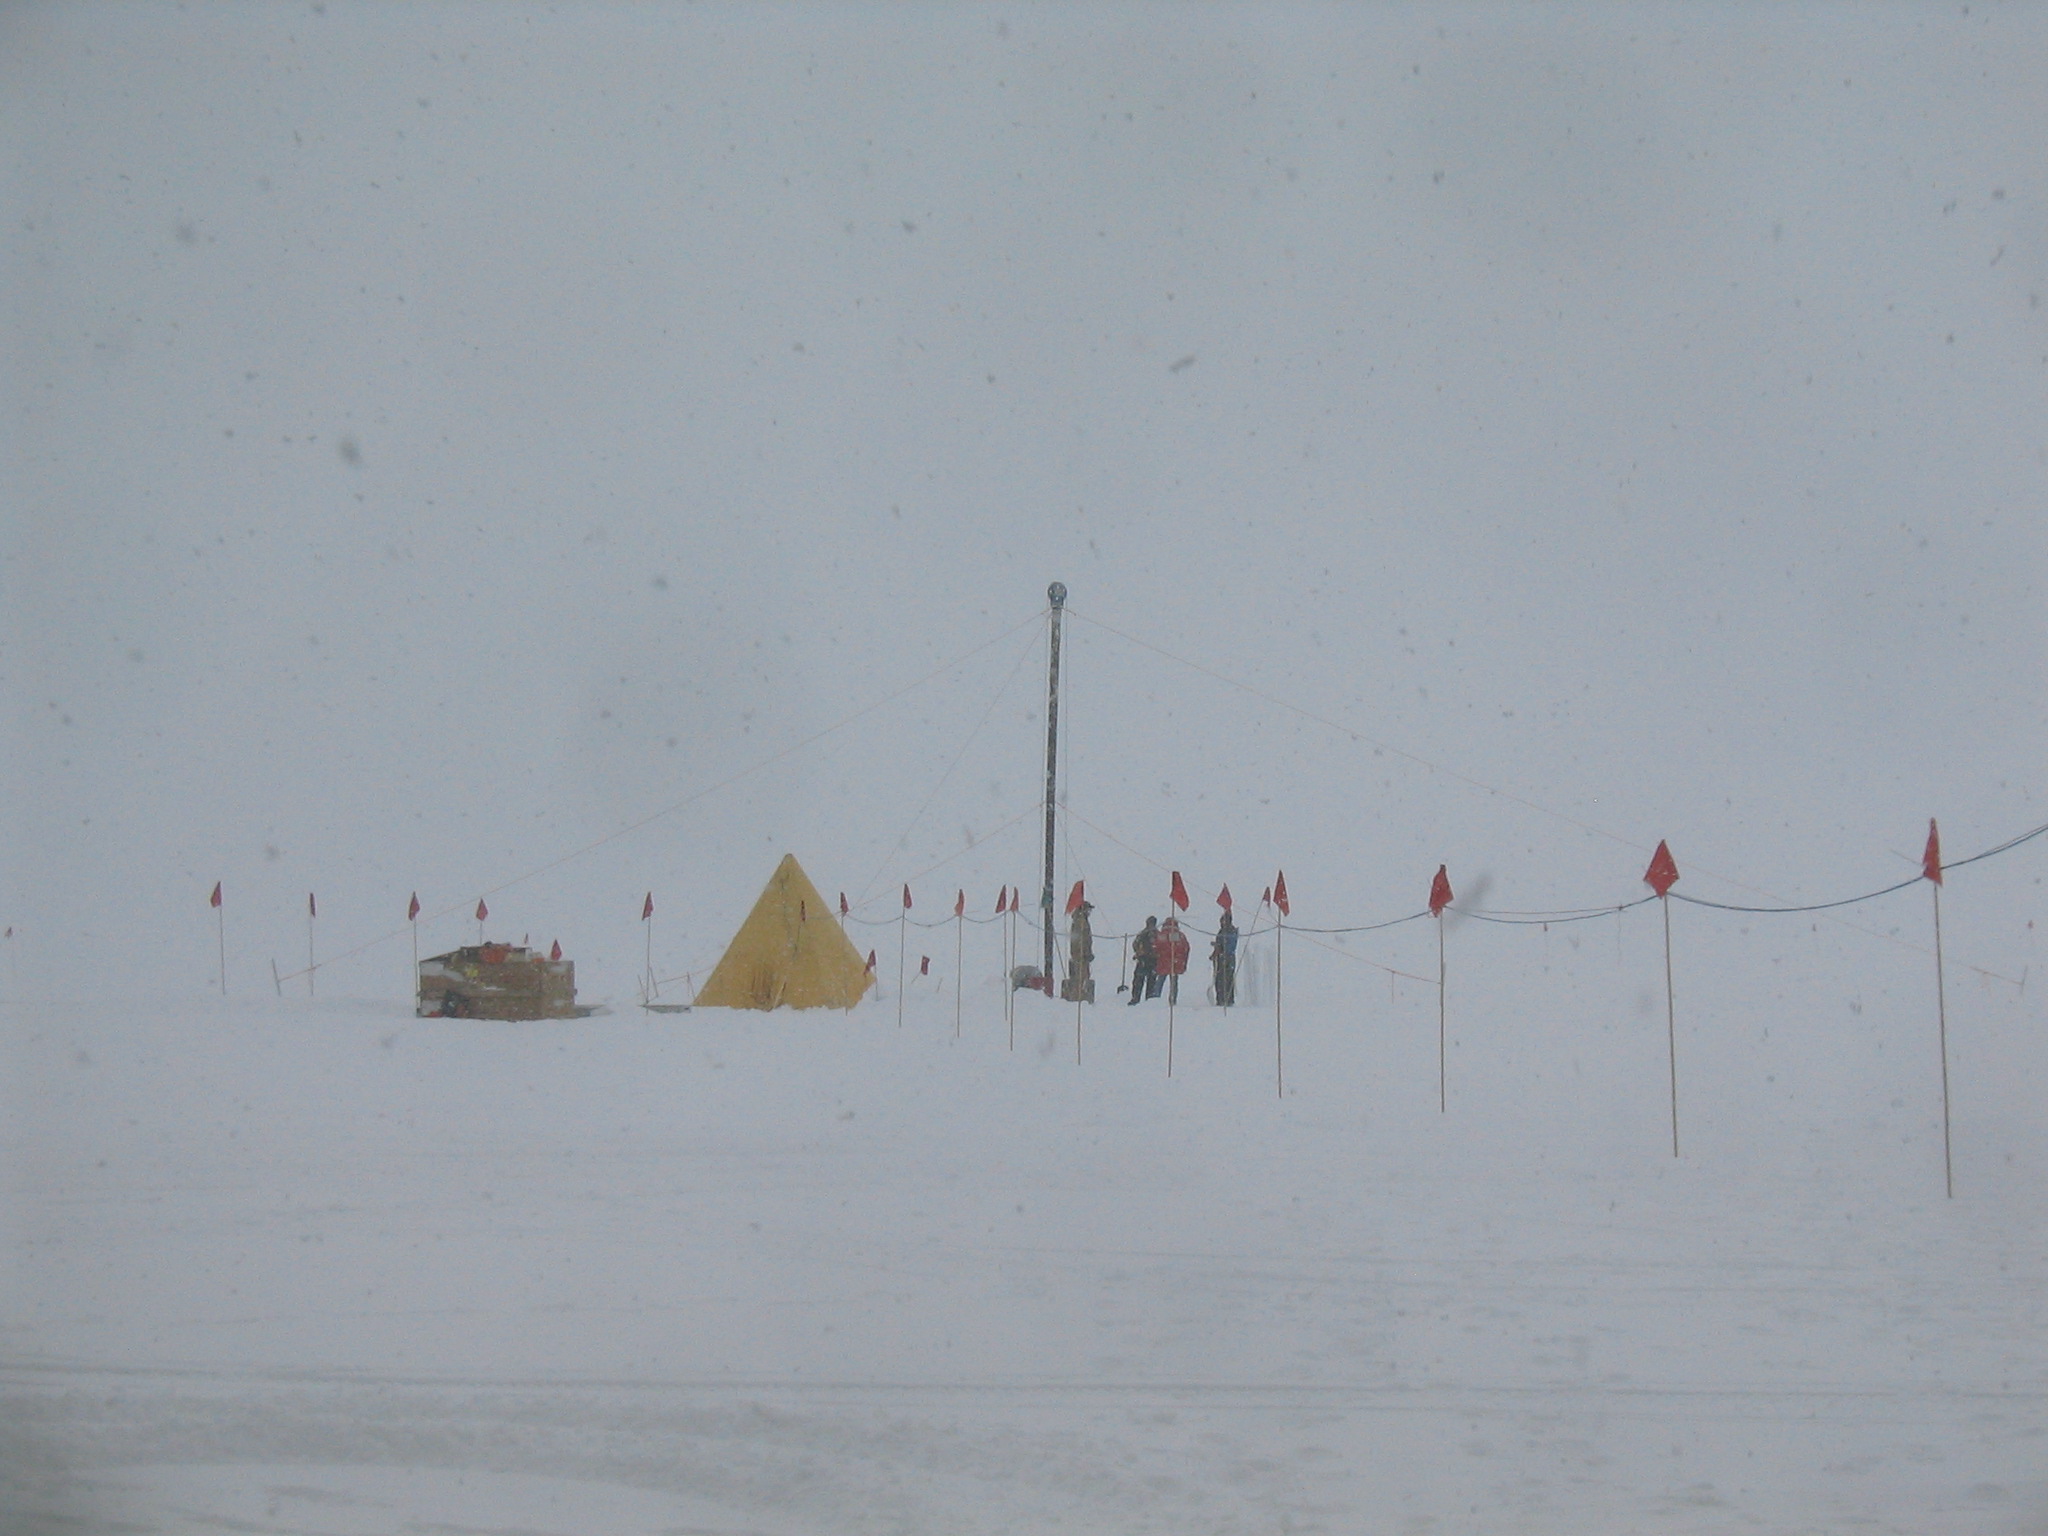
| Anita's rig. They've erected a Scott Tent (the yellow pyramid), which were developed for Scott's expeditions are still the standard today. They're the only tent designed for the Antarctic climate. |
| BLAST on the porch. |
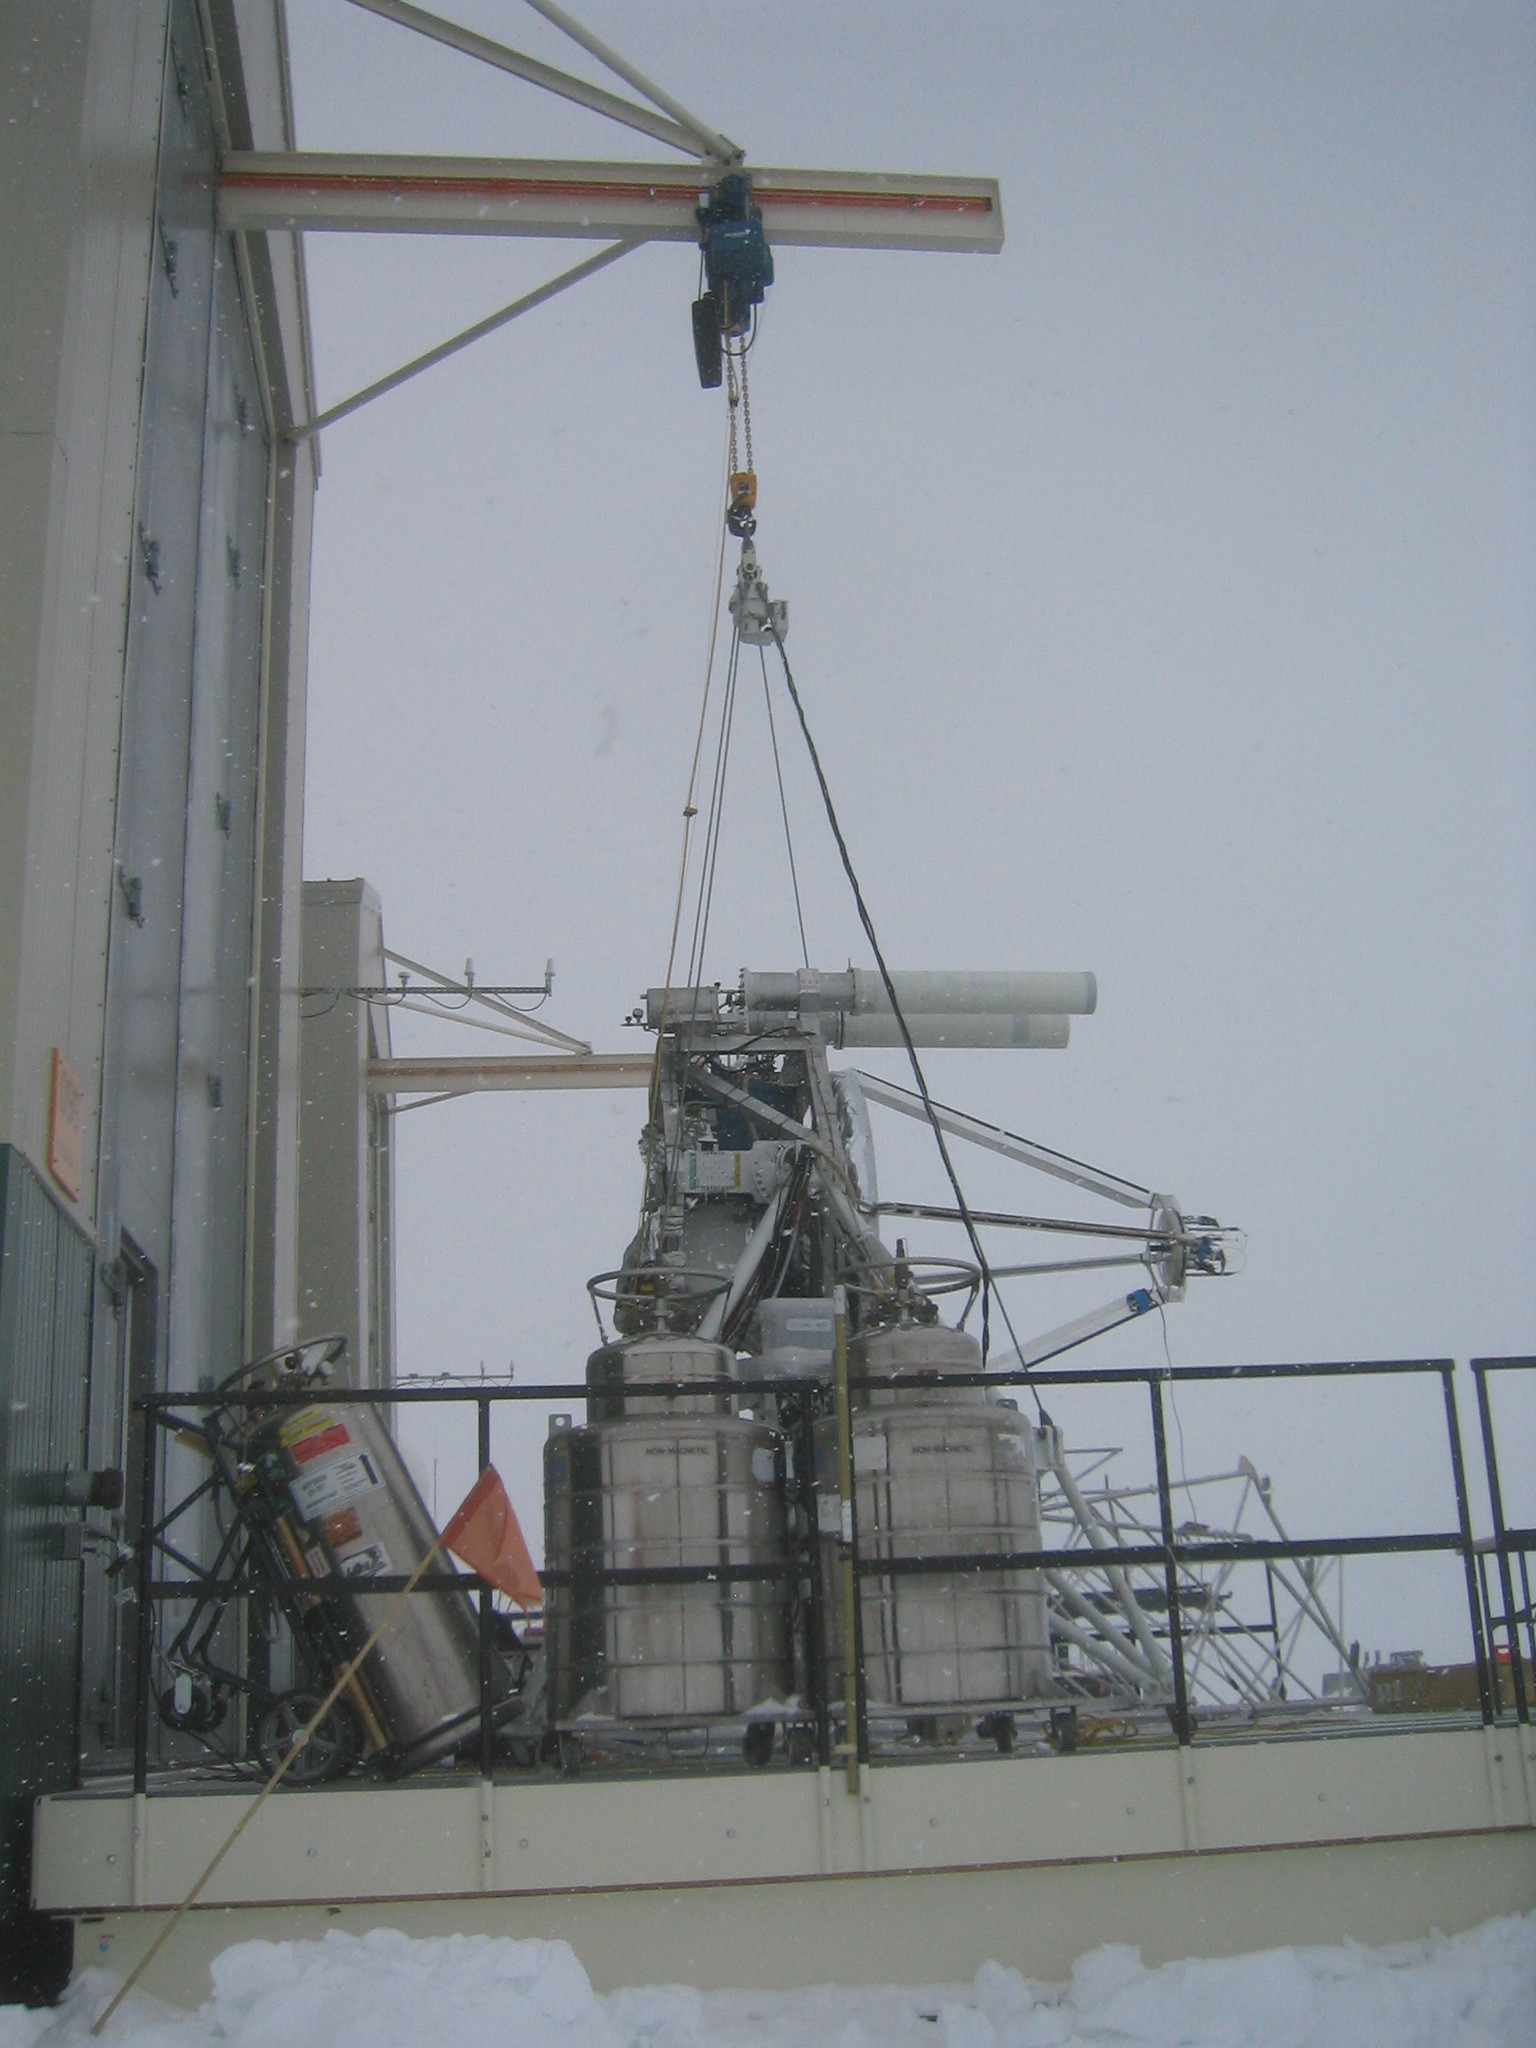
| Clearing the snow off BLAST and bringing it back inside. |
| Clearing the snow off BLAST and bringing it back inside. |
| |
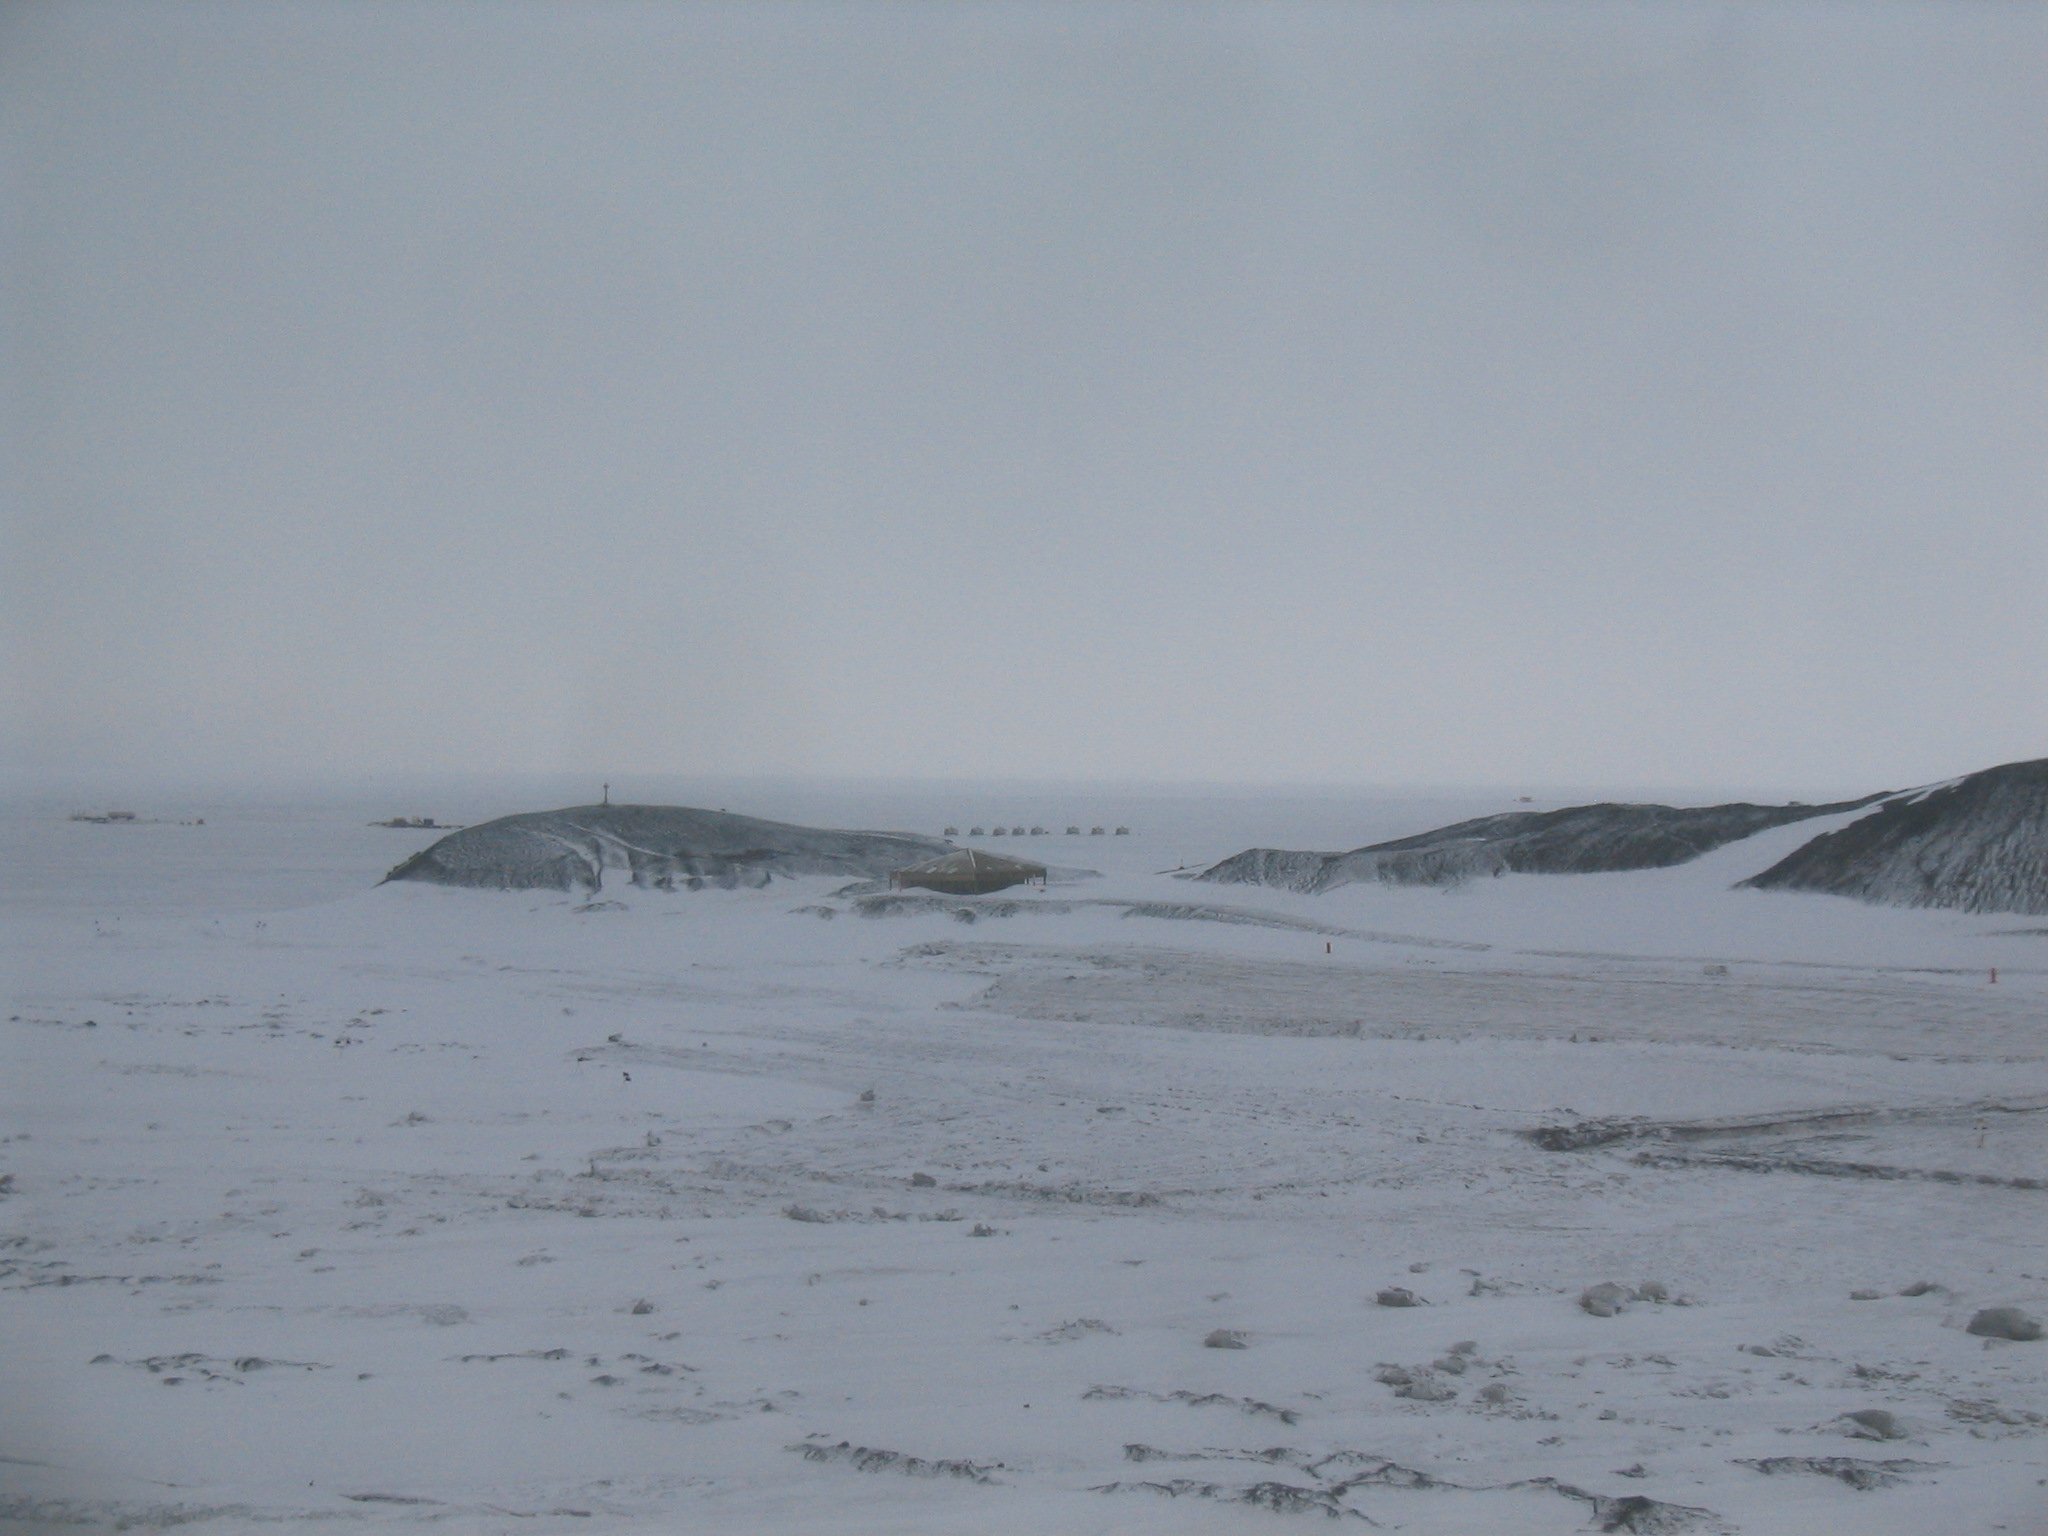
| (9340x1160, 5038.18 kb) The view towards Mount Discovery as we boarded Ivan when we headed back early due to weather. In addition to the ominous looking clouds, there are also a number of large snow vorticies in the distance. | |
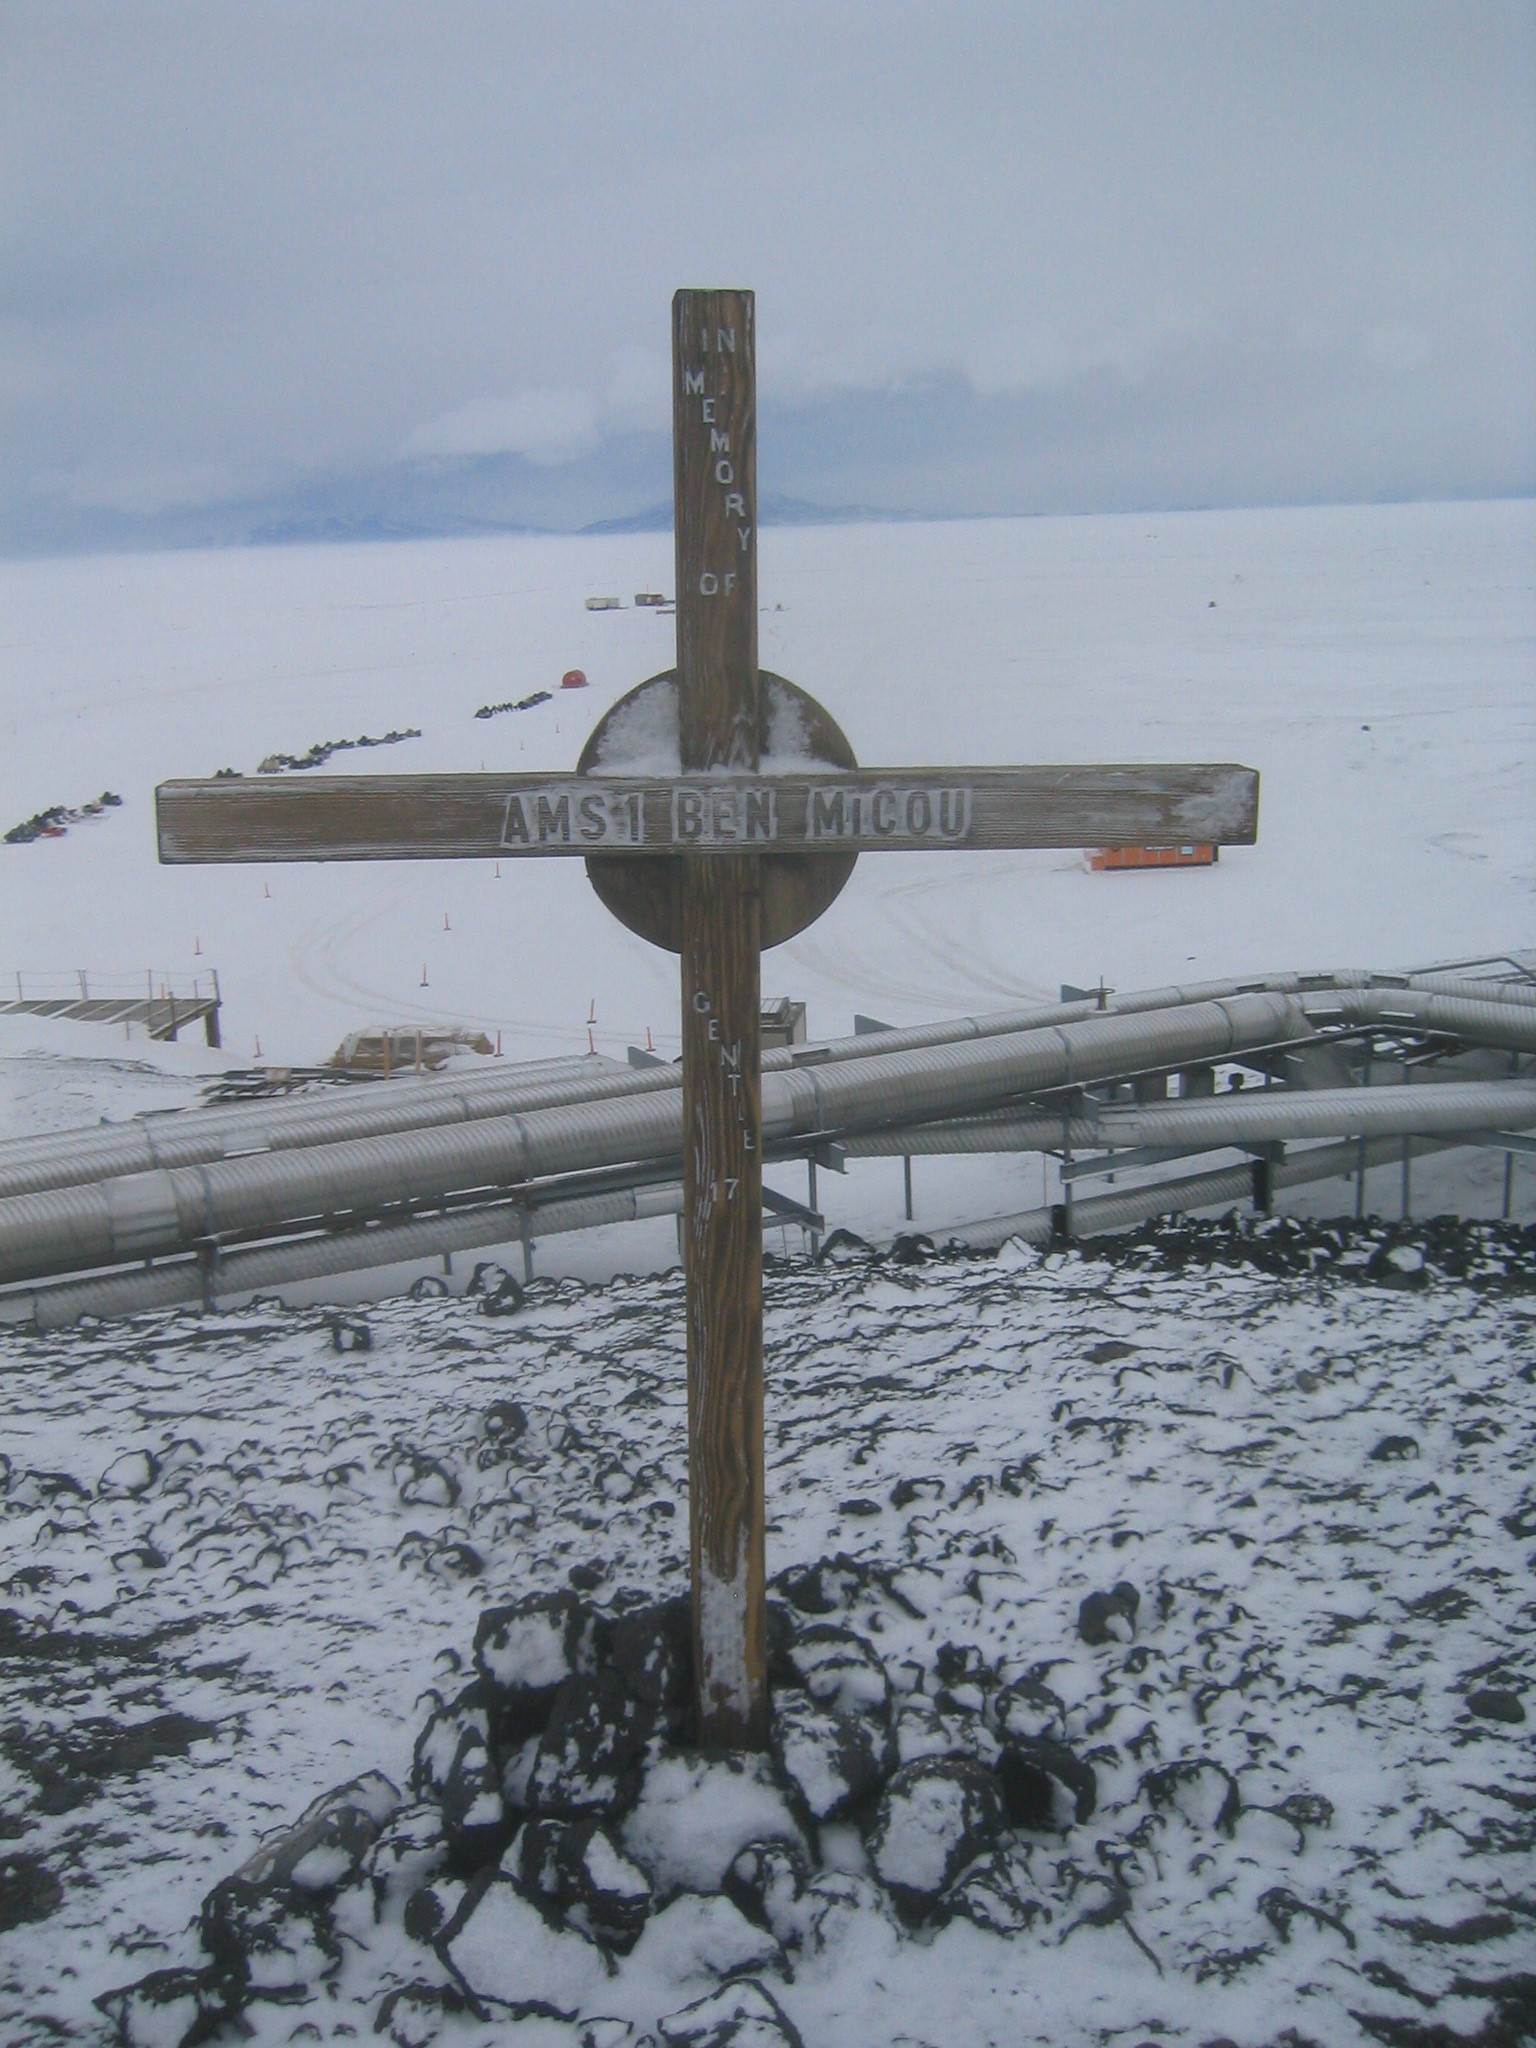
| A cross out behind the Chapel. |
| The same, after I cleared the snow off of it. |
| |
| (10456x1400, 6994.17 kb) The view southeast from station, looking over the ice runway. Despite the view, weather at McMurdo was pleasant. | |
| A helicopter comes in for a landing. |
| The helicopter down on the ground. |
| Looking back towards Fortress Rocks. |
| Hut Point. |
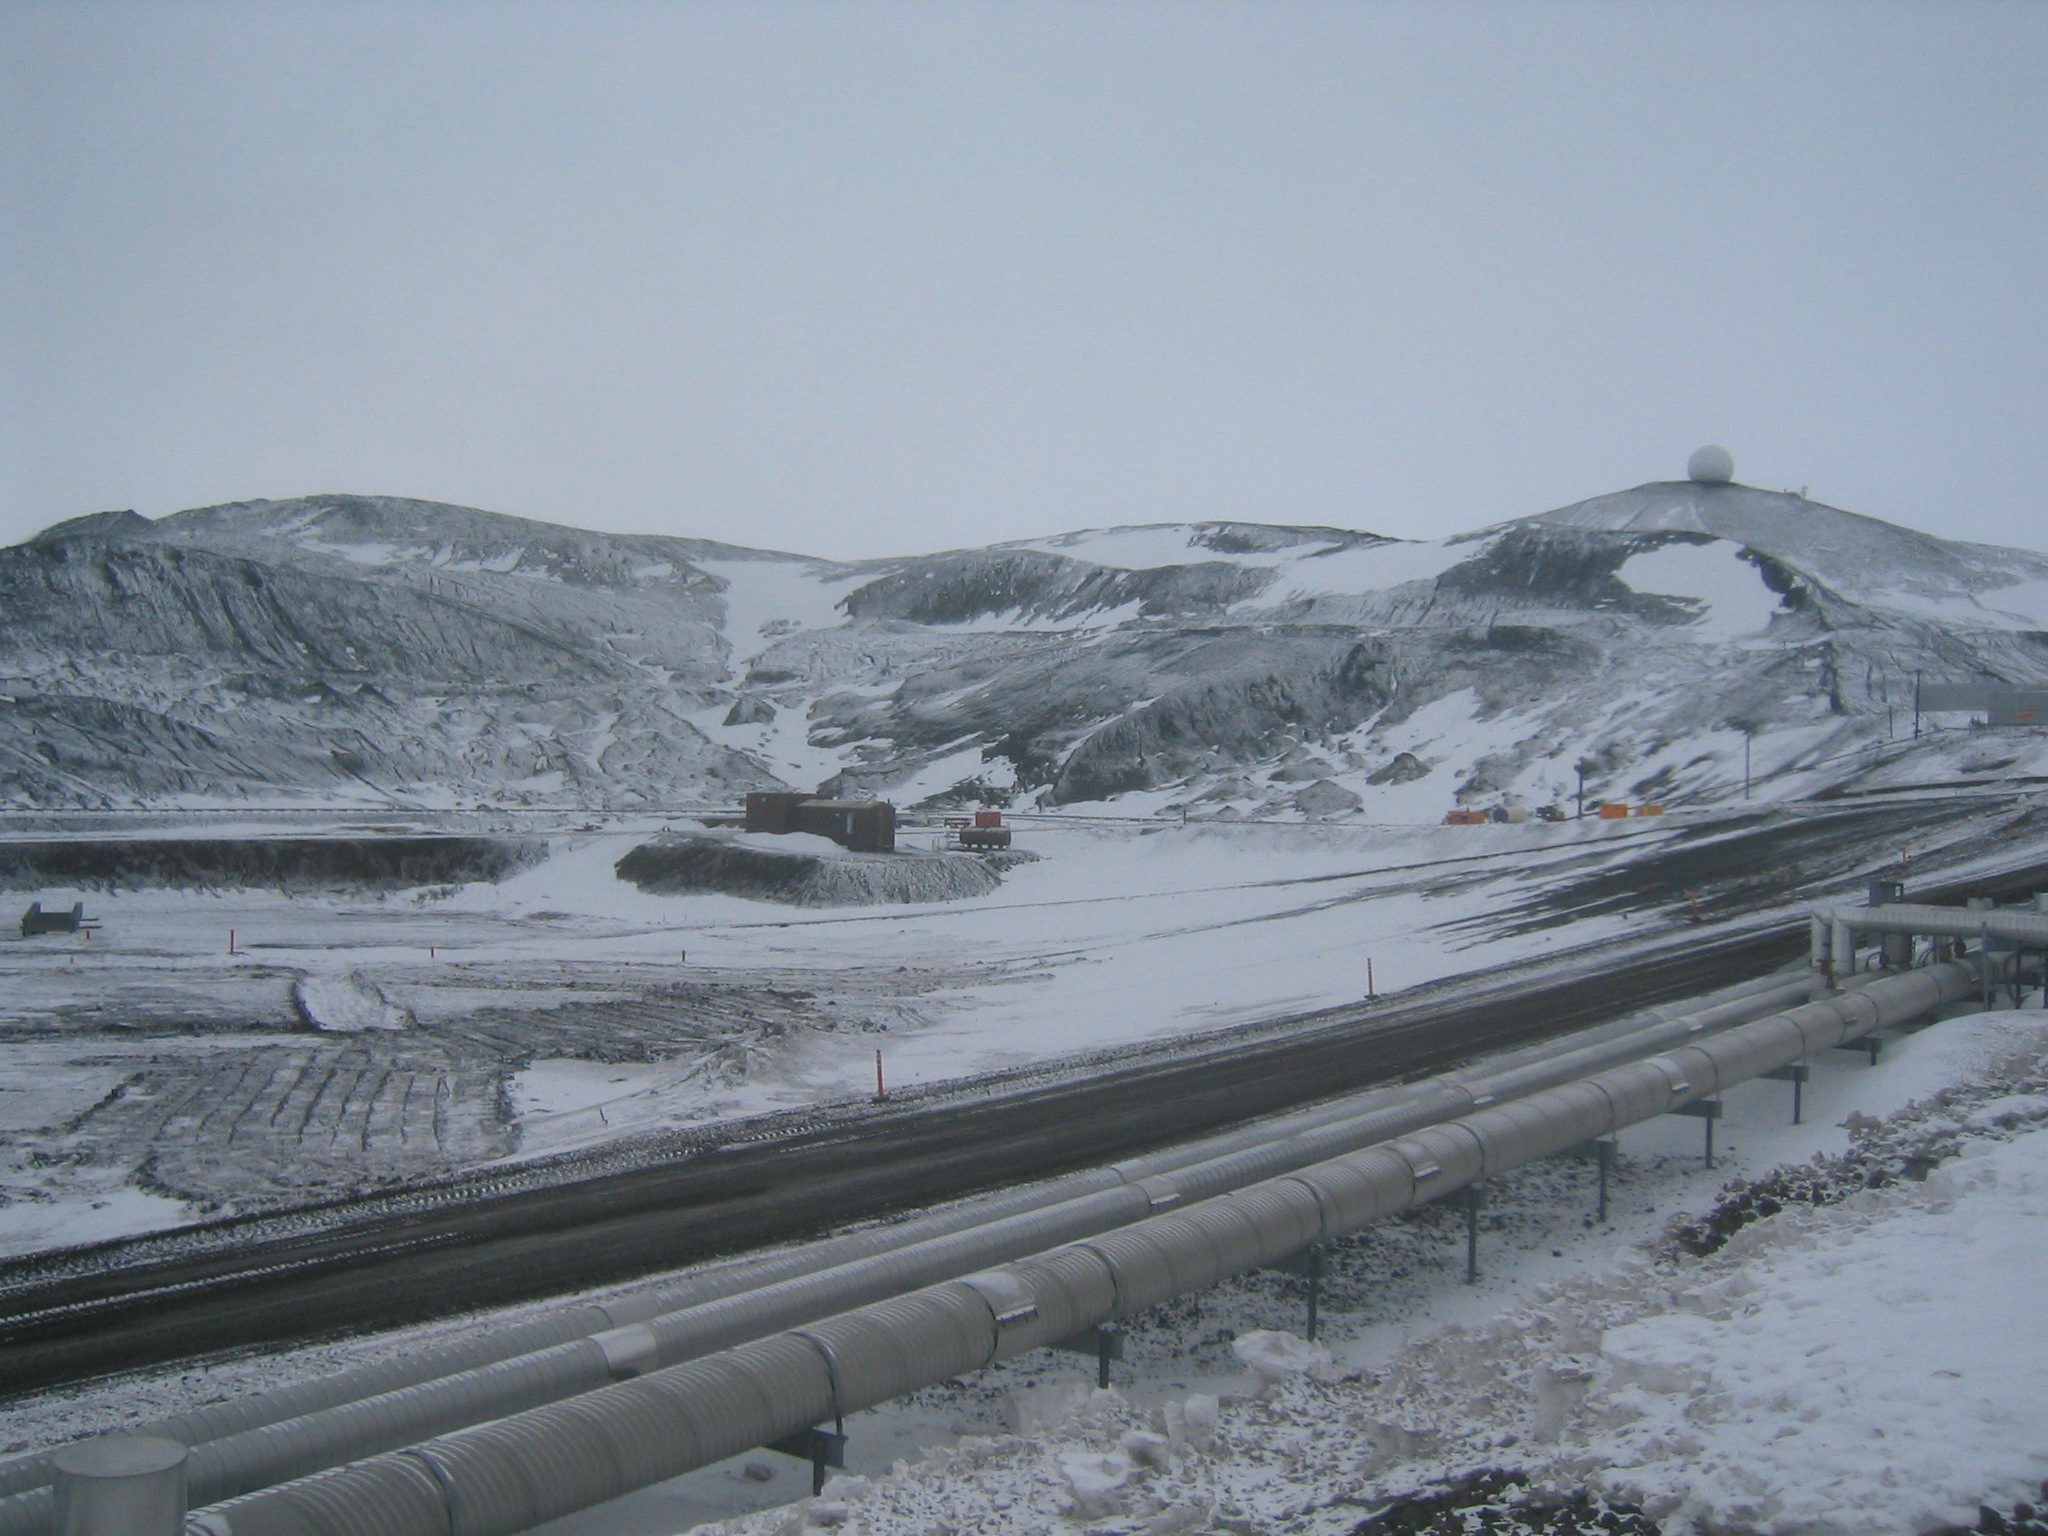
| Arrival Heights. |
| A Fines hopper in town. It took me a while to figure out what "fines" were. It's finely ground gravel, for use to provide traction in slippery areas. I still don't know why all the I's are dotted with hearts. |
| Looking up at Fortress Rocks and the T-Site. The "T" stands for "transmitters". |
| Snow on the Fortress Rocks on the ride out to LDB. |
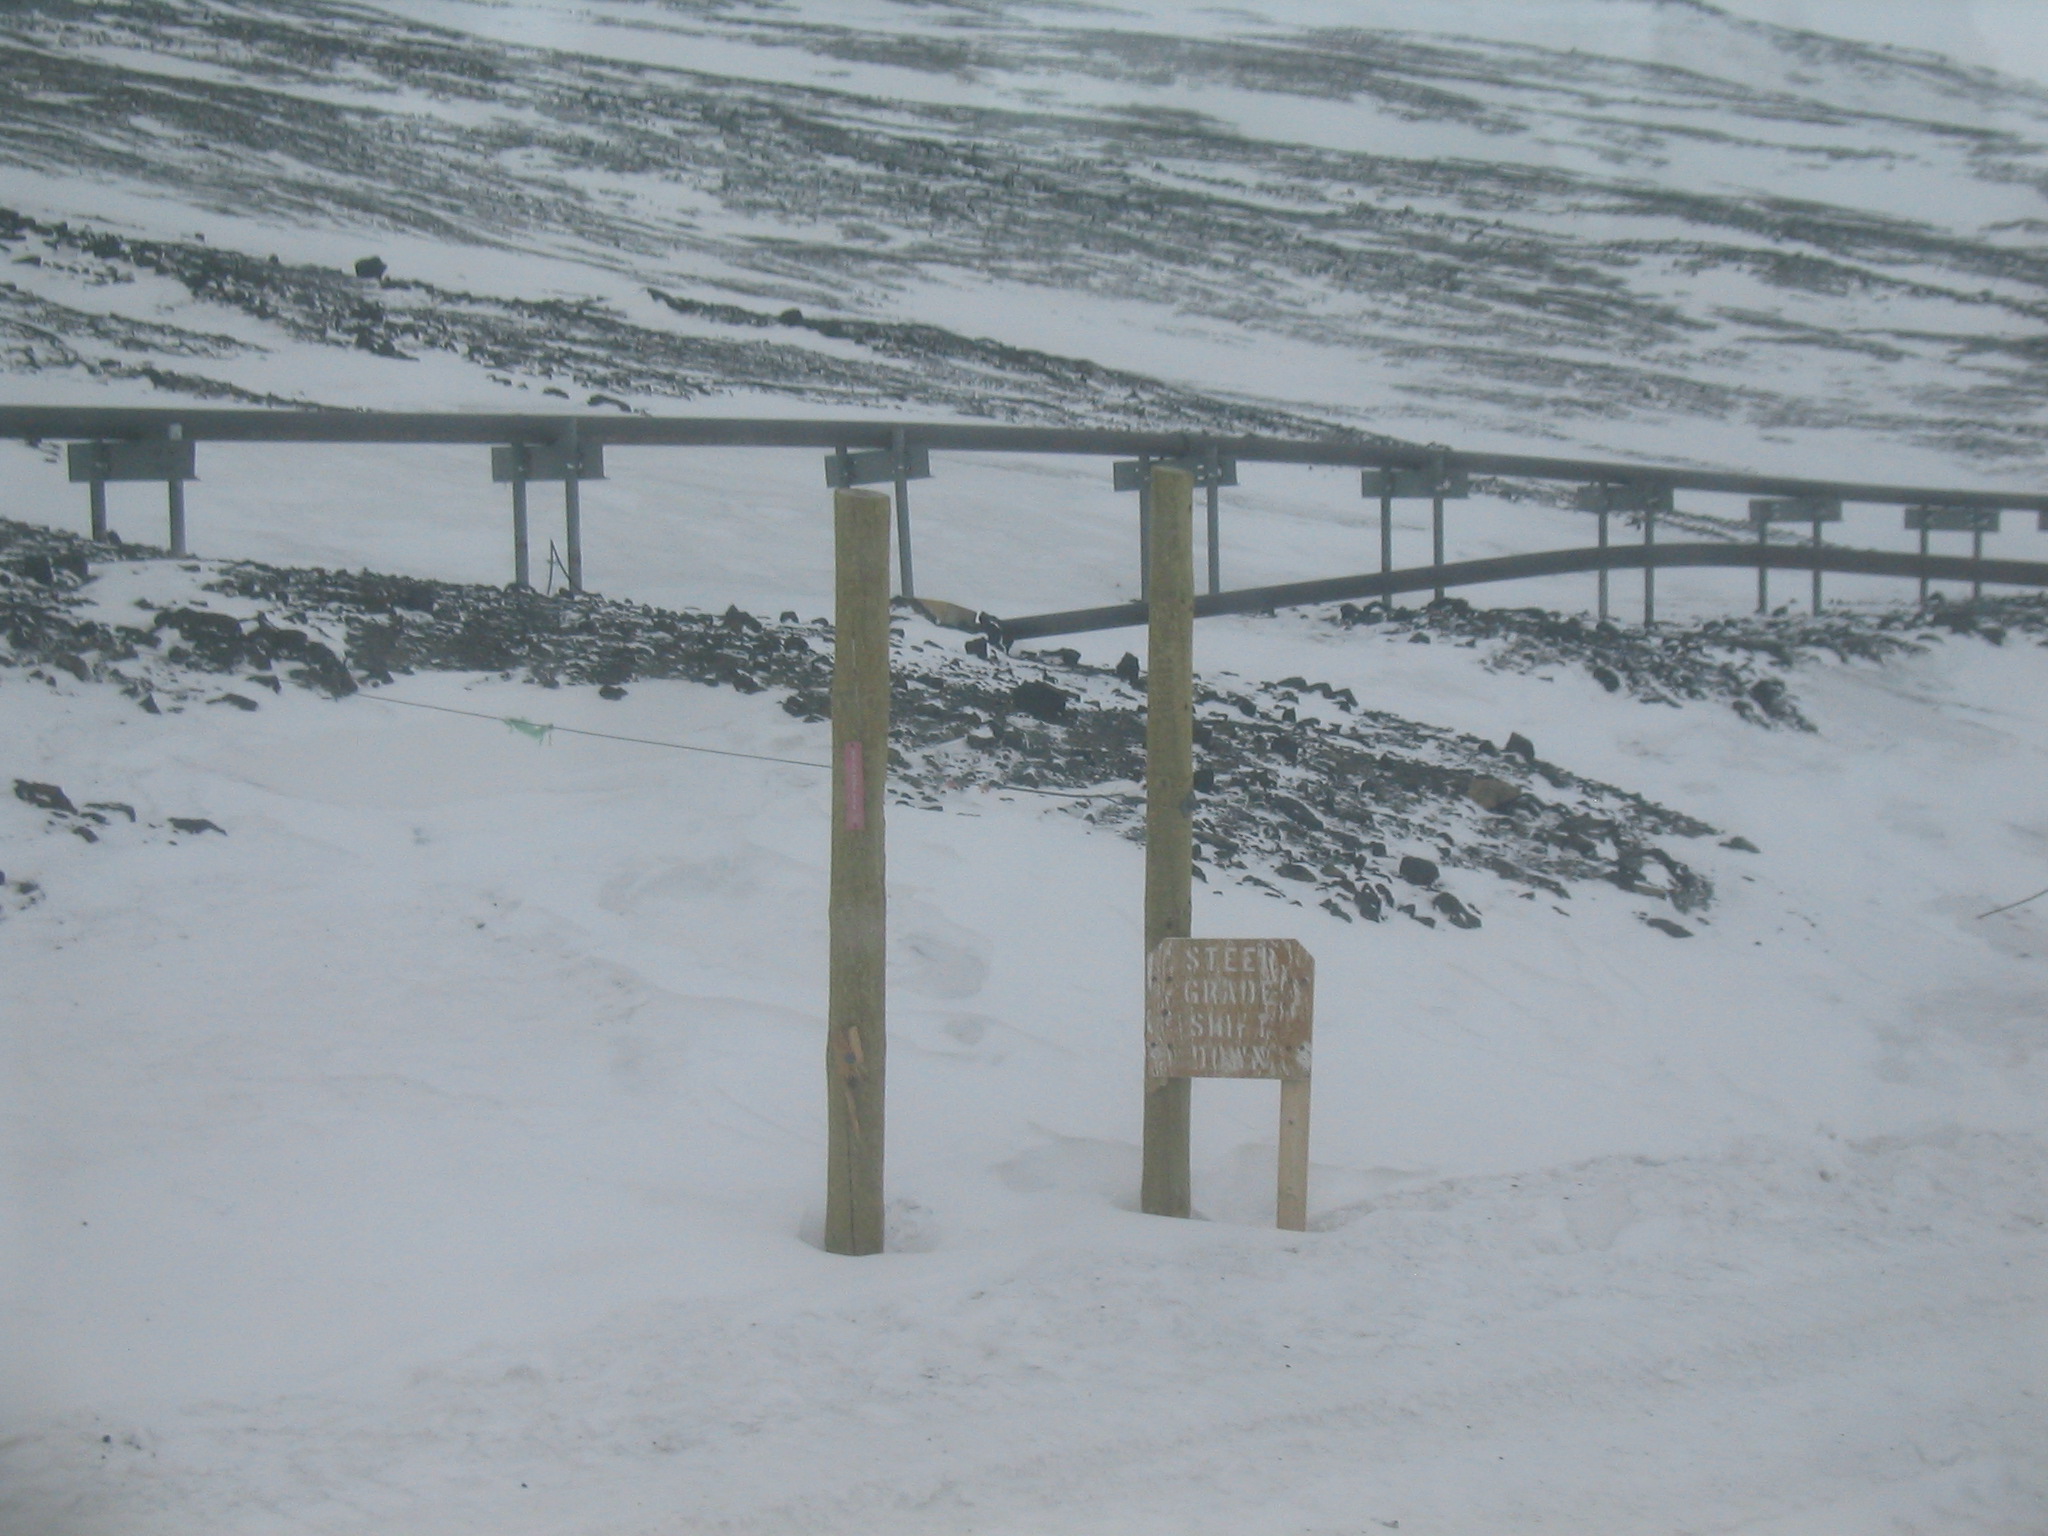
| "Steep Grade: Shift Down." The sign above Scott Base, at the start of the downhill section of the road enroute to the transition. |
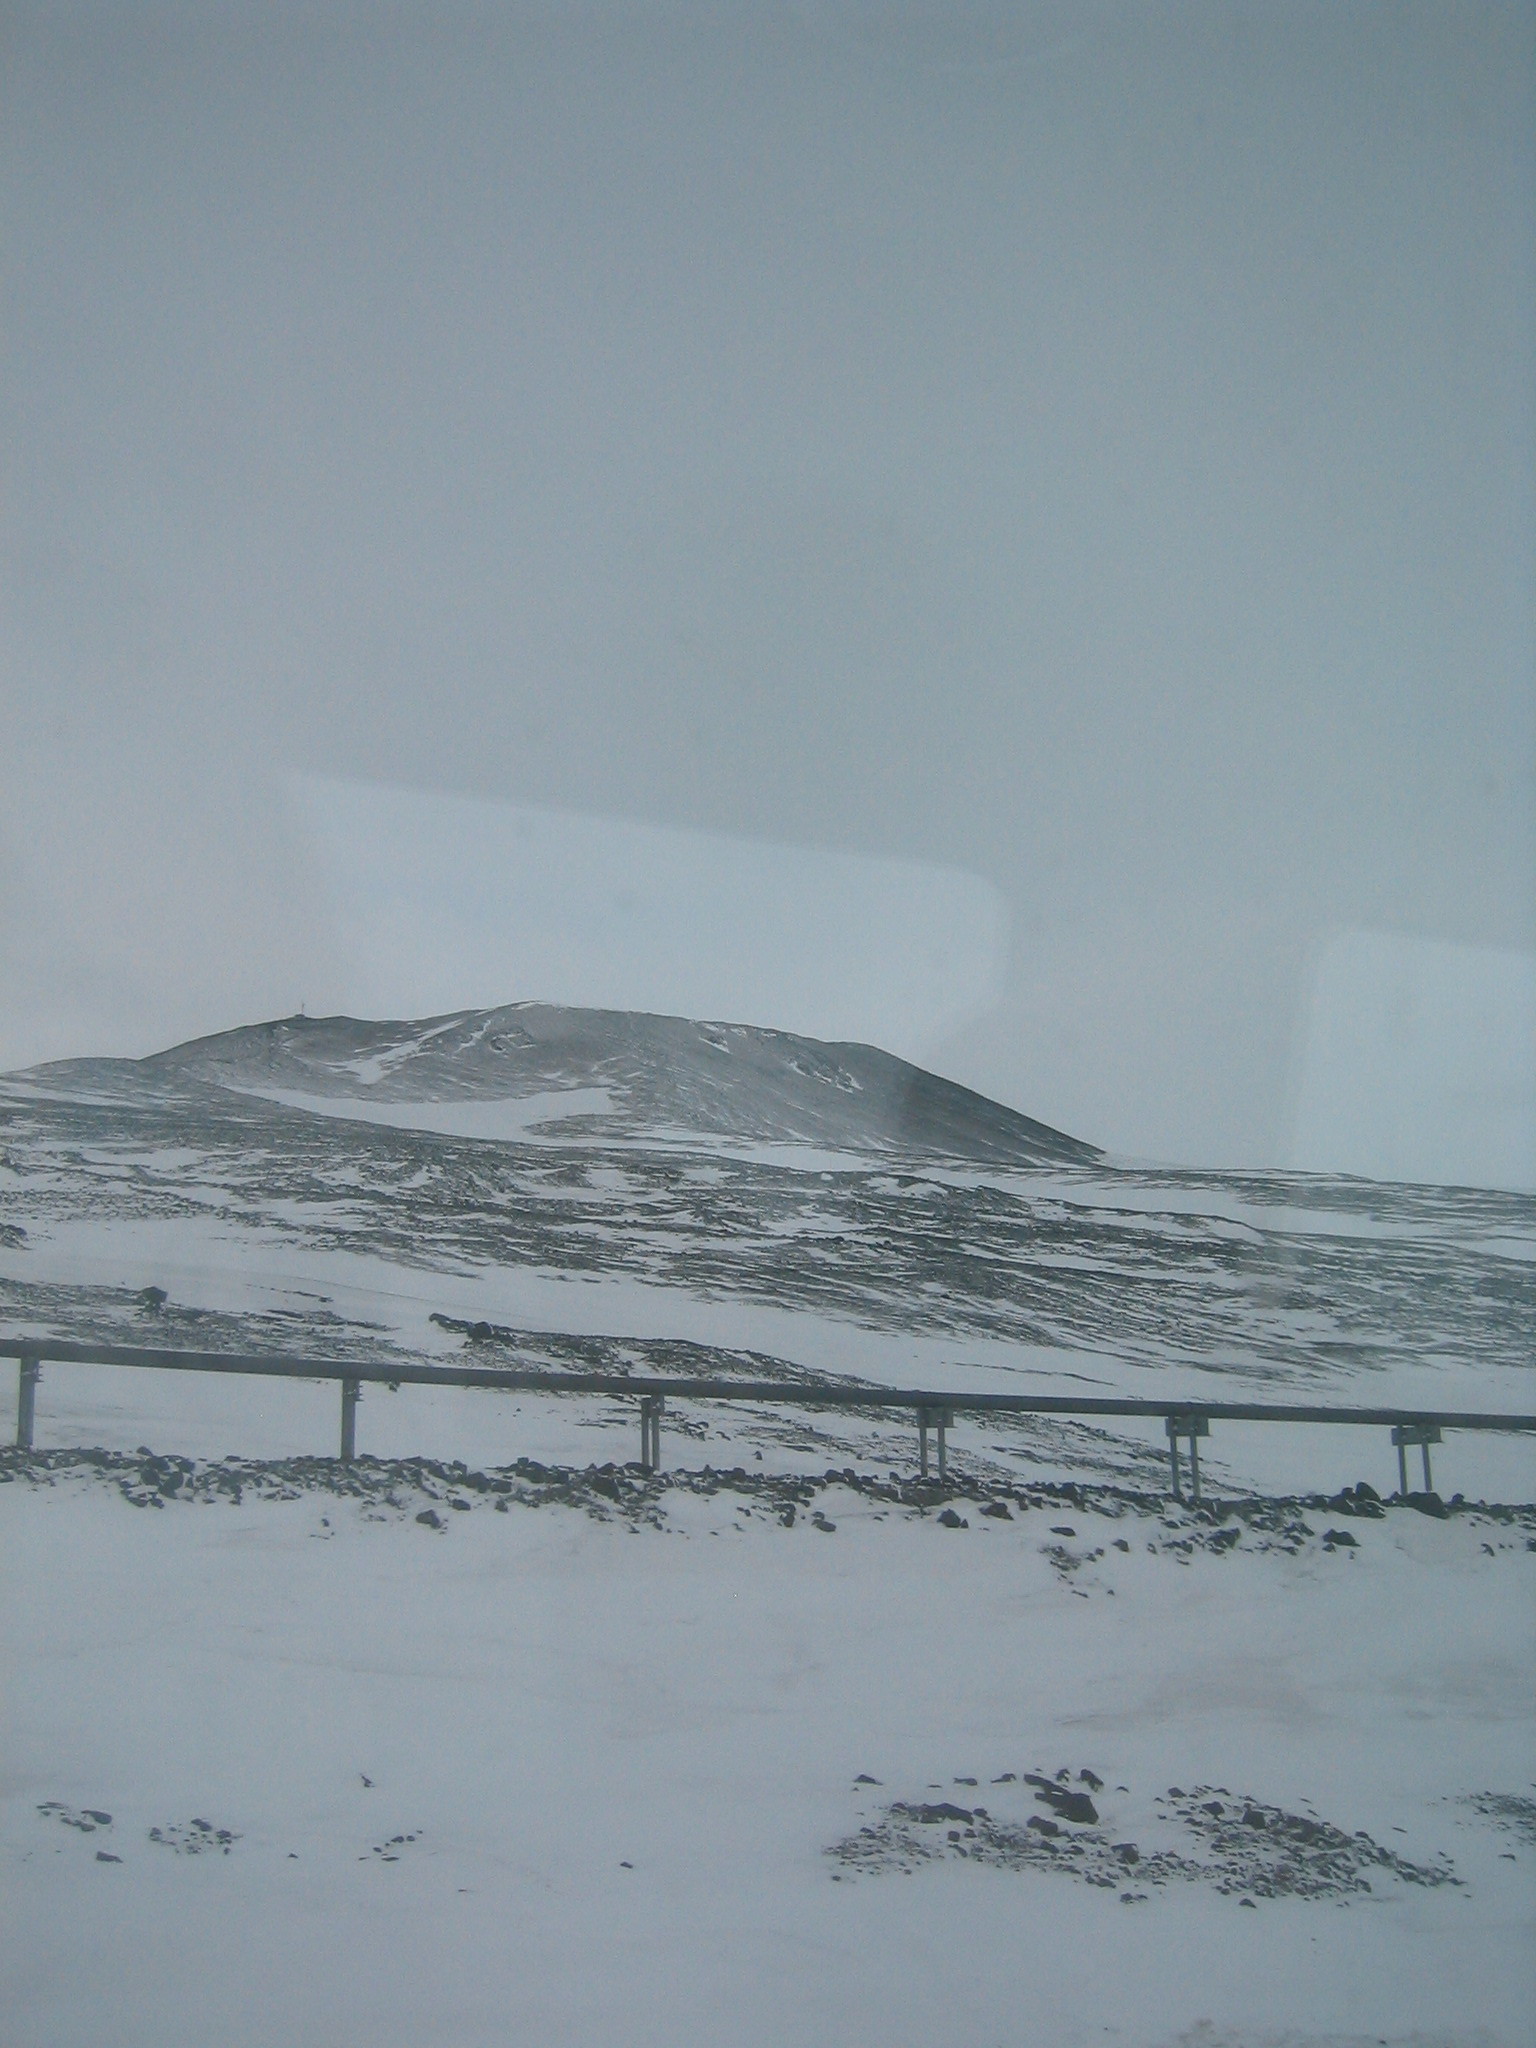
| Crater Hill. |
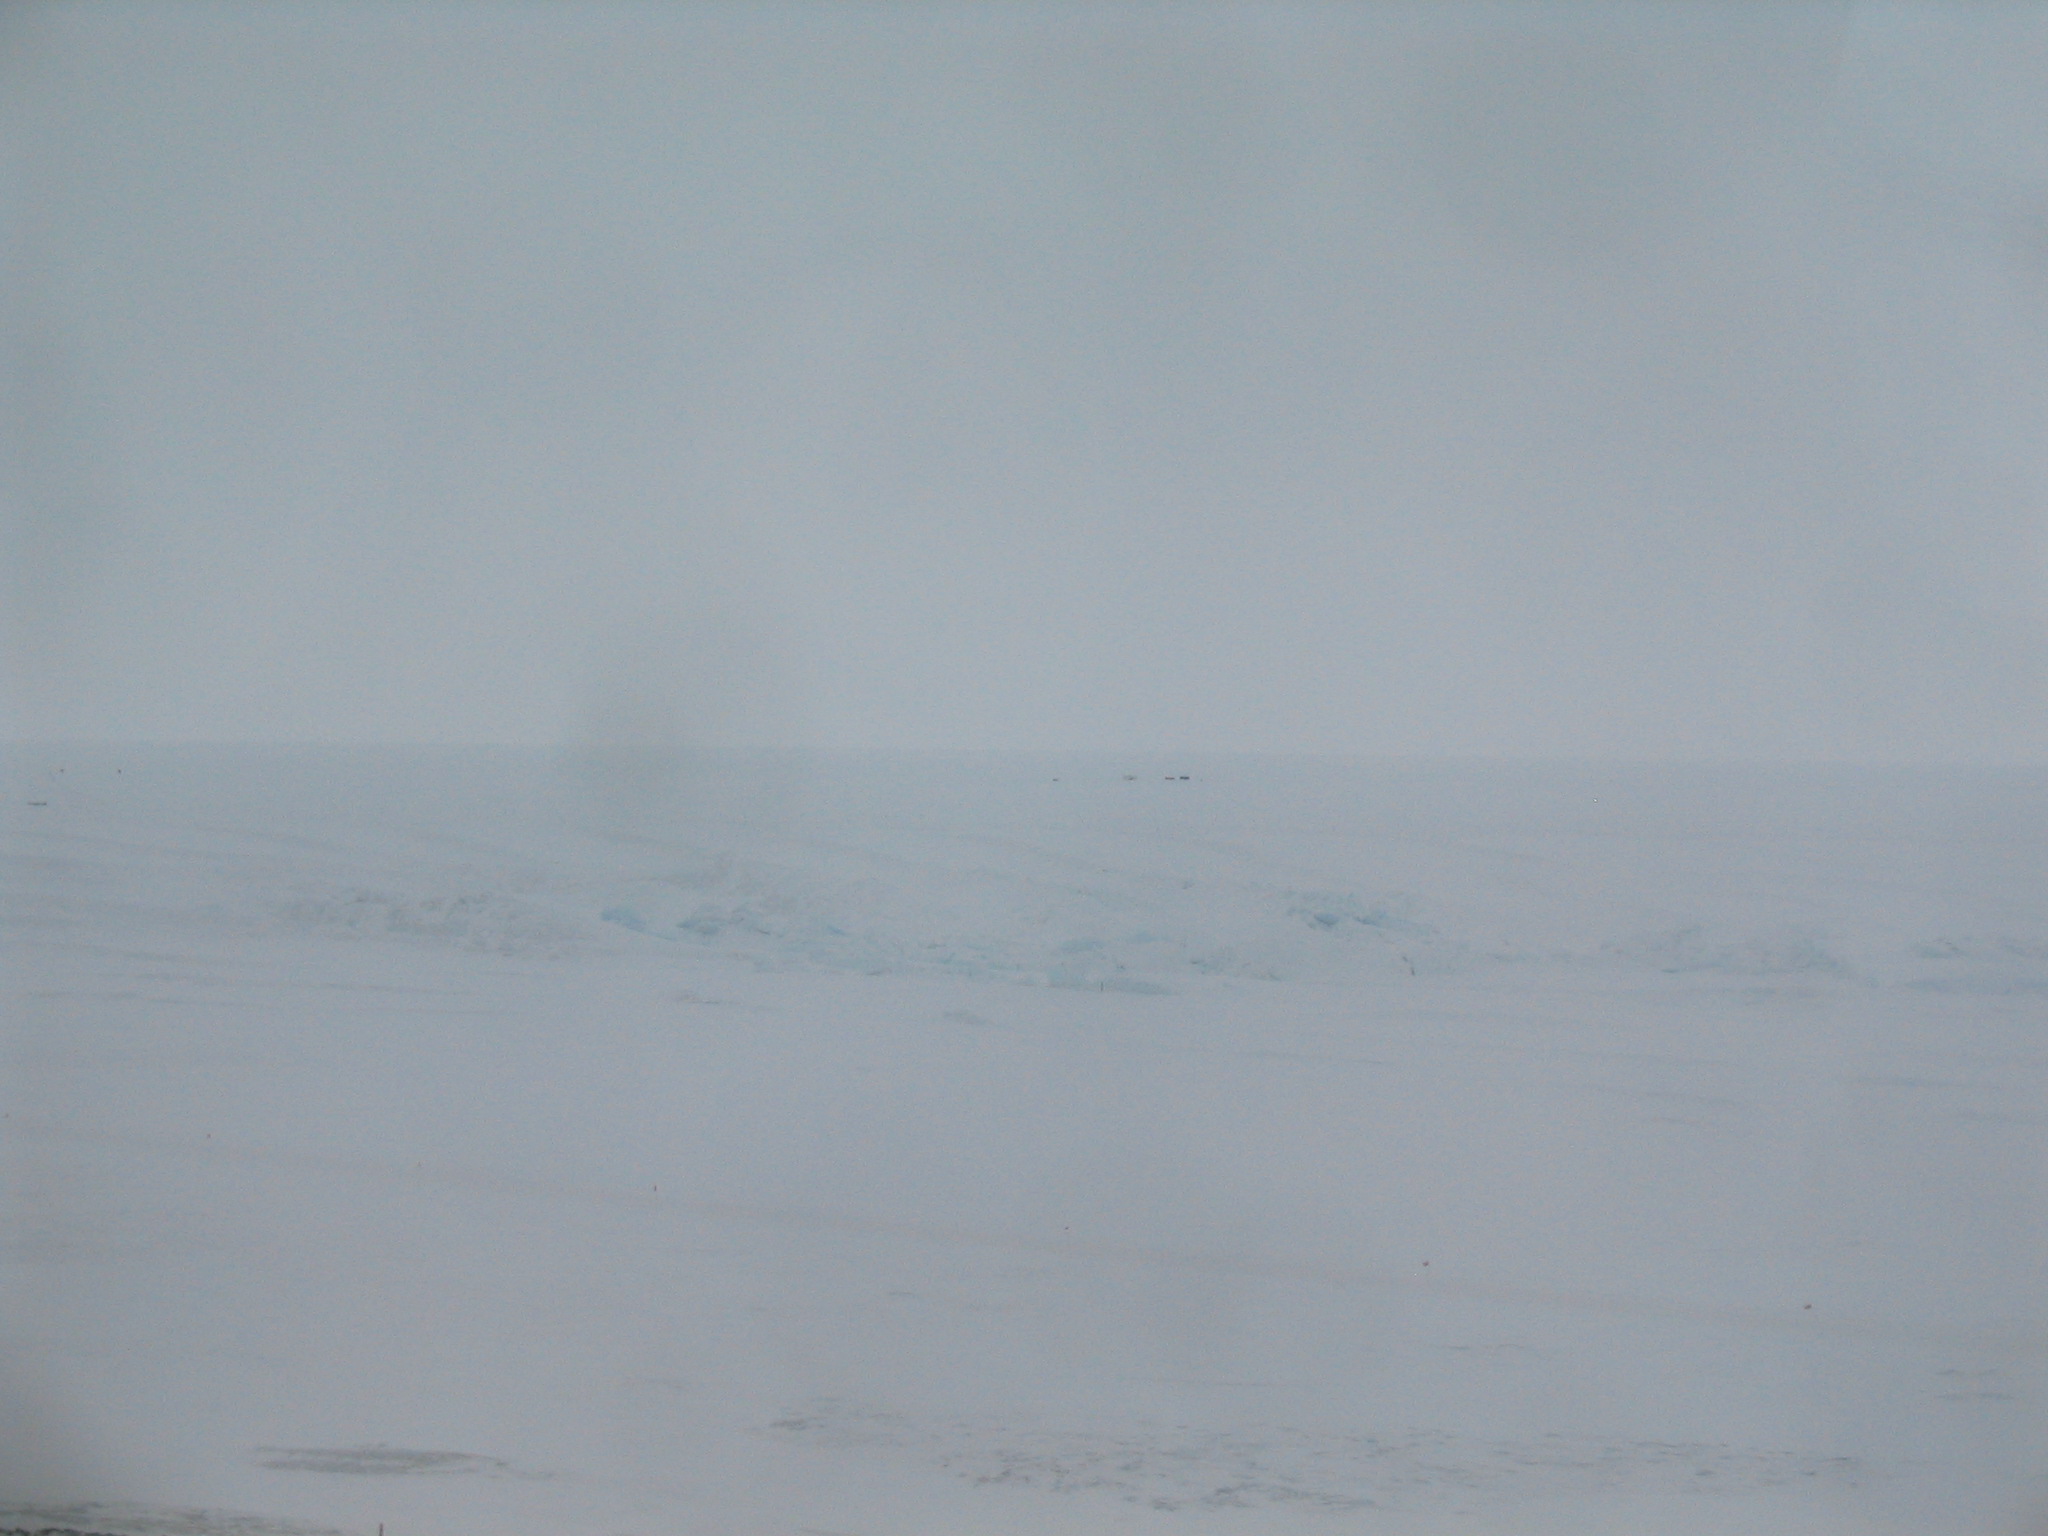
| Looking down at the pressure ridges. |
| Heading down the hill. |
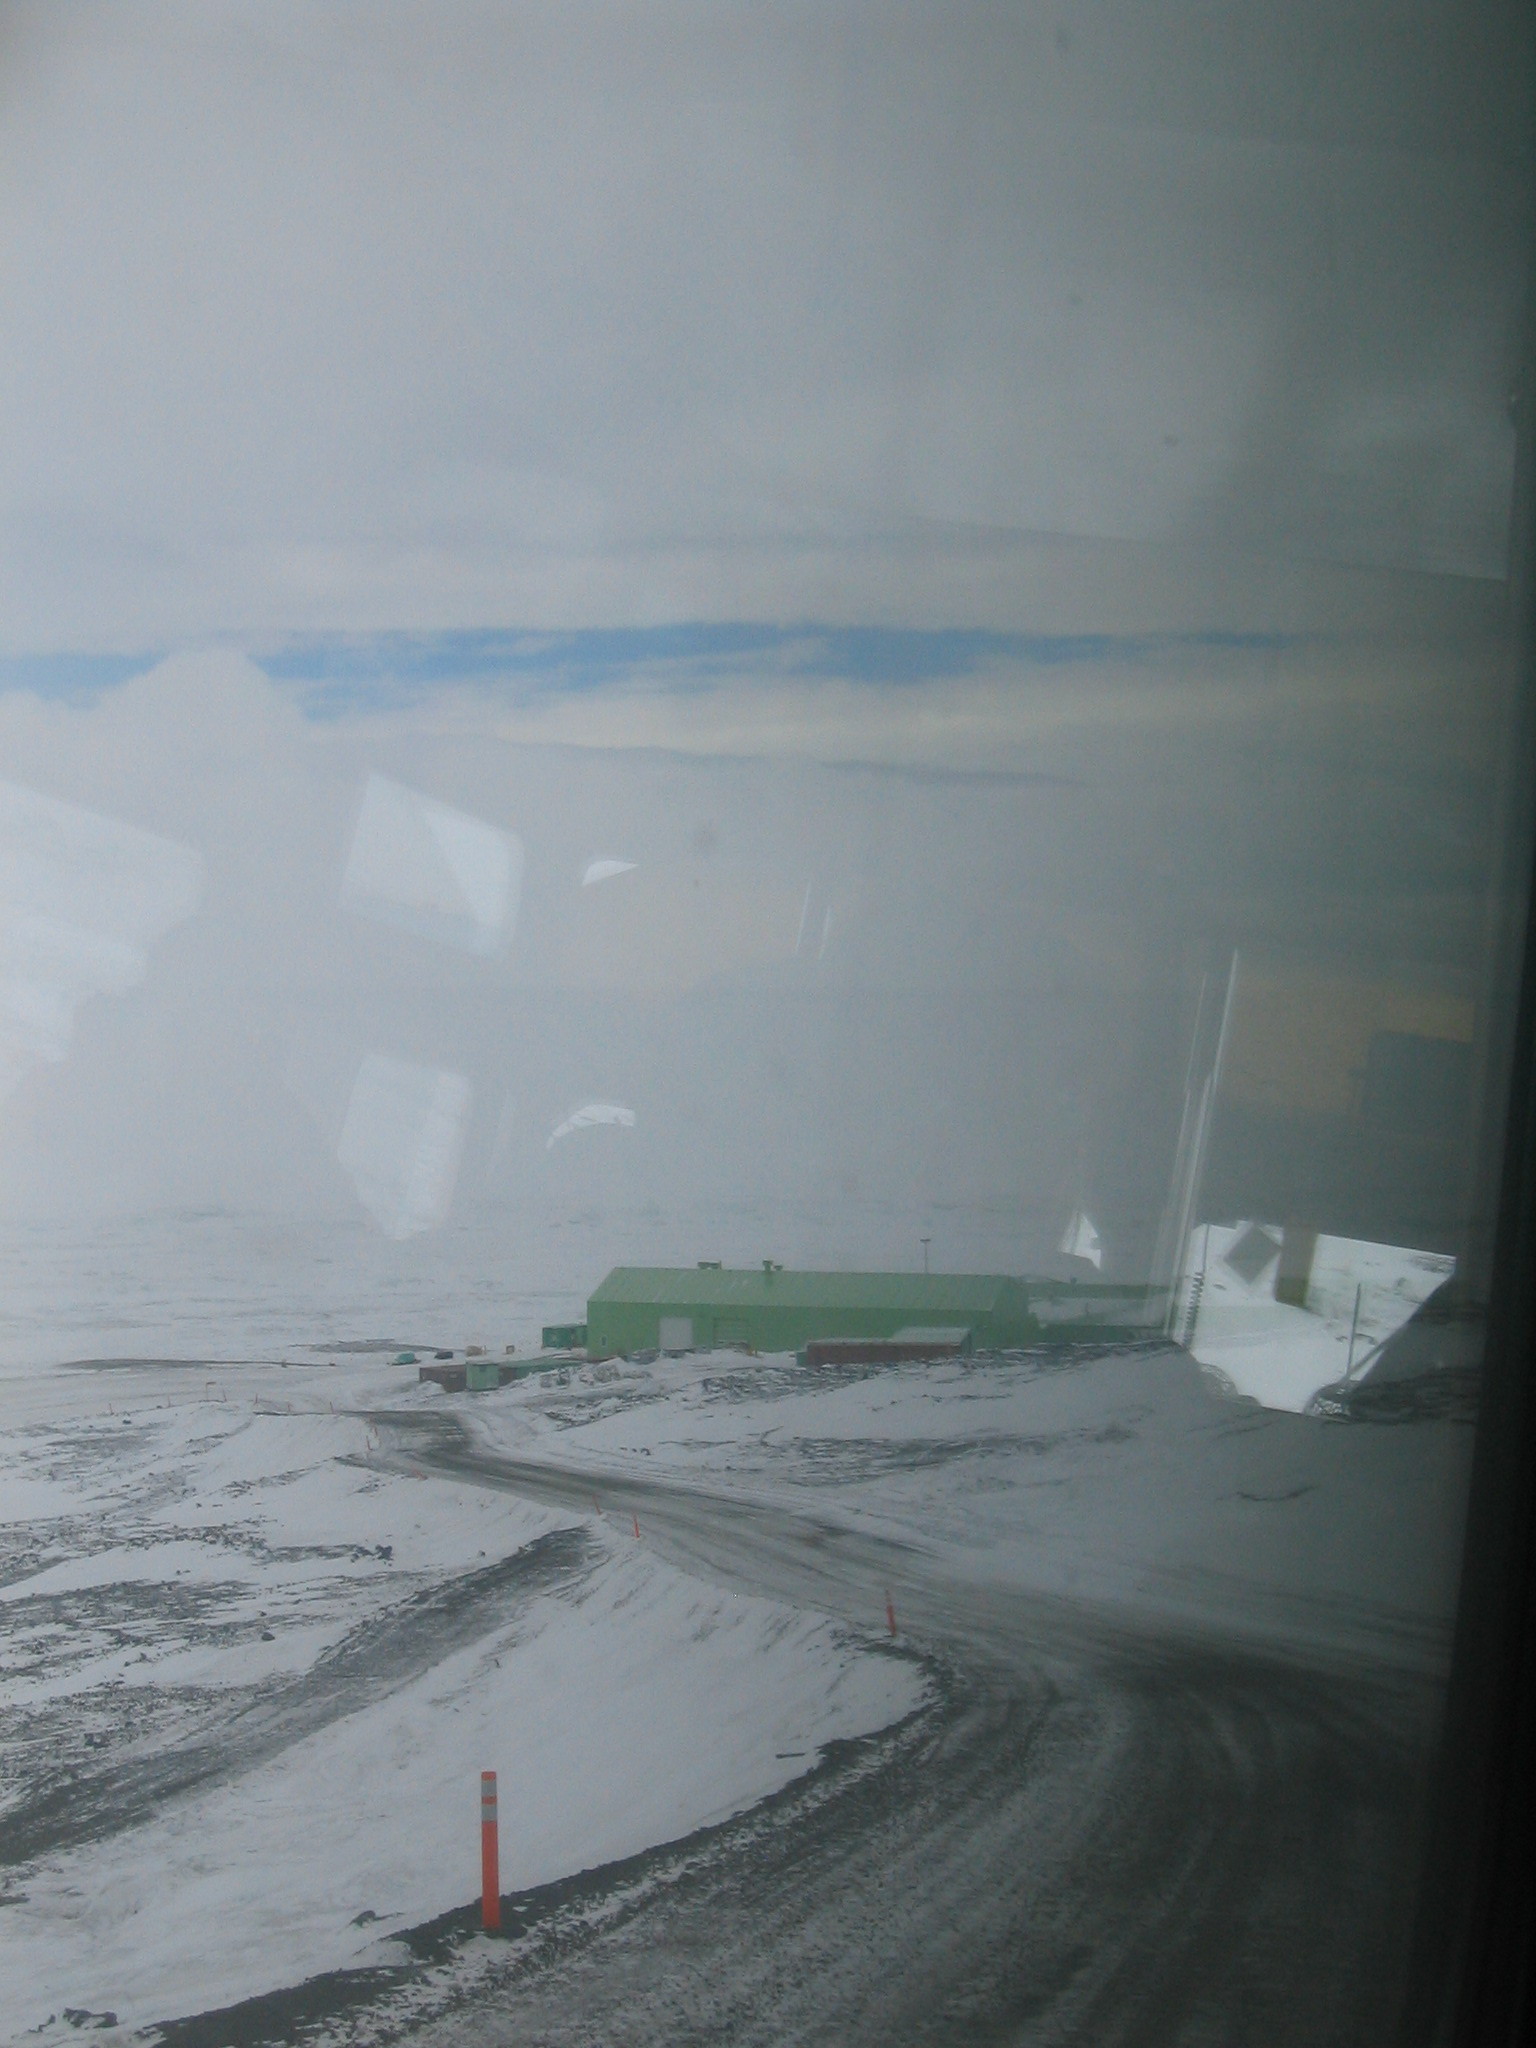
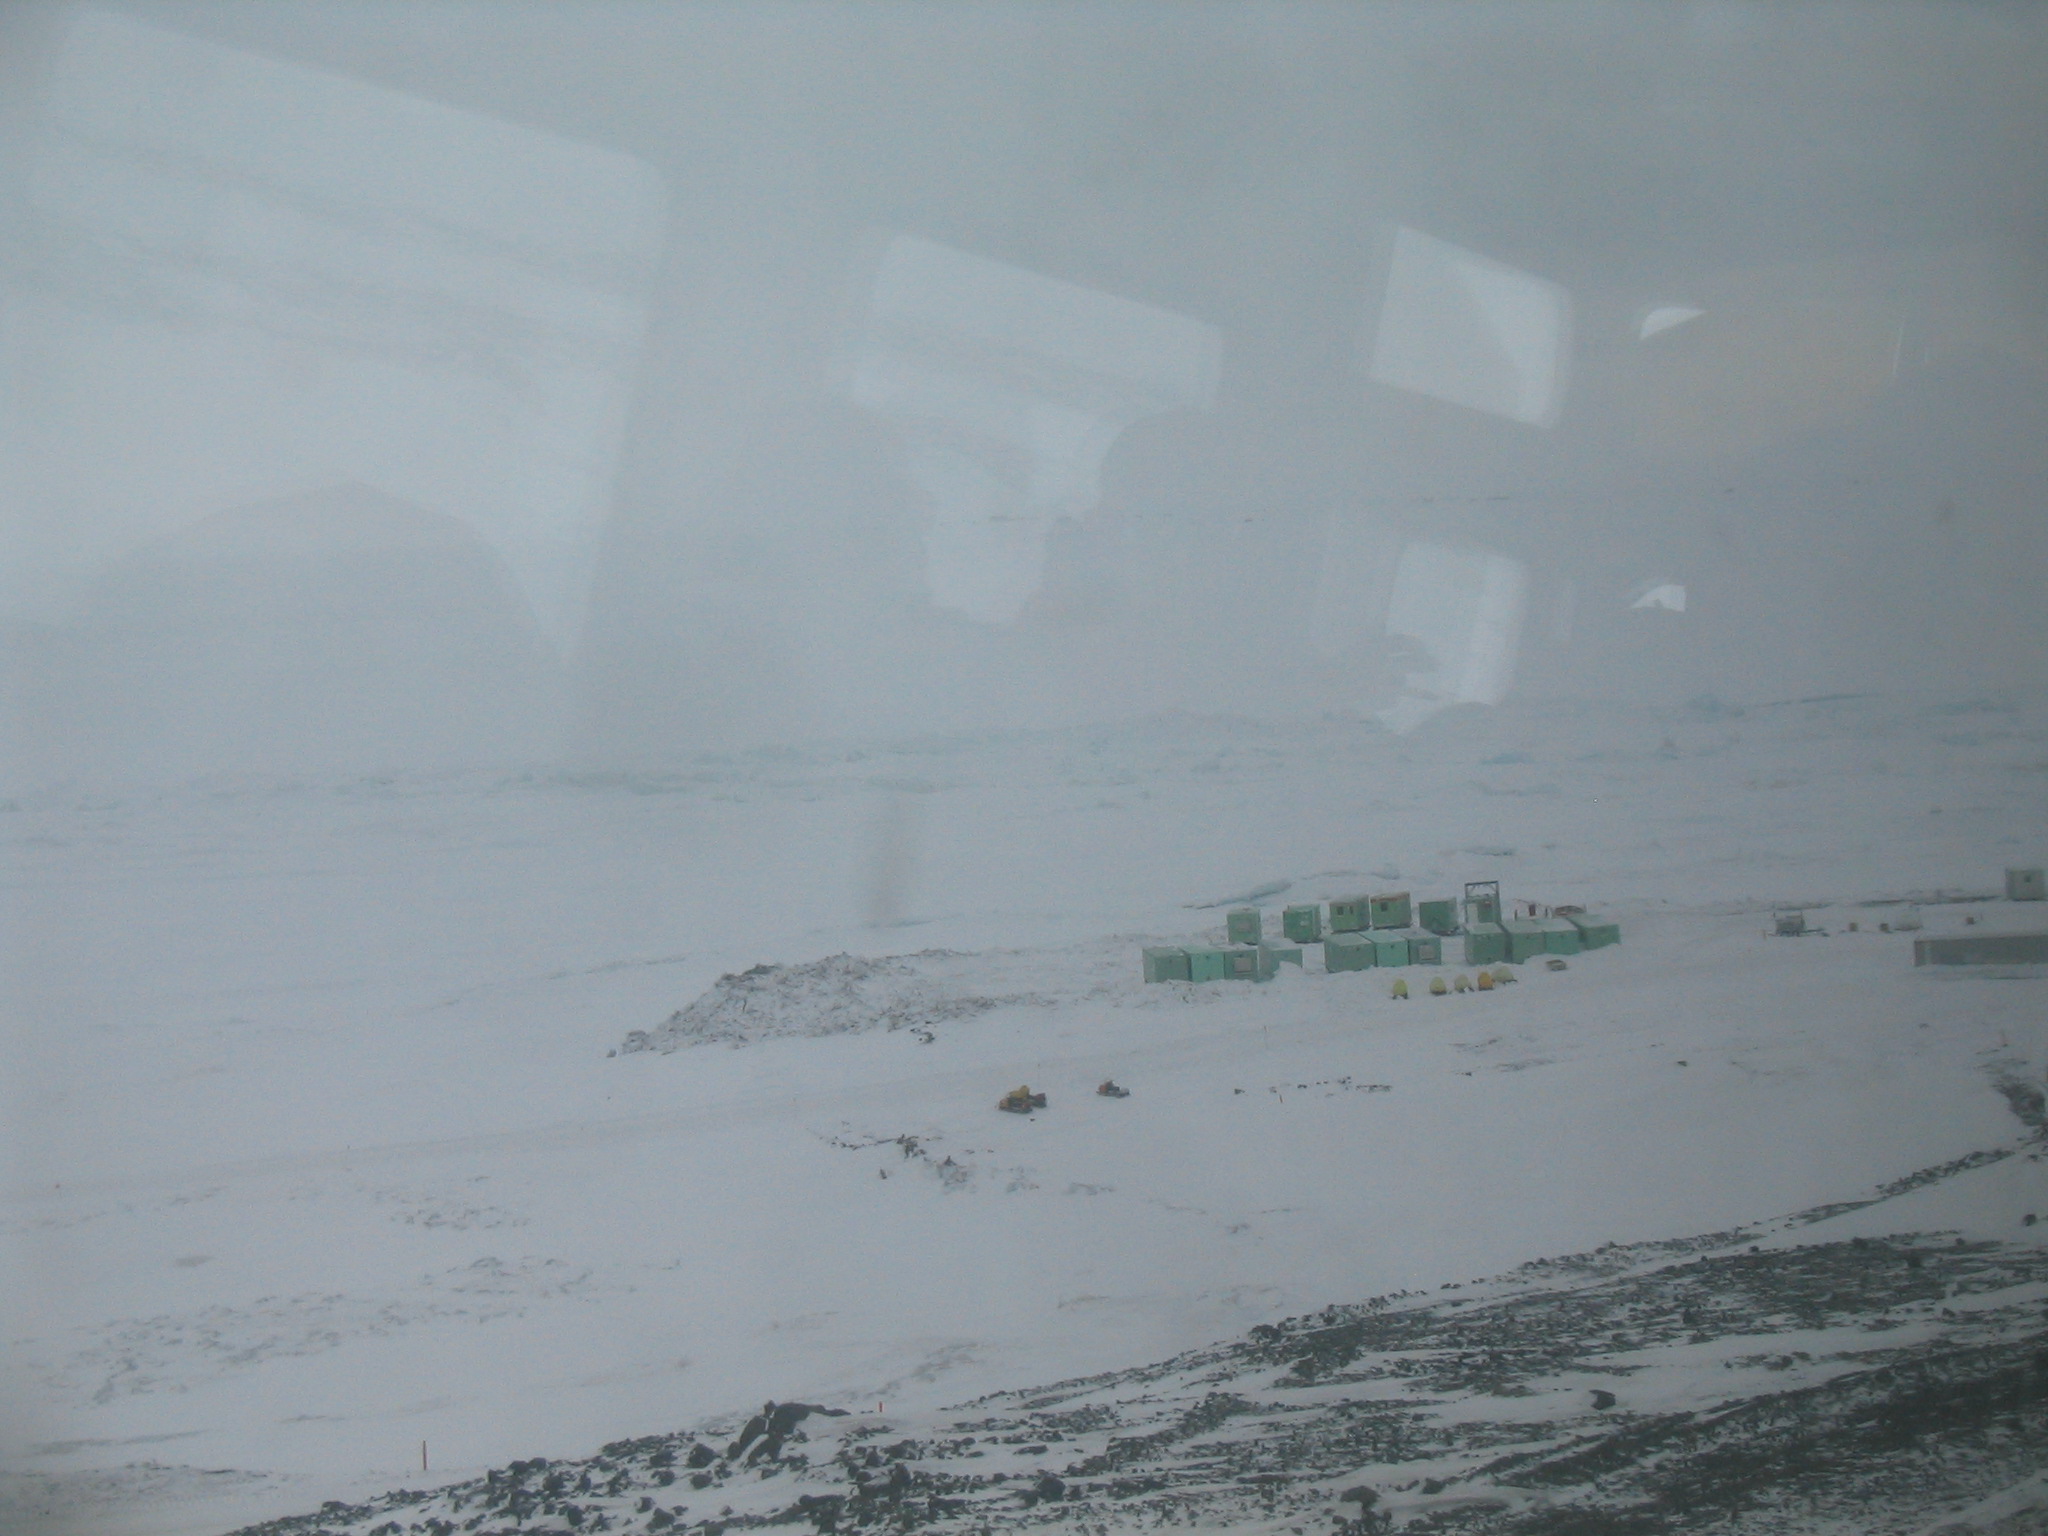
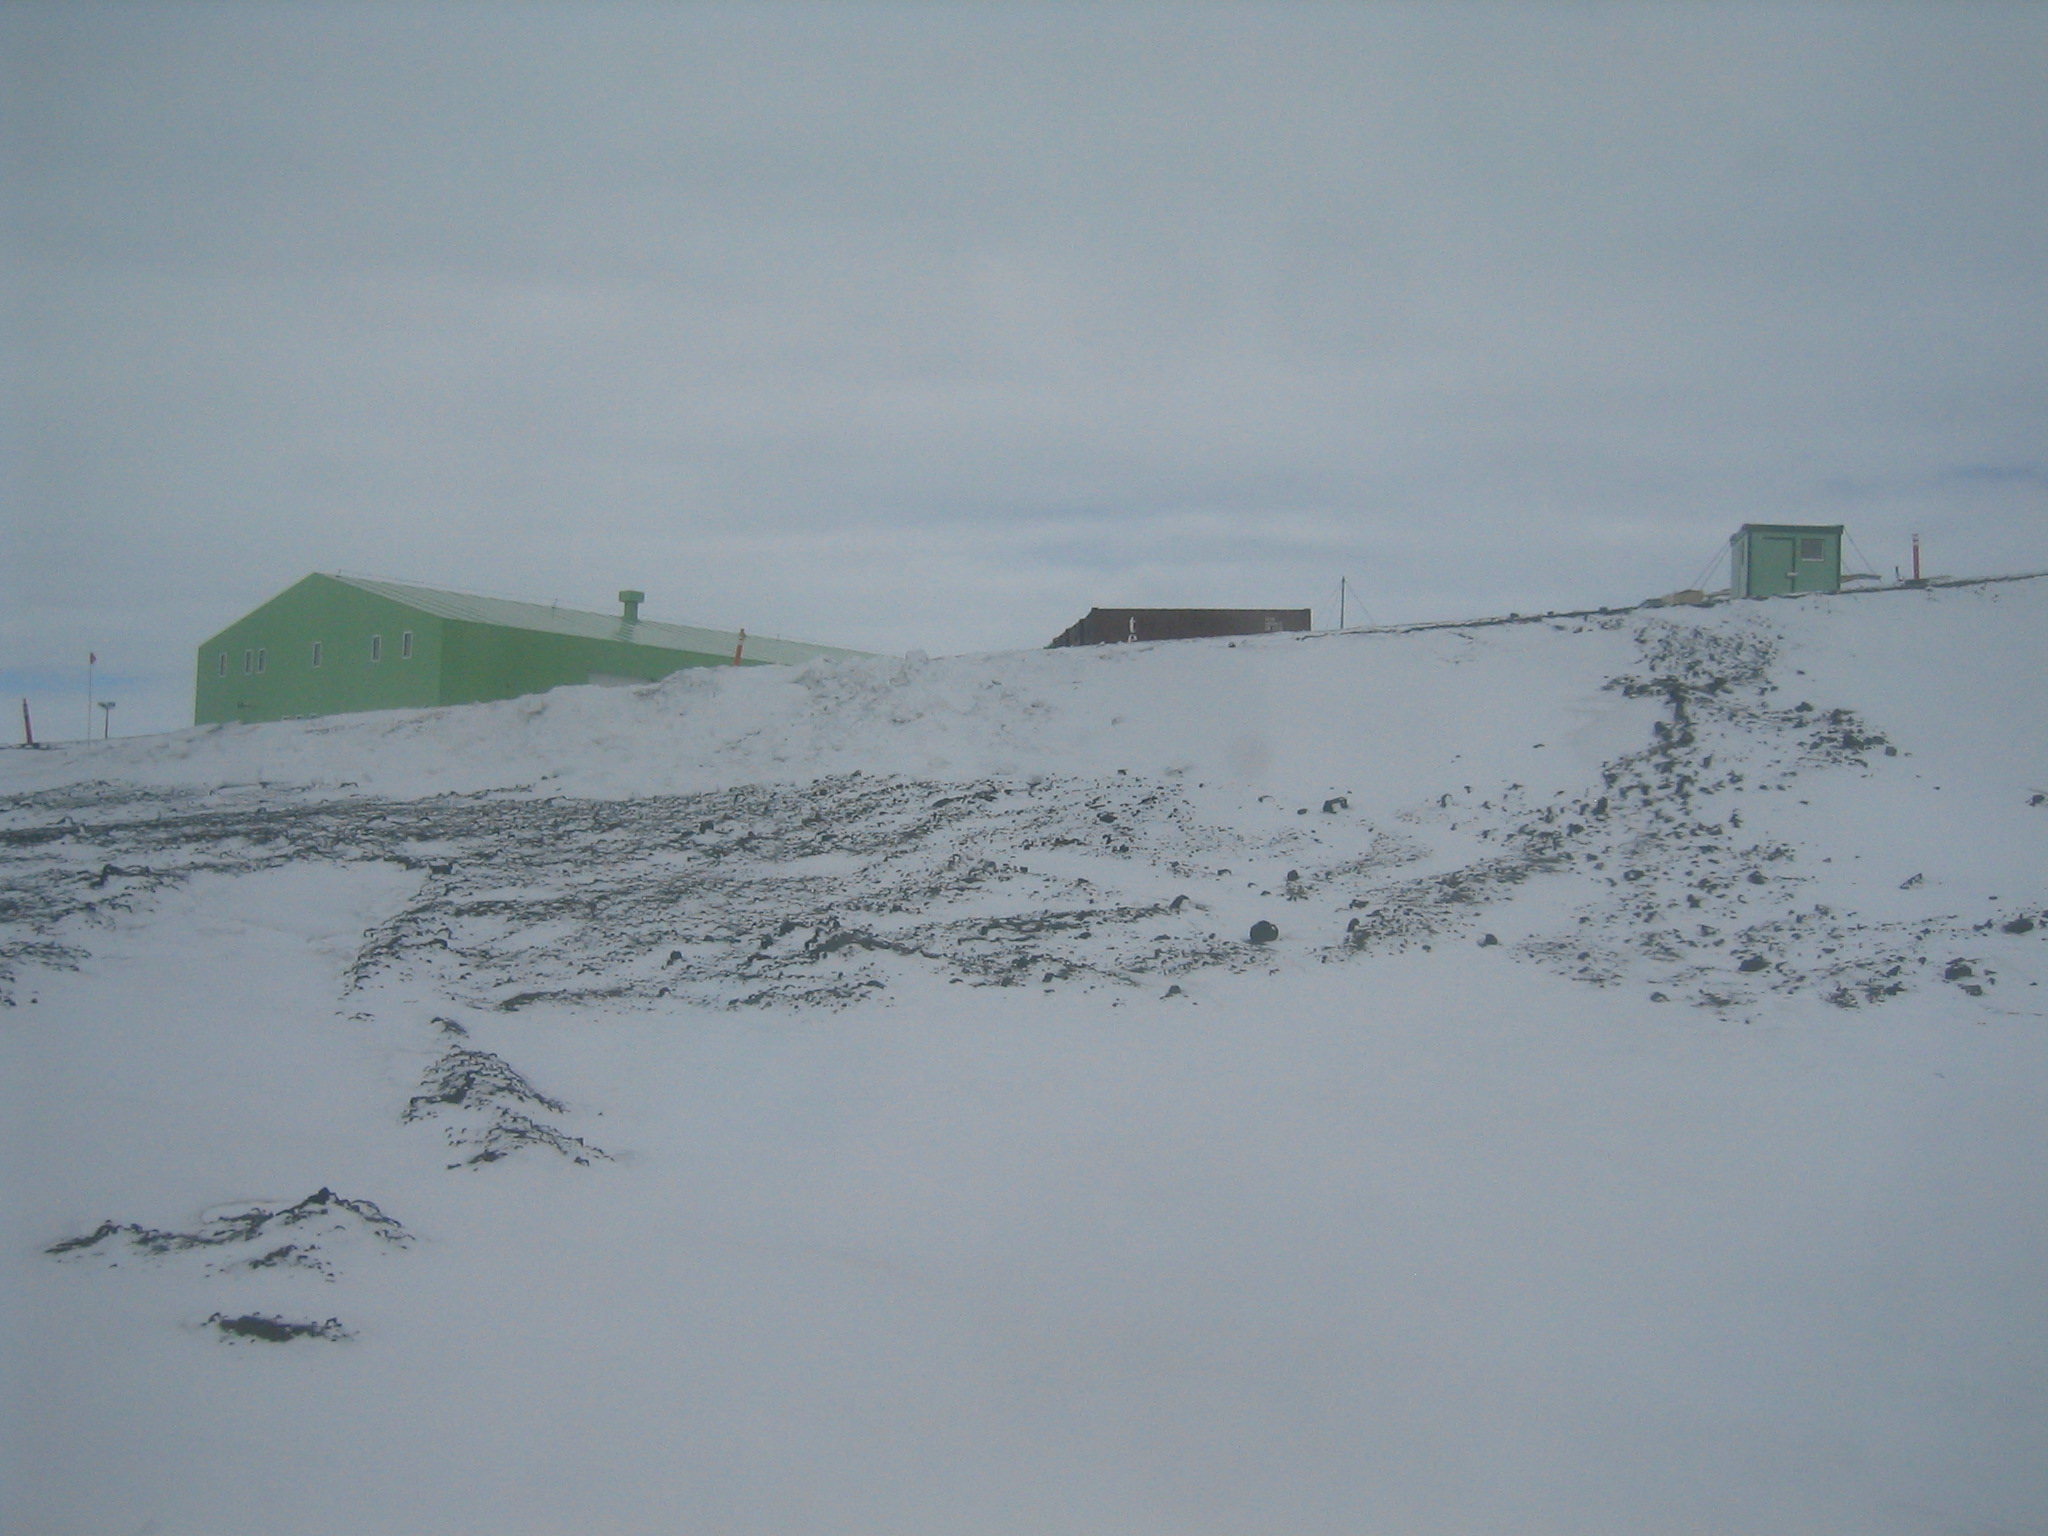
| Scott Base under a break in the clouds. |
| Scott Base containers. |
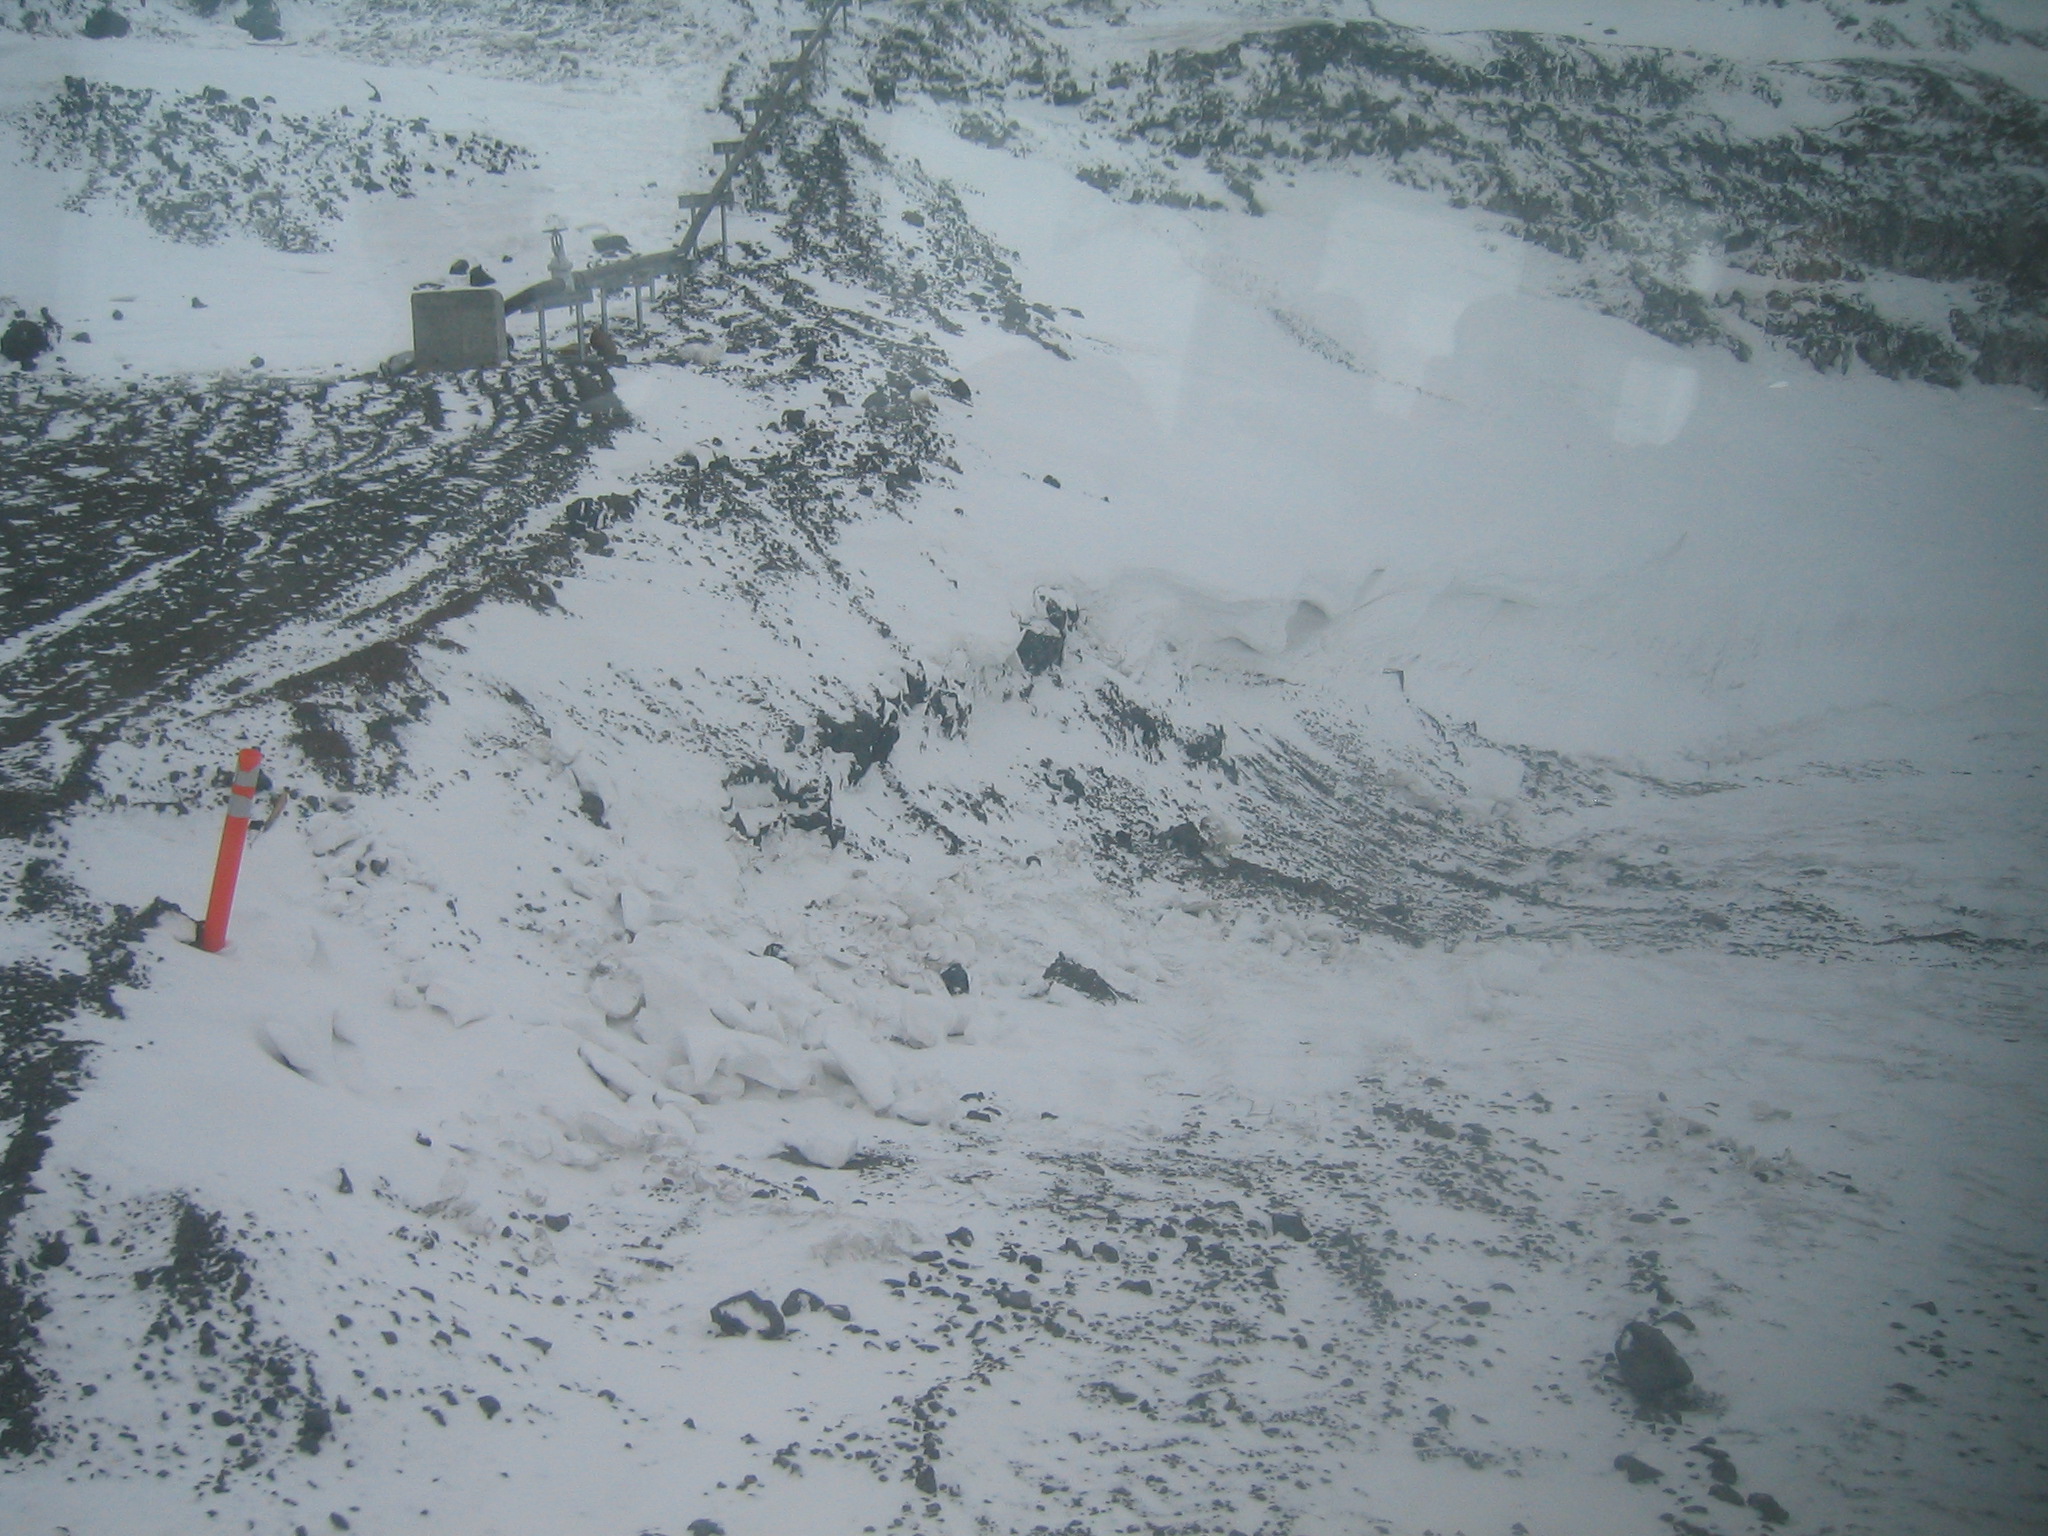
| Pressure Ridges. |
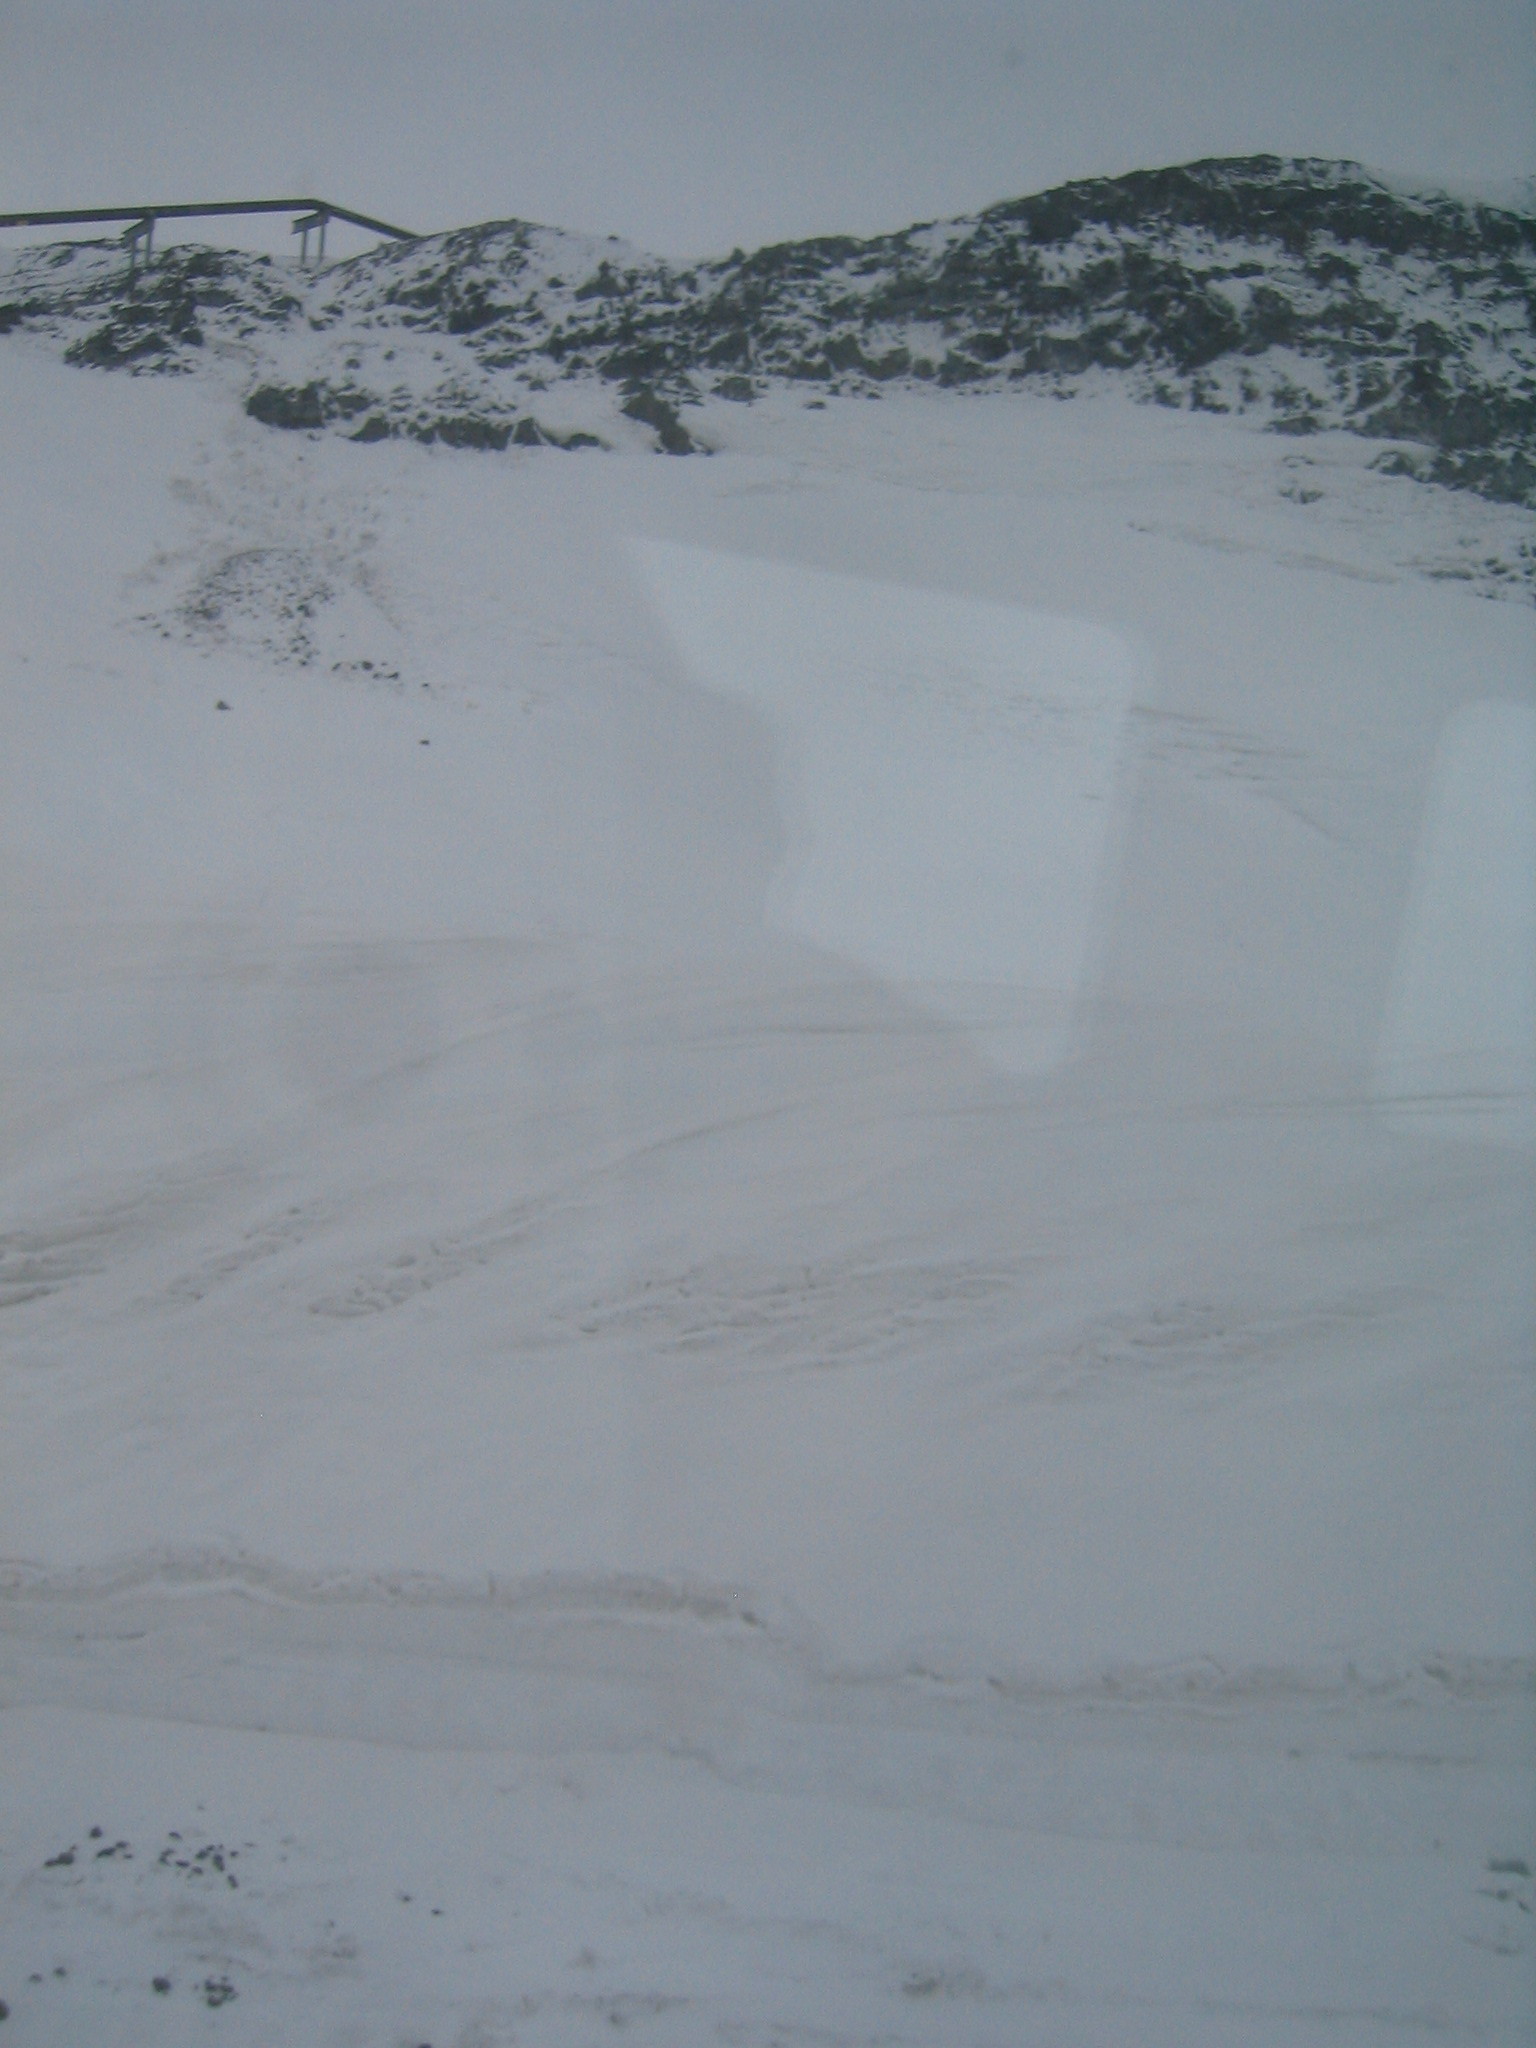
| Down below Scott Base at the edge of the transition. |
| The shore of Ross Island. |
| The shore of Ross Island. |
| Cliffs along the shore of Ross Island from the ice offshore. |
| The shore of Ross Island. |