


| The Art Gallery. |
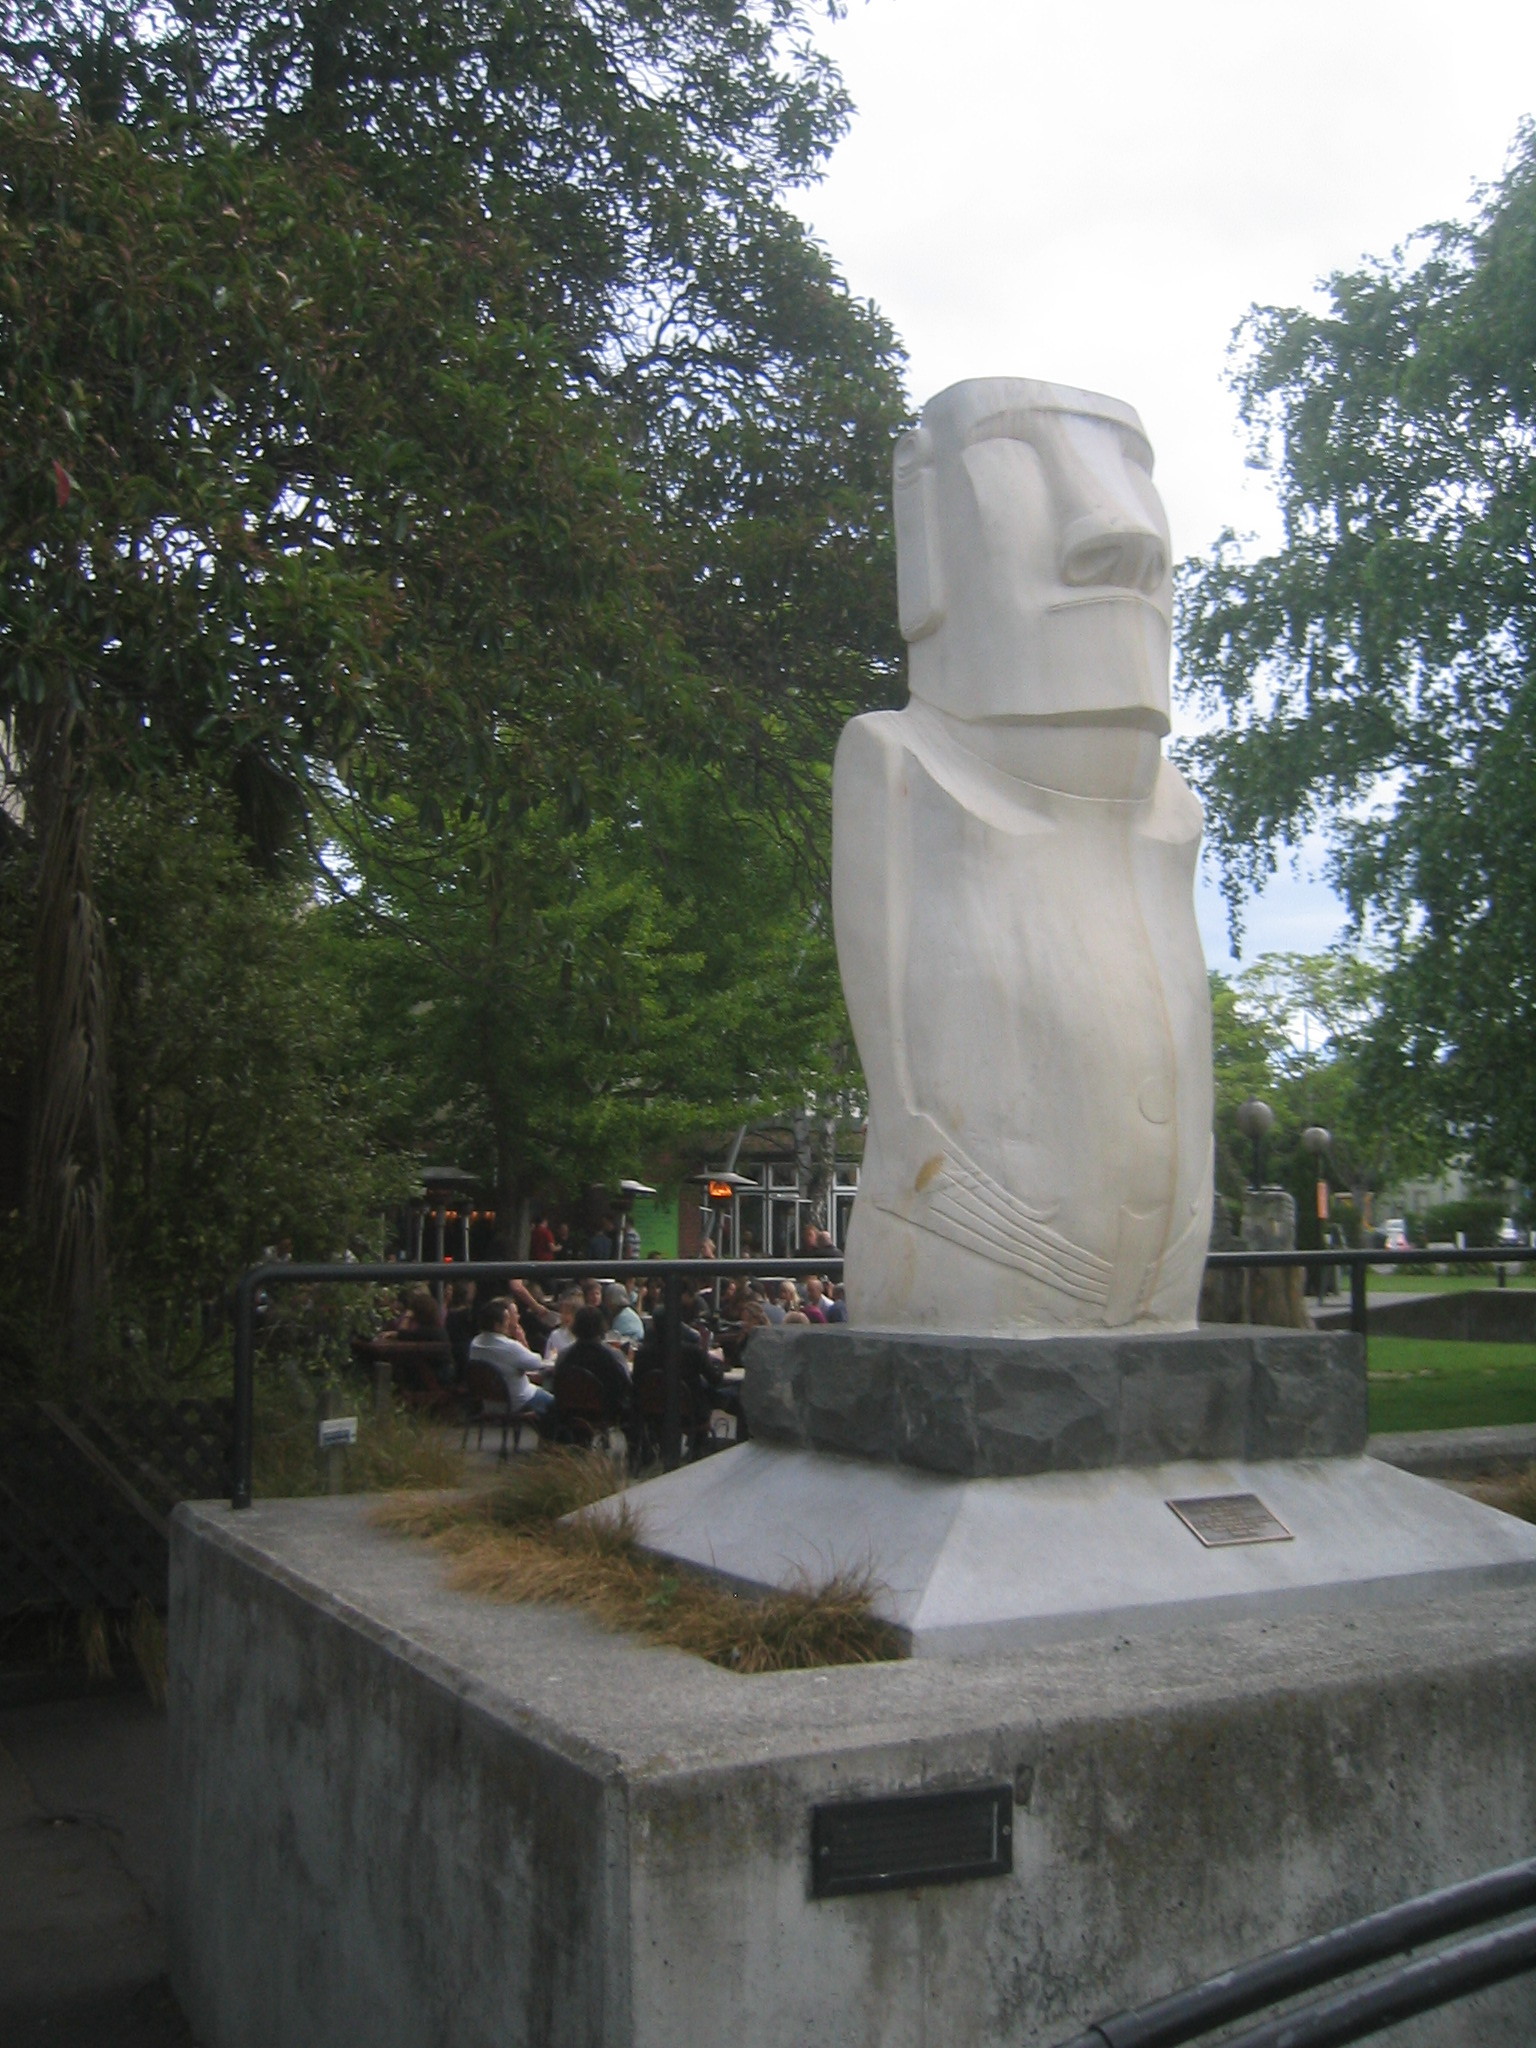
| A statue outside Dux DeLux |
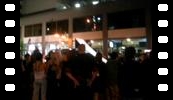
| Jumping the gap! |
| A tandem jump. |
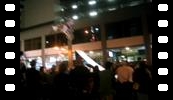
| Another tandem jump. |
| The stunt riders (Chuck Norris and Nick Franklin) salute the crowd. |
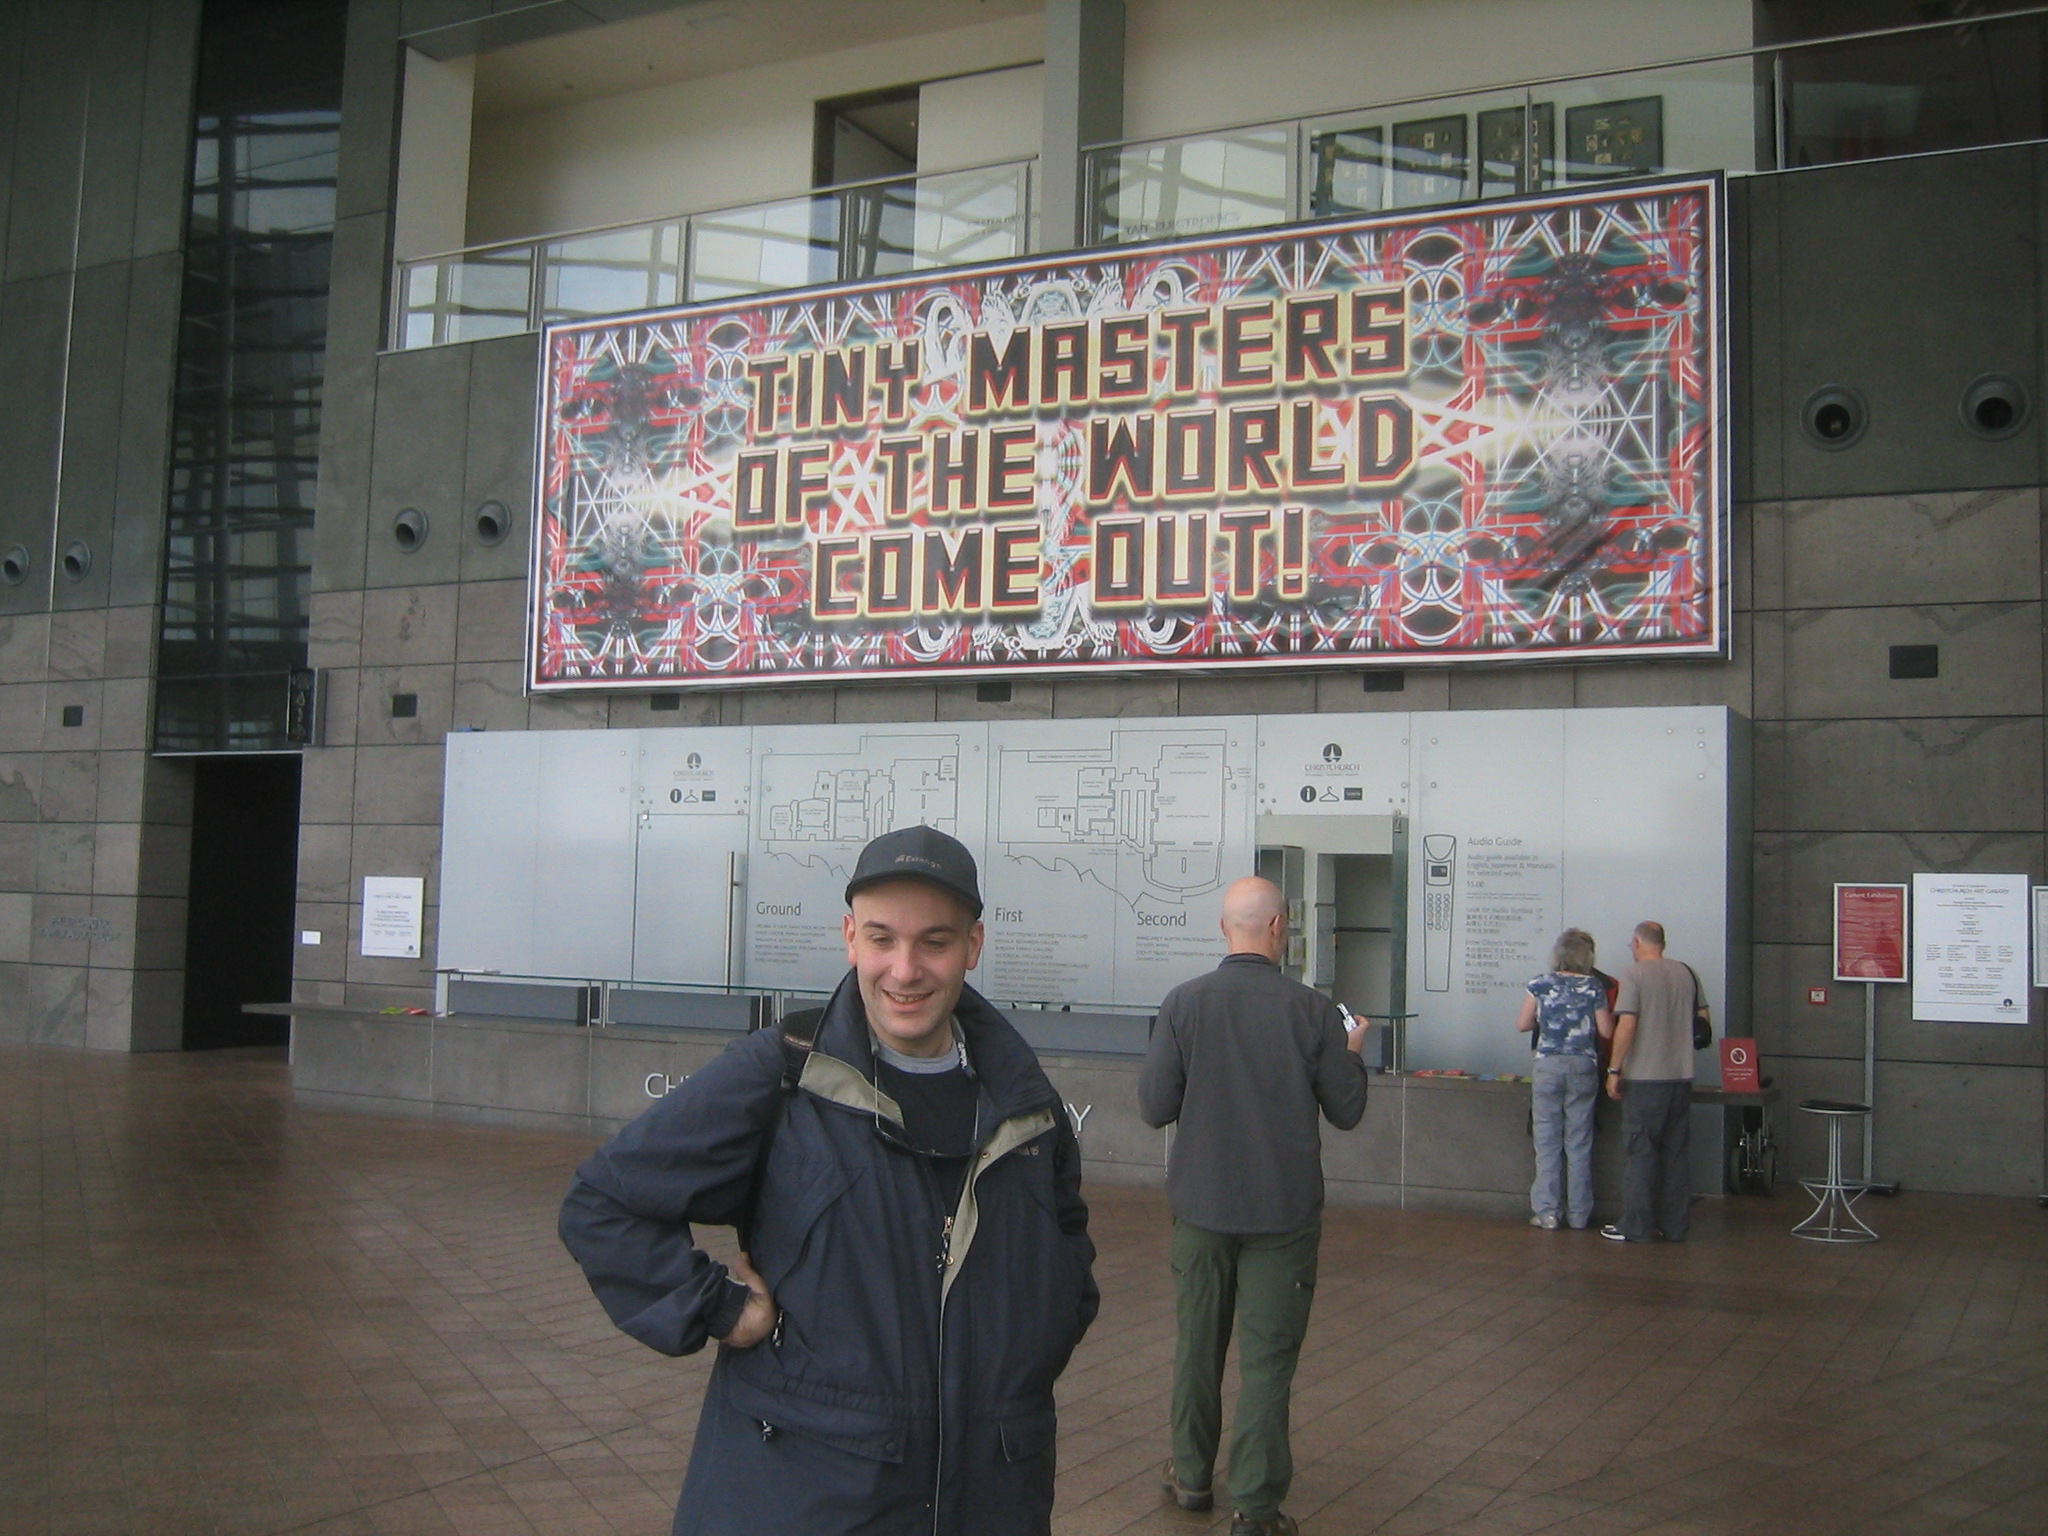
| Mark and Marie wait for us outside the Art Gallery. |
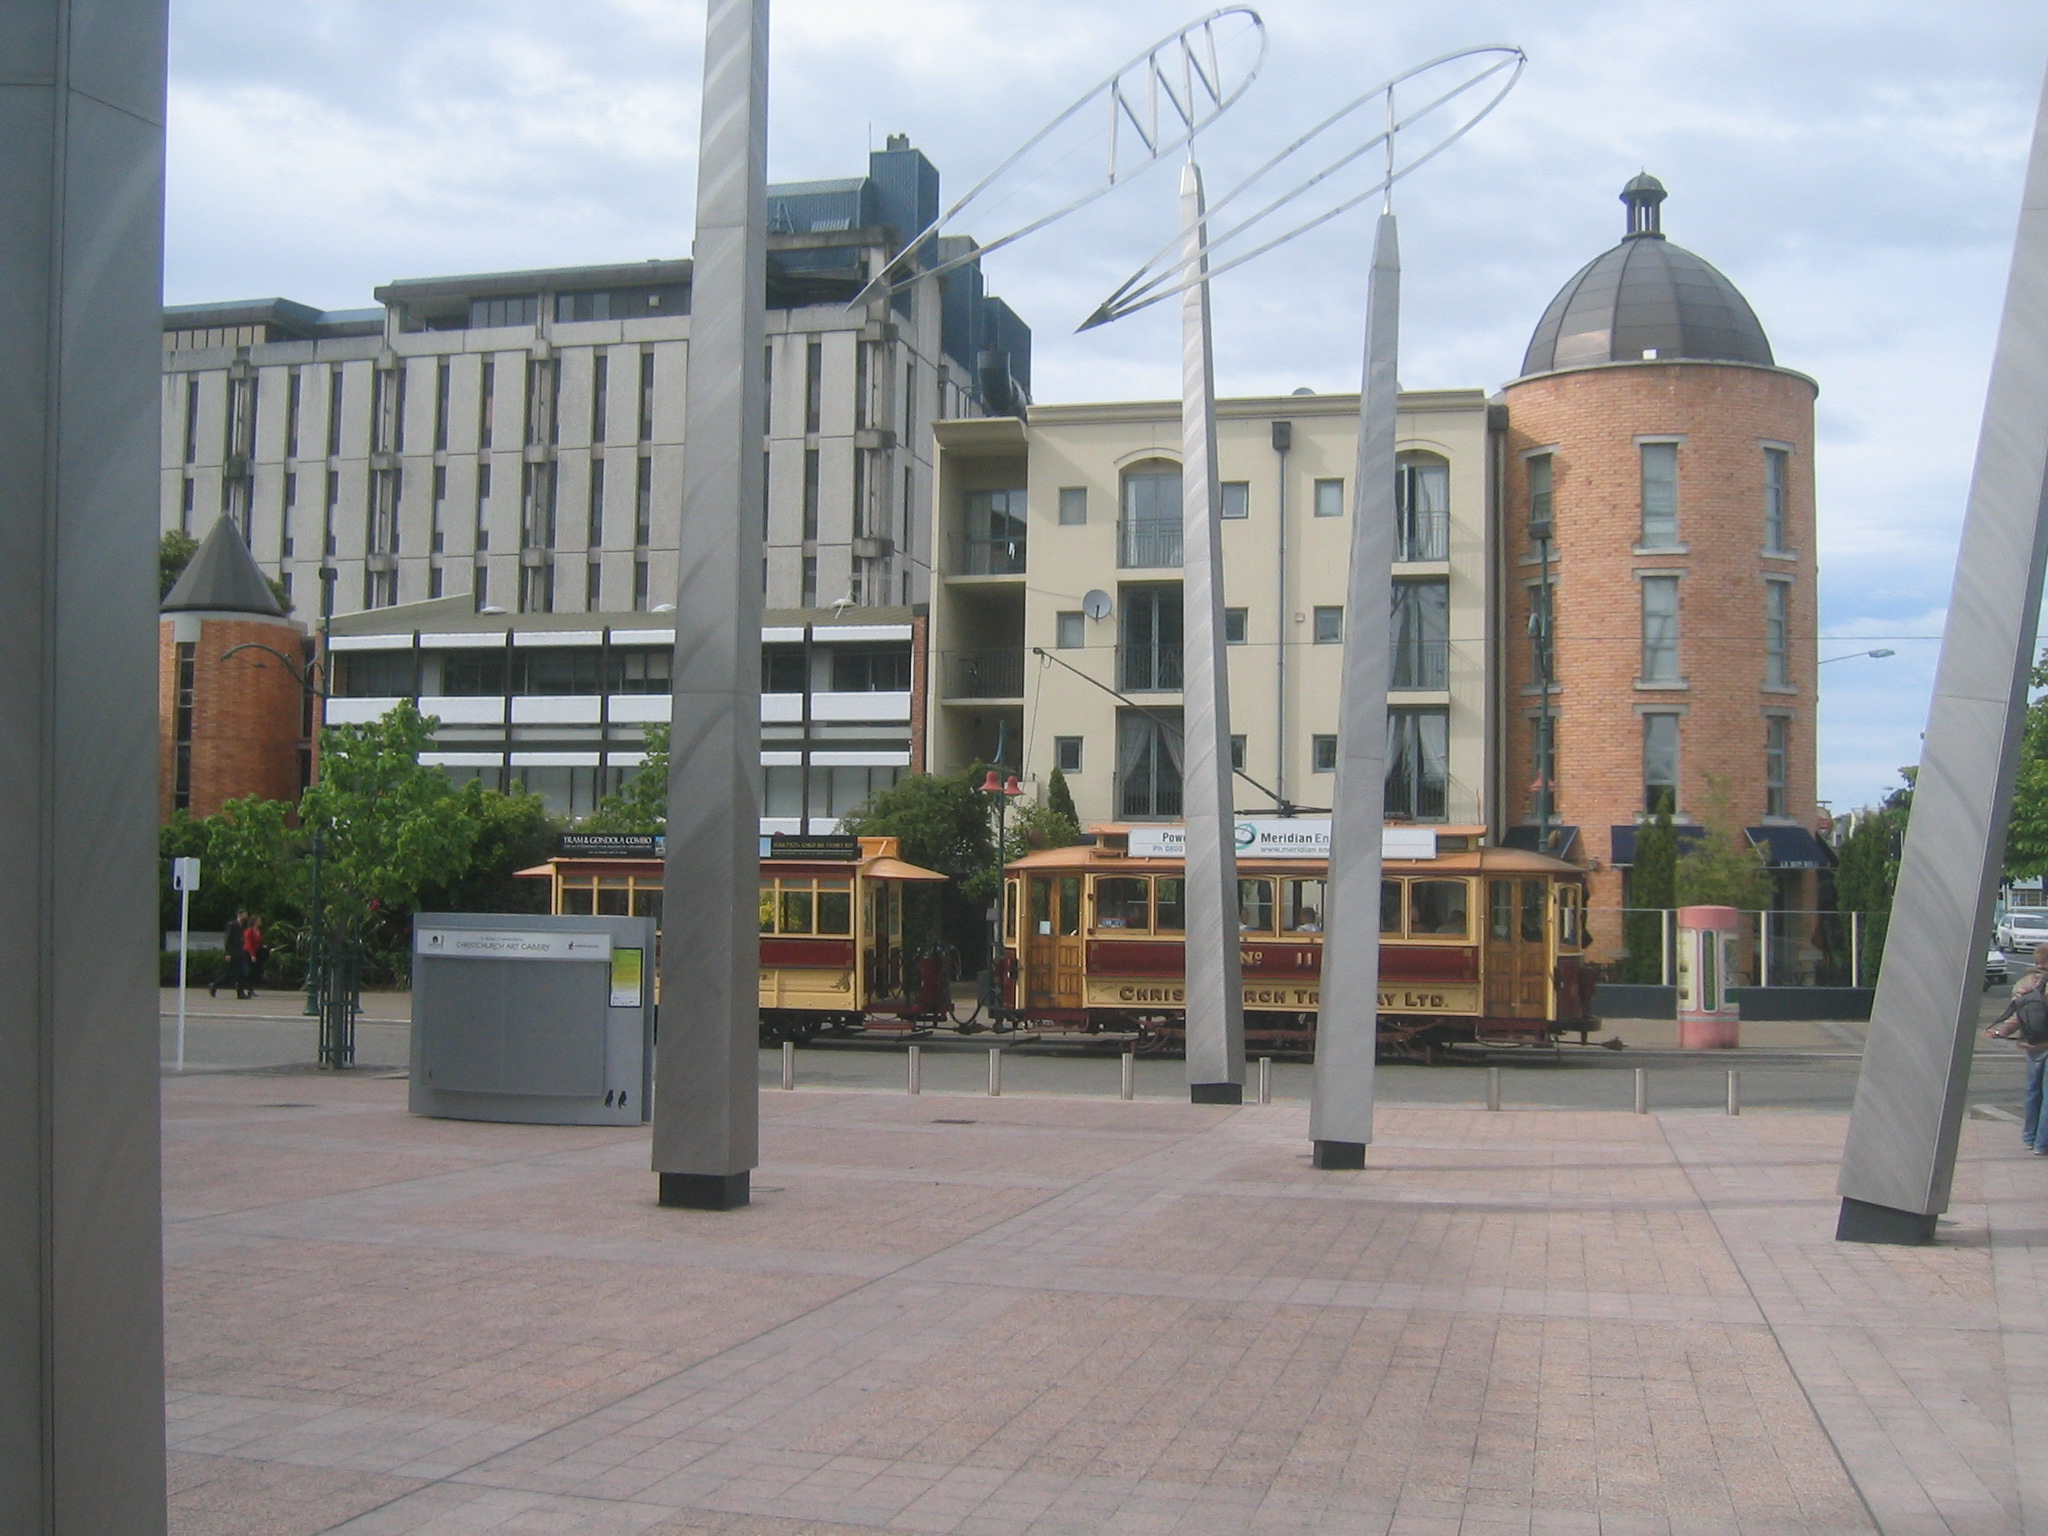
| The trolley passes by. |
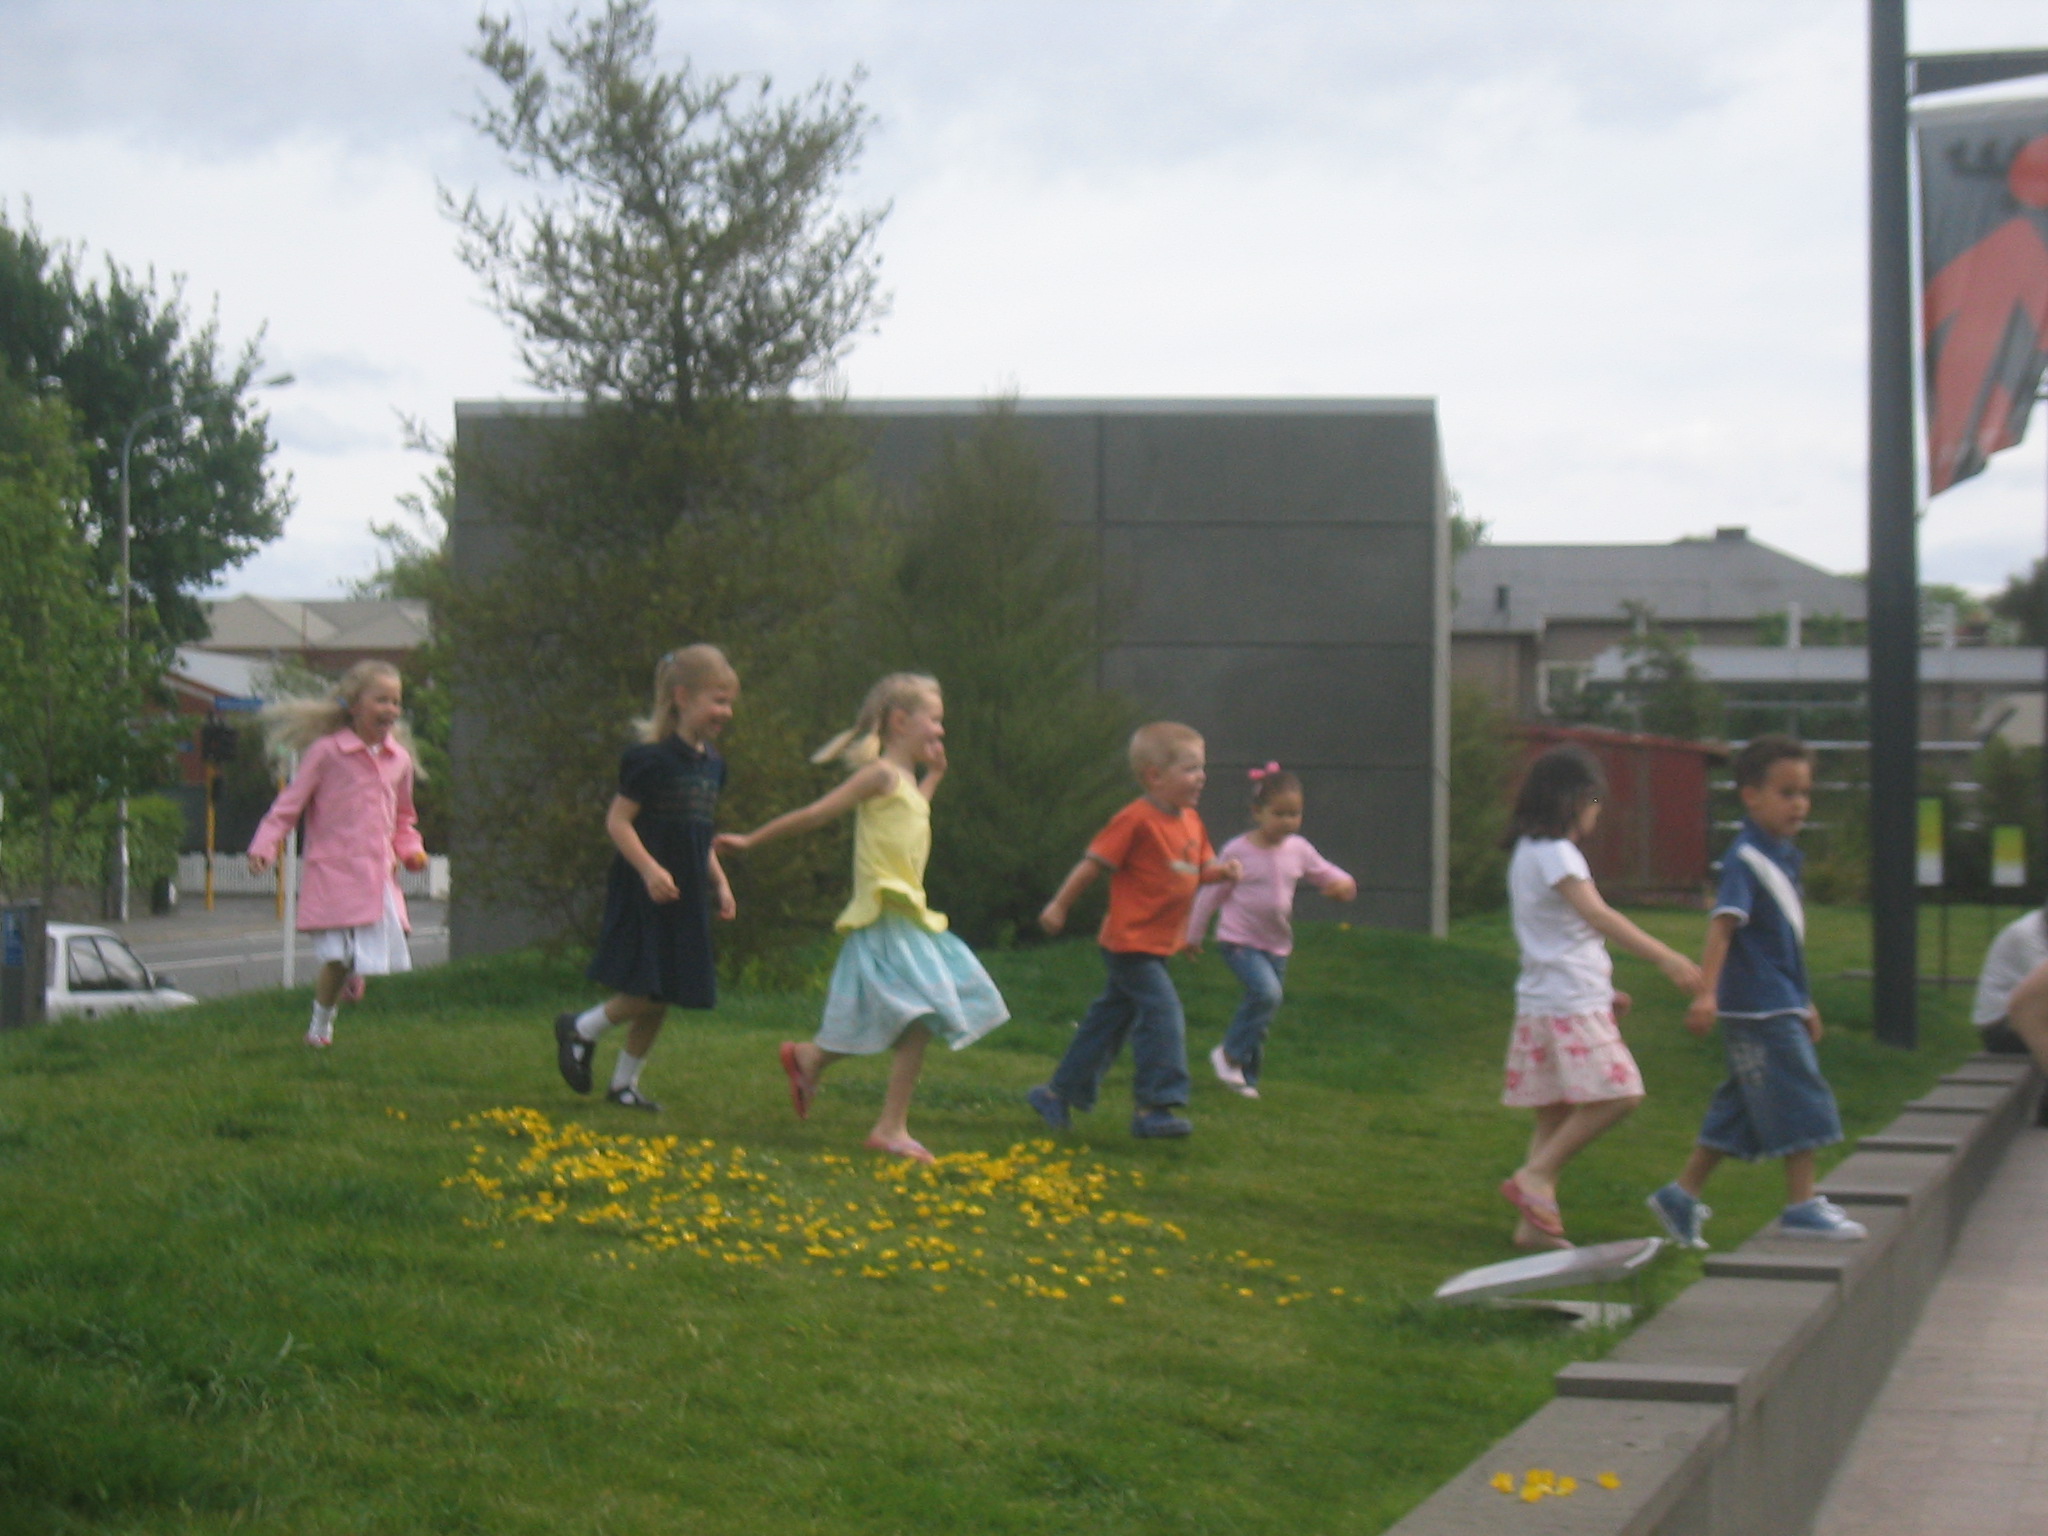
| Some kids running around outside the art gallery. |
| |
| (4460x1314, 790.49 kb) A view of the Christchurch Art Gallery on Montreal Street. | |
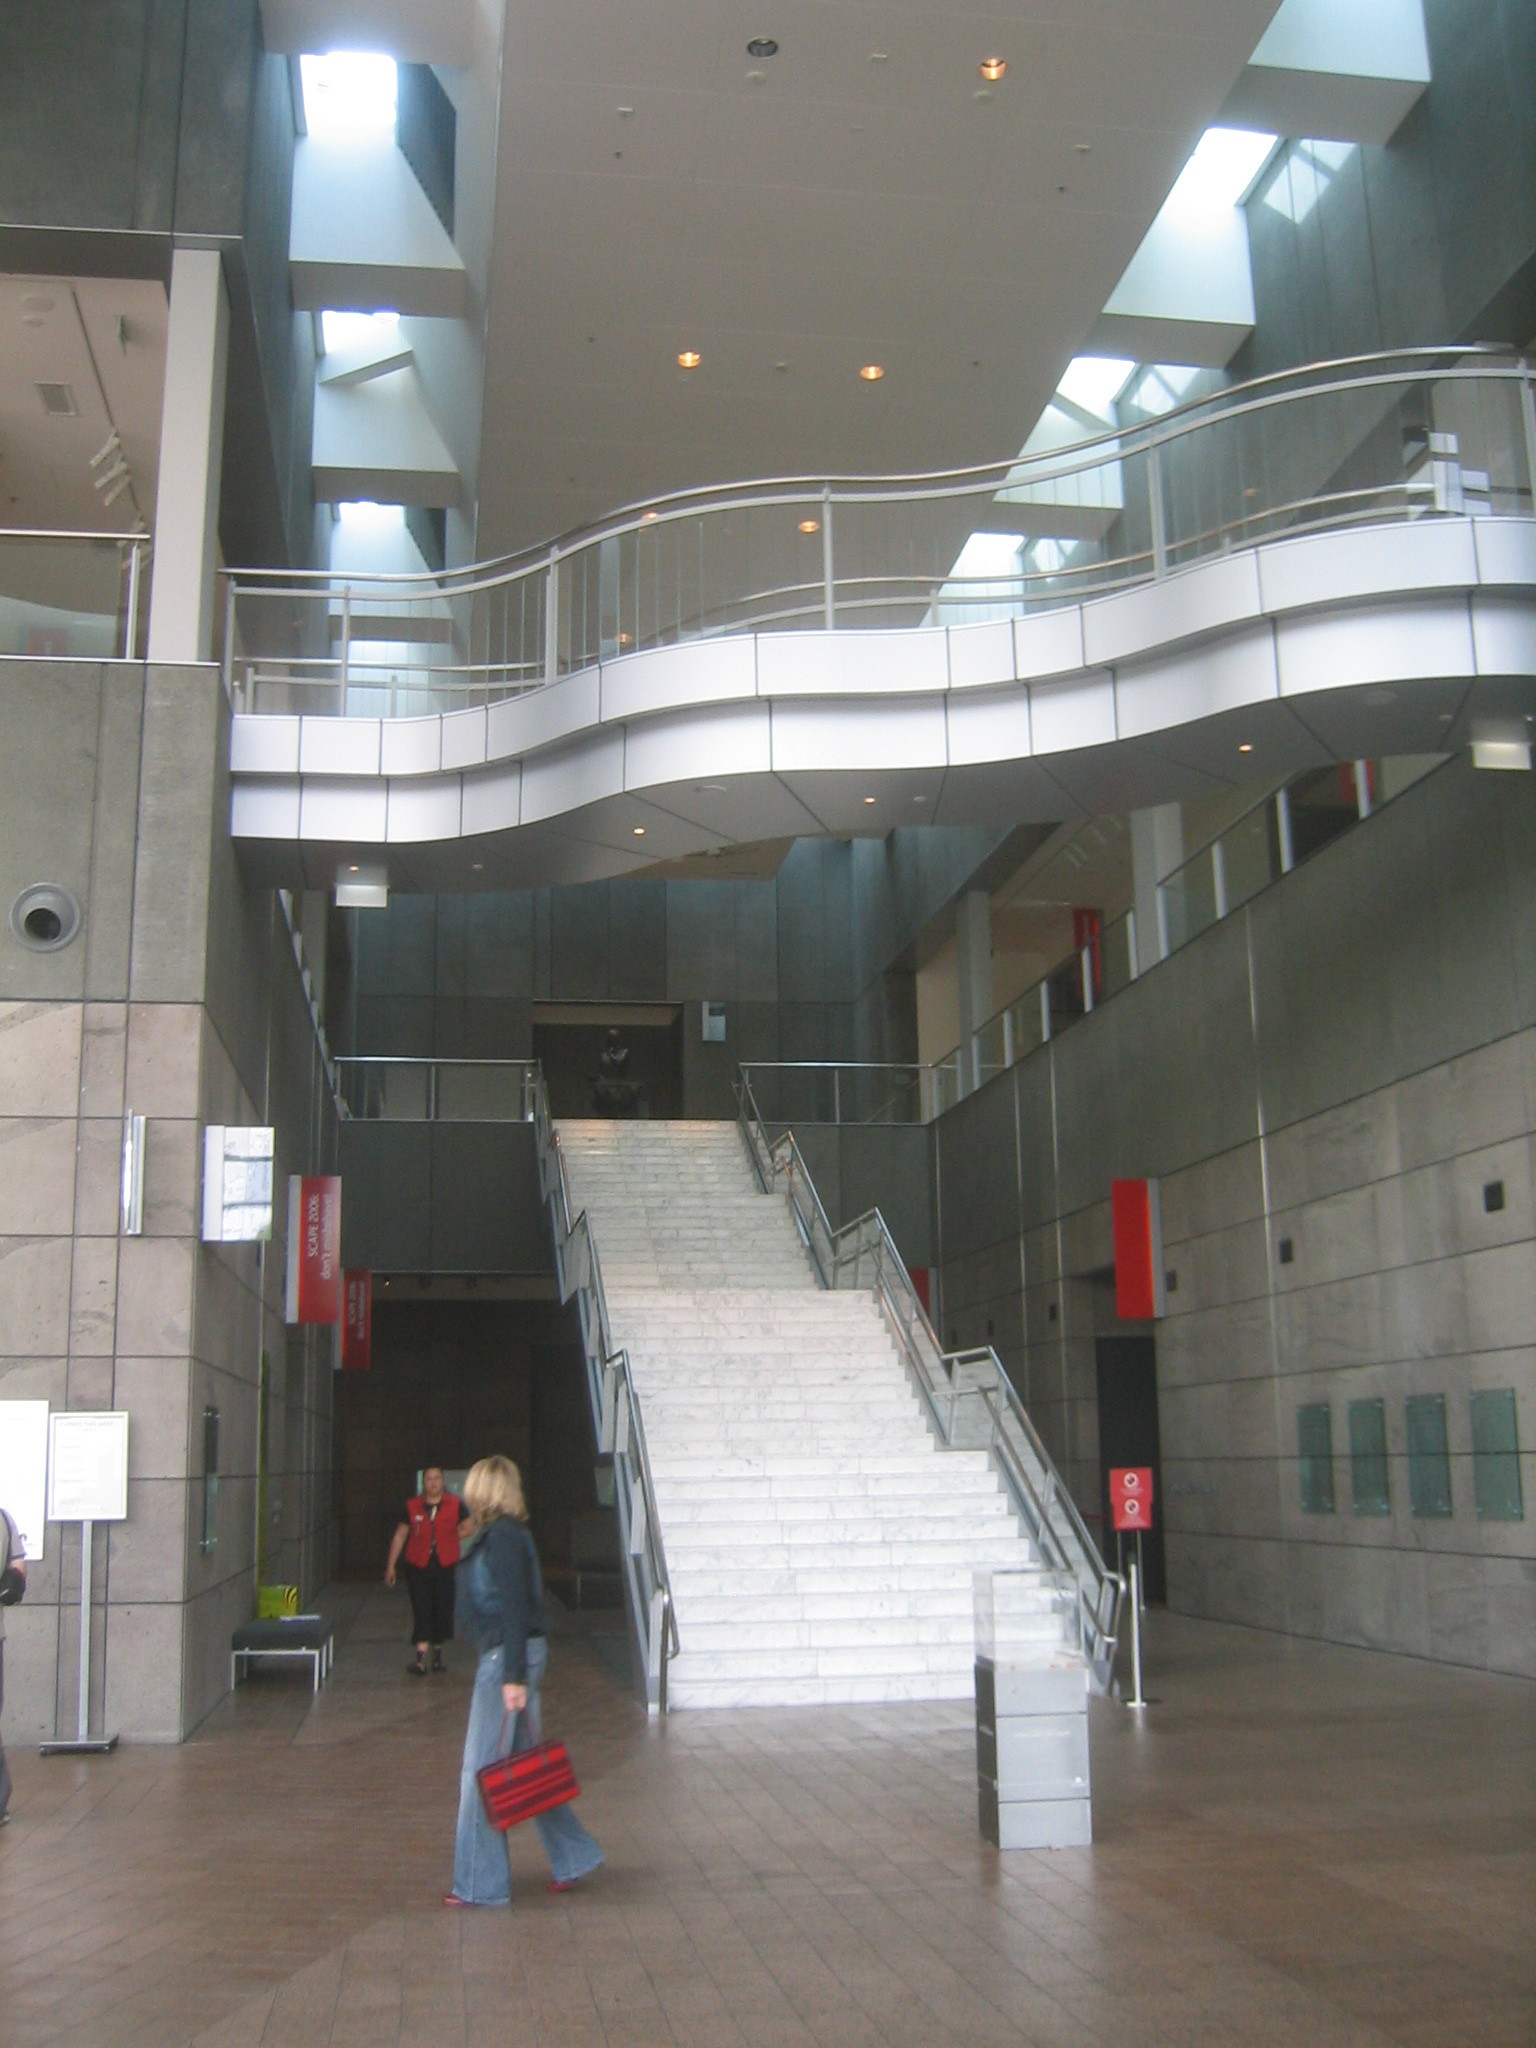
| Inside the art gallery. |
| A drain in the Art Gallery pool confirms we're in the southern hemisphere. |
| The entrance to the galleries. |
| |
| (5599x1288, 4628.38 kb) The reverse view from the first panorama: inside the Art Gallery looking out towards Montreal Street. | |
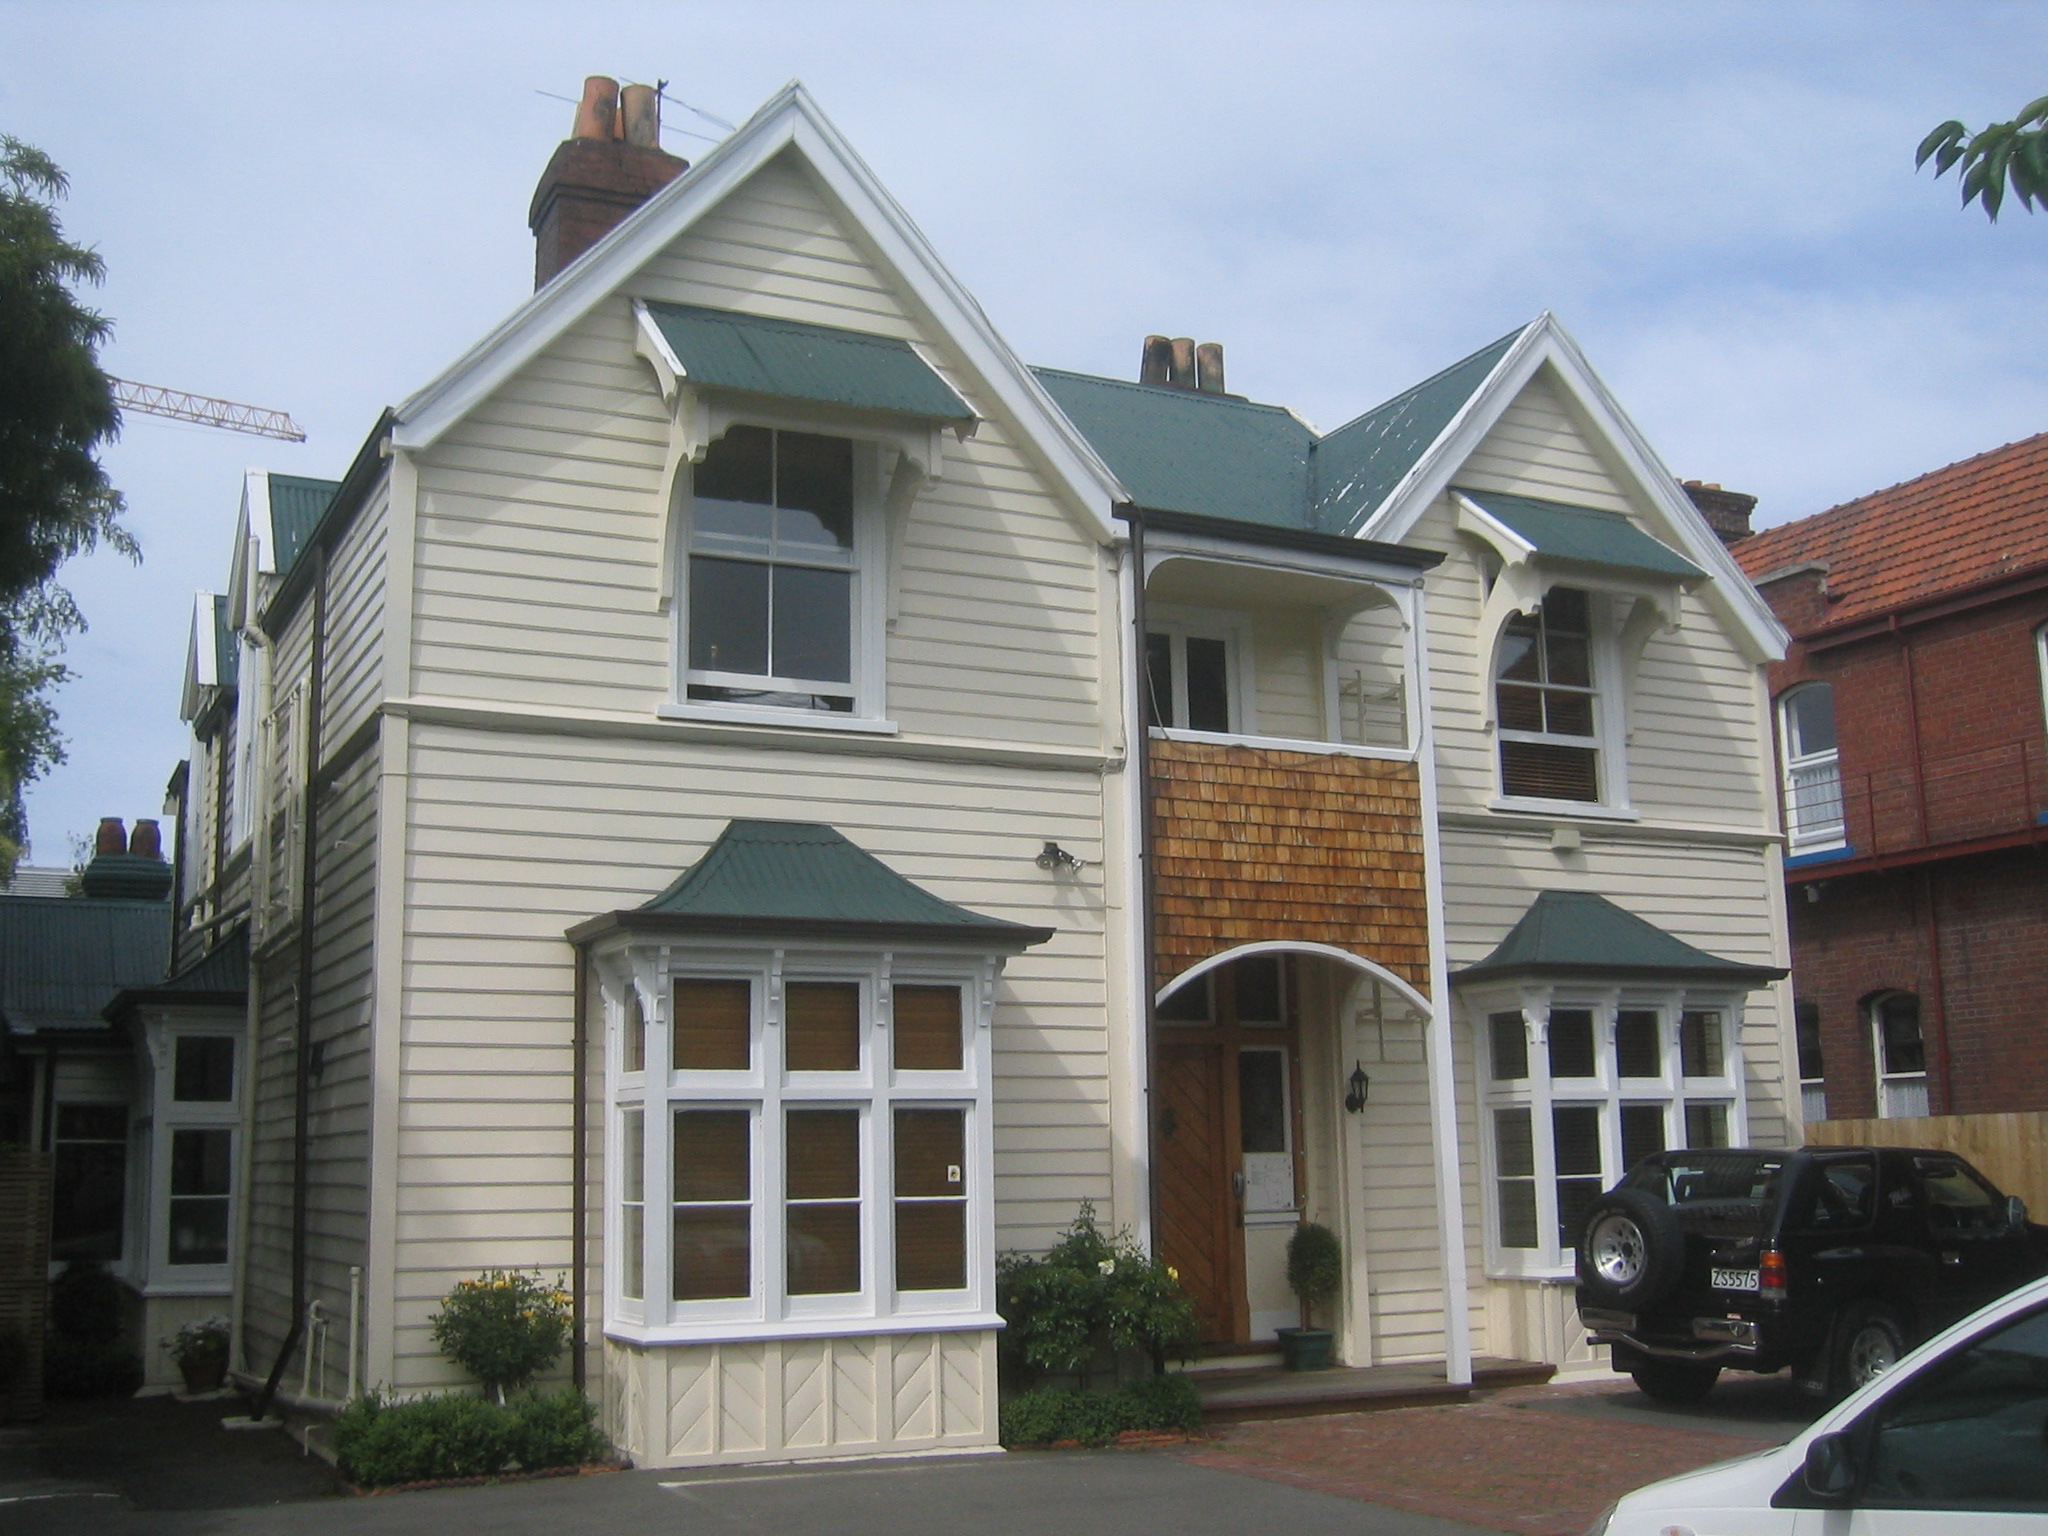
| The Grange B&B, where I'm staying. The building on the right is the Windsor, where Enzo's staying. |
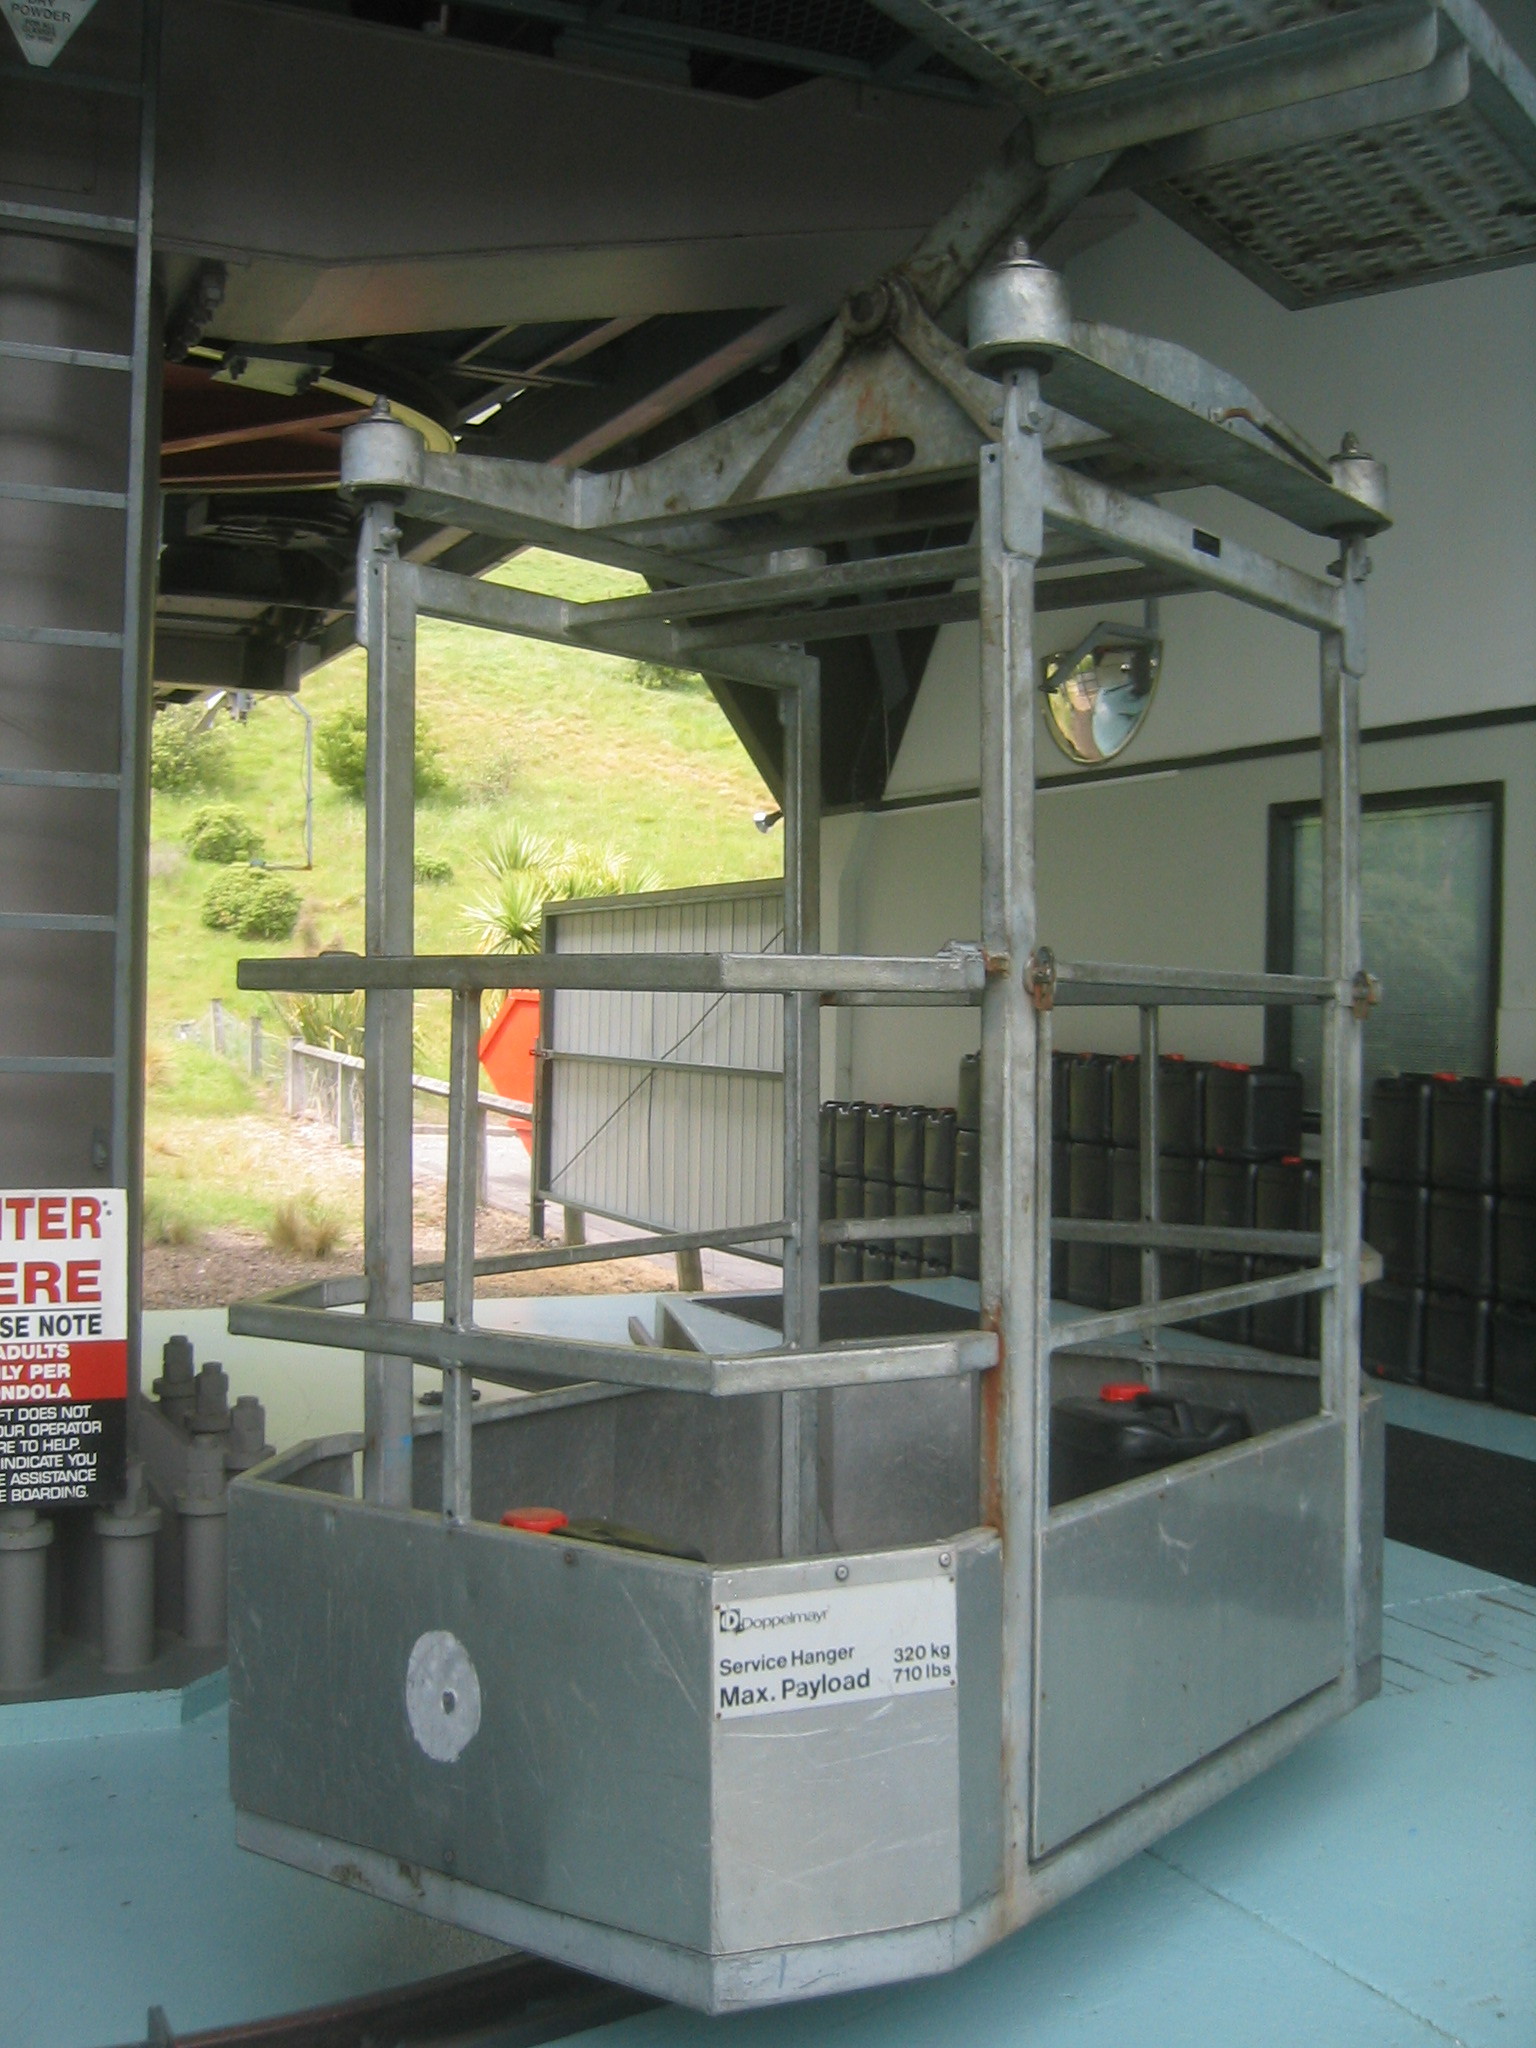
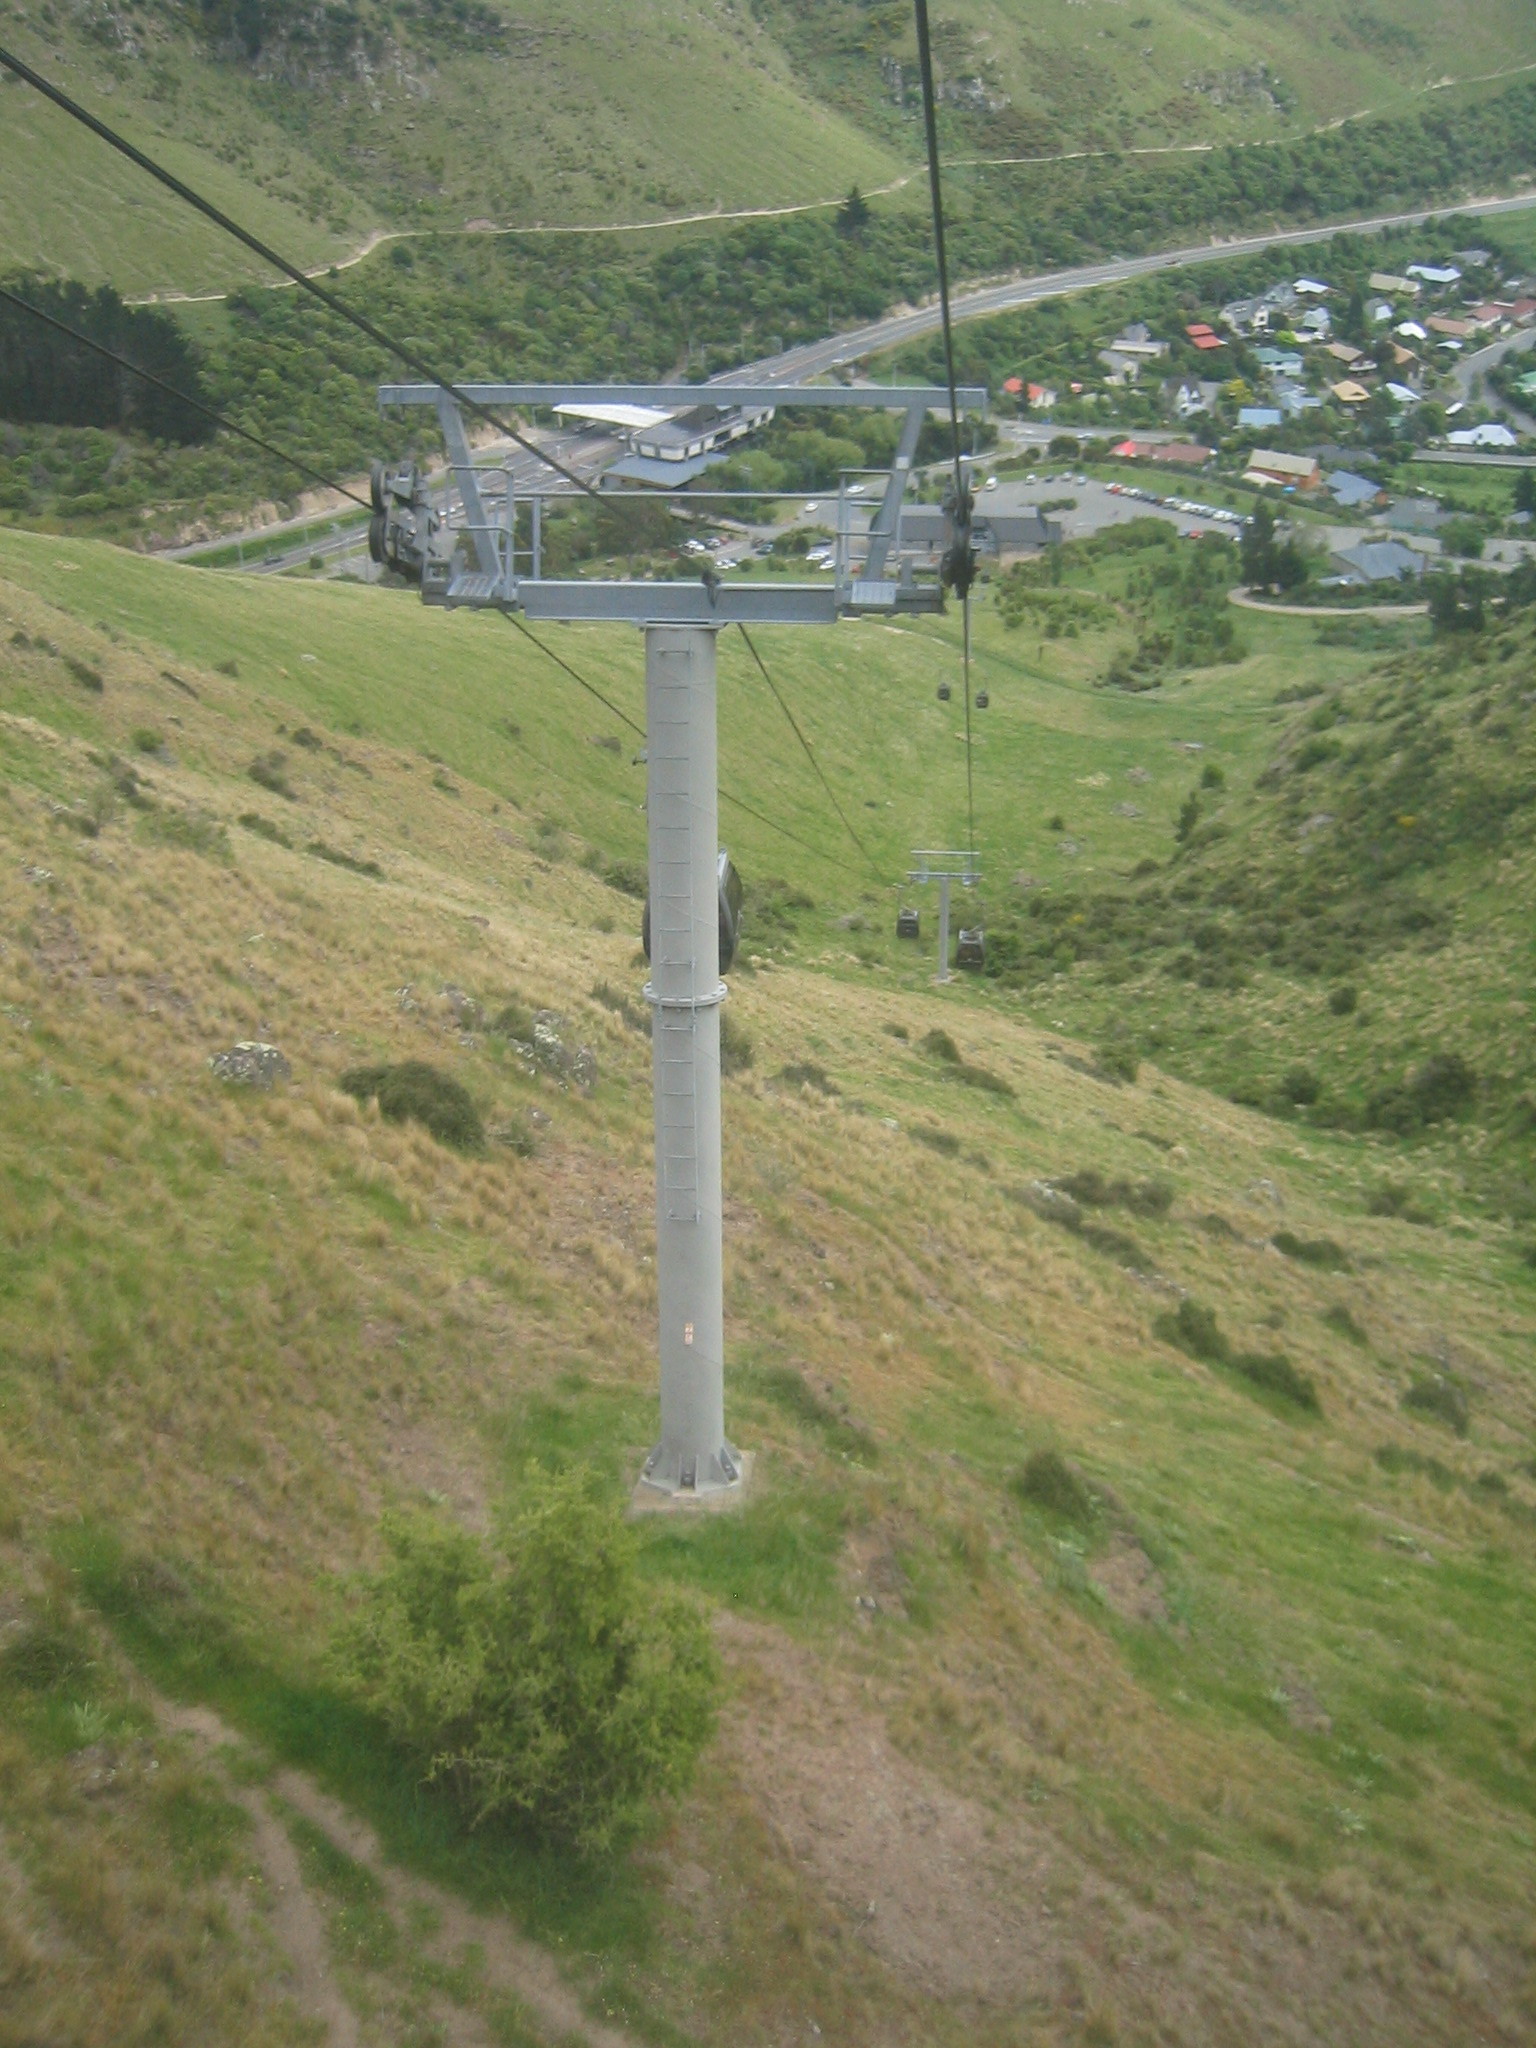
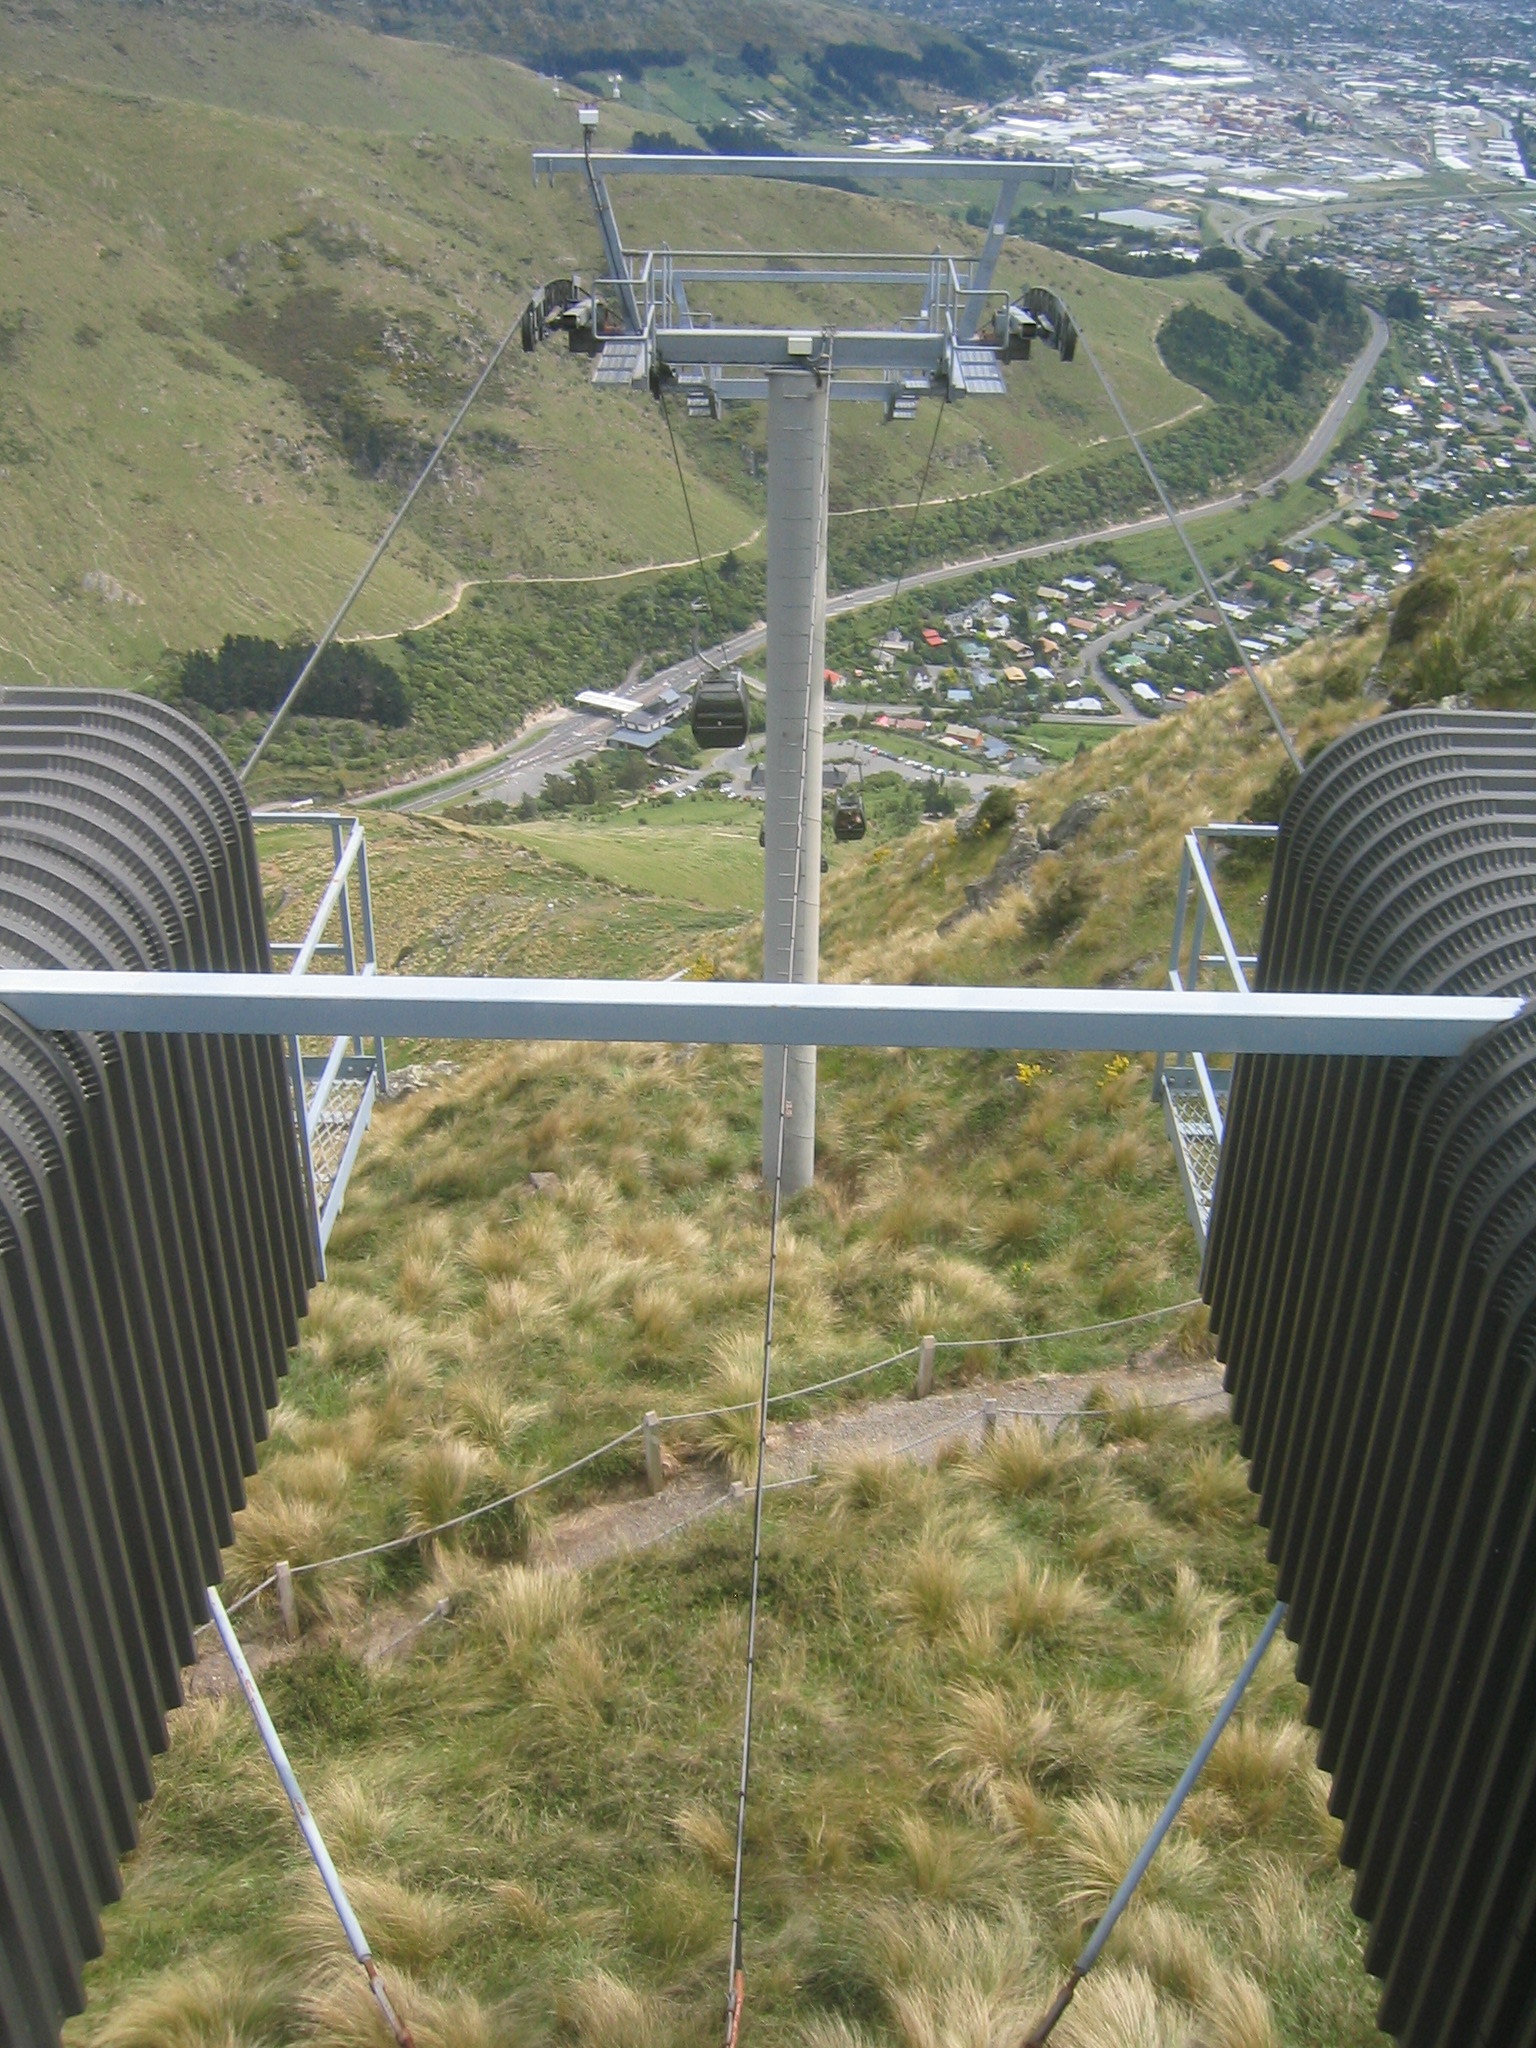
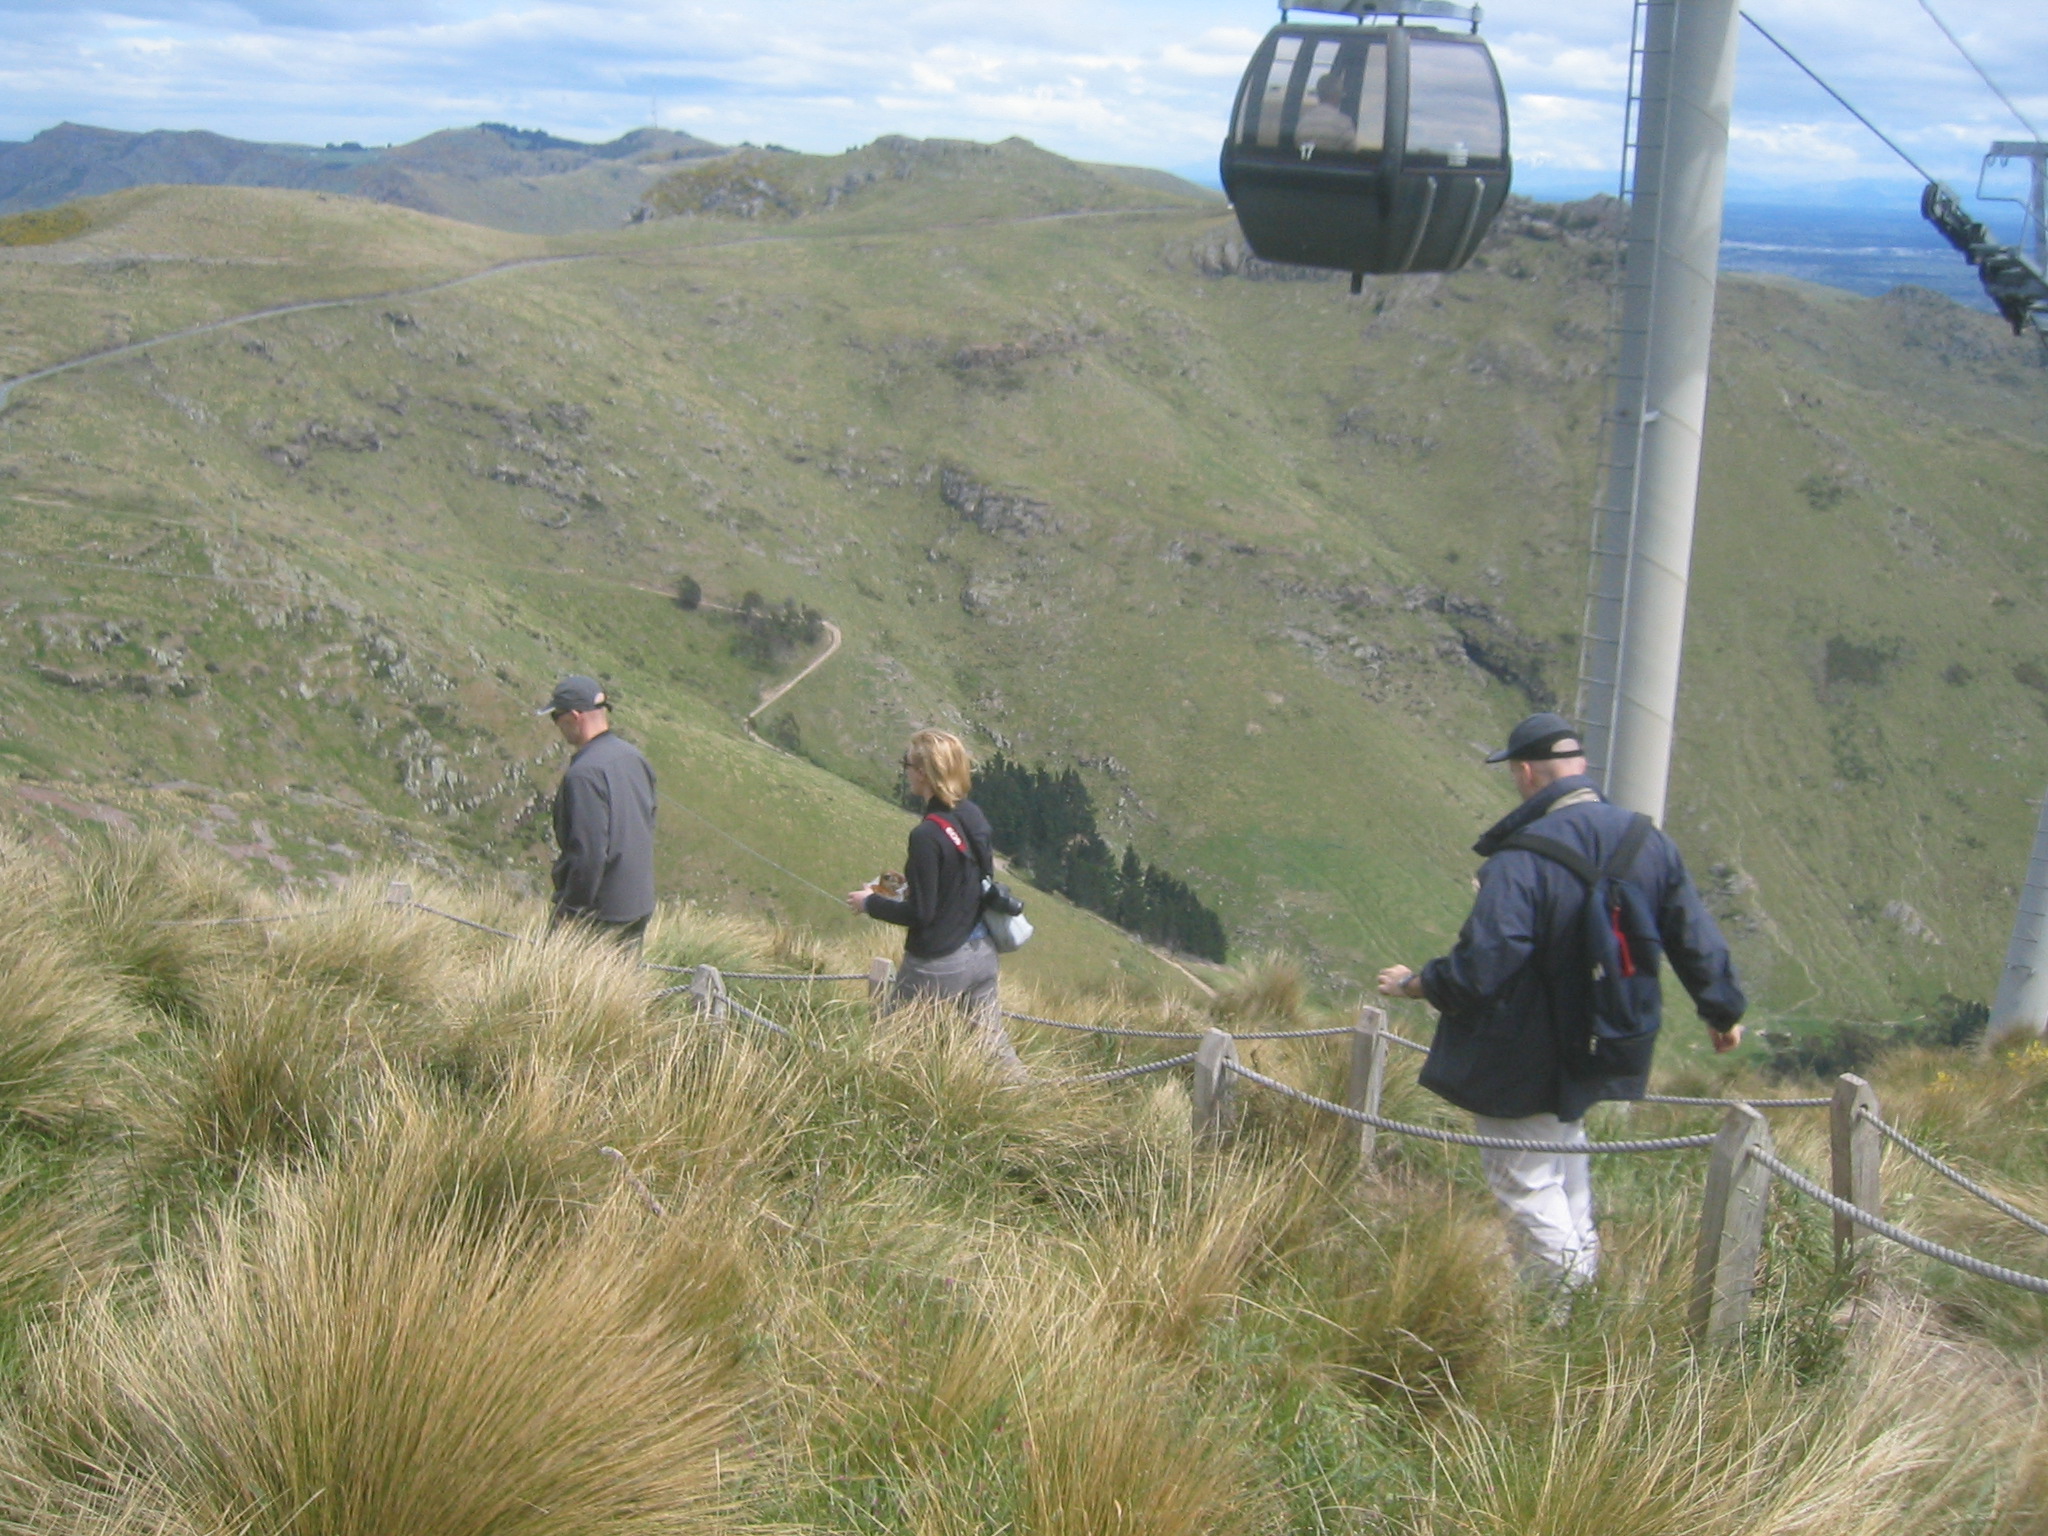
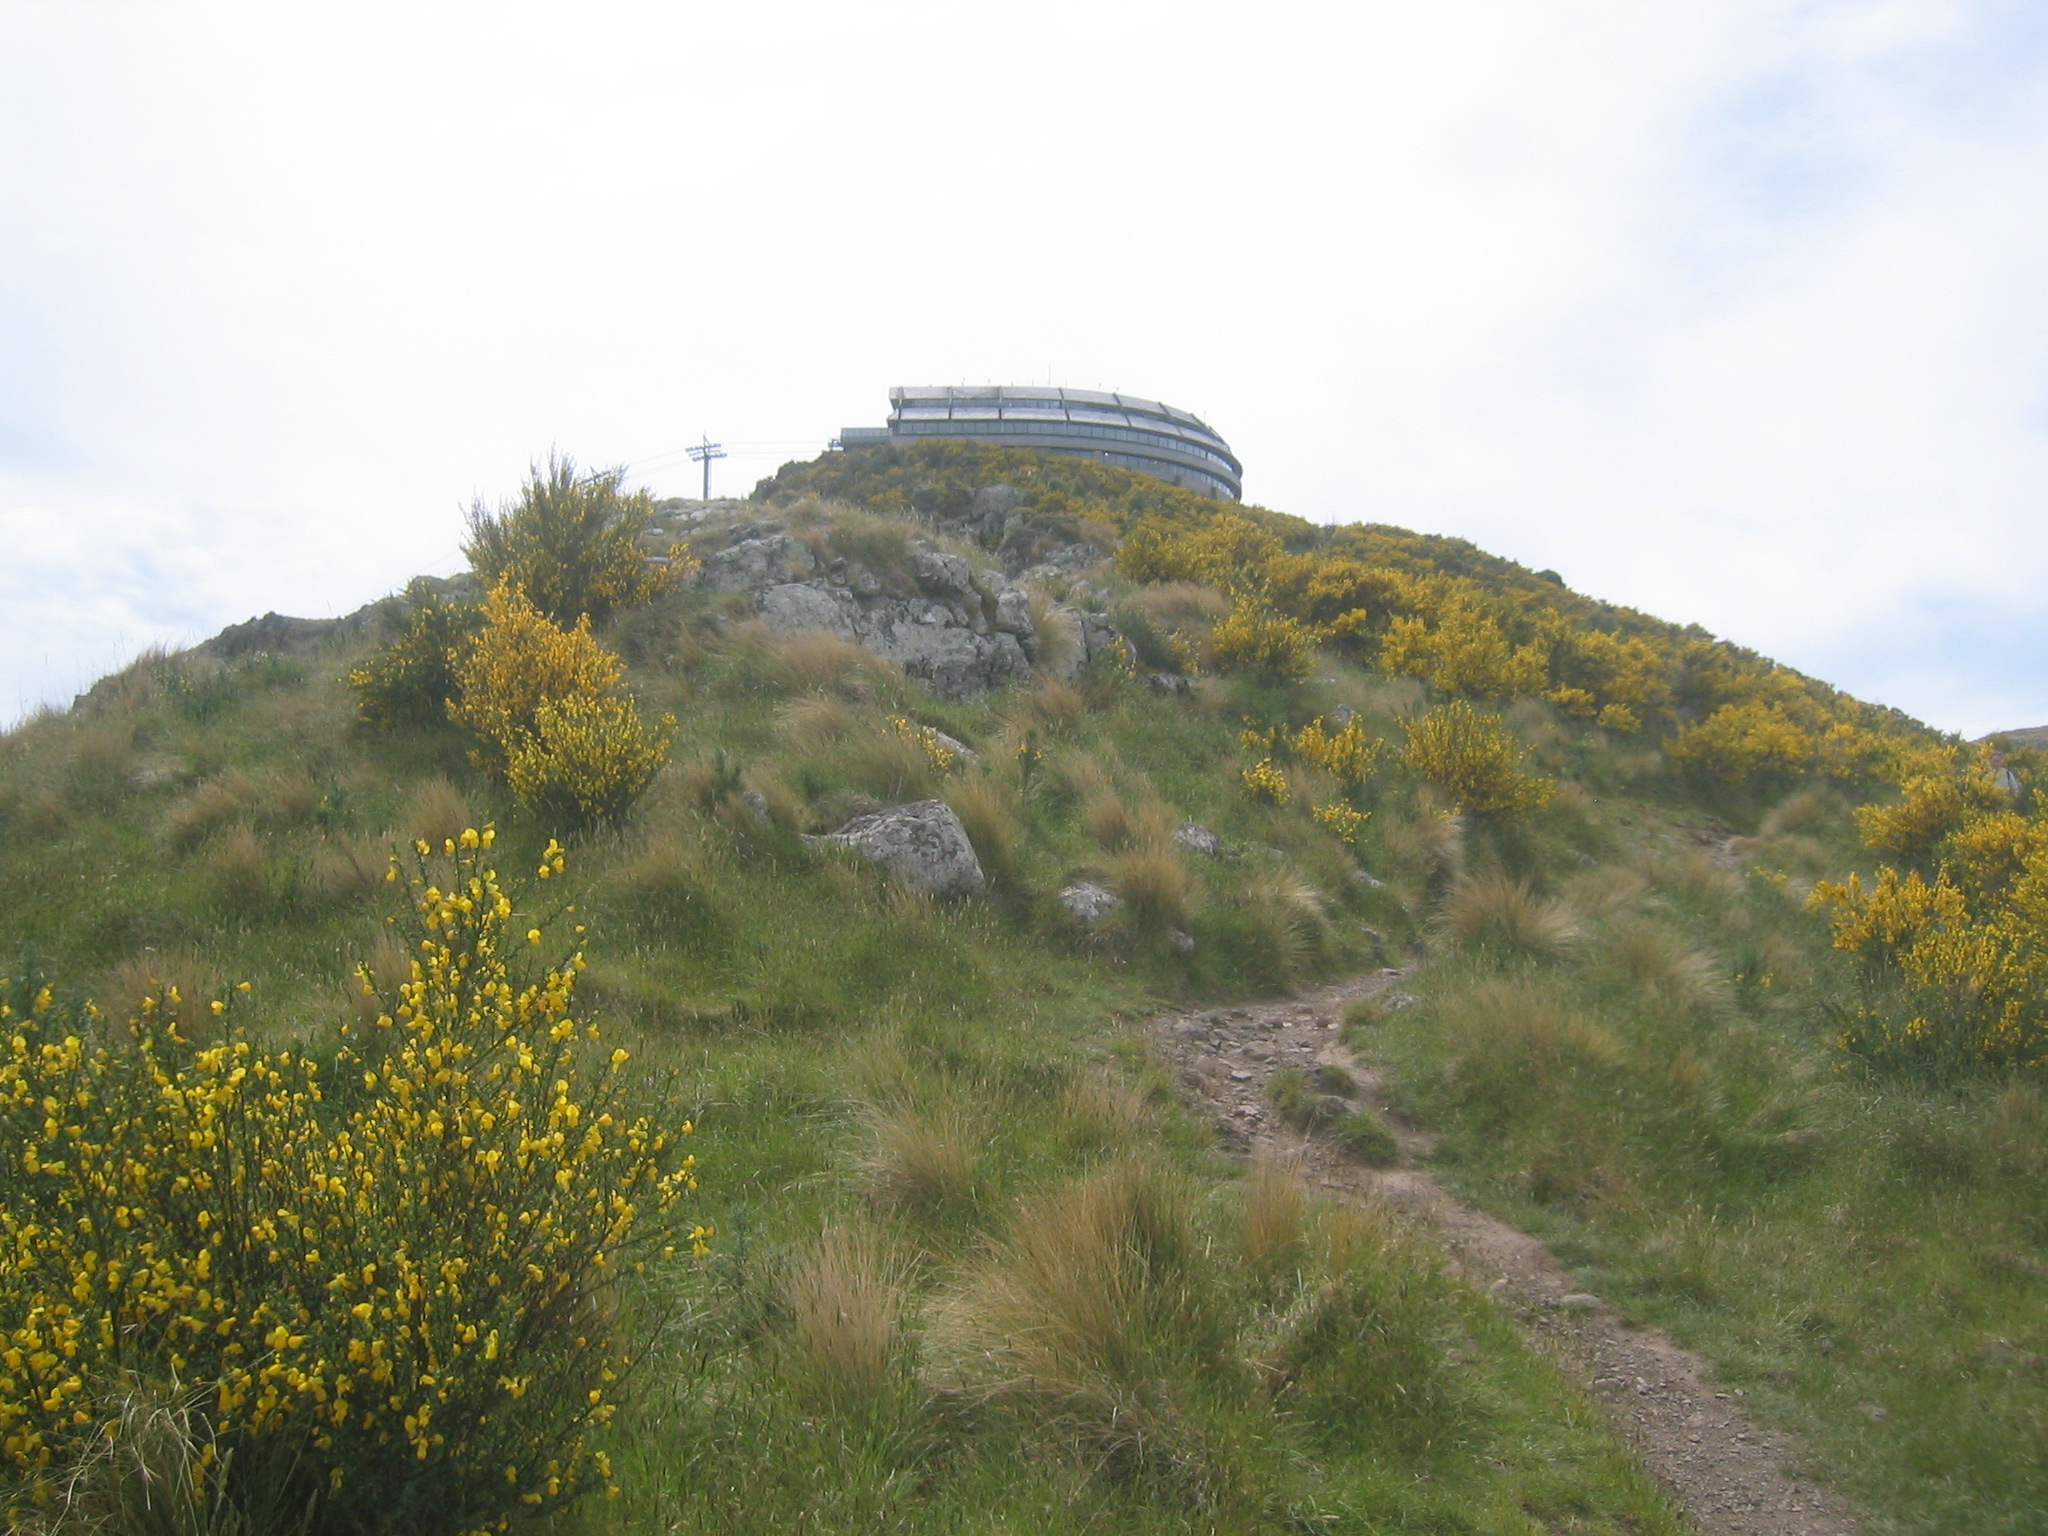
| The gondola loading area. The gondolas don't stop, so getting on can be tricky. |
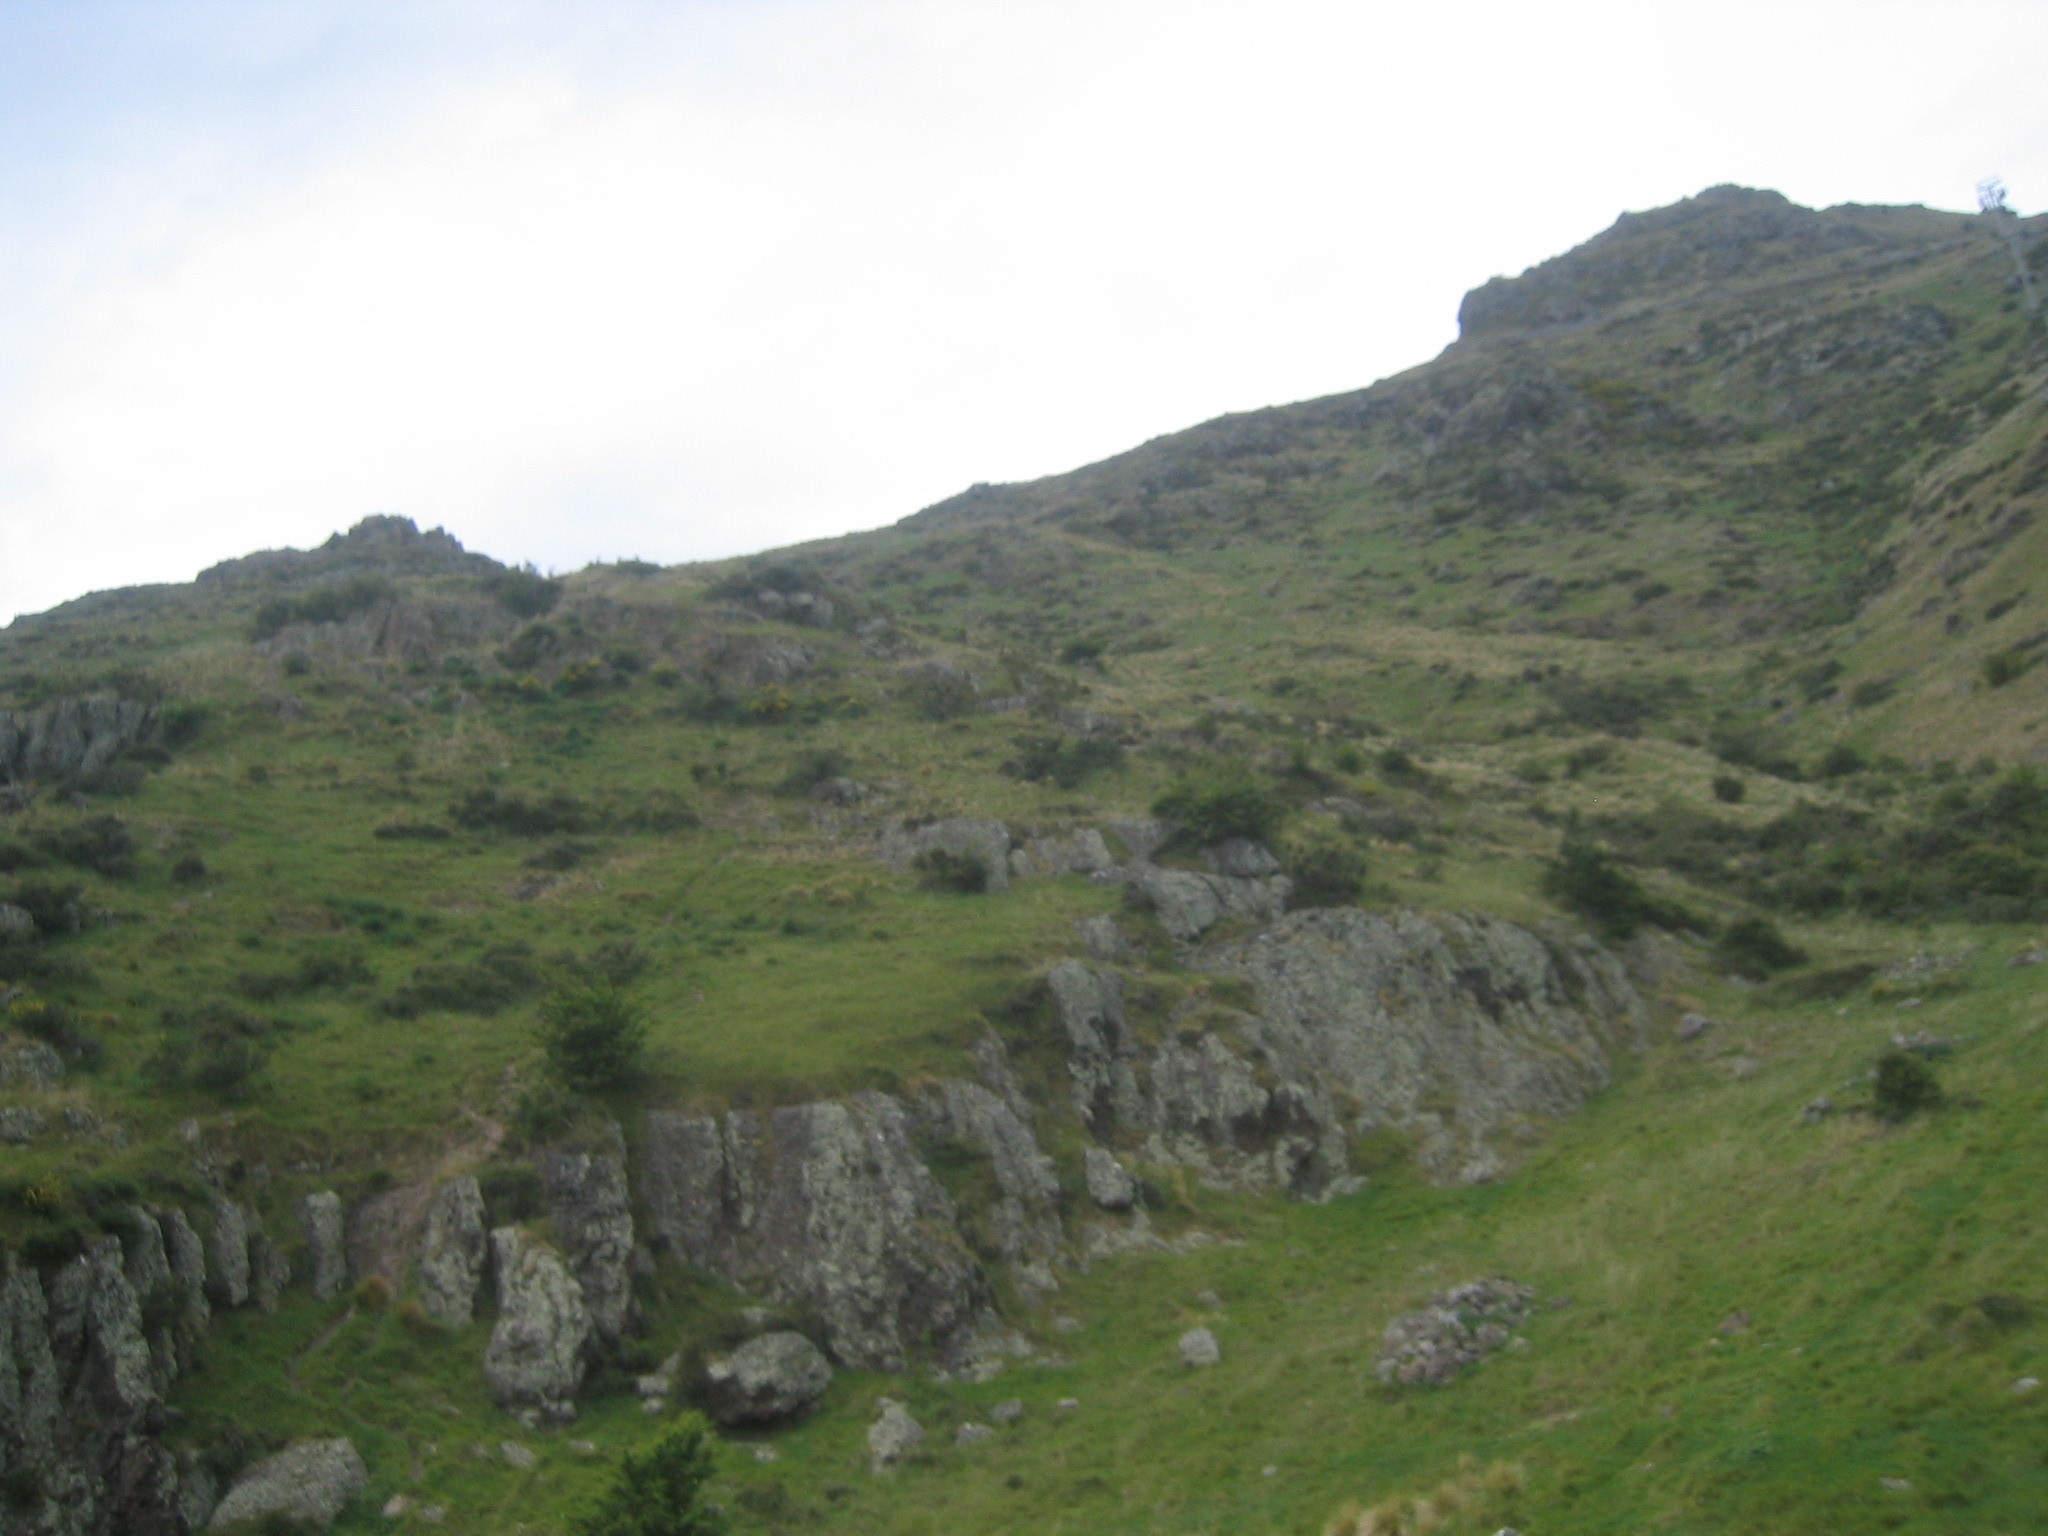
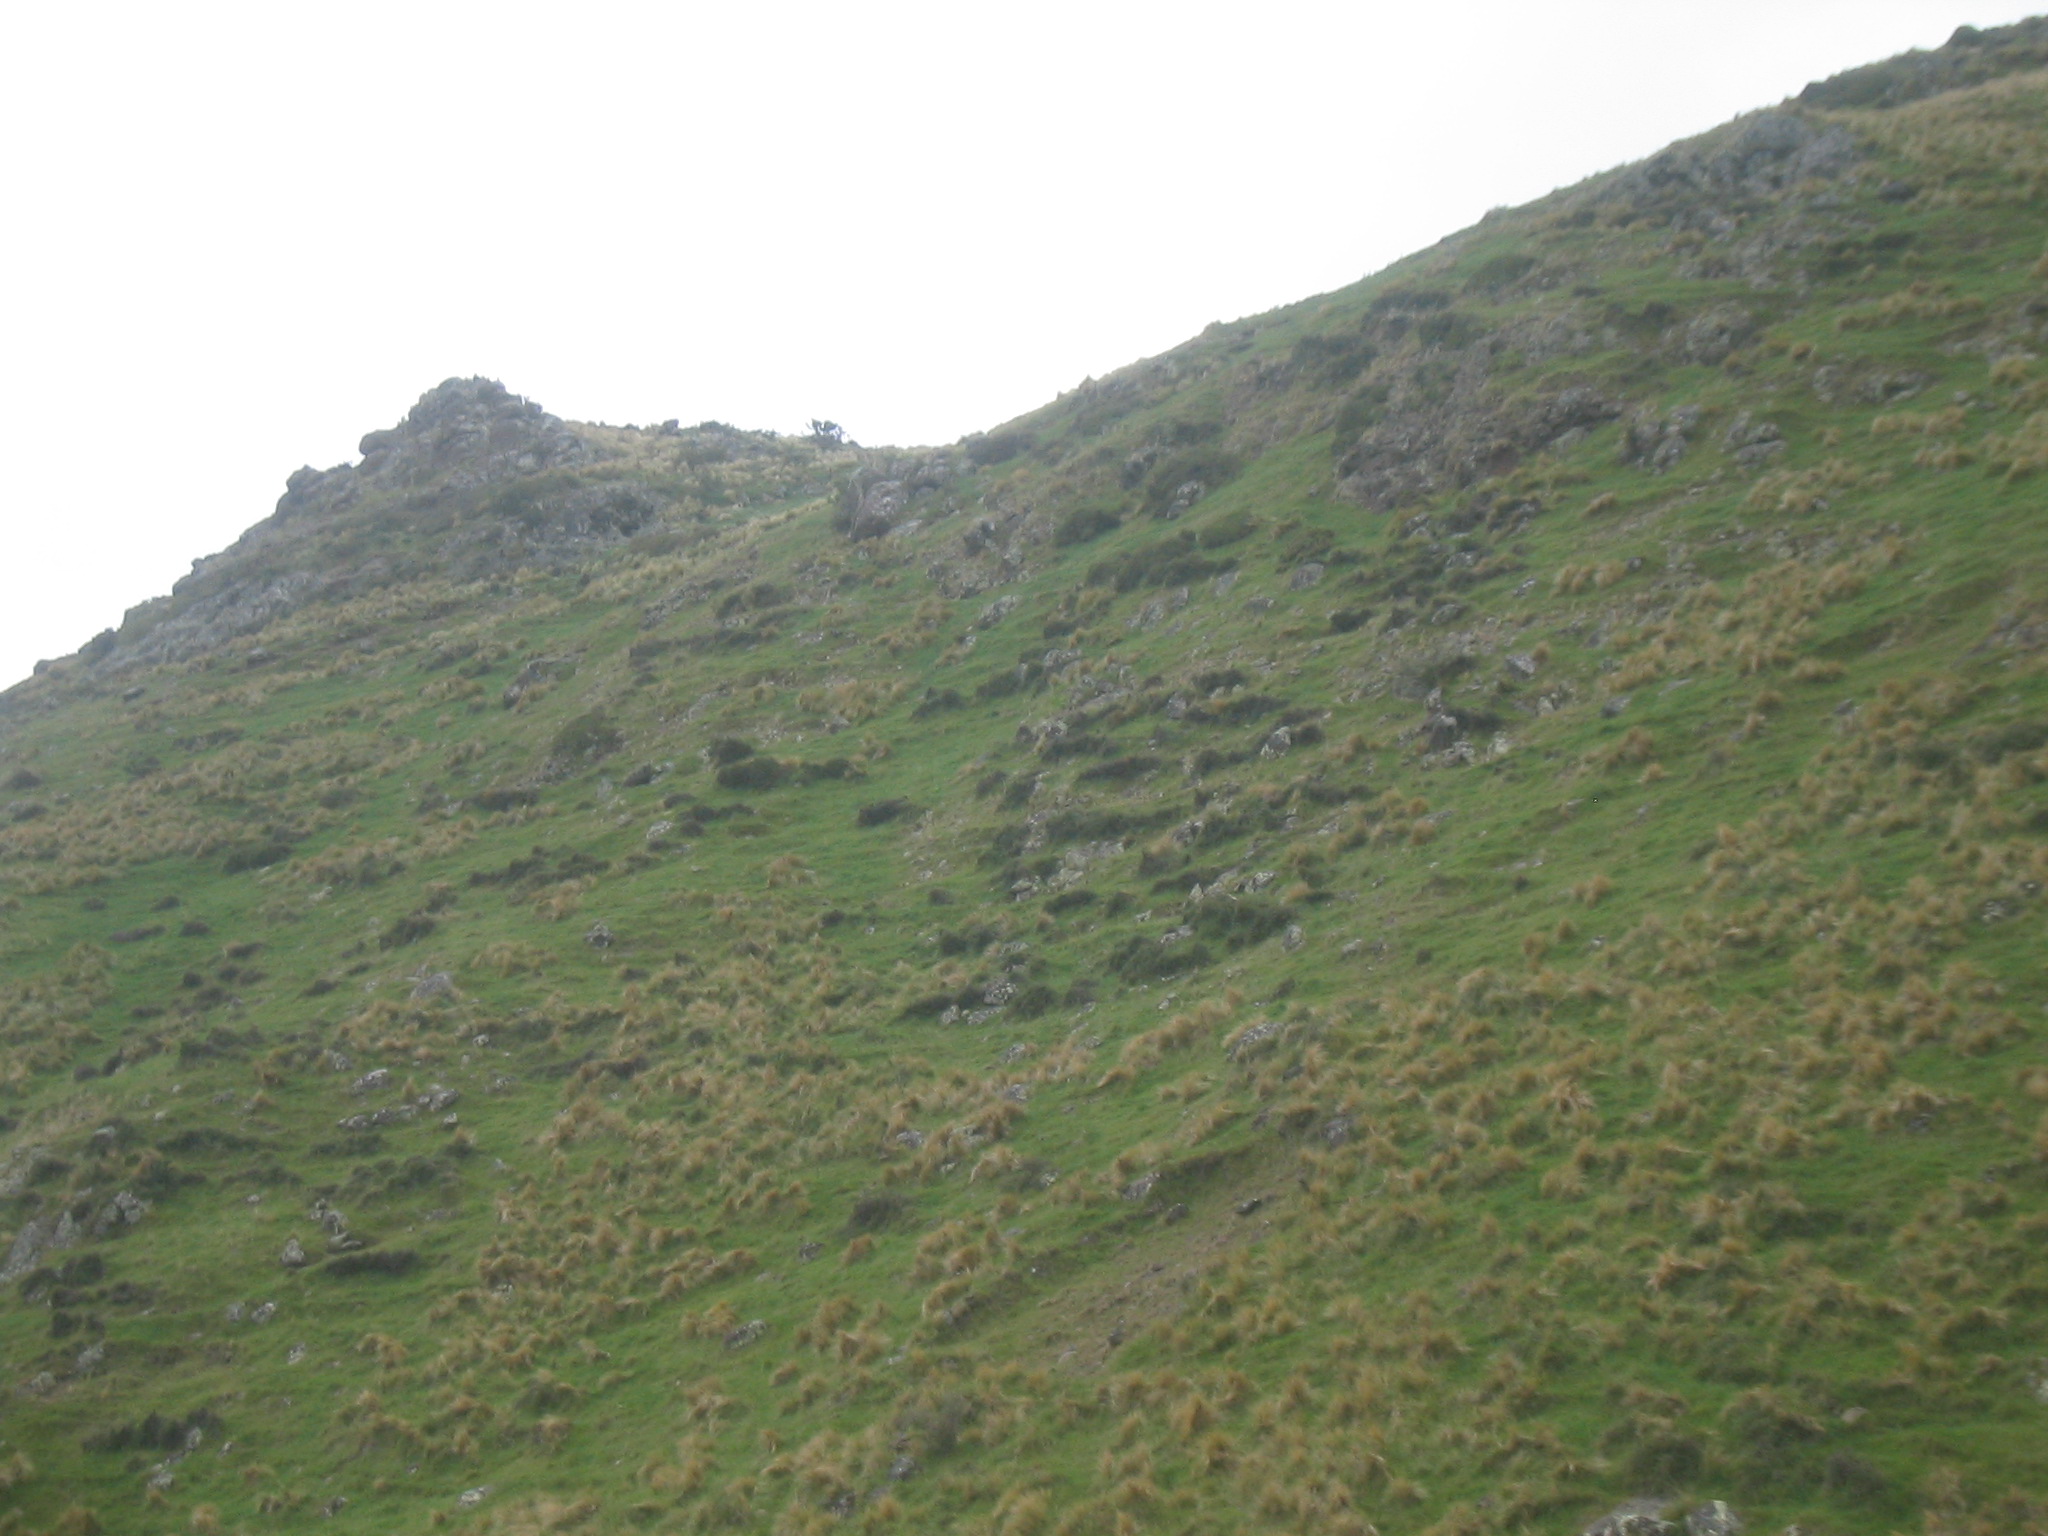
| Hills near the gondola terminus. |
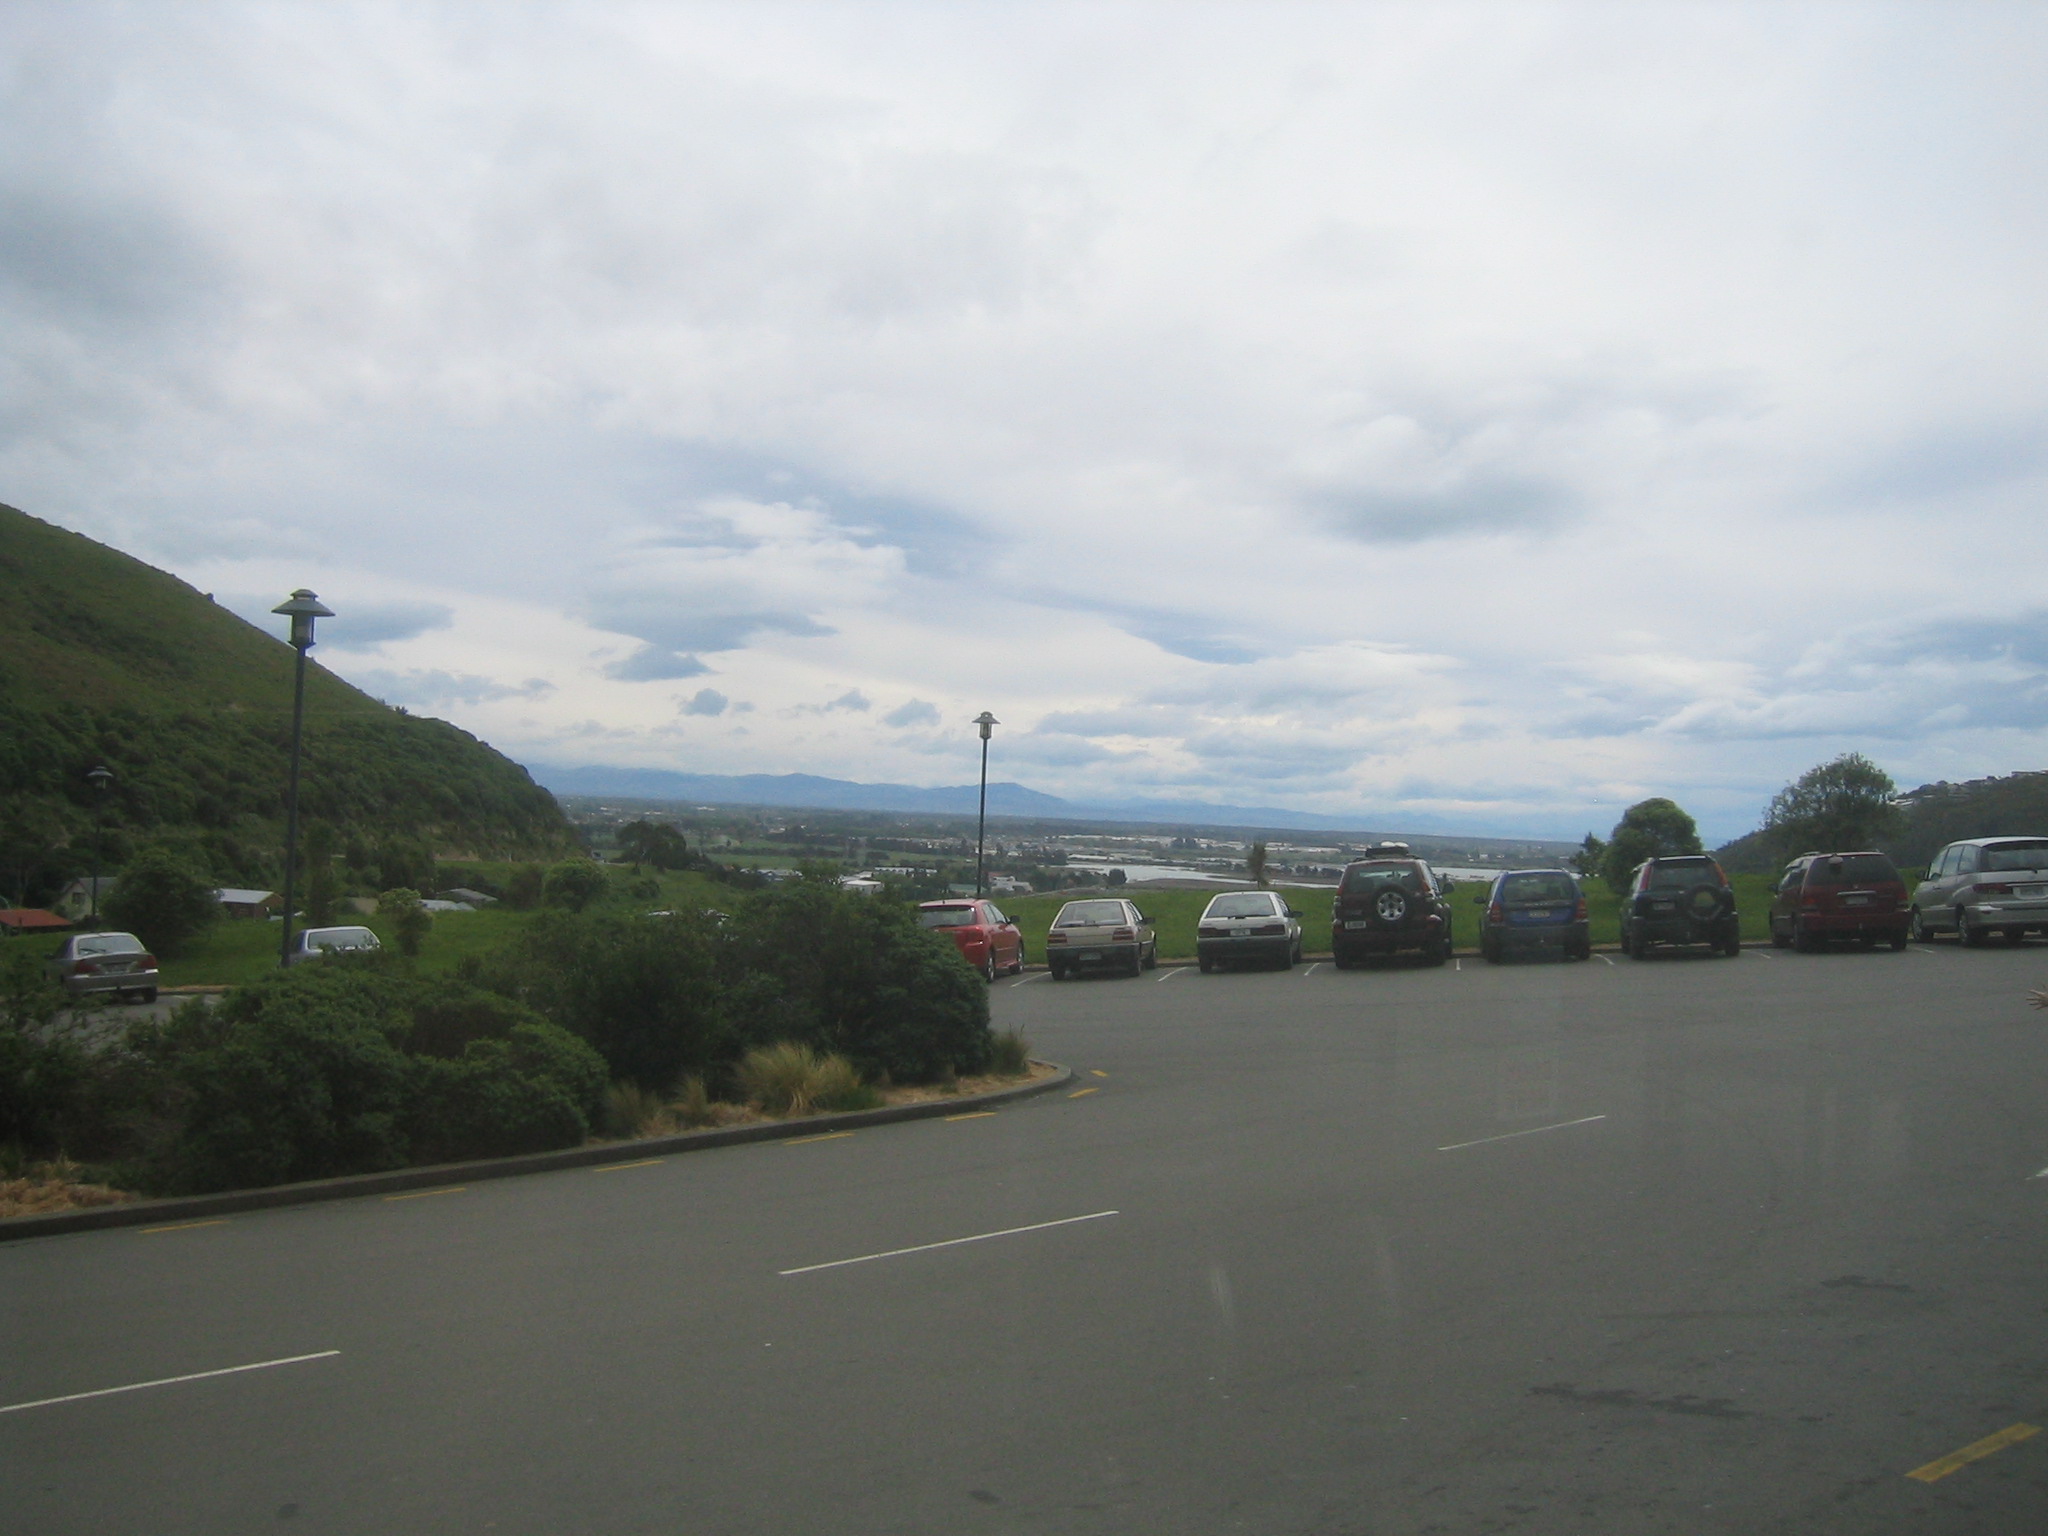
| Looking back north at Christchurch. |
| Some gondola don't seem as fancy as others. Sadly they didn't let us ride in this one. |
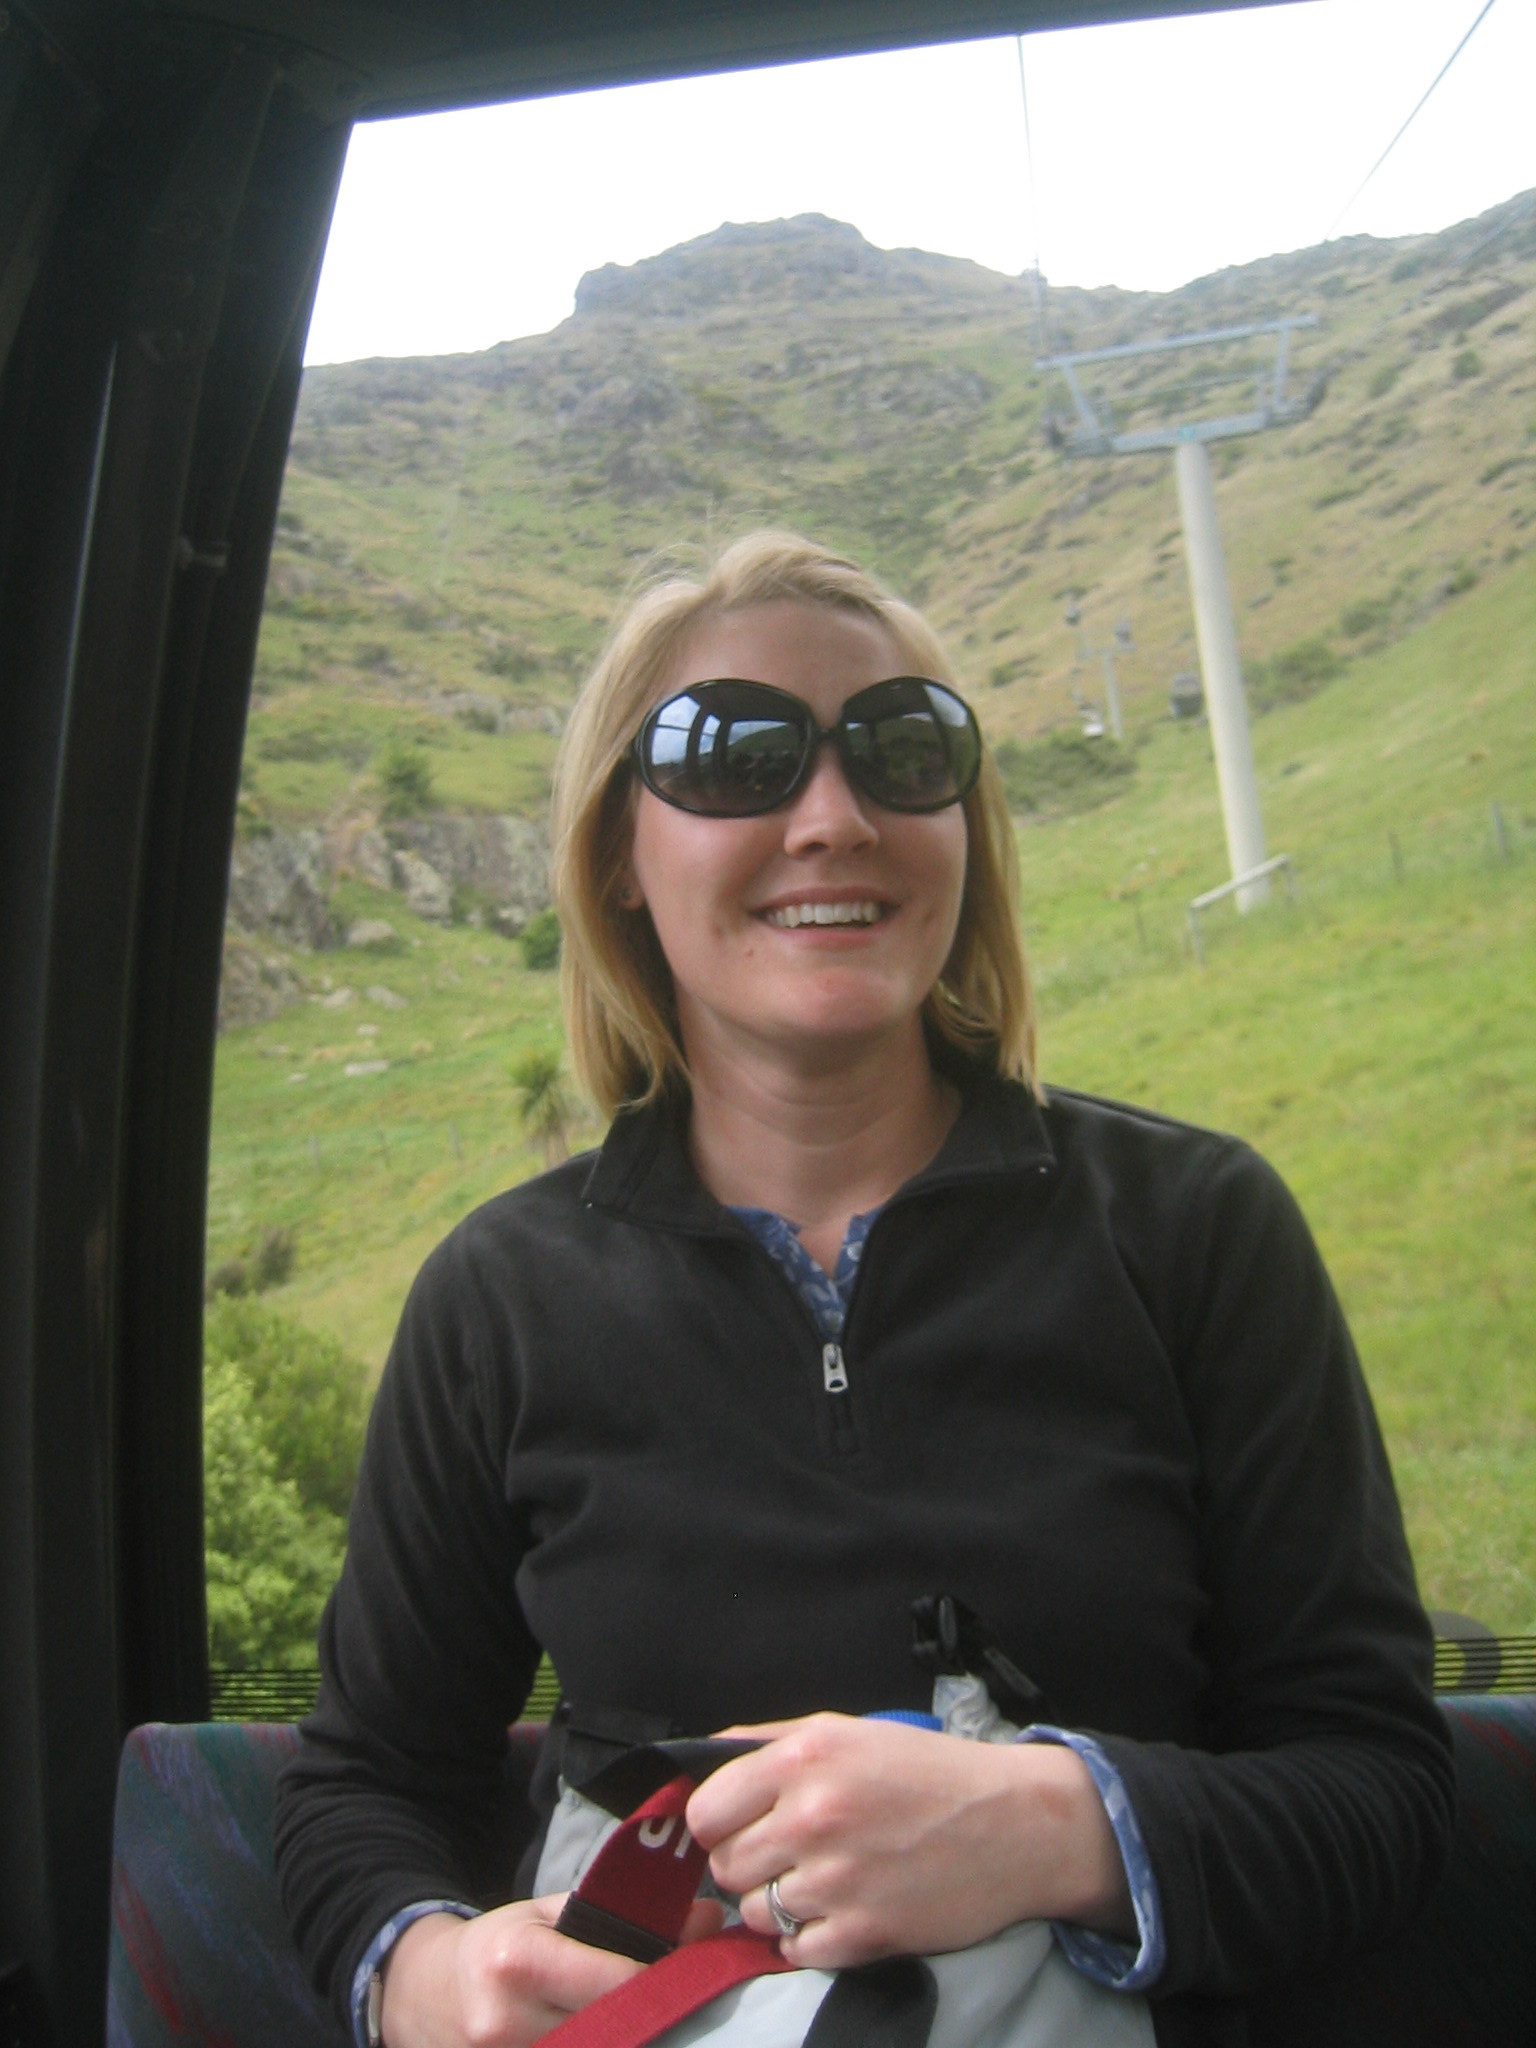
| Marie on the gondola. |
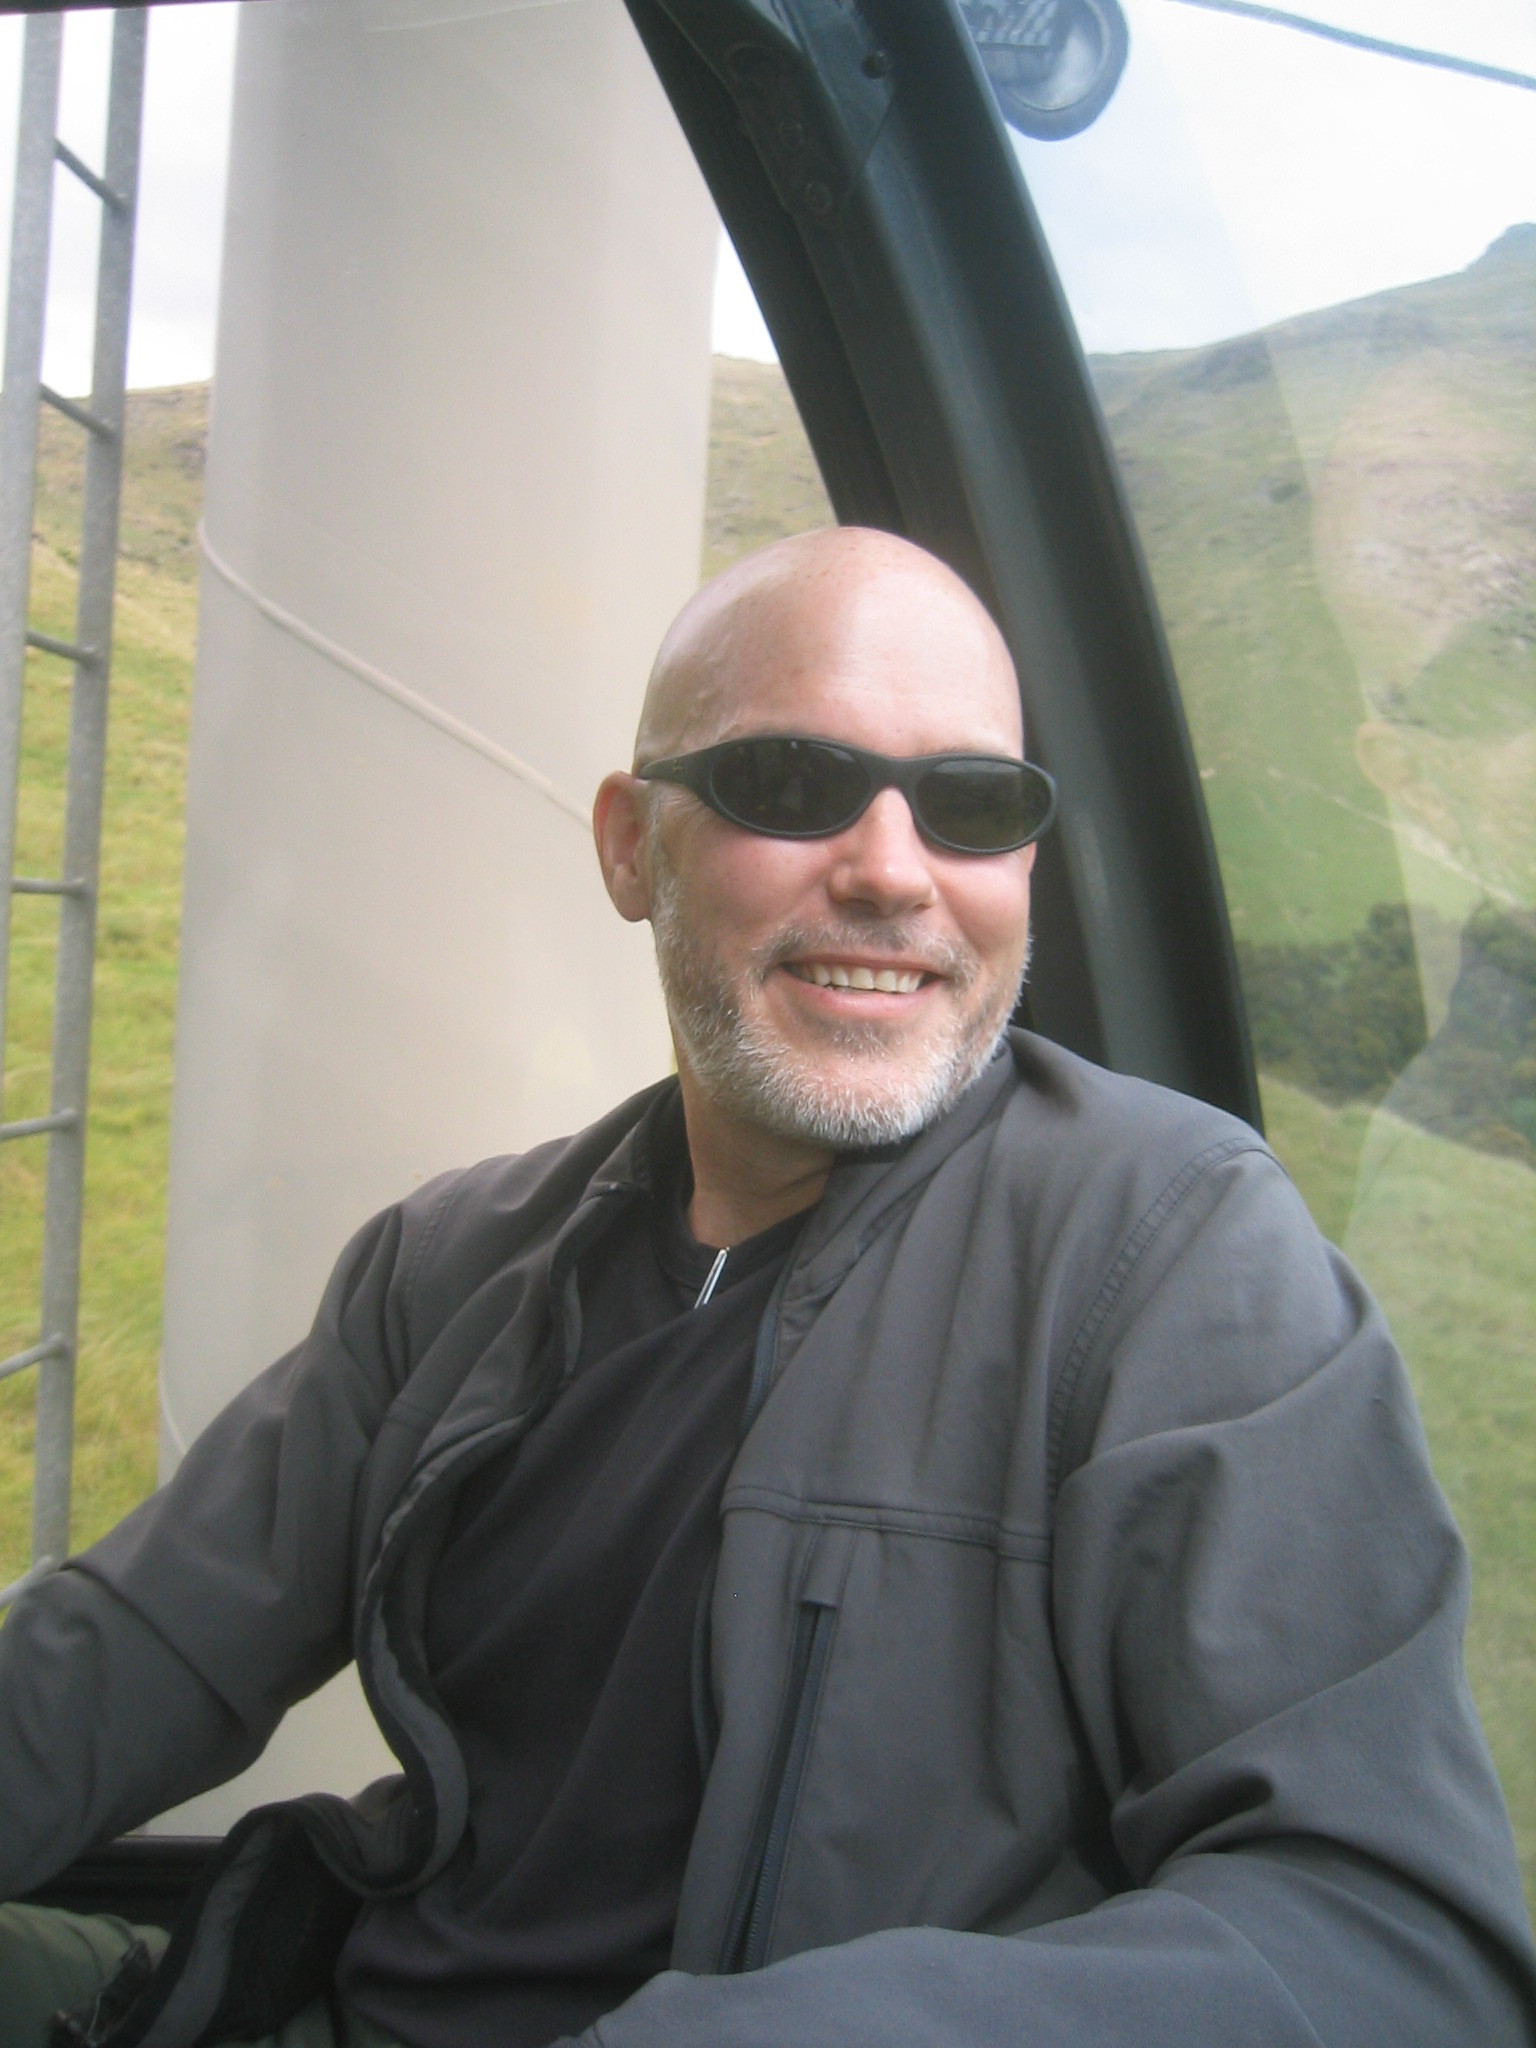
| Enzo on the gondola. |
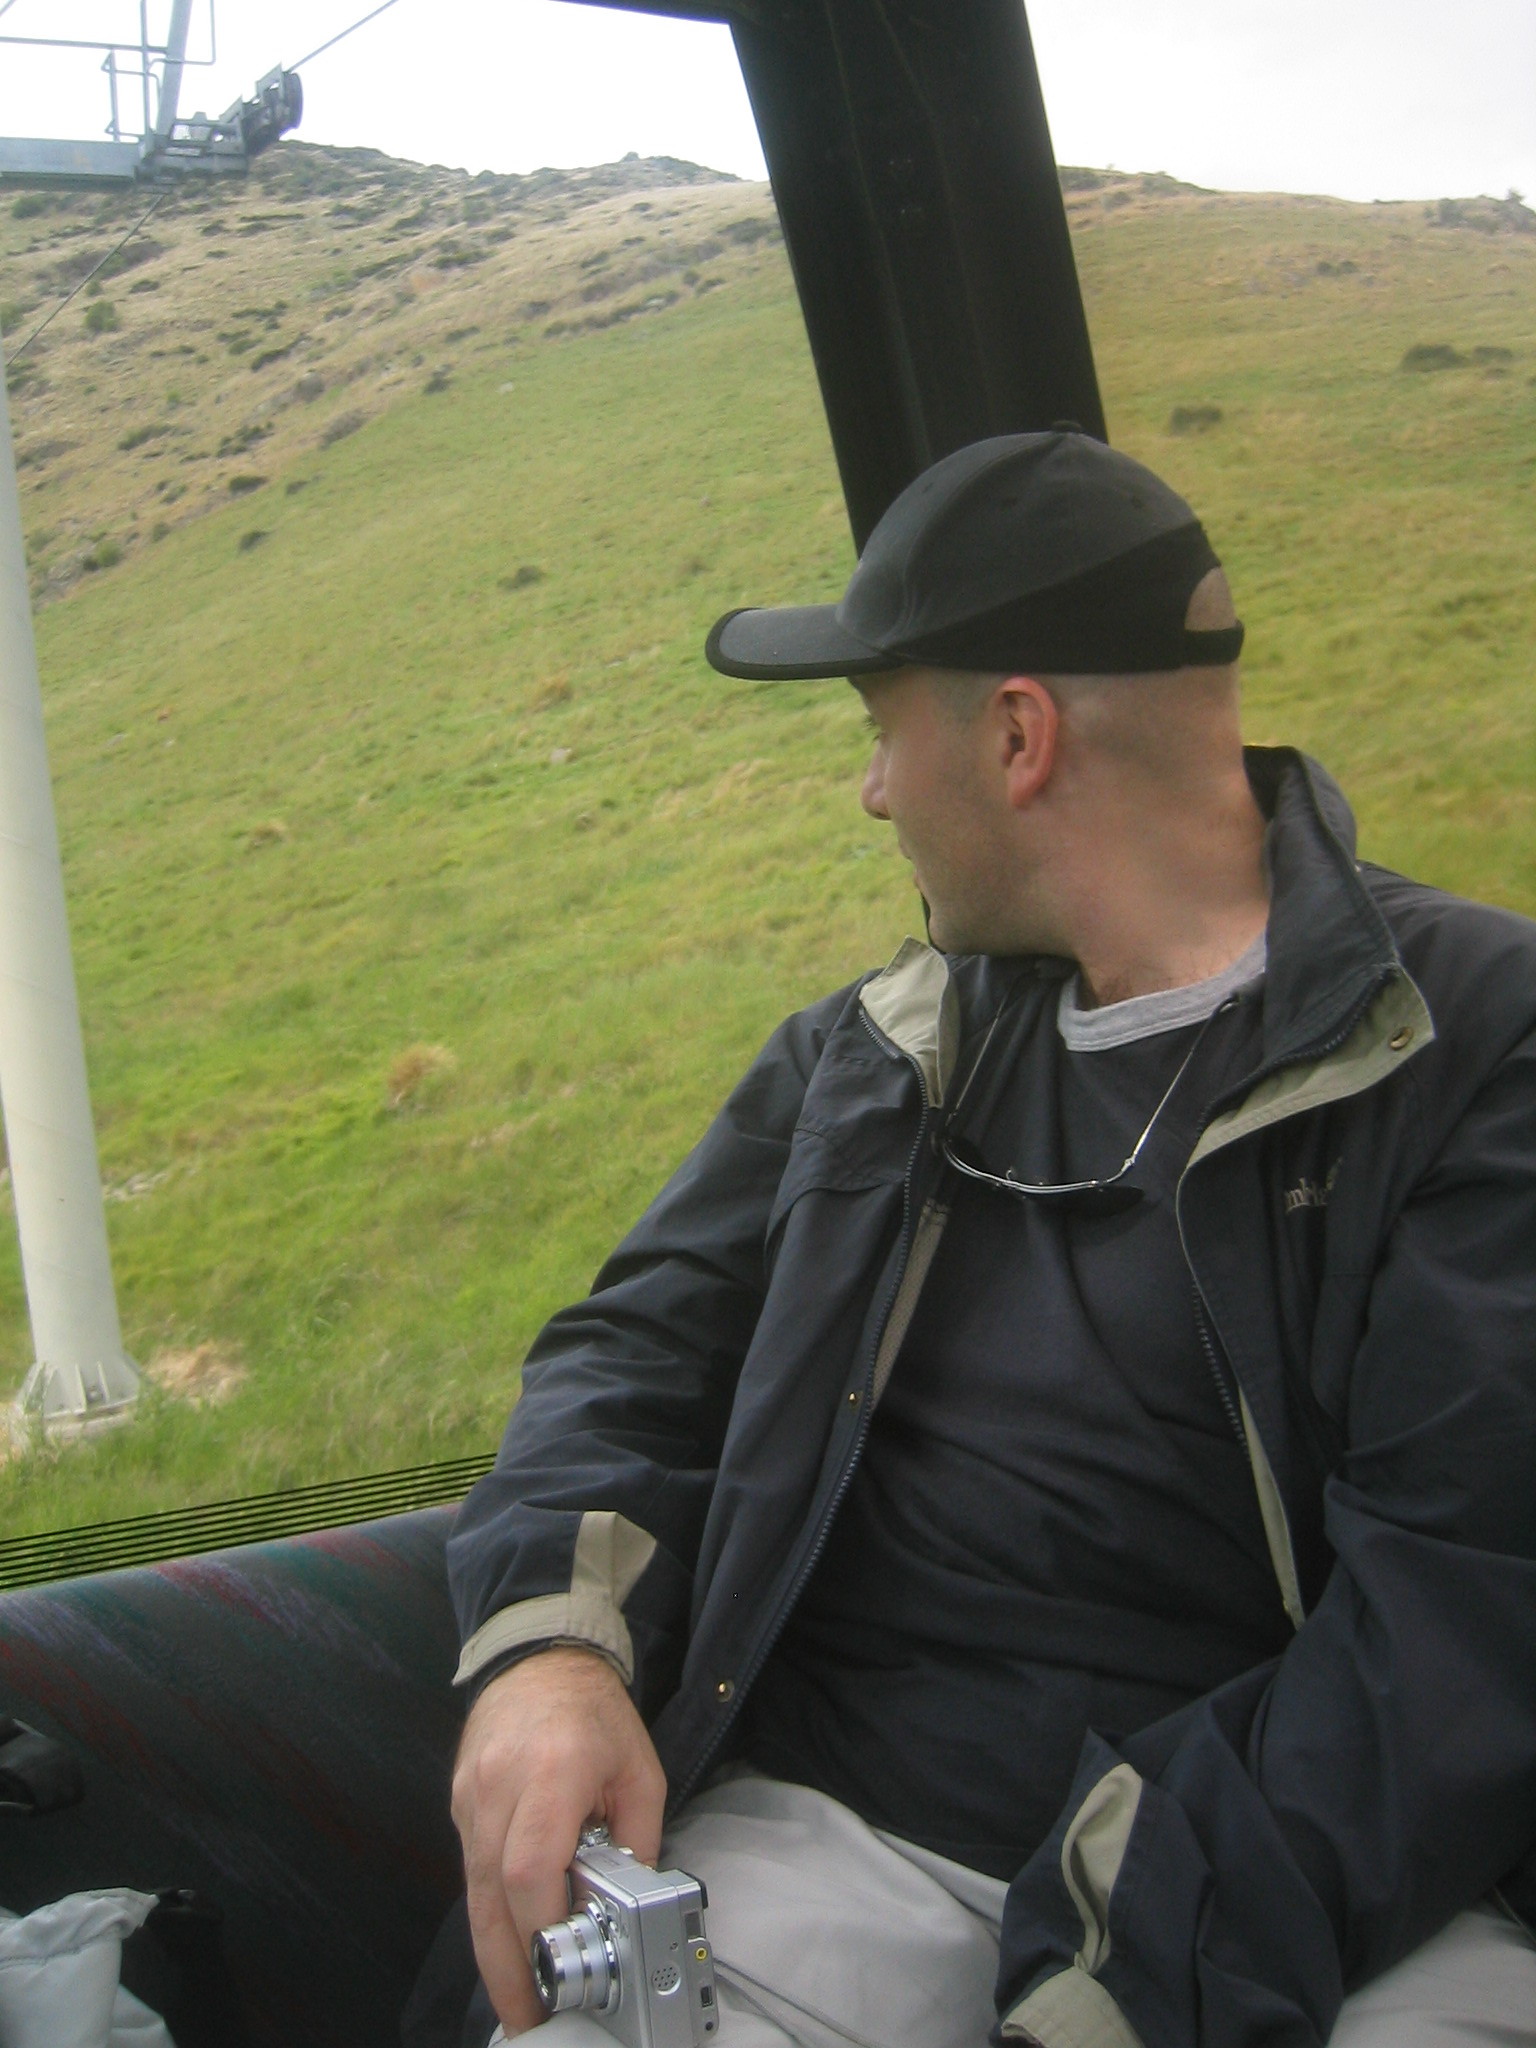
| Mark on the gondola. |
| Gondola scenery. |
| Gondola scenery. |
| Christchurch. The city centre is on the left. |
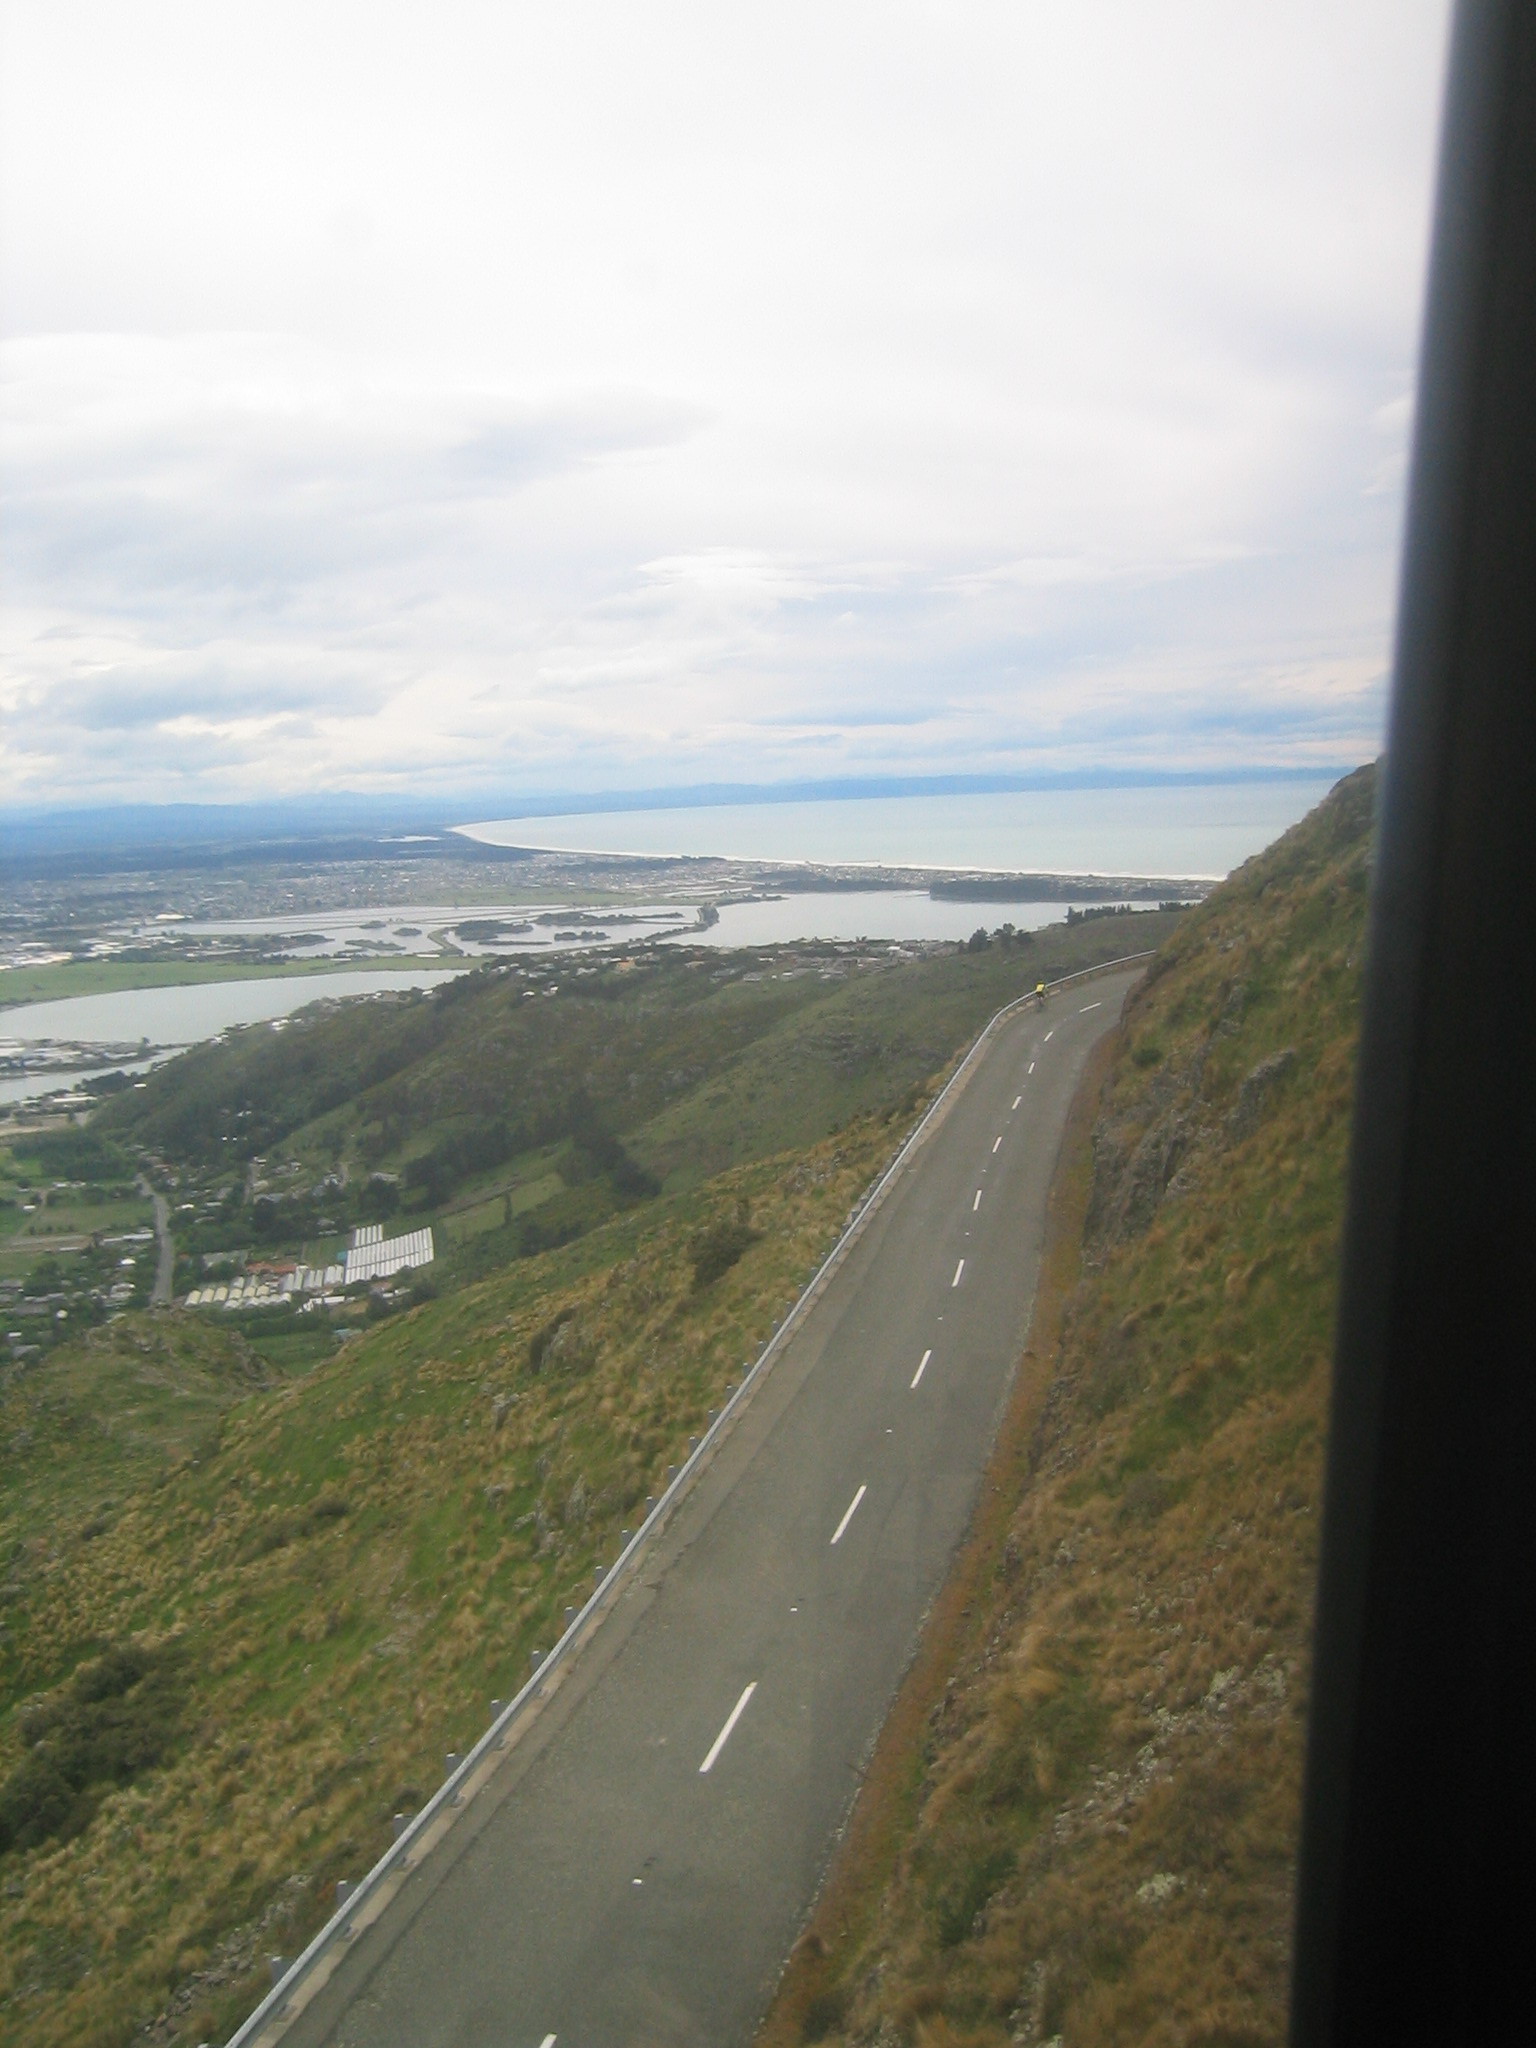
| Looking gown the gondola route. |
| Looking up. |
| A cyclist heads up the road passing under the gondola. |
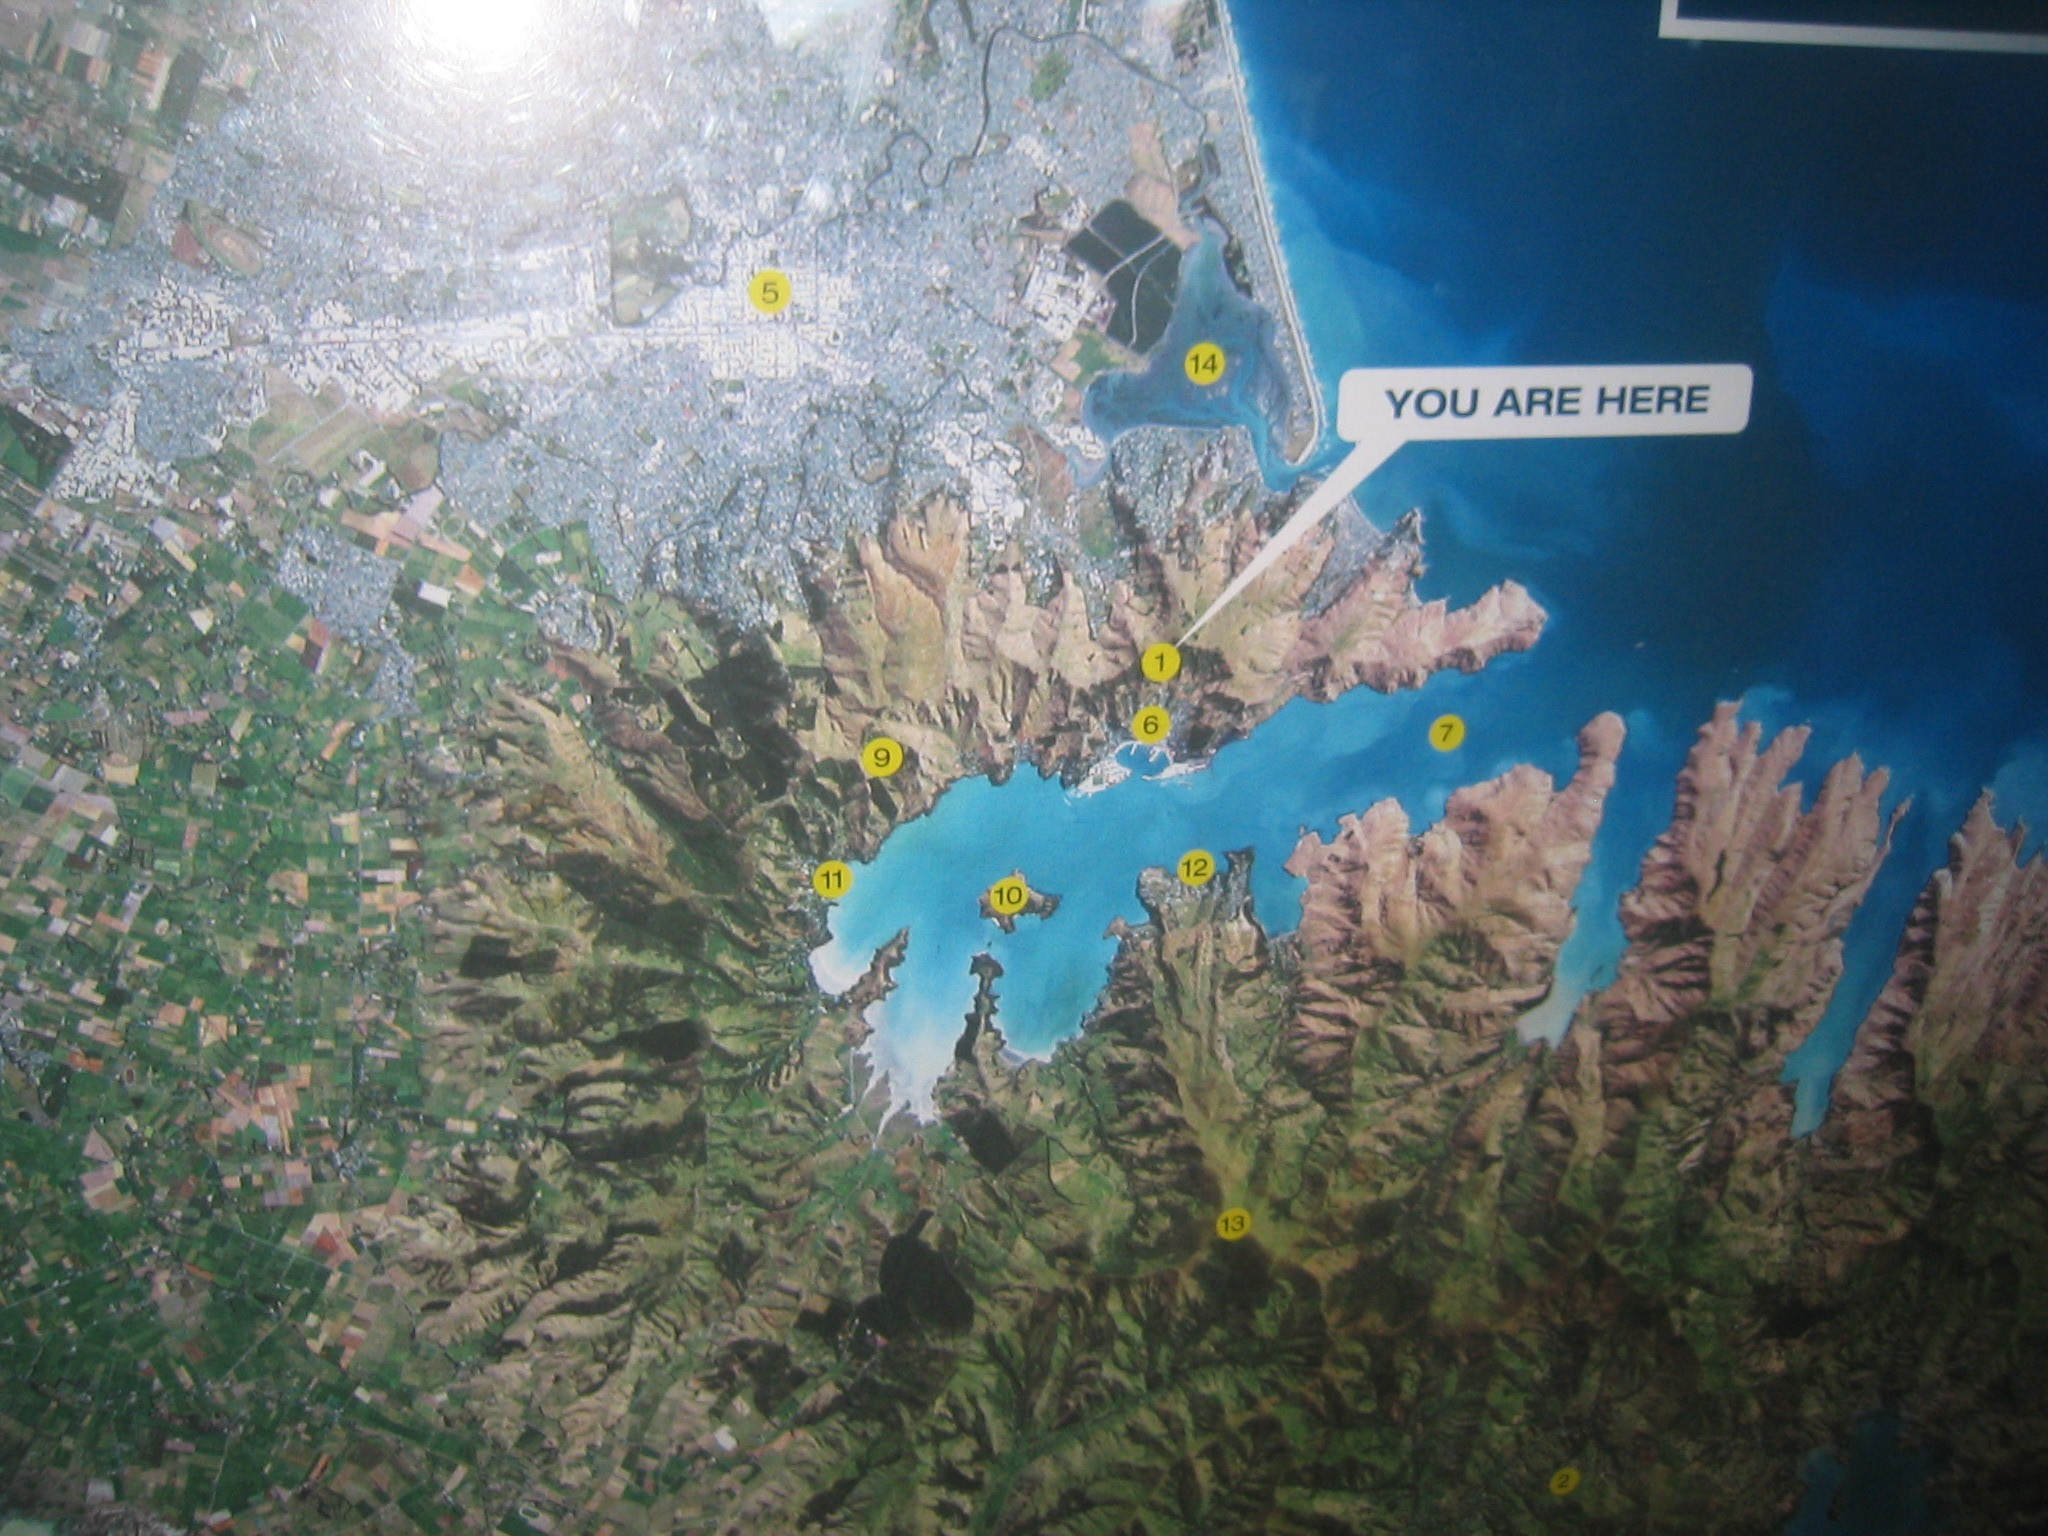
| A map of the area. Central Christchurch (where we're staying) is 5. The gondola is 1. Lyttelton is 6, and Diamond Harbour is 12. |
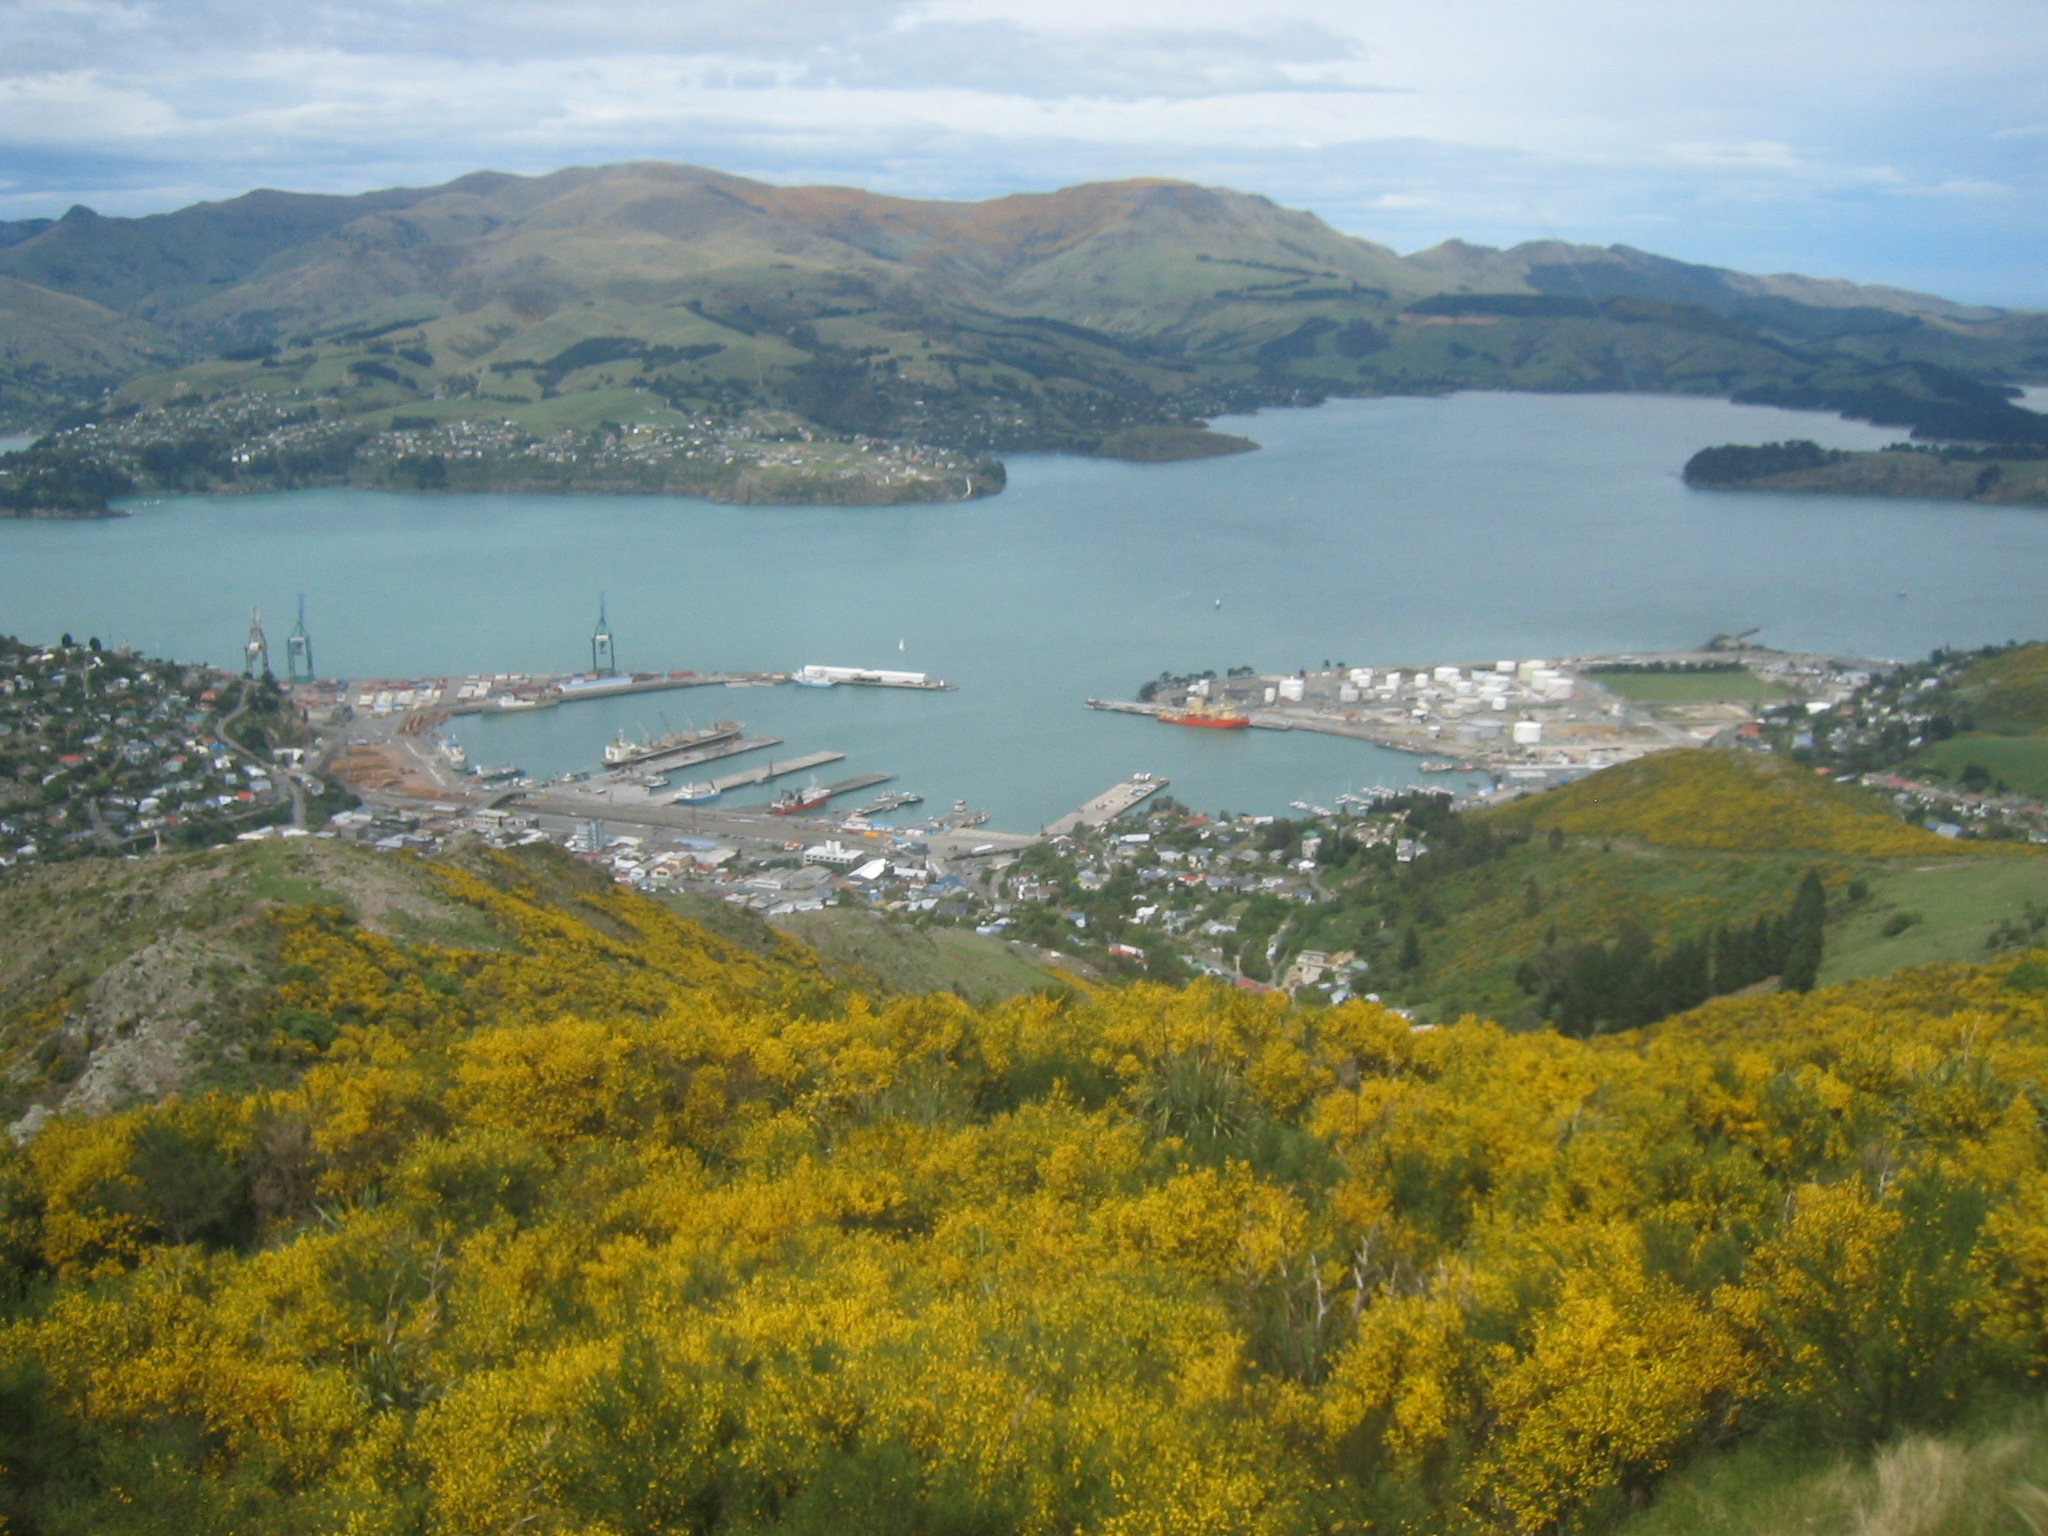
| Looking down on Lyttelton. |
| An explanatory note for the last picture. |
| |
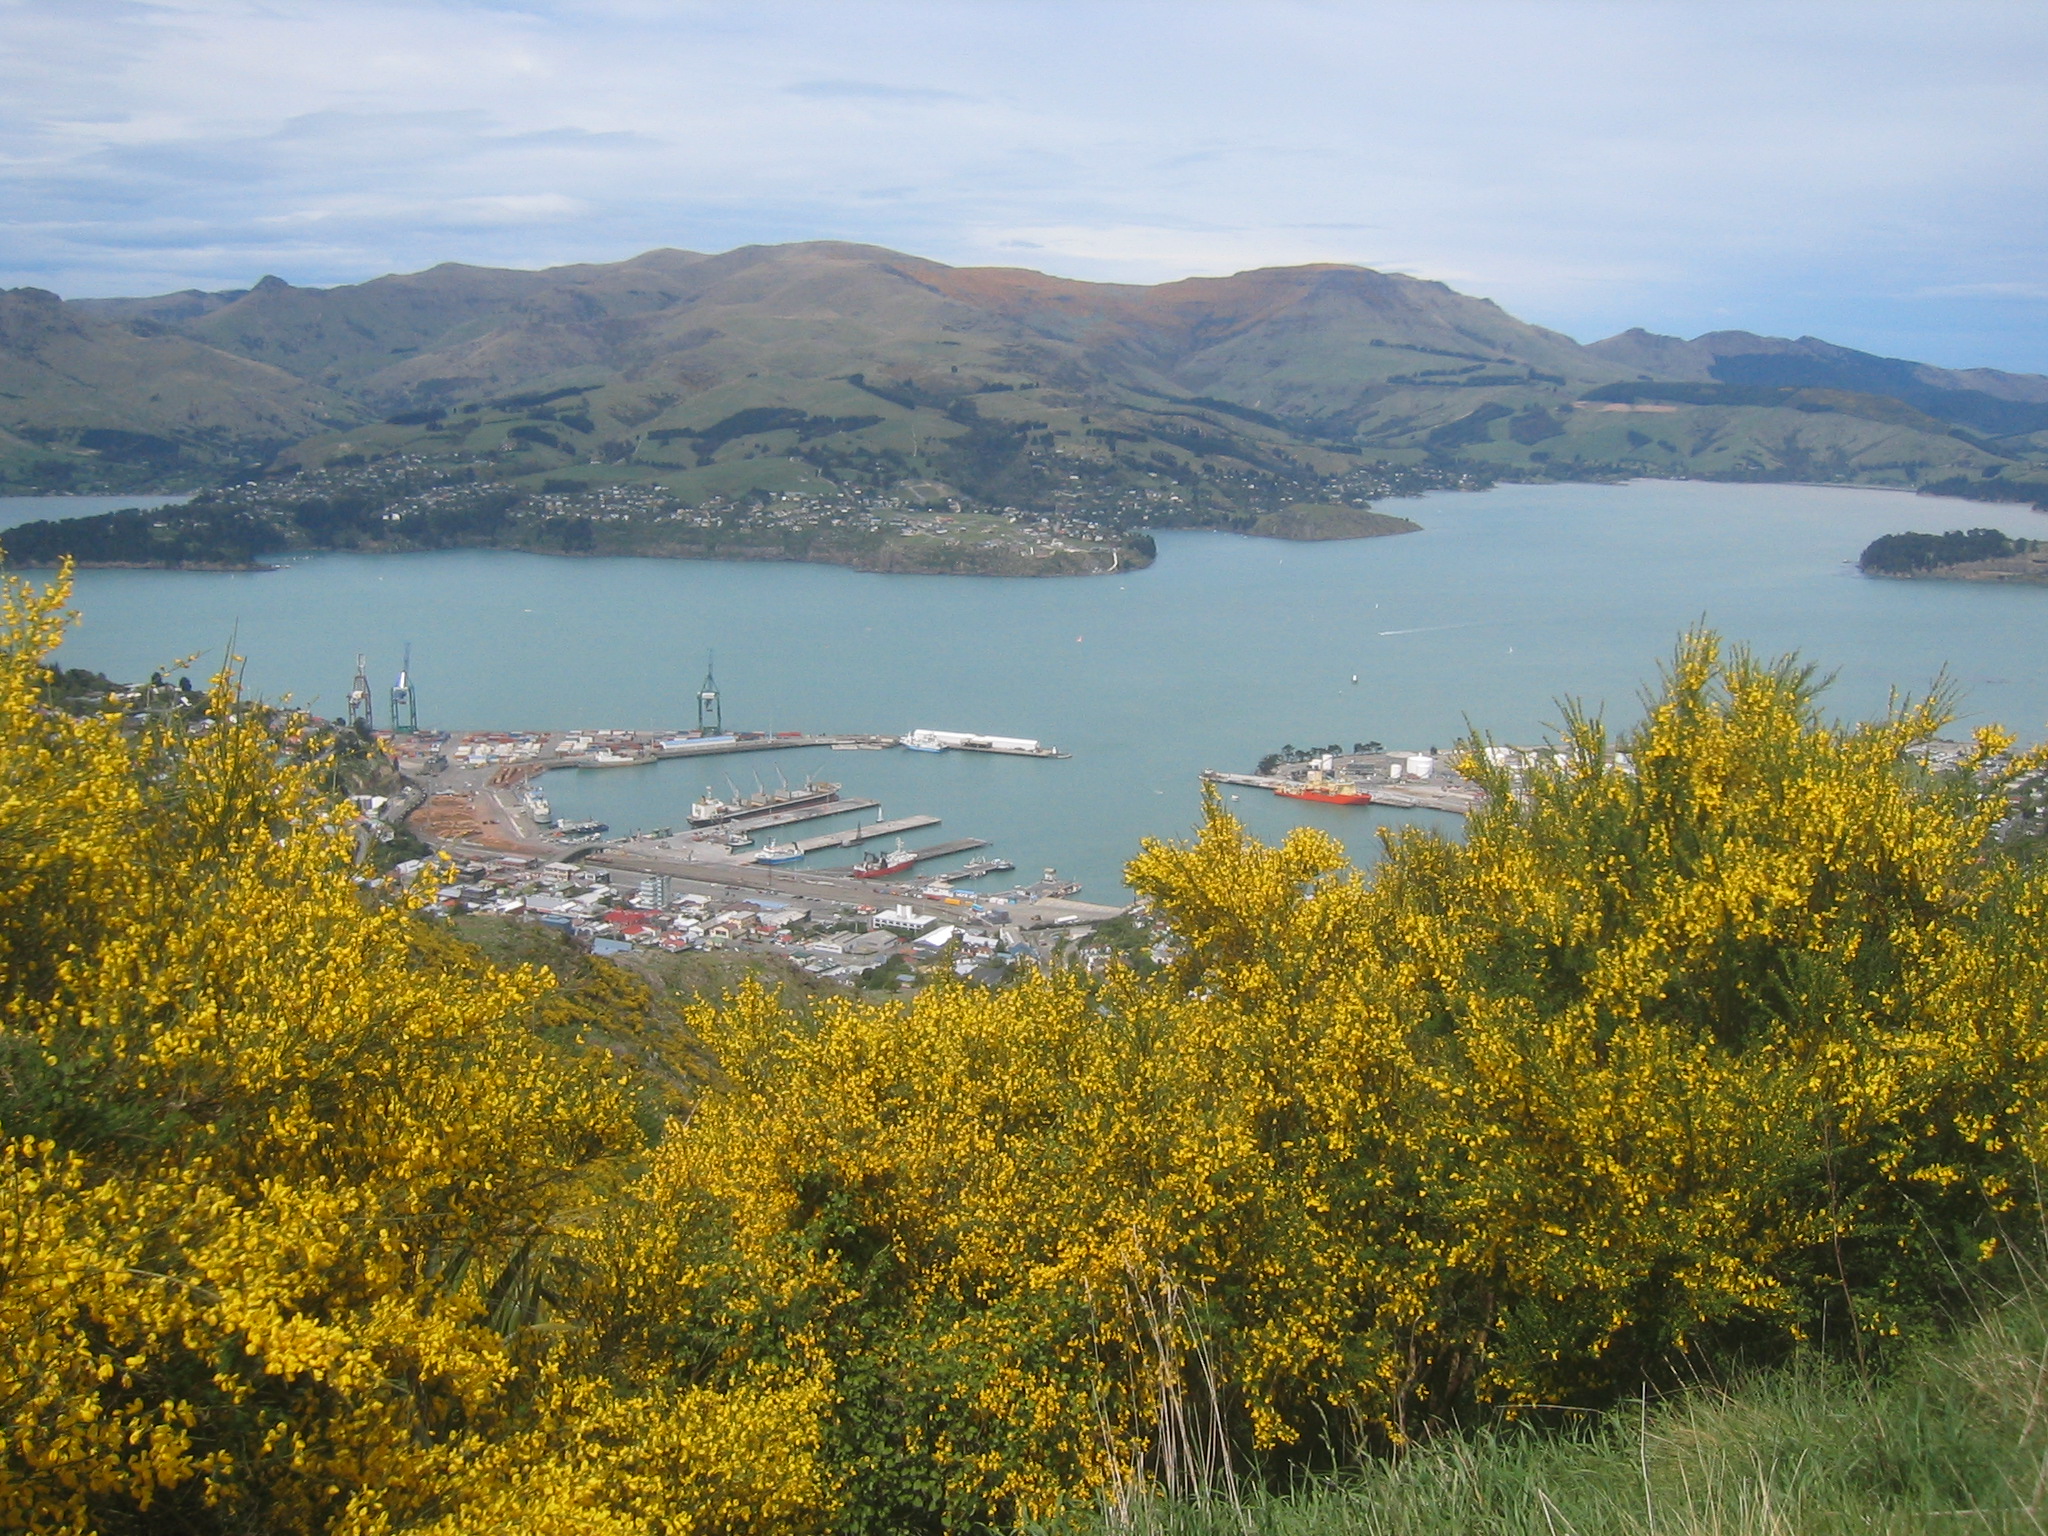
| (6720x1280, 4823.65 kb) Lyttelton Port of Christchurch on Lyttelton Harbour. The port is on the other side of the hills from Christchurch proper. Beyond the water (Lyttelton Harbour) is the Banks Peninsula. | |
| |
| (8000x1216, 5443.59 kb) Looking back down from the bluffs northward at Christchurch and the Canterbury Plain. Downtown is on the left. On the right is the large Pegasus Bay. | |
| Looking back down the gondola track. |
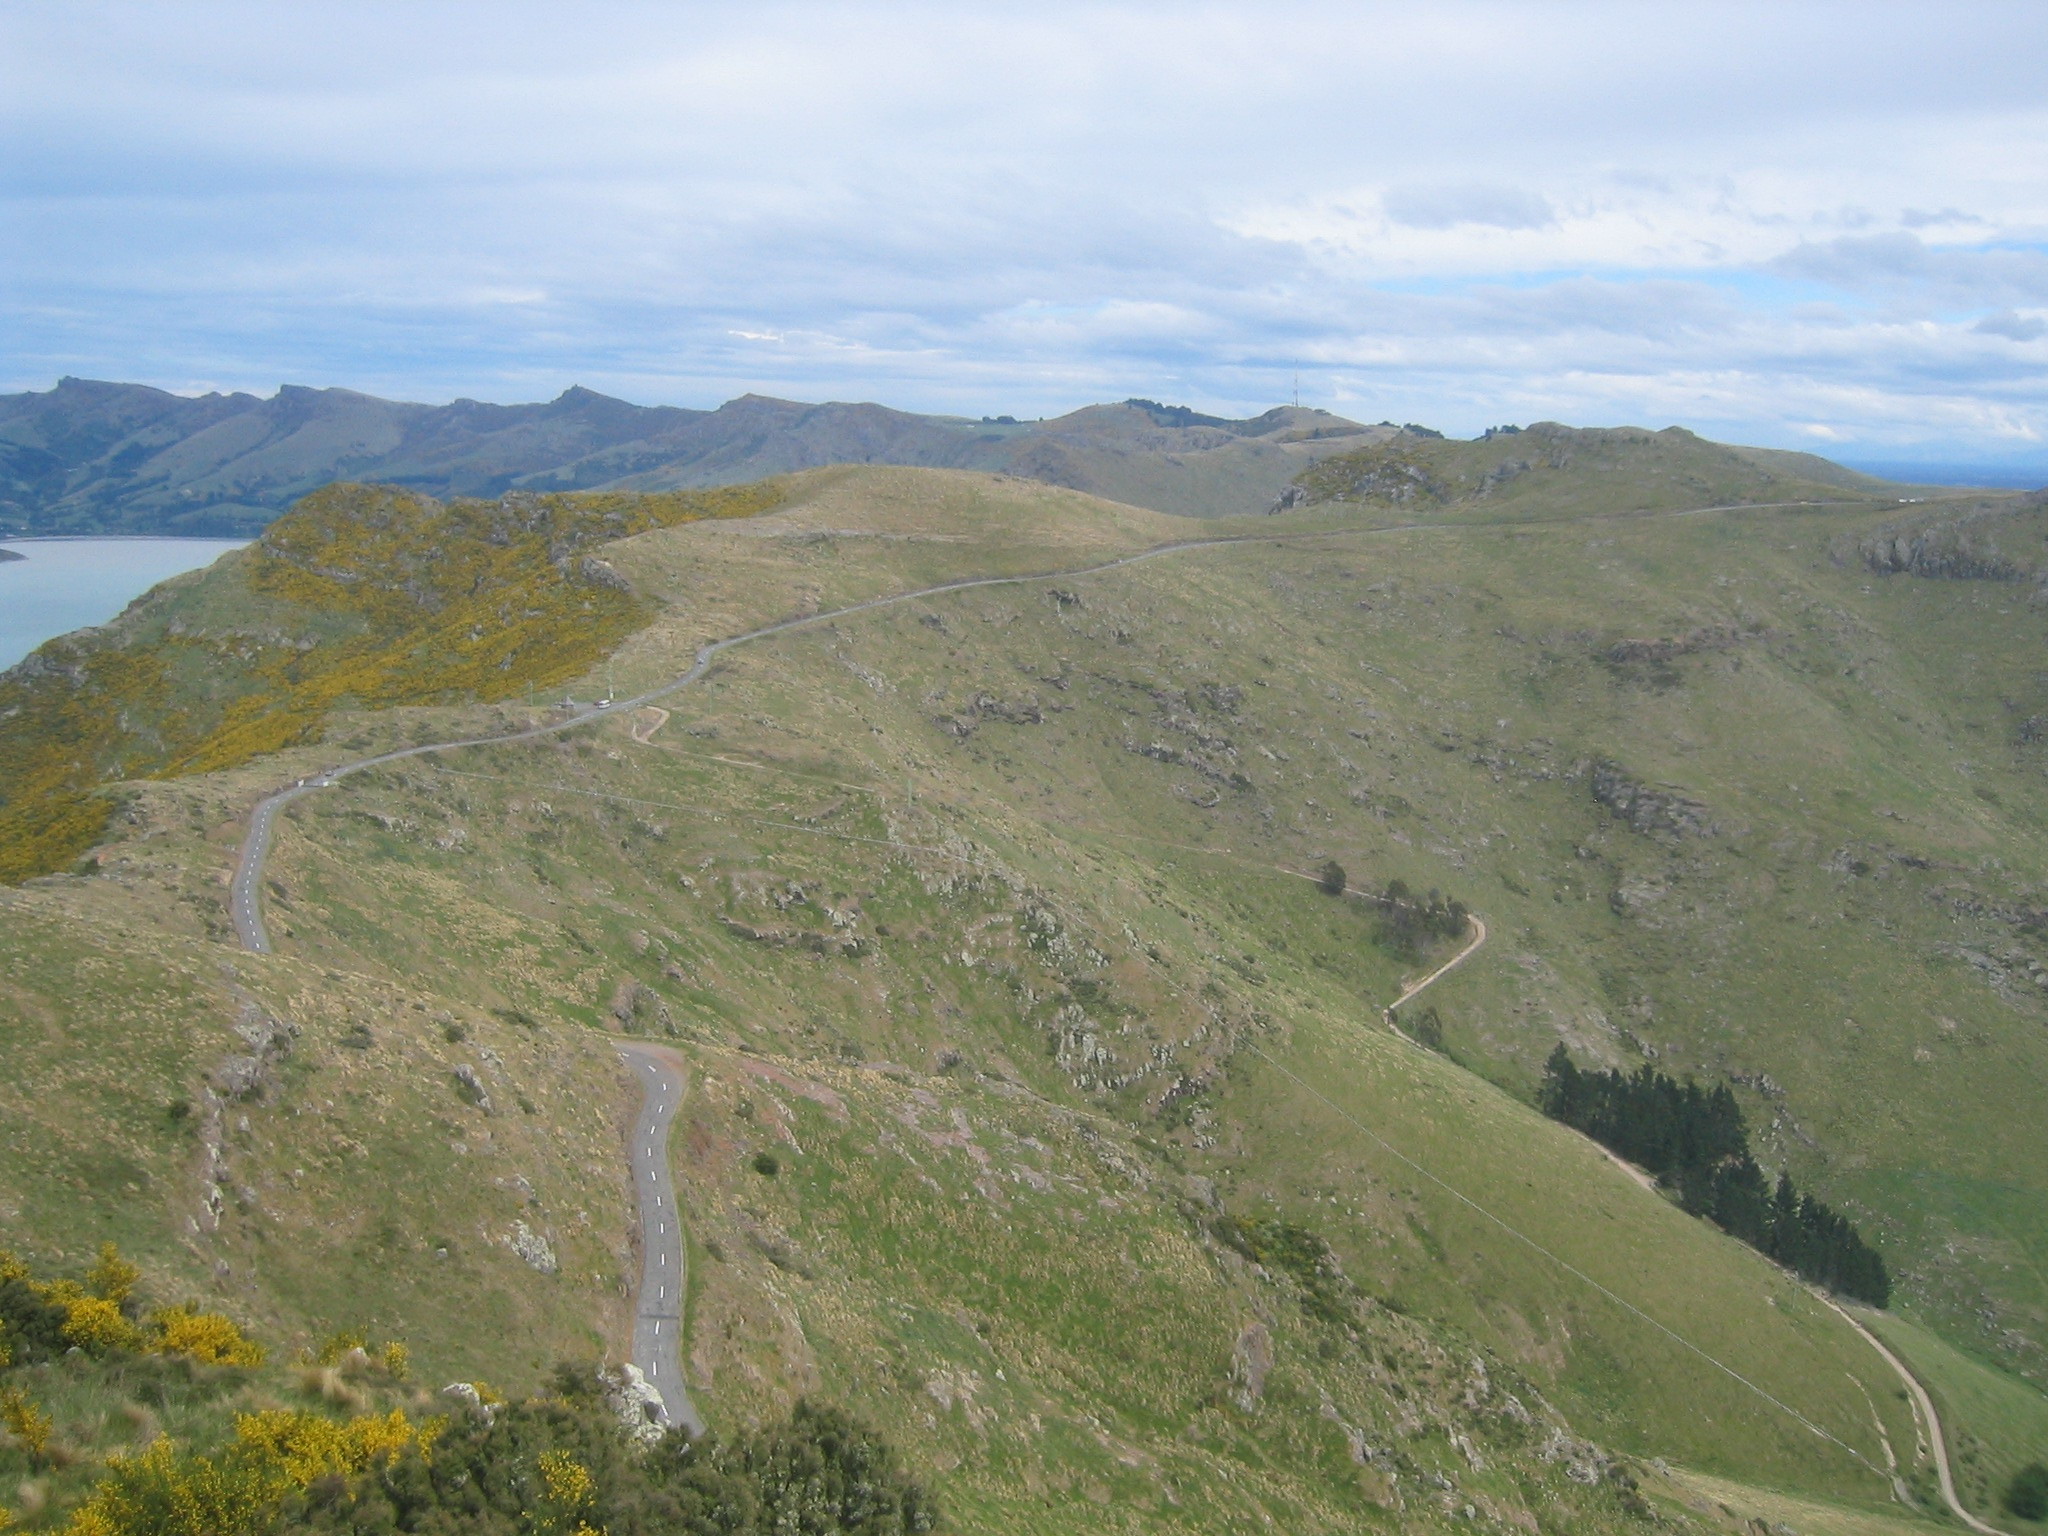
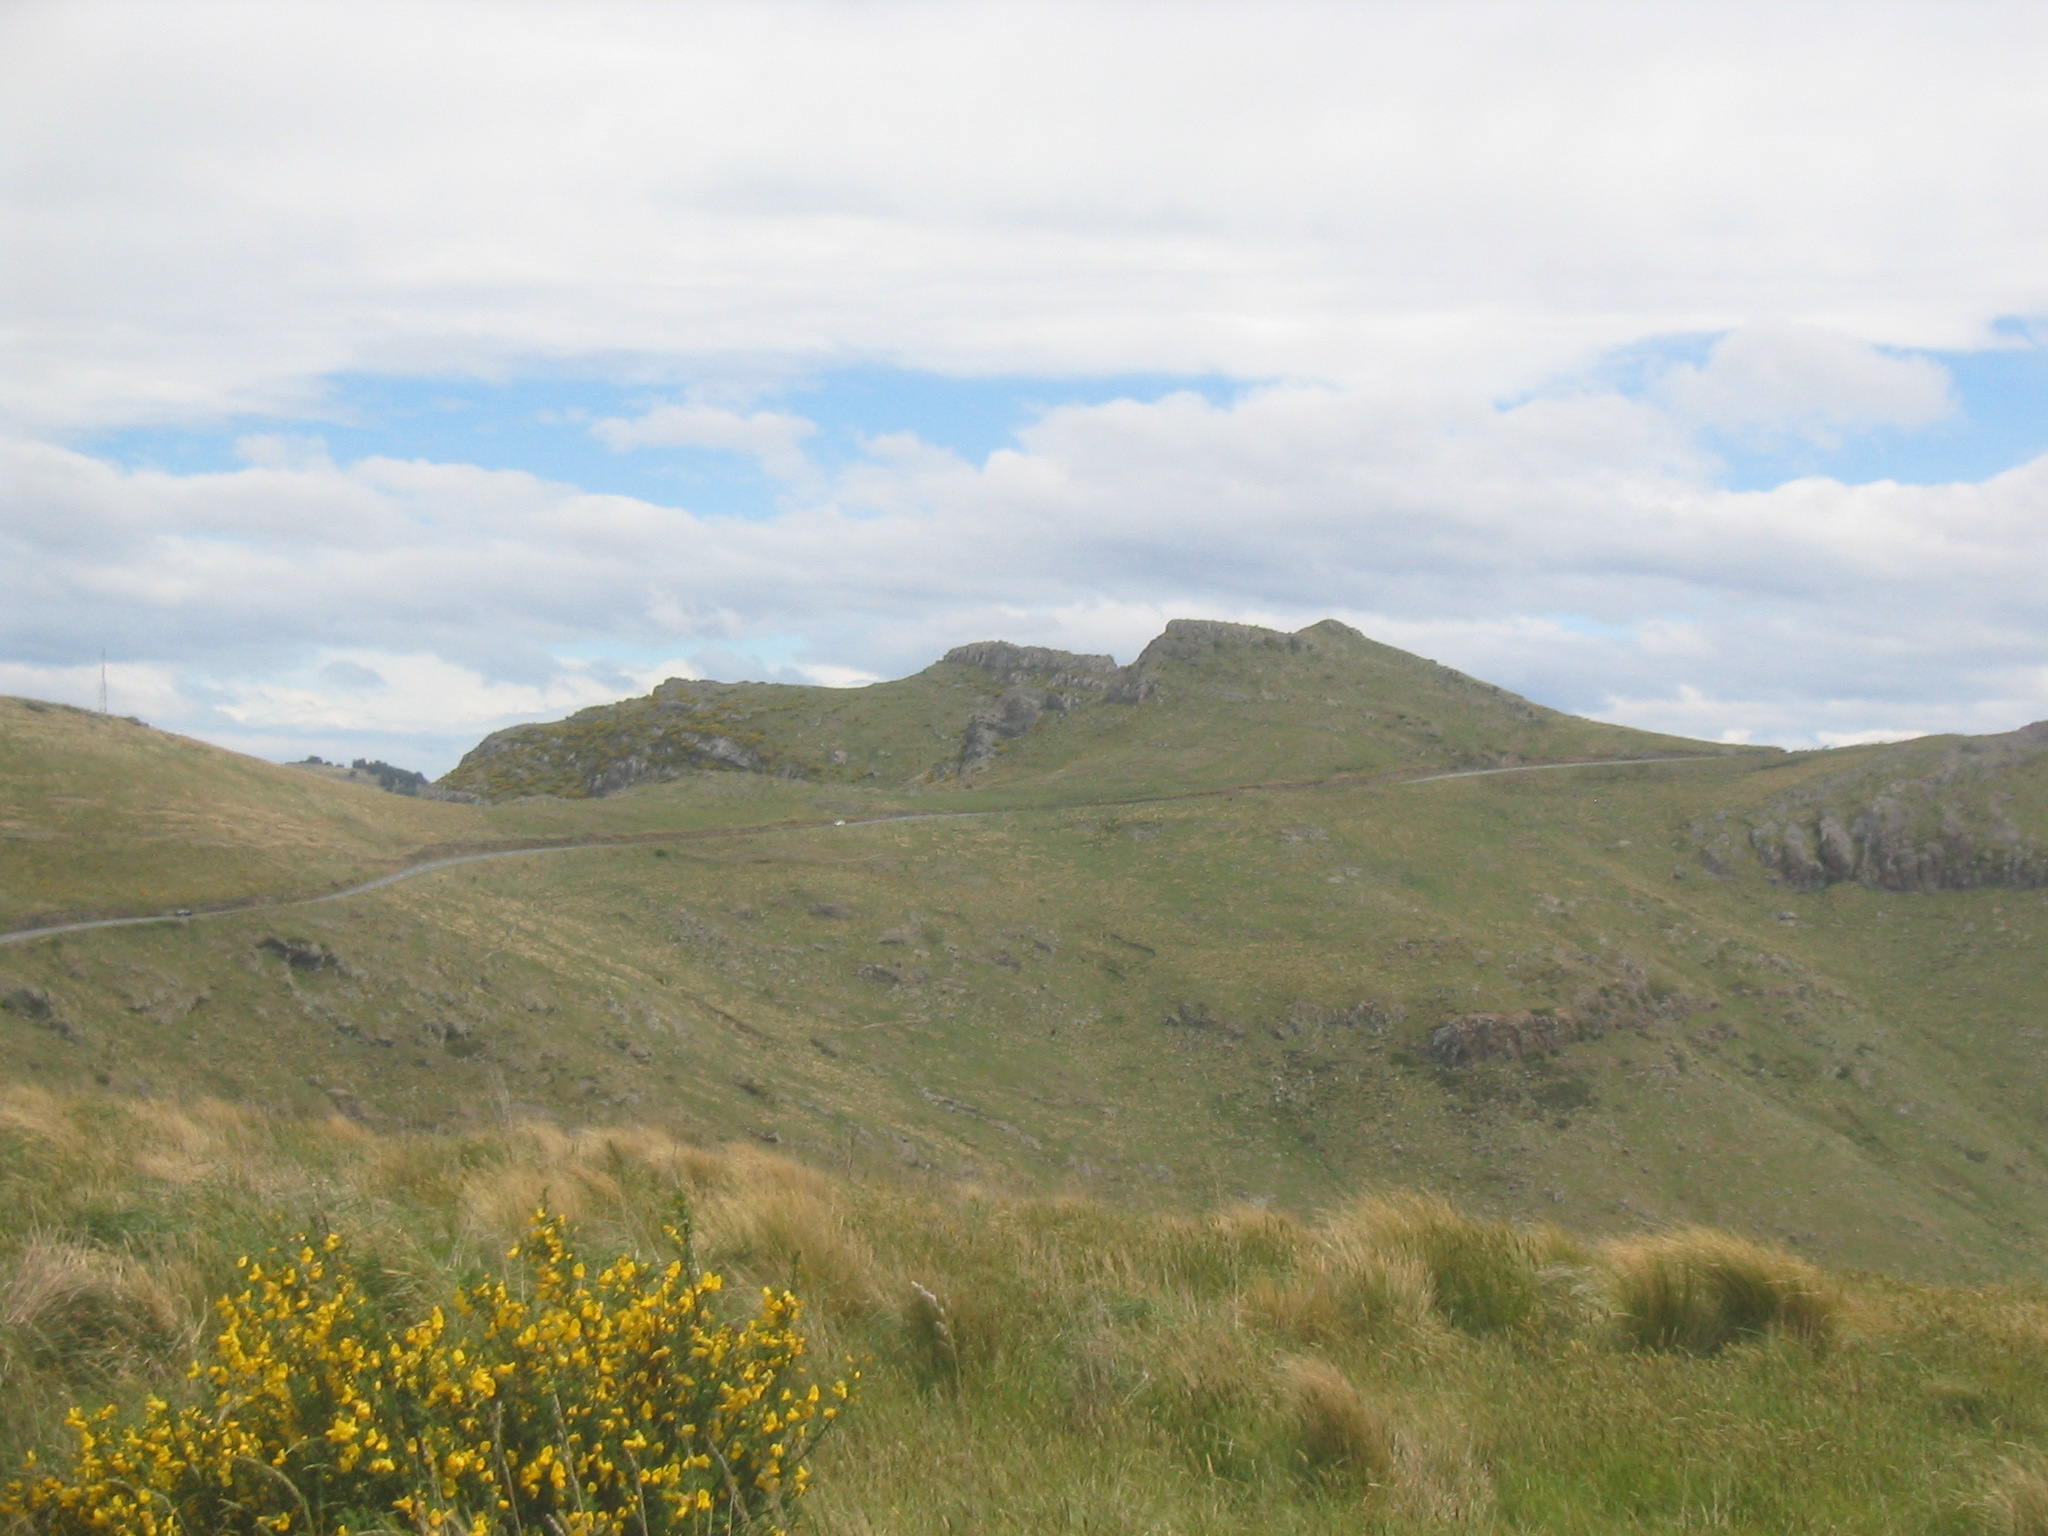
| The ridge road. |
| Heading out to Lyttelton. |
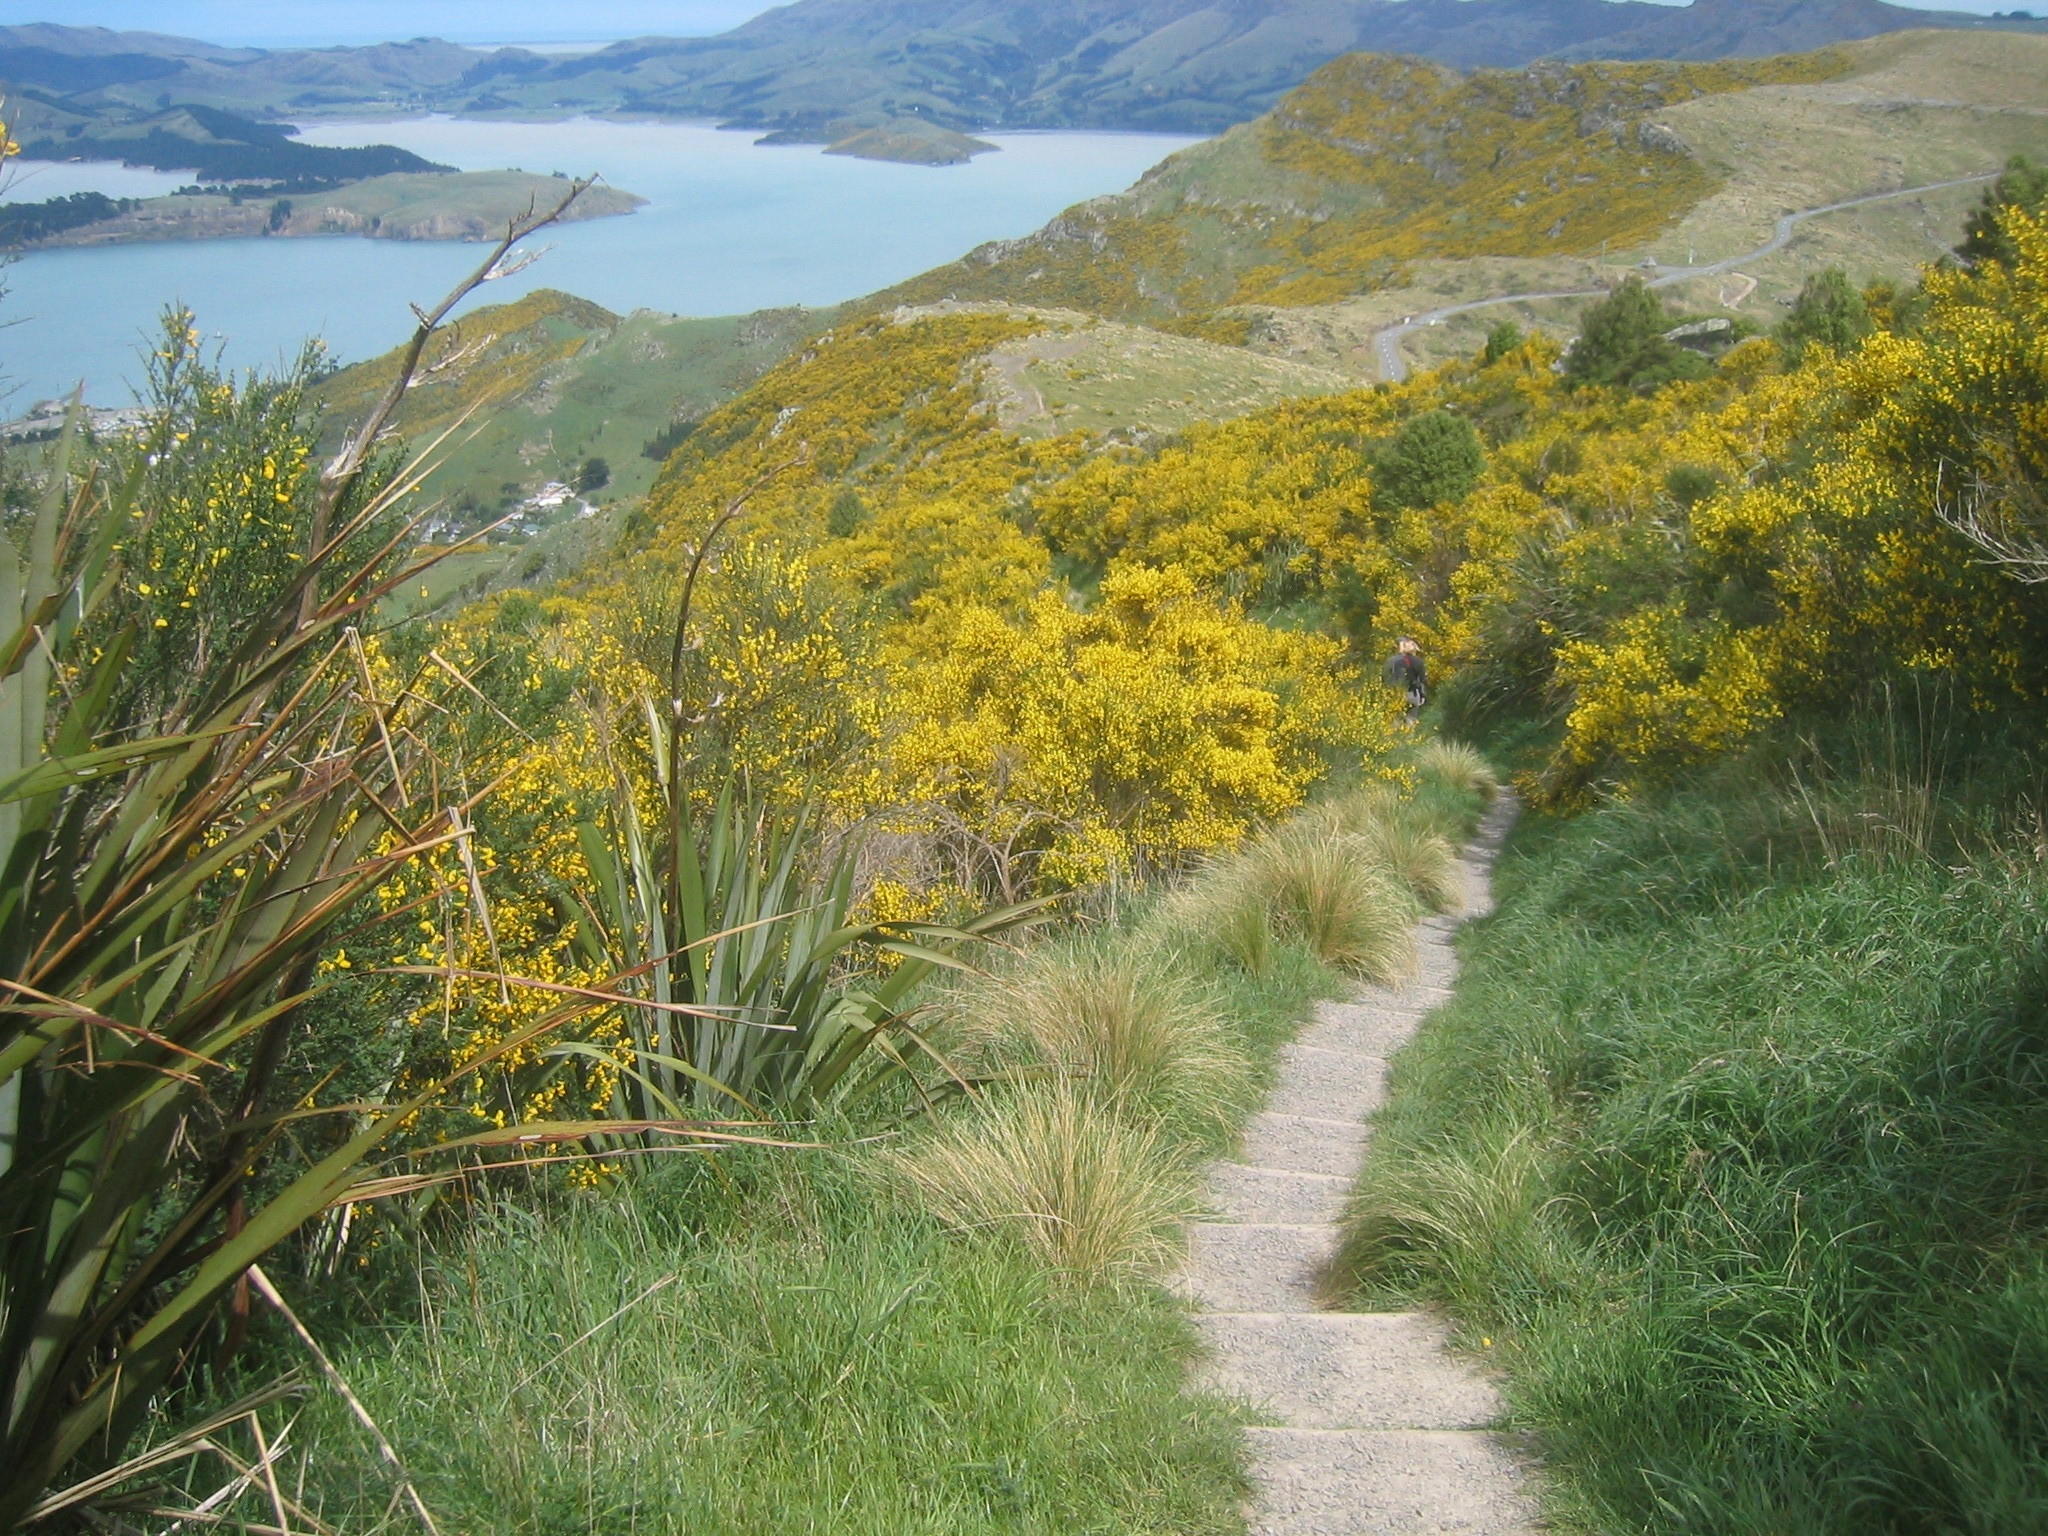
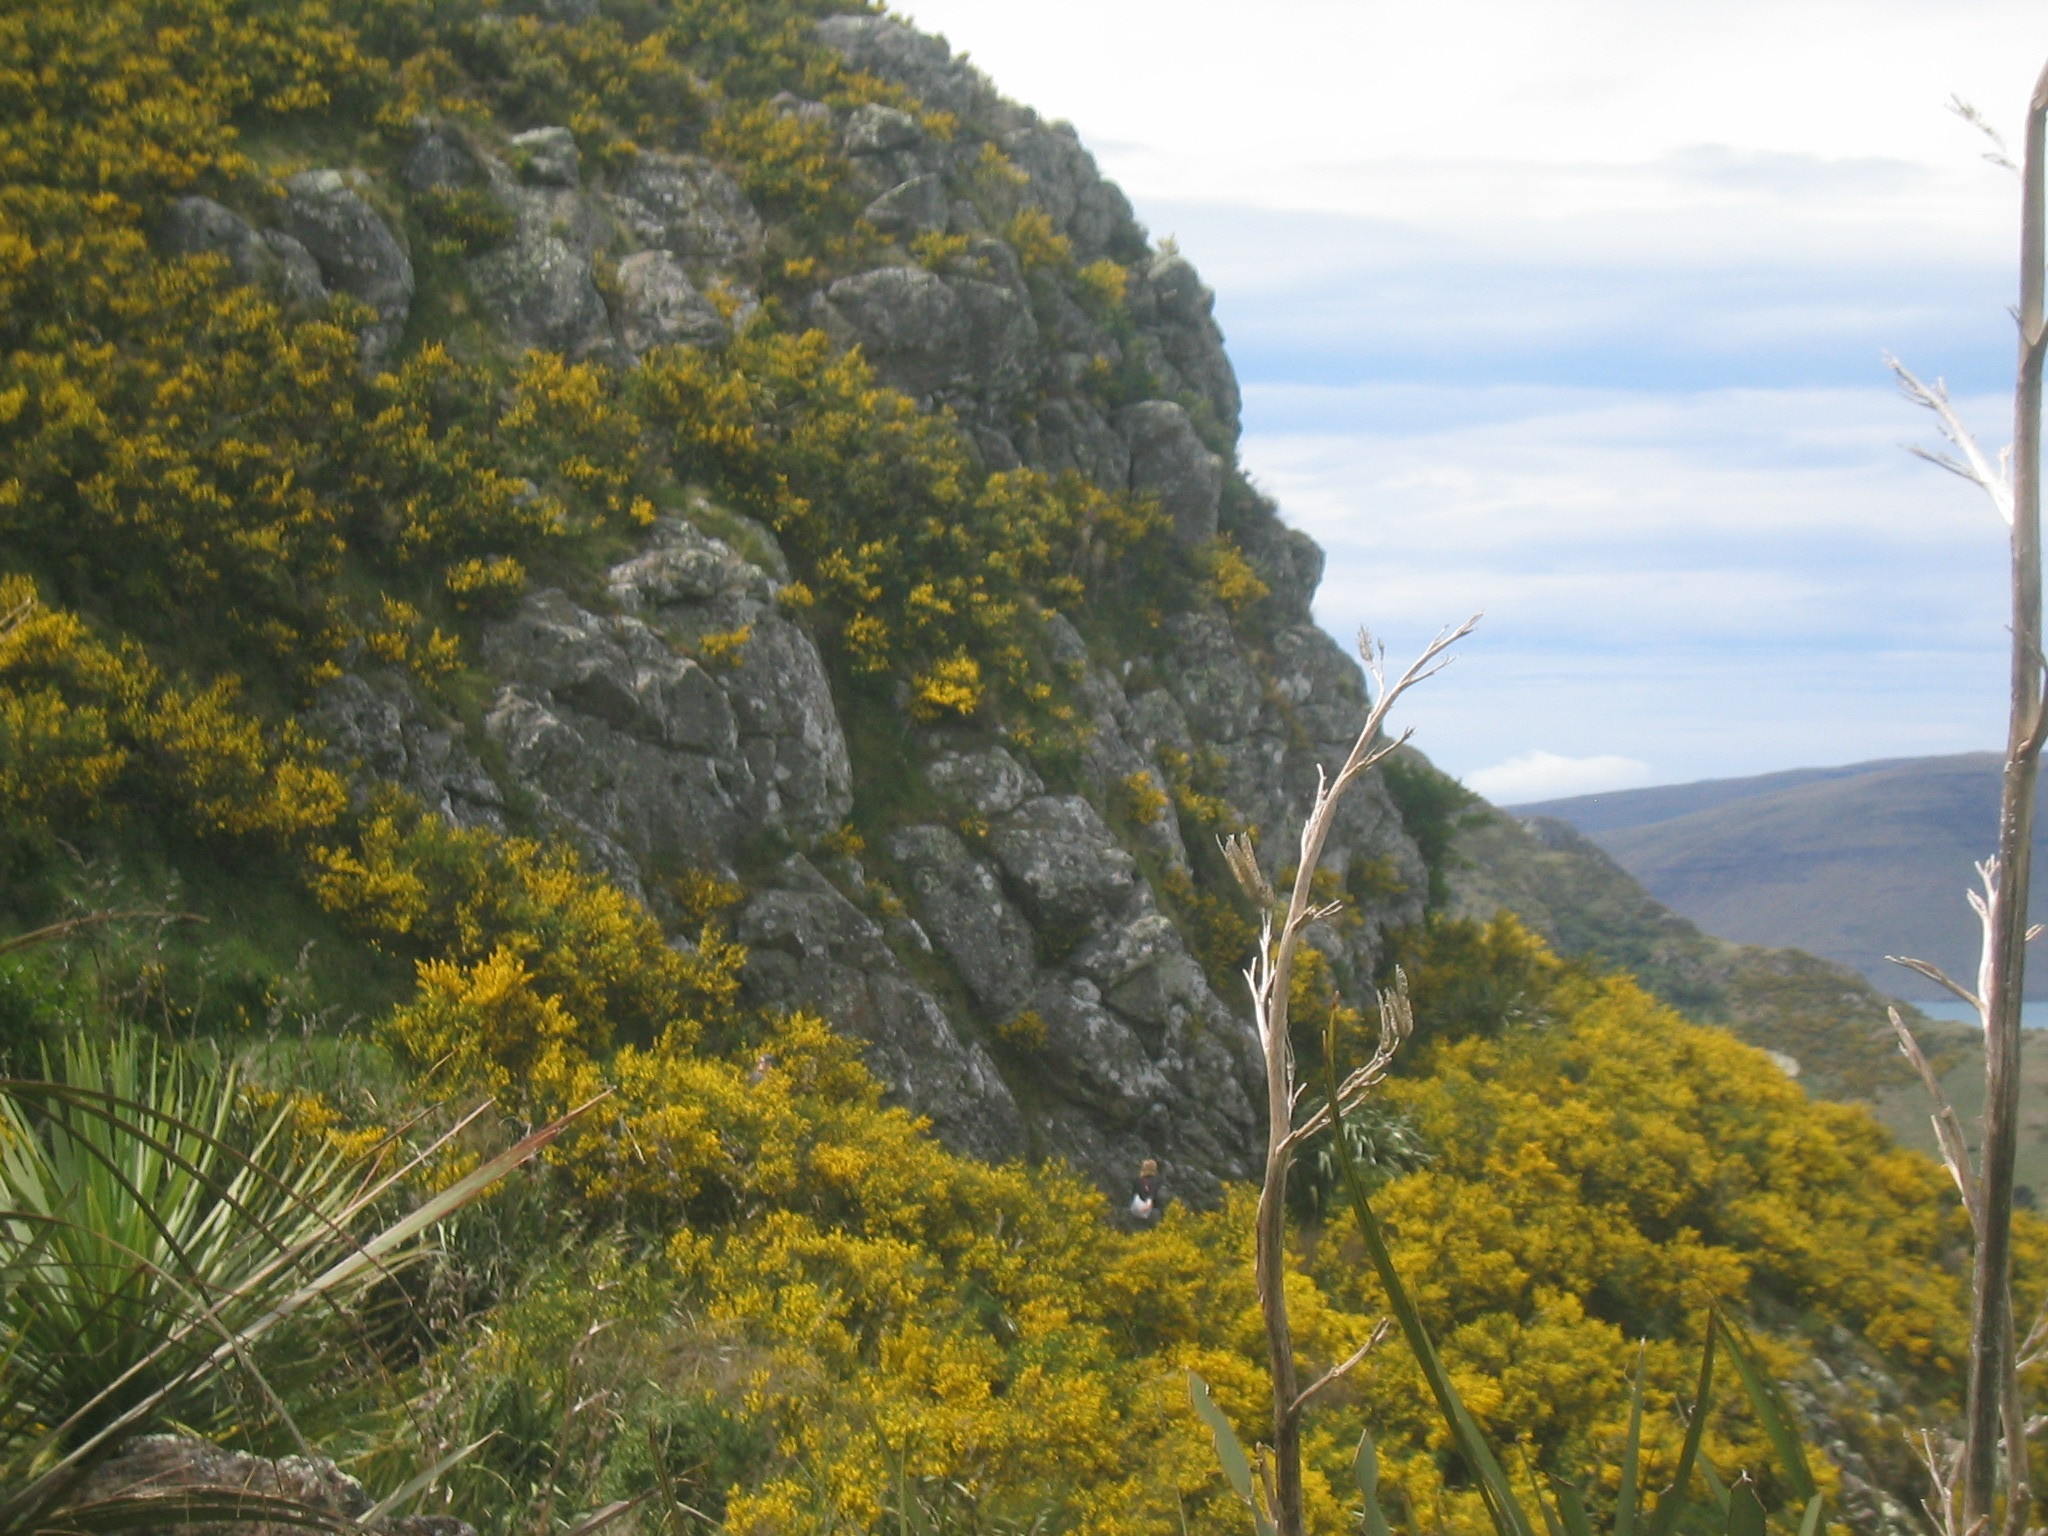
| The path wound through some amazing yellowness. |
| Stopping to admire the scenery. |
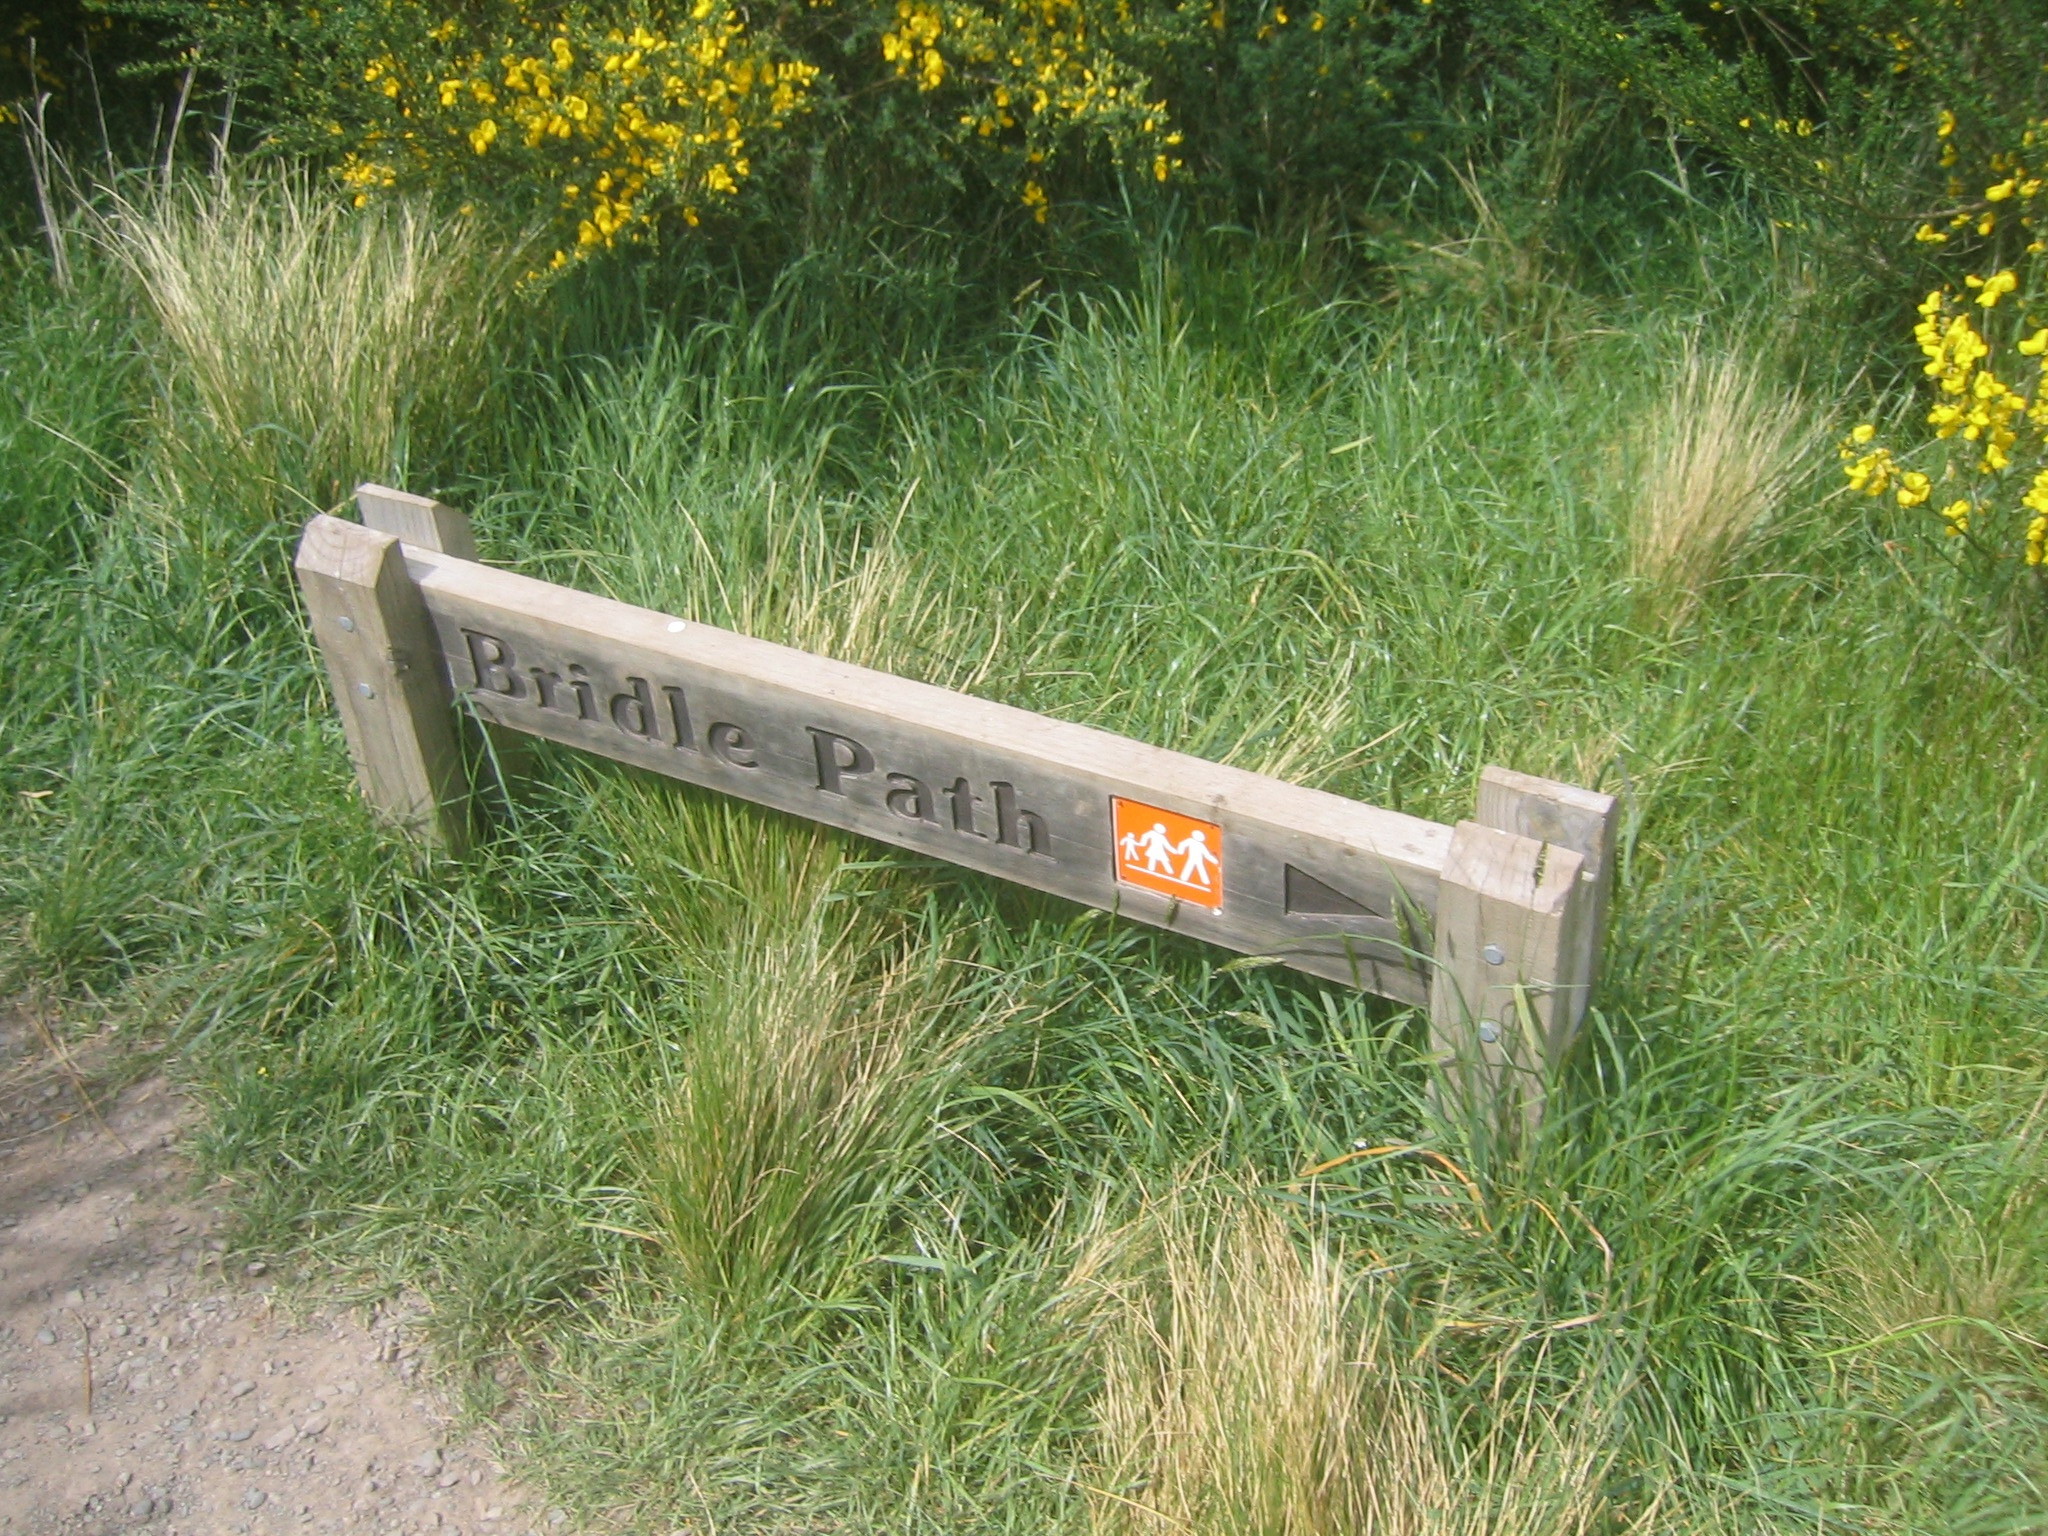
| The bridle path. In the end, this was the path we took to Lyttelton, but there was nothing to indicate that this was the thing to do. |
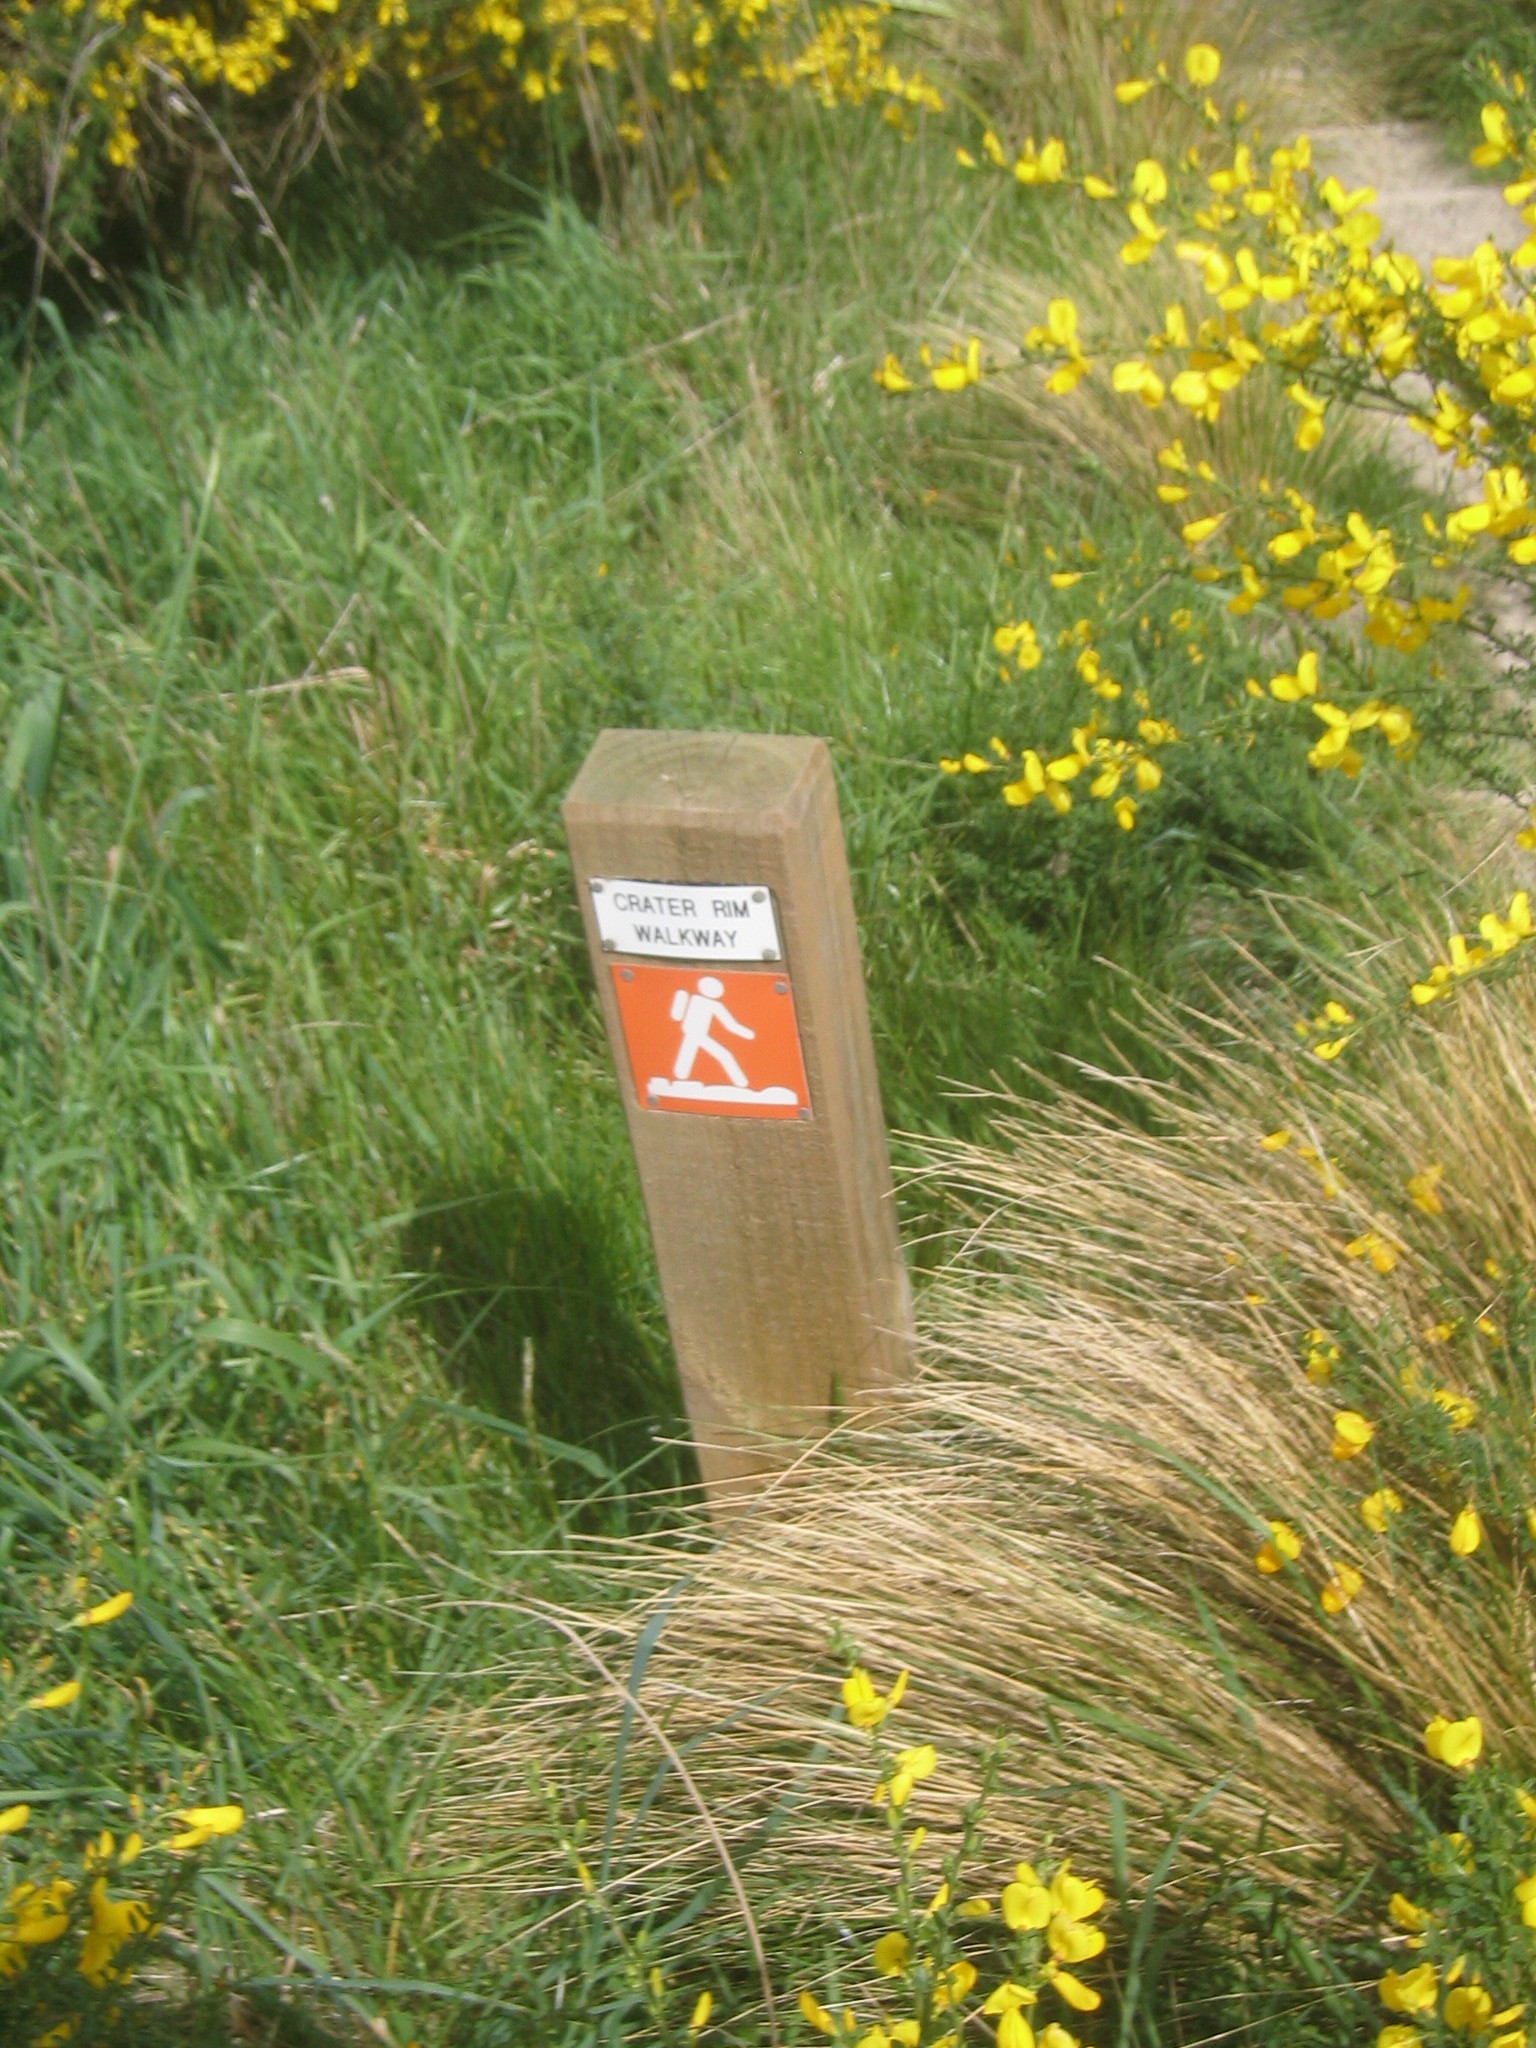
| Crater Rim Walkway. |
| Mark and Marie head down the path. |
| Lyttelton Harbour. |
| Looking back up at the gondola terminus. |
| The ridge road. |
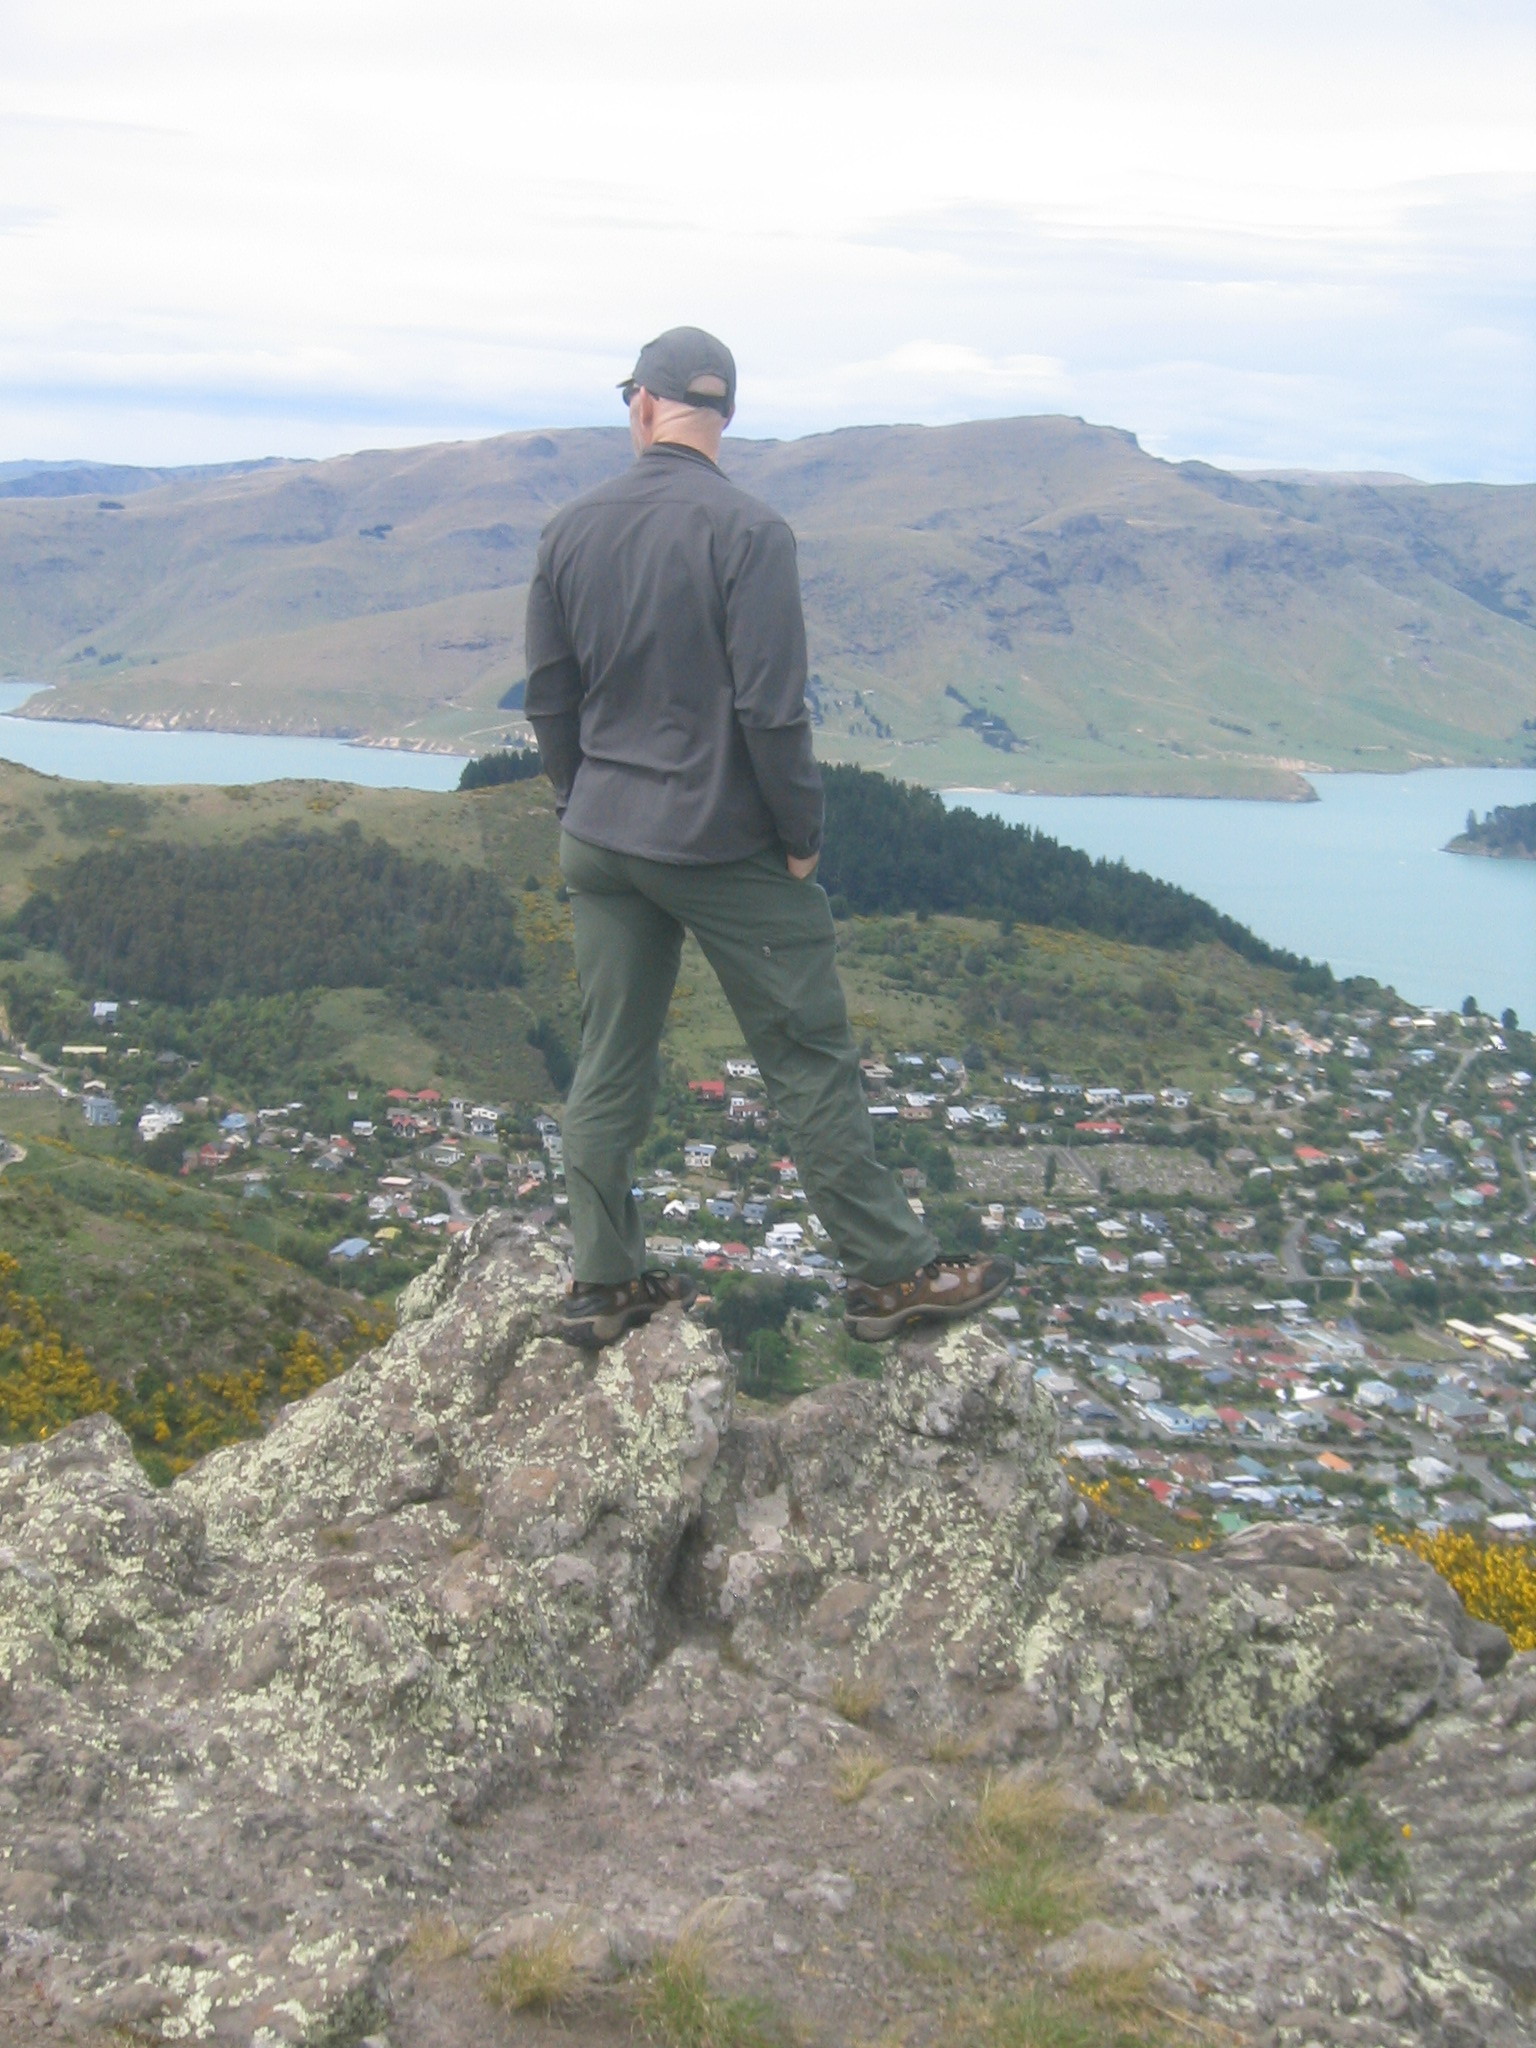
| Mark surveys the townsite. |
| |
| (7224x1080, 4789.95 kb) Mark and Marie look down on Lyttelton. Lyttelton is the main deep water port for South Island. | |
| |
| (8936x1248, 6094.95 kb) A 180 degree view from the ridge on the top of the Port Hills. On the left is Lyttelton and the Banks Peninsula. On the right is Christchurch and the Canterbury Plain. The Summit Road snakes along the top of the Port Hills. The Banks Peninsula and Lyttelton Harbour are formed from two extinct volcanoes. The Port Hills are part of the crater rim of the Lyttelton Volcano. | |
| Marie among the flowers and rocks. |
| This path isn't quite so well used. |
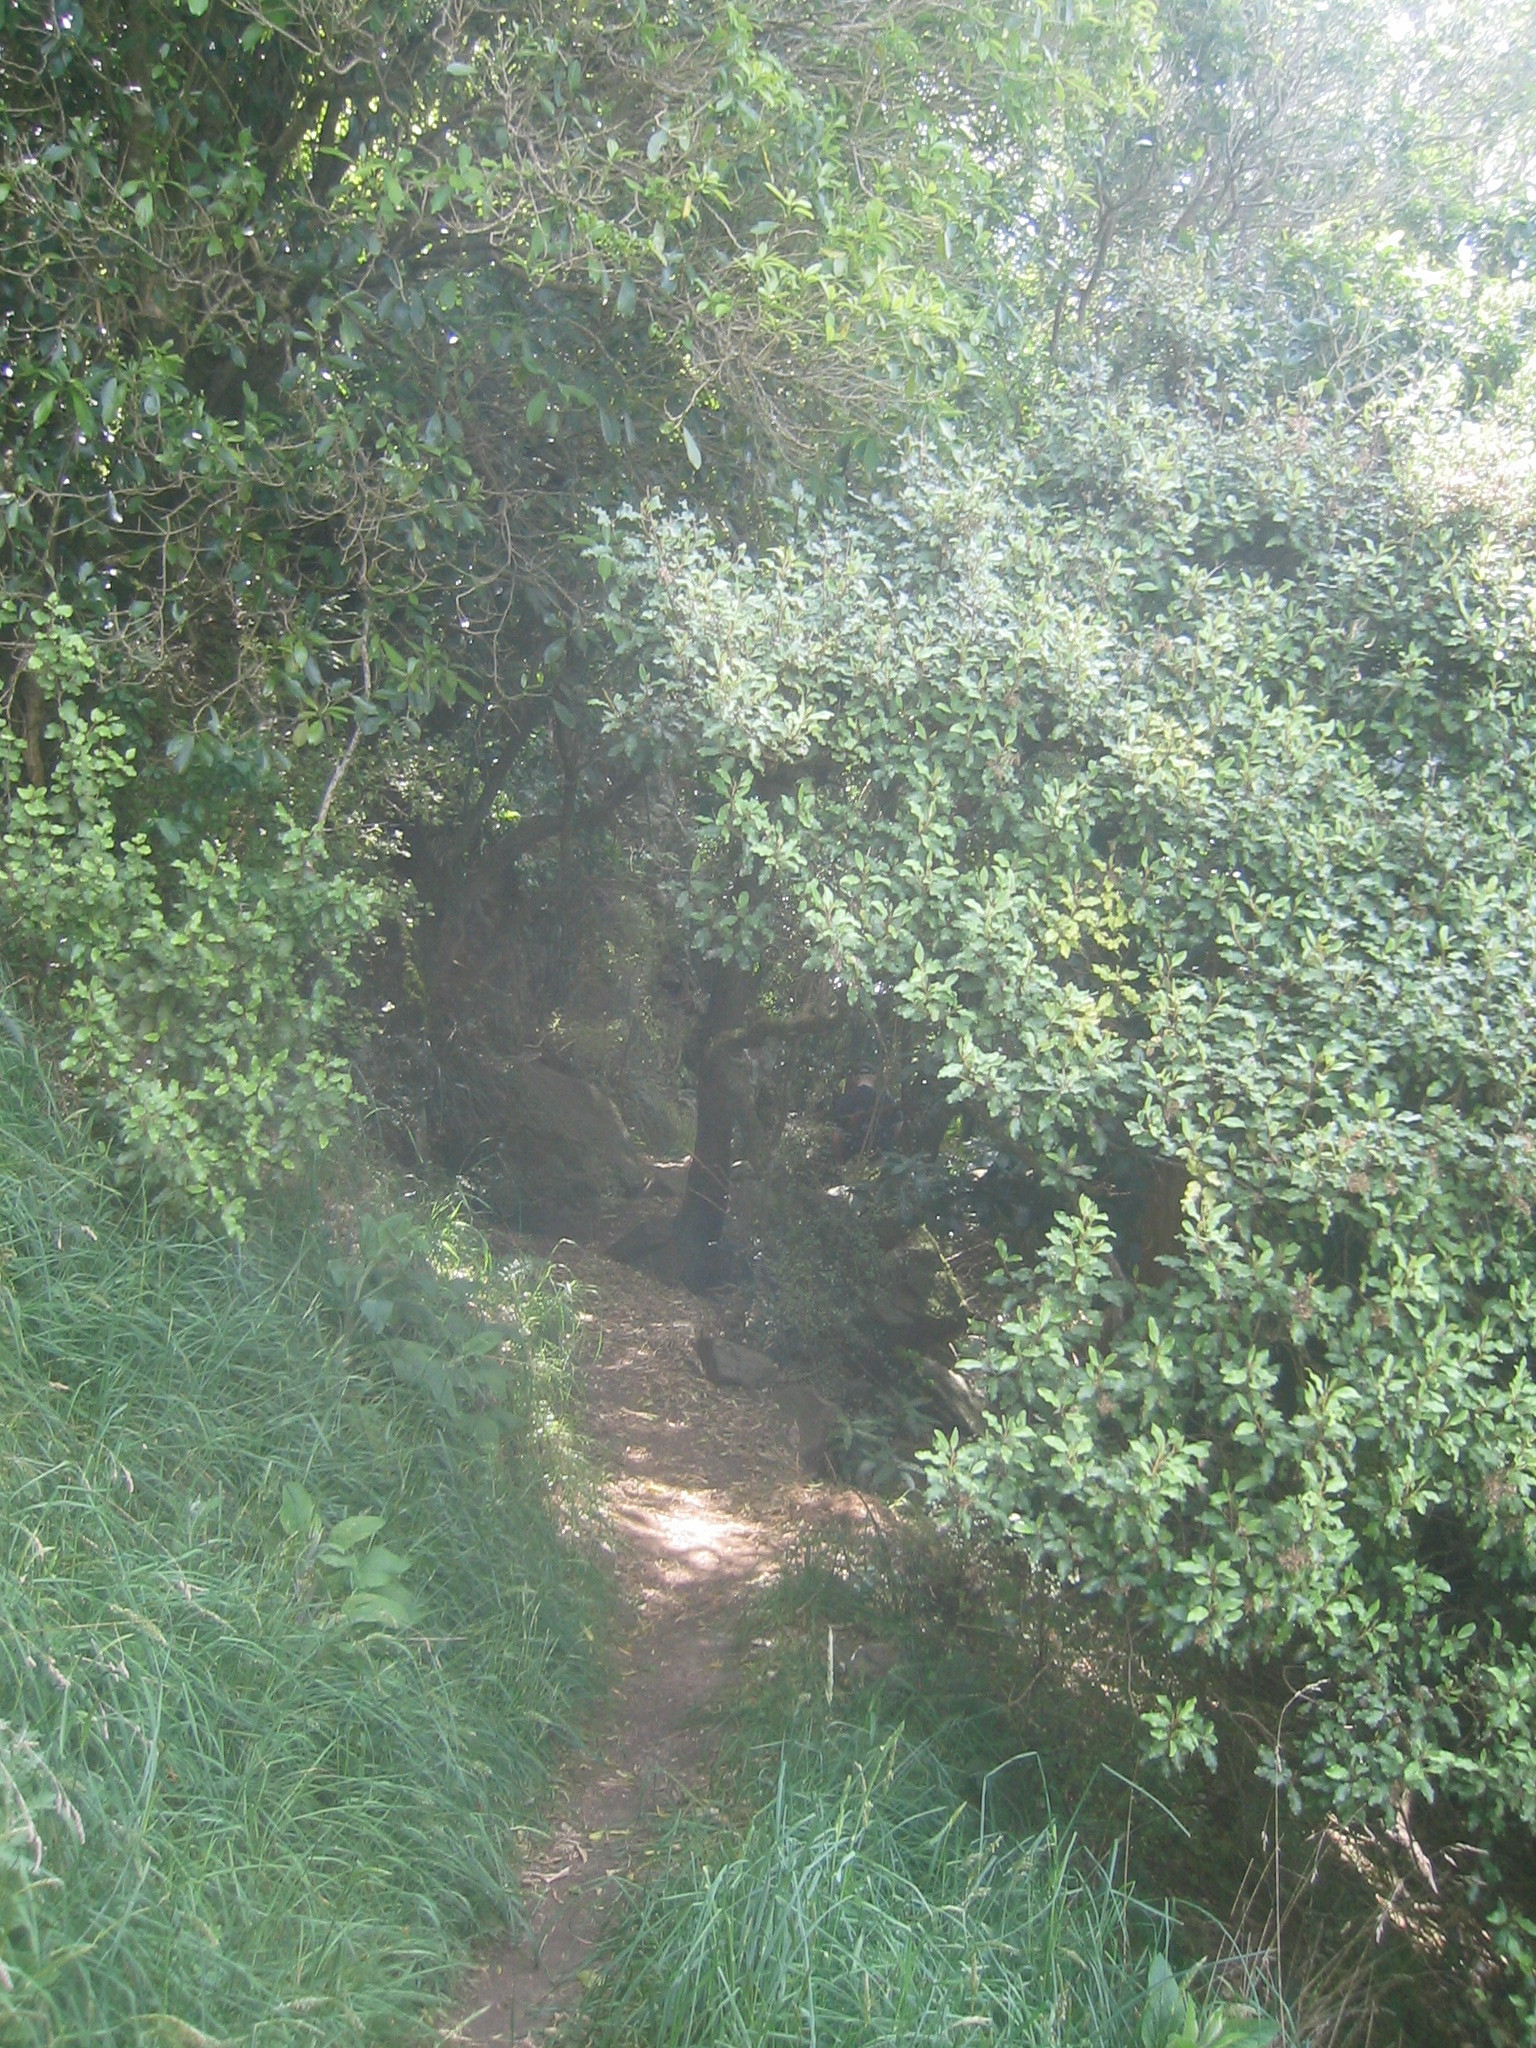
| The path disappears under the trees. |
| Looking out over the yellow hills. |
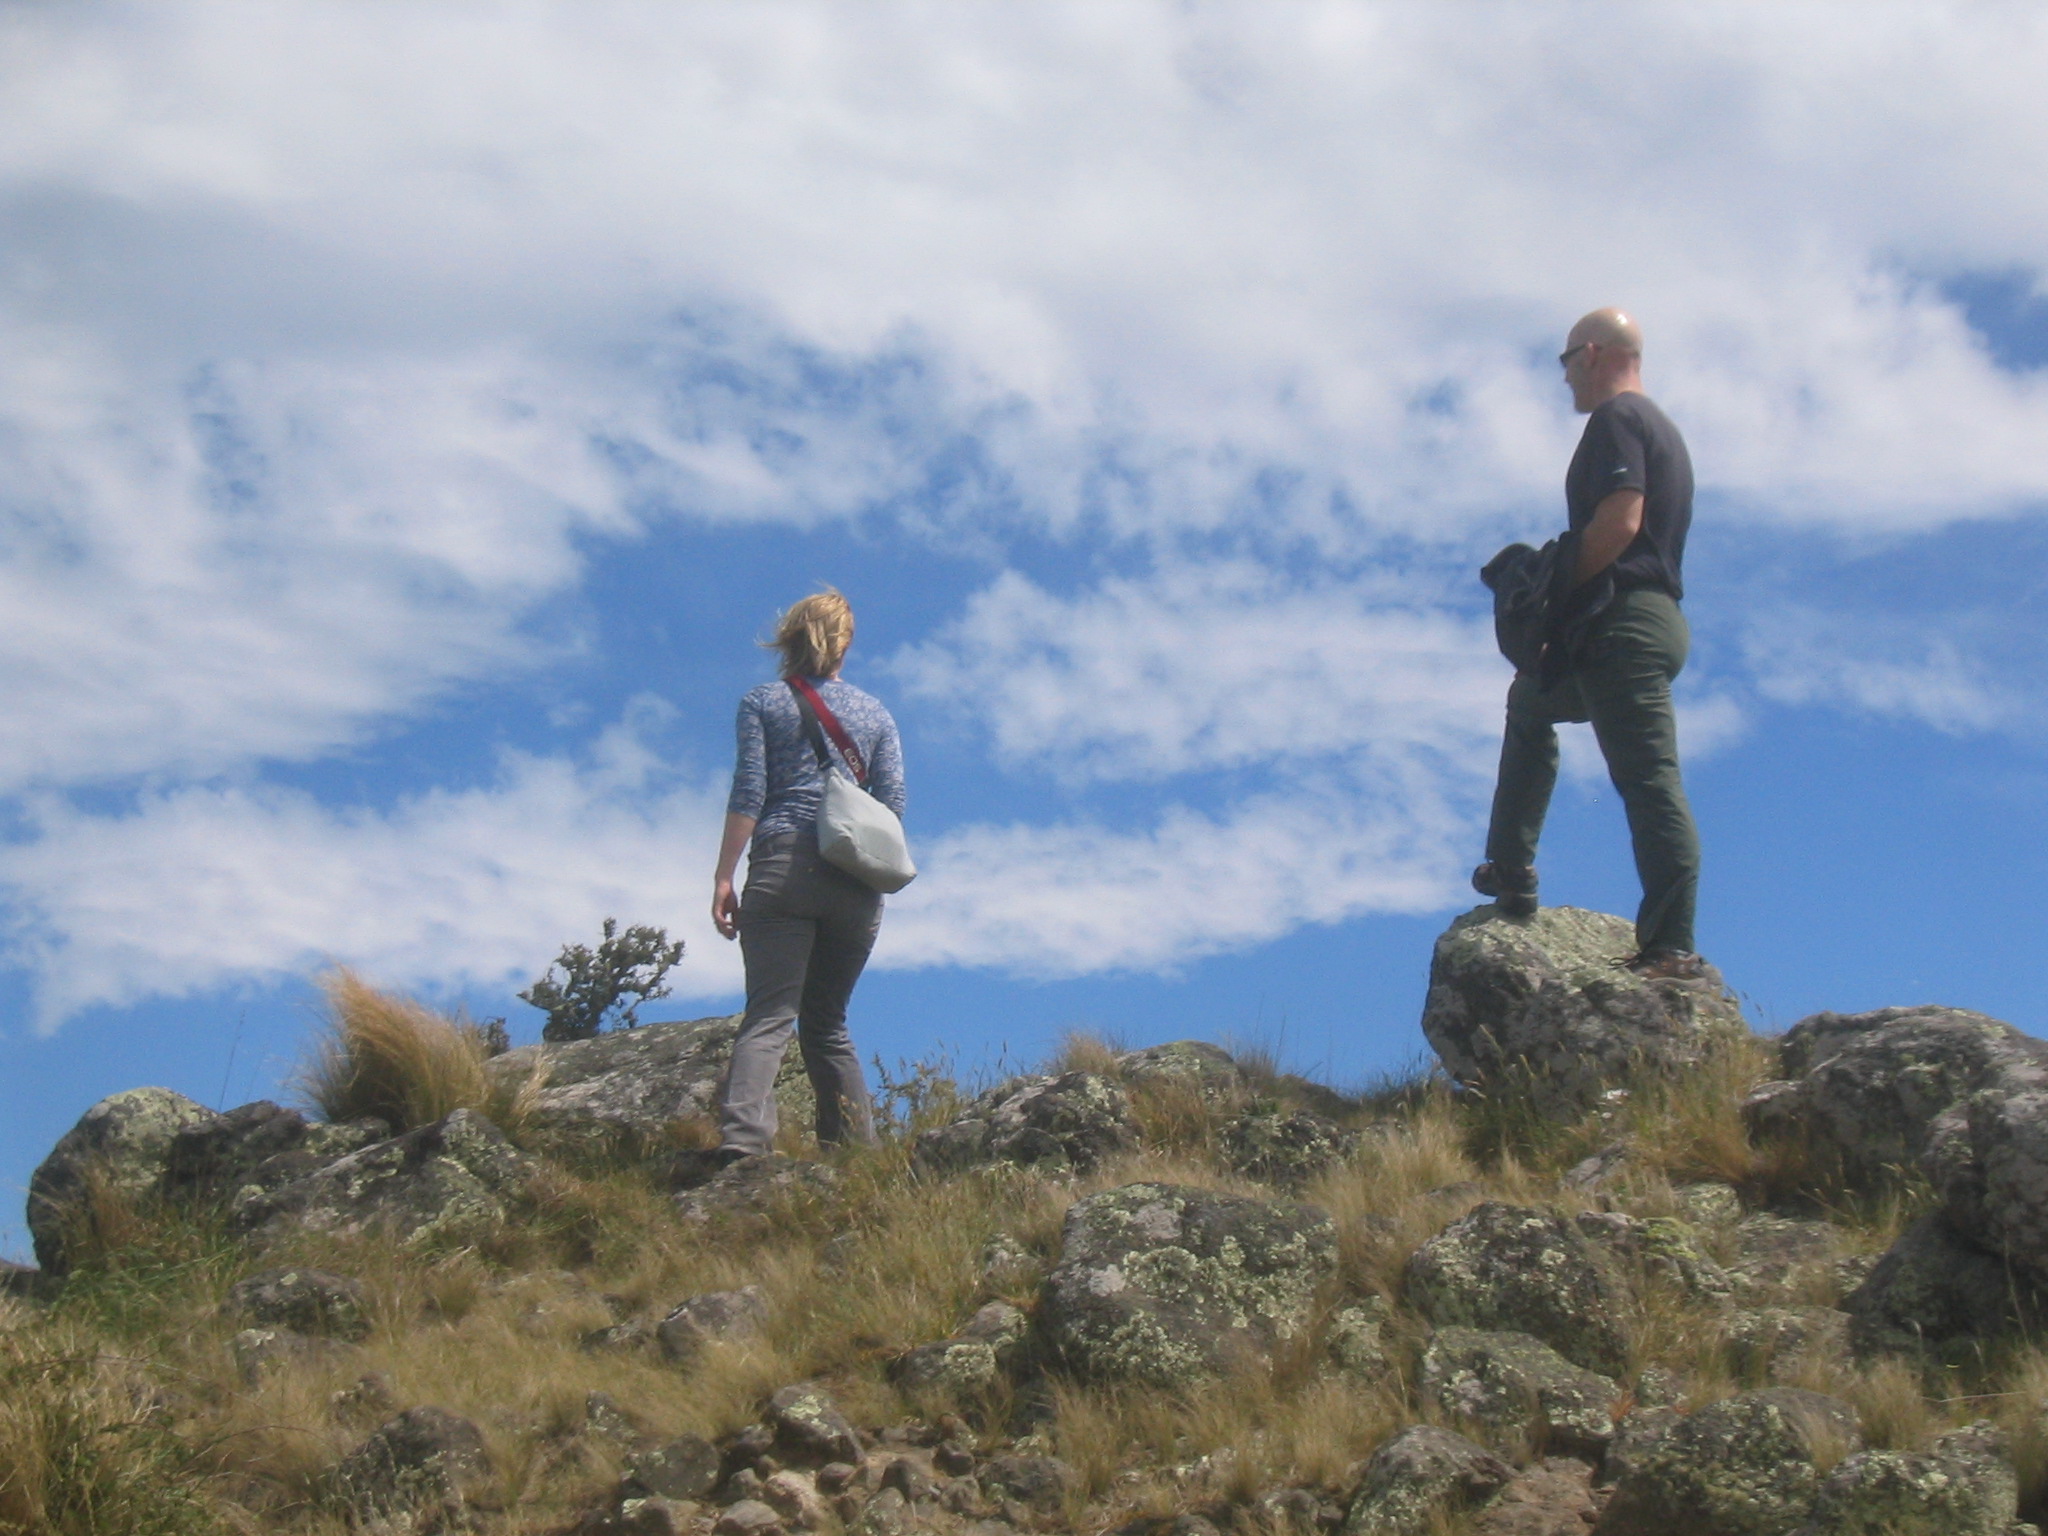
| Marie and Mark contemplate the way. |
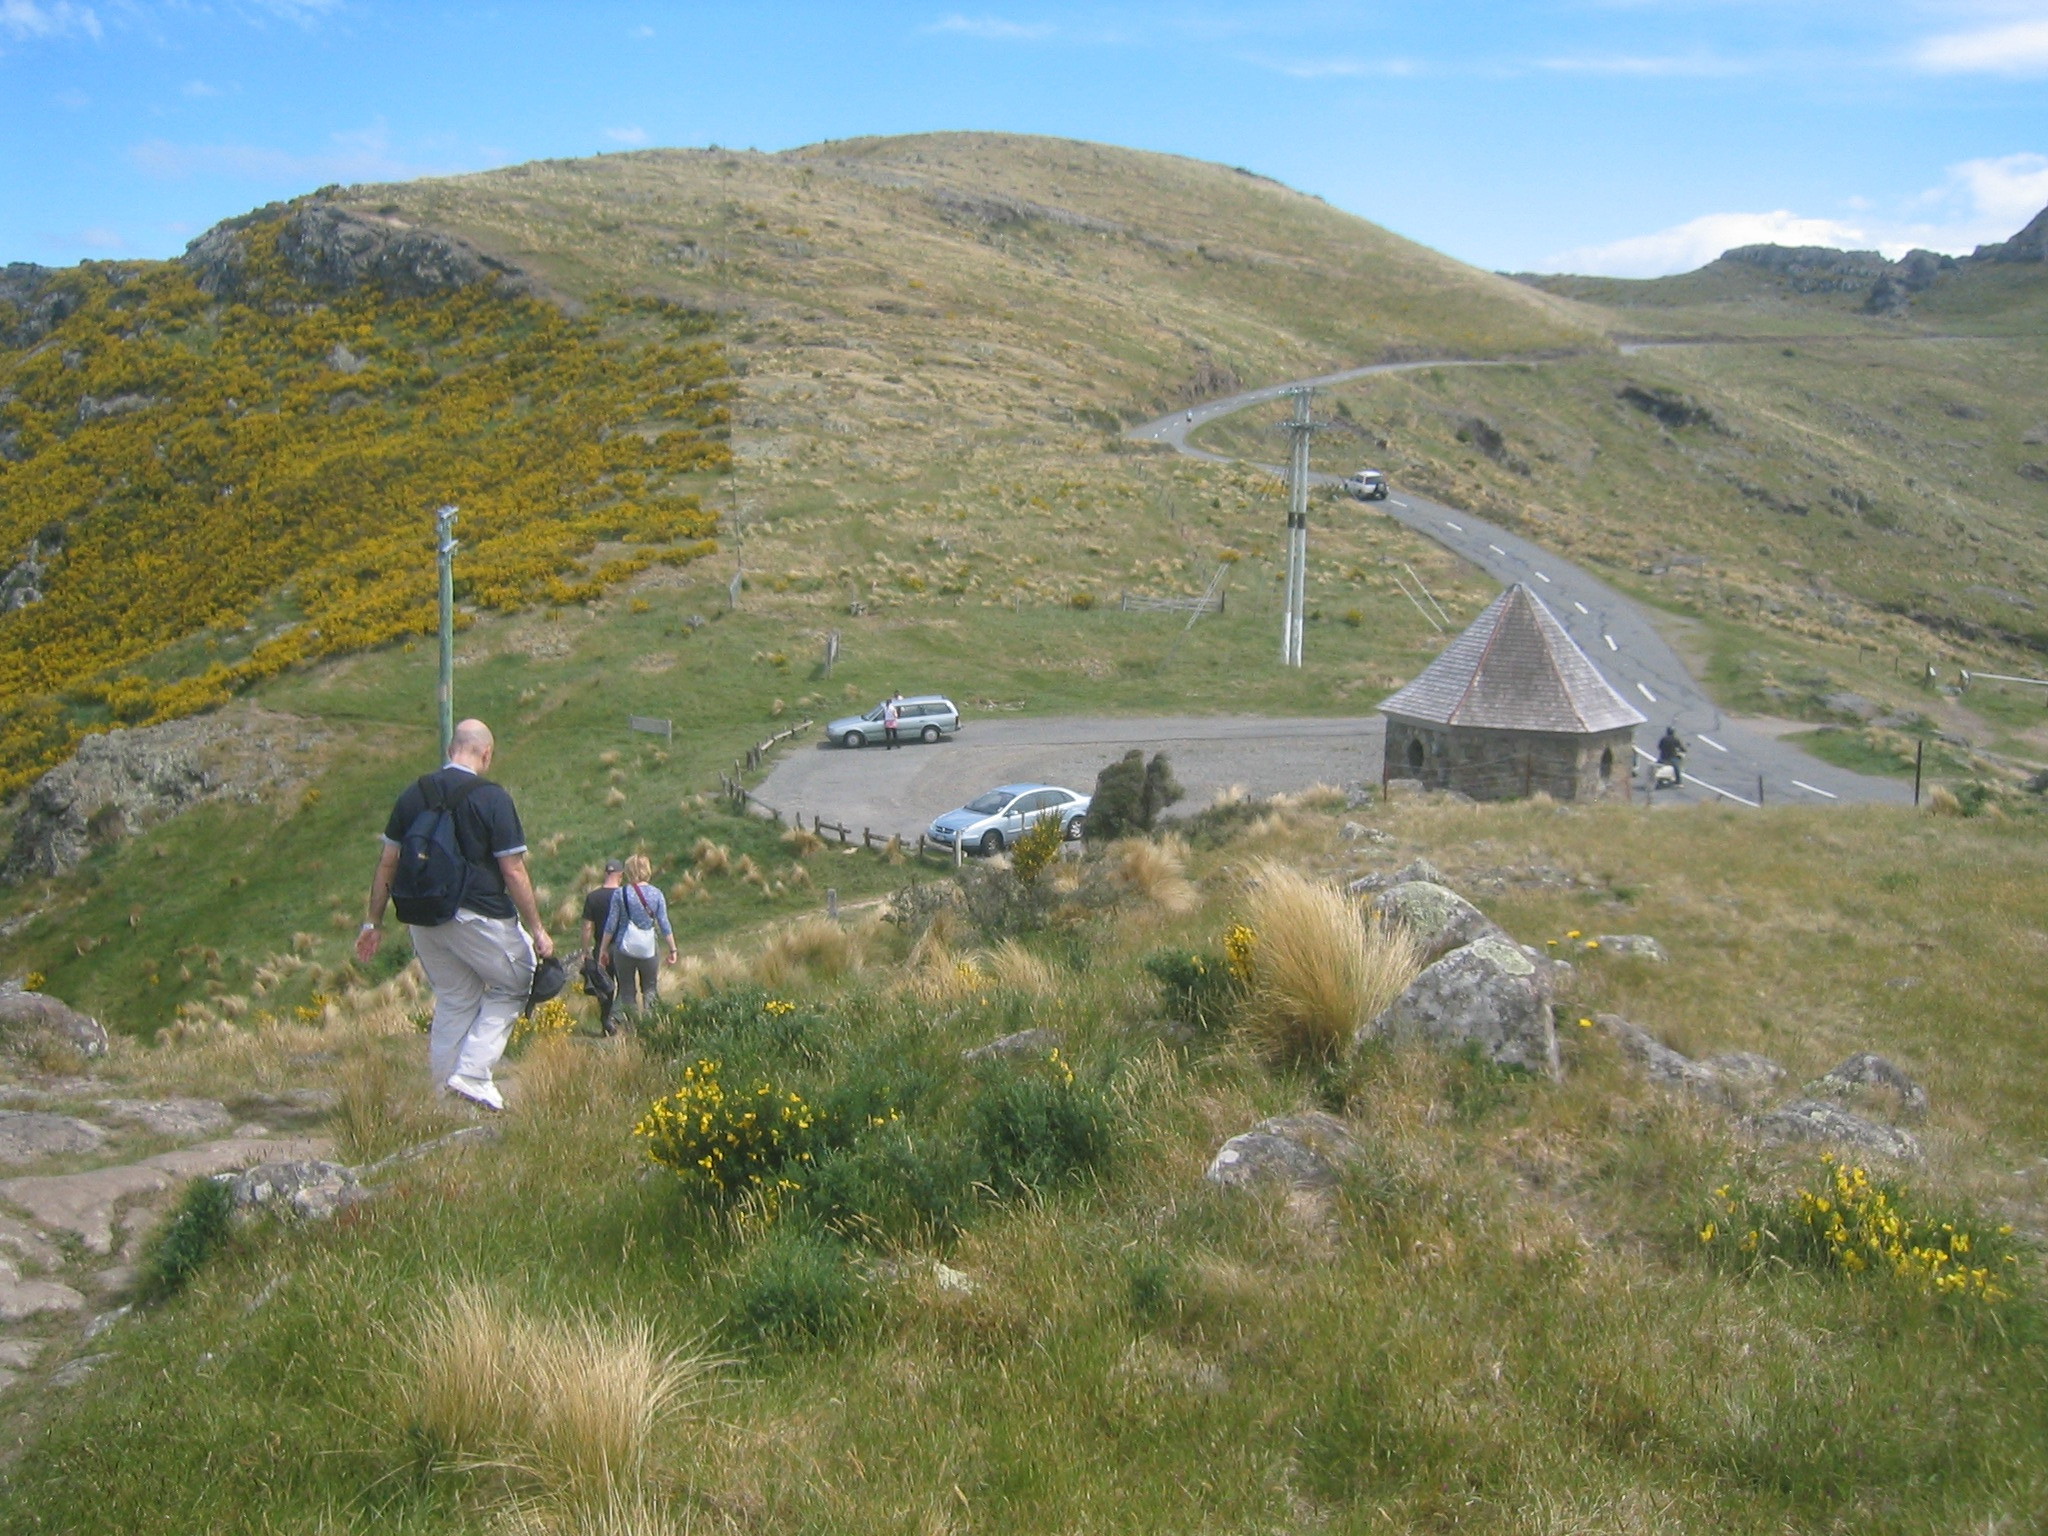
| Setting out again. |
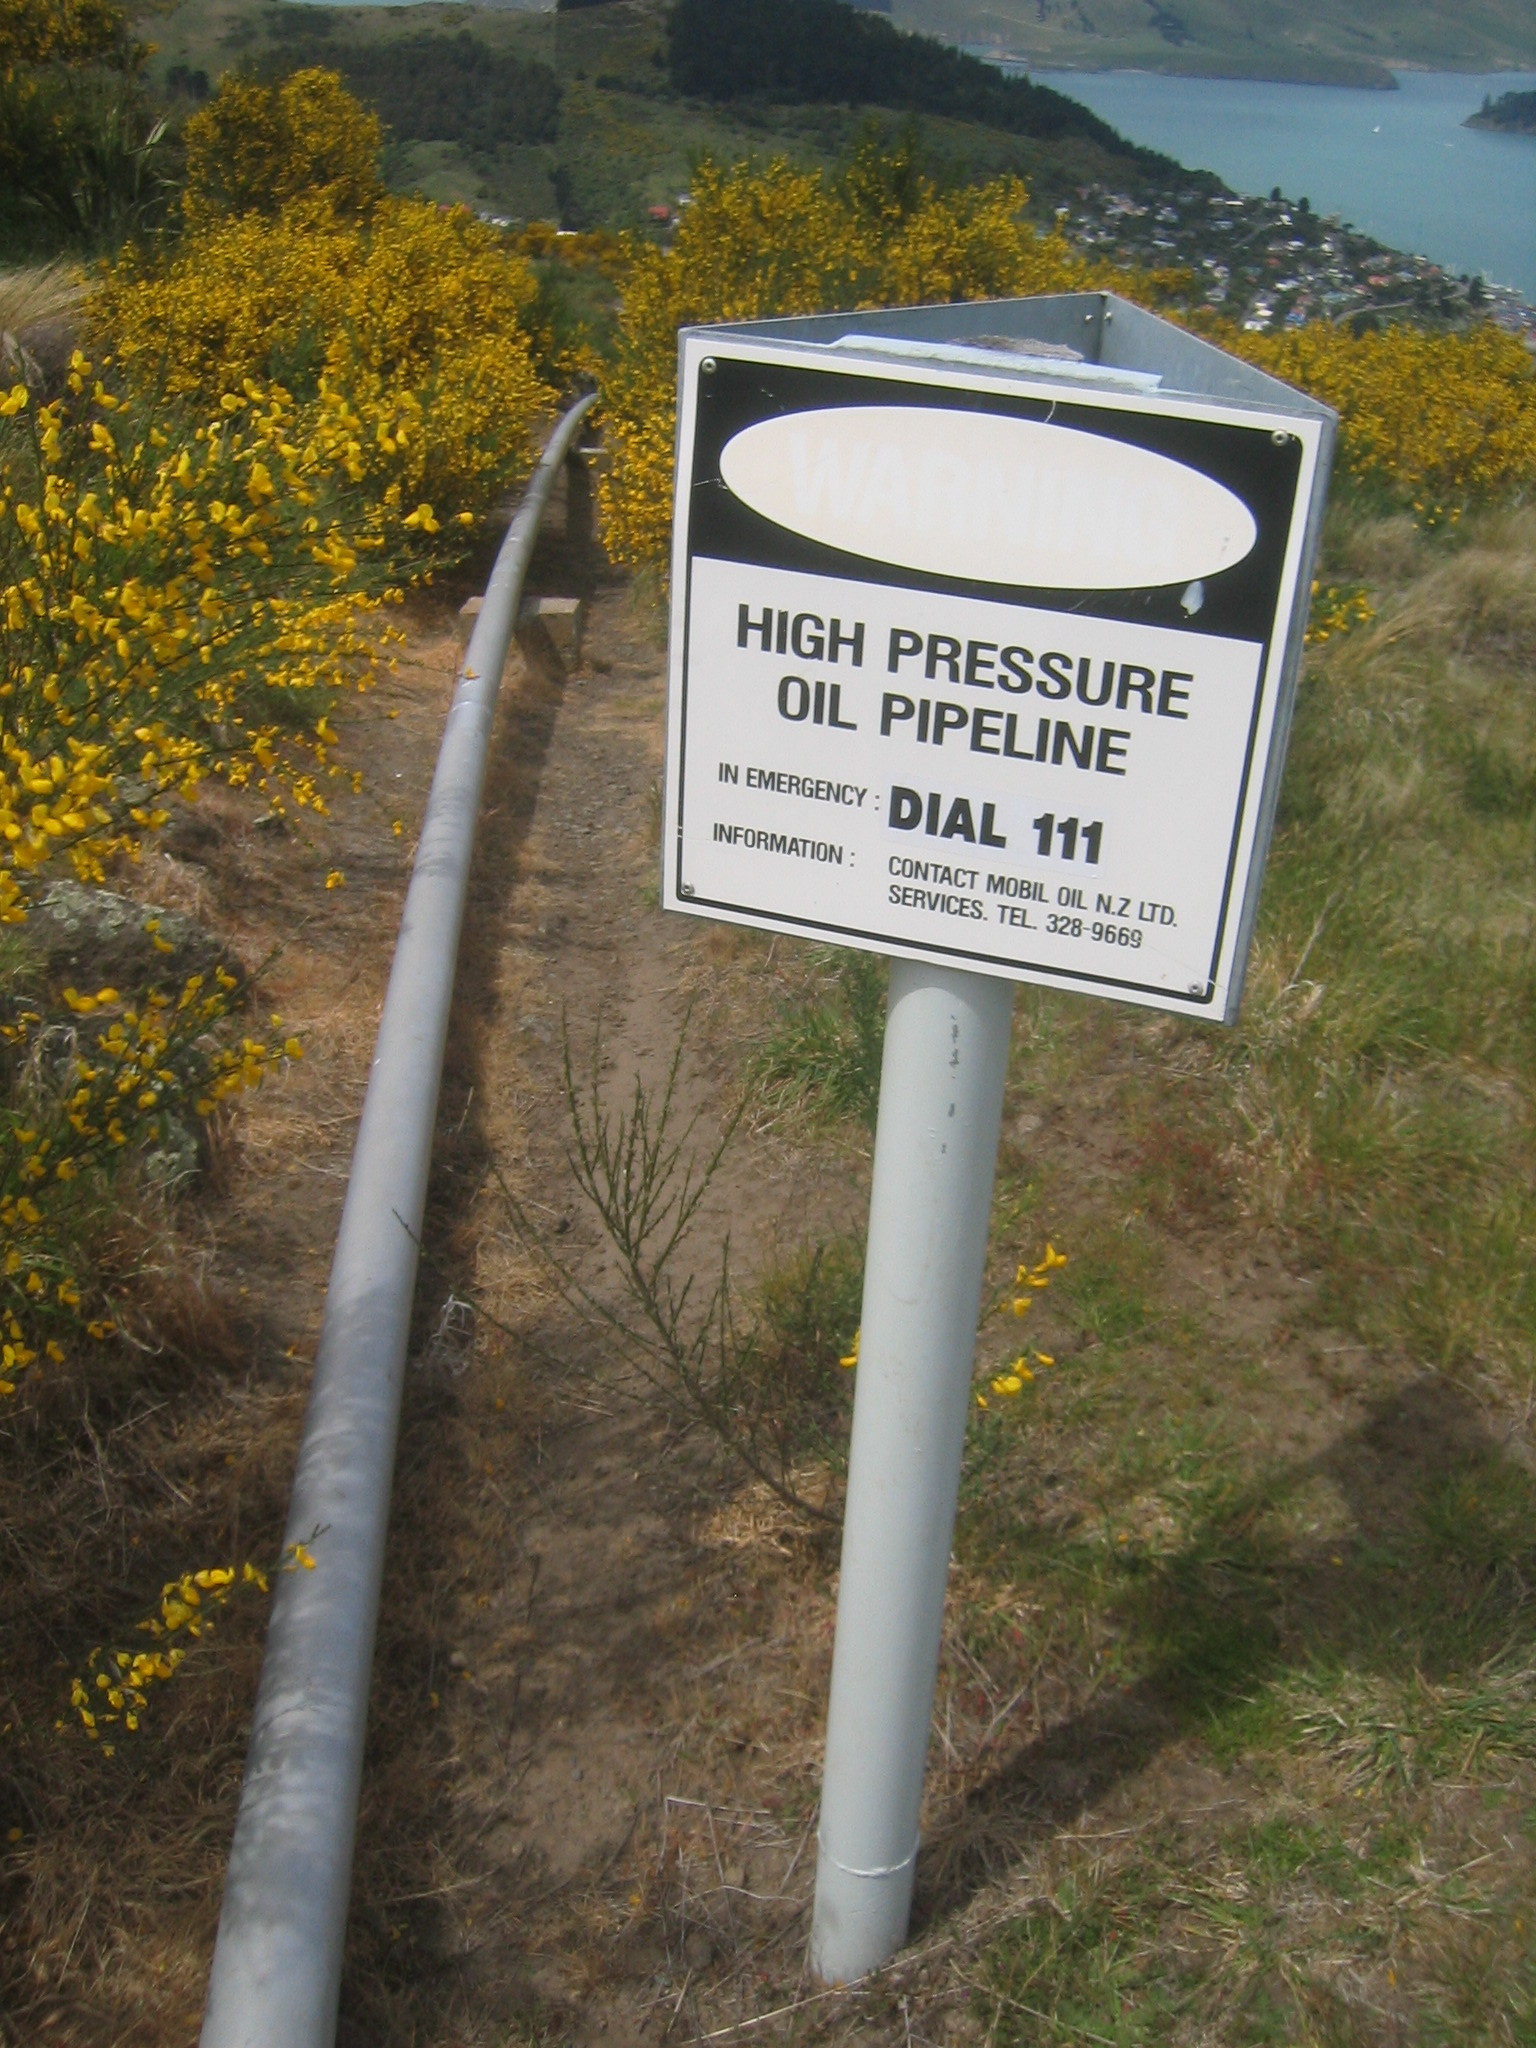
| High Pressure Oil Pipeline. |
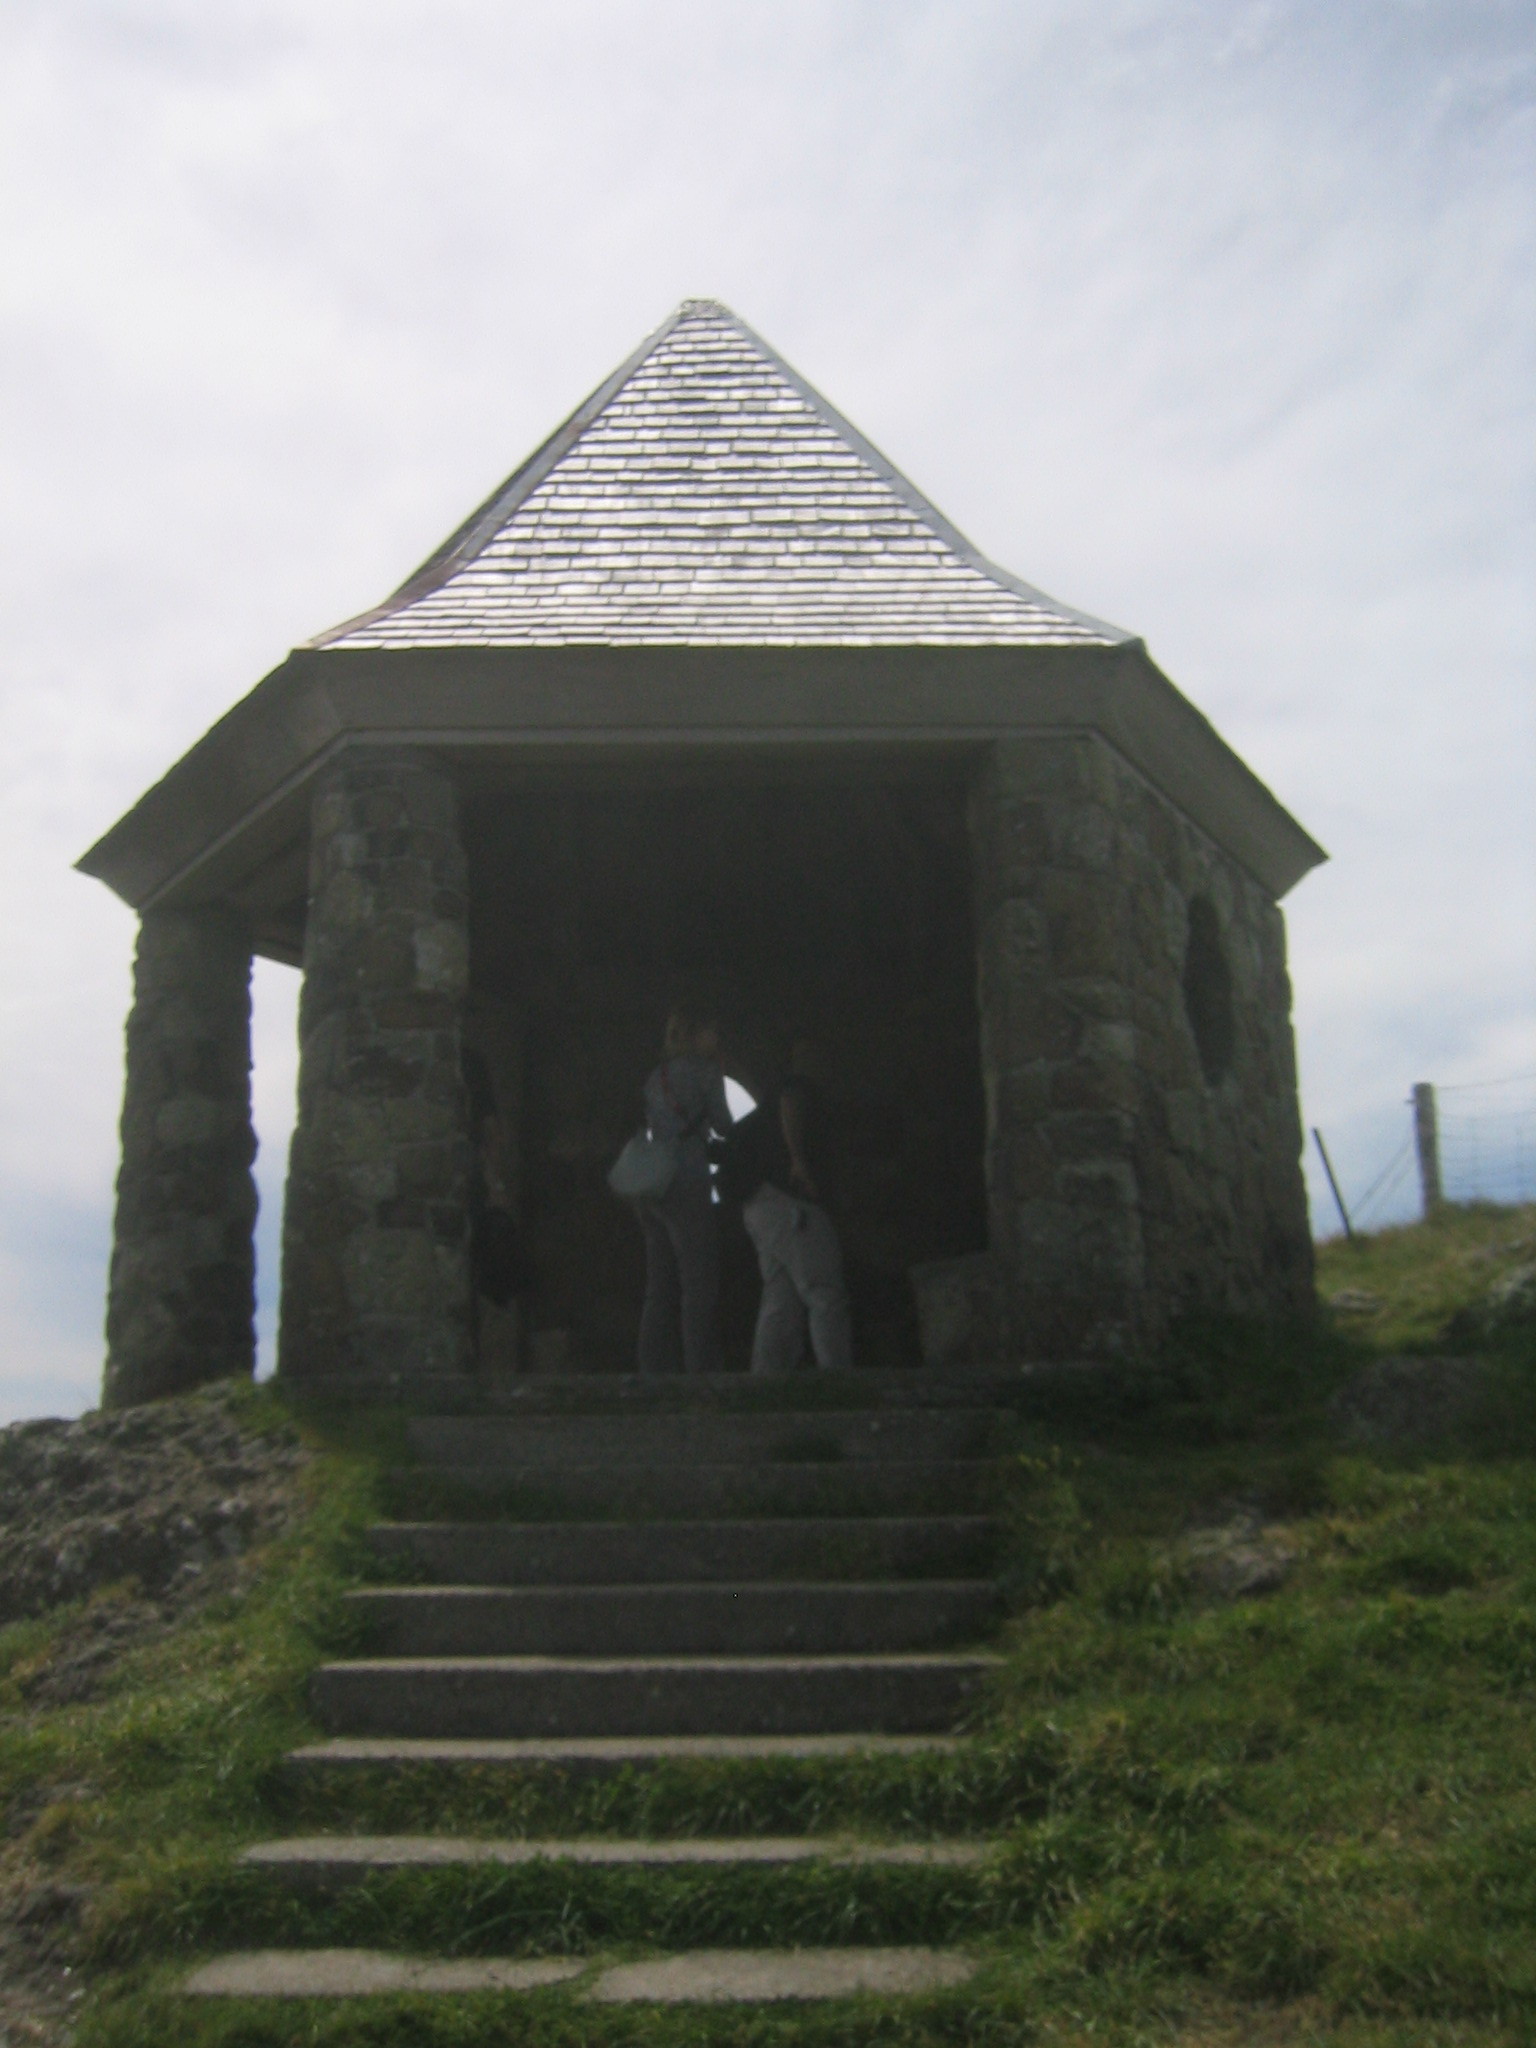
| Arriving at the Women's Memorial. |
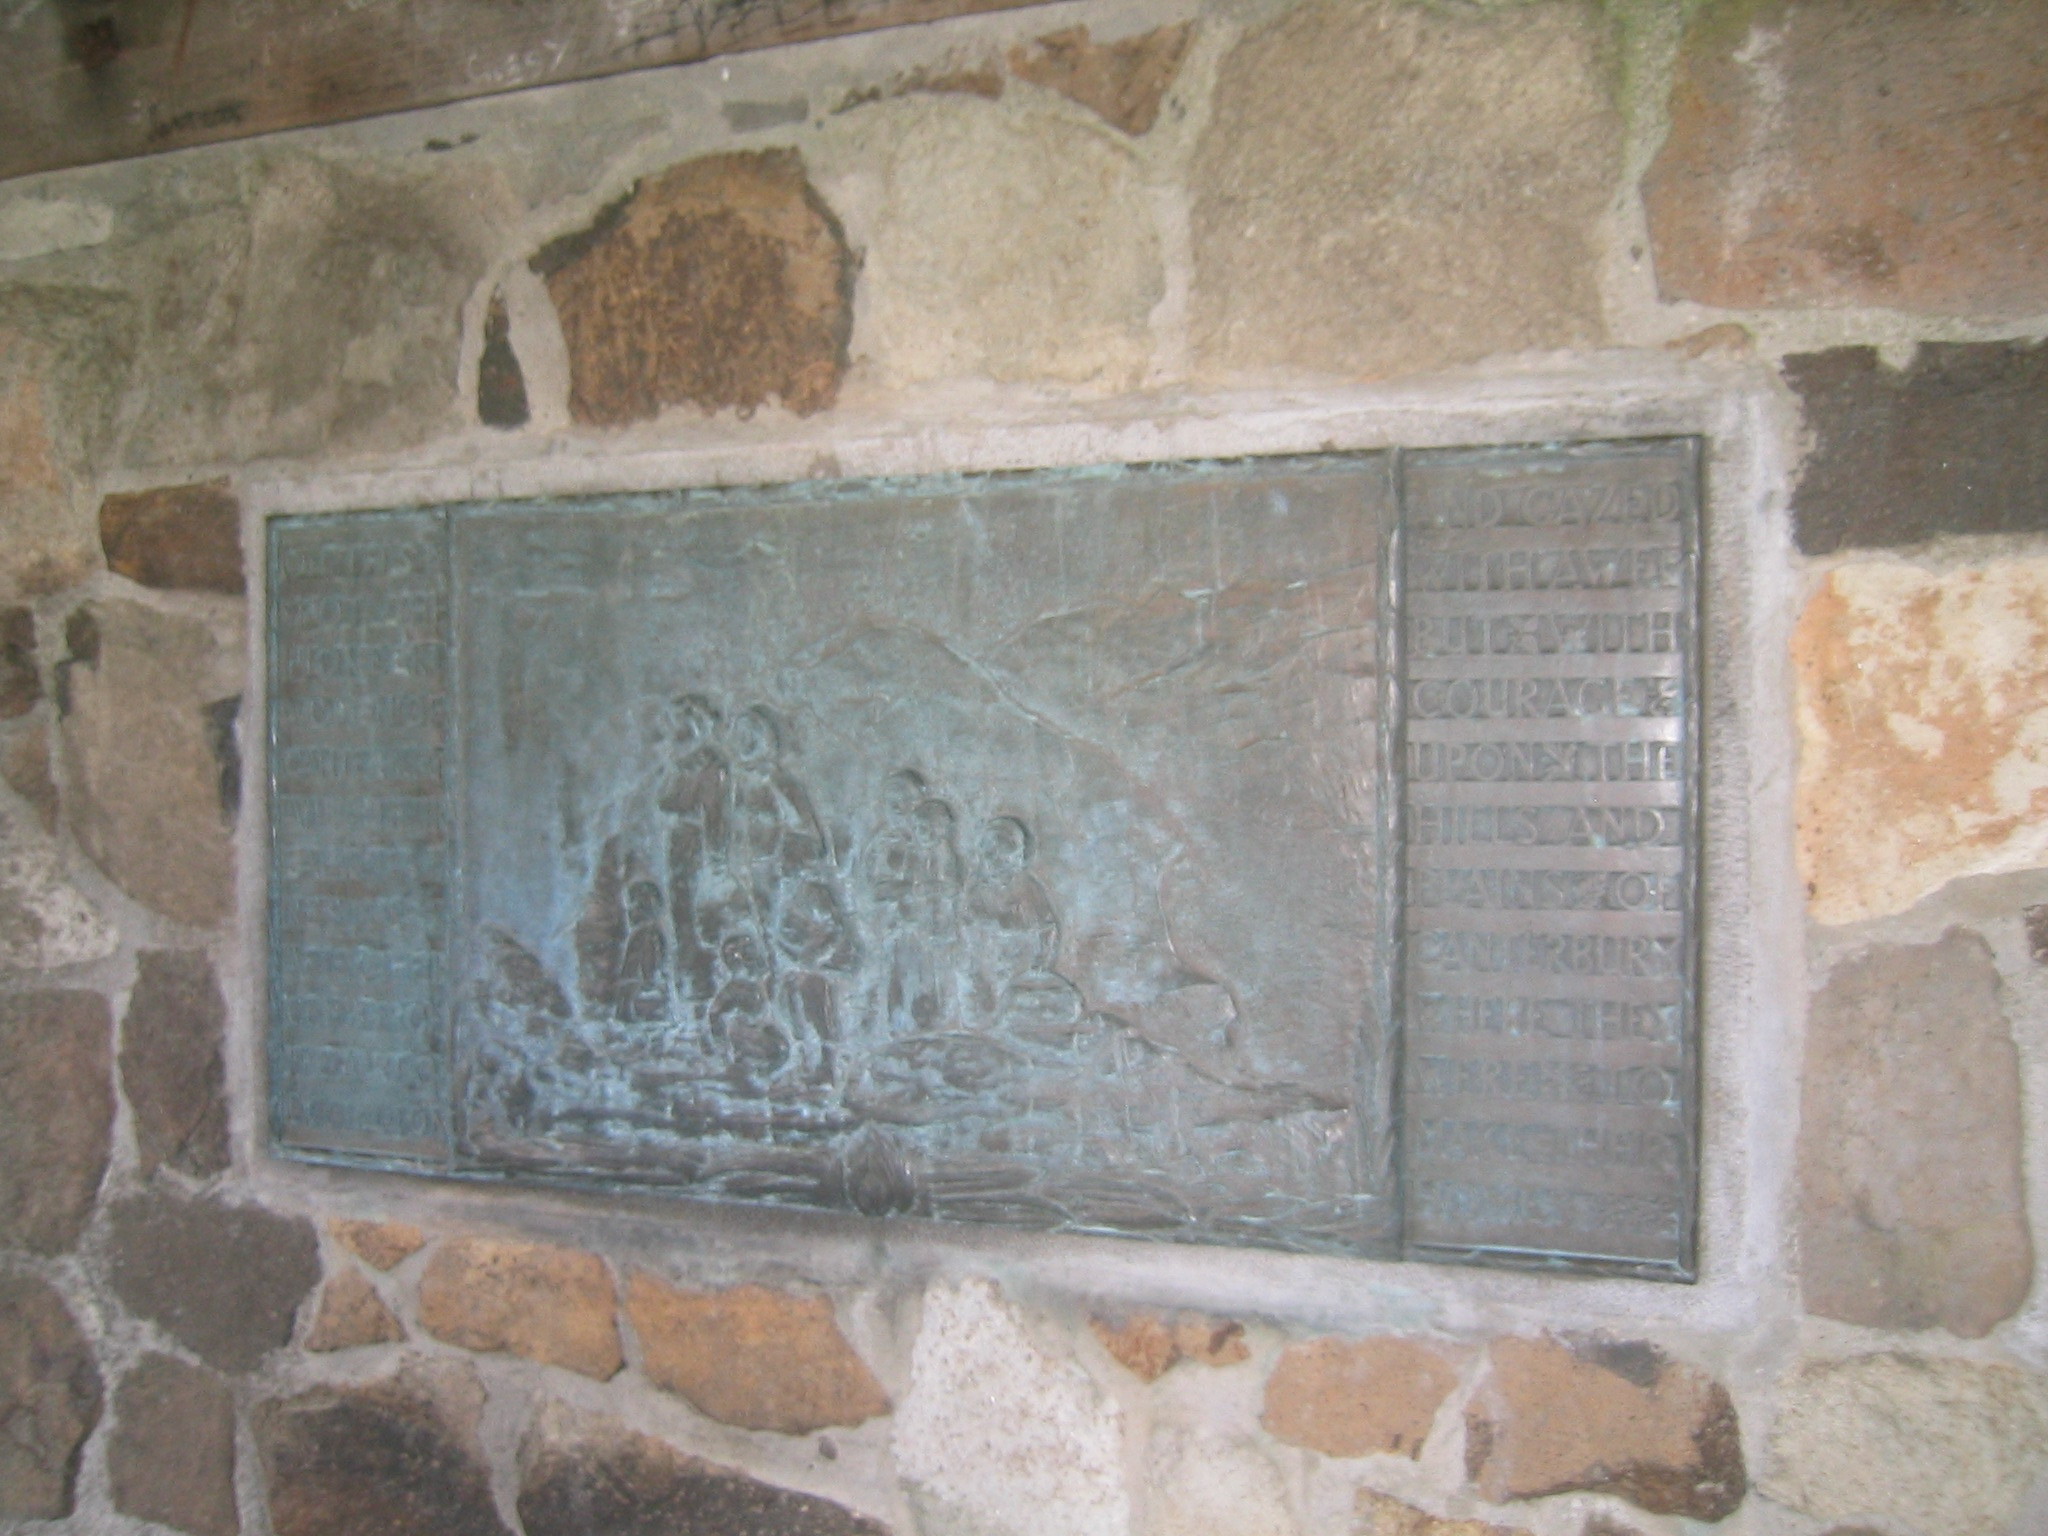
| The Women's Memorial, erected 1993. |
| The plaque commemorates the pioneer women who climbed the hill from Lyttelton and rested here with their families, to survey the Canterbury plain where they were to settle. Where were the men, you ask? I assume they just sailed around. |
| Looking out from the Women's Memorial at Lyttelton Harbour. |
| Heading down the Bridle Path. There were no maps of the hiking trails, but people said we'd know which path to take when we saw it. Unfortunately we saw another path before this one, which we didn't know not to take. |
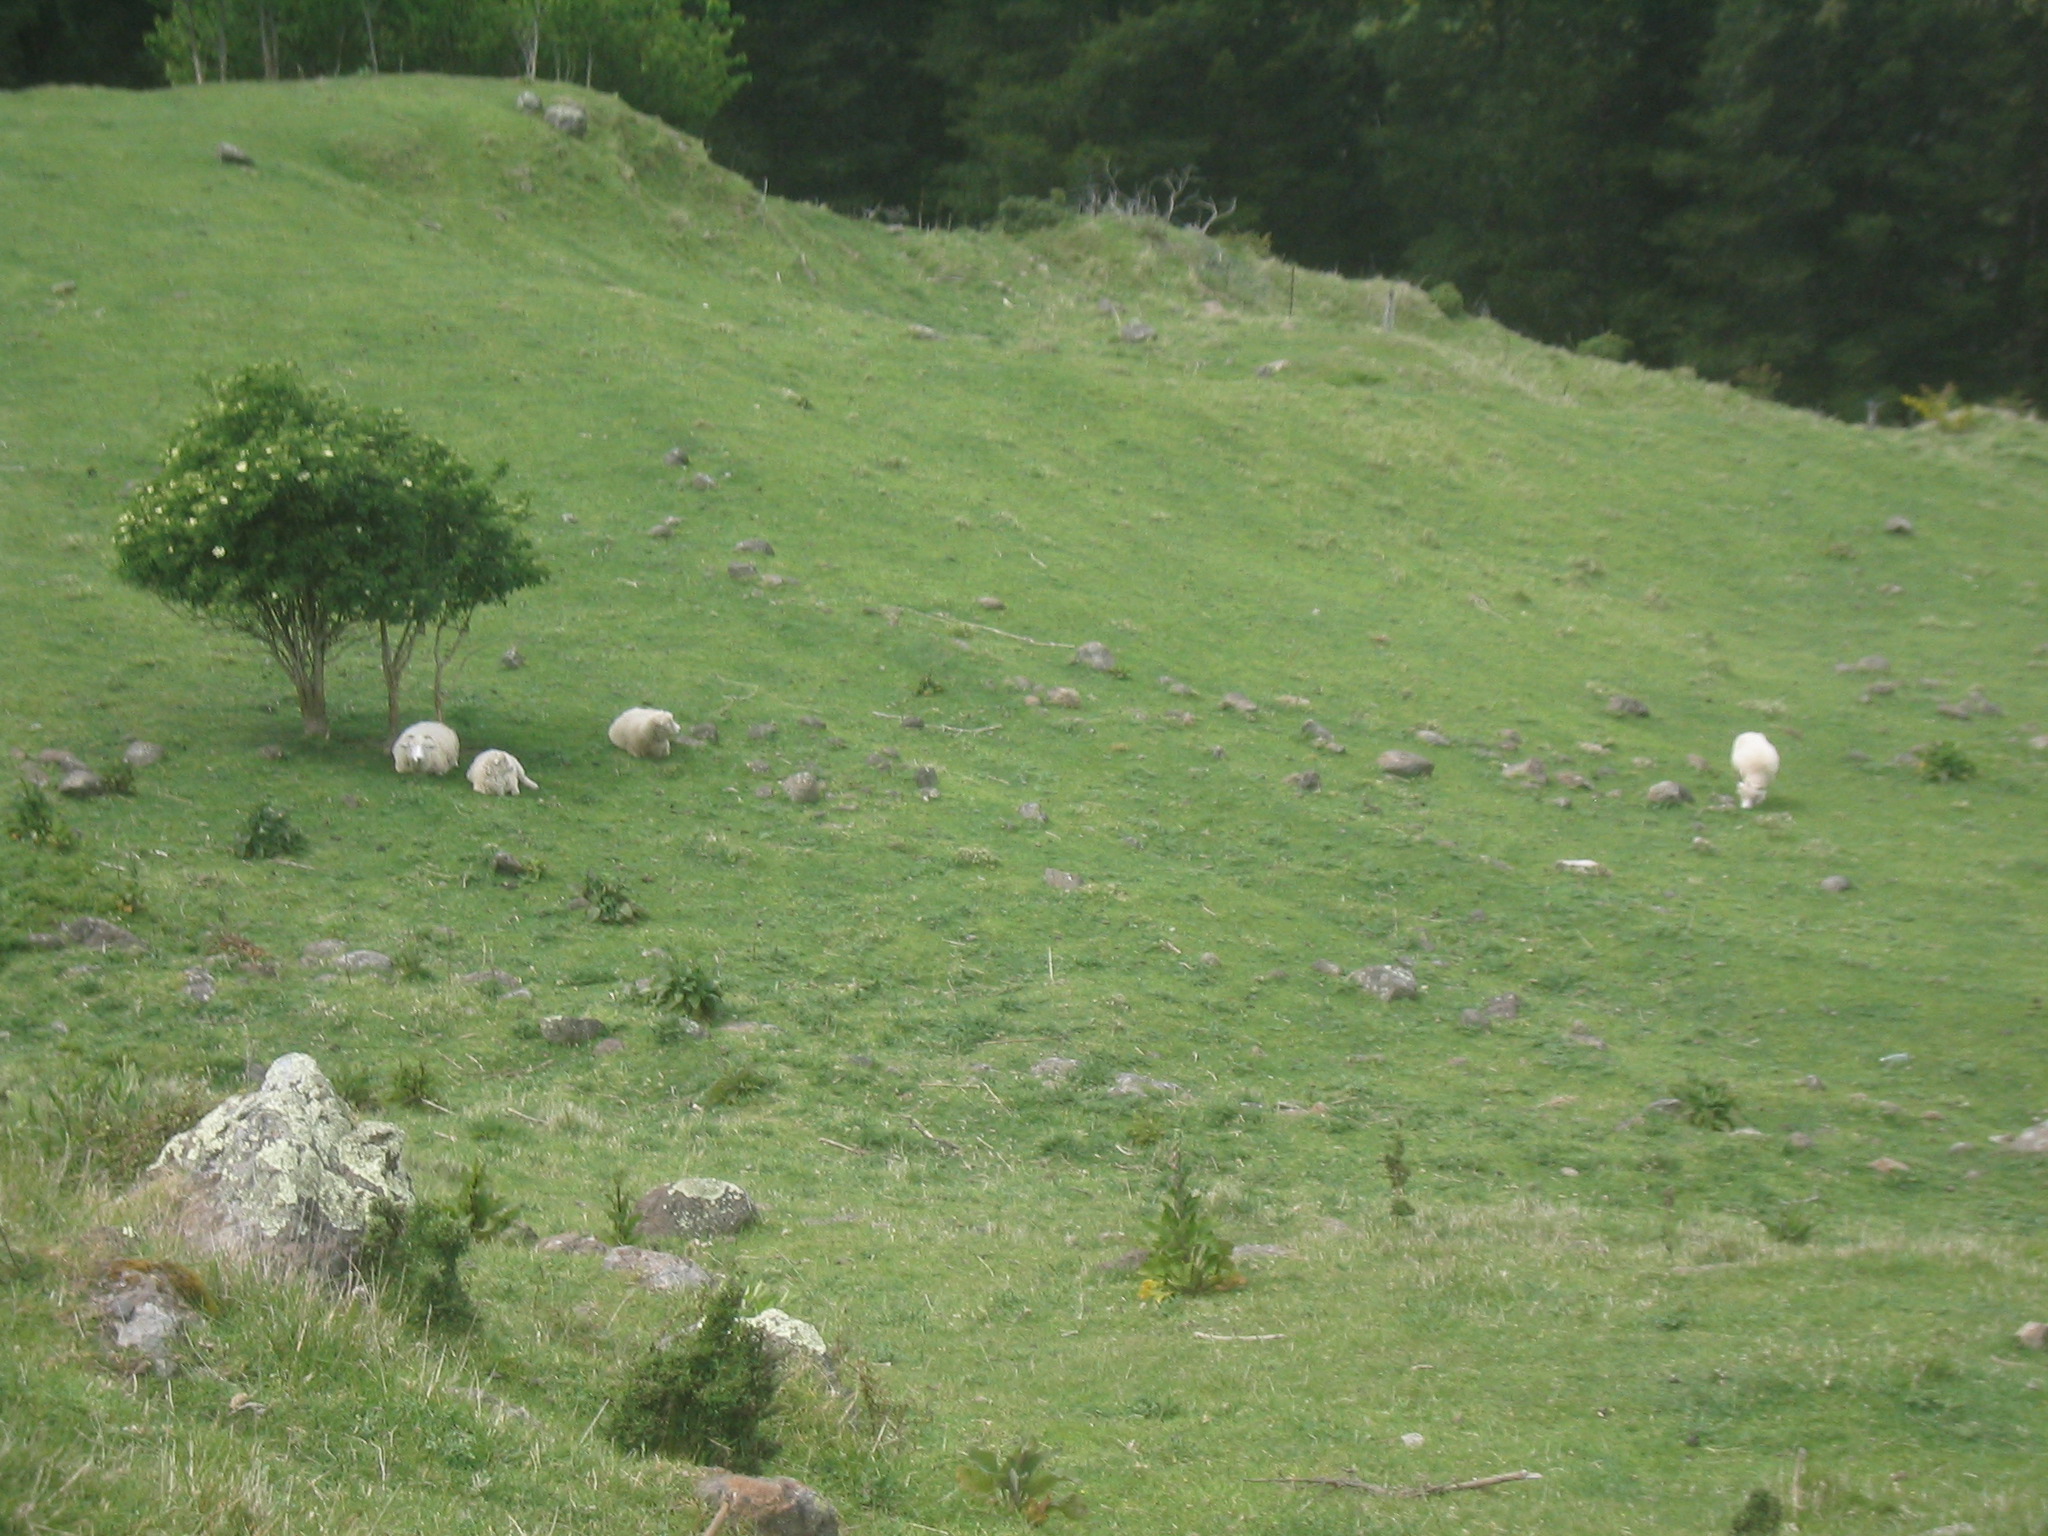
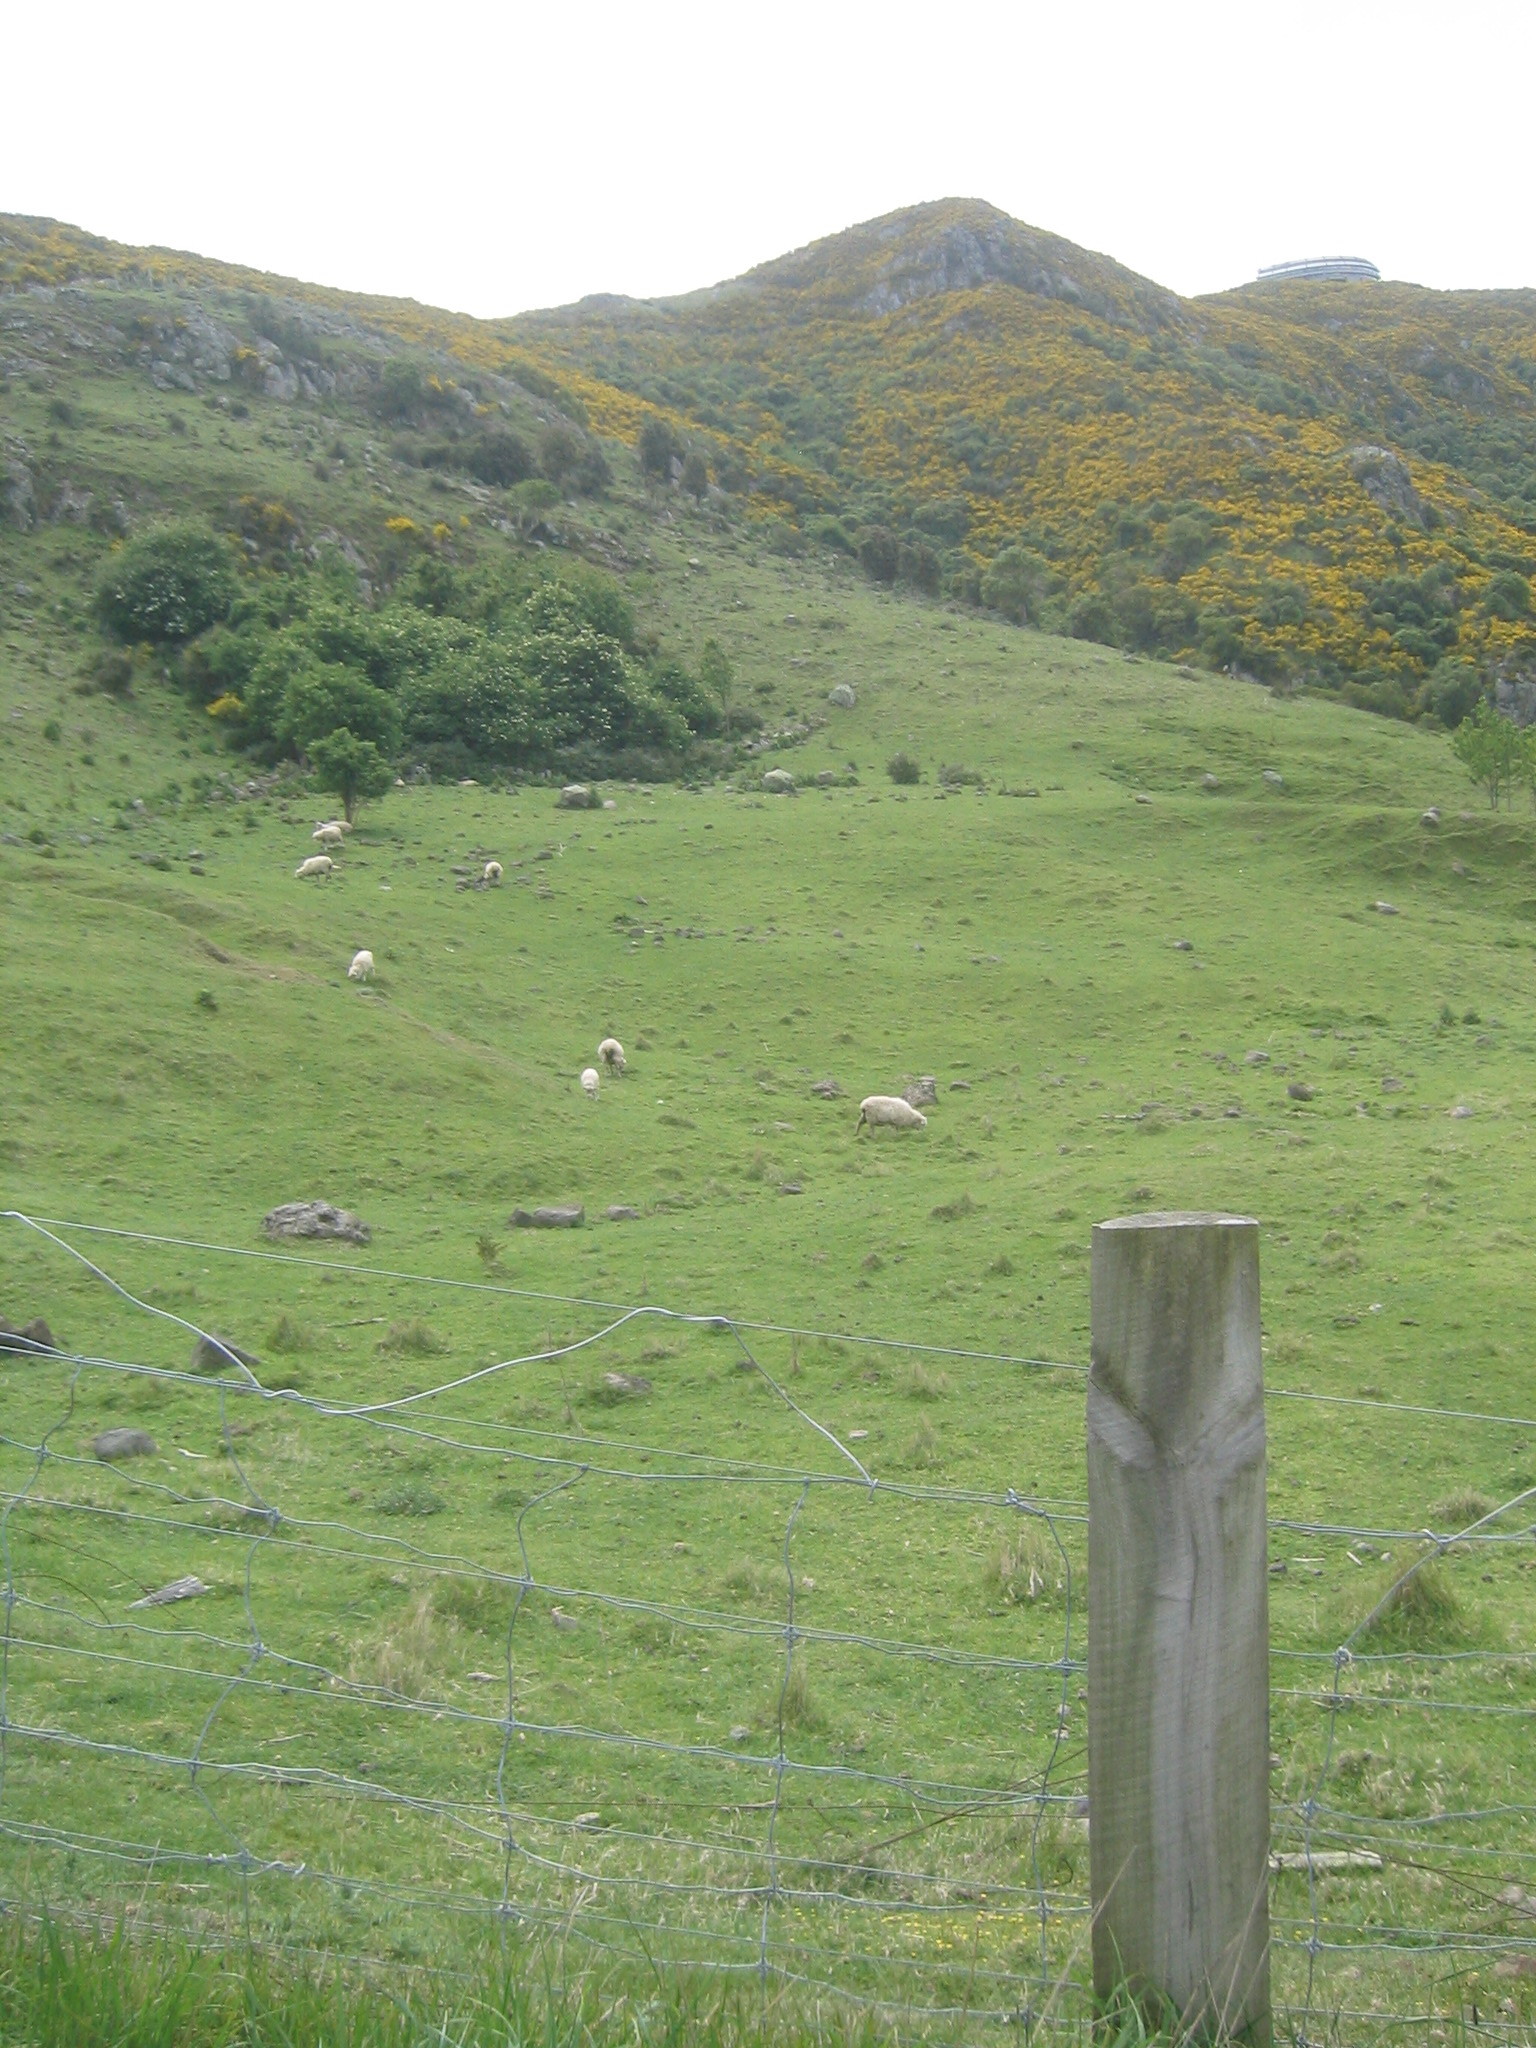
| We encounter some woolies. |
| More woolies. |
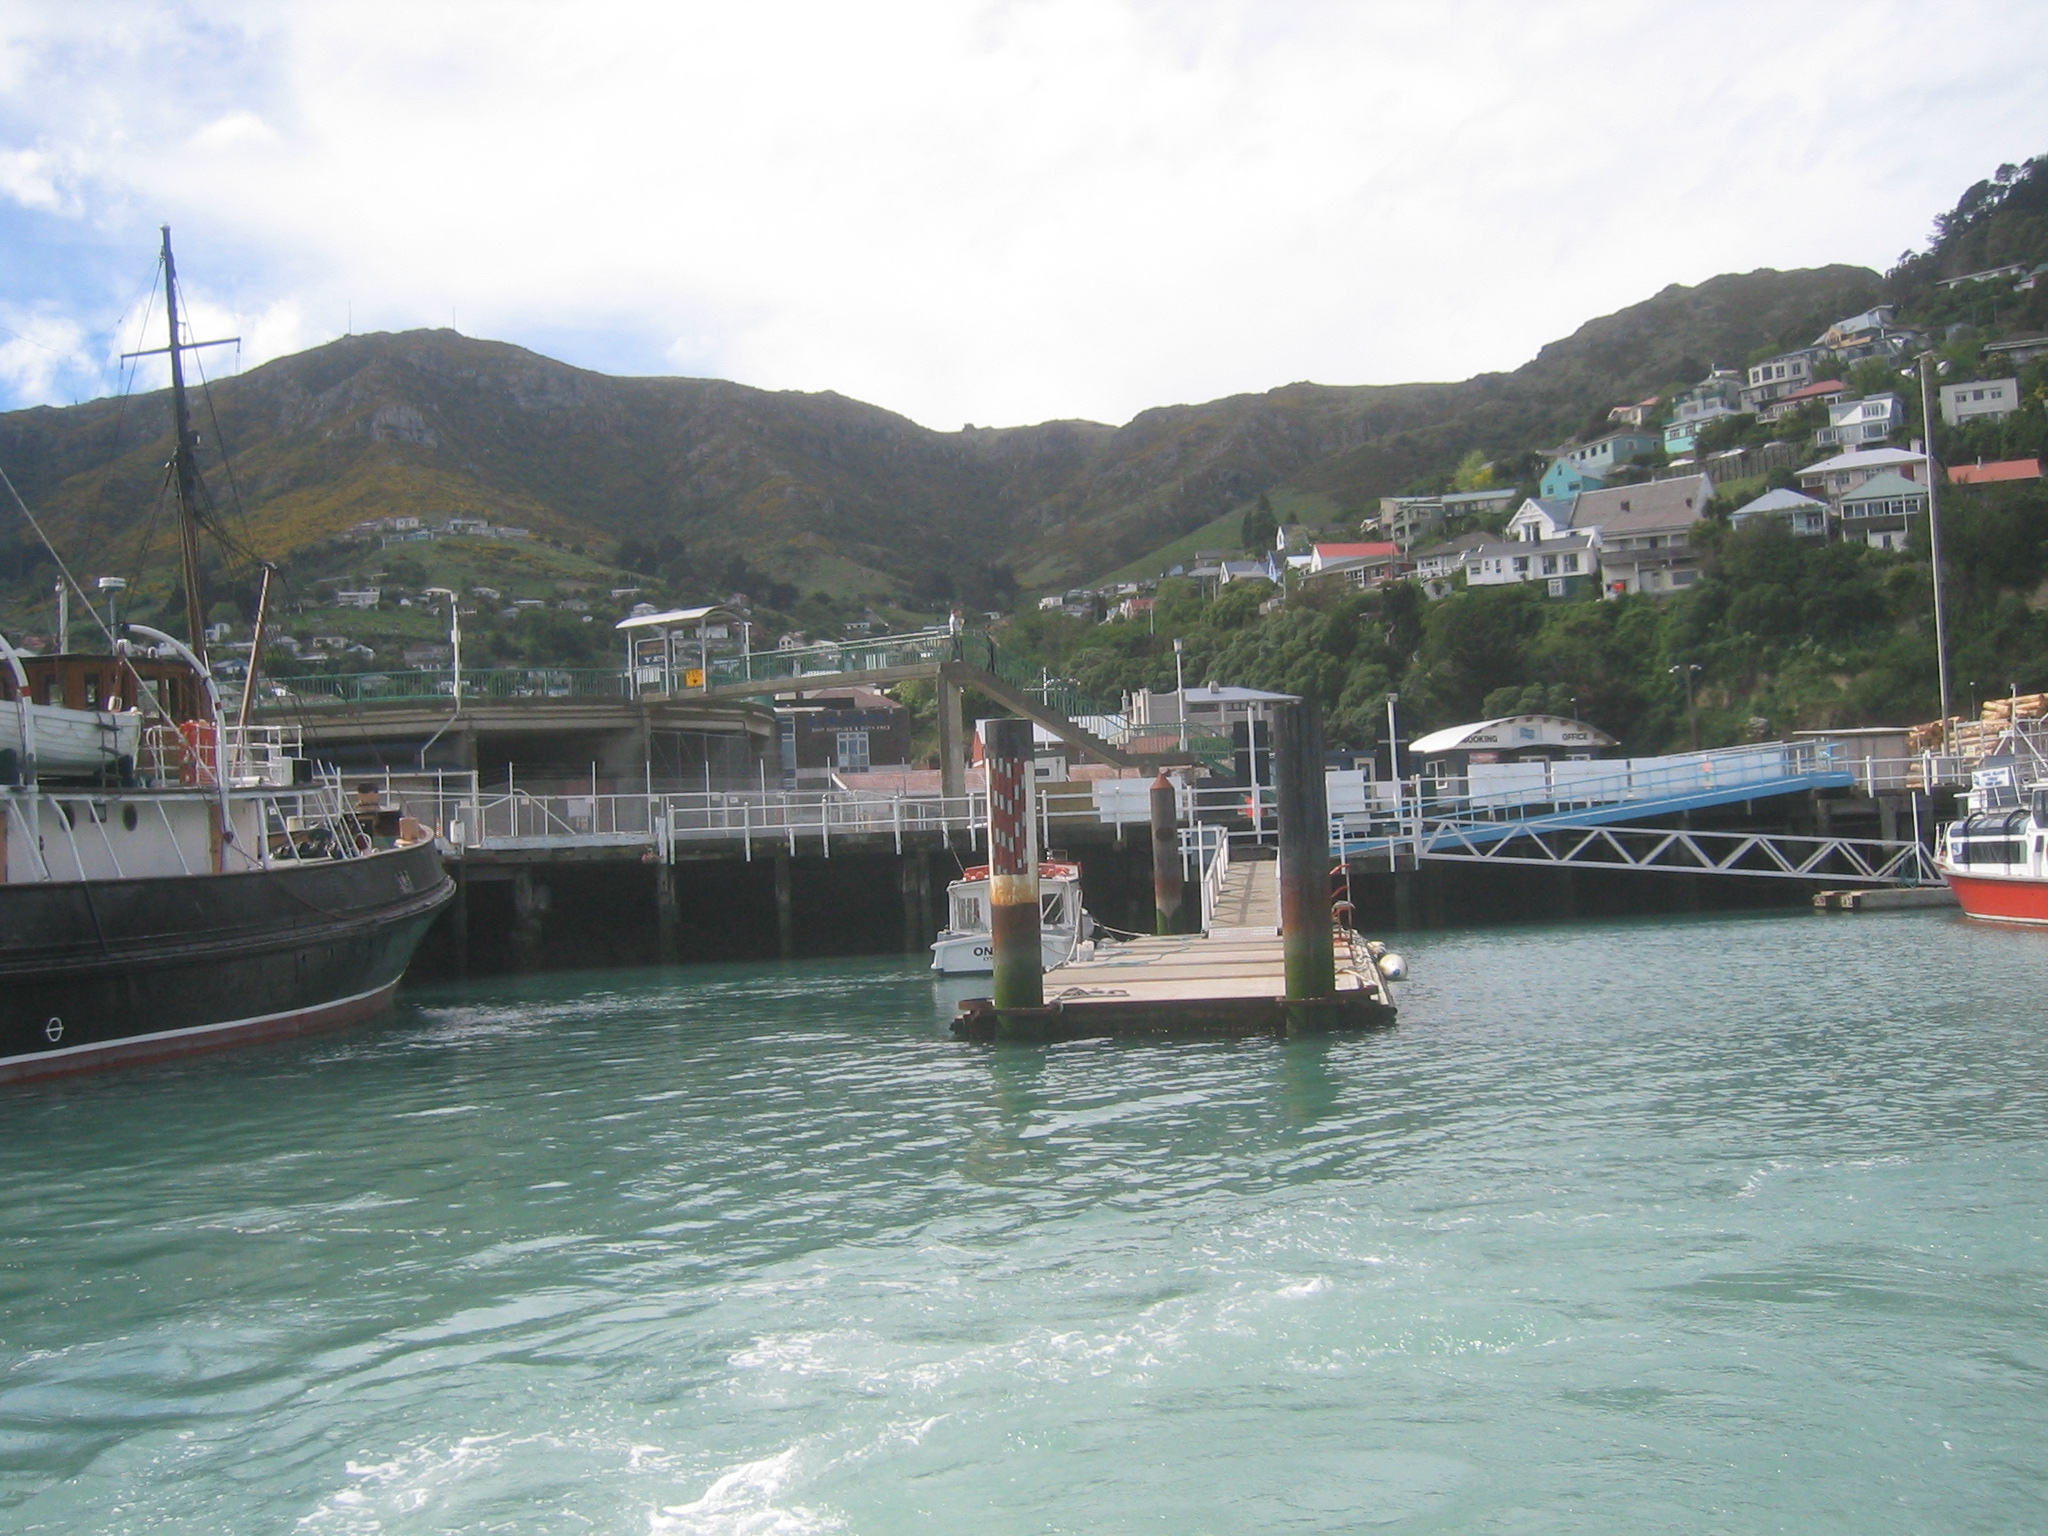
| The town of Lyttelton. |
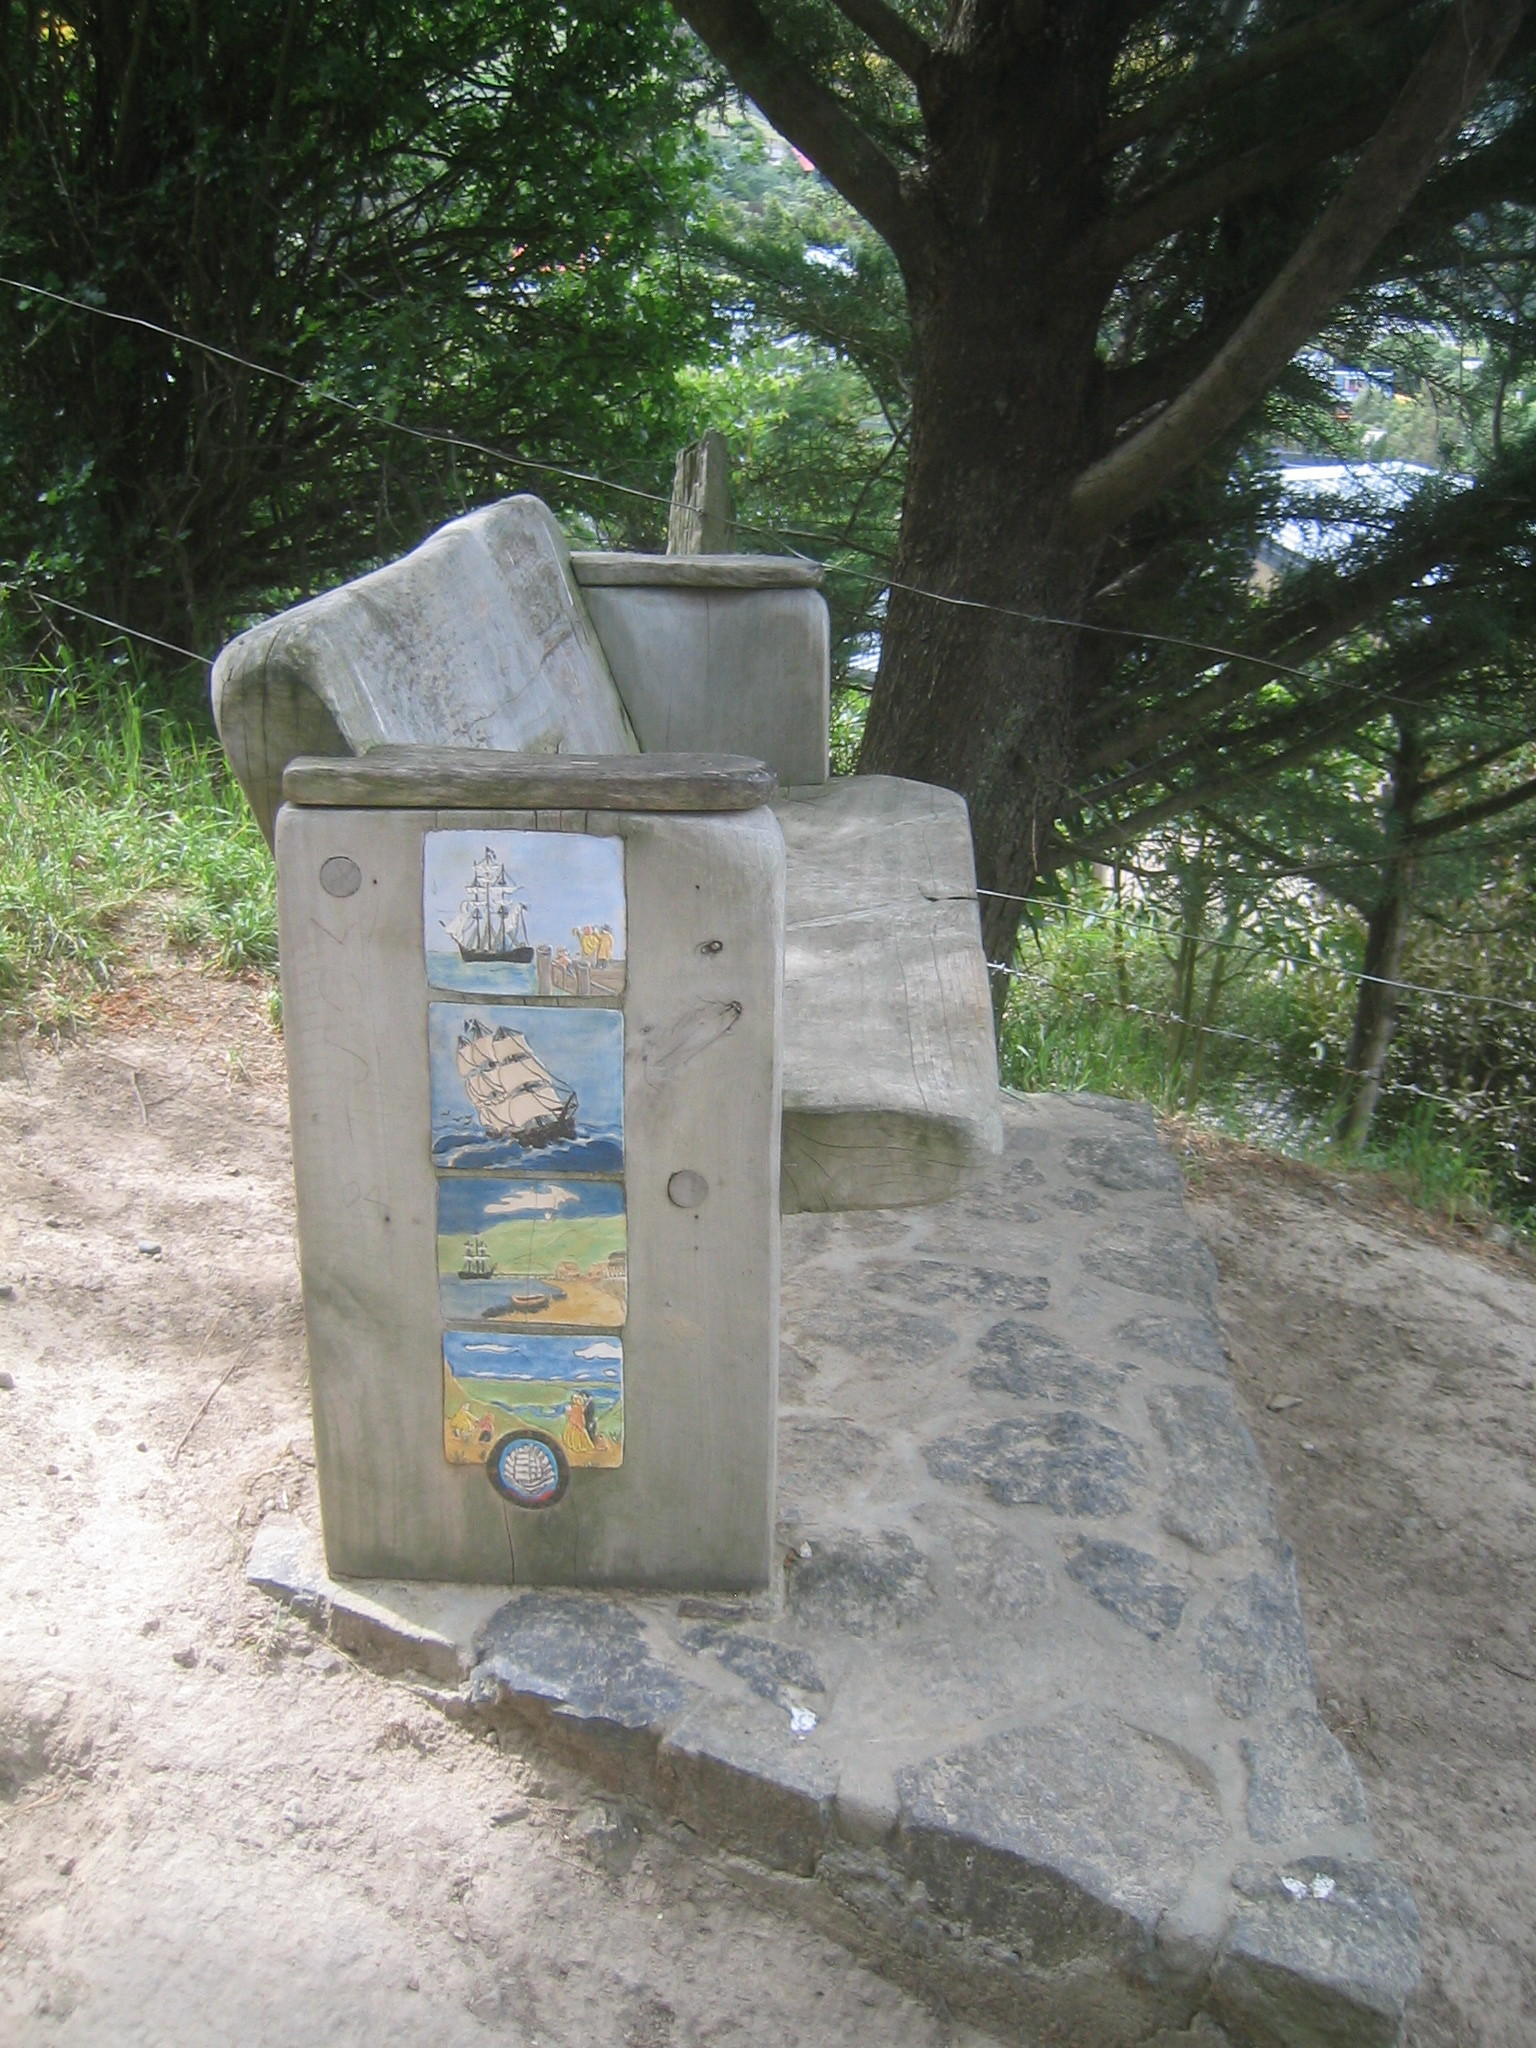
| A bench at the bottom of the Bridle Path. |
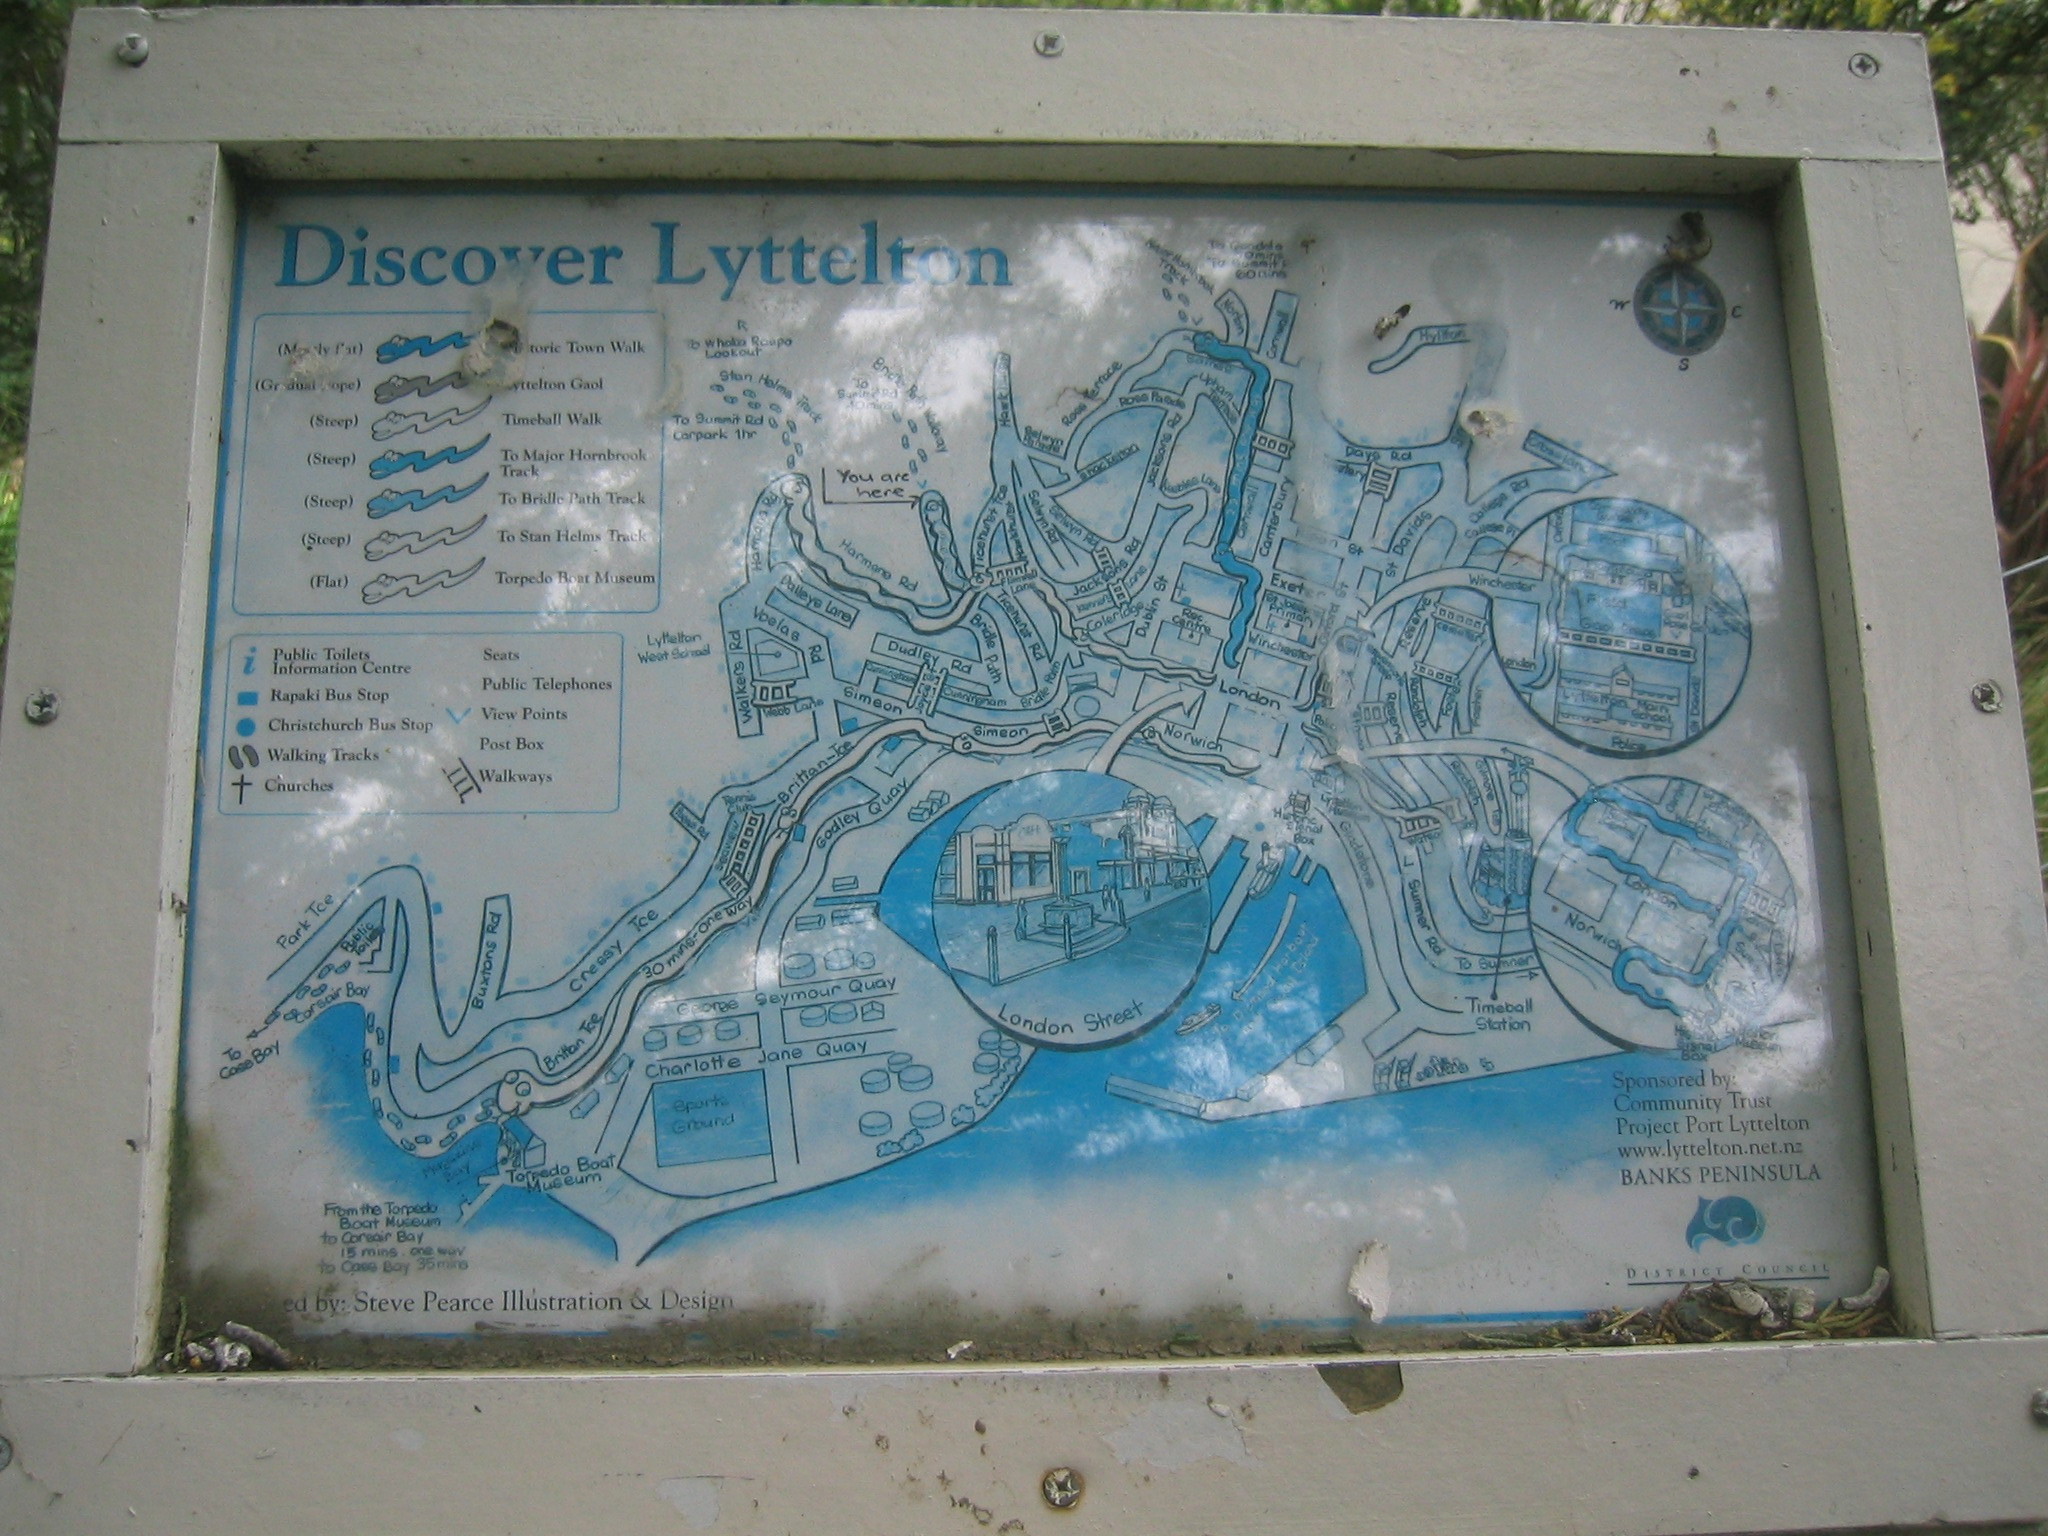
| A Map of Lyttelton. The main street's London Street. |
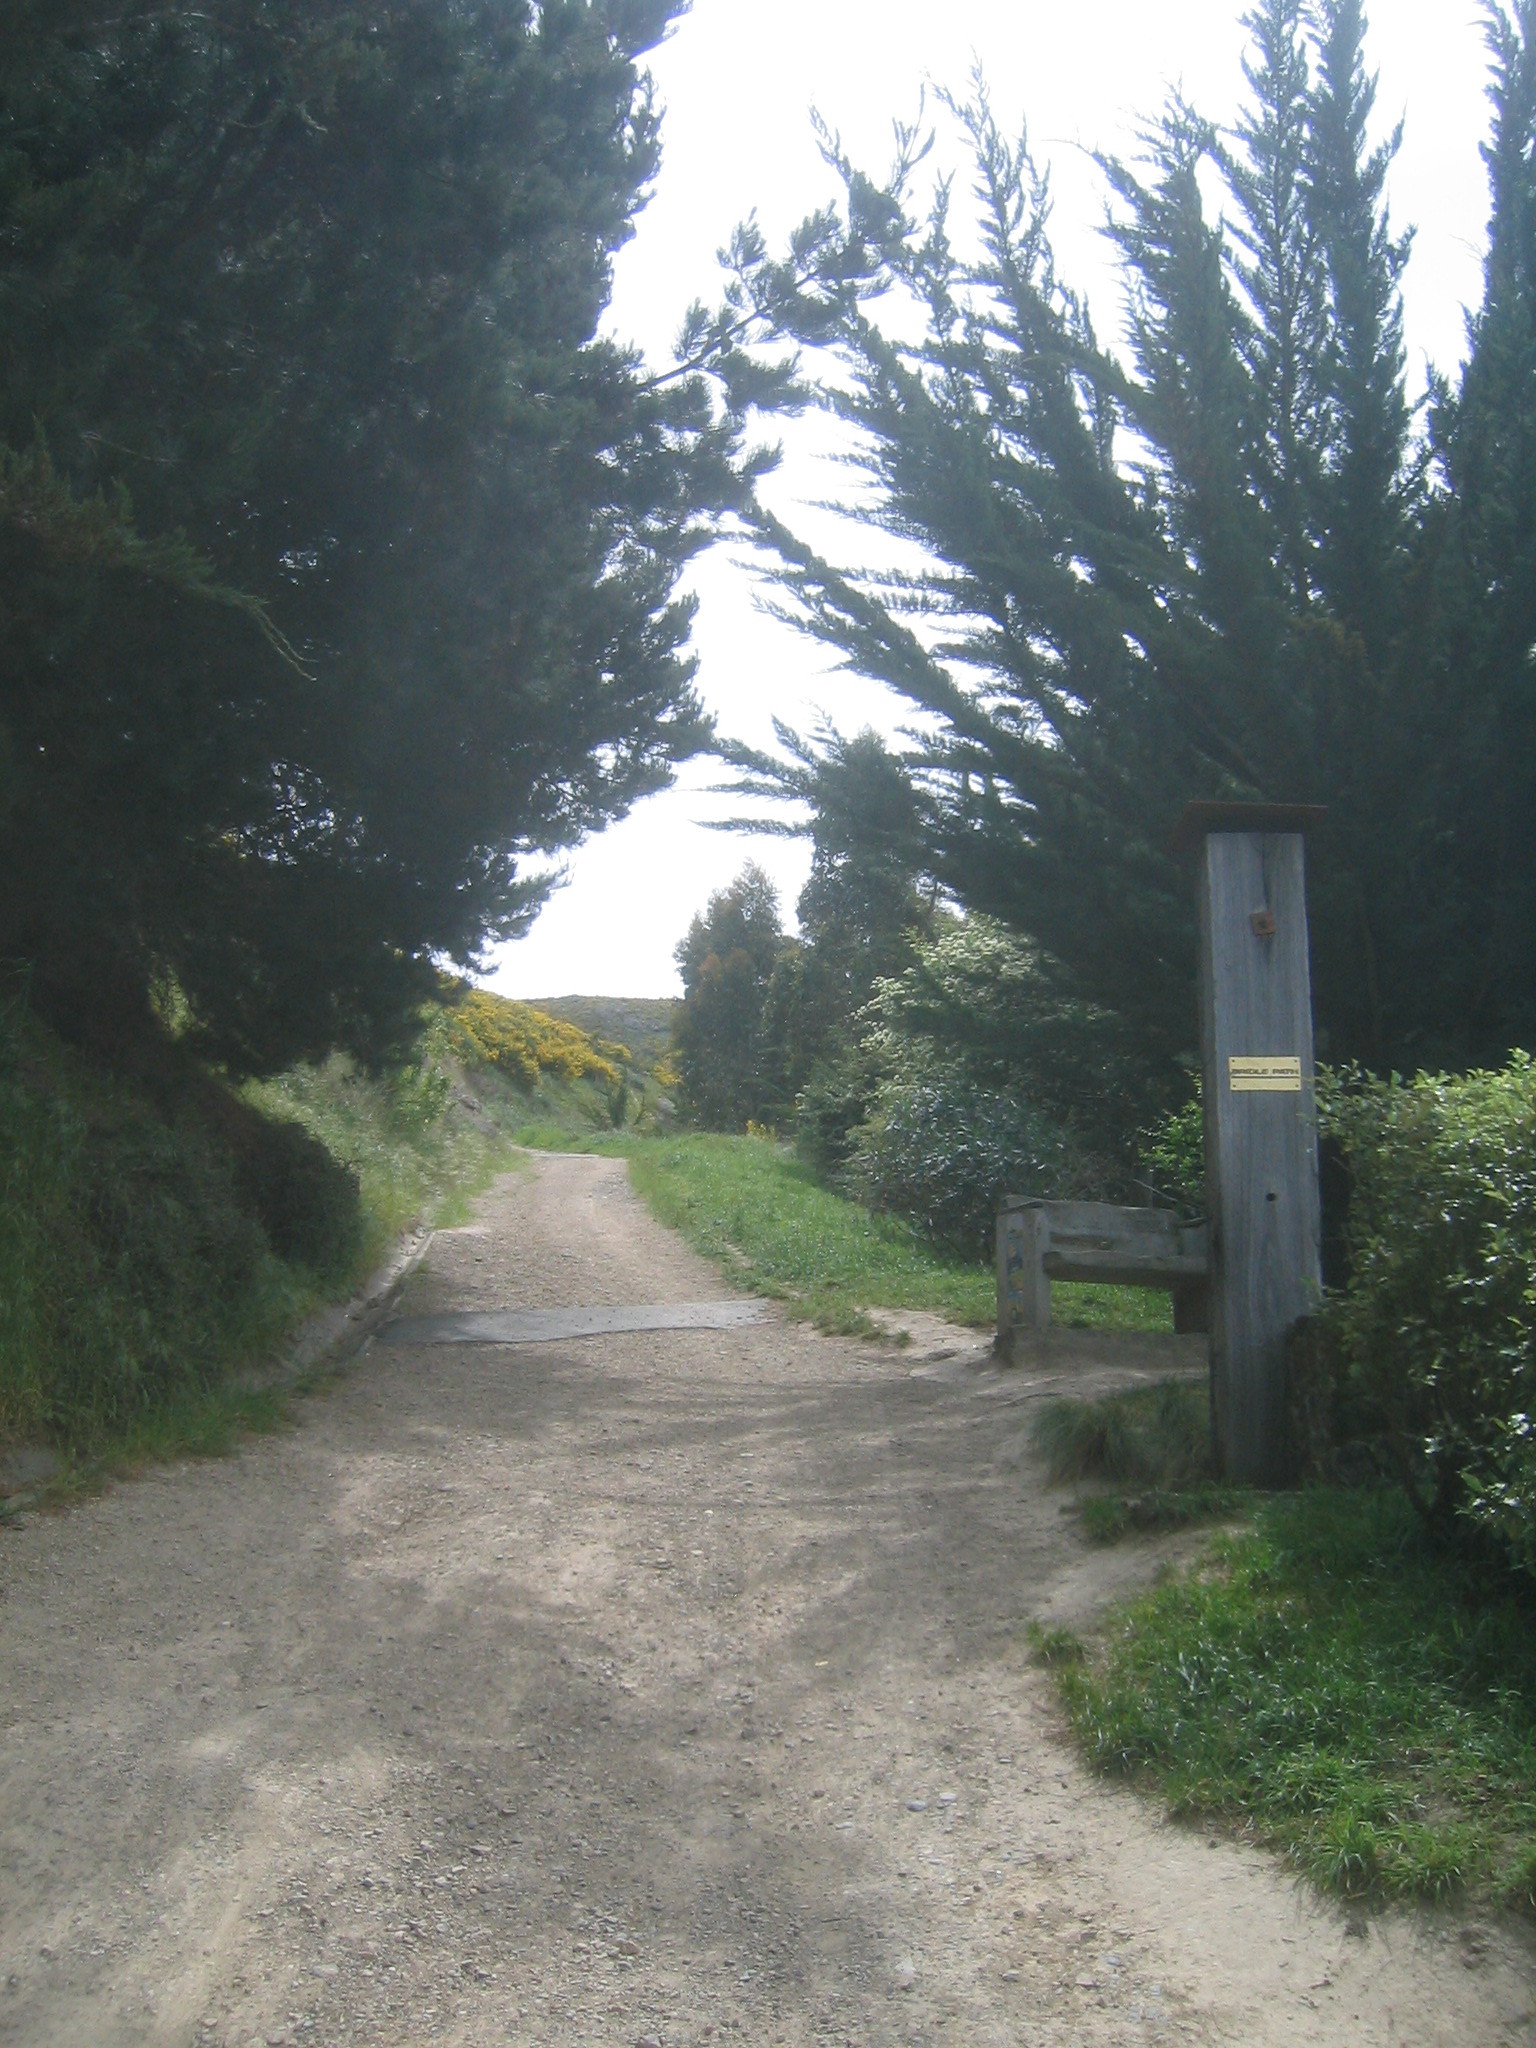
| The entrance to the Bridle Path. |
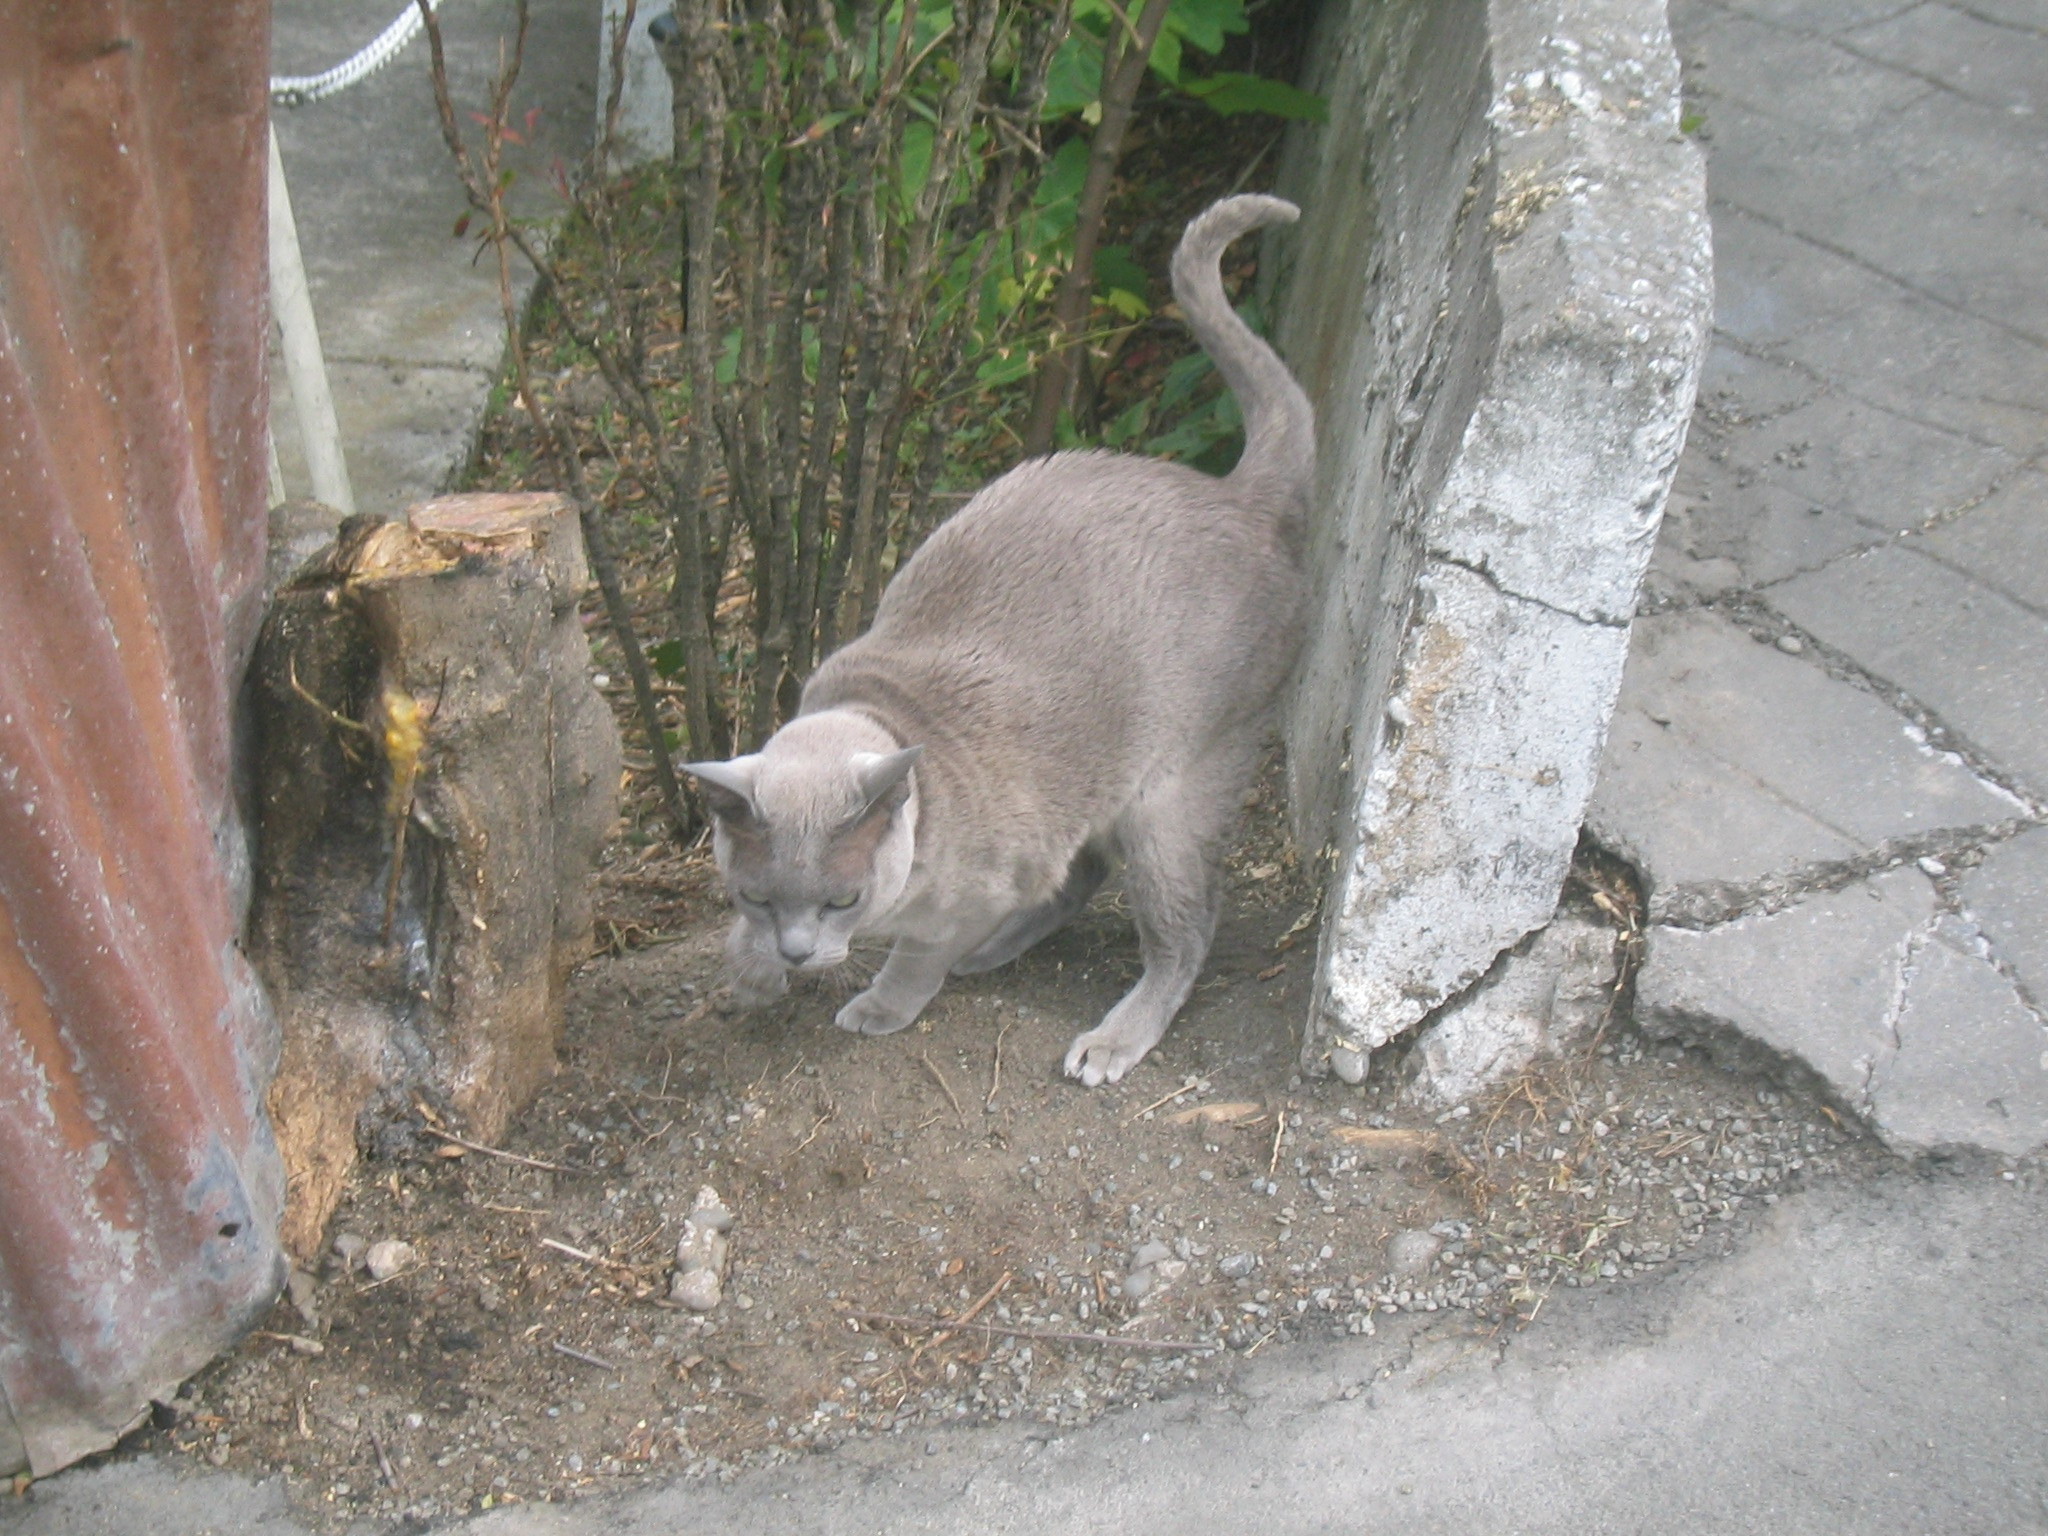
| A very friendly, vocal cat. |
| A very friendly, vocal cat. |
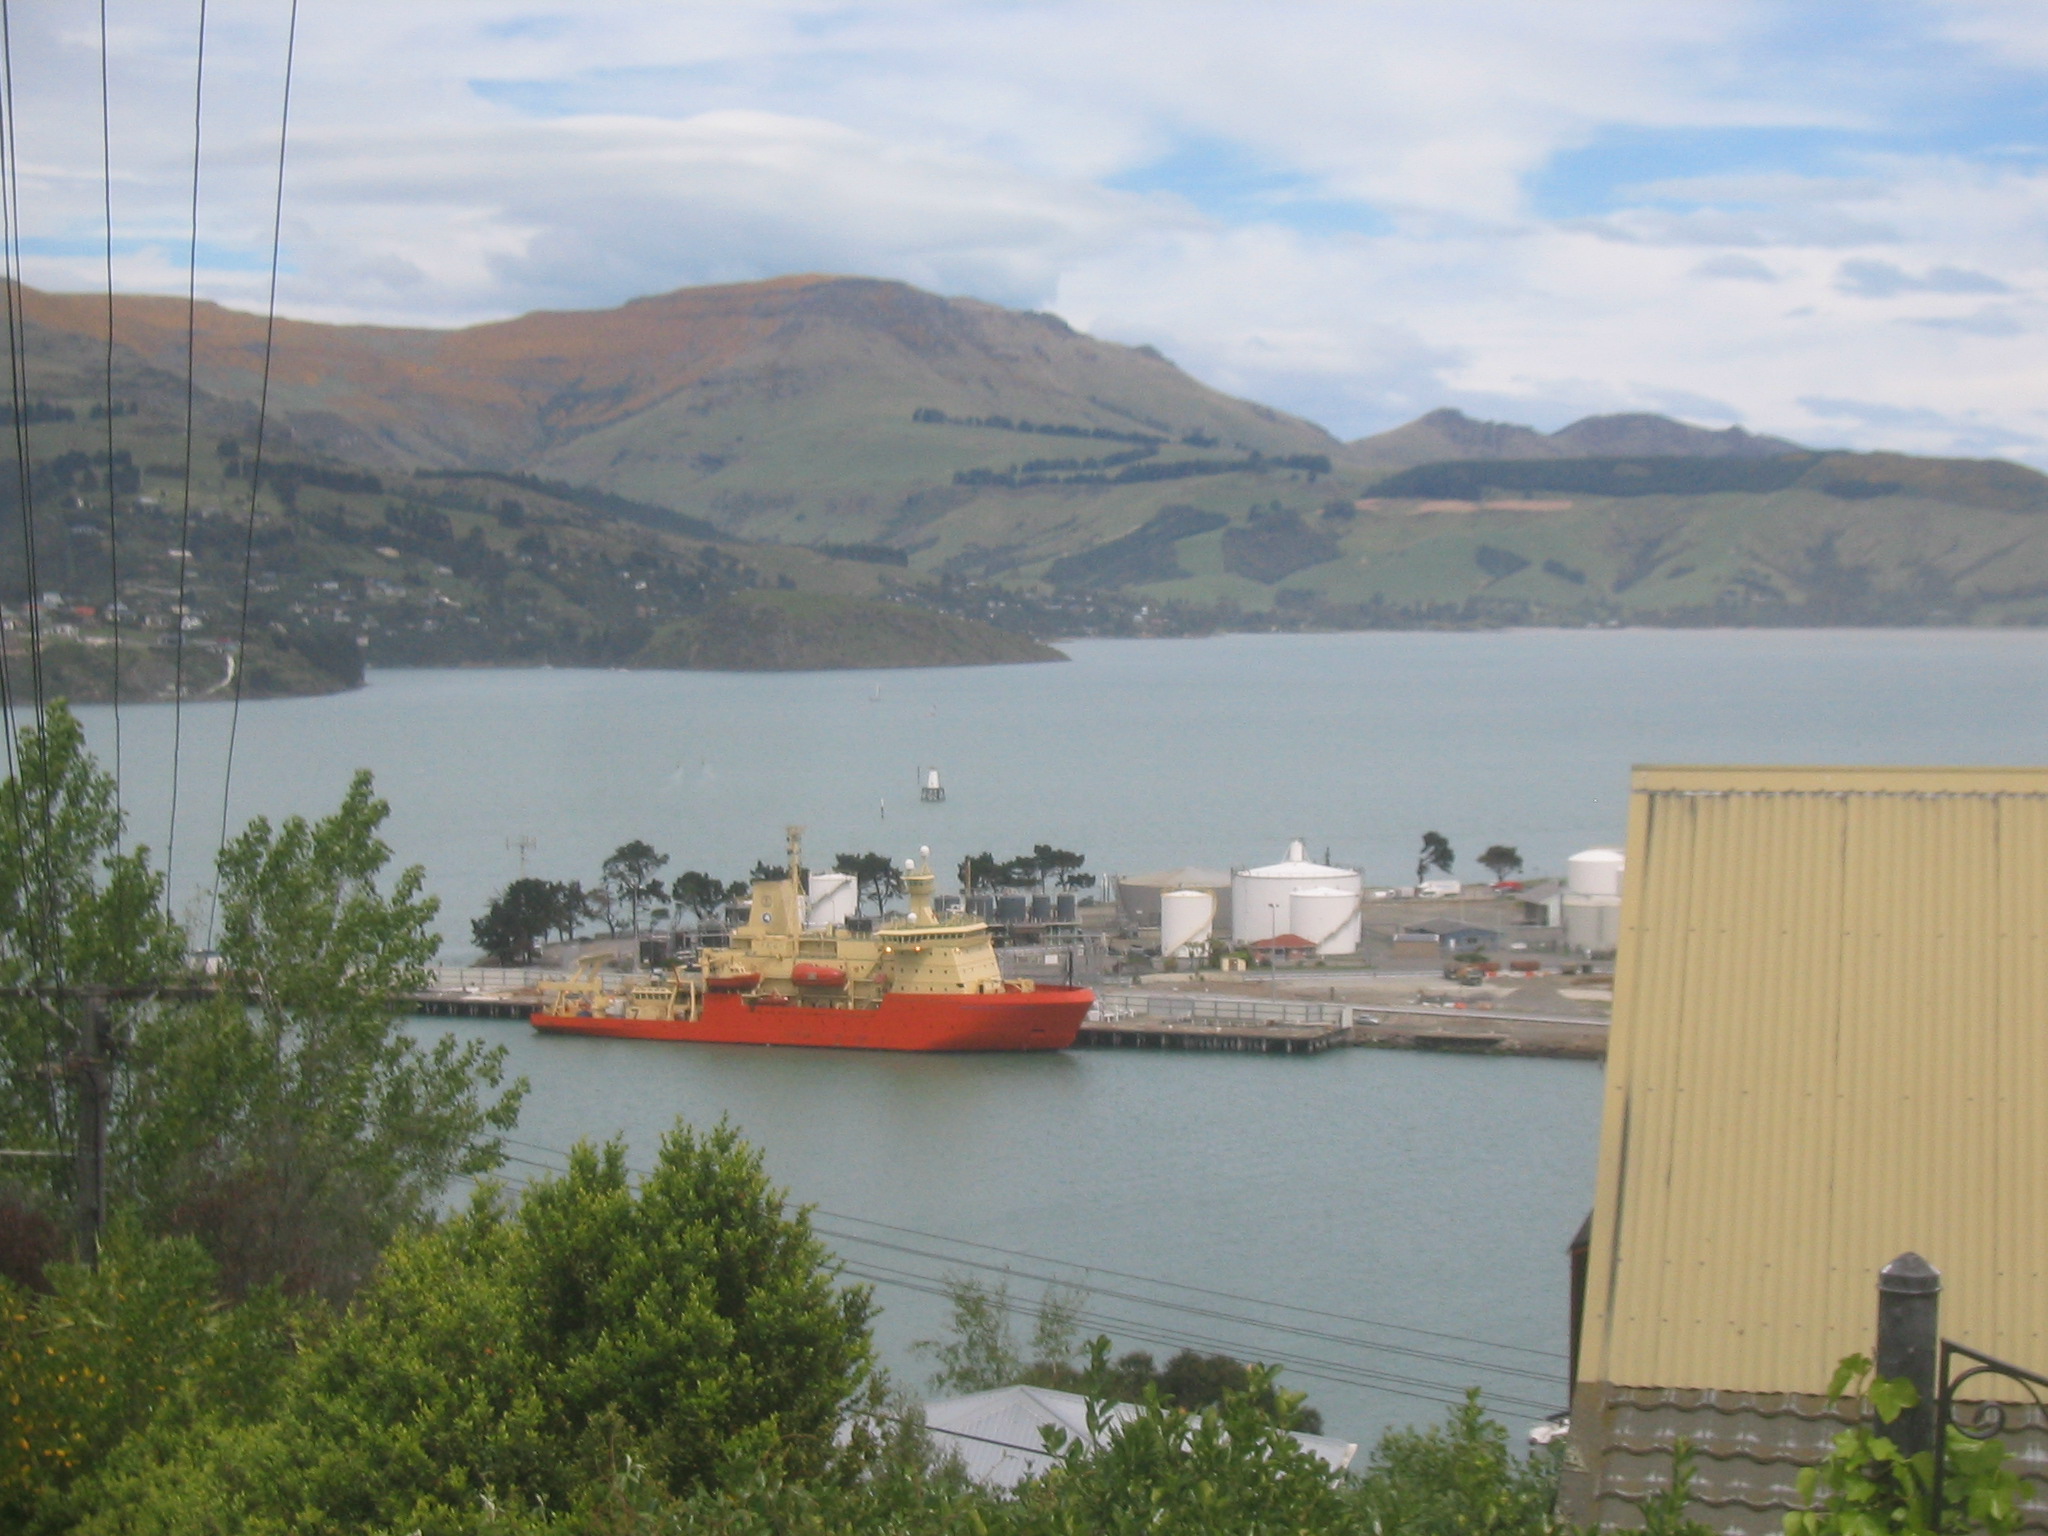
| The Antarctic Program's ice breaker at port. |
| Lyttelton. |
| The tunnel to Christchurch. |
| Another view of the ice breaker. |
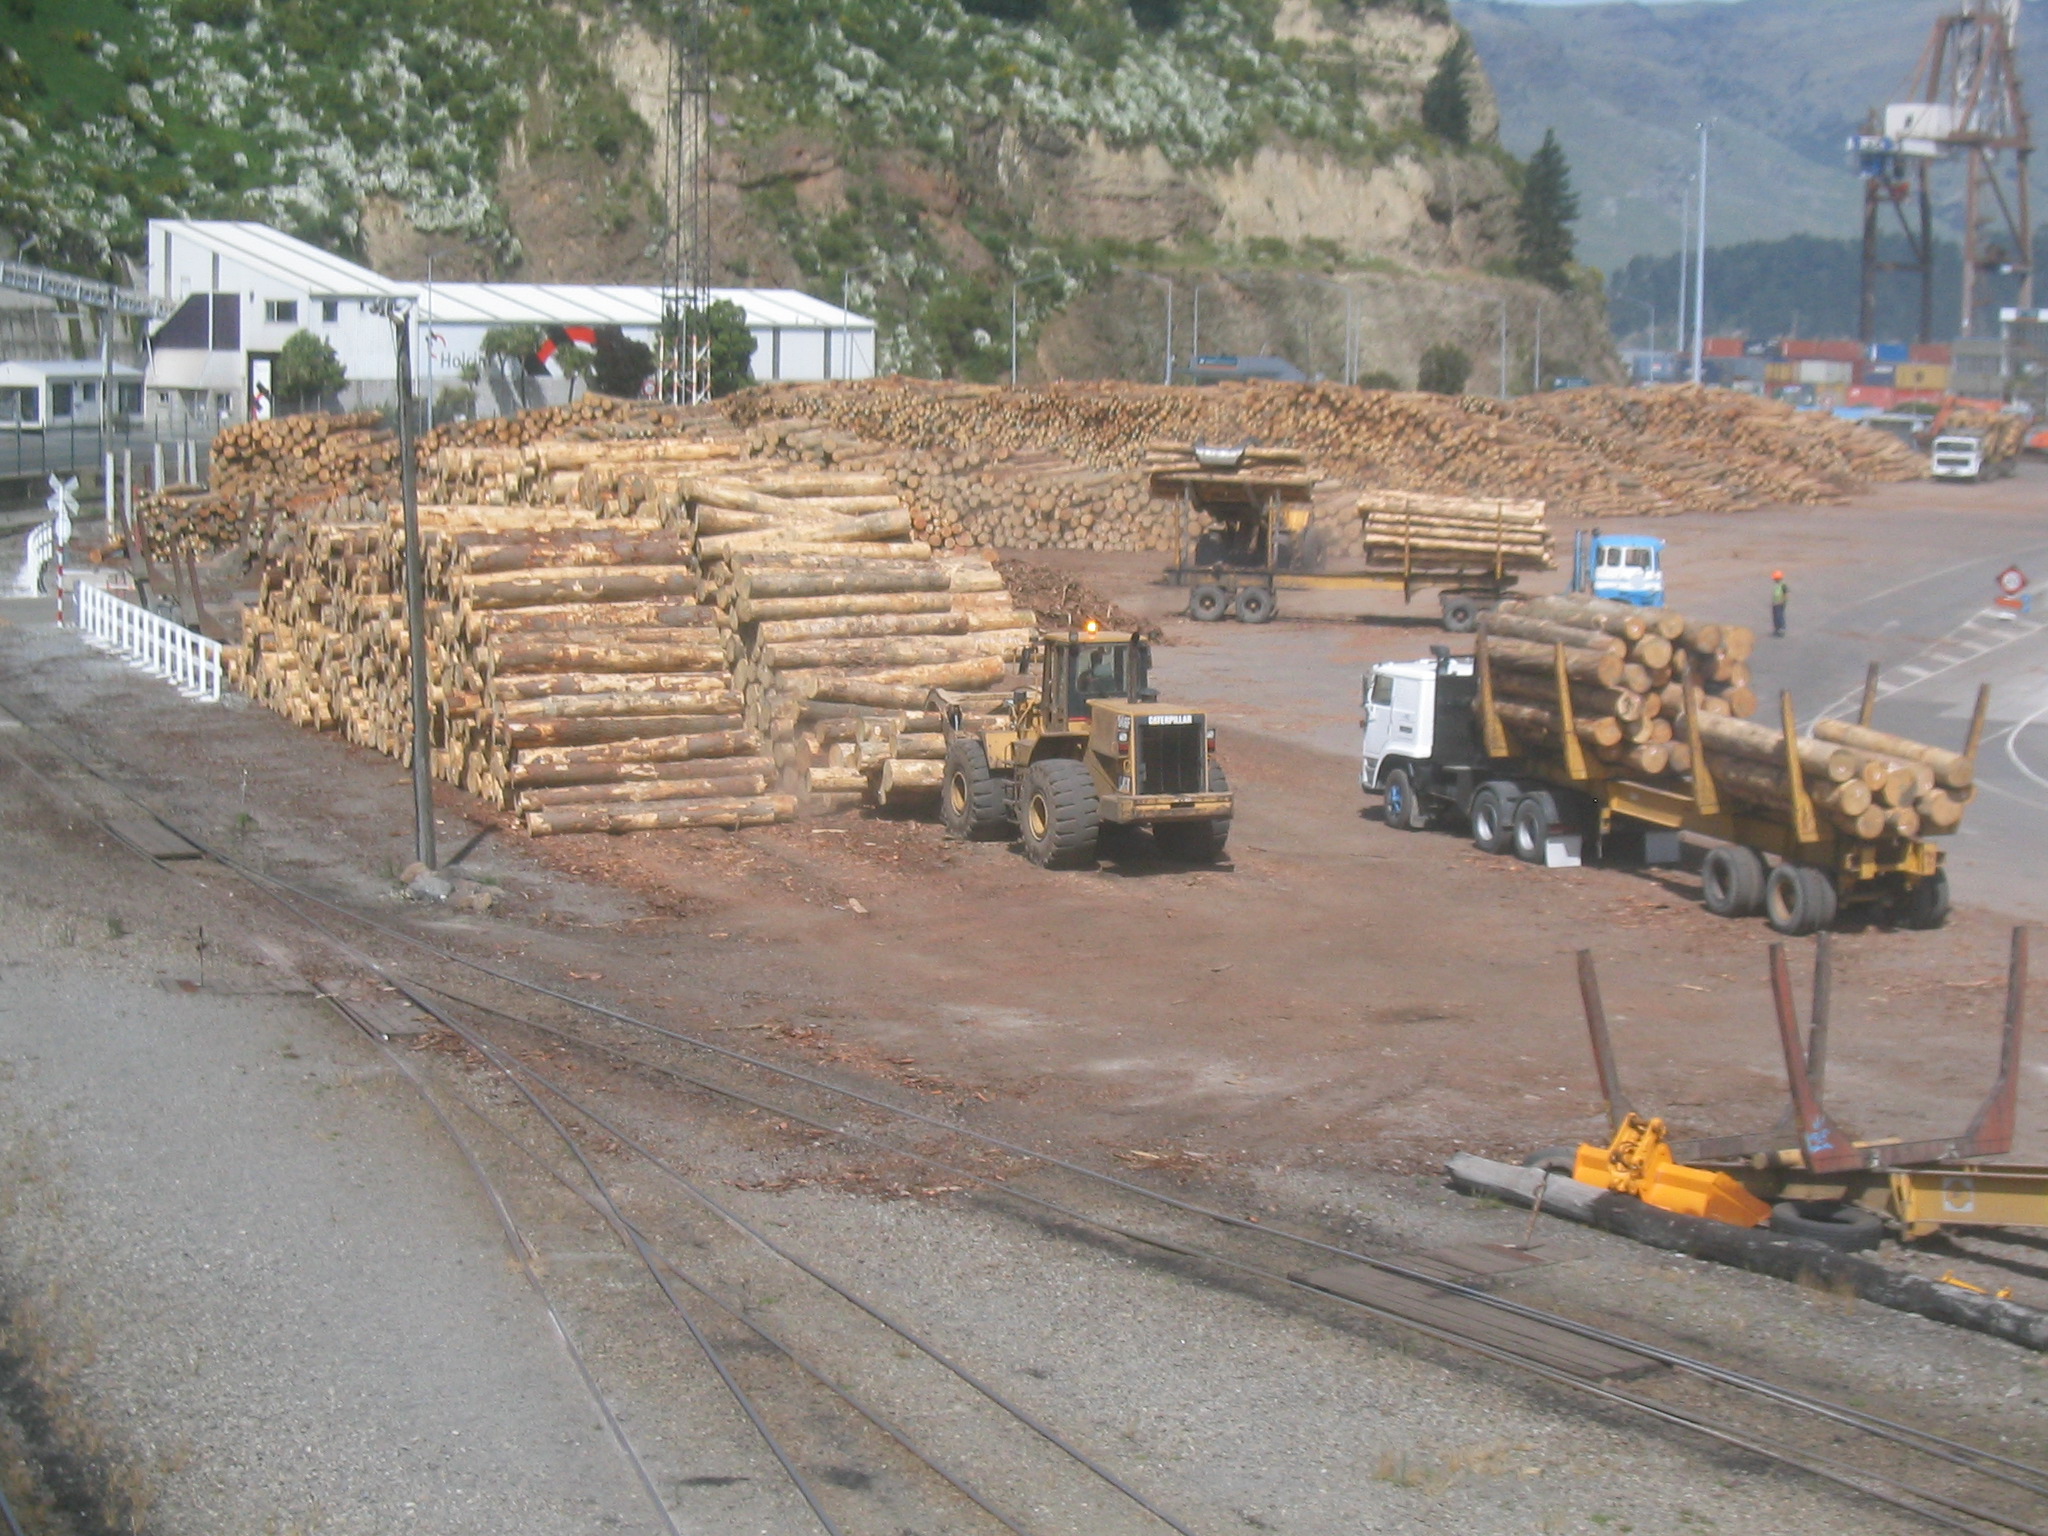
| Timber being loaded in the port. The cats are loading the trucks, so the timber must have come off the ships. |
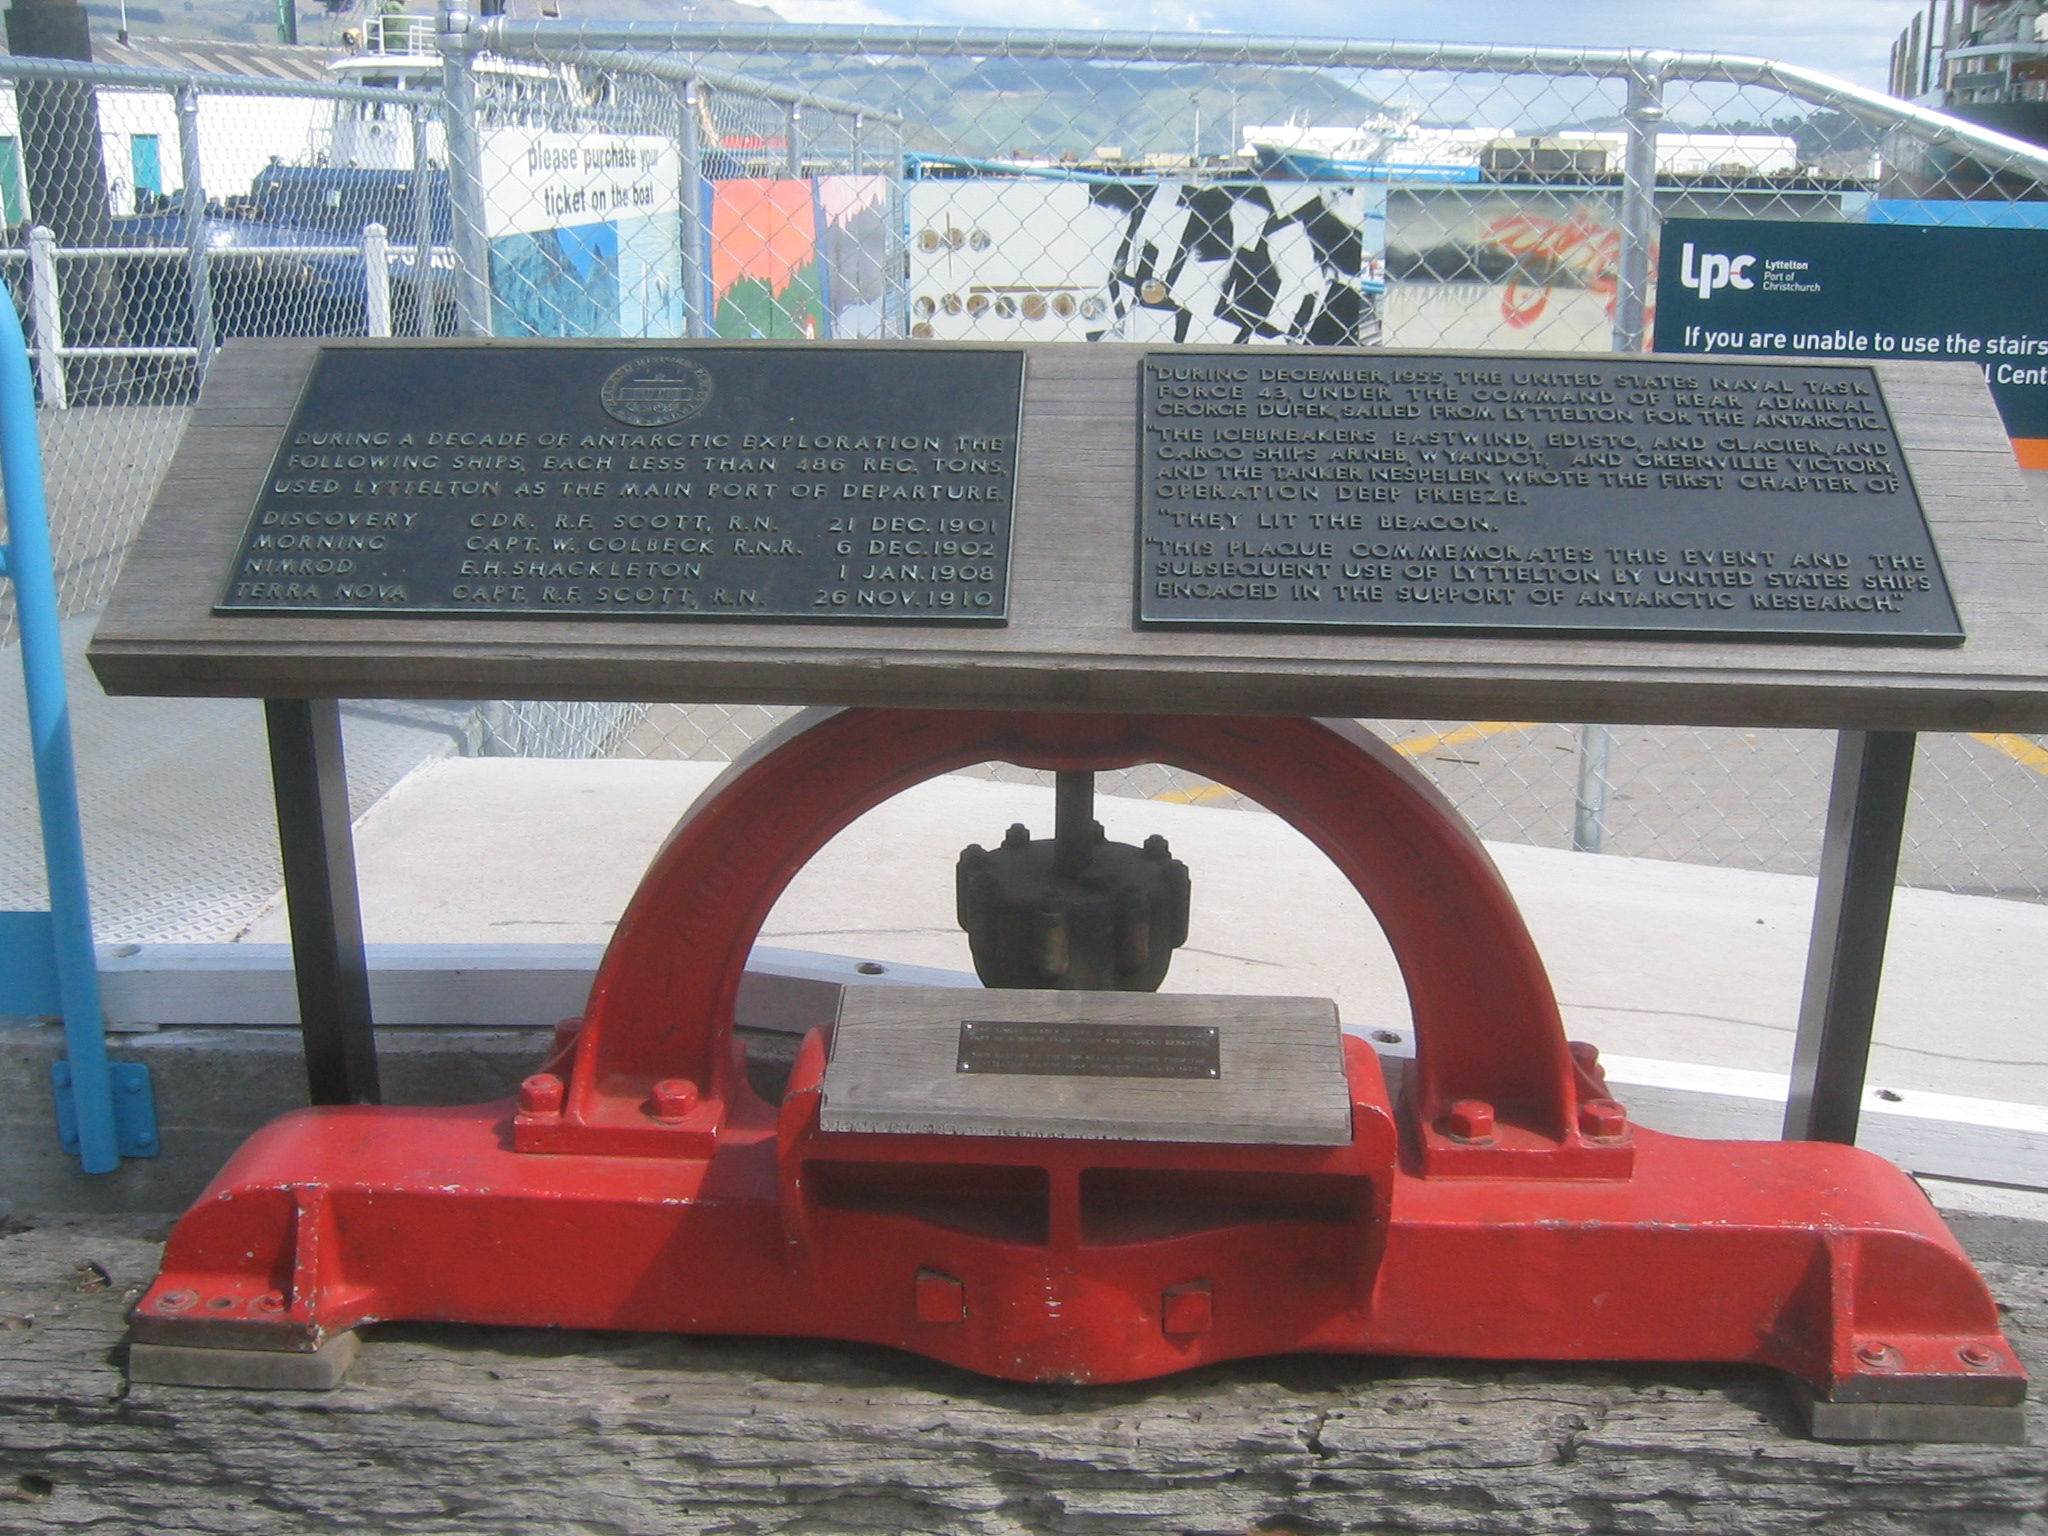
| A plaque commemorating Lyttelton's role in Antarctic research. |
| The Mount Adams. |
| Leaving Lyttelton bound for Diamond Harbour. |
| Passing the Mount Adams. Being empty, it's sitting very high. |
| Heading out into the harbour. |
| Lyttelton. |
| Looking back at Lyttelton from Diamond Harbour. |
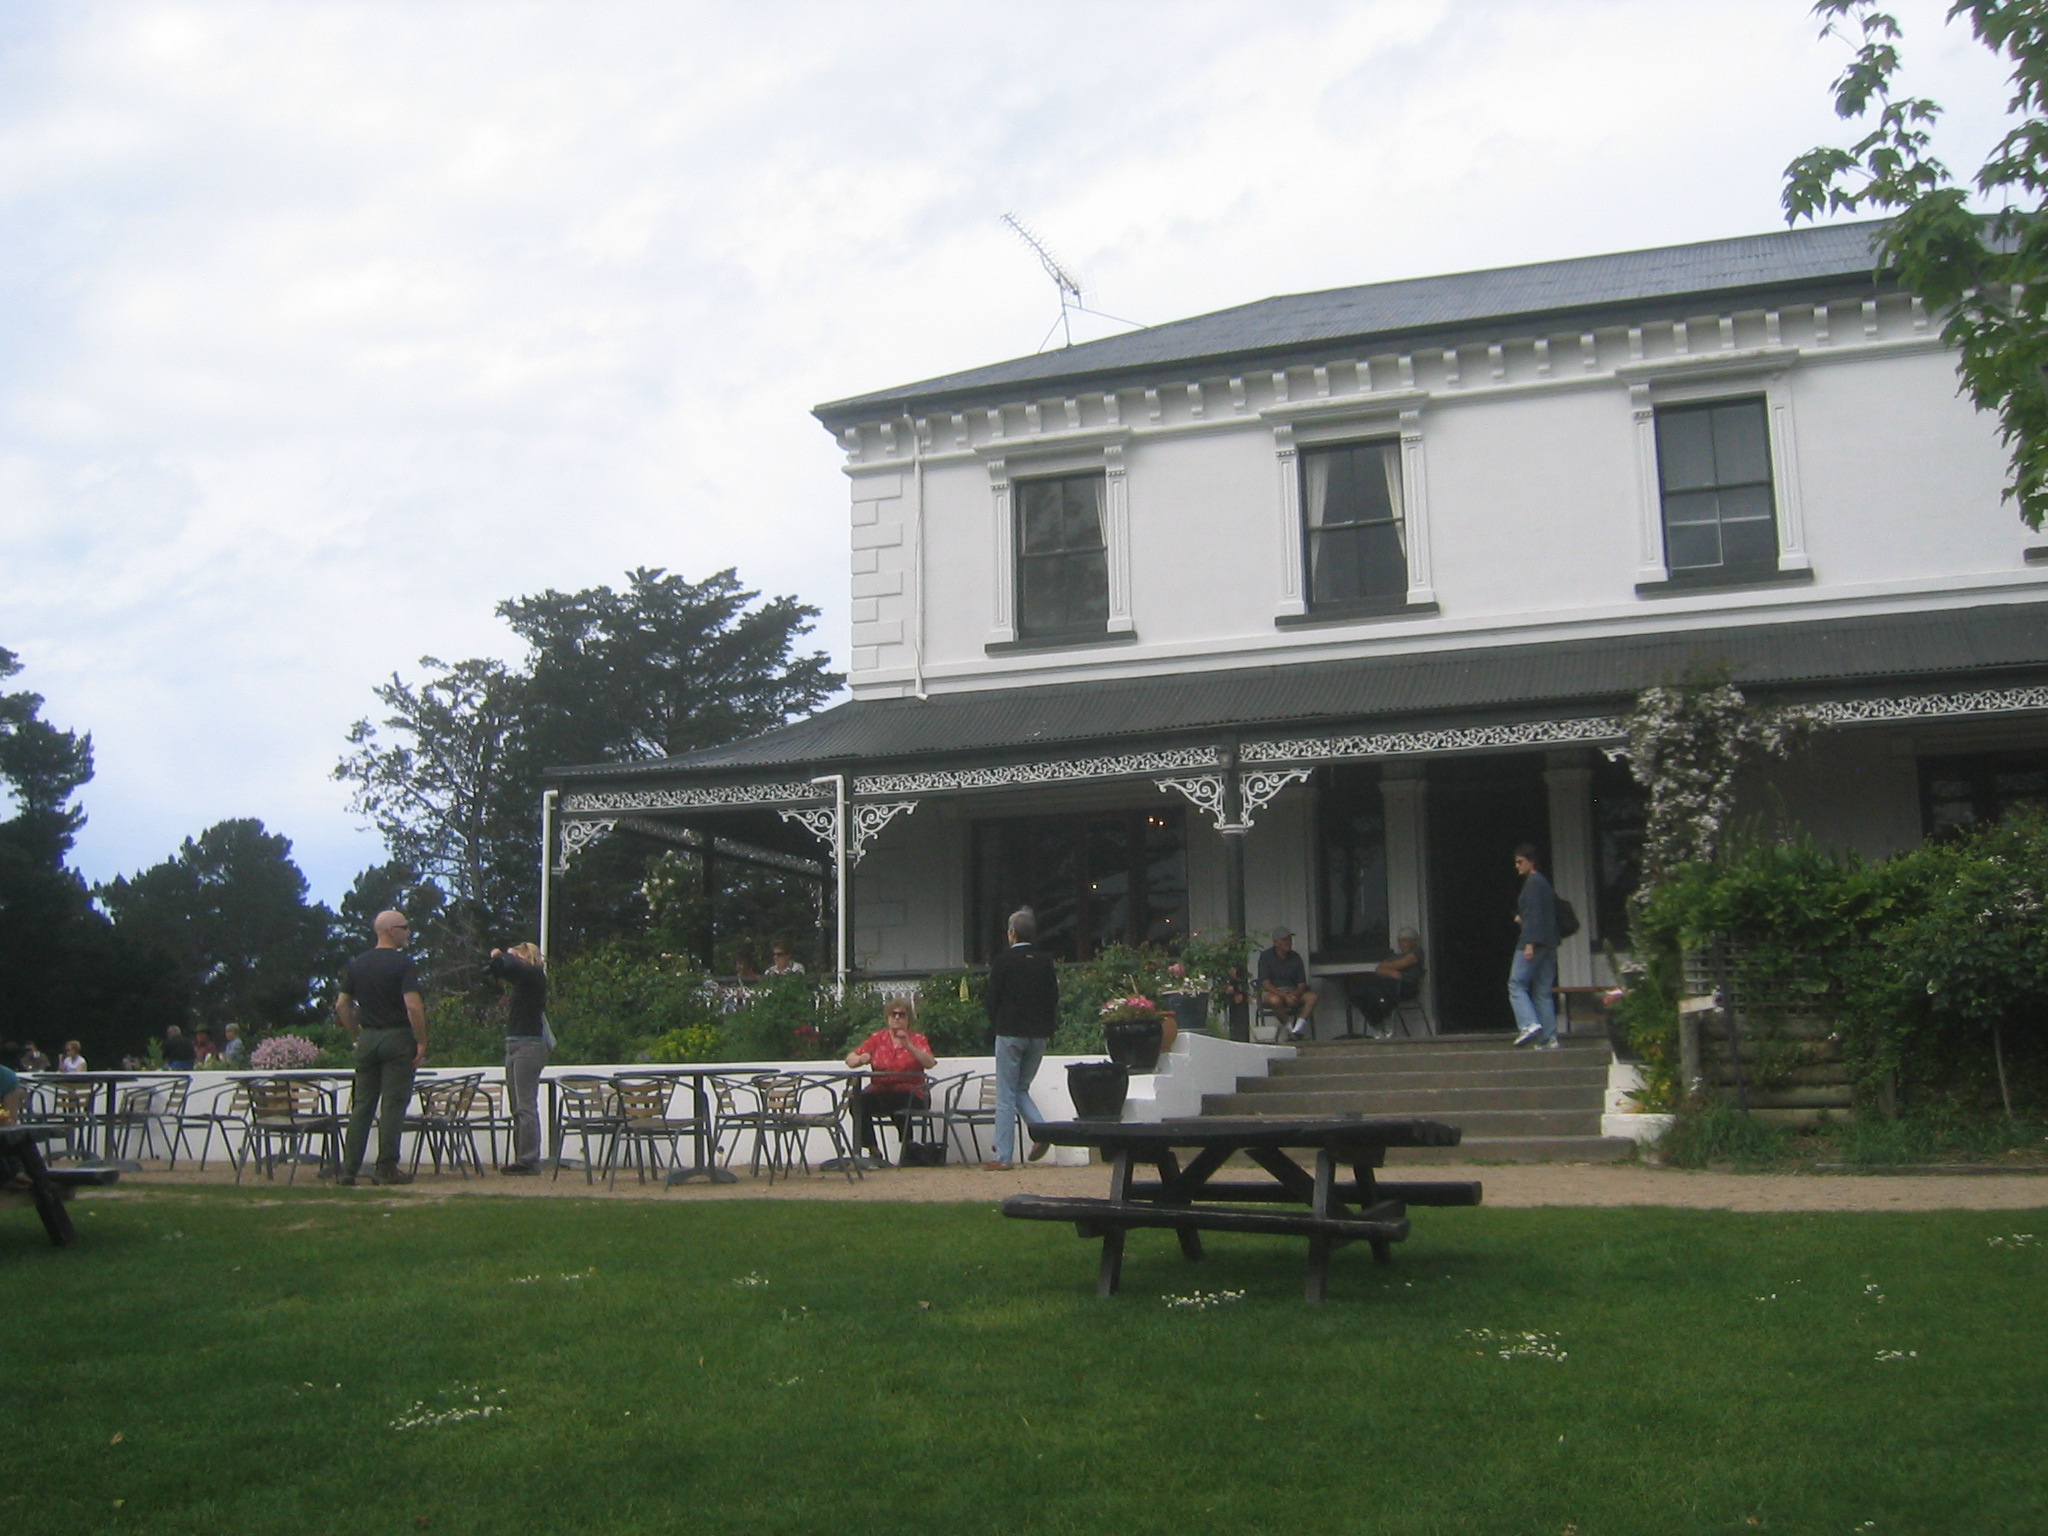
| Walking up to the pub. |
| At the pub. |
| The view of Lyttelton from the pub. |
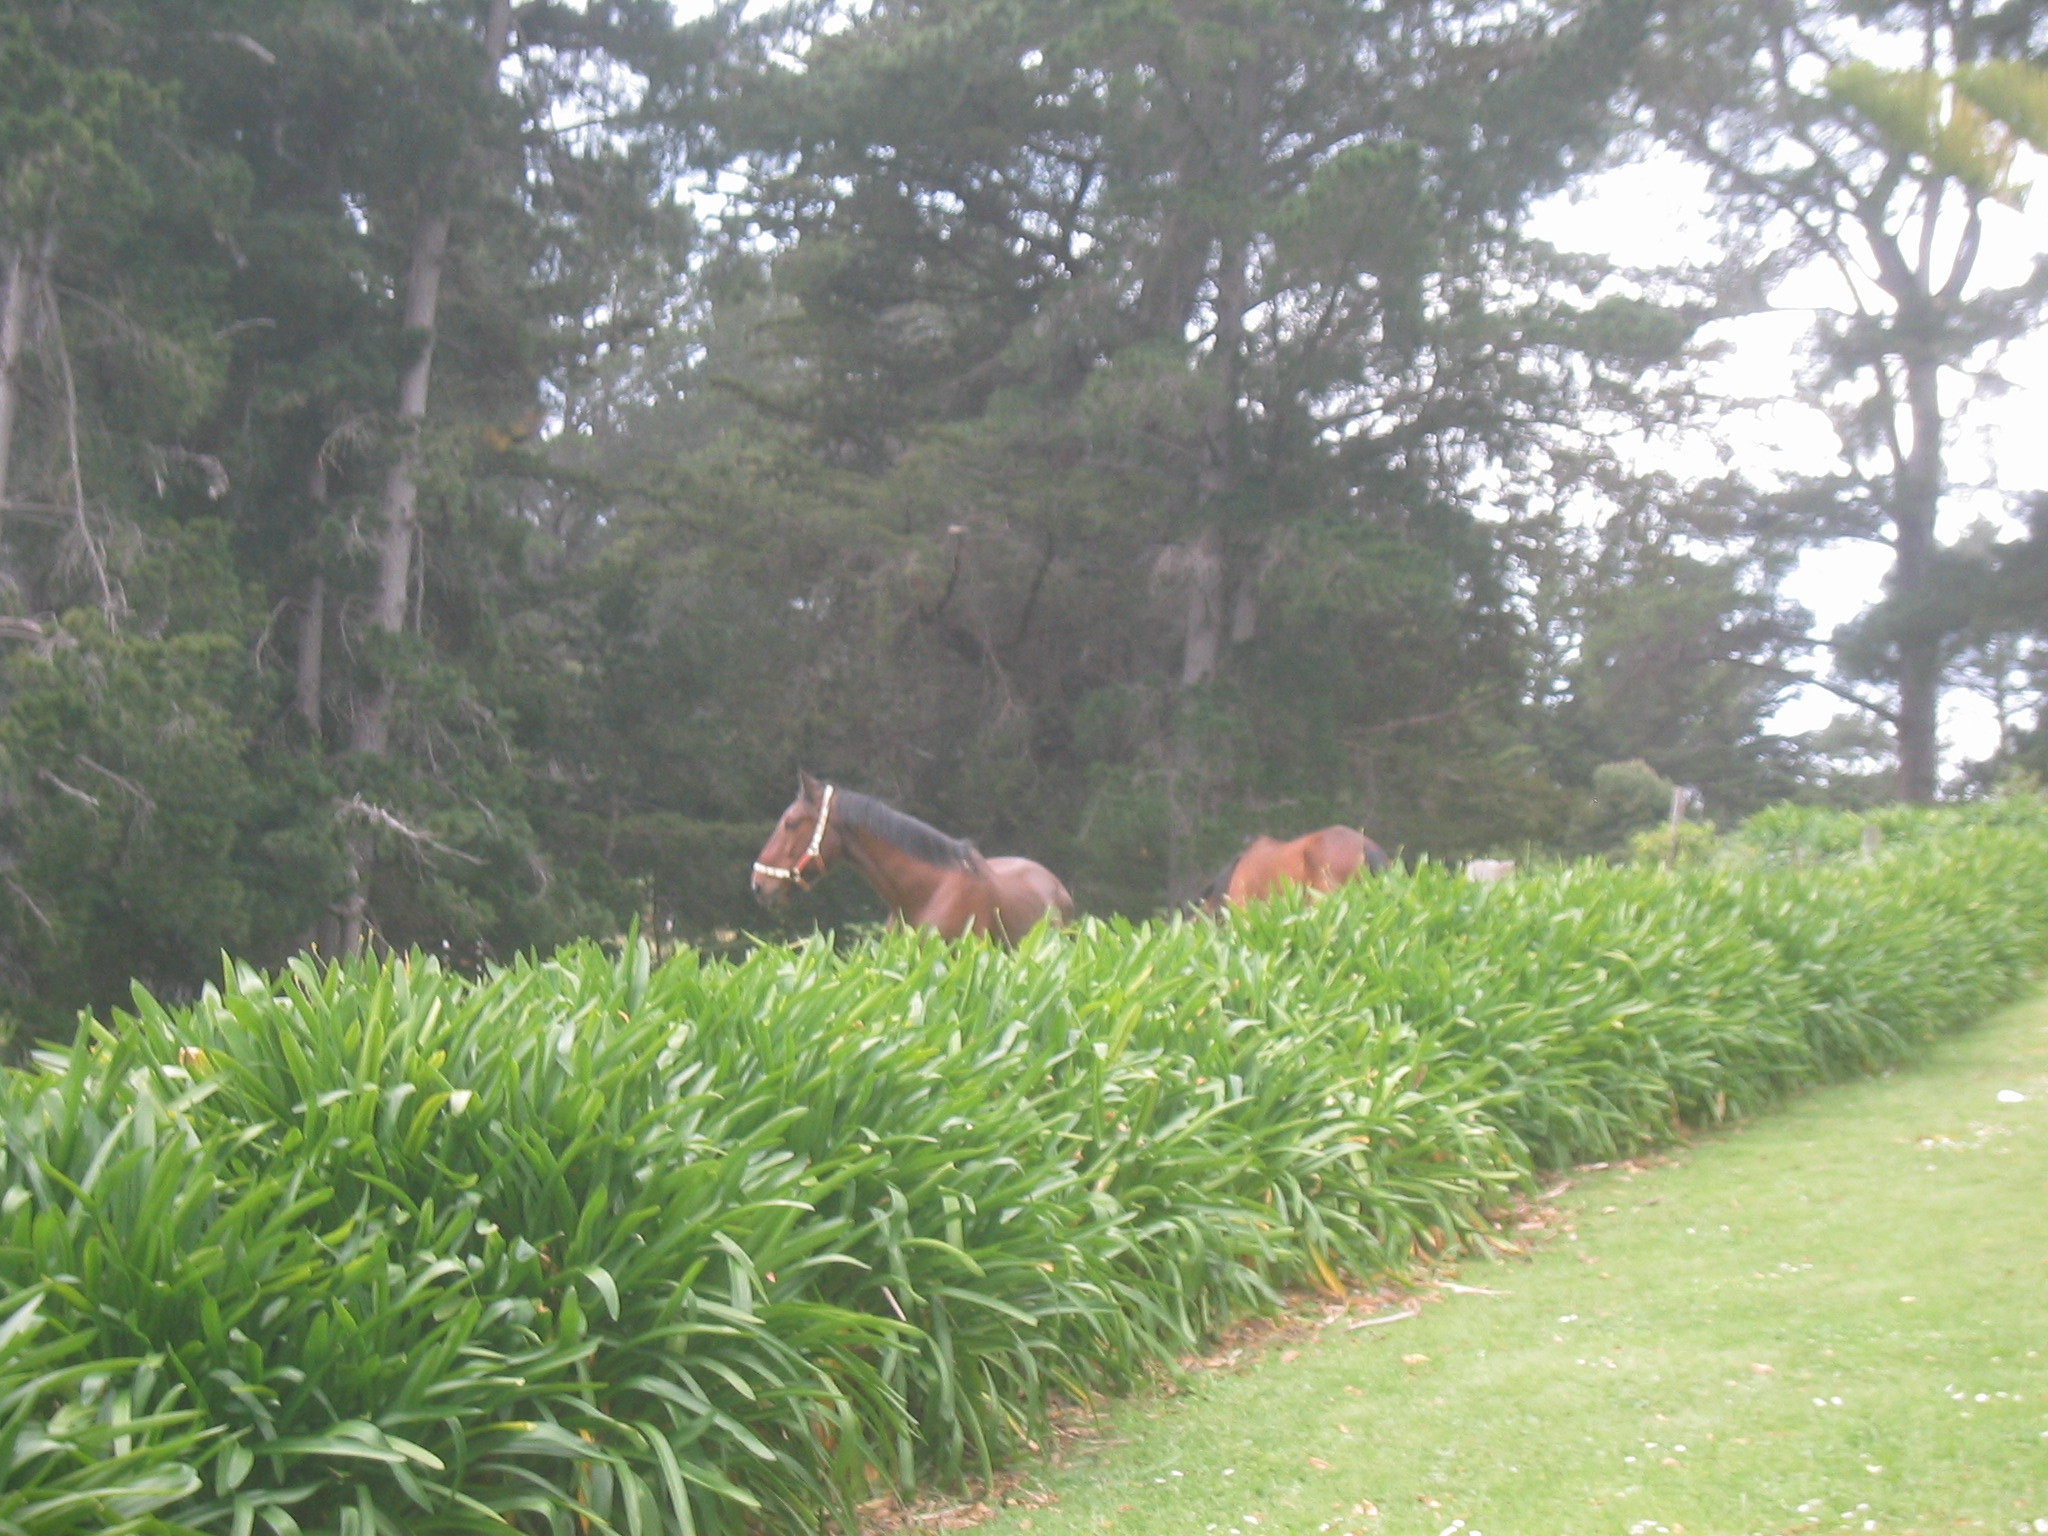
| Horses grazing near the pub. |
| |
| (10461x1243, 7158.91 kb) Looking back across Lyttelton Harbour at the Port of Lyttelton from the headland at Diamond Harbour. It has started to rain over the harbour to the west (left). To the east you can see open ocean. At bottom left, obscured by shrubbery is the ferry dock. | |
| The ferry comes back to Diamond Harbour. |
| Boarding the ferry. |
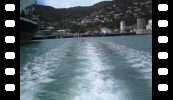
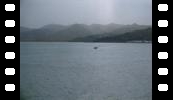
| Heading back to Lyttelton. The ferry kicks up a fair bit of spray. |
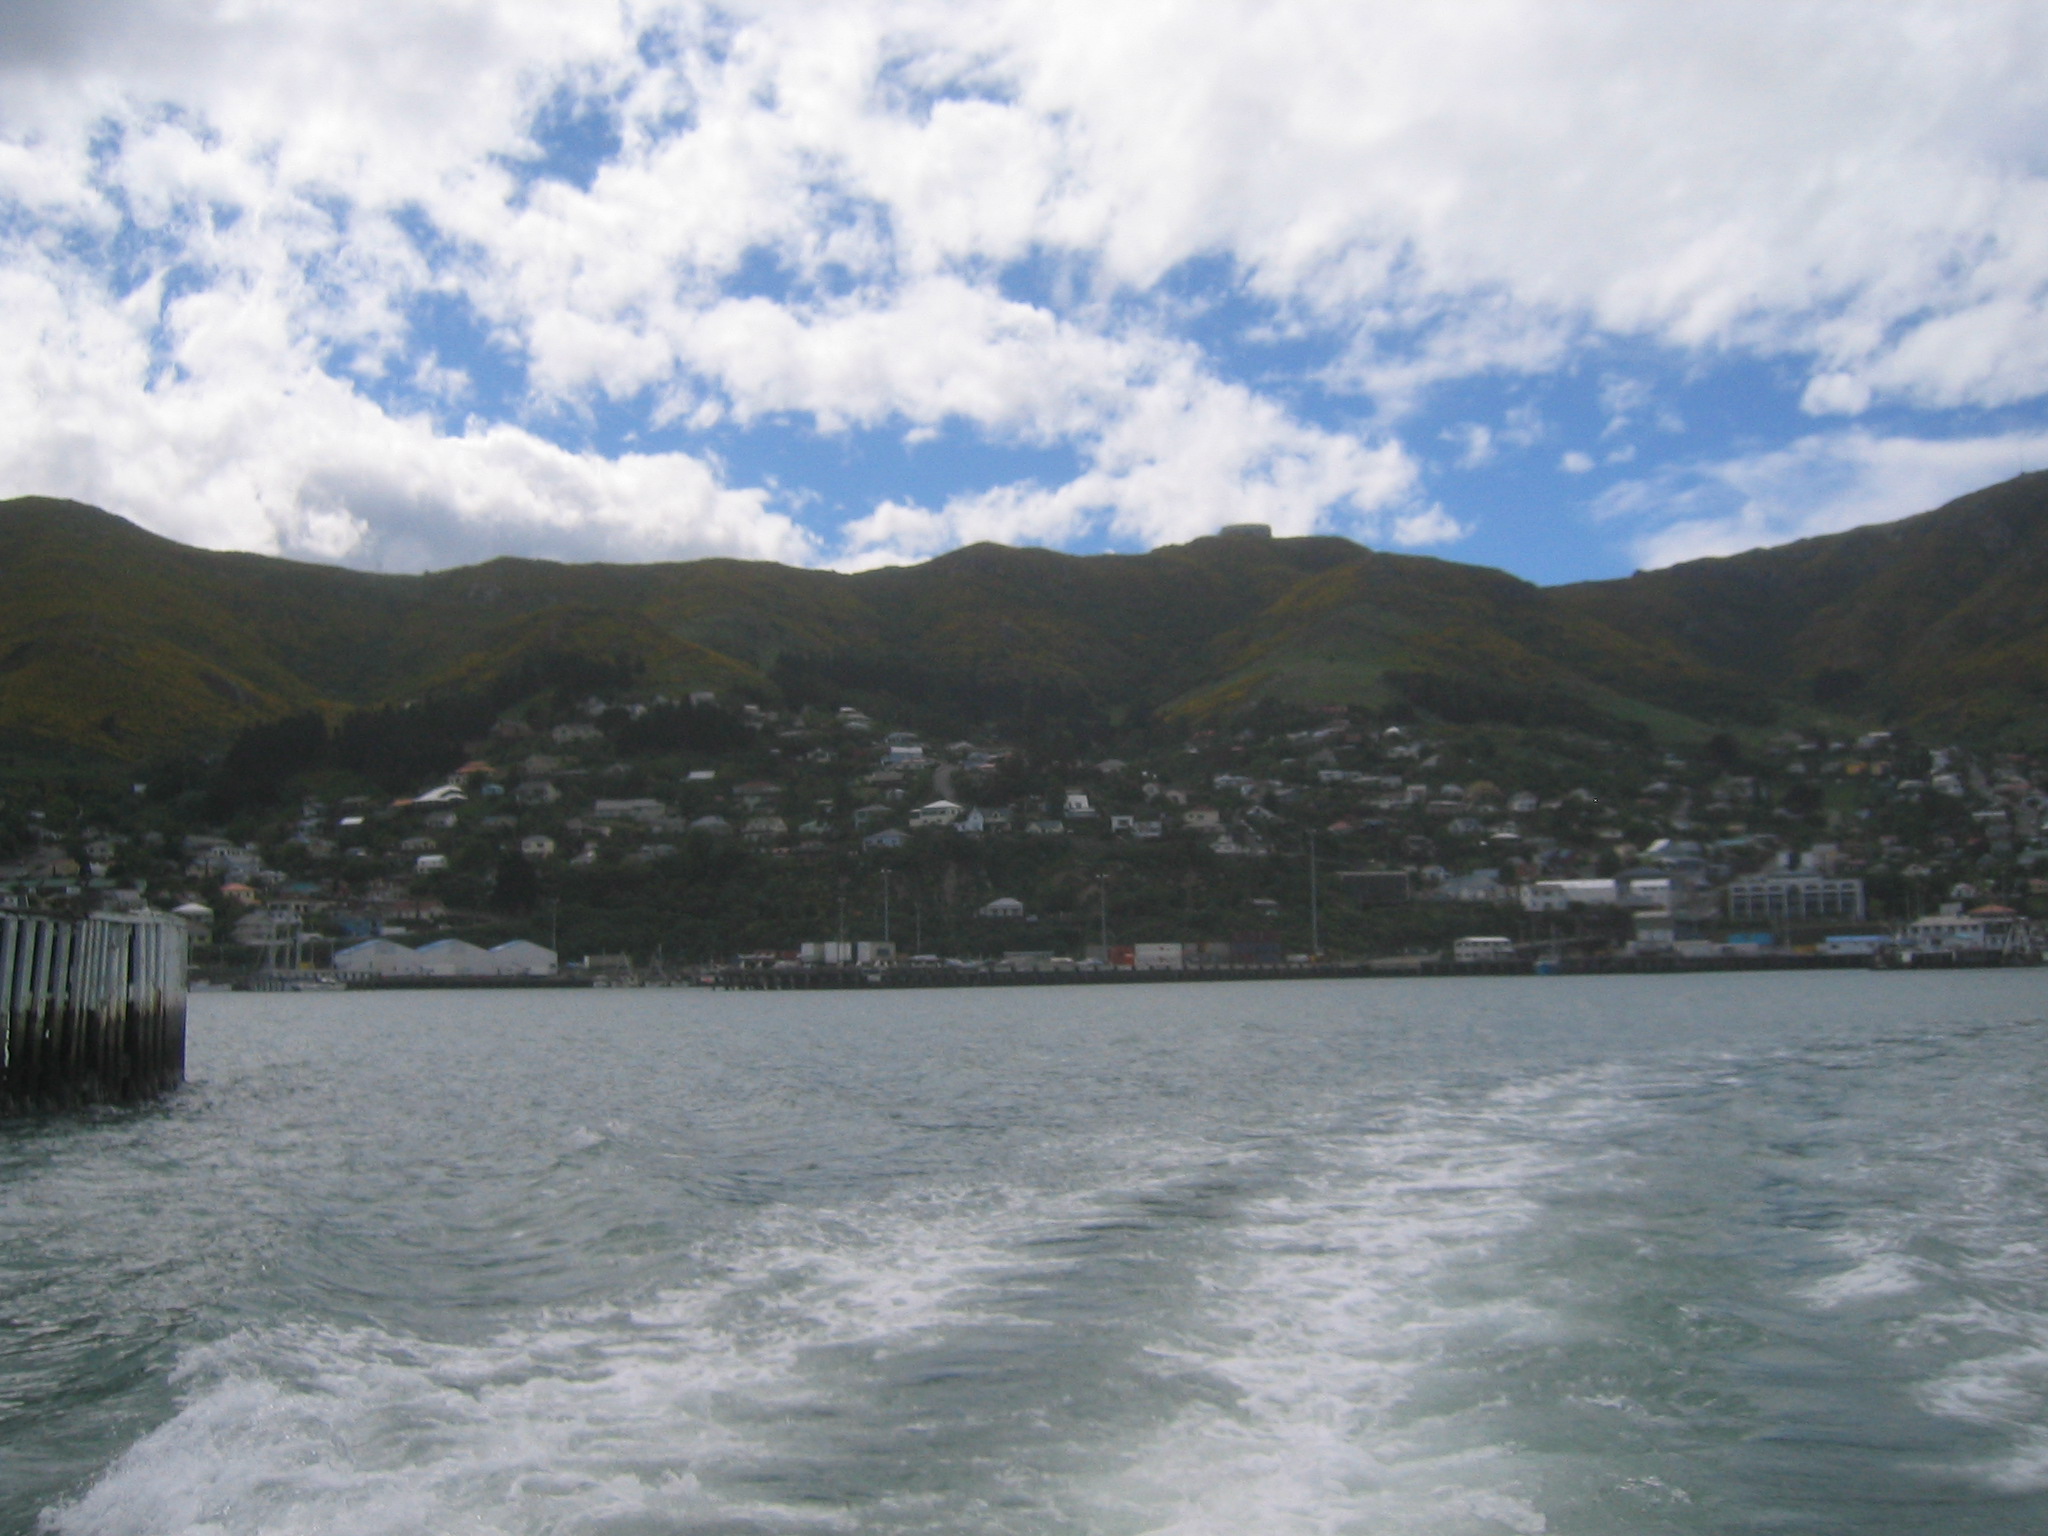
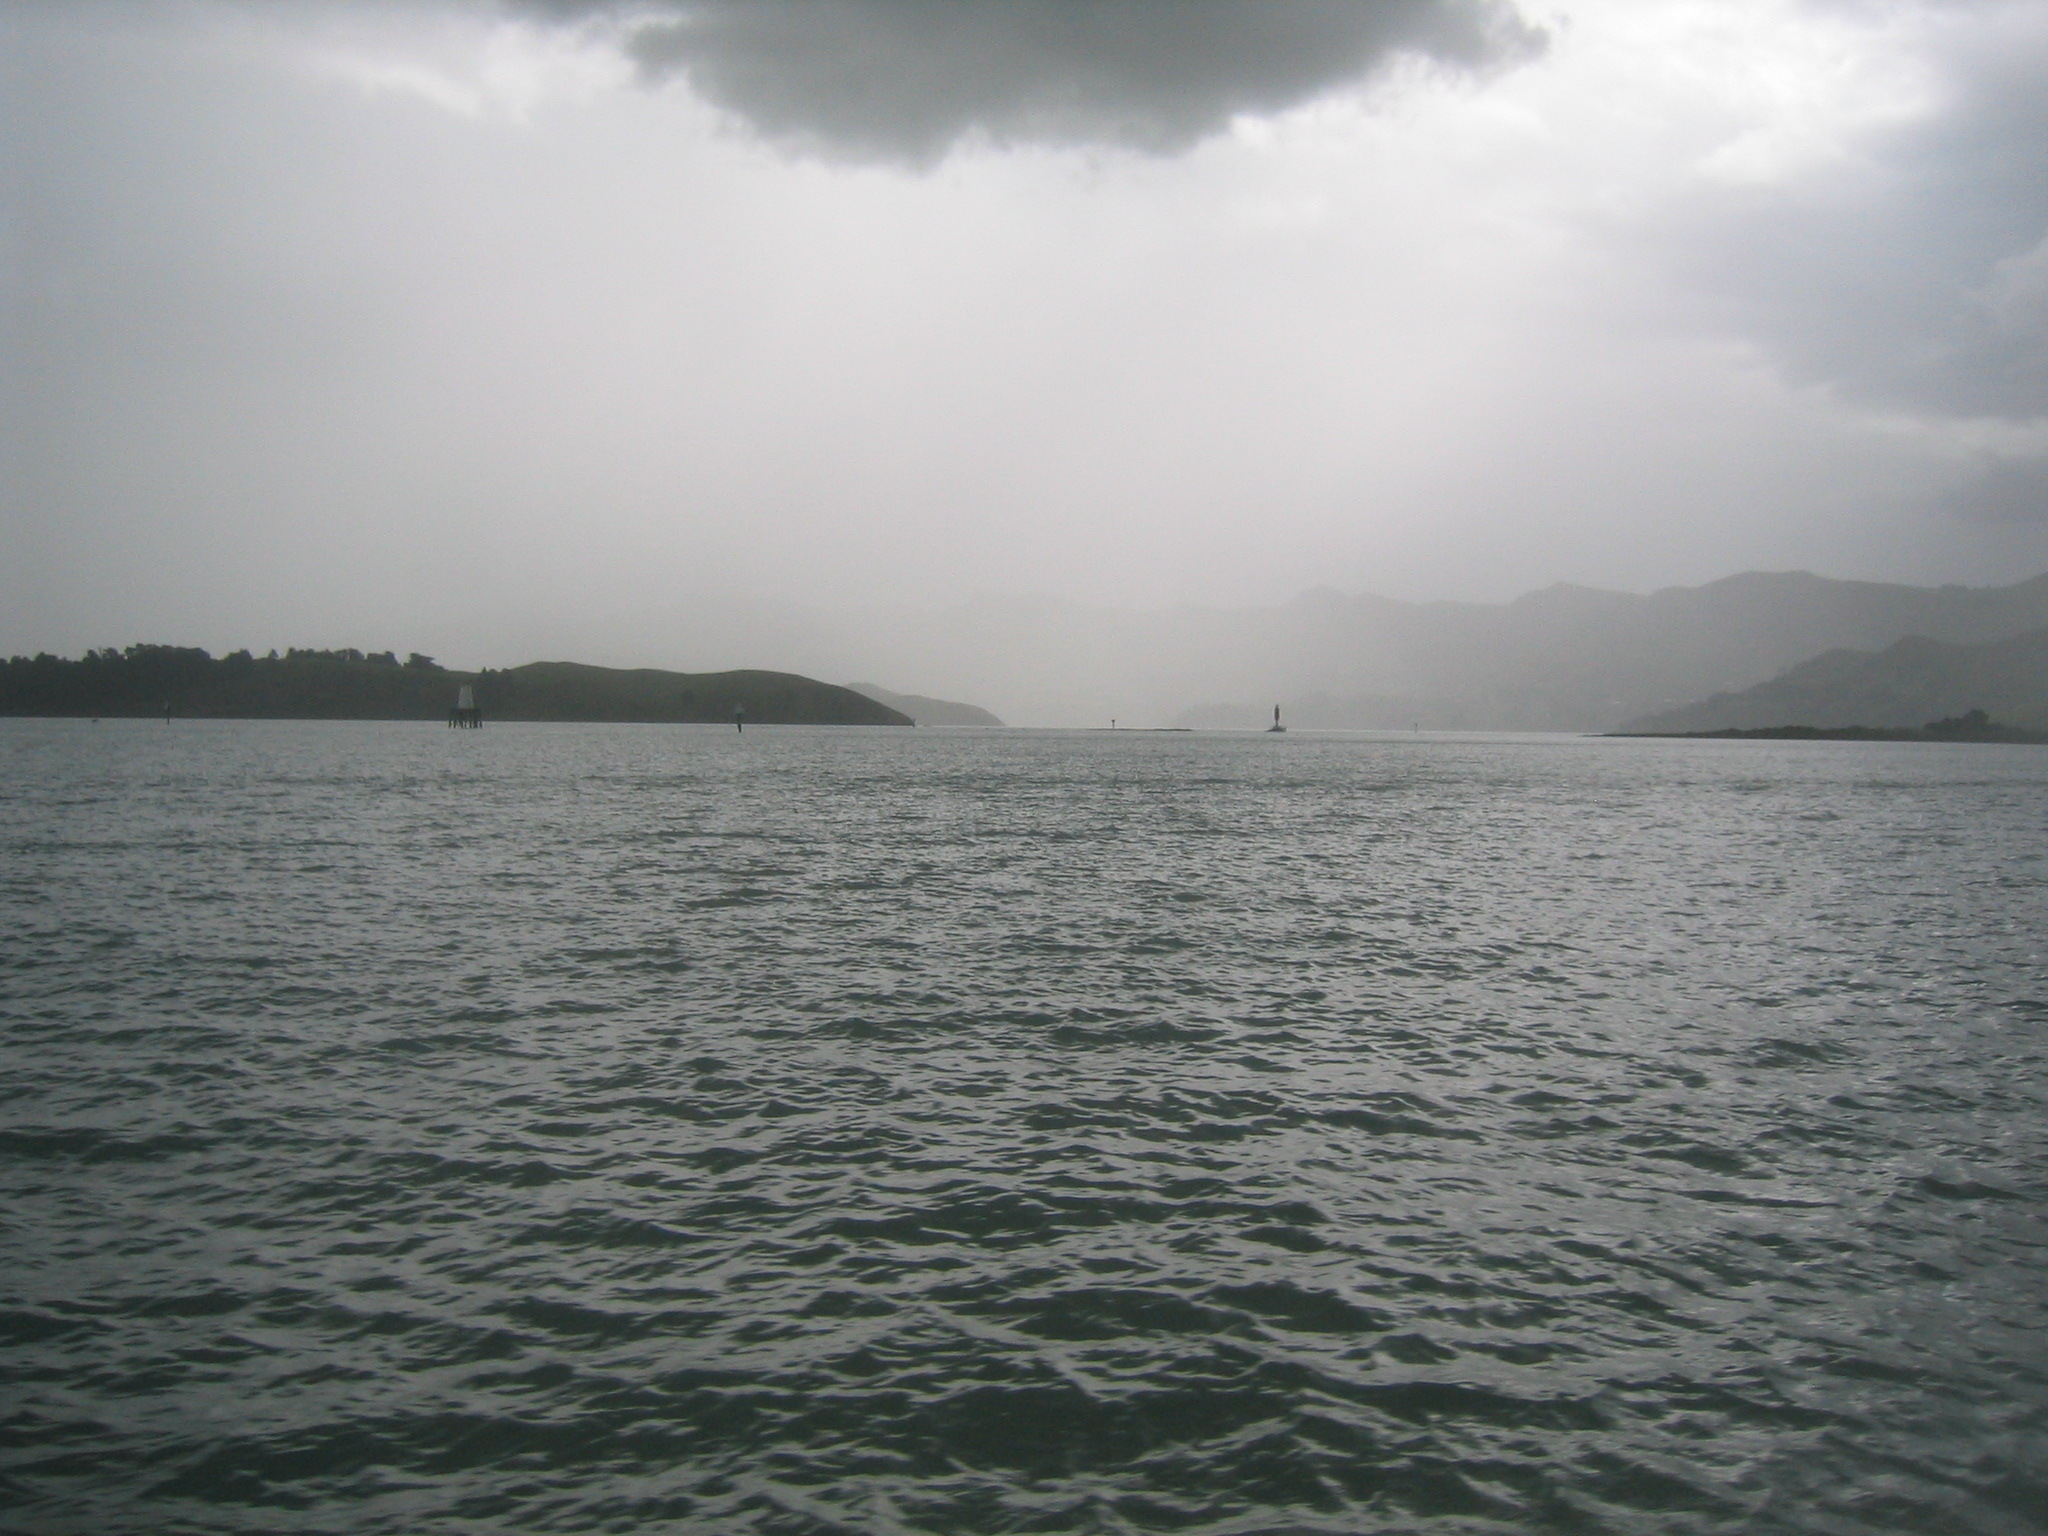
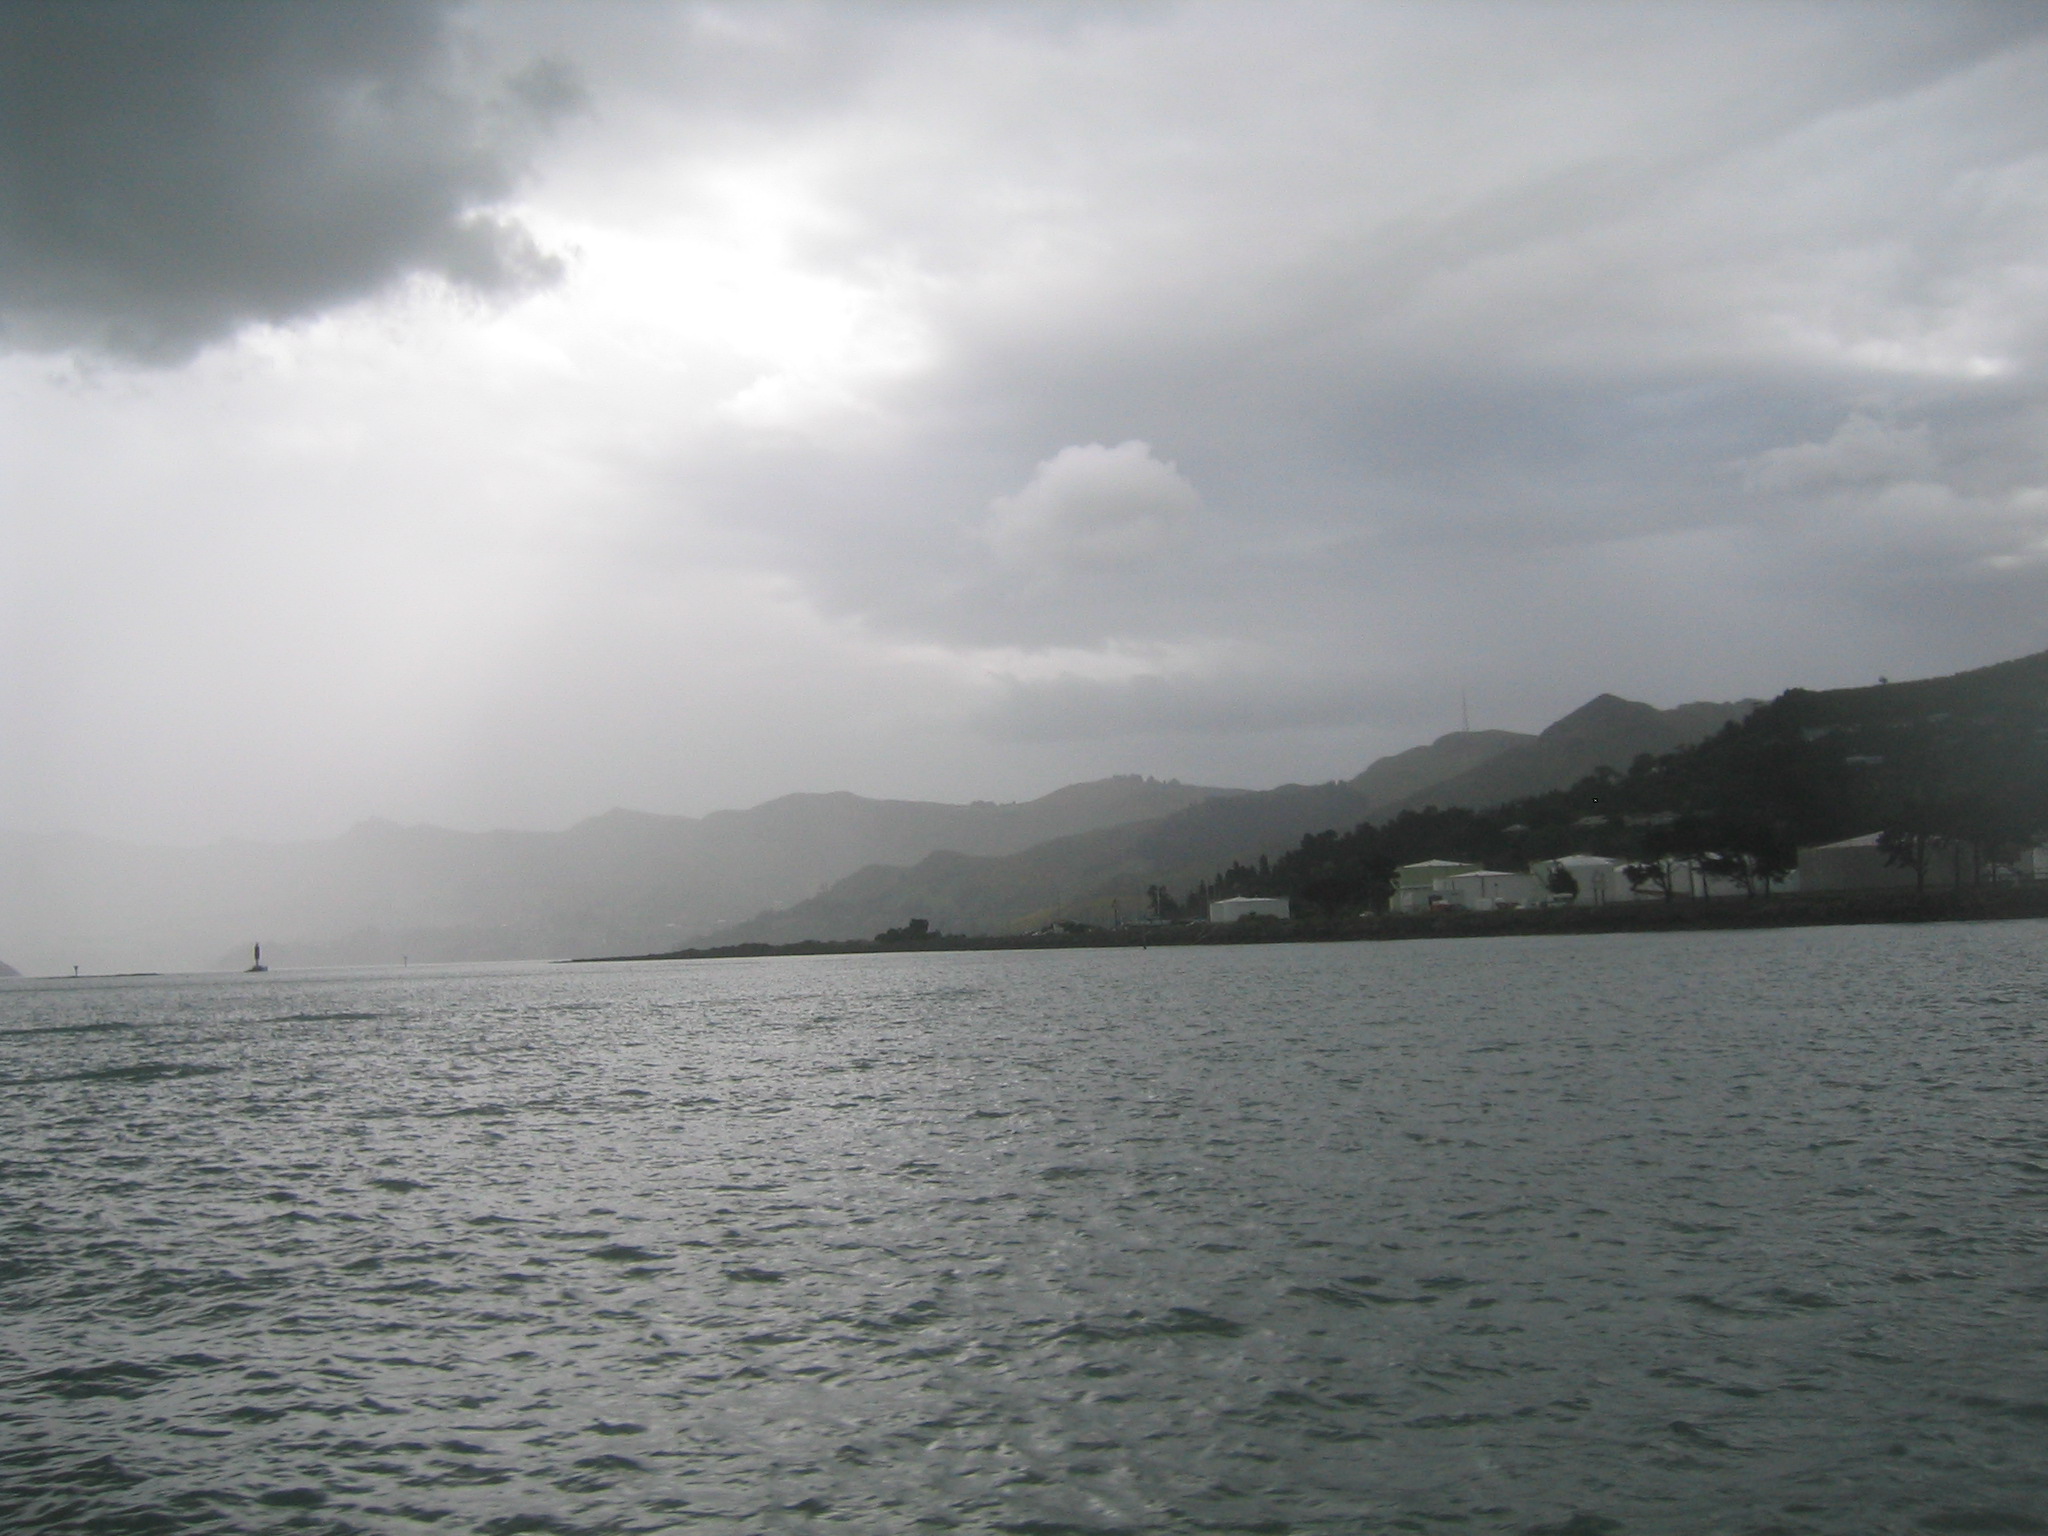
| Looking at the rain on the bay. |
| Looking at the rain on the bay. |
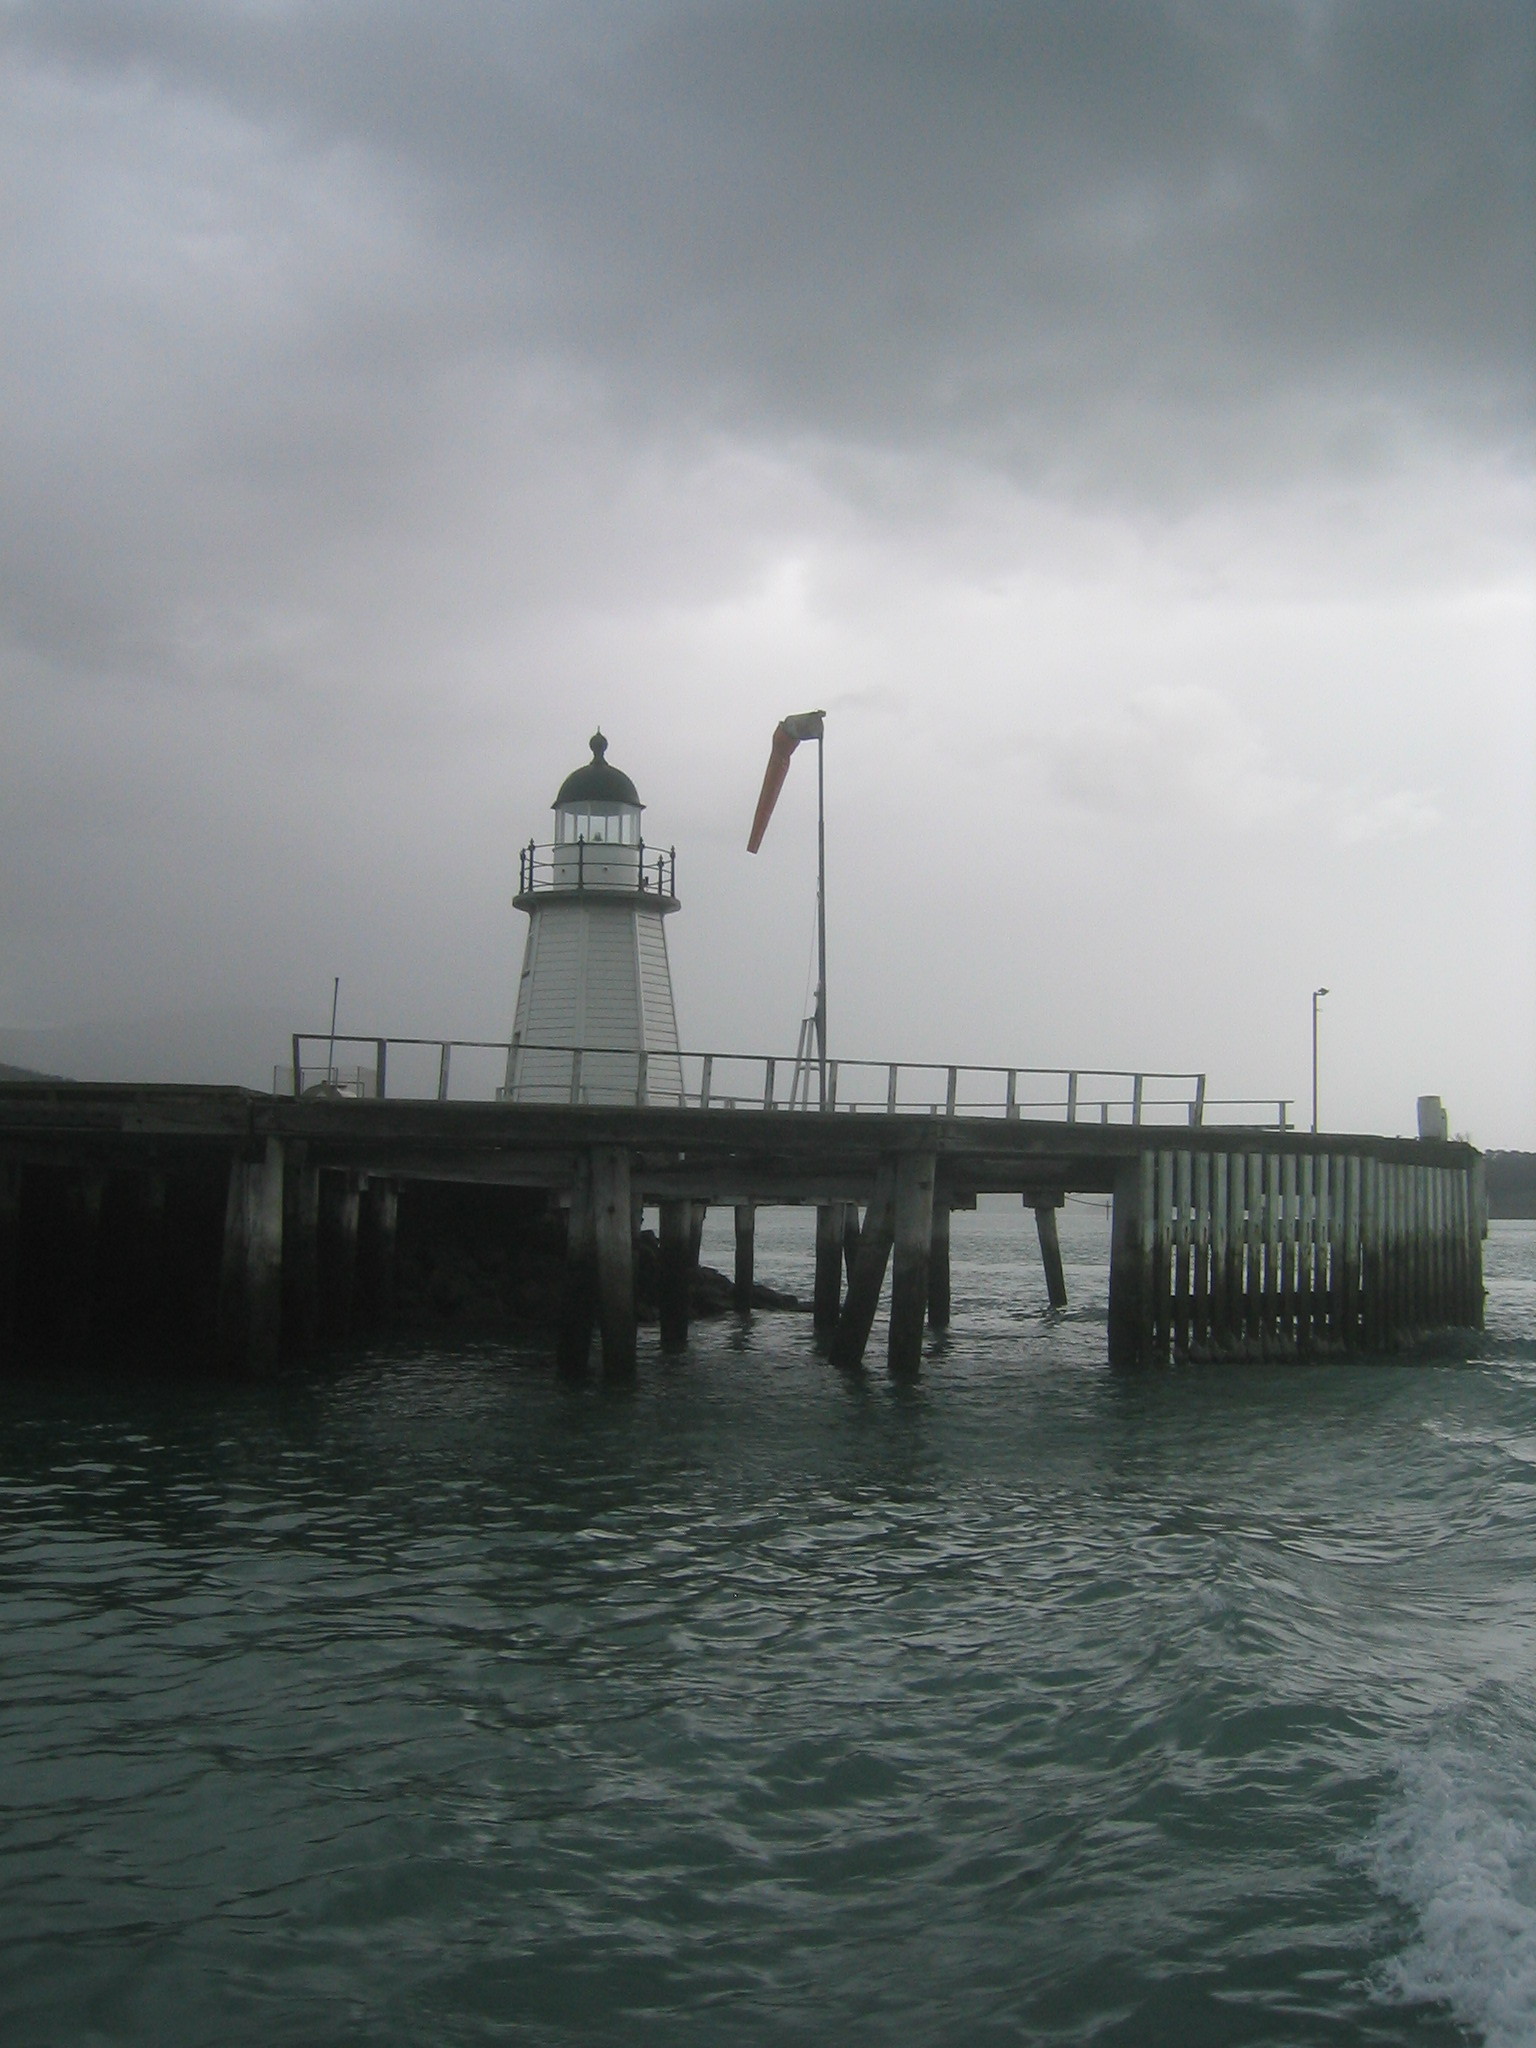
| The lighthouse at the entrance to Lyttelton Port. |
| The prow of the Mount Adams. |
| Rain! |
| The bus back to Christchurch heads through the tunnel. It was quite long. |
| Change ringing at the cathedral. |